
Form 1, 2, 3
For the first form I used the multi shape, duplicated it and made the duplicate smaller. I made the smaller one a hole to make the planter. For the second I used the mustache shape to create the succulent. I used all different sizes and angles and grouped them together. I shrunk it down and put it the planter for 3.

Form 4, 5
I made me first name first and then my last time second, and then I stood them up and connected them and grouped them together.
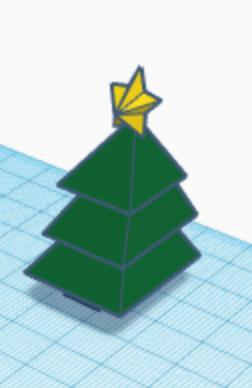
Form 6, 7
I used three pyramids and stacked them on top of each other, making each next one smaller. I then inserted a star from the community shape generator and put it on top.
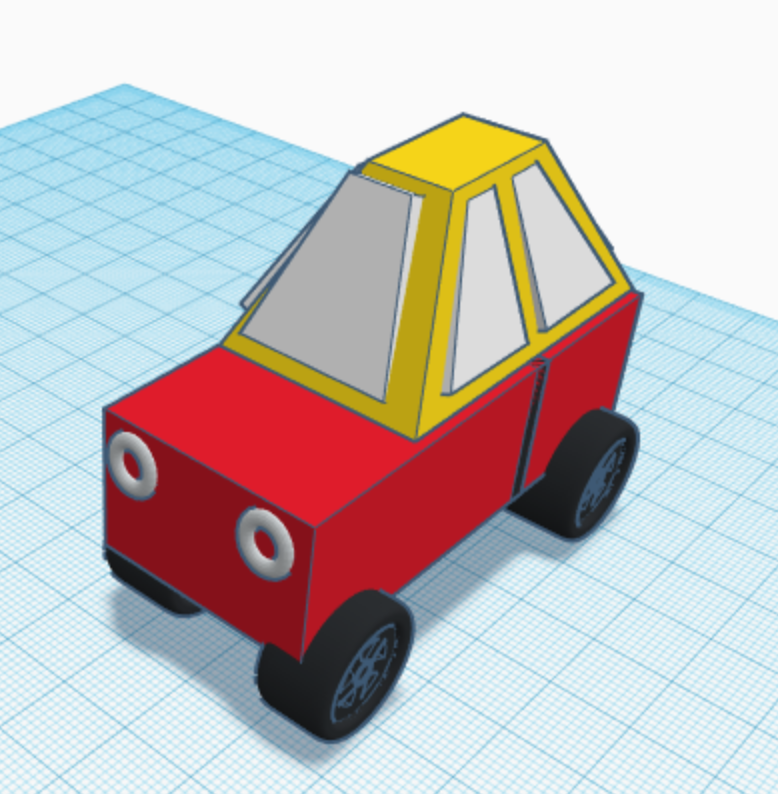
Form 8, 9, 10
I used tires from the community shape, and then for the base I made a rectangle and then put a smaller thinner rectangle in the middle to give the appearance of doors. I then put the top on with a pyramid and then used a square hole to make it flat. I then duplicated that shape and shrunk it down for windows. For the rear and front windshield I duplicated the same shape and then for the side I cut them in half.
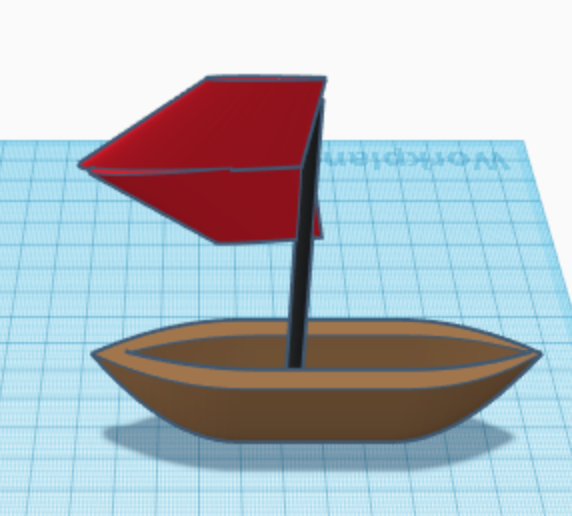
Form 11, 12
I used a boat from the community generator, duplicated it, make it smaller and made it a hole for the center of the boat. I then used two flag shapes from the community and flipped one to create the flag.
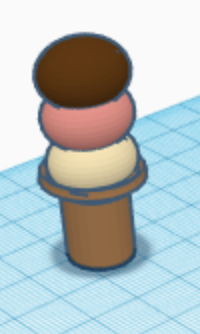
Form 13, 14, 15, 16, 17
I made the cone by using a cylinder, and then making a hole in the center. I used a ring and changed the dimensions to make it wider and rigid and put it on the base. I then used three spheres and duplicated them and made them different colors to make the different ice cream flavors.

Form 18, 19, 20
I made the dog house first. I used a square and a roof to make it, and then put a square hole in the center for the dog to stay. I then made the bone with a long rectangle and put two flat circles on each edge for the appearance of a bone and then put the letters on it. I then put the two together for the dog house.
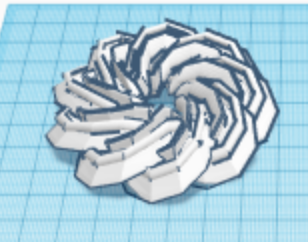
Form 21
I used a community shape and edited the rings to be thicker and increased the number of rings to give the appearance of a coaster.

Form 22, 23
I used two flat circles as the eyes and a half donut shape as the mouth, I put it upwards for the appearance of a smile.
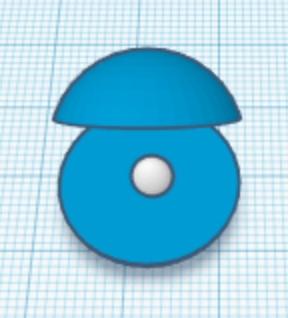
Form 24, 25
I used a sphere and cut it in half with a square hole. I duplicated it and then made it look like it was a clam. I then used a small sphere as a pearl.

I duplicated cones to made the top and bottom and dragged them. I then put the cylinder in the middle.
Form 26
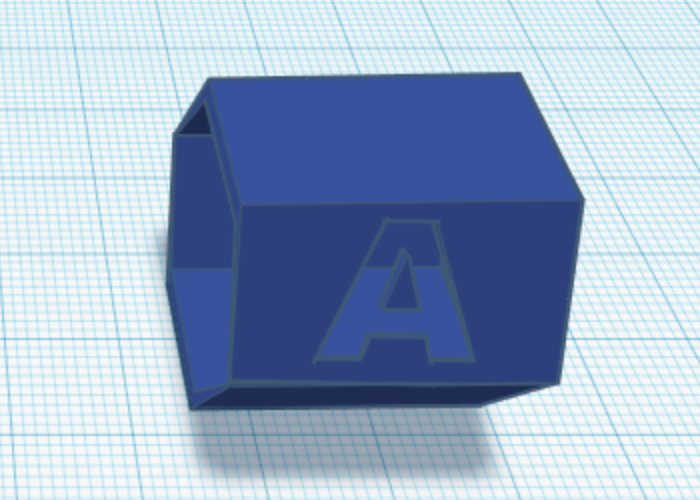
Form 27, 28
I used the whole tool to make the base shape on the inside to made it go through. I then used the A as a hole so it would seem to poke through.

Form 29, 30, 31
I first made the base of the rocket with four pyramids. I connected them so the rocket would sit atop them. I then inserted a community shape and dragged it to made it bigger. I used a basic shape for the tip and made it more angled so it would sit on top.
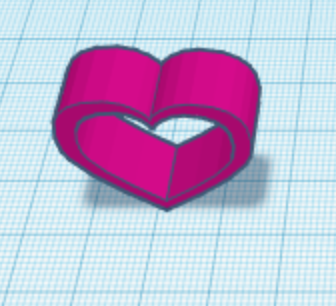
Form 32
I made a heart shaped cookie cutter with a heart and a hole tool.
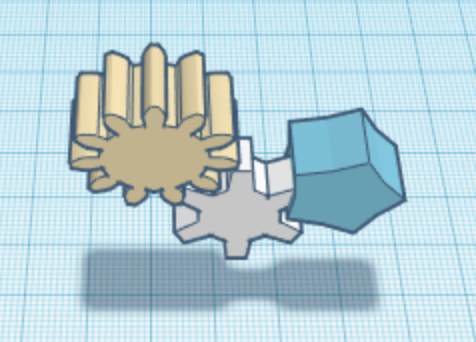
I used a wheel mechanism so that the wheels would turn on each other and generate power that could be used. I edited the number of wedges on the different shapes.
Form 33, 34, 35
Form 36, 37
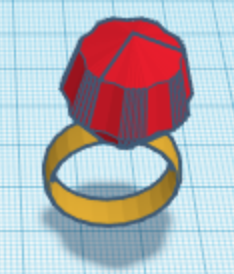
I inserted a gem shape from the community generator and inserted a basic ring which I edited to be thinner and perfectly round.

Form 38, 39
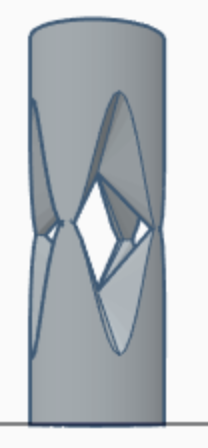
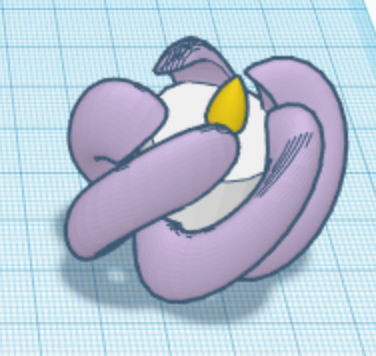
I used two squiggly shapes from the community shapes folder. I made the radium of the ropes wider and then stretched the shape to be tall. I duplicated one and turned it to the opposite way so I could link them to be a peppermint stick.
Form 40
I found this shape in the community generator. I flipped and stacked them. I think this could be a display for something small.

Form 41
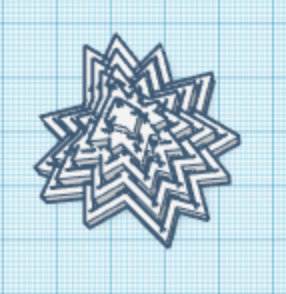
I took four pyramids and tried to combine them to resemble a star shape. I put the tops at different angles so the others would splay out. I used the CTRL-D trick to duplicate.

Form 42
I used a butterfly shape and then I put two flattened spheres on the top to make the body of the butterfly.

Form 43, 44
For this shape, I used a shape from the community list and edited it to have more points and for it to be thicker. I used a plain cylinder for the trunk of the tree and stretched it out.
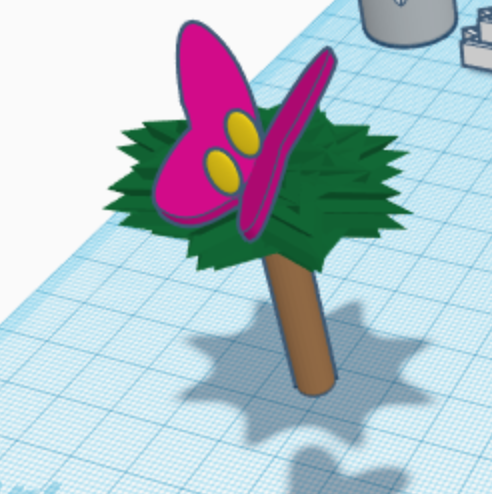
Form 45
I combined the two previous shapes to resemble a butterfly on a tree. I grouped them together.

Form 46, 47
I made a textured name plate. I used the text at different angles on a roof shape. I organized the letters first to be one unit, and then I stretched out the roof shape to match the length.

Form 48, 49, 50
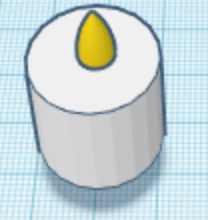
I first made a candle model from a cylinder and then I used a community shape as the flame and inserted it into the rectangle so only some of it was sticking out. I then took another shape from the community generator and used a cylinder hole on the inside so the candle would fit. I then merged them together to make the final shape.