Group Members
Emily Vaught (Lead Designer)
David Bogaev (Lead Writer)
First Design Iteration
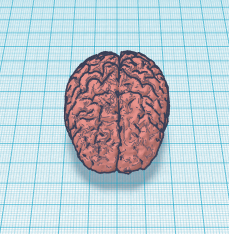
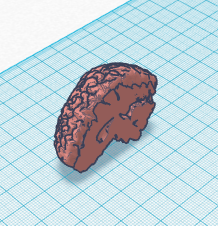
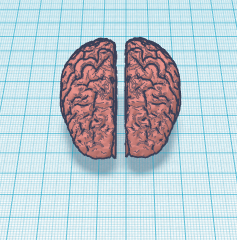
Emily and I decided to make a 3D model of a brain that detaches between the two hemispheres to show the brain’s anatomy. Much of Psychology deals with the brain and how it works to explain human behavior. We wanted to create this model to help better explain the parts of the brain and how they work to those who are not familiar with the brain’s anatomy. Our design meets the assignment requirements because we are taking existing designs and altering them to create a new model. We found many different brain models on Thingiverse, but none that included the anatomy of the inside of the brain or any that could have the hemispheres detach and reattach. However, we can learn from these other models by looking at how they are designed to make our own model better. For this first assignment we created a testable piece for our project.
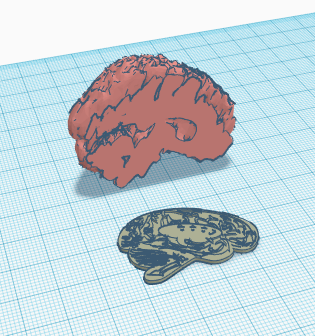
To create this design, we started with a 3D model of a brain that we found in Tinkercad. To open the model up, we took a square hole to cut one half off and then duplicated the remaining half and dragged the shape through itself so we could have two halves of the brain.
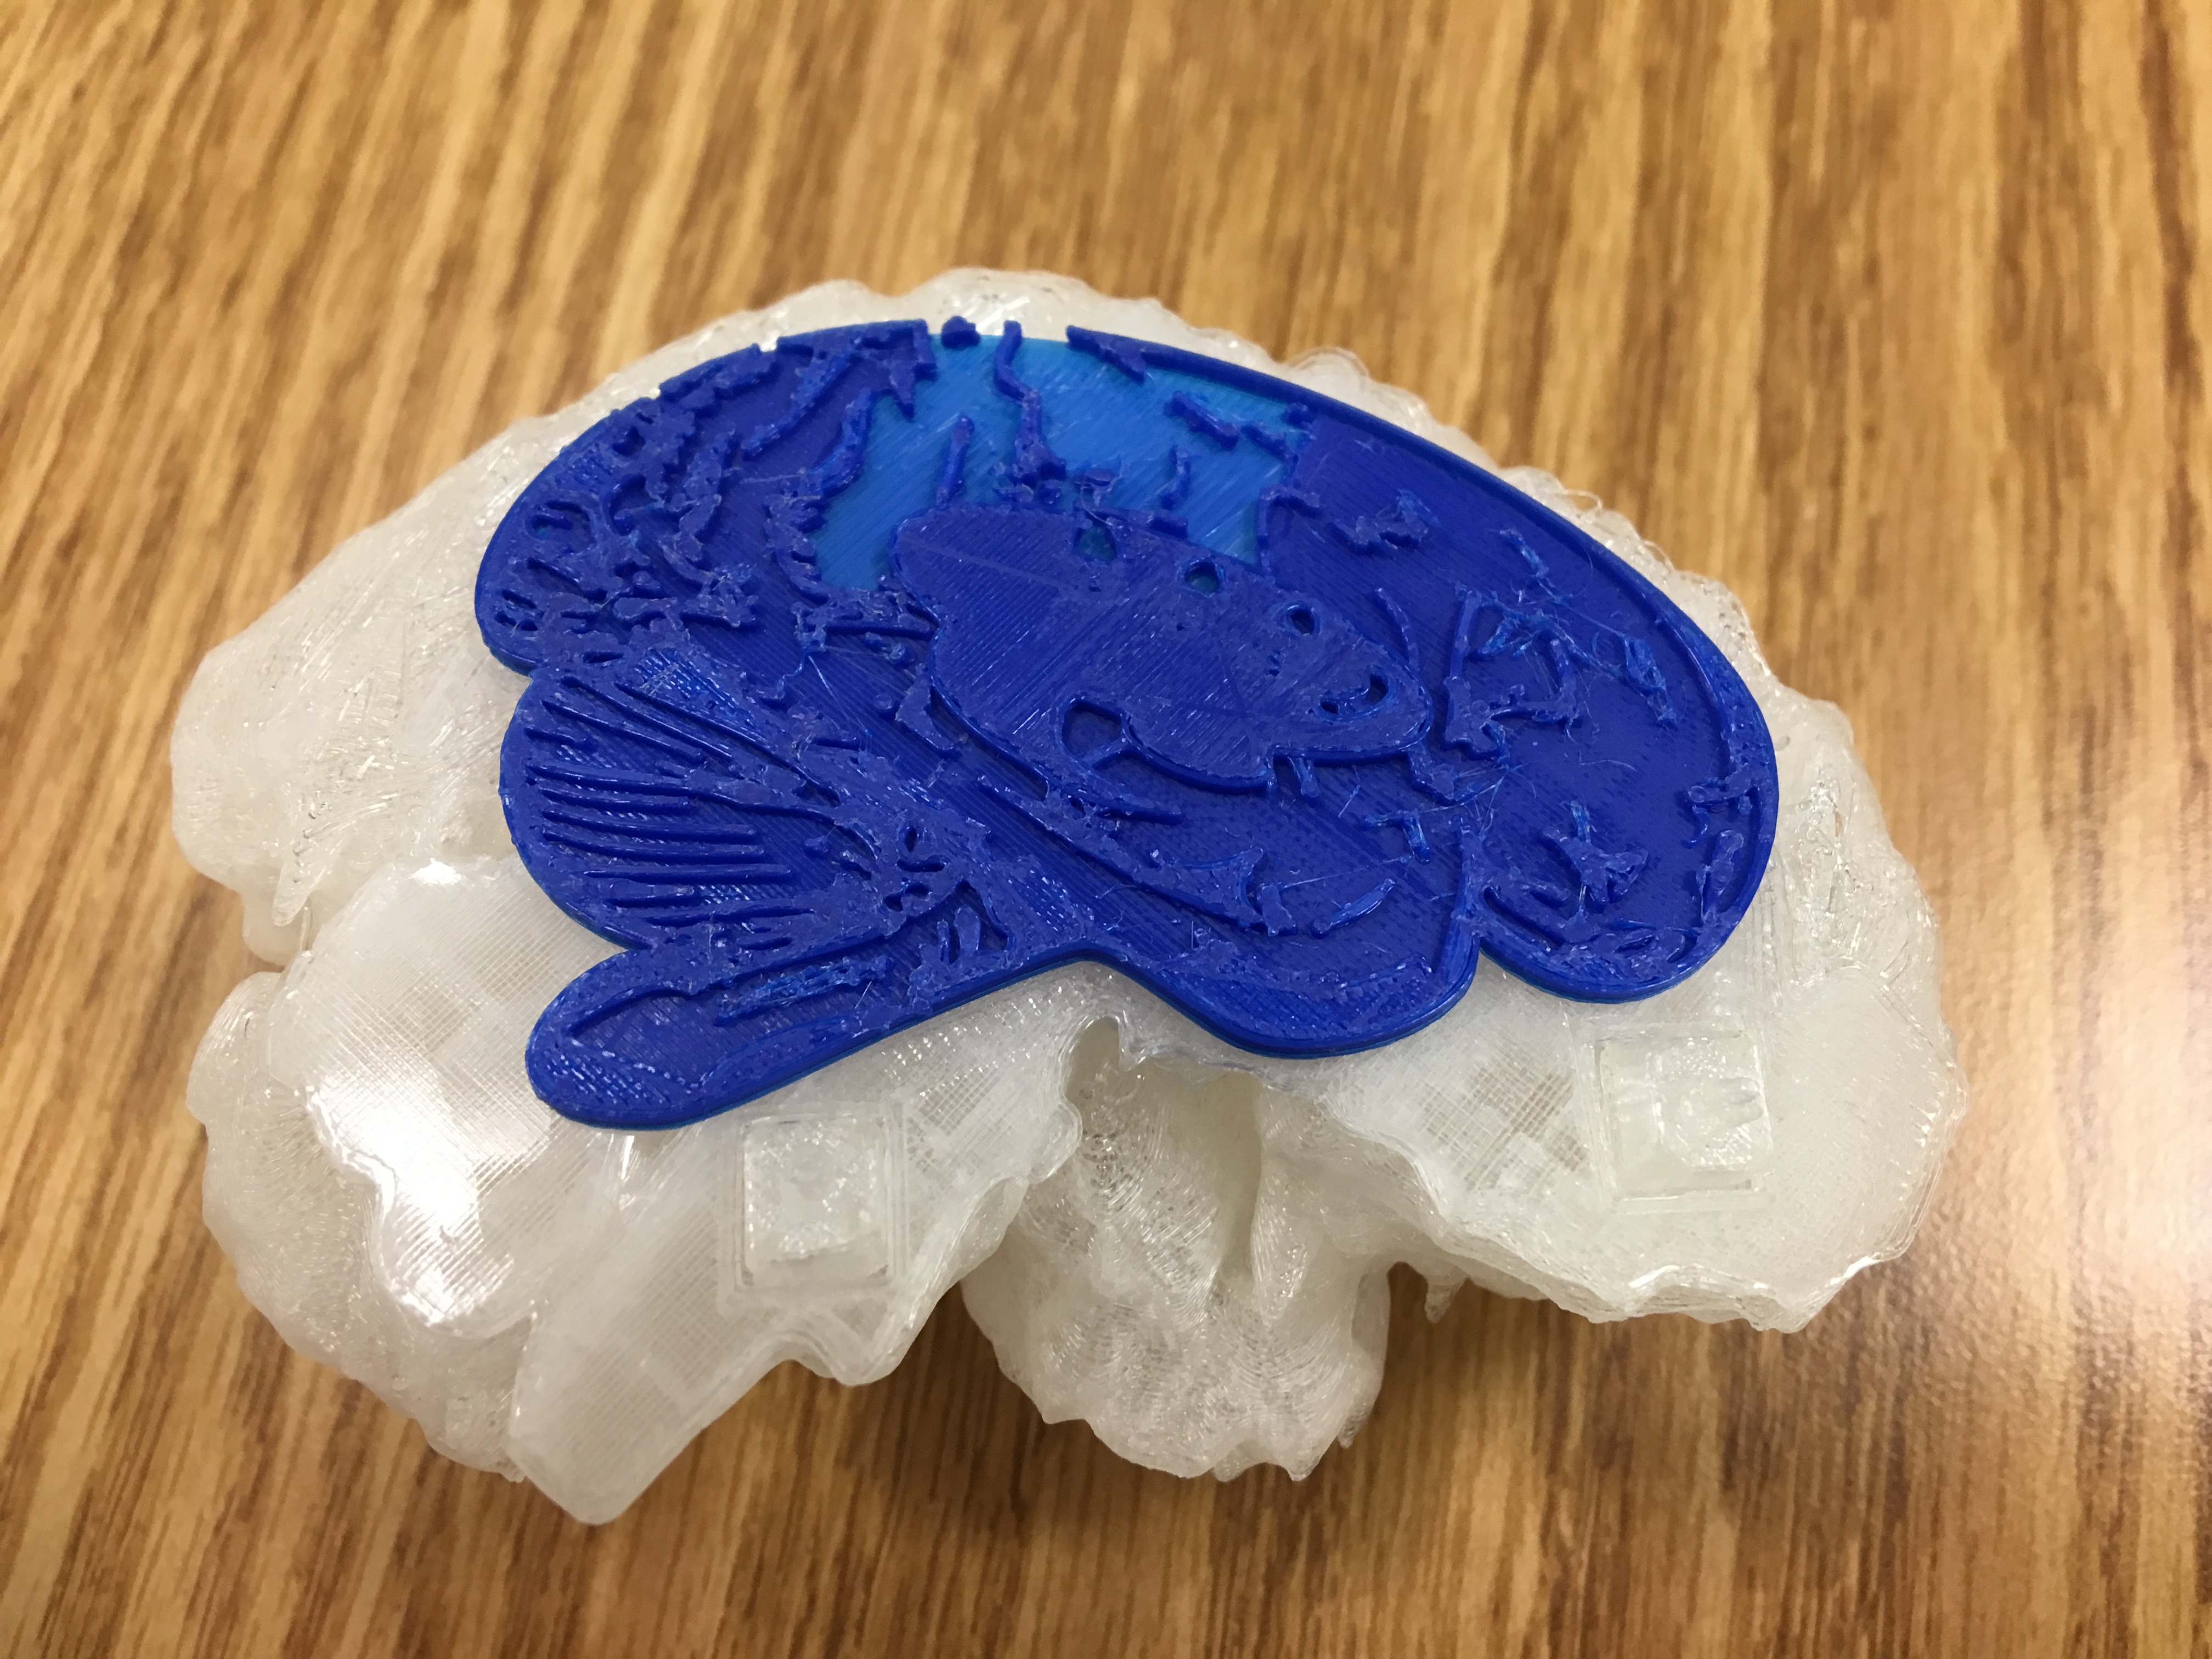
Next, to achieve the diagram that will go inside the brain halves we used another design from Tinkercad that was a diagram of the inside of the brain flattened on the workplate. From there, we needed to line up the diagram with the brain by adjusting the dimensions of diagram.
To achieve a seamless design, we dragged the diagram into the brain half to make a hole for the diagram to be grouped with the halves. If we do not do it in this way, the diagram will stick our rather than being flush with the brain. We will do this for both halves of our 3D brain model. Our next step is to design connectors to attach the two hemispheres to make a detachable brain model.

First Draft Print
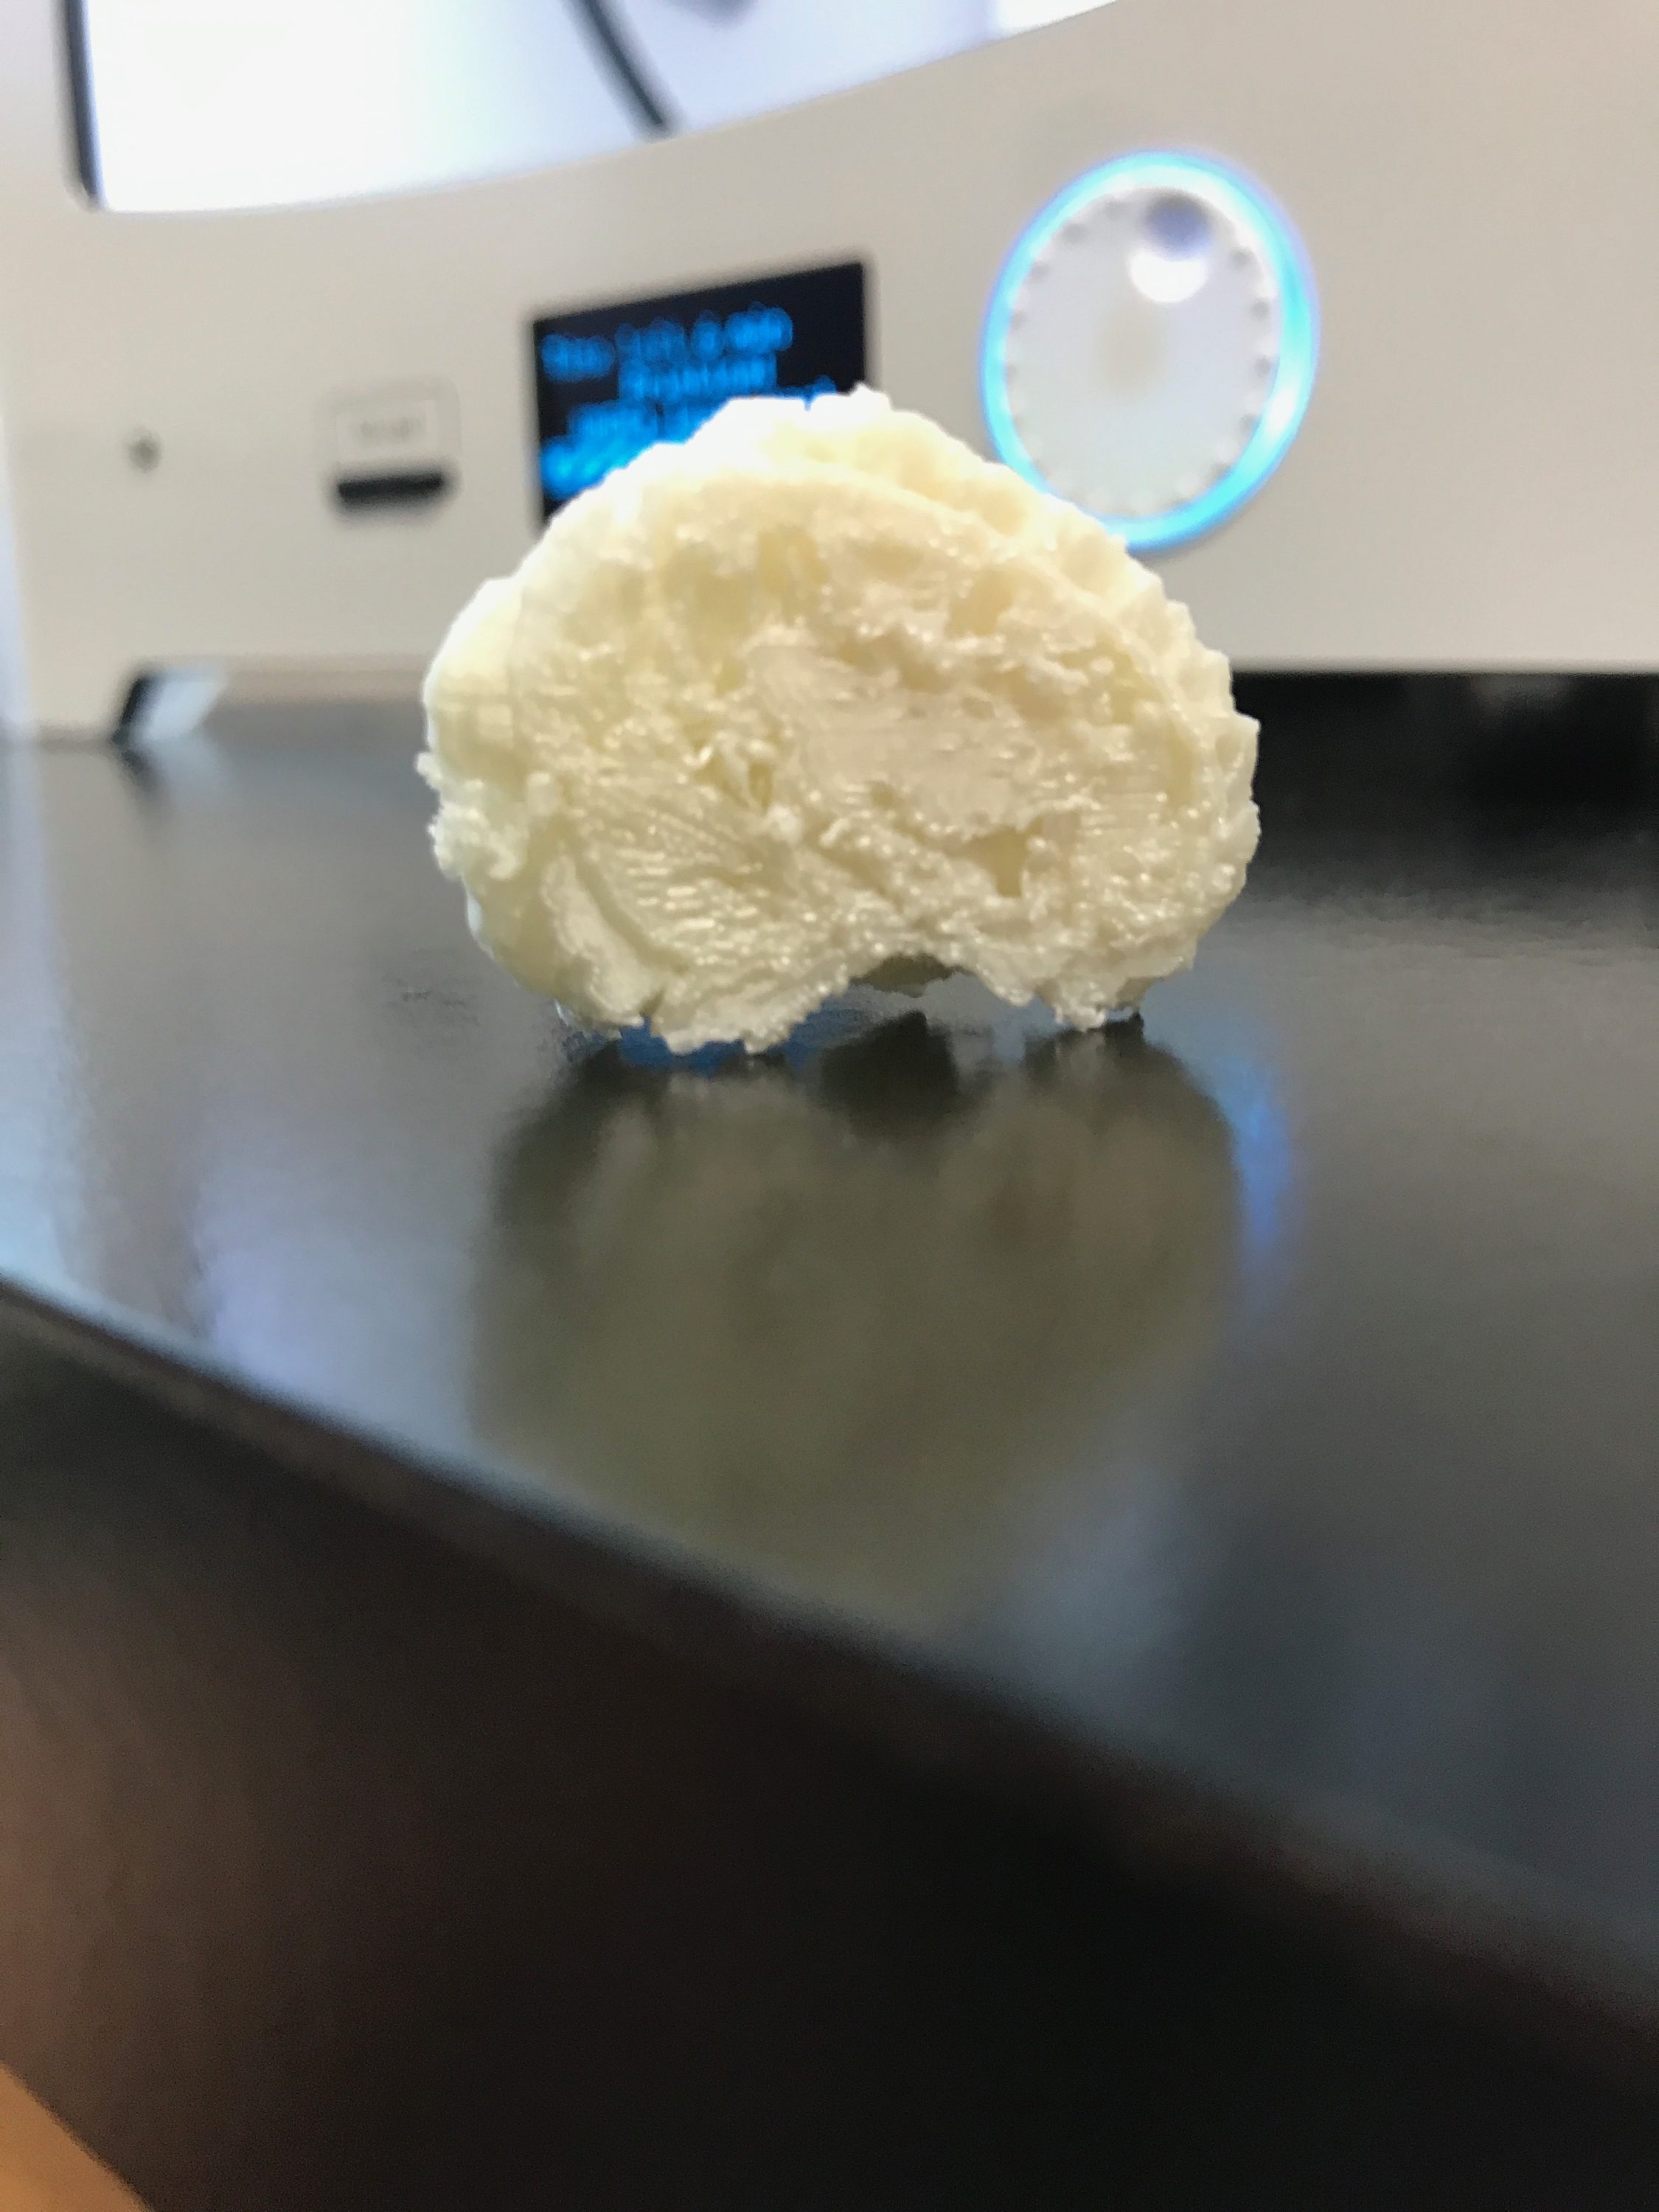
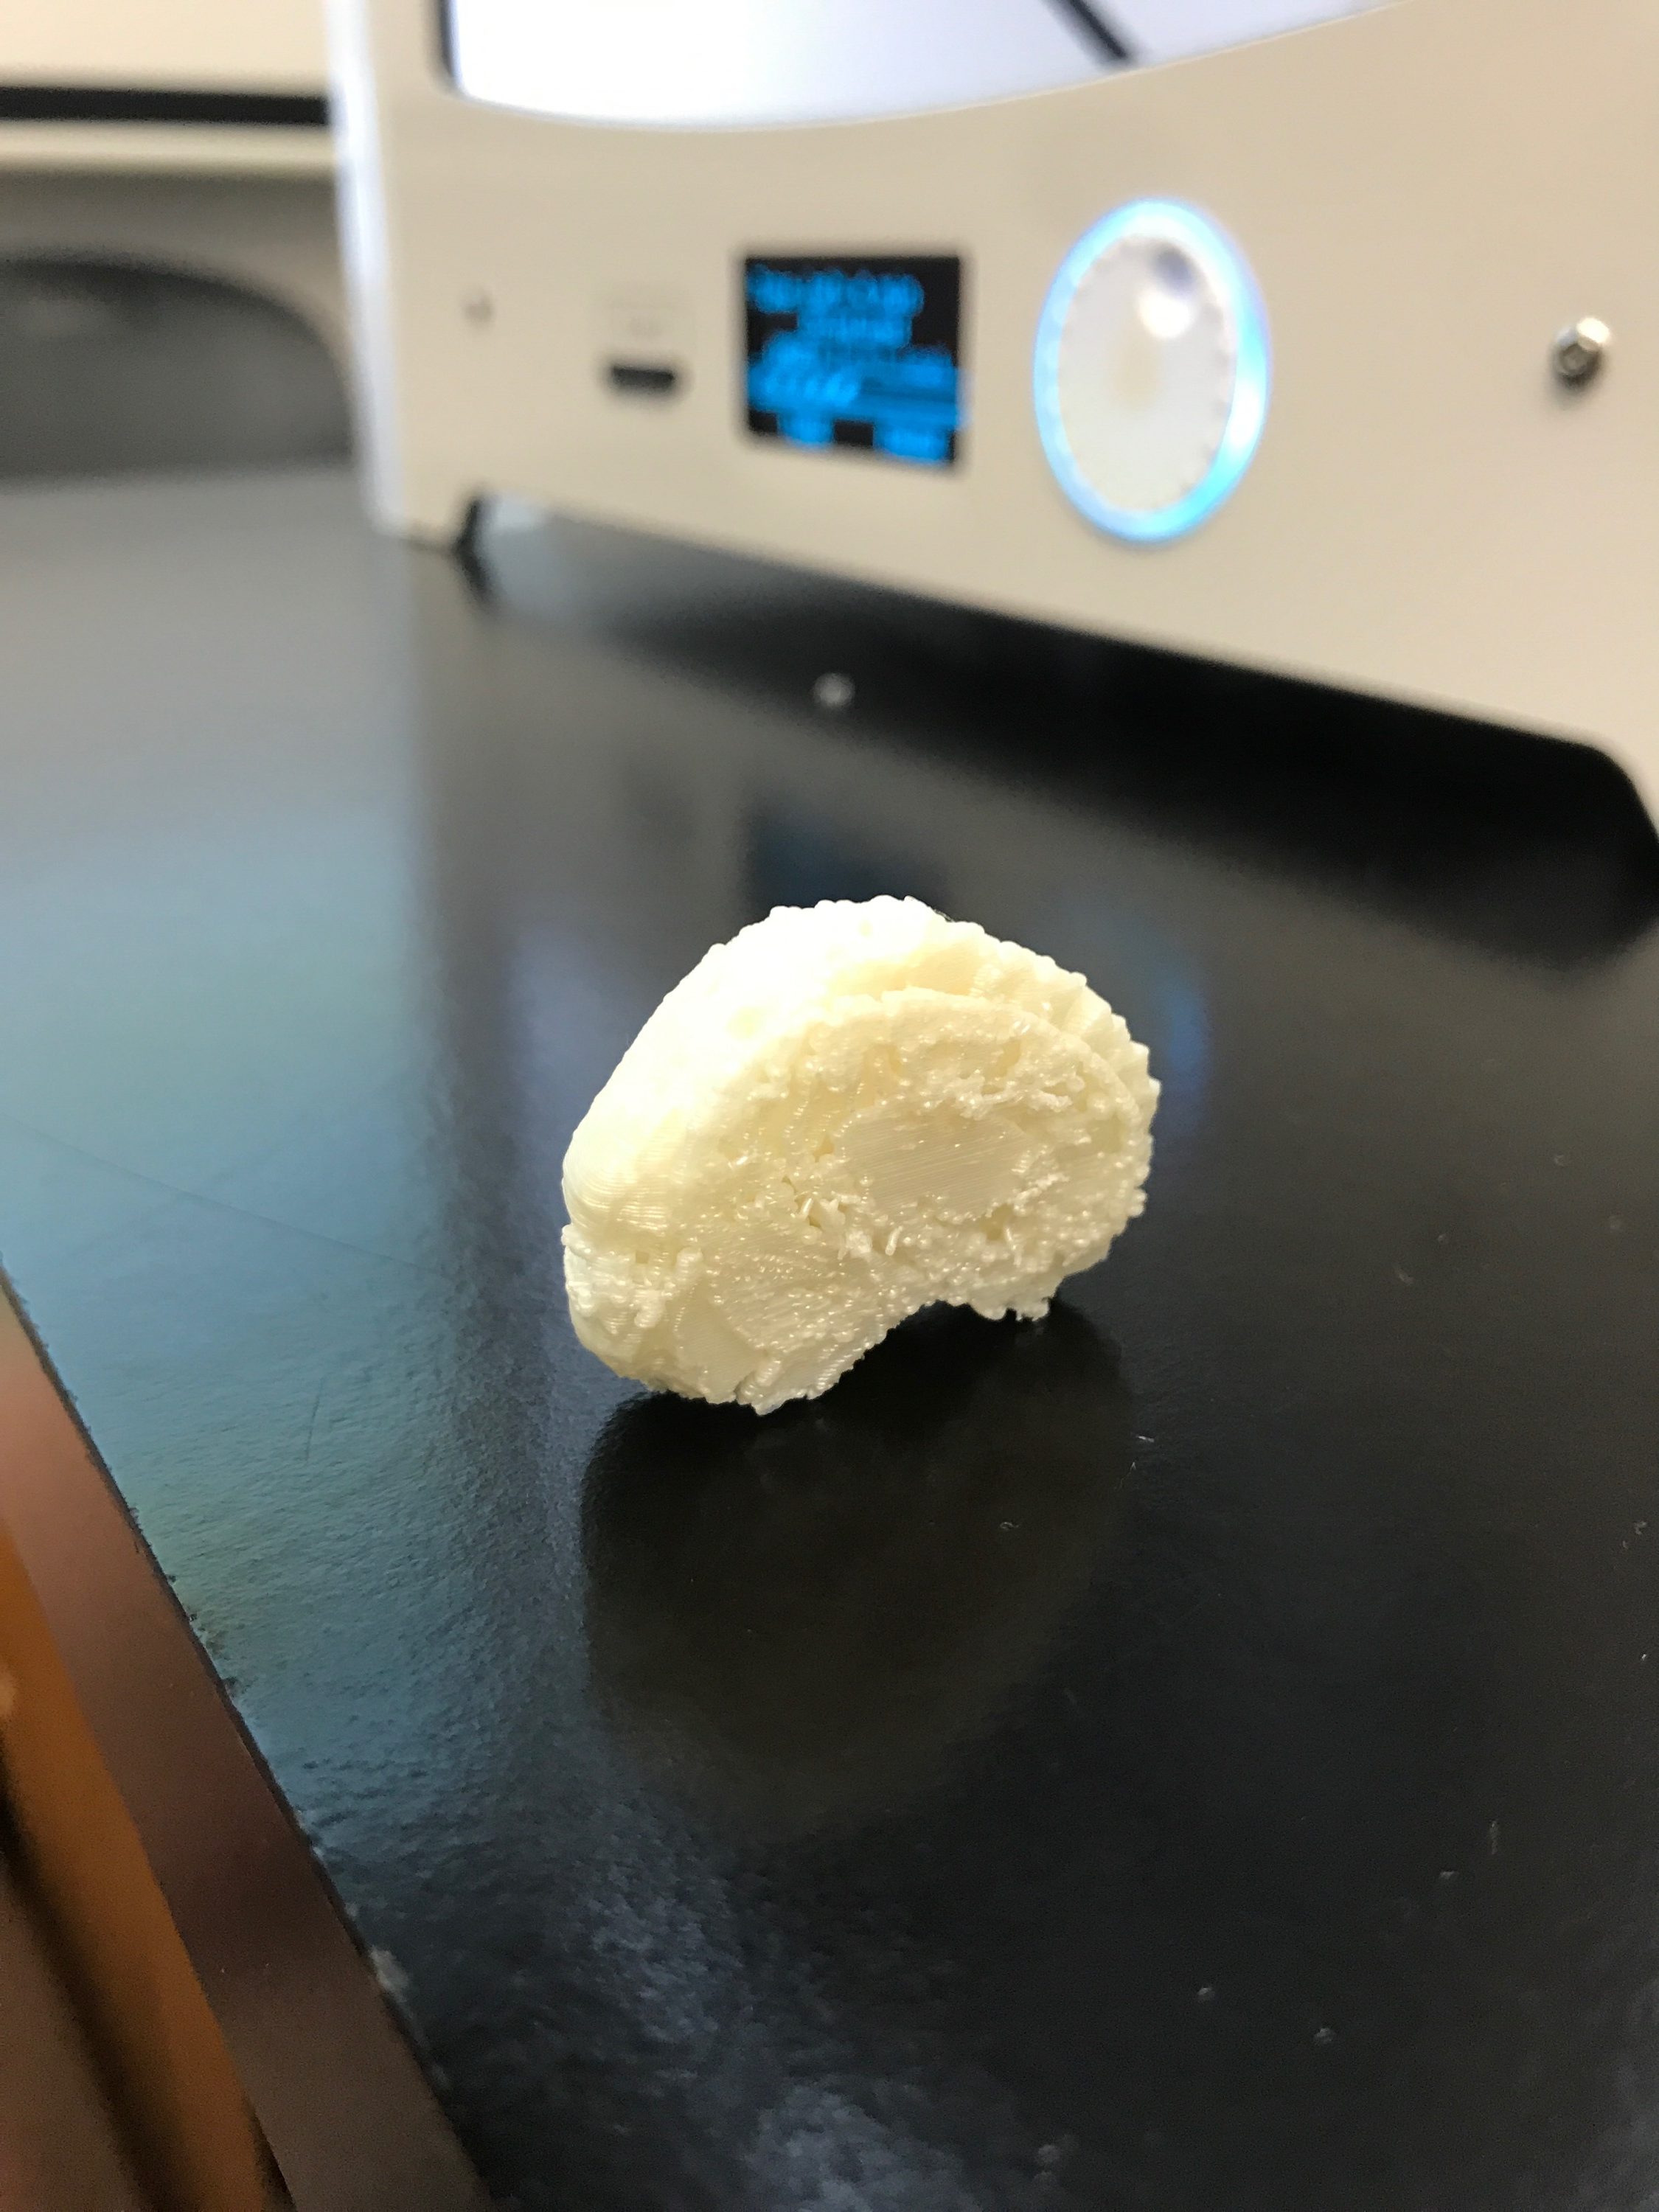
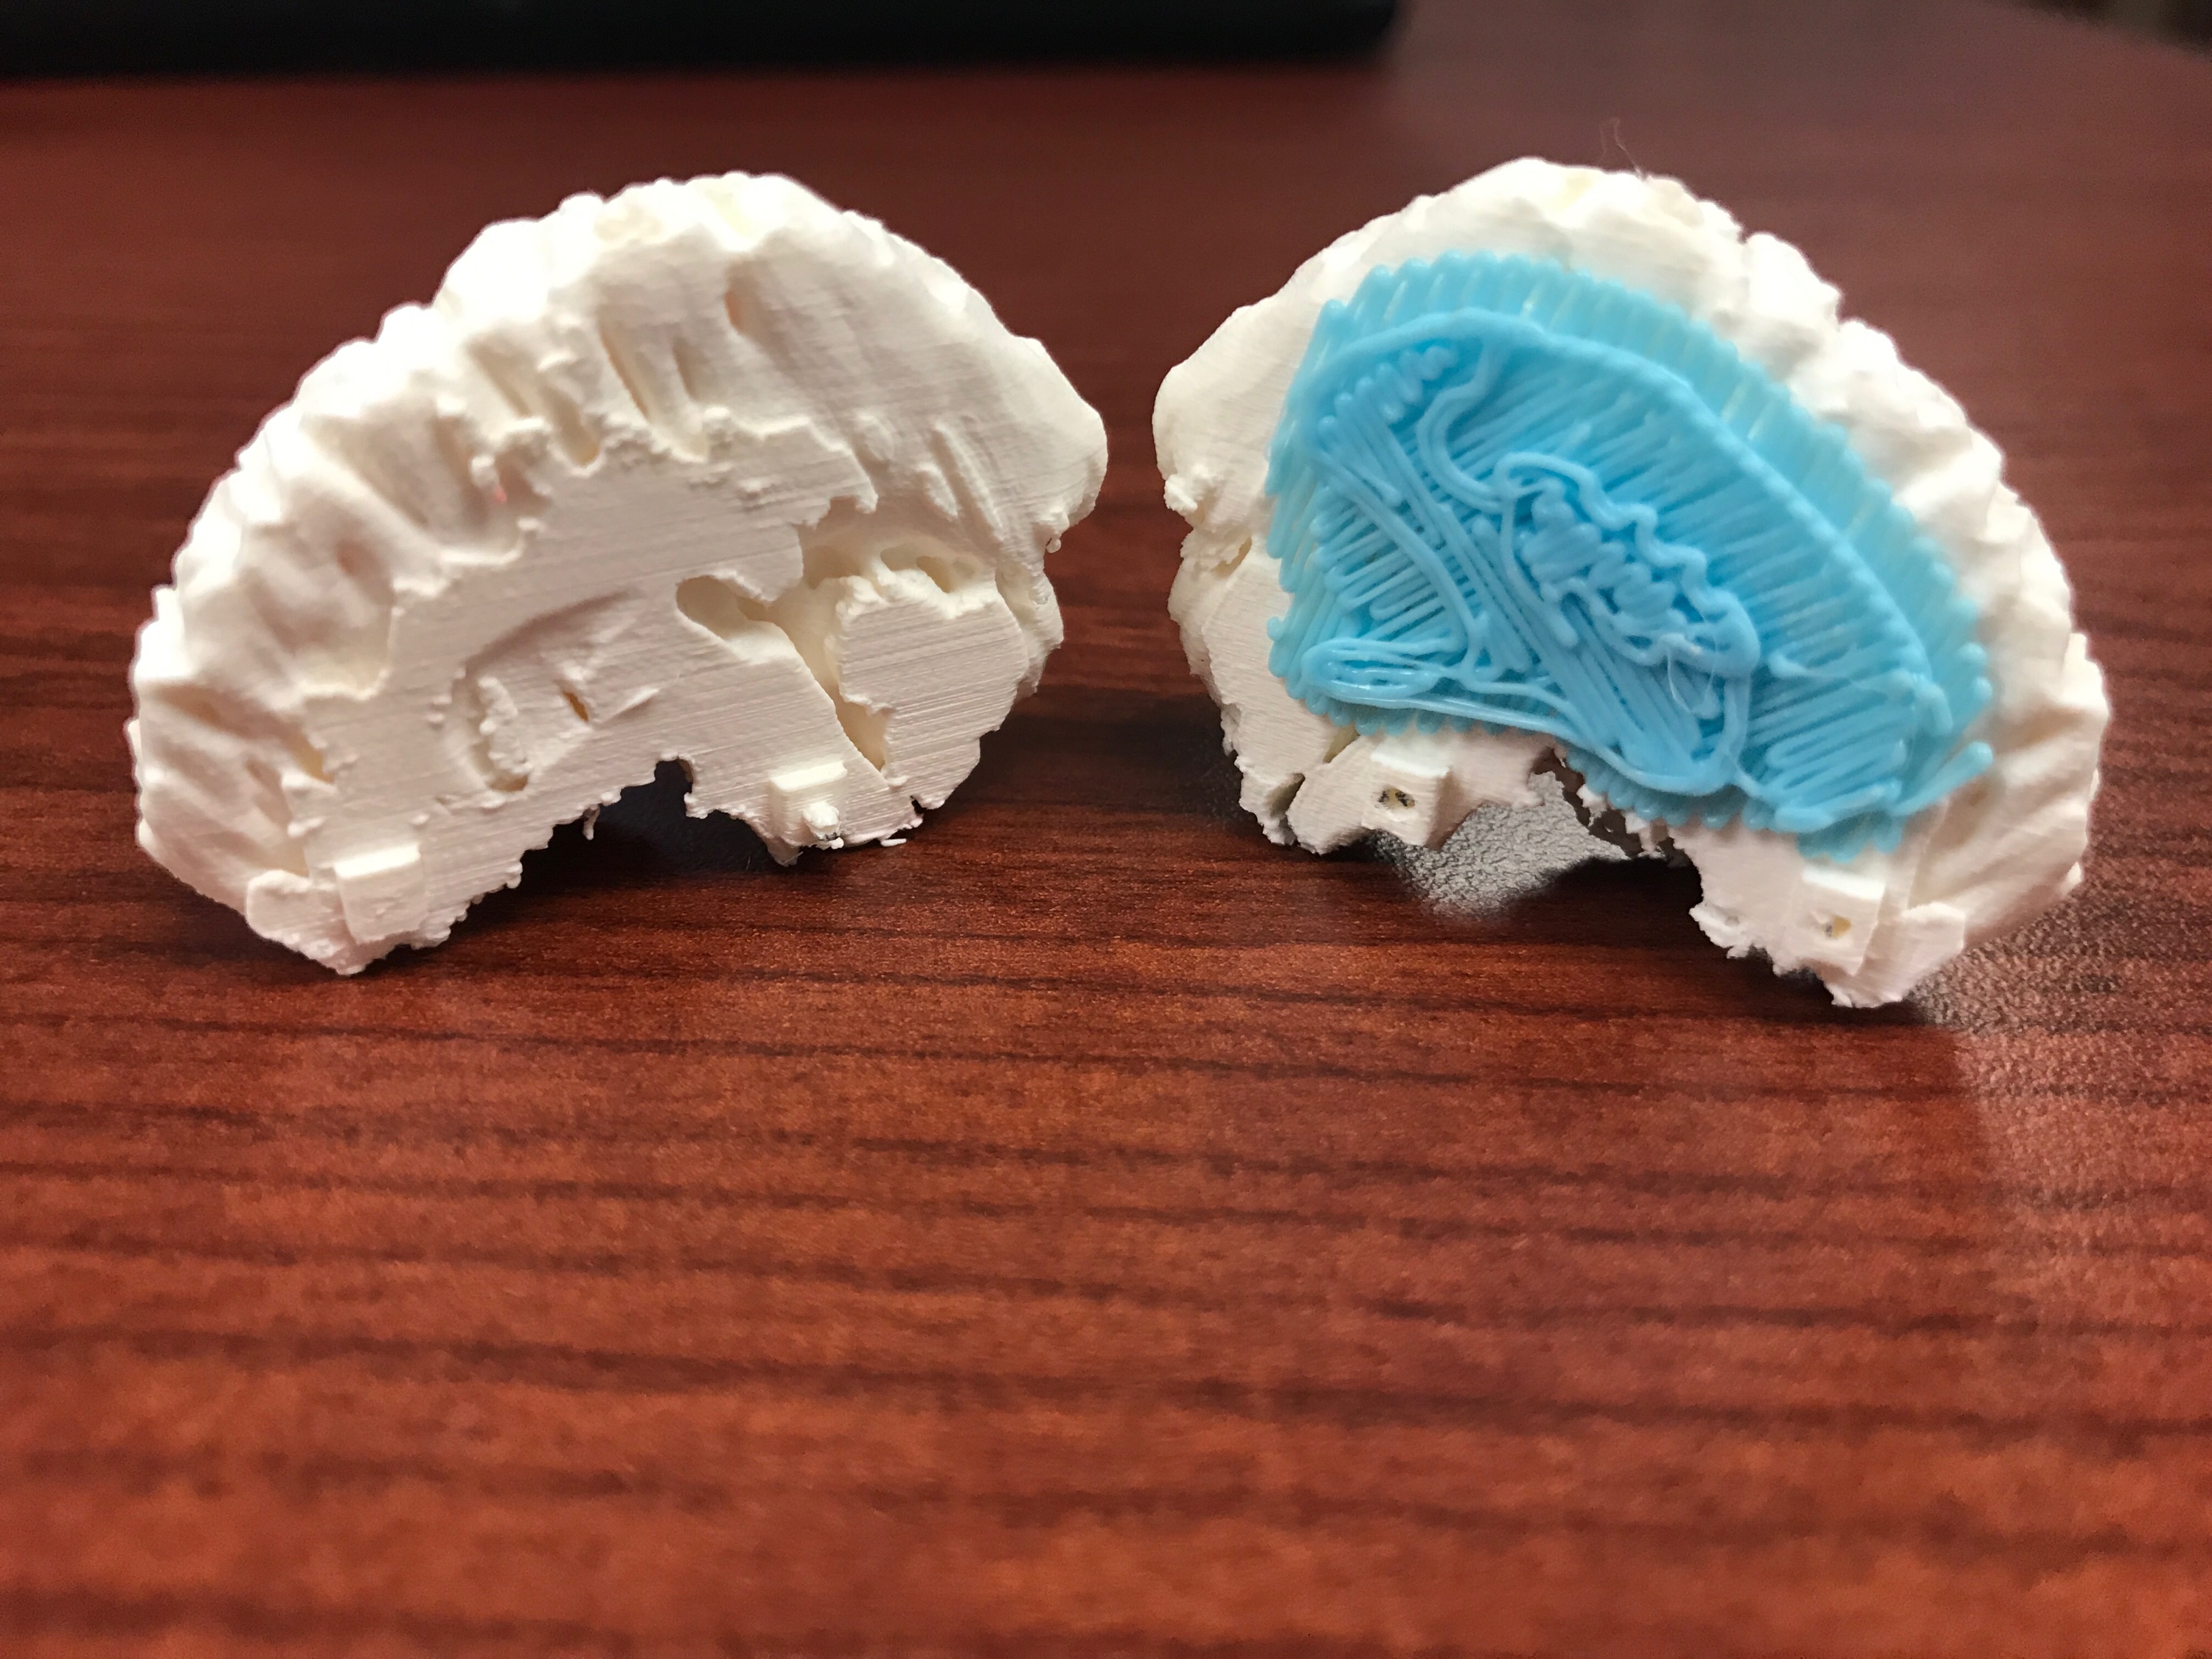
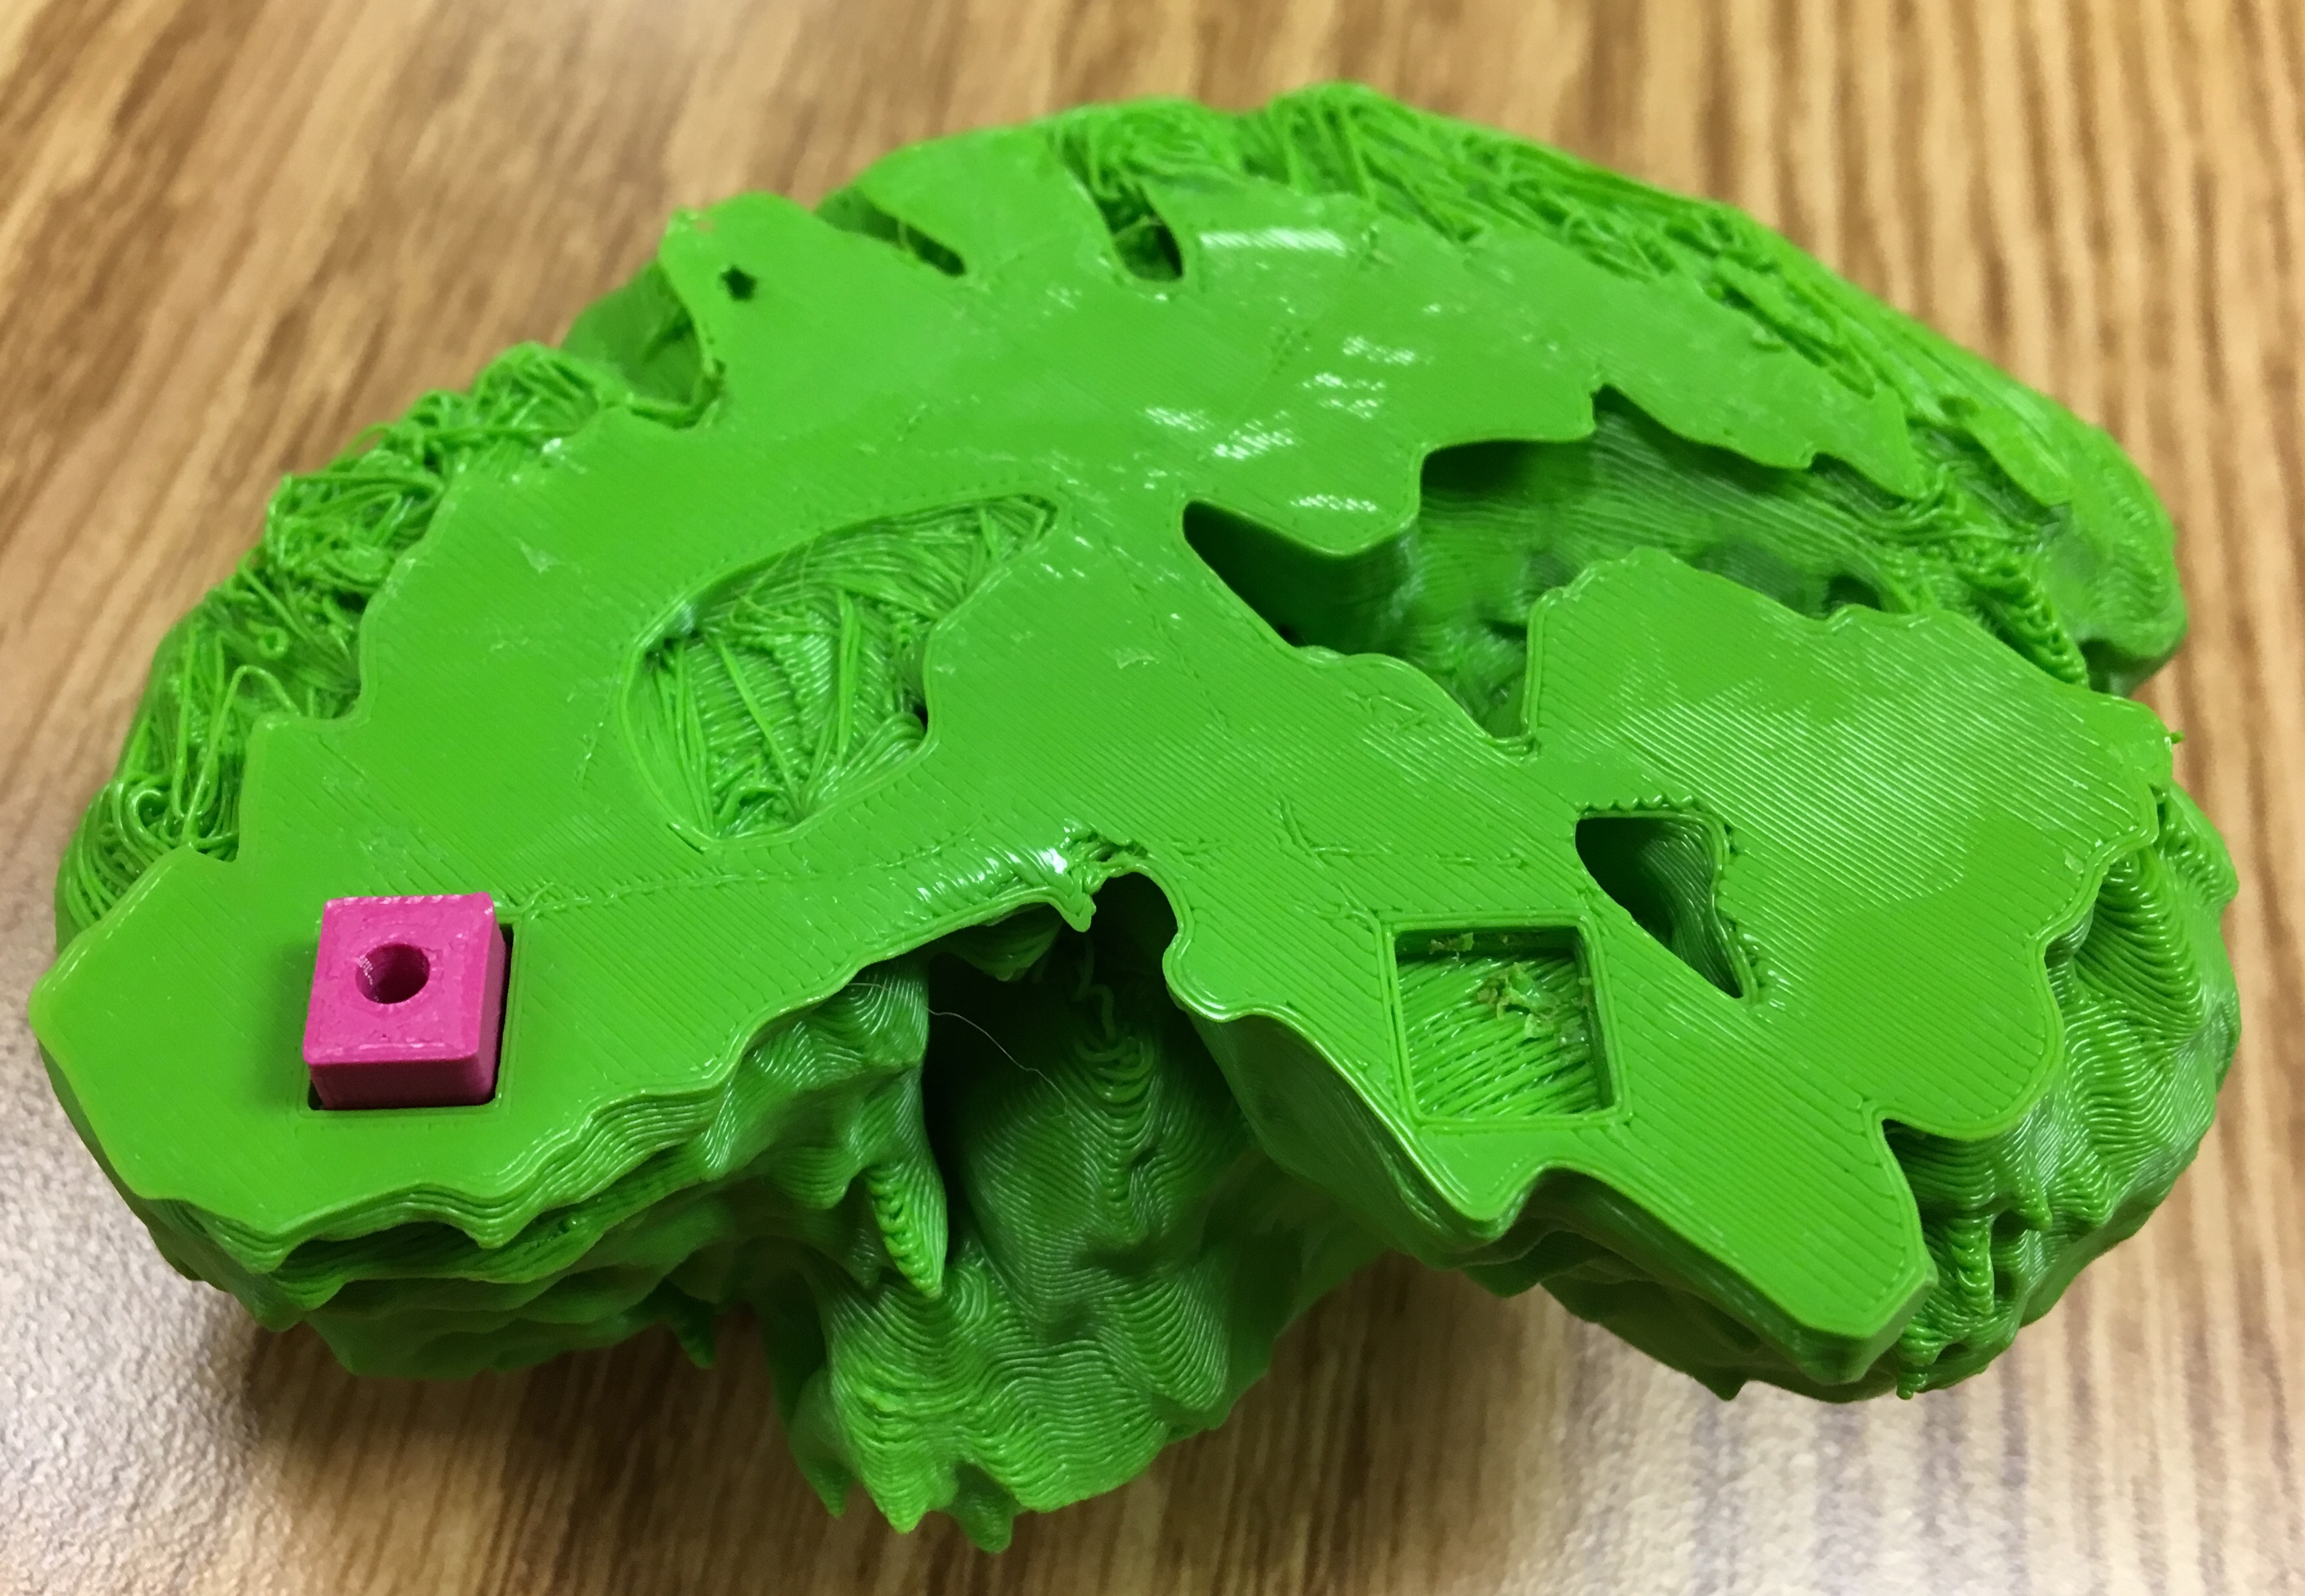
For our first draft print, we printed one hemisphere of the brain with the inside anatomy imbedded into it. We discovered that this did not work out as well as we had thought. The reason for this small failure is because the second design we have of the anatomy is too complicated to be imbedded into the brain hemisphere. Therefore, we decided that we would scale down the anatomy design to make it at flat as possible and print the hemisphere and the anatomy design separately.
Iterating the Design
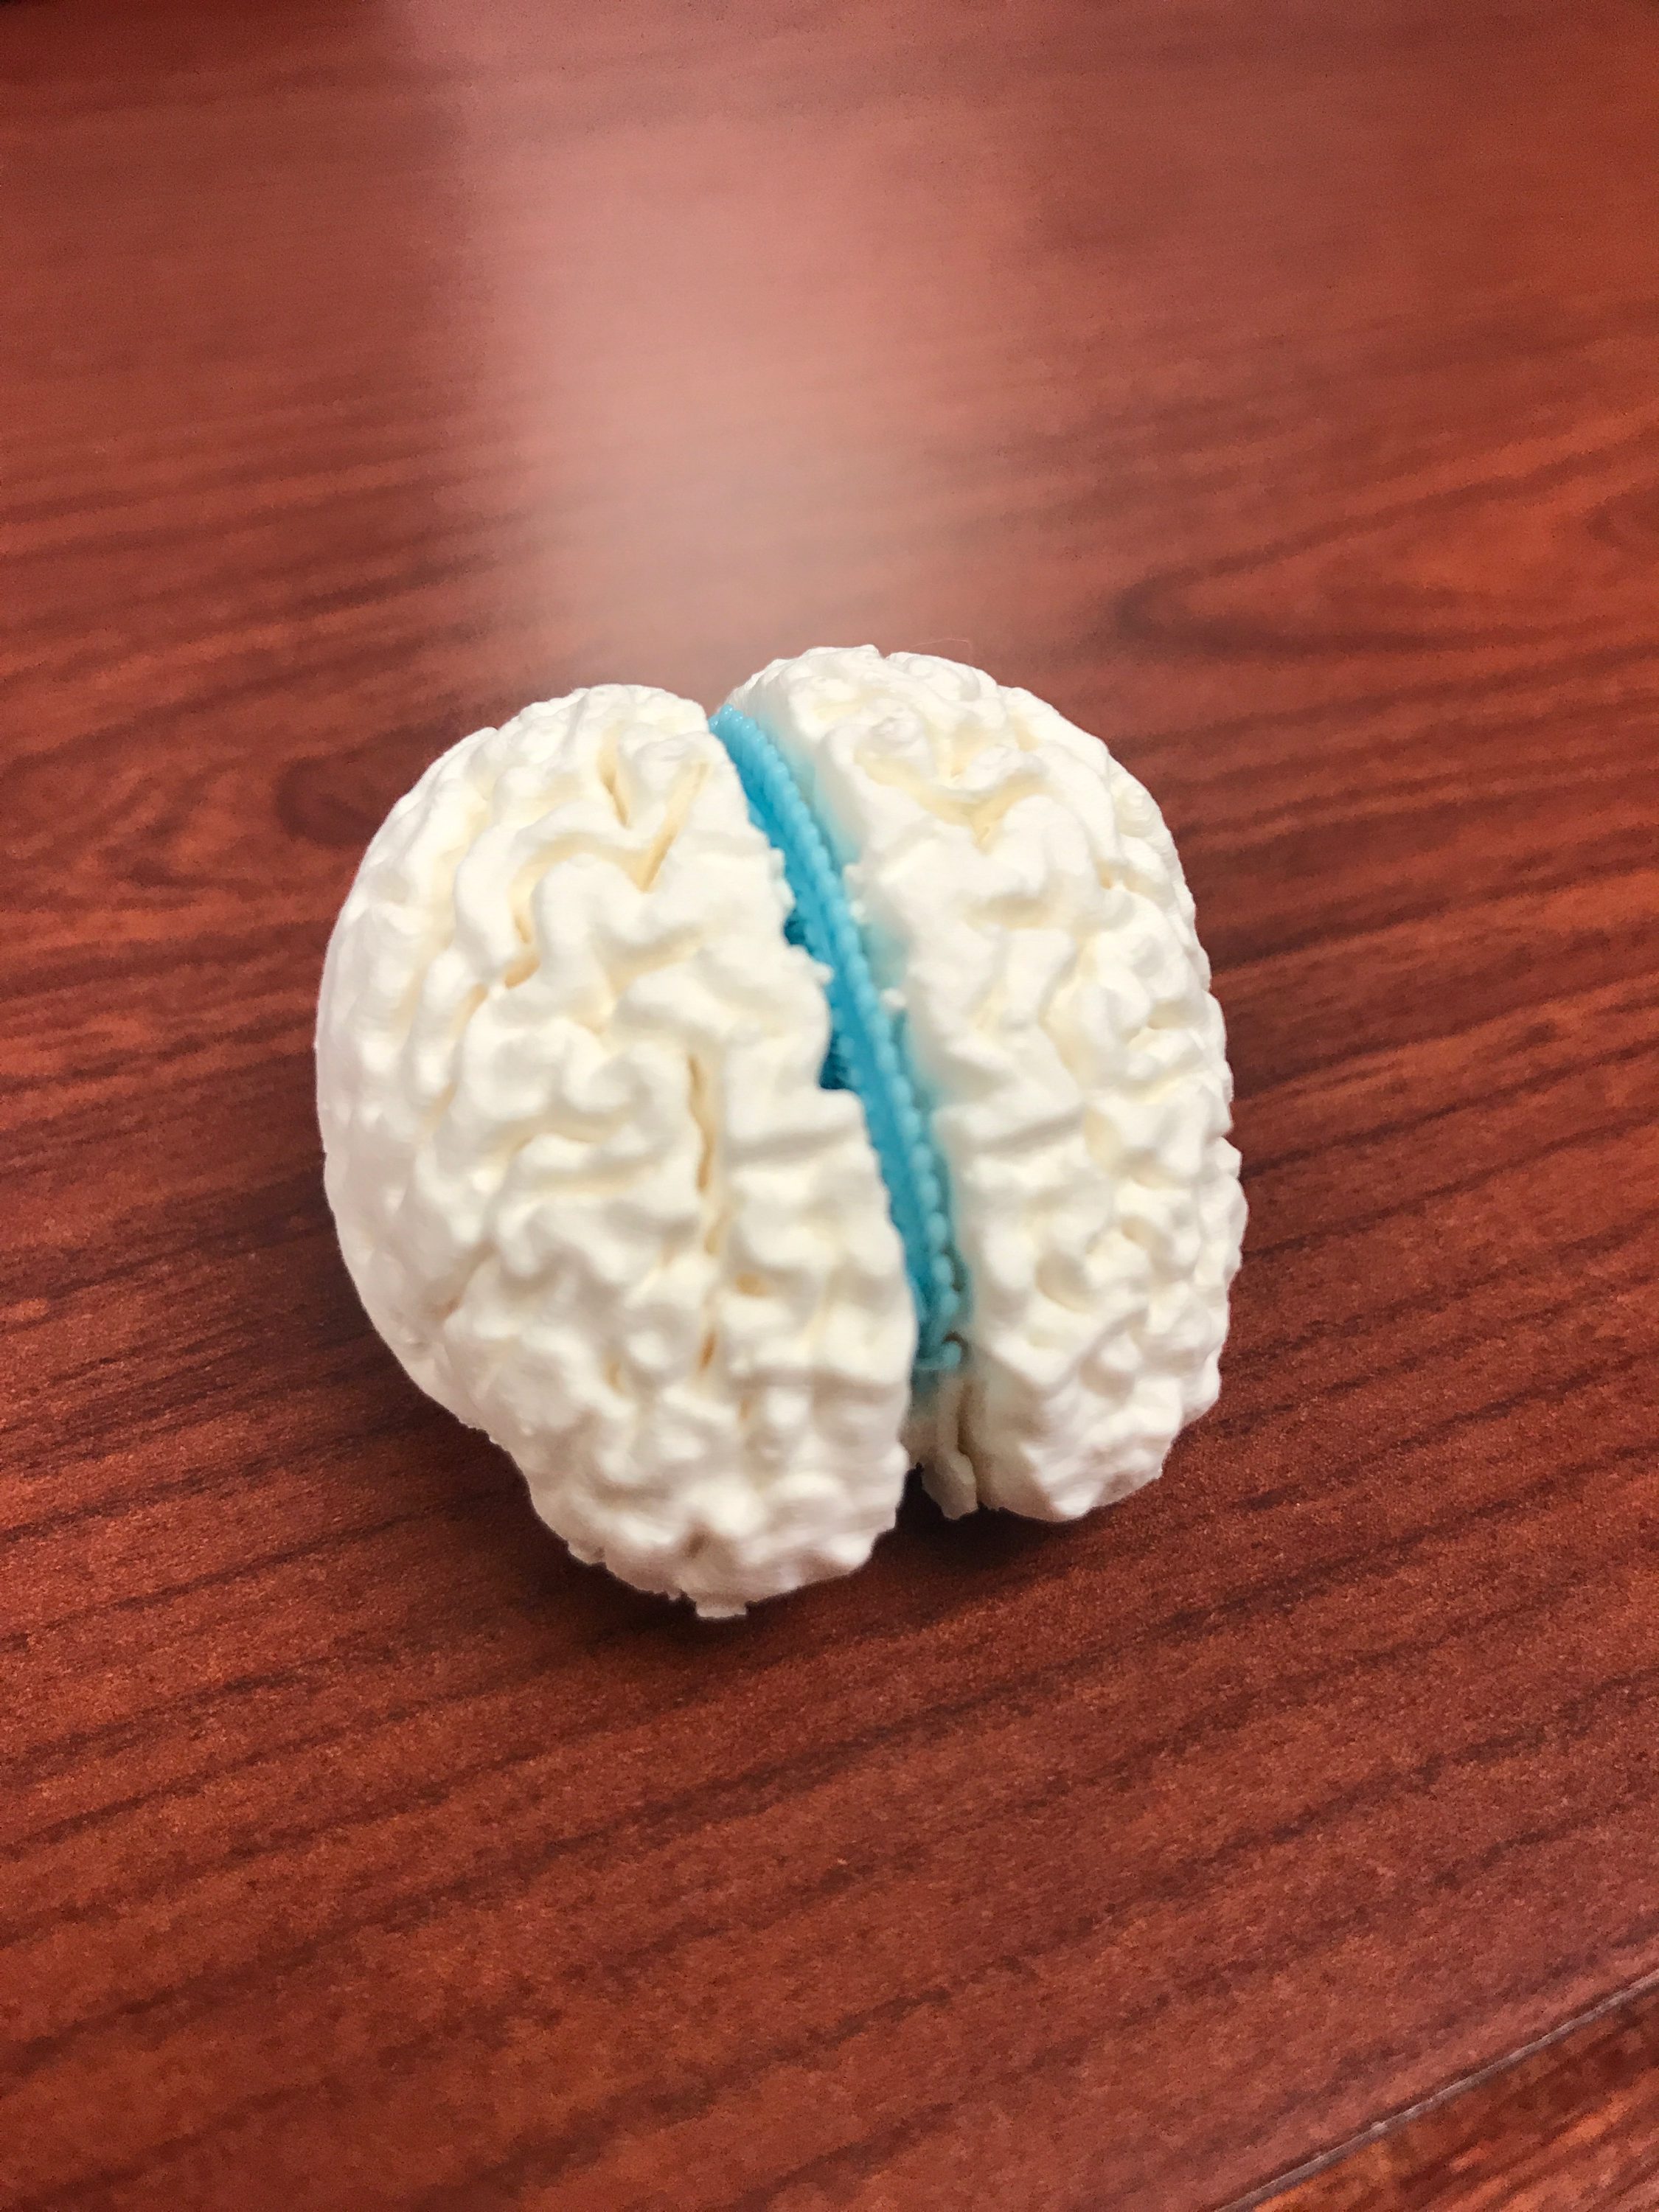
To improve upon our current design, we decided to print the two designs separately and glue them together to where you are able to distinguish the inside anatomy from the hemisphere. Later in this project, we intend to duplicate both designs and drag them through themselves to produce the other hemisphere. Furthermore, we intend to make these two hemispheres connect by adding some sort of connectors around the hemispheres.
Finished Design
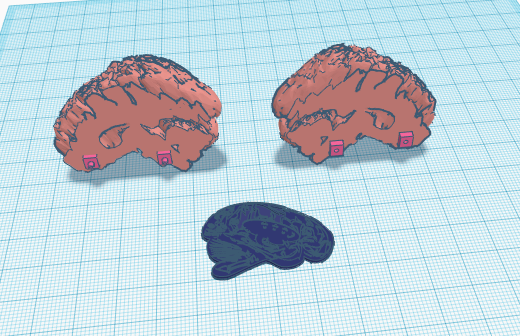
After printing a small test print of one hemisphere as well as the anatomy, Emily and I decided that it would be best to print the hemisphere and the anatomy separately for our final print. To get both hemispheres to attach with the anatomy in the middle, we decided that we would glue the anatomy to the hemisphere and clip and/or snap the two hemispheres together. From there, to make the design work as best as possible in the allotted time, we decided to grab yet another design from tinkercad.
We searched for several different clip designs to see which would work best with our existing design. As you are able to see below, one hemisphere has the female end and the other has the reciprocating male end to be able to snap together. The way in which we designed the clips to fit into the existing hemispheres was somewhat challenging. In order for the clip design to fit into the hemisphere, we first had to make a hole in the hemisphere with the clip so that the hemisphere would not print over the clip. After making the holes, we grouped the clips and the hemisphere together to be able to drag the design through itself with a duplicate for the opposite hemisphere. From there, Emily and I ungrouped the duplicate and deleted the clip end so we could fit the opposing clip end into the hole. The reason we did it this way is so that both clip ends would line up exactly when we printed both hemispheres separately.