First draft print:
Since I started a class late my first test print was pretty simple. For my design I wanted to be able to connect two pieces so I was testing to see how difficult it would be to make one piece fit inside of another.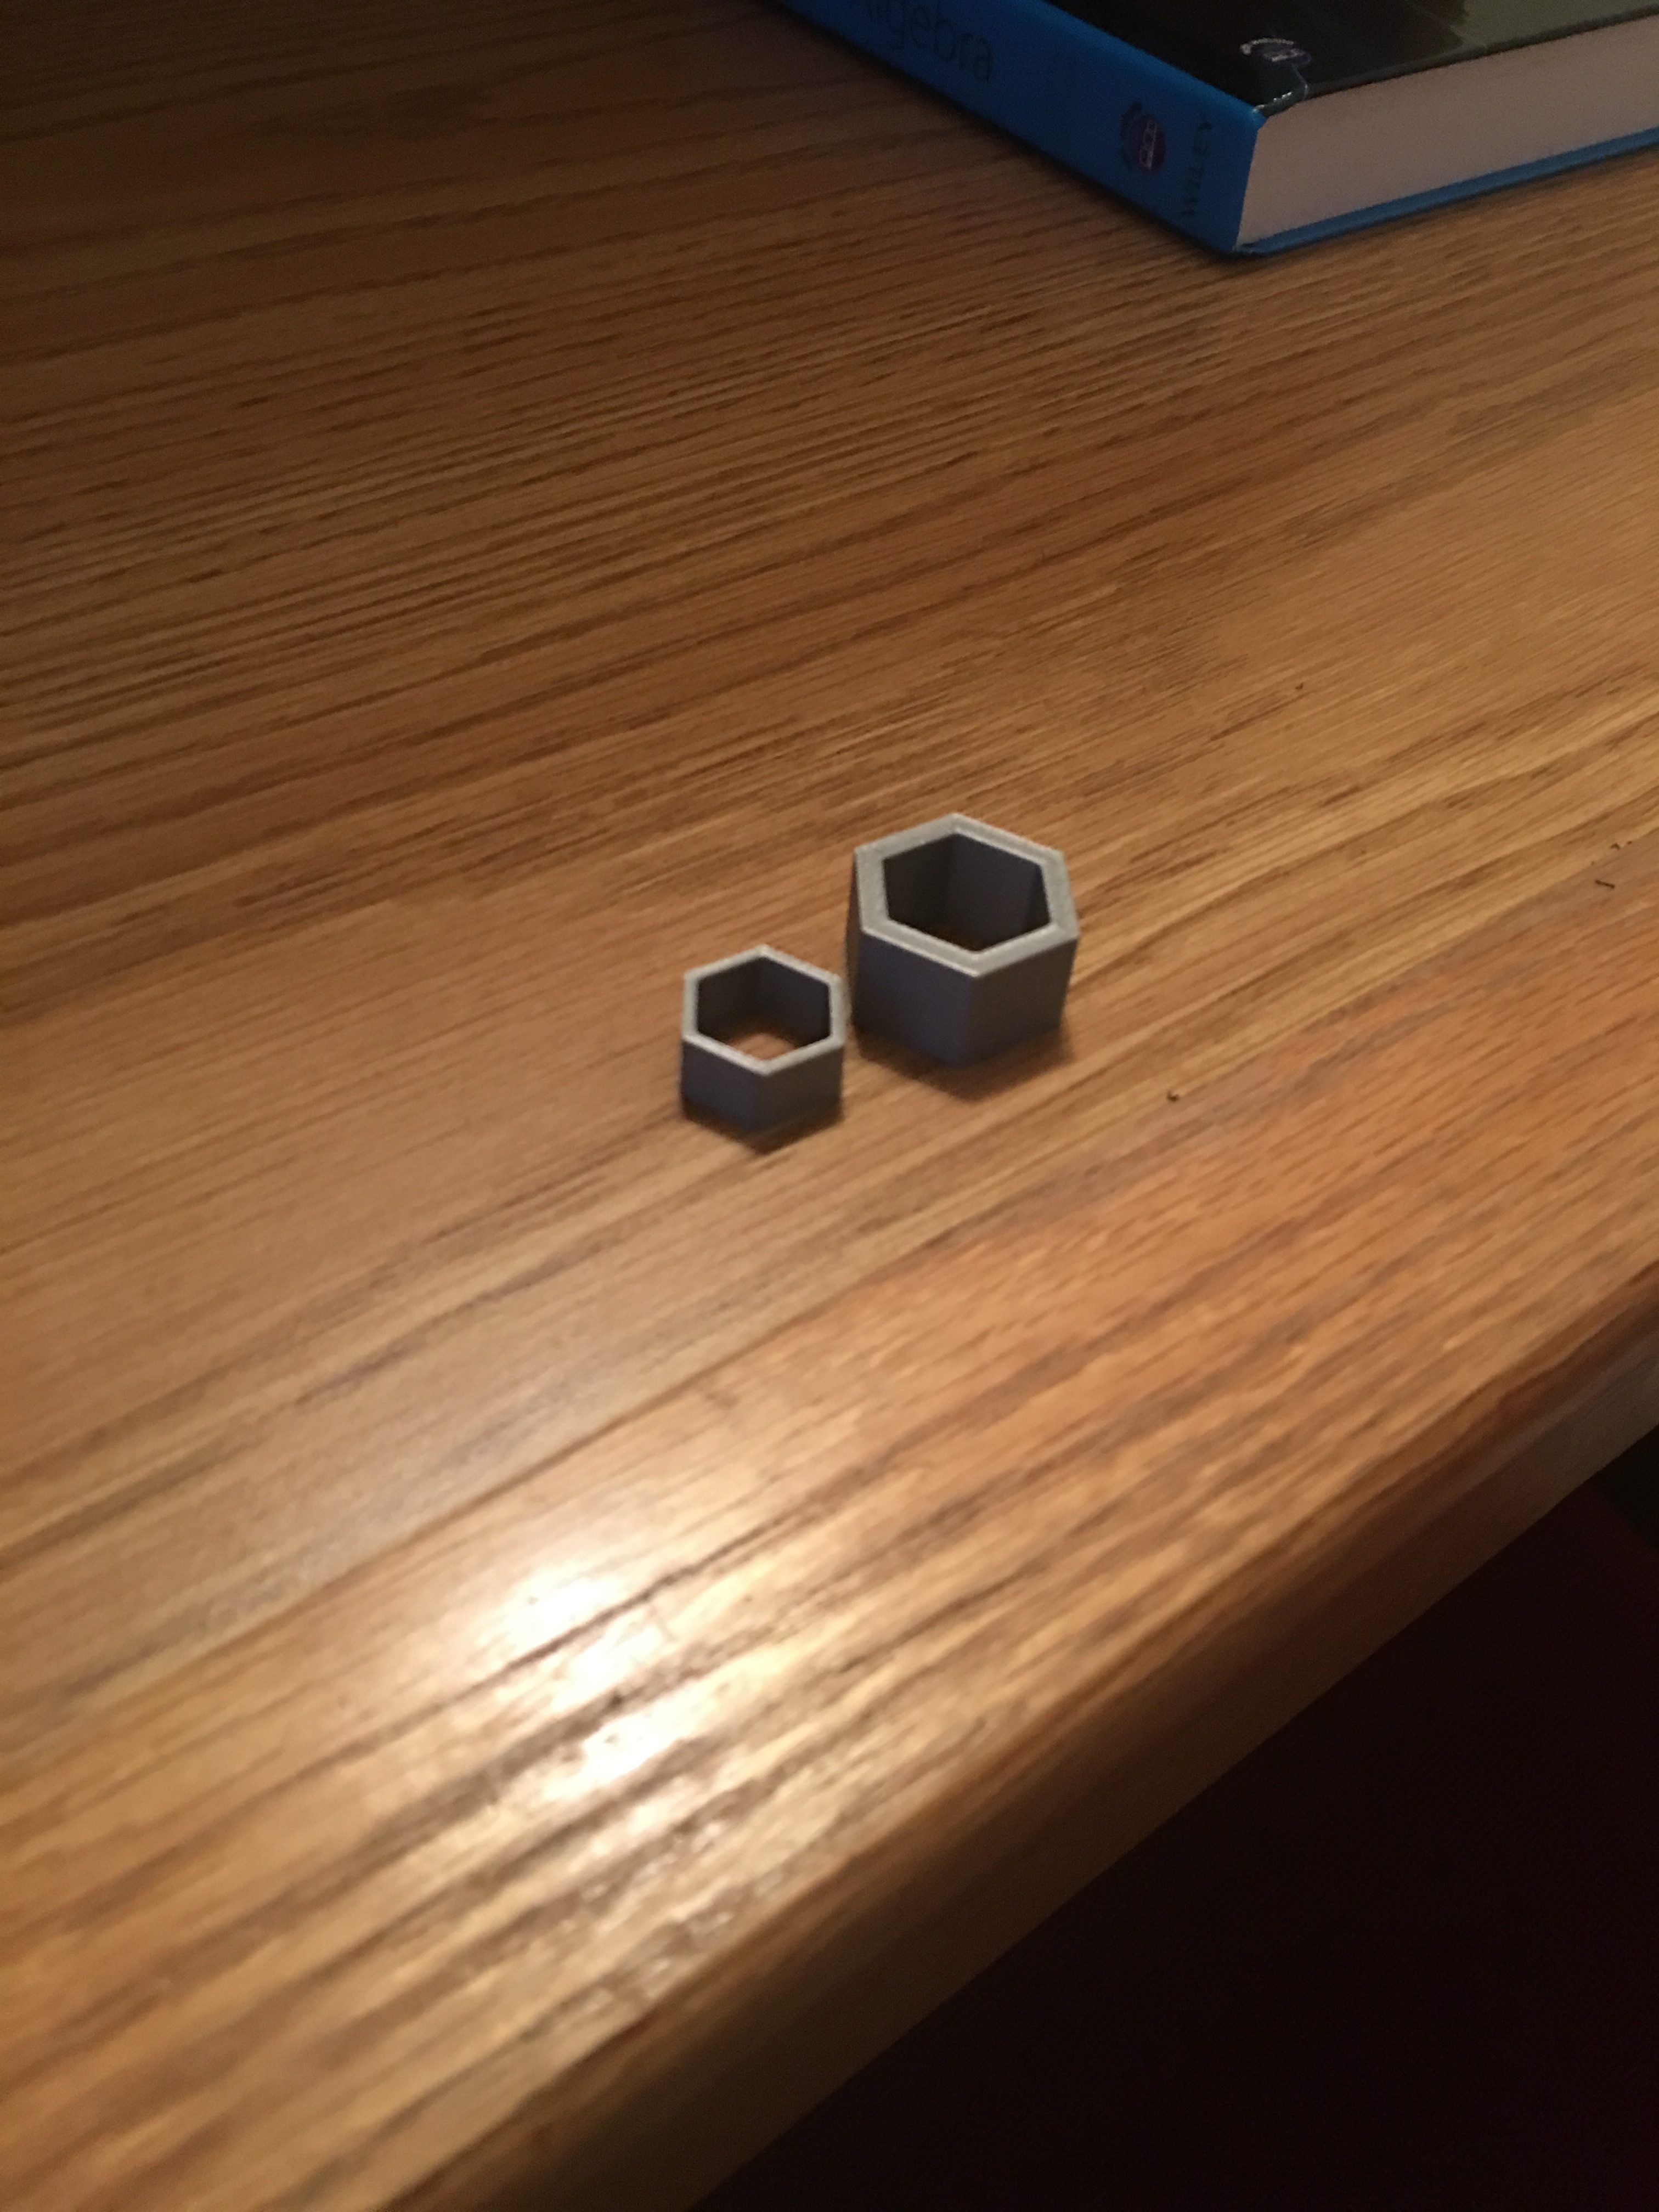
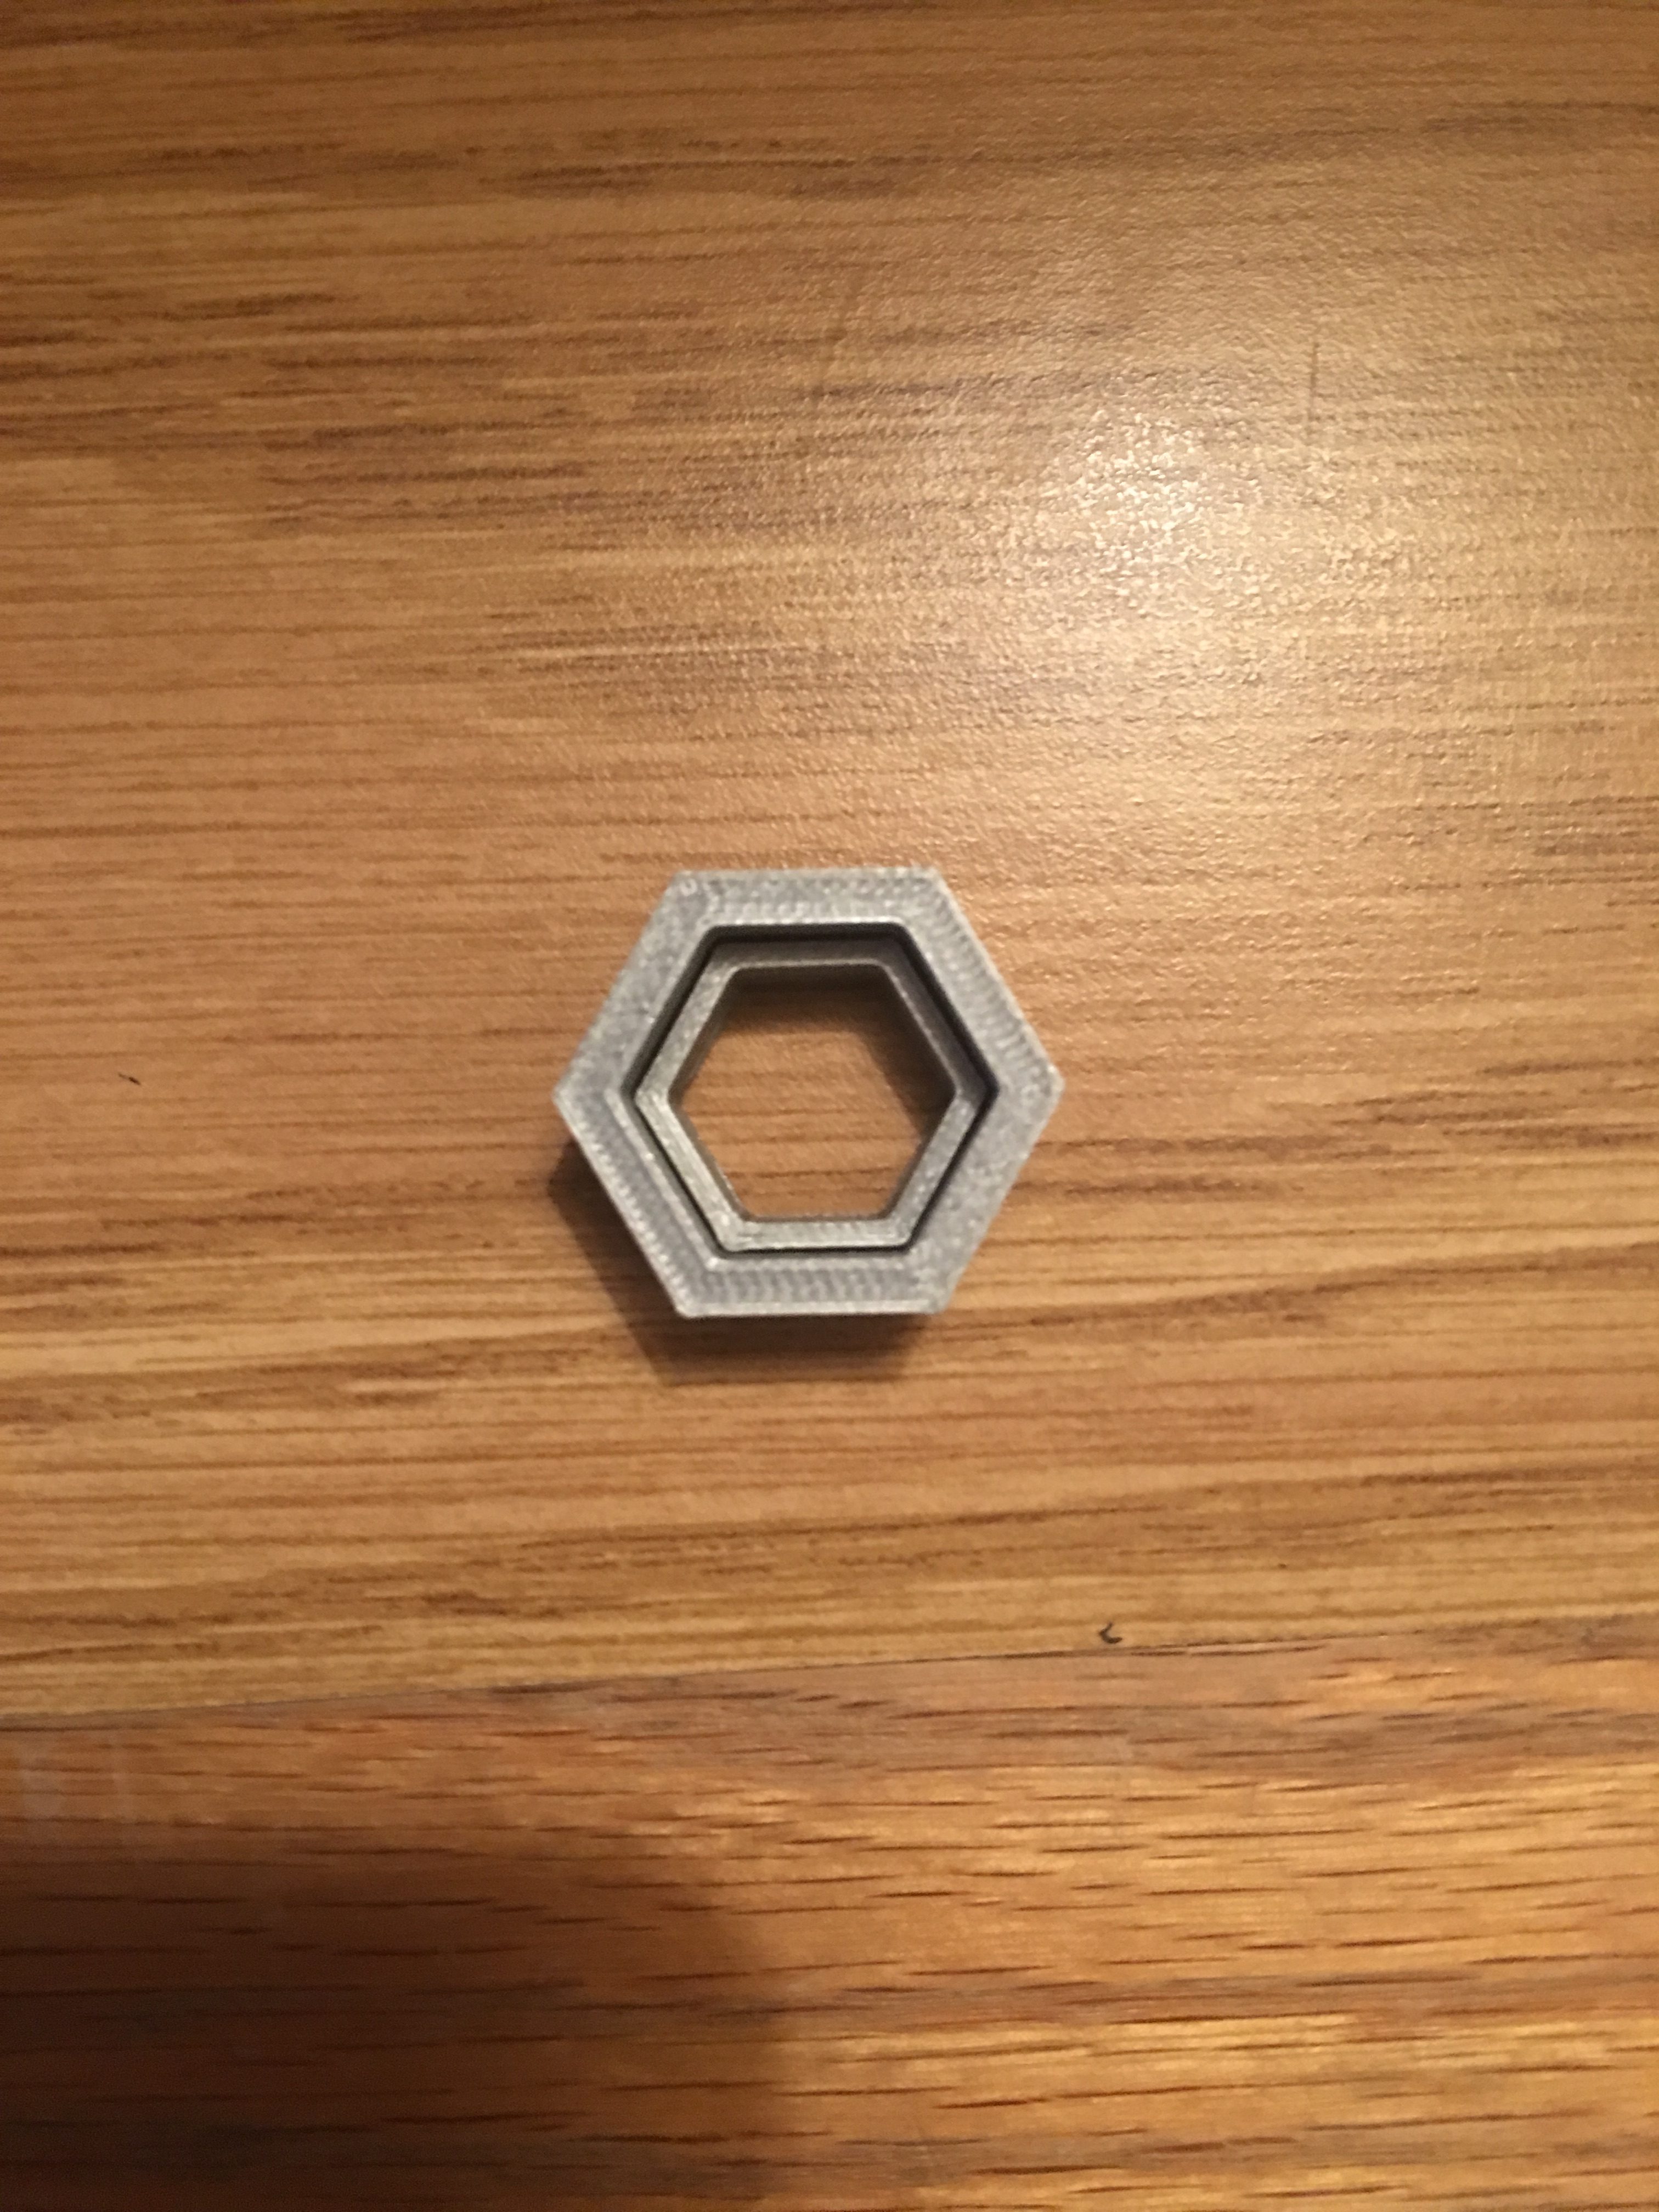
As it turns out, this wasn’t as difficult as I anticipated it is just dealing with a lot of rotating over the viewer to see what the distances from the walls are for the two pieces. It actually turned out to fit pretty snugly.
Iterating the design:
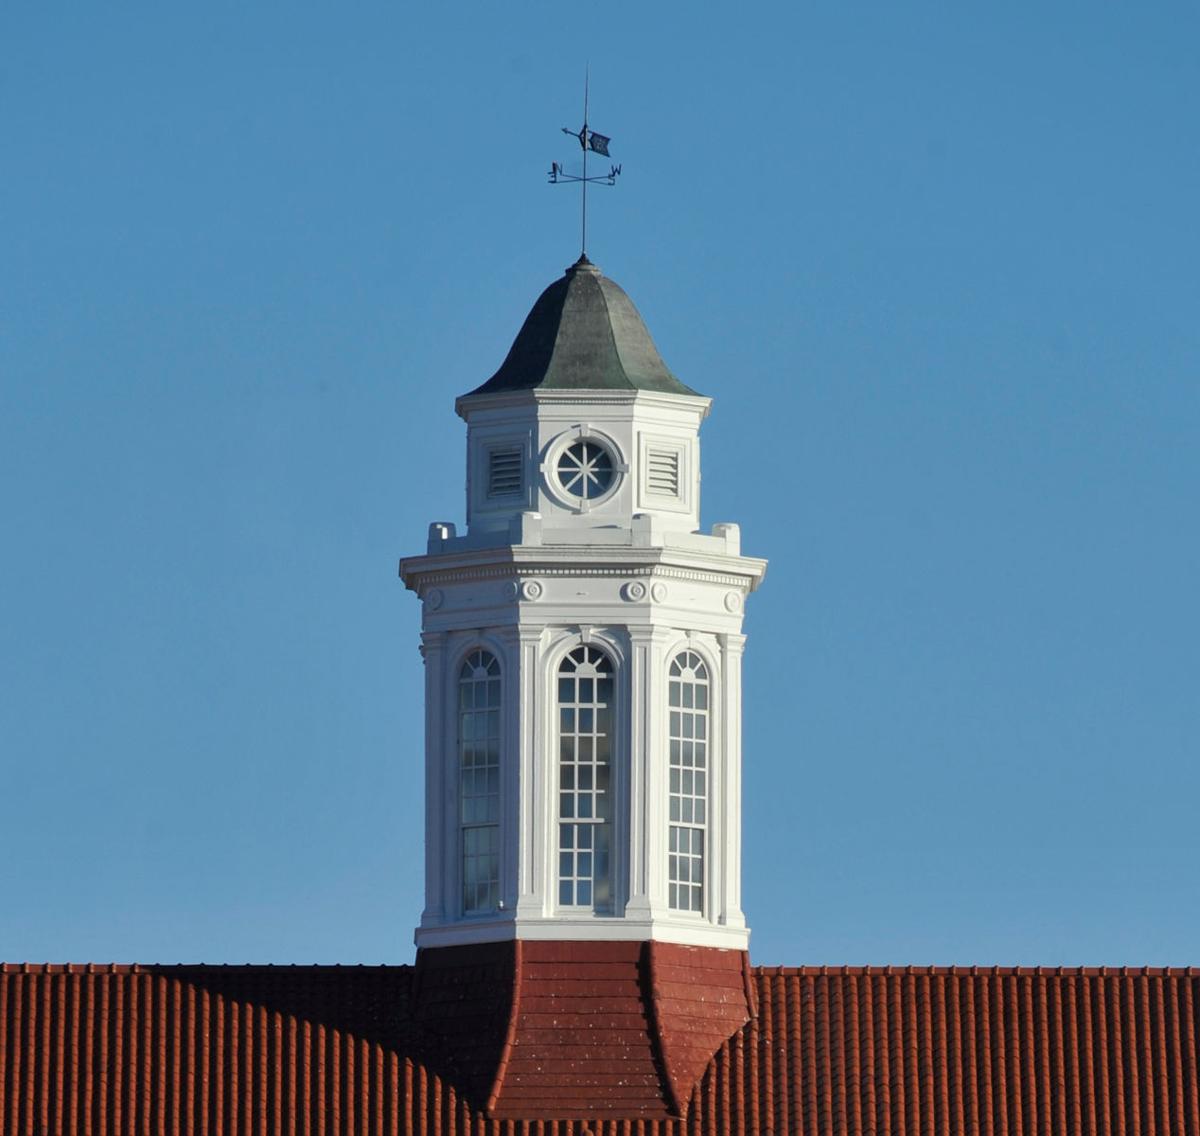
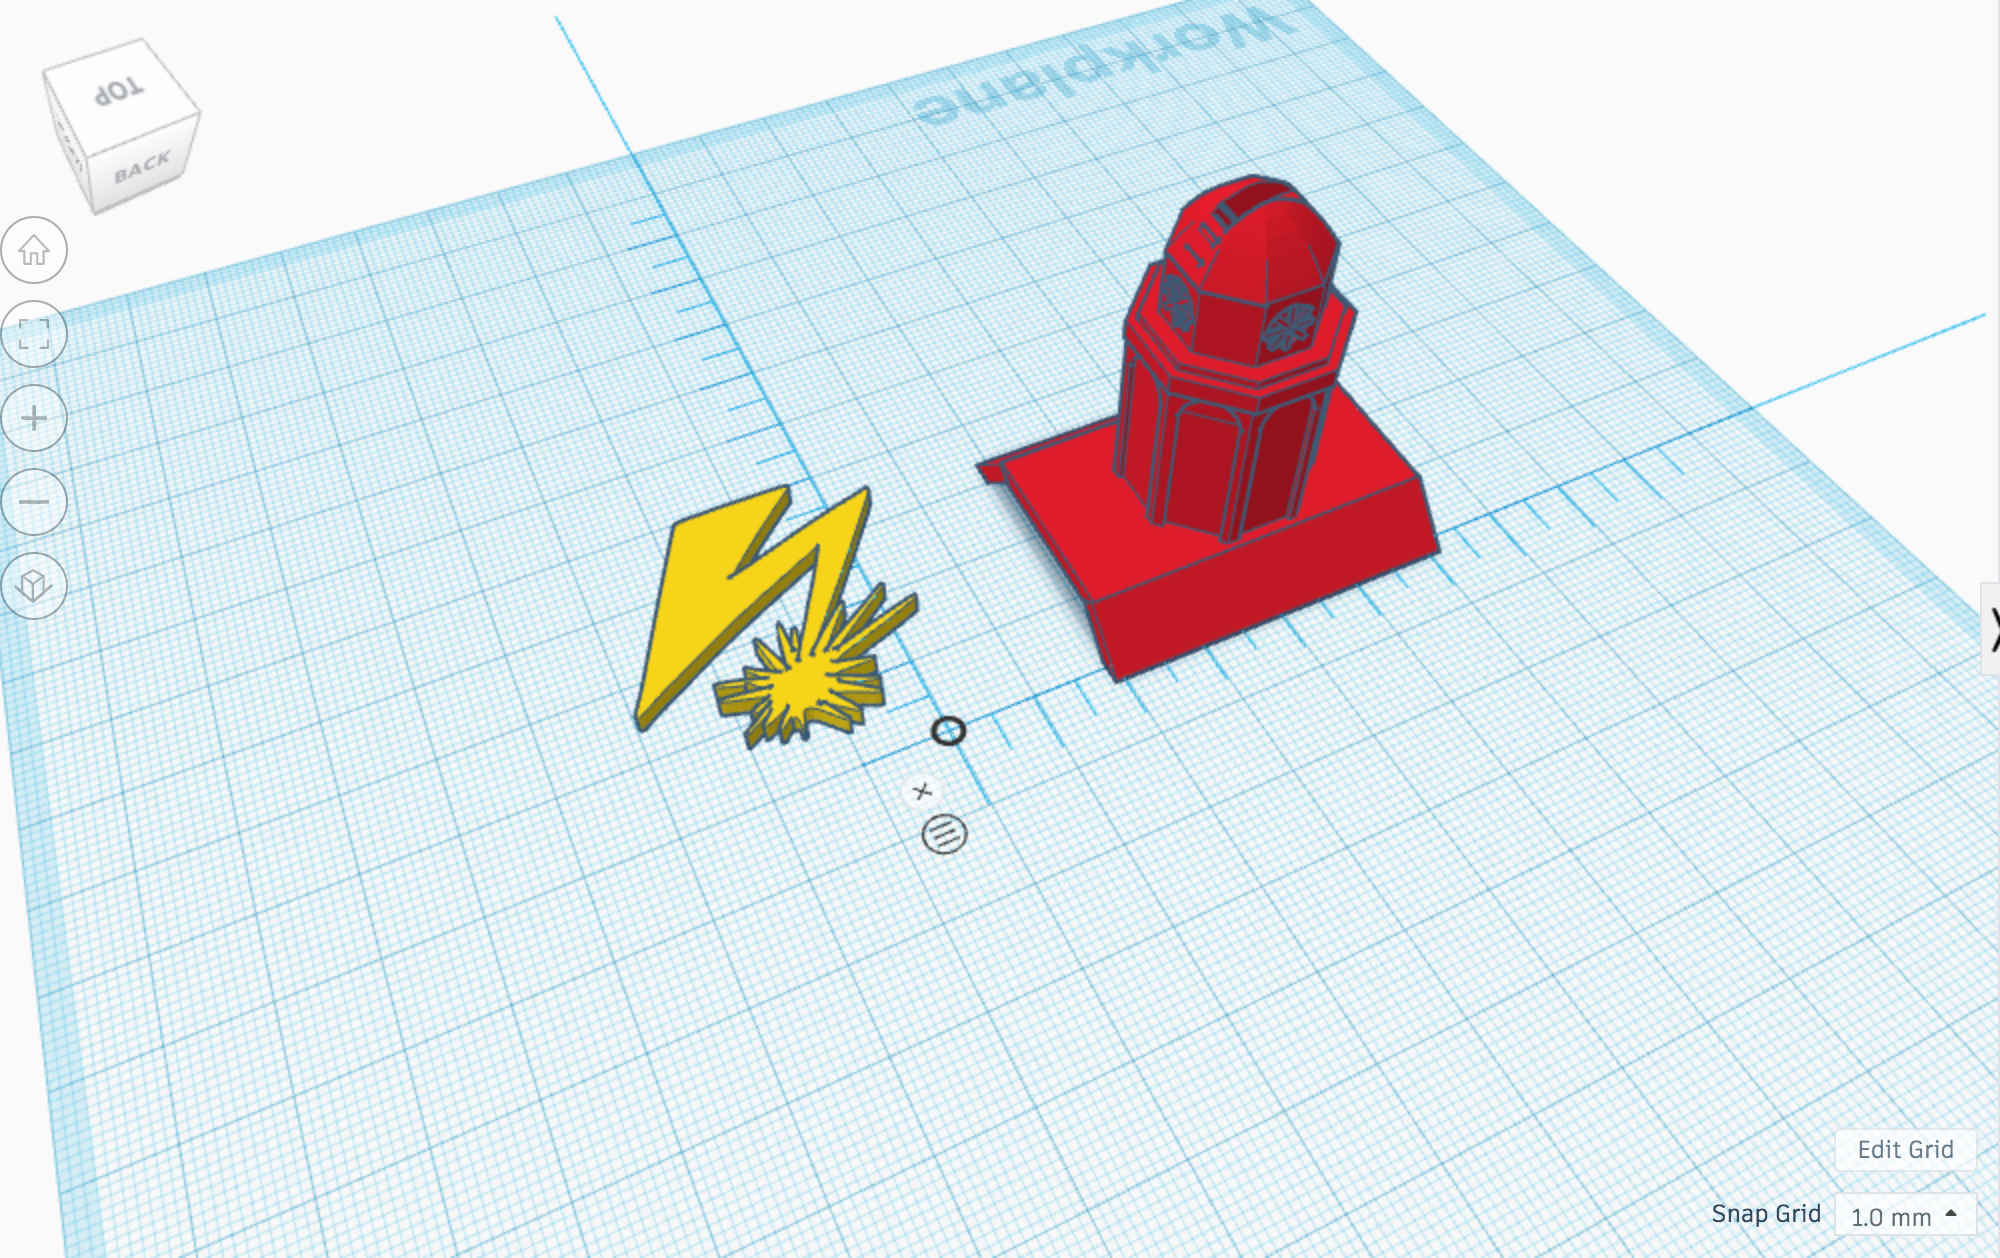
For my design, I am attempting to create the WXJM logo since I am a part of radio and a 3-d version of our logo has not been done before (to my knowledge).

It has proved to be an interesting task since the angles on the lightning bolt are curved so dramatically while the lines and architecture of wilson hall are so defined and straight. I am planning on finding a way to connect the two so that they will be able to print as two separate pieces and the lightning bolt can be yellow while the tower remains white. I am anticipating on having many small pieces that will be grouped together for the bell tower since it is very fine and detailed by its design. Hopefully this won’t become too tedious!
10/3/17
I have changed direction a little bit in terms of the level of detail I would like to include in this impression of the WXJM radio logo. I had tinkered (no pun intended) around with all of the detail of the bell tower of Wilson Hall.
Initially i was afraid my design would not be distinguishable unless explained by me to them but upon realizing how ridiculous it is to expect so much detail out of a model that will be so very small. Eventually i would like to incorporate these aspects but I would like to work out the kinks from my earliest print.
I also had found out that creating the lightning bolt was way easier than I had initially believed. I took an example of a stencil of the bolt online (see below).

I also would like to be able to create the lightning bolt so that it is detachable from the bell tower print, because i would like to be able to make the two different colors. I did this by taking the lighting bolt and making it into a hole to put into the top of the tower and grouping the items. Then I ungrouped them, made a copy of the hole bolt, regrouped them, solidified the copy of the bolt and made the copy slightly smaller so that hopefully it will fit. I also took the copy of the bolt and put it onto the bell tower’s slot on tinkercad and it seemed like it will be able to fit.
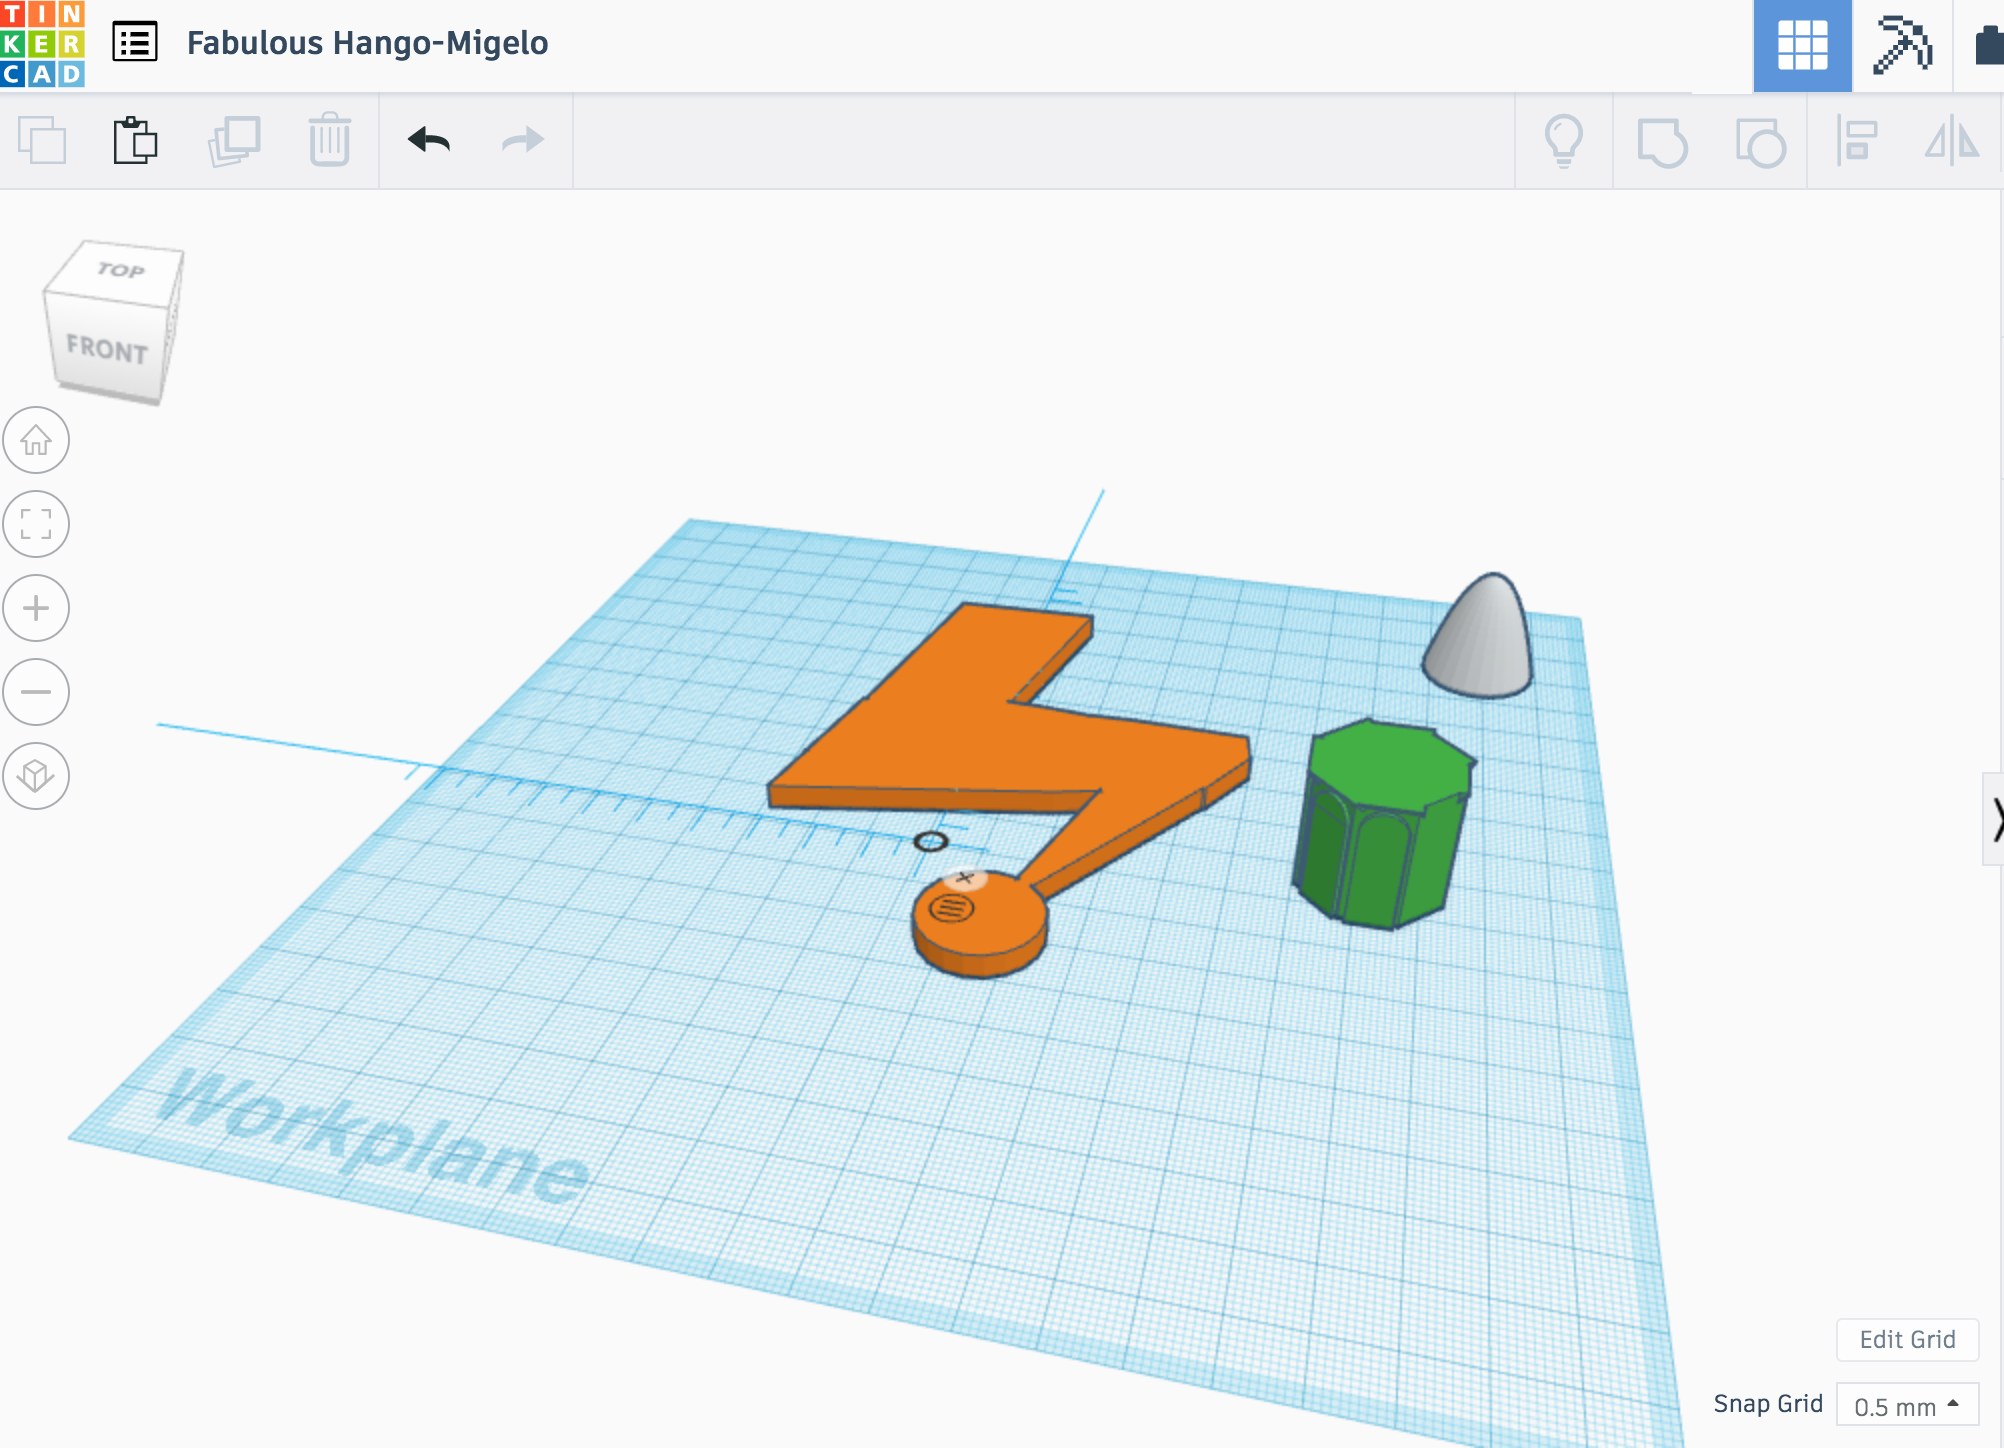
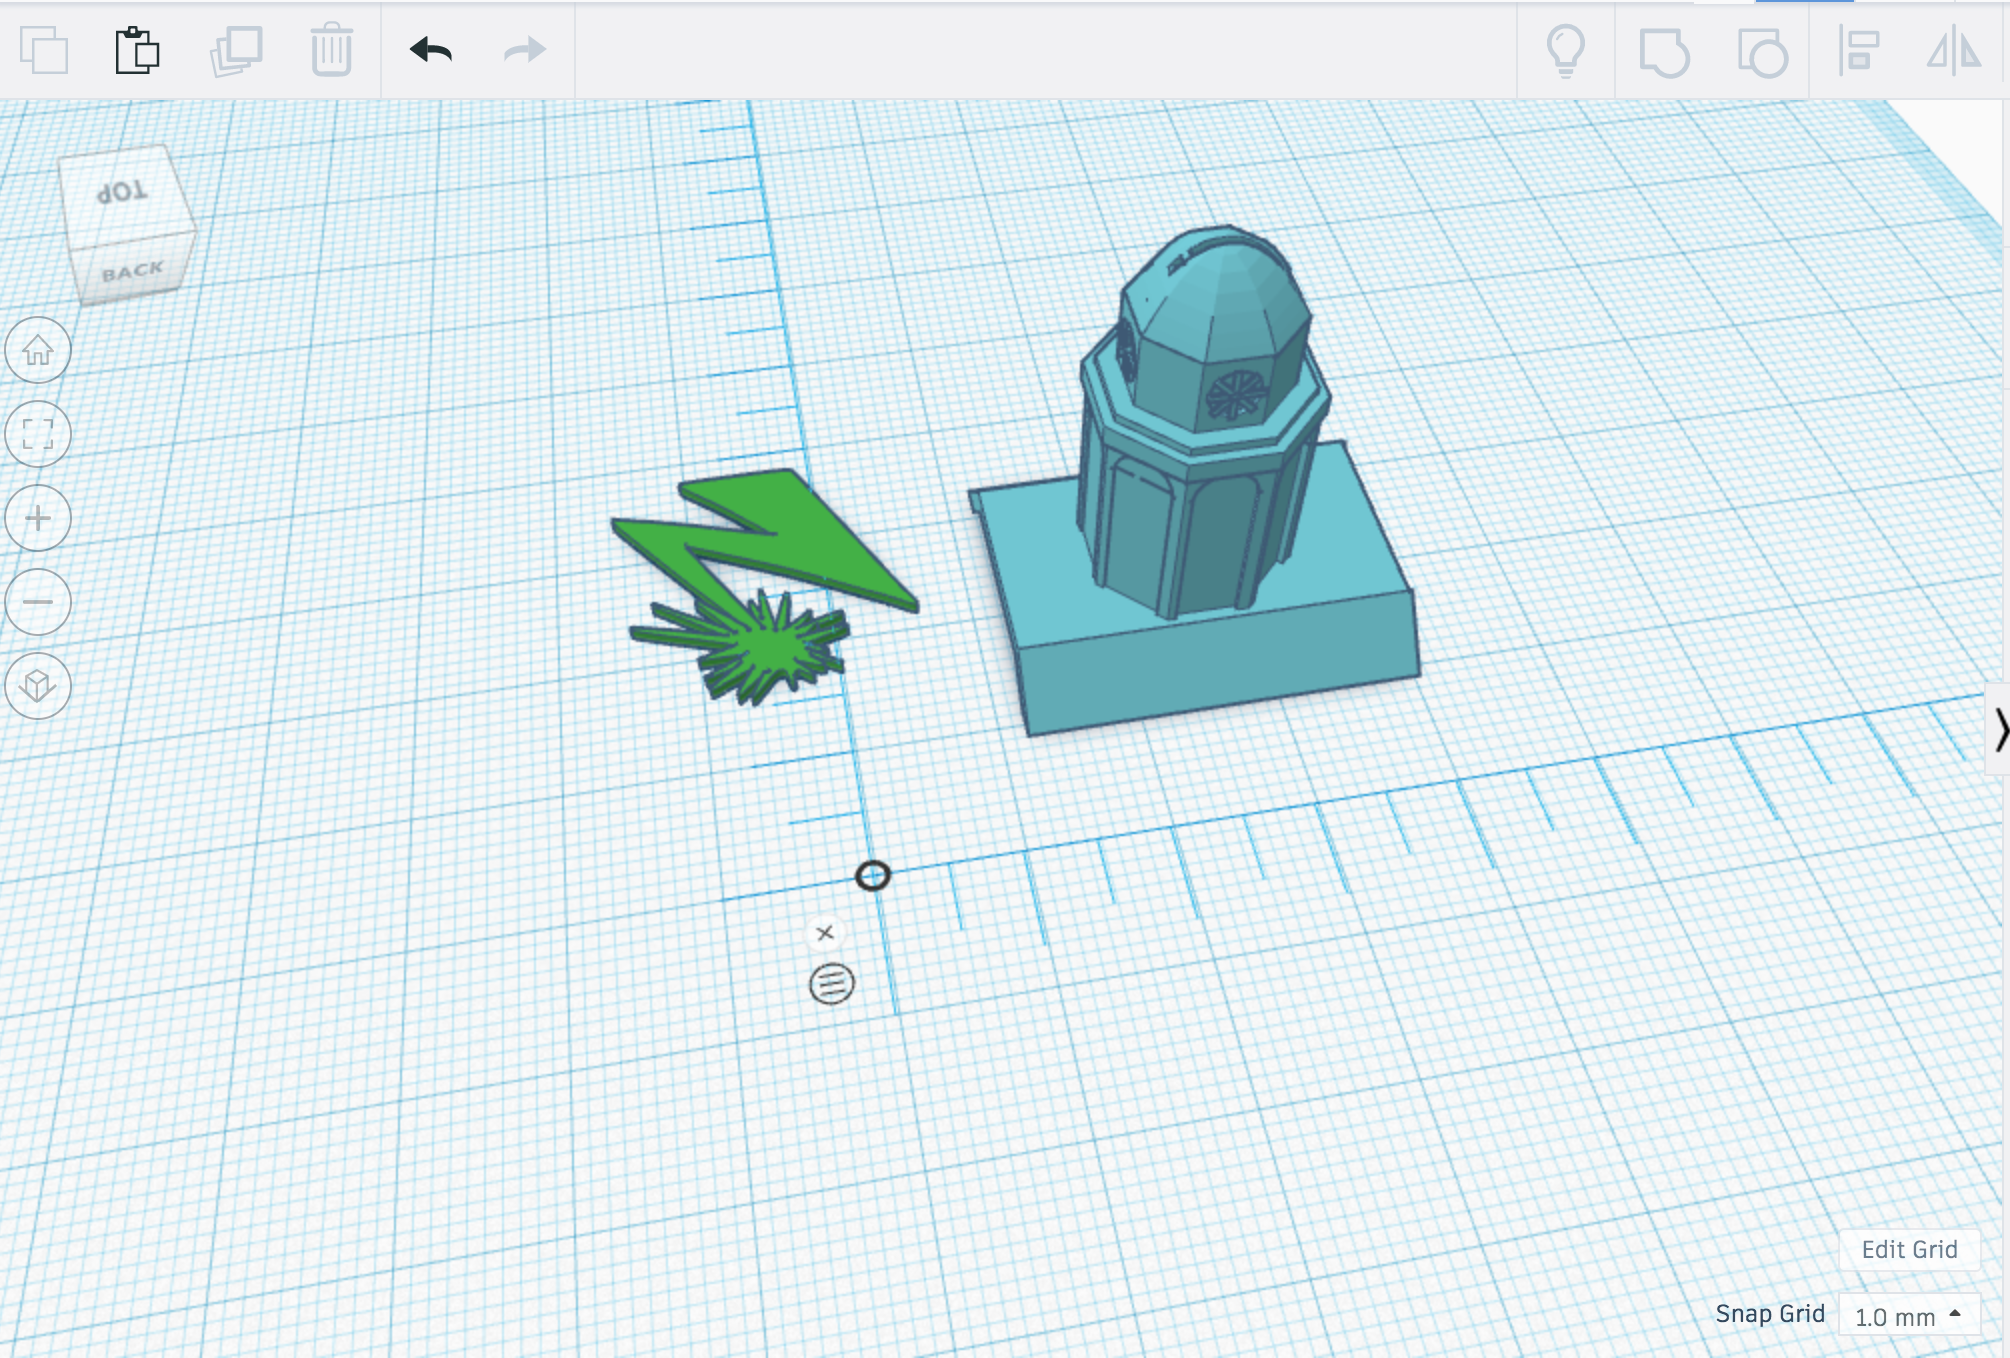
Heres a photo of my final design.

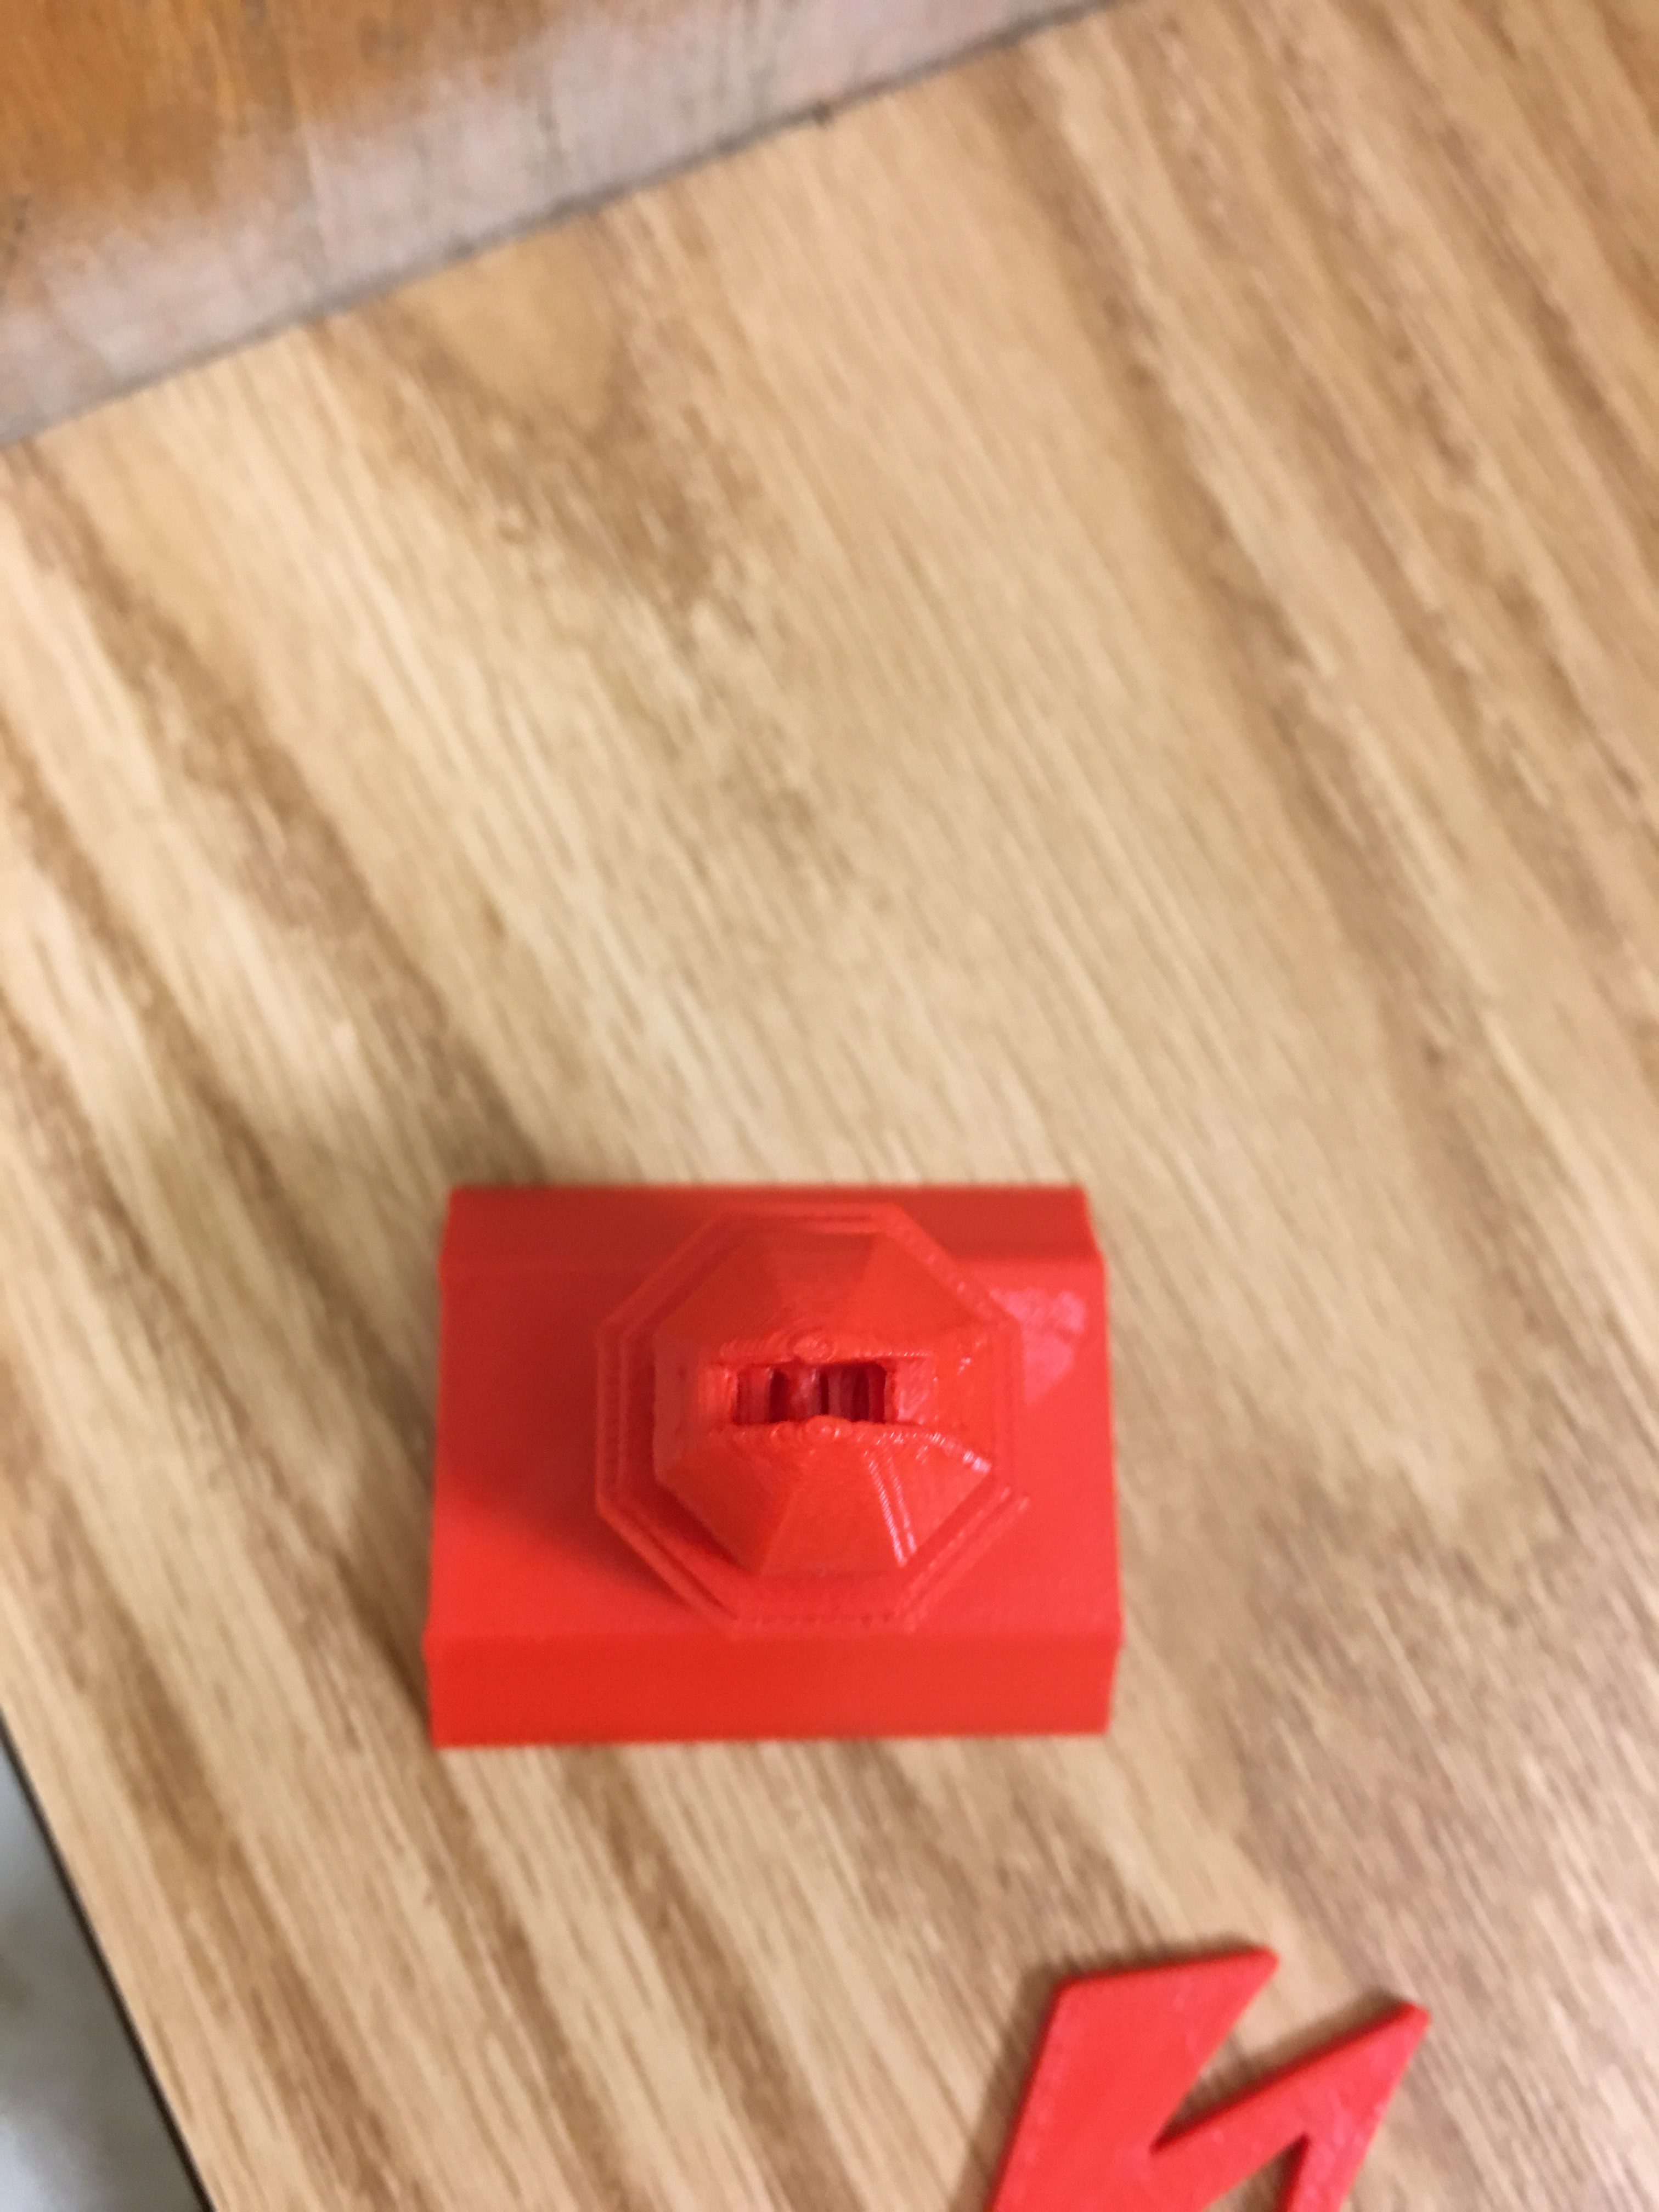
Here is the design’s test print.


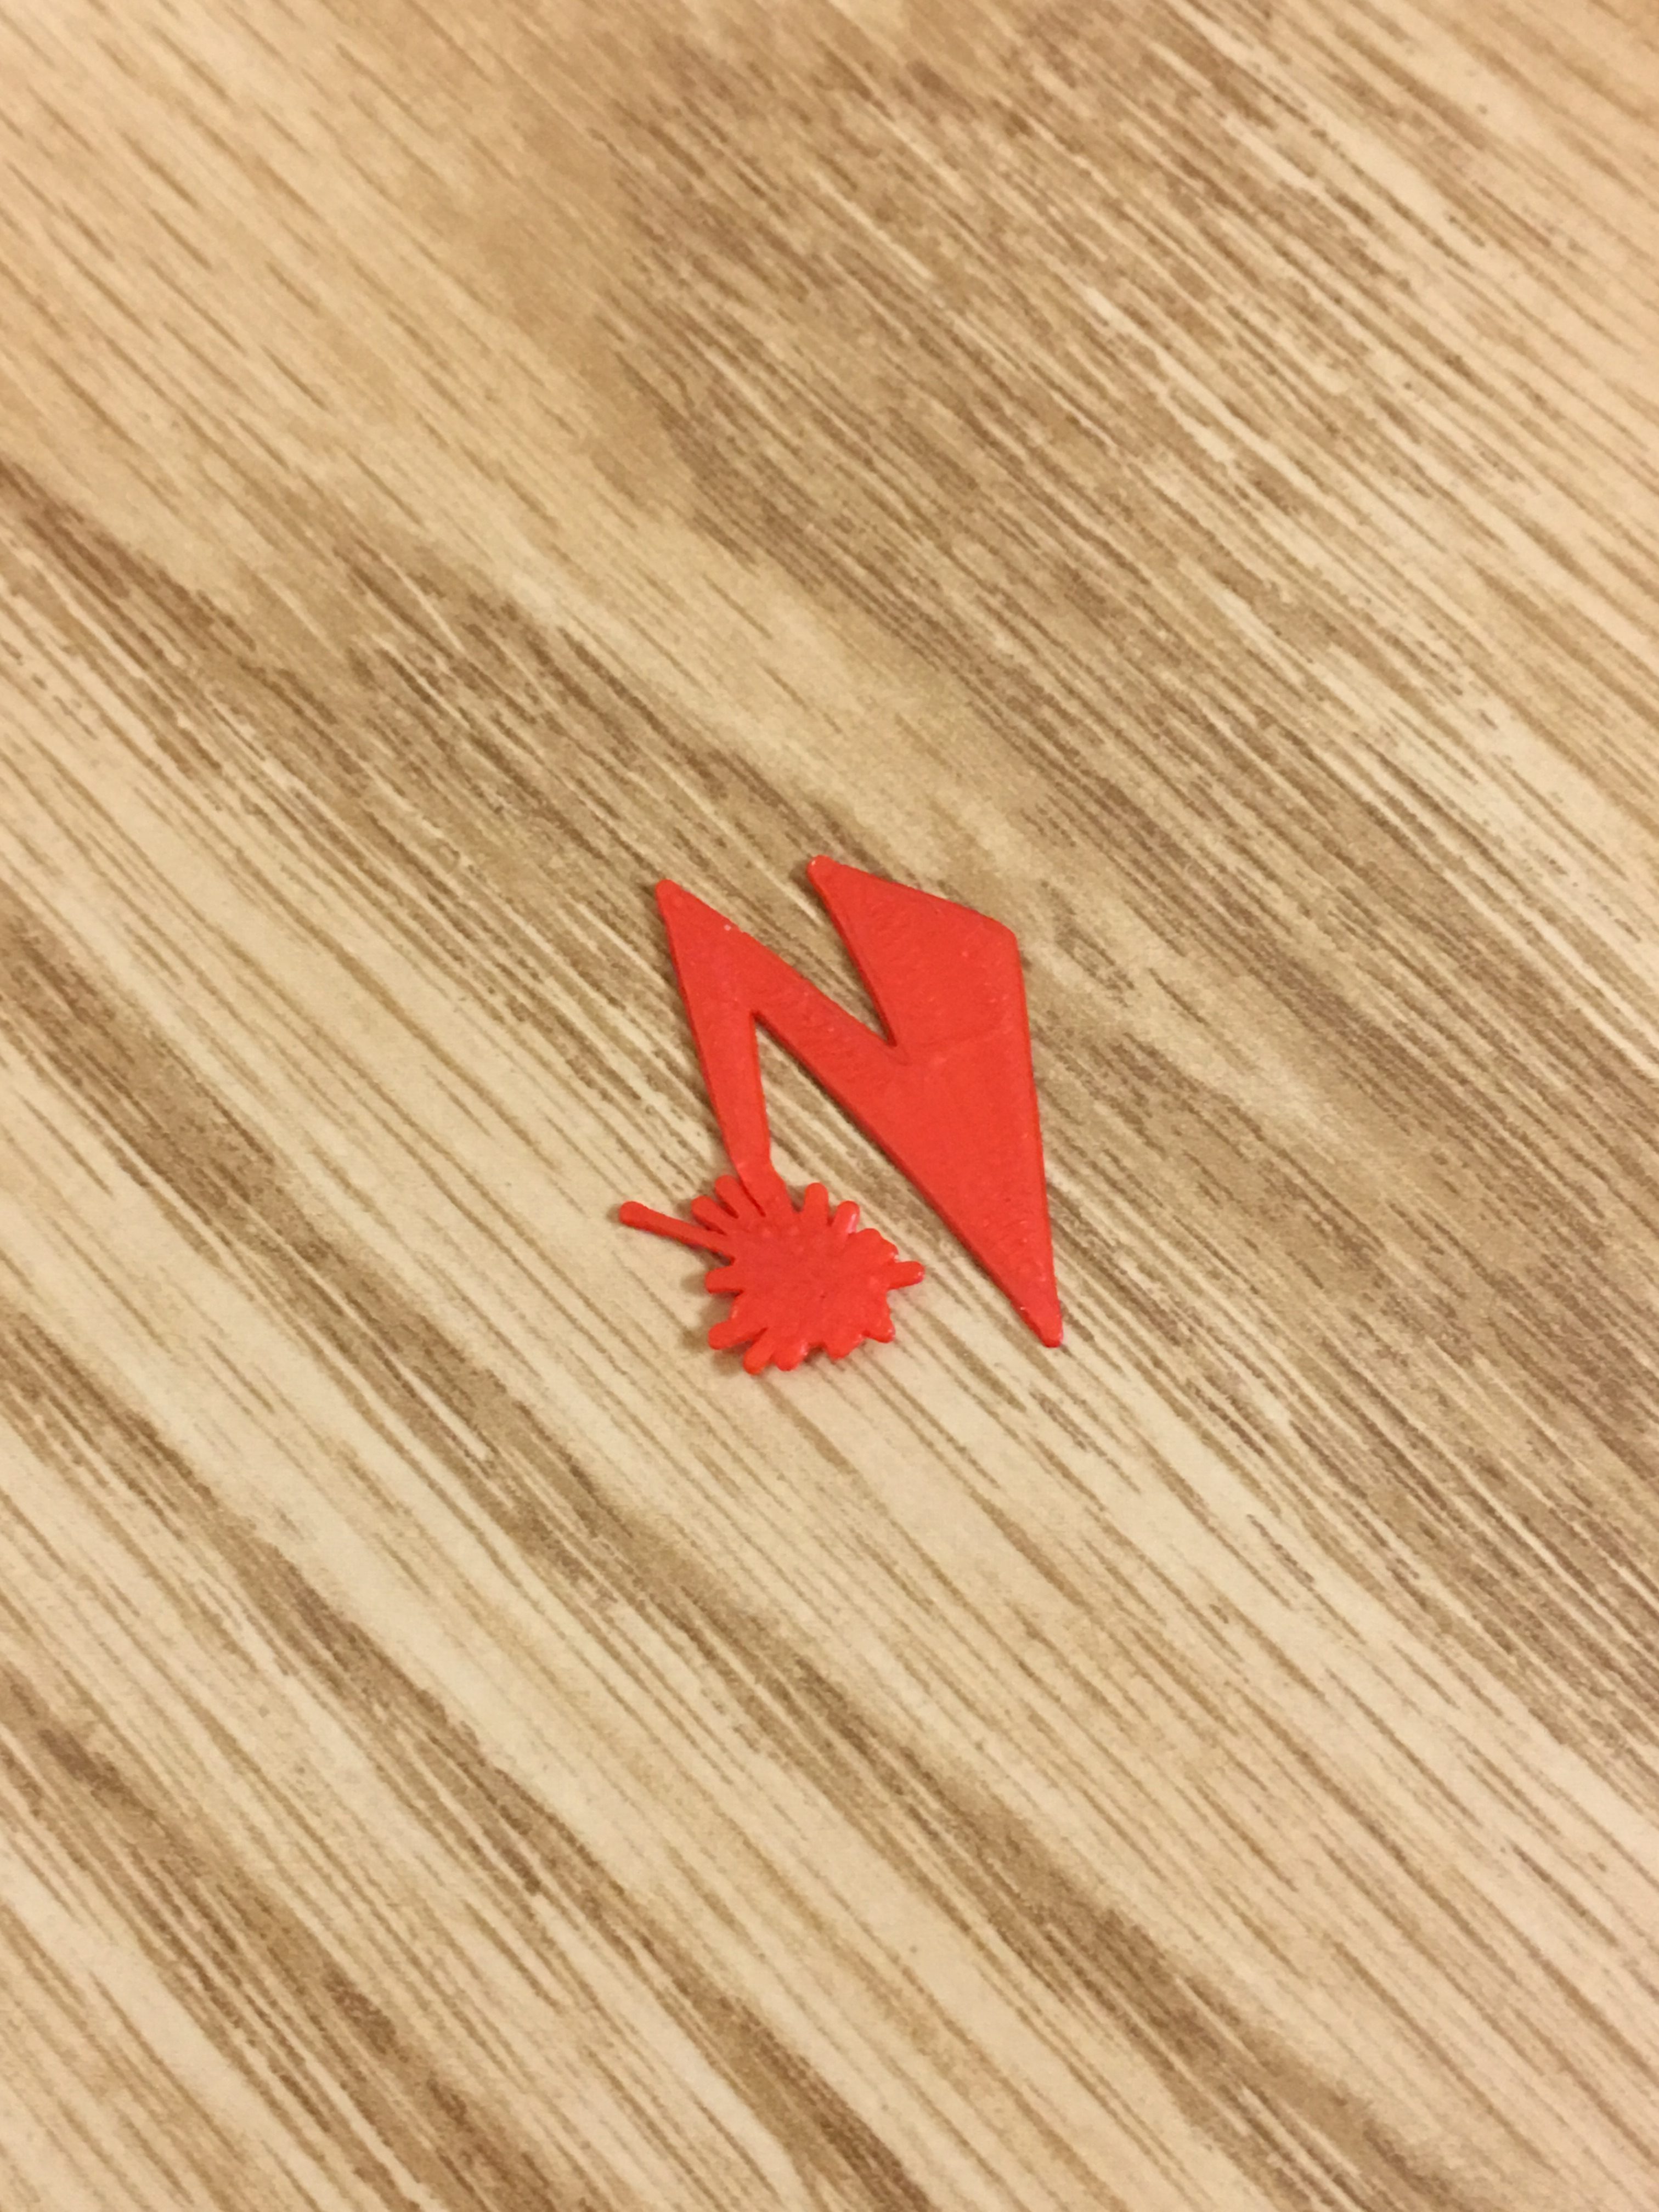
The slot ended up being too small and the lightning bolt was too flimsy. The fit doesn’t work very well and the bolt almost needs to be jammed into the top of the tower. I actually broke a lightning bolt on another test print (seen below). I’ll have to improve this design.
10/5/17
So it turned out that creating the right size lighting bolt and slot to be able to fit into one another was harder than previously believed. My first mistake was making the slot to fit the bolt into way too small, so i decided to widen both that and the lightning bolt. I also decided to make my test prints larger so that I was more easily able to see what the problem was, if there was one when I was printing it.
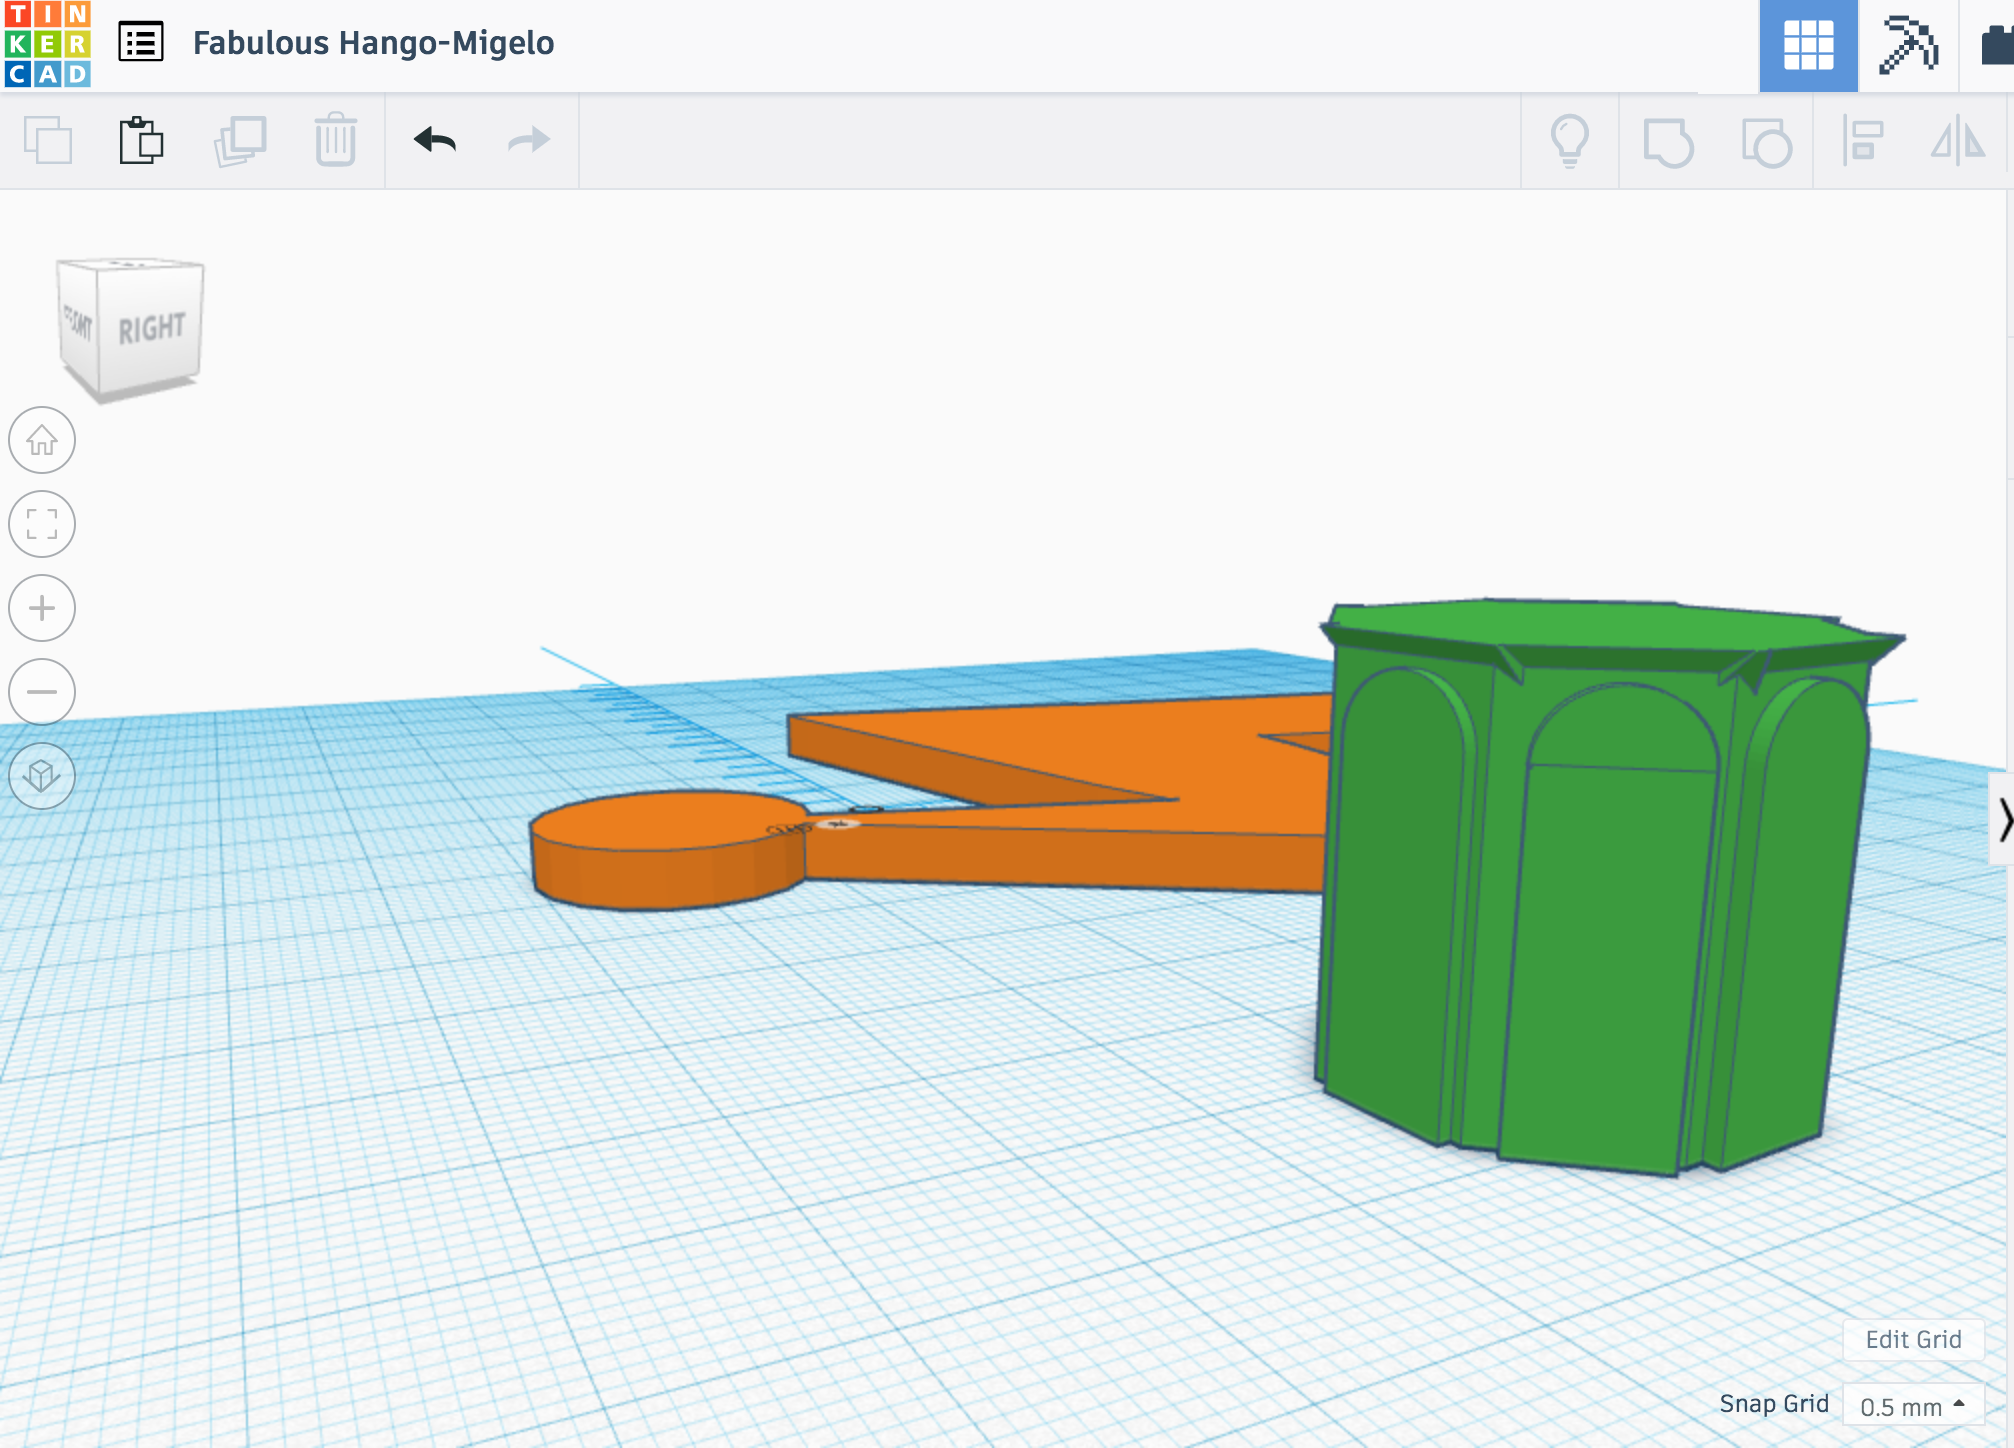
So here are my modified tinkercad designs.
As you can tell in the two pictures below, I made the width of both the lightning bolt wider to help with the fitting and to give it a more robust attachment so that the lighting bolt would not break very easily if the model was dropped or had pressure put on its neck.
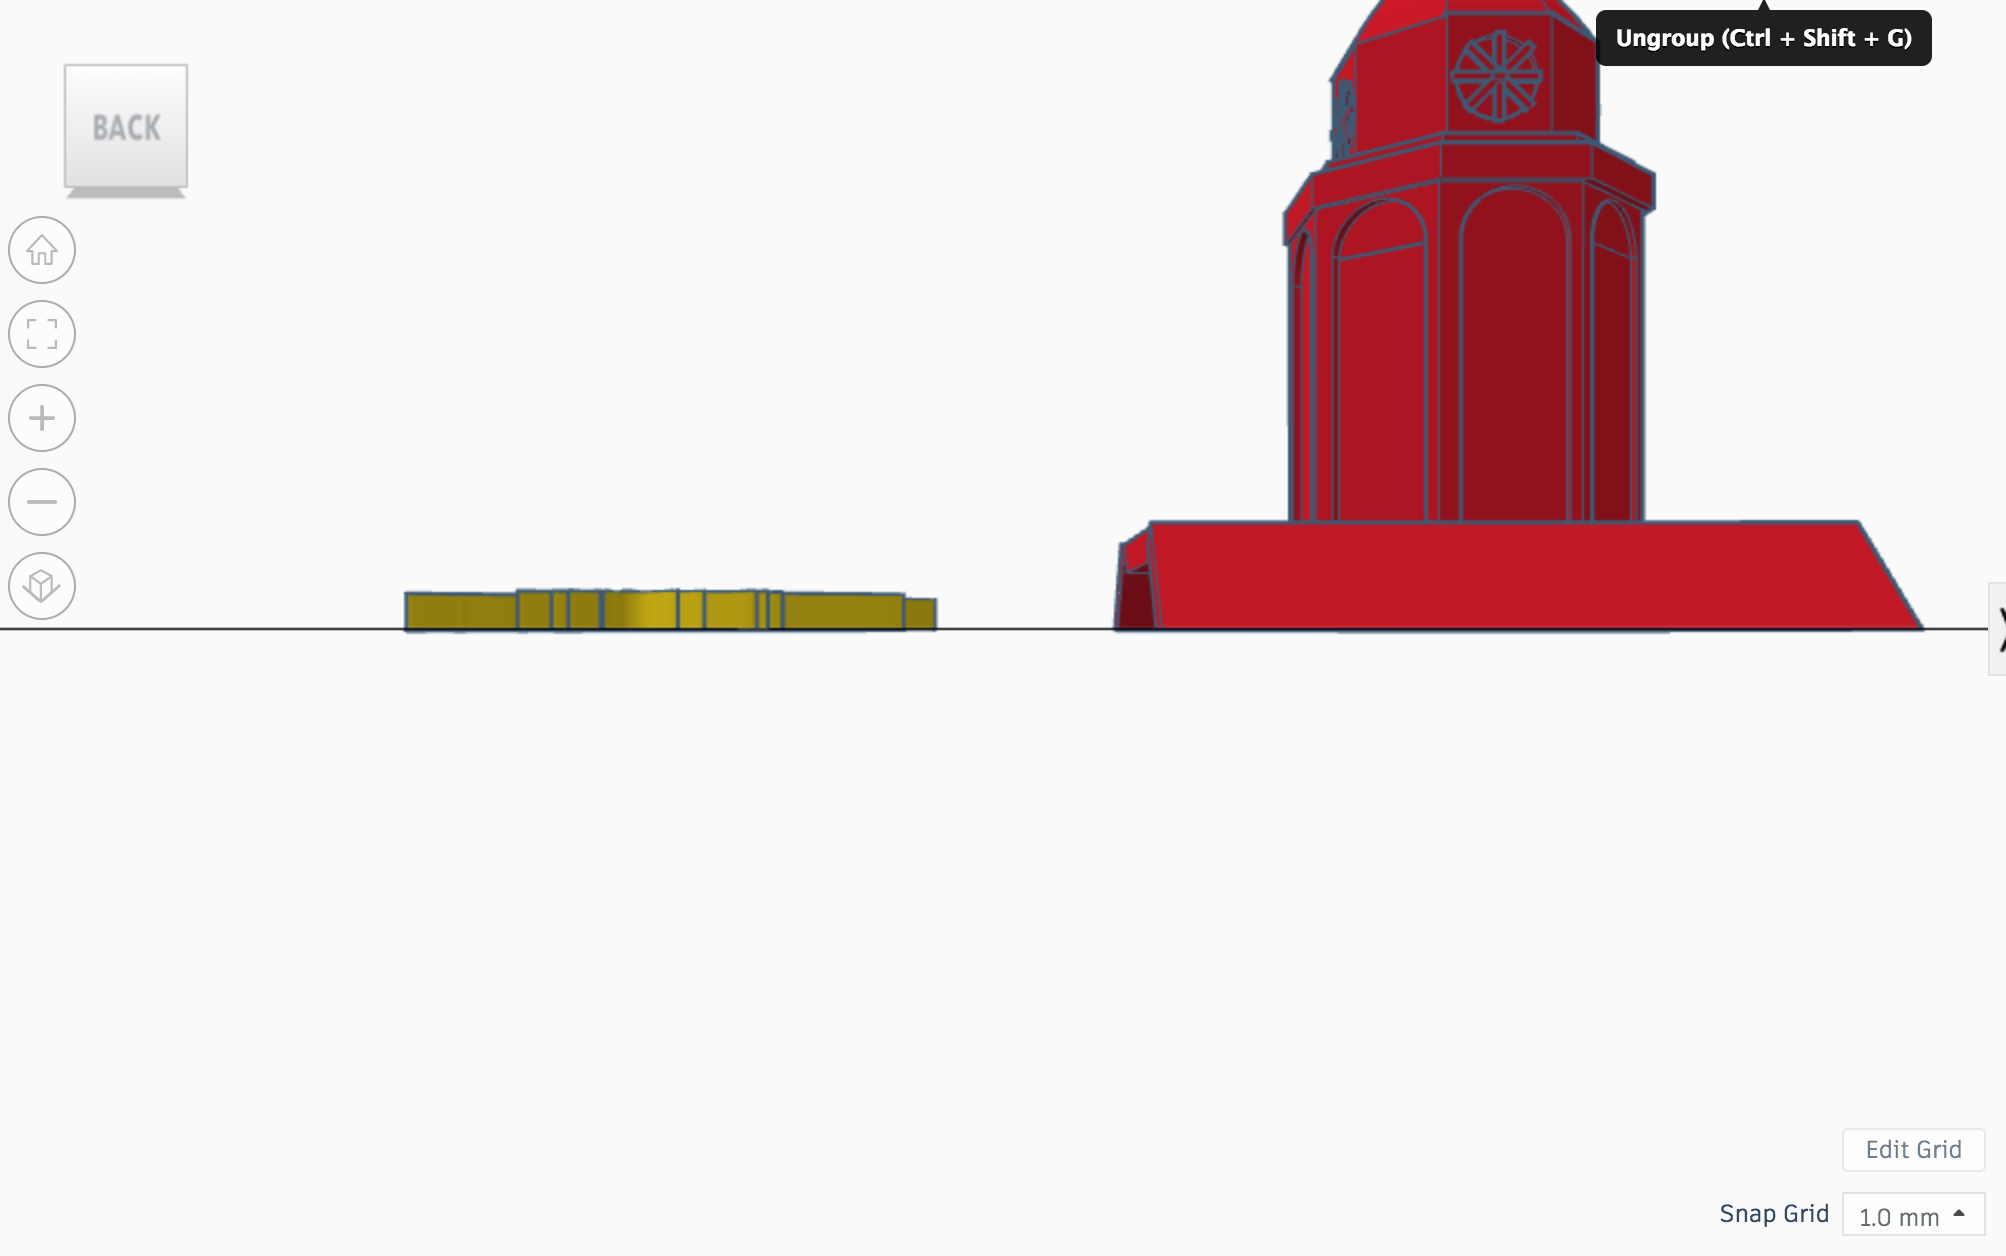

The hope was that the small corners on the ‘strike’ part of the lightning bolt would be able to fit in snugly (spoiler alert: this did not happen).
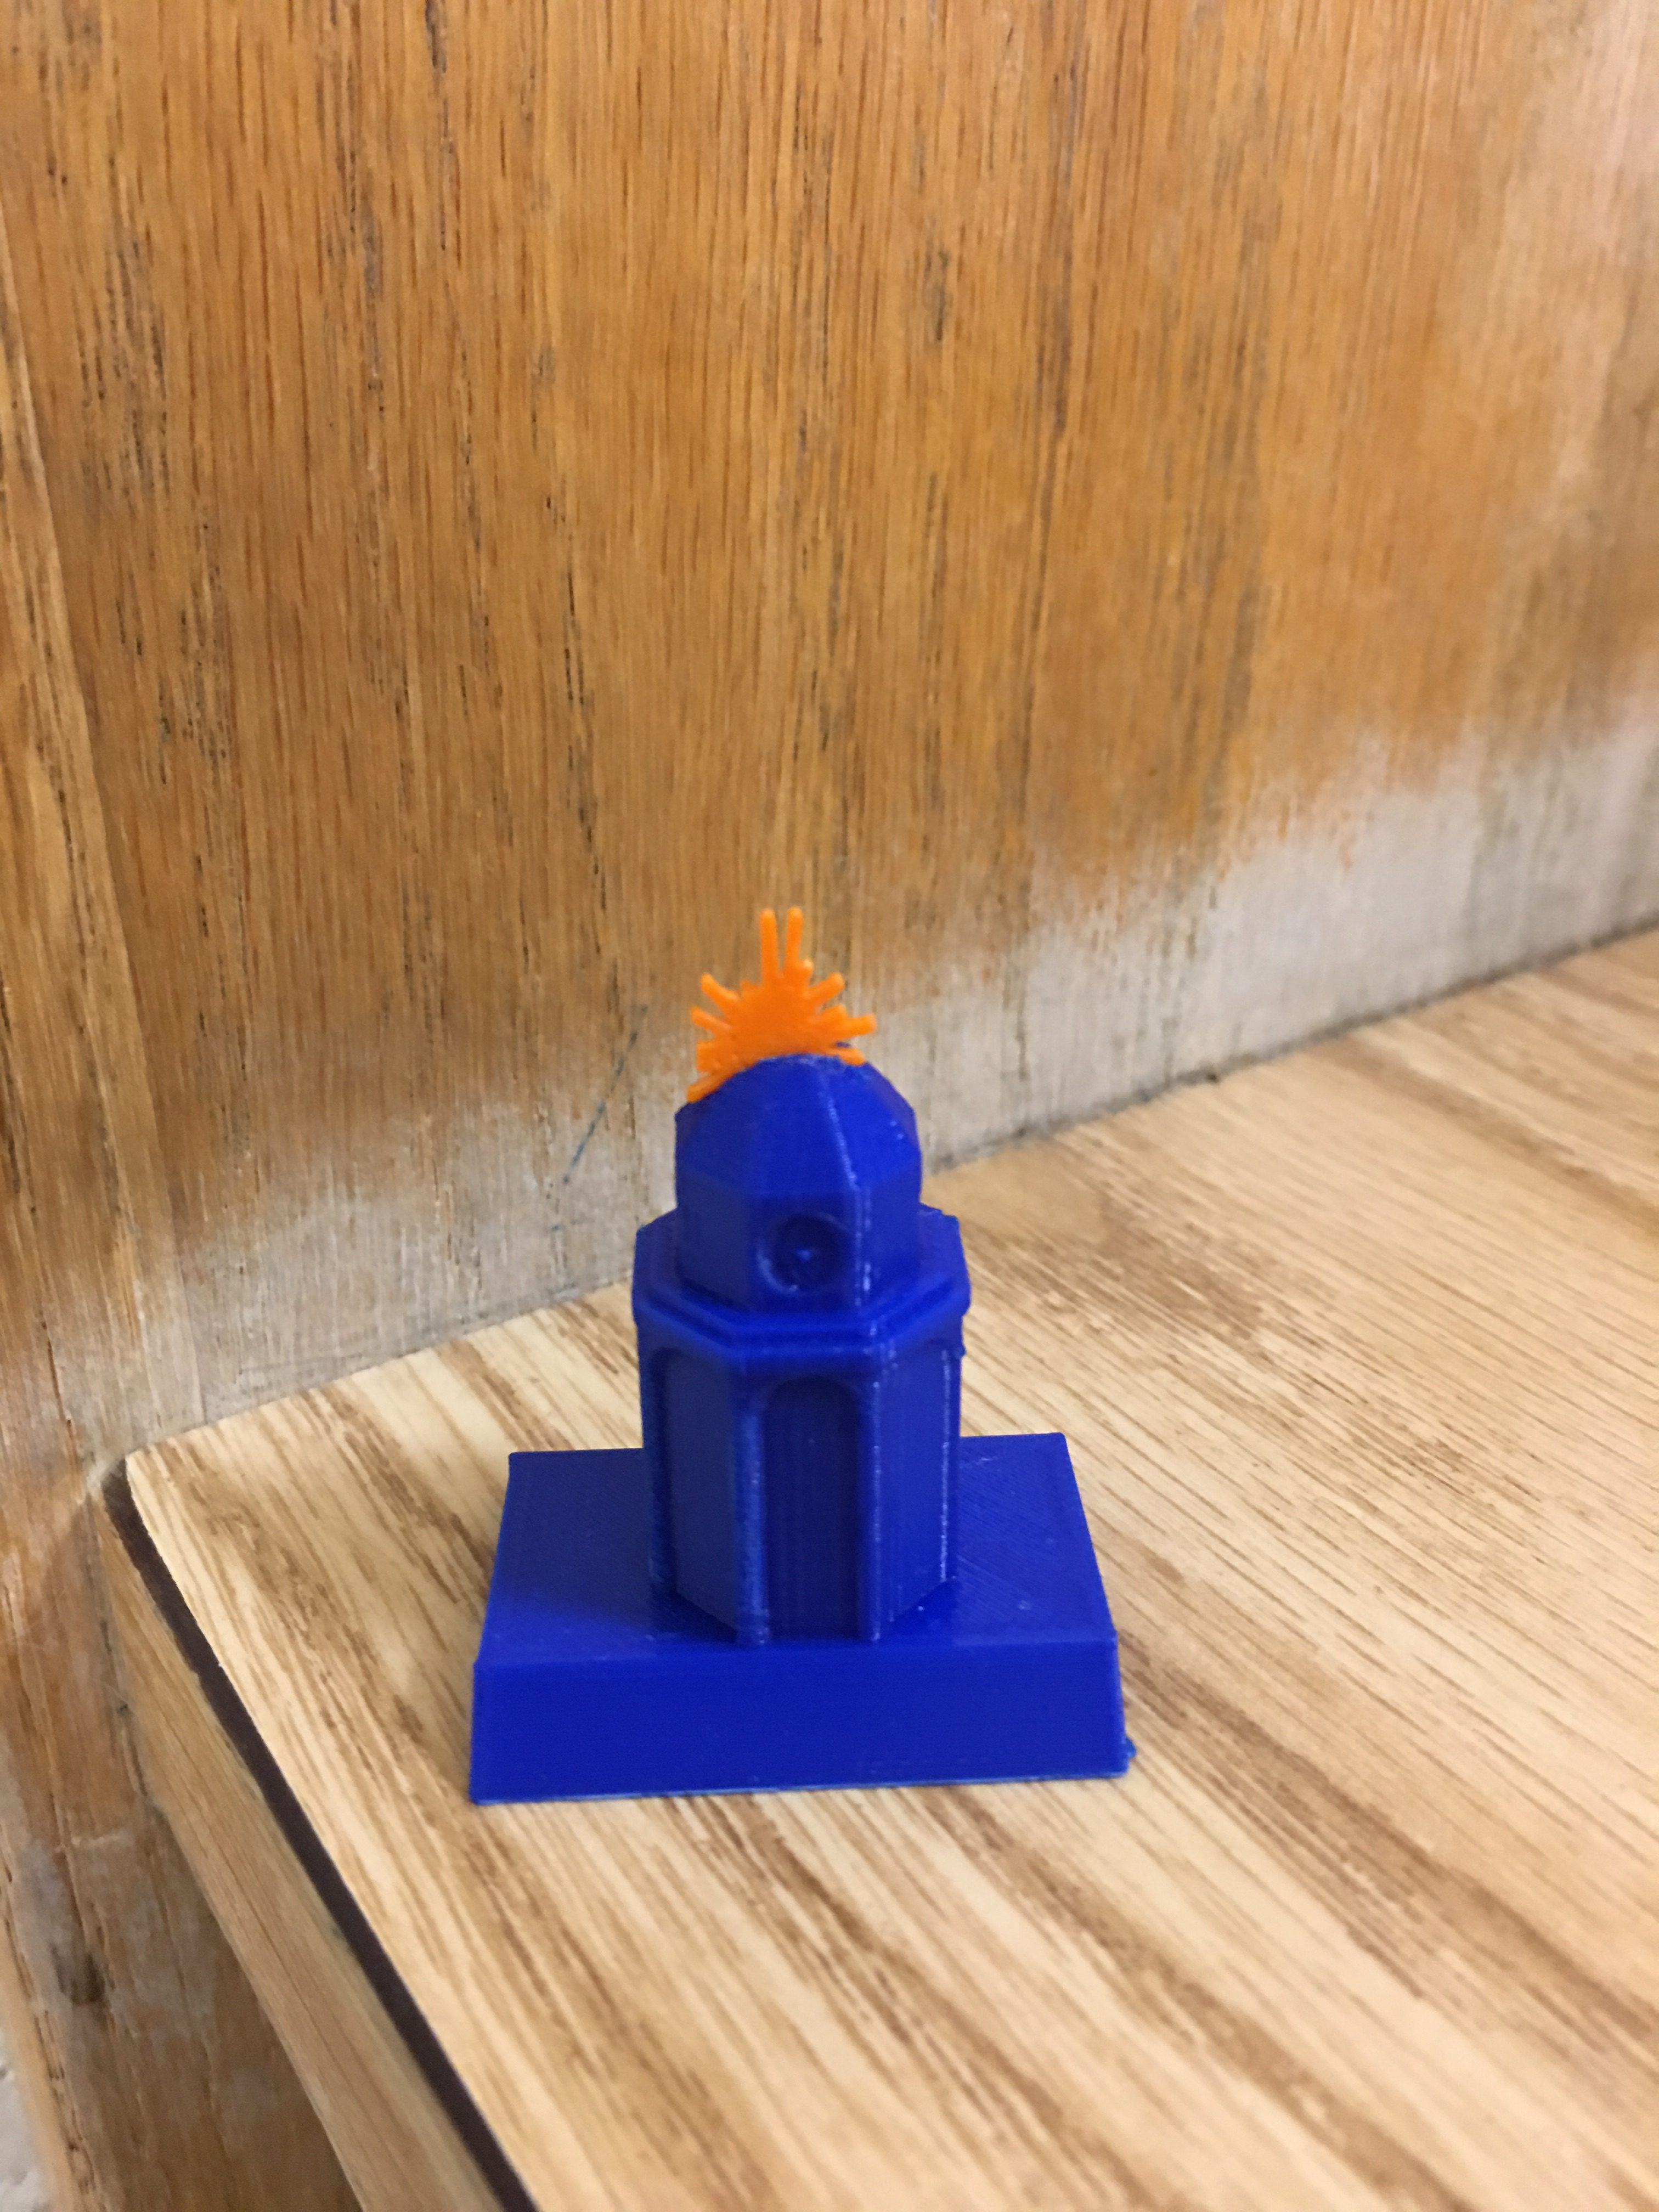
Below are pictures of my designs turnout.


The lightning bolt, while not fitting perfectly is able to remain upright at the top of the tower and has little to no wiggle room which is great, although my hope was that the small holes on the side would allow for the small spike of the bolt to protrude out of the sides. While this would have been a fun effect, I am still pretty satisfied with the result.
I would like to be able to print another one so that I can see what it will look like when the bolt and the tower are different colors. I would also be interested in trying to experiment with putting a tab at the bottom of the lightning bolt and using a tab slot on the top of the tower so that inserting the bolt into the top is made much less complicated.
Here are the thingiverse and tinkercad download links if anyone like to print the design or play around with it themselves!