I really enjoyed creating my ring project. I knew I wanted something that had geometric styling and had lots of open space. I also inspired by a ring I currently own, that has the stones falling out. Where the stones once held, there is an interesting style left.
Fusion 360 Design
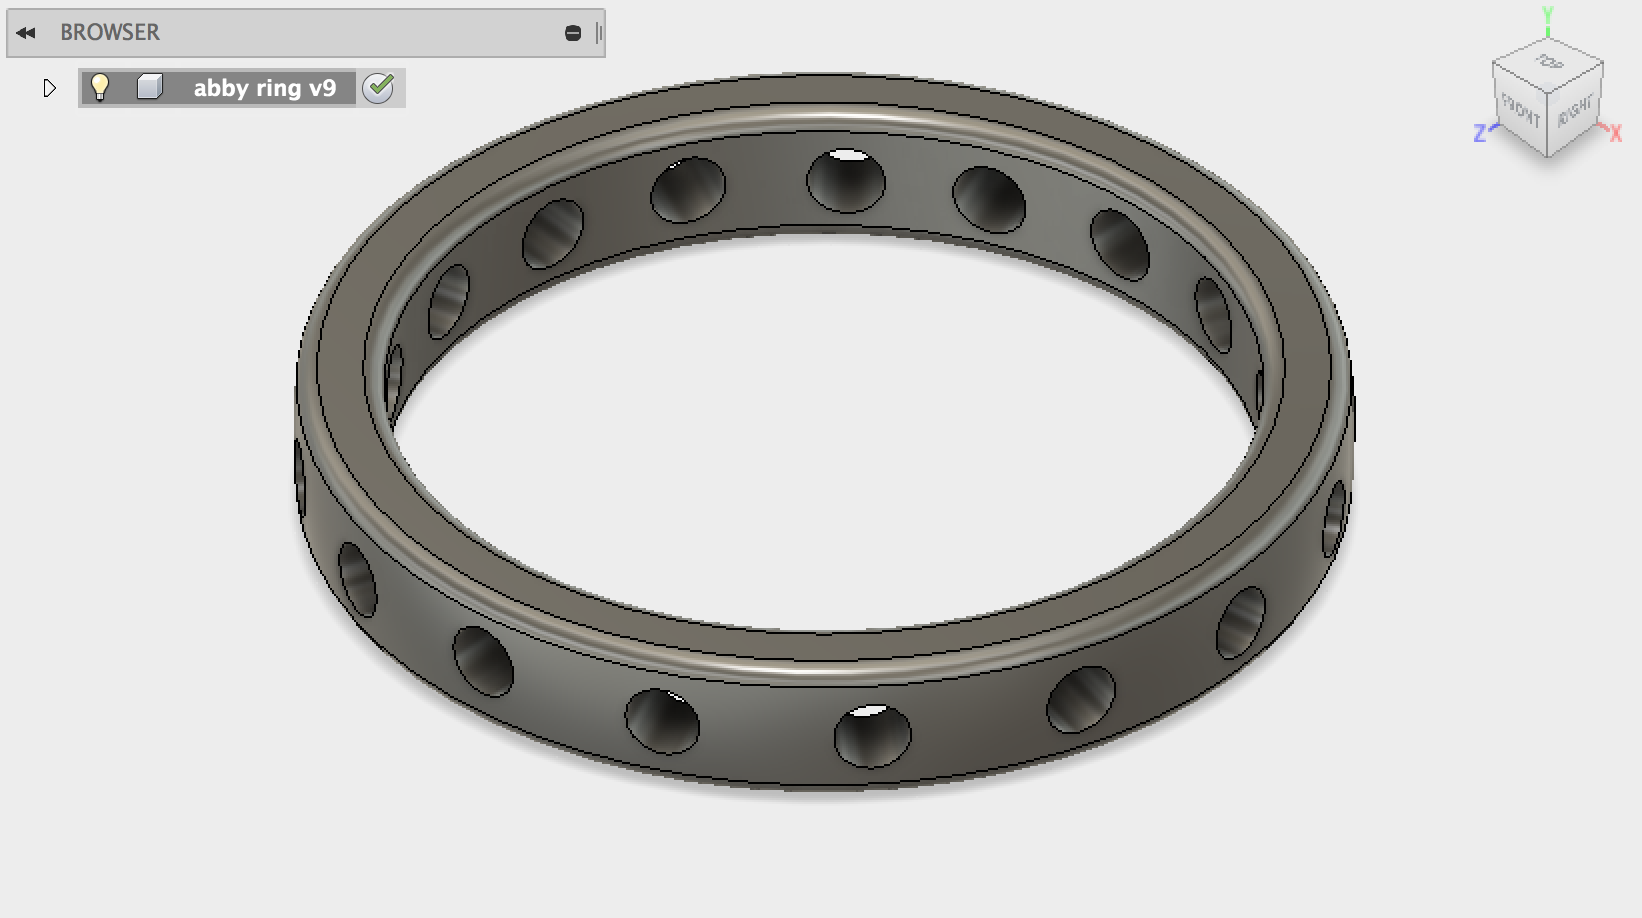
To begin, I used a variation of the beginning ring design steps. I wanted the ring to be thinner than our first draft, so I altered the length of the band. I also had to adjust it twice to fit my finger.
I started by using the hole tool on my ring designed. I made the holes perpendicular to the ring and added them on the outside plane. I placed them approximately 2.5mm apart from one another.
 Meshmixer and 3D Print
Due to the lack of surface area on the ring itself, I decided not to stamp the ring in Meshmixer. I uploaded it and covered the surface area but then realized there wasn’t a good amount of space to put anything there.
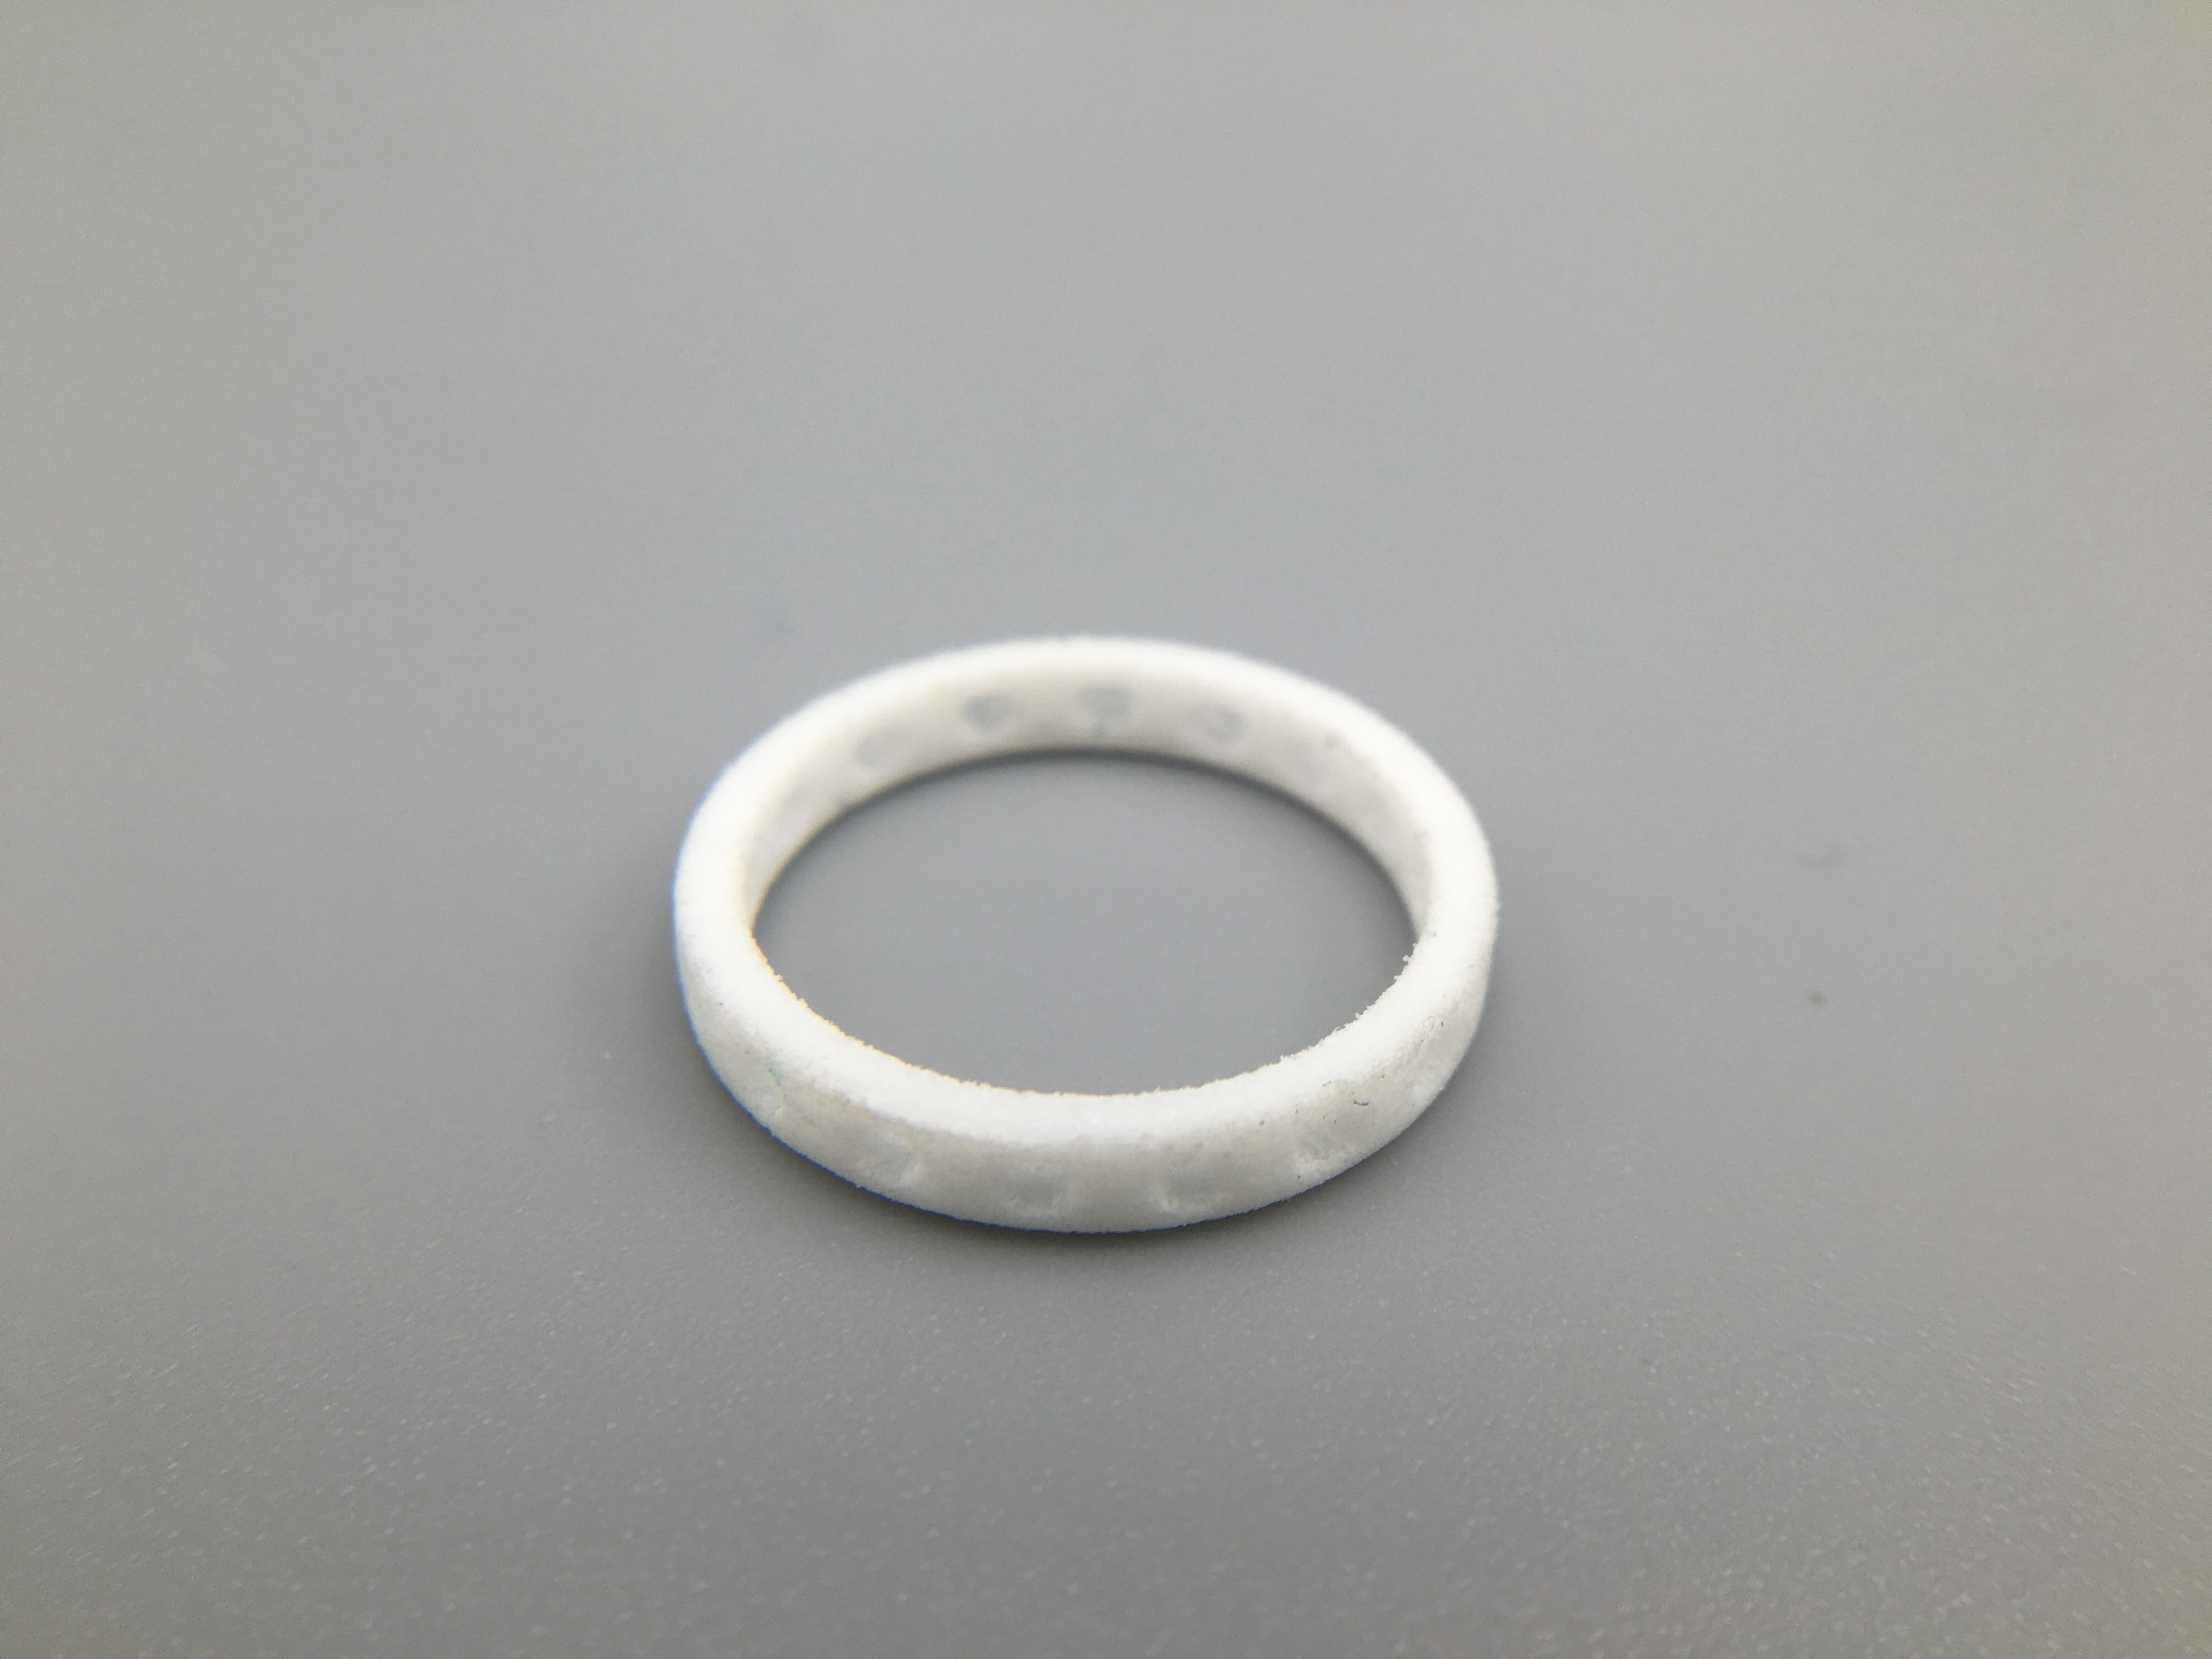
I then printed my ring in both black and white to show the different detailing. 
Shapeways
After I uploaded my ring to Shapeways, I received an error message on my ring because there wasn’t enough space between the holes and the external piece of the band. I edited the holes to have a radius of 2mm instead of 2.5 and that gave the ring enough surface area to print successfully. I ordered my ring in the strong and flexible material and it came out really well! I’ve received lots of compliments.