 Intro/Ring Creation-Fusion 360
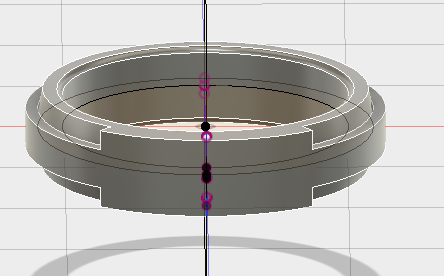
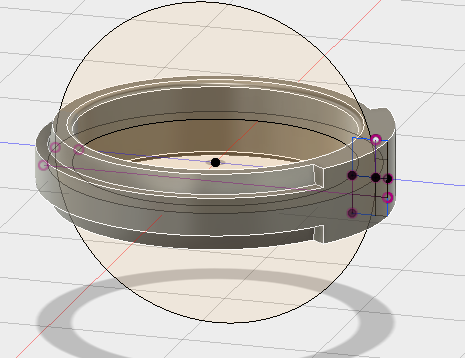
I created my ring using Fushion 360. It took me a while to figure out what kind of ring I wanted. After a while, I decided that It would be easier to just keep my design simple. I decided to put a smaller ring that would attach around the larger ring. I did this by creating a smaller rectangle, similar to what we did when we created the base ring, and swept it around the ring. I then created a surface that wrapped around a small part of the ring. This would later serve as the area where I stamped my design. I was able to do this similar to how I swept my other surfaces, except this time I just swept the ring to a distance that I set instead of around the whole ring. I finalized my design of my ring by setting it to my ring size, which was 10.5
Design-Meshmixer
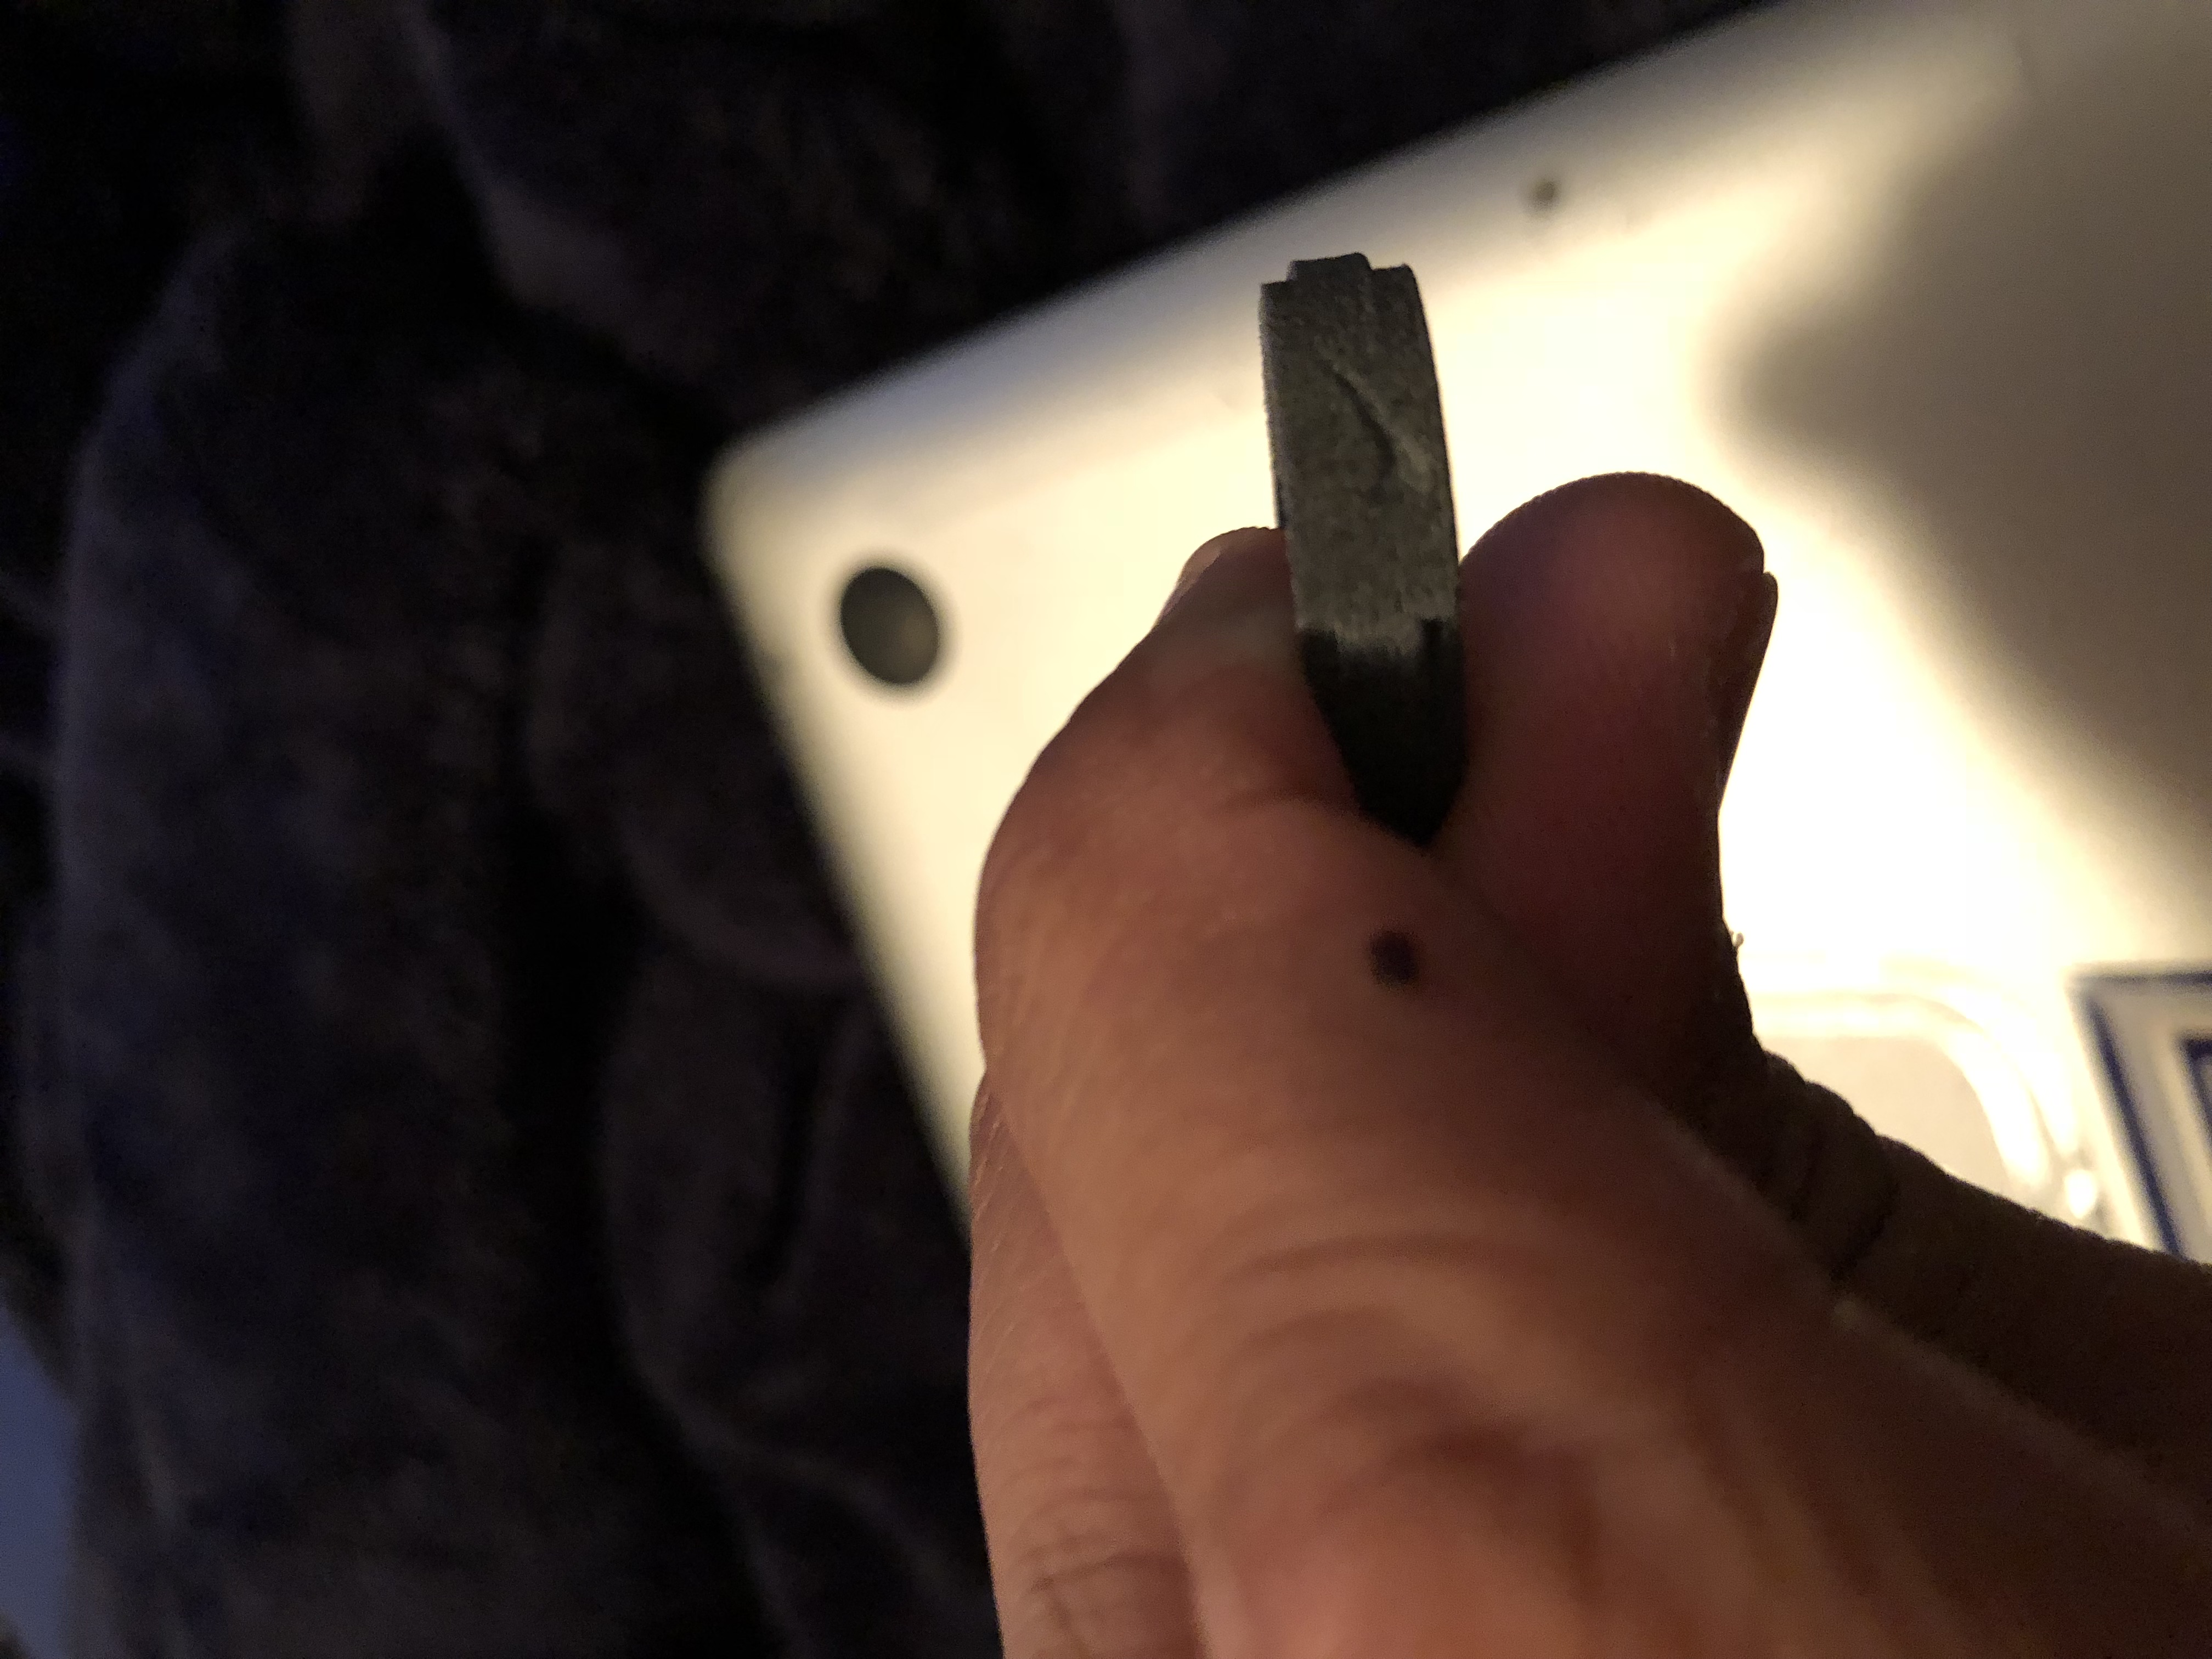
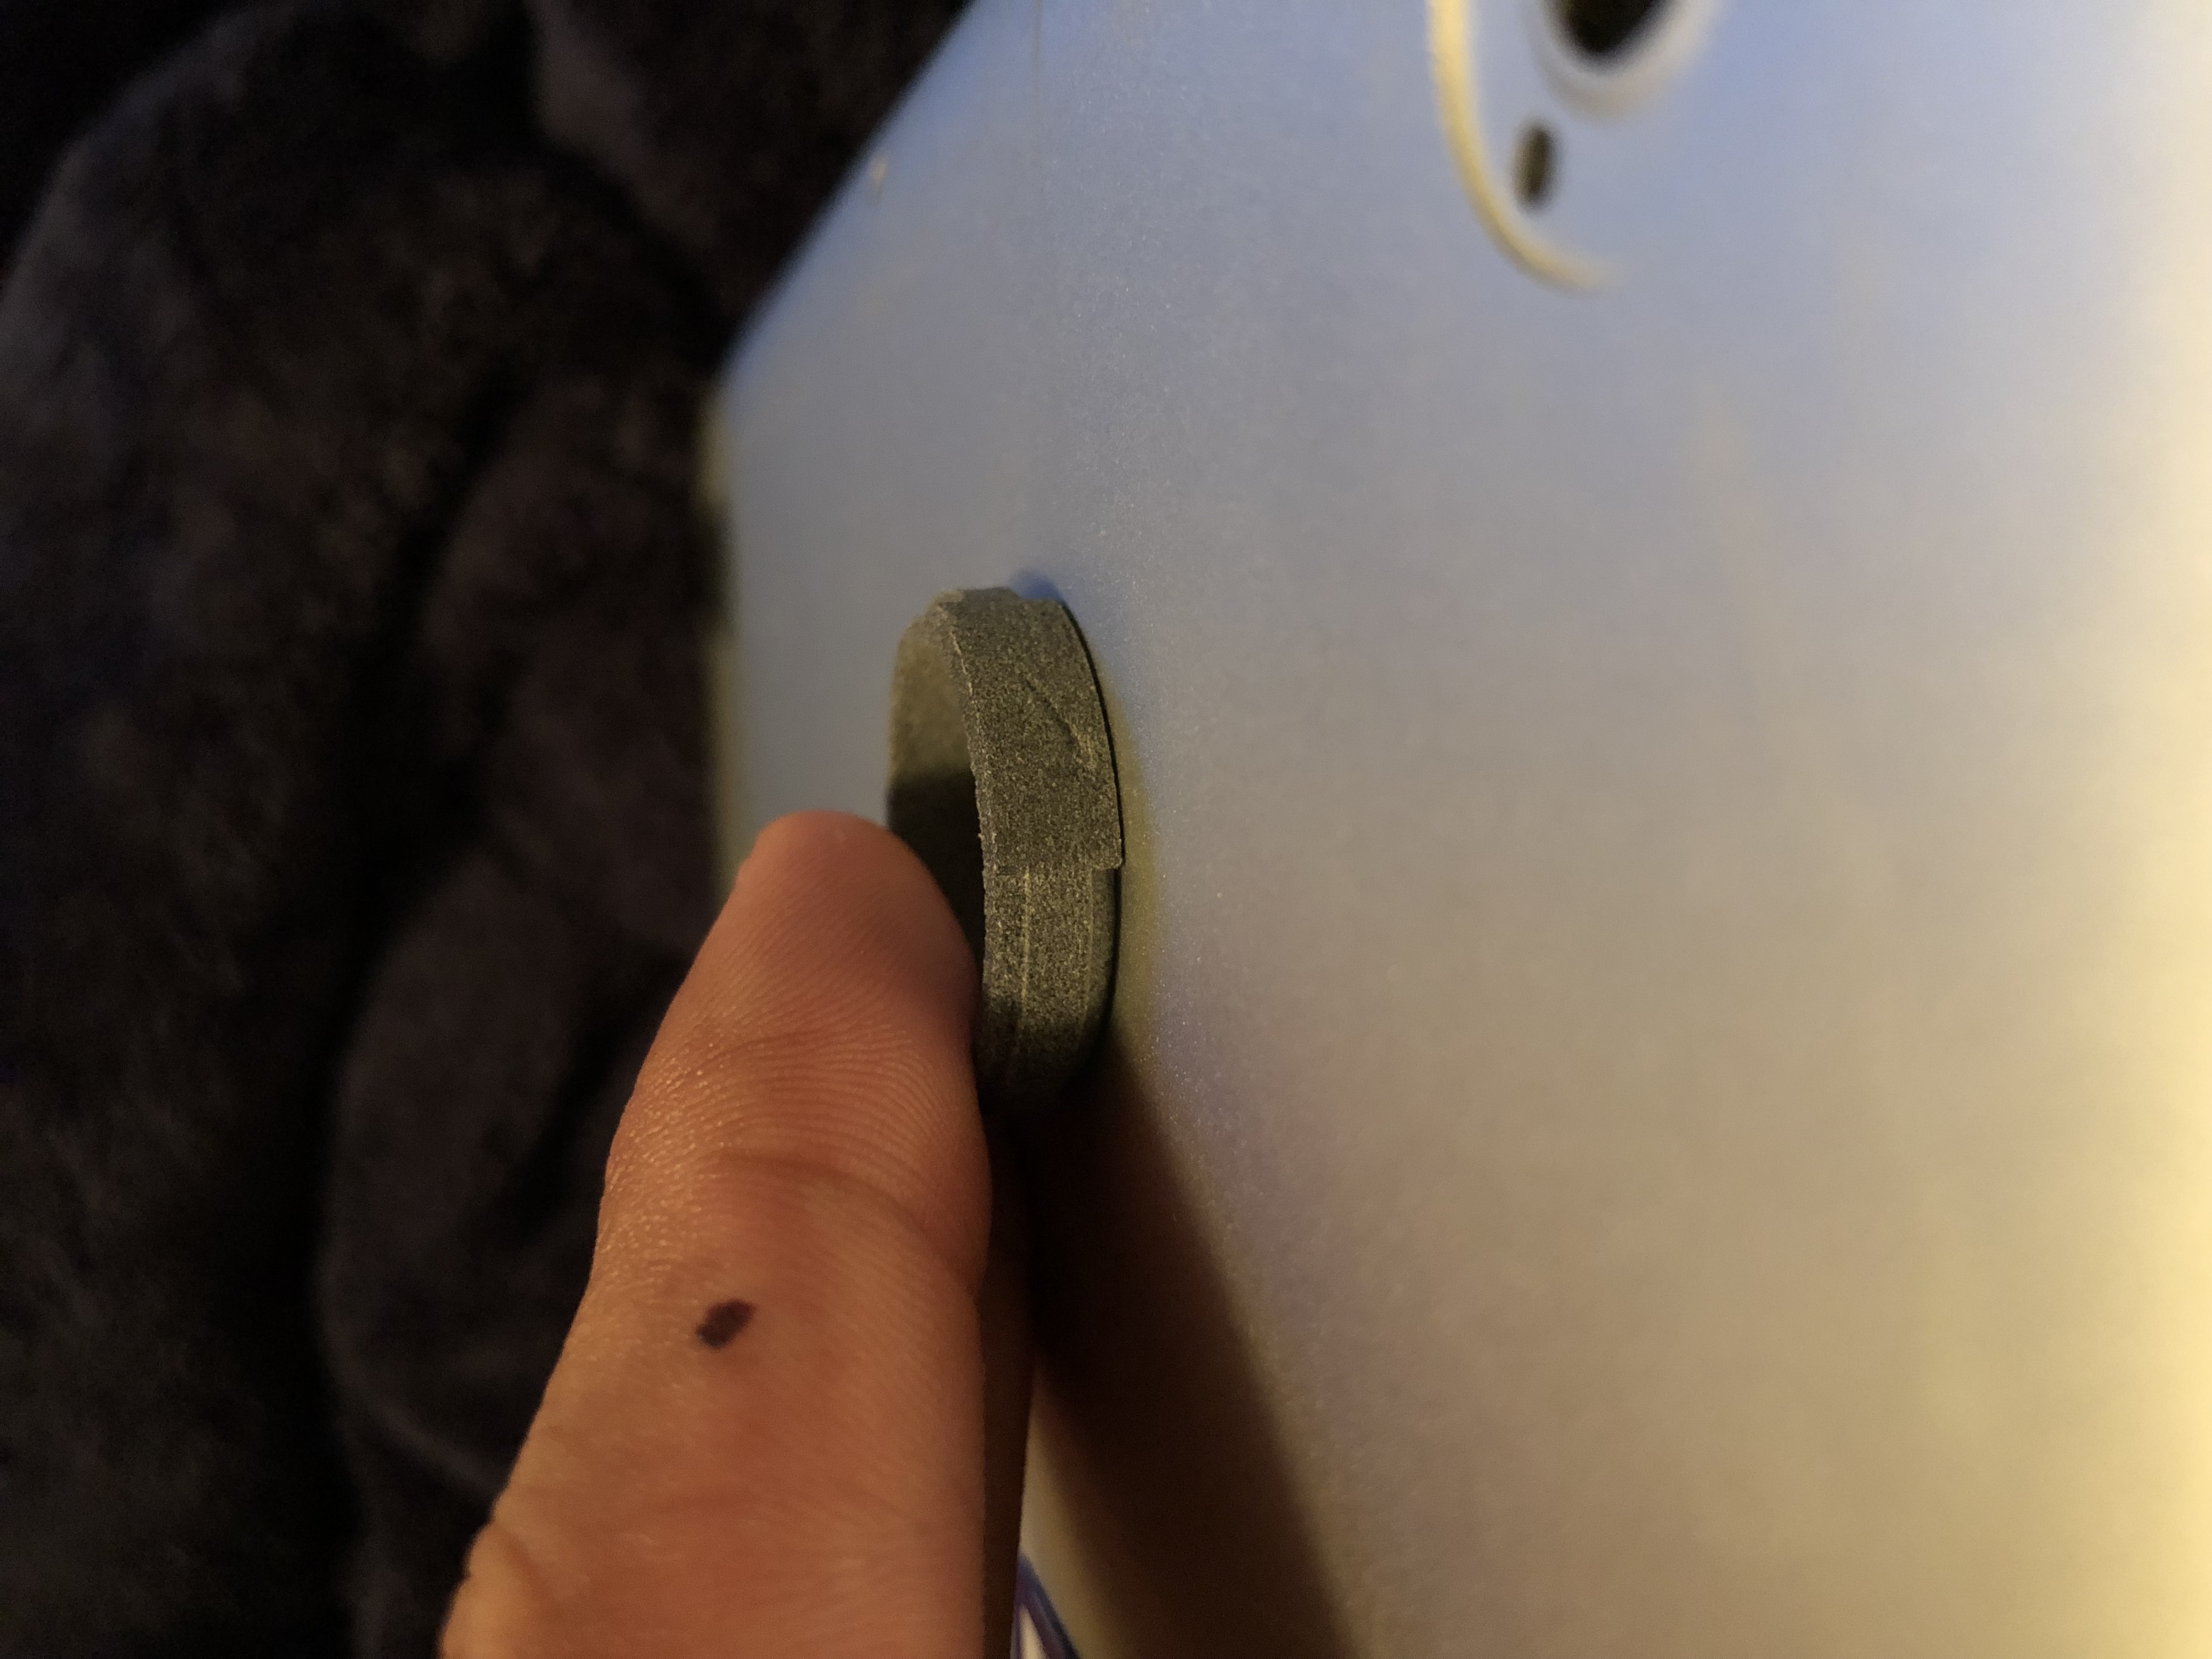
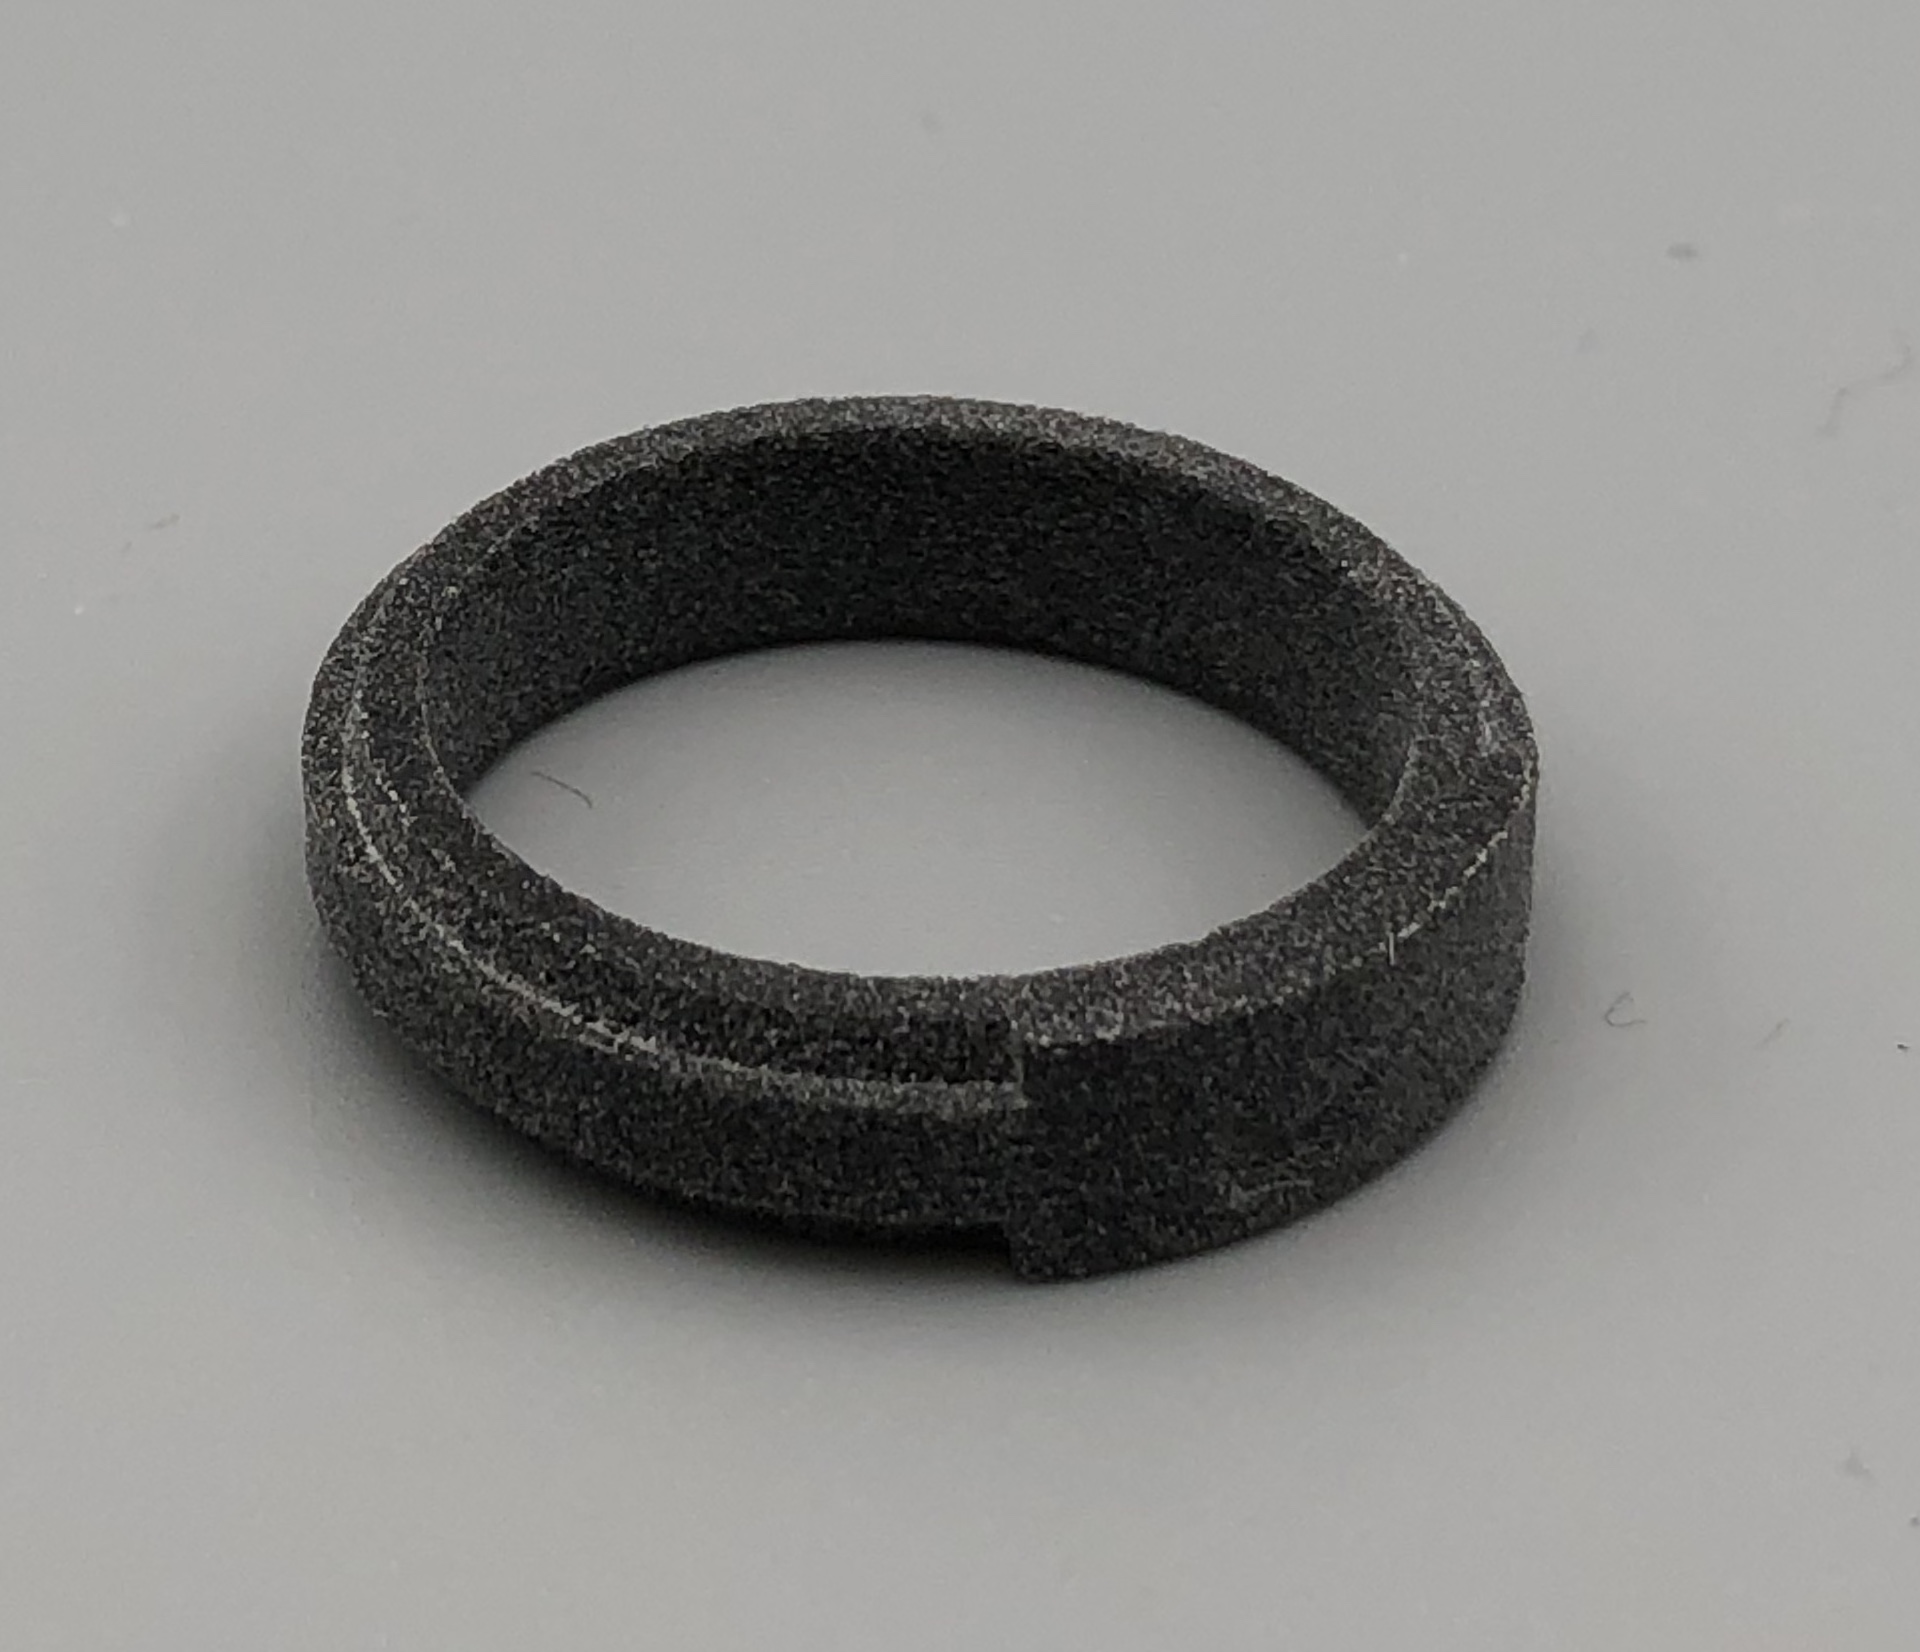
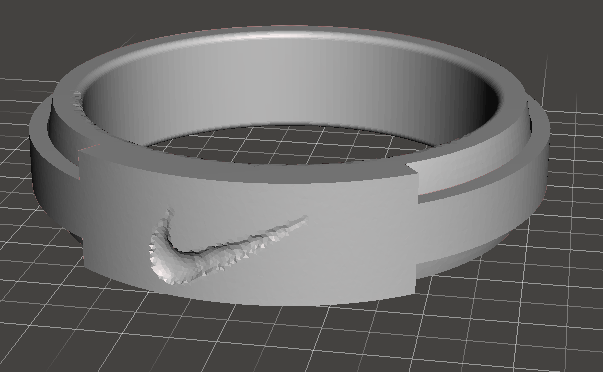
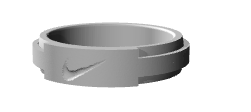
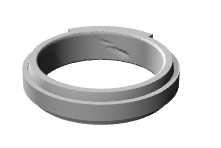
I imported my design into Meshmixer, and started to play around with the design I wanted to put on the ring. I decided that I wanted a ring that I could wear often. For my job with the football team, I am only allowed to wear Nike branded items, due to our sponsorship. So I decided to make a Nike inspired ring, so I could wear it at work. First, I tried to put letters, with Nike’s slogan “Just Do It” around the ring. It was hard to print the letters of the slogan clear enough for it to print nicely. So I scrapped that idea, and opted to go with a simpler design. I decided to put the Nike logo, more commonly known as the swoosh and stapped it into platform of my ring. I cranked up the density of my mesh, to try and get as crisp as a print as possible. One issue I ran into while doing the mesh was that the stamp was pushing through my ring. As shown in the pictures from Shapeways, it left a indent on the inside of my ring, but I did not see it as a pressing issue, and it made my ring look unique in such a way.

1st Print
After I was confident with my design, I printed my ring. I used the fine setting to try and get as much detail out of my ring as possible. It took a little bit longer, but the results were totally worth it. I was completely satisfied with how my ring turned out, and confirmed the final design for submission to Shapeways.
Upload to Shapeways
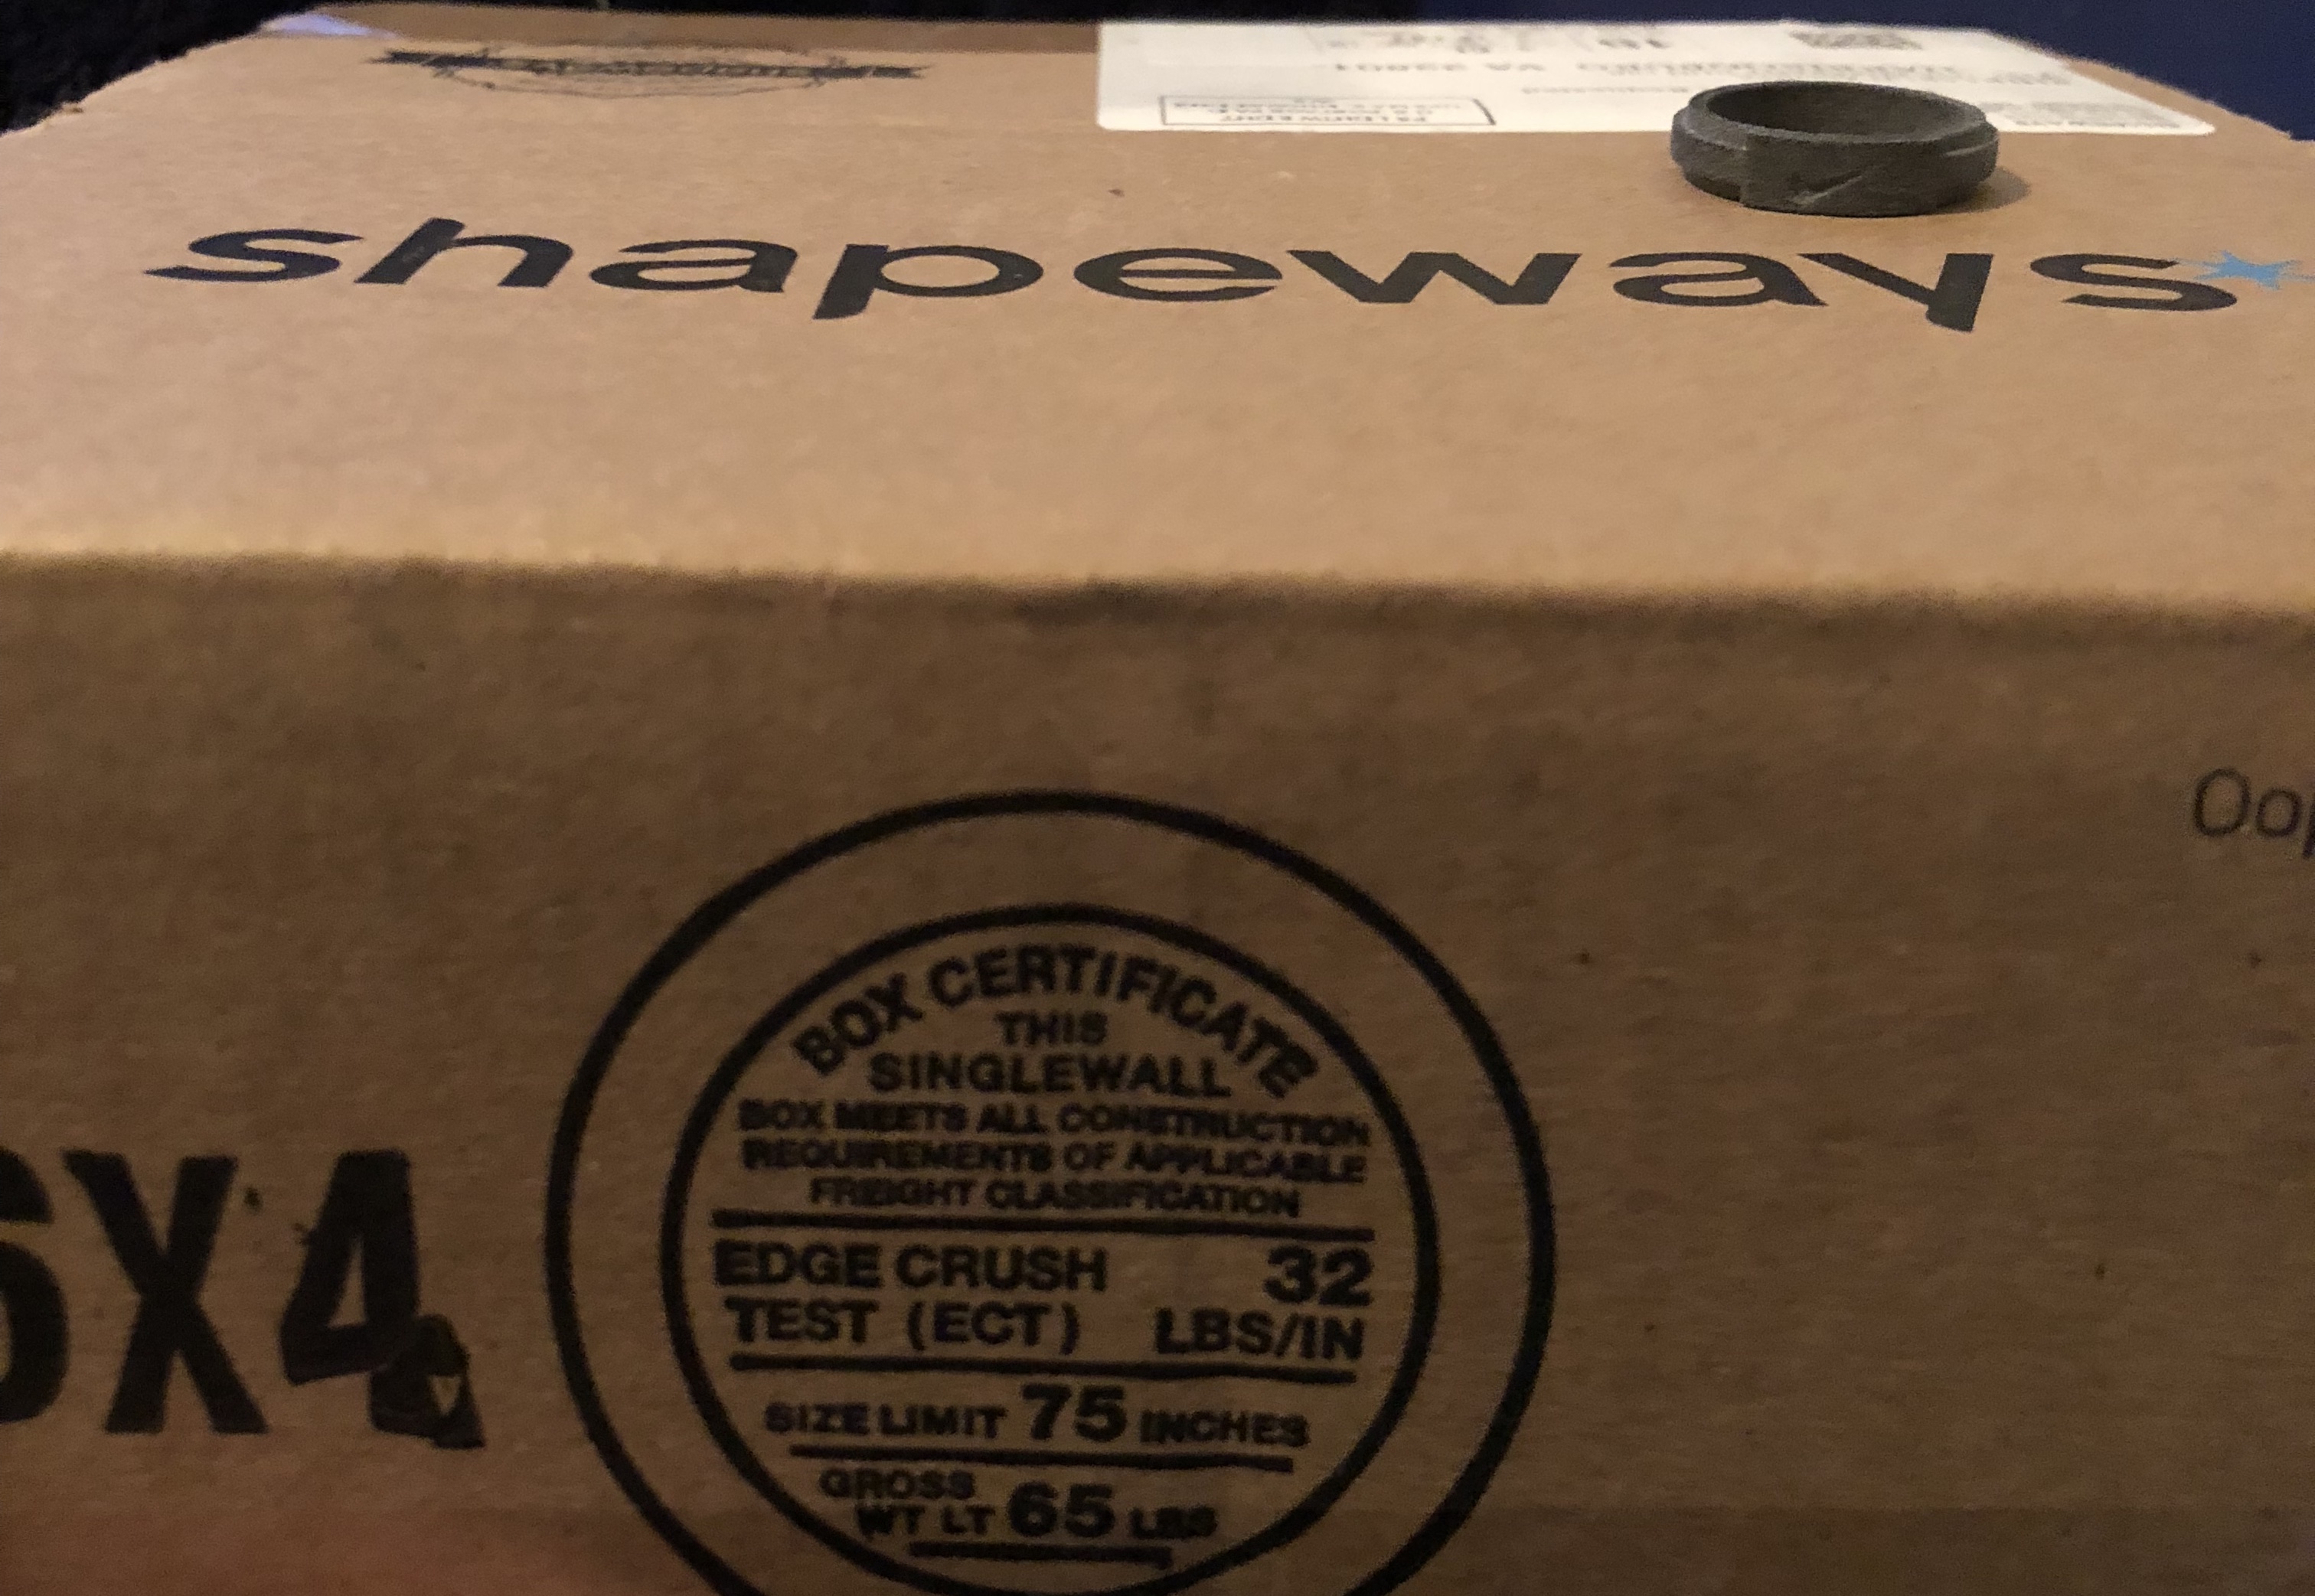
I uploaded my design to Shapeways. My design looked even better than it did in Meshmixer! Once I submitted it, I got the automatic approval for everything, minus porcelain and sandstone. I decided before getting my ring done in a more expensive finish, that I would get it printed in gray HP Nylon Plastic. I believe it will not only be durable enough for my uses, but will hold the finish the best. I purchased my print from Shapeways, and a few days later got confirmation that my ring passed the manual inspection. It is scheduled to arrive around November 16.
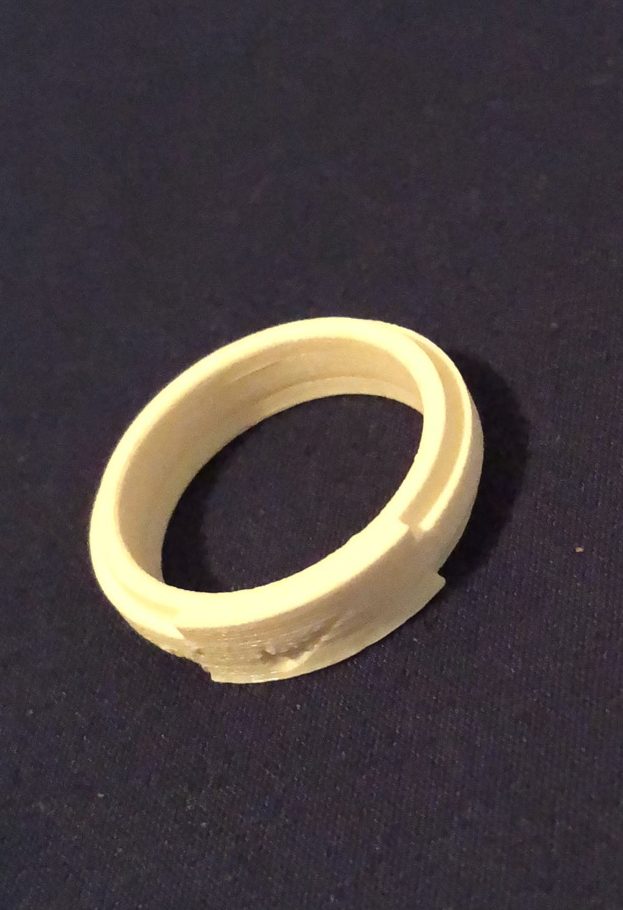
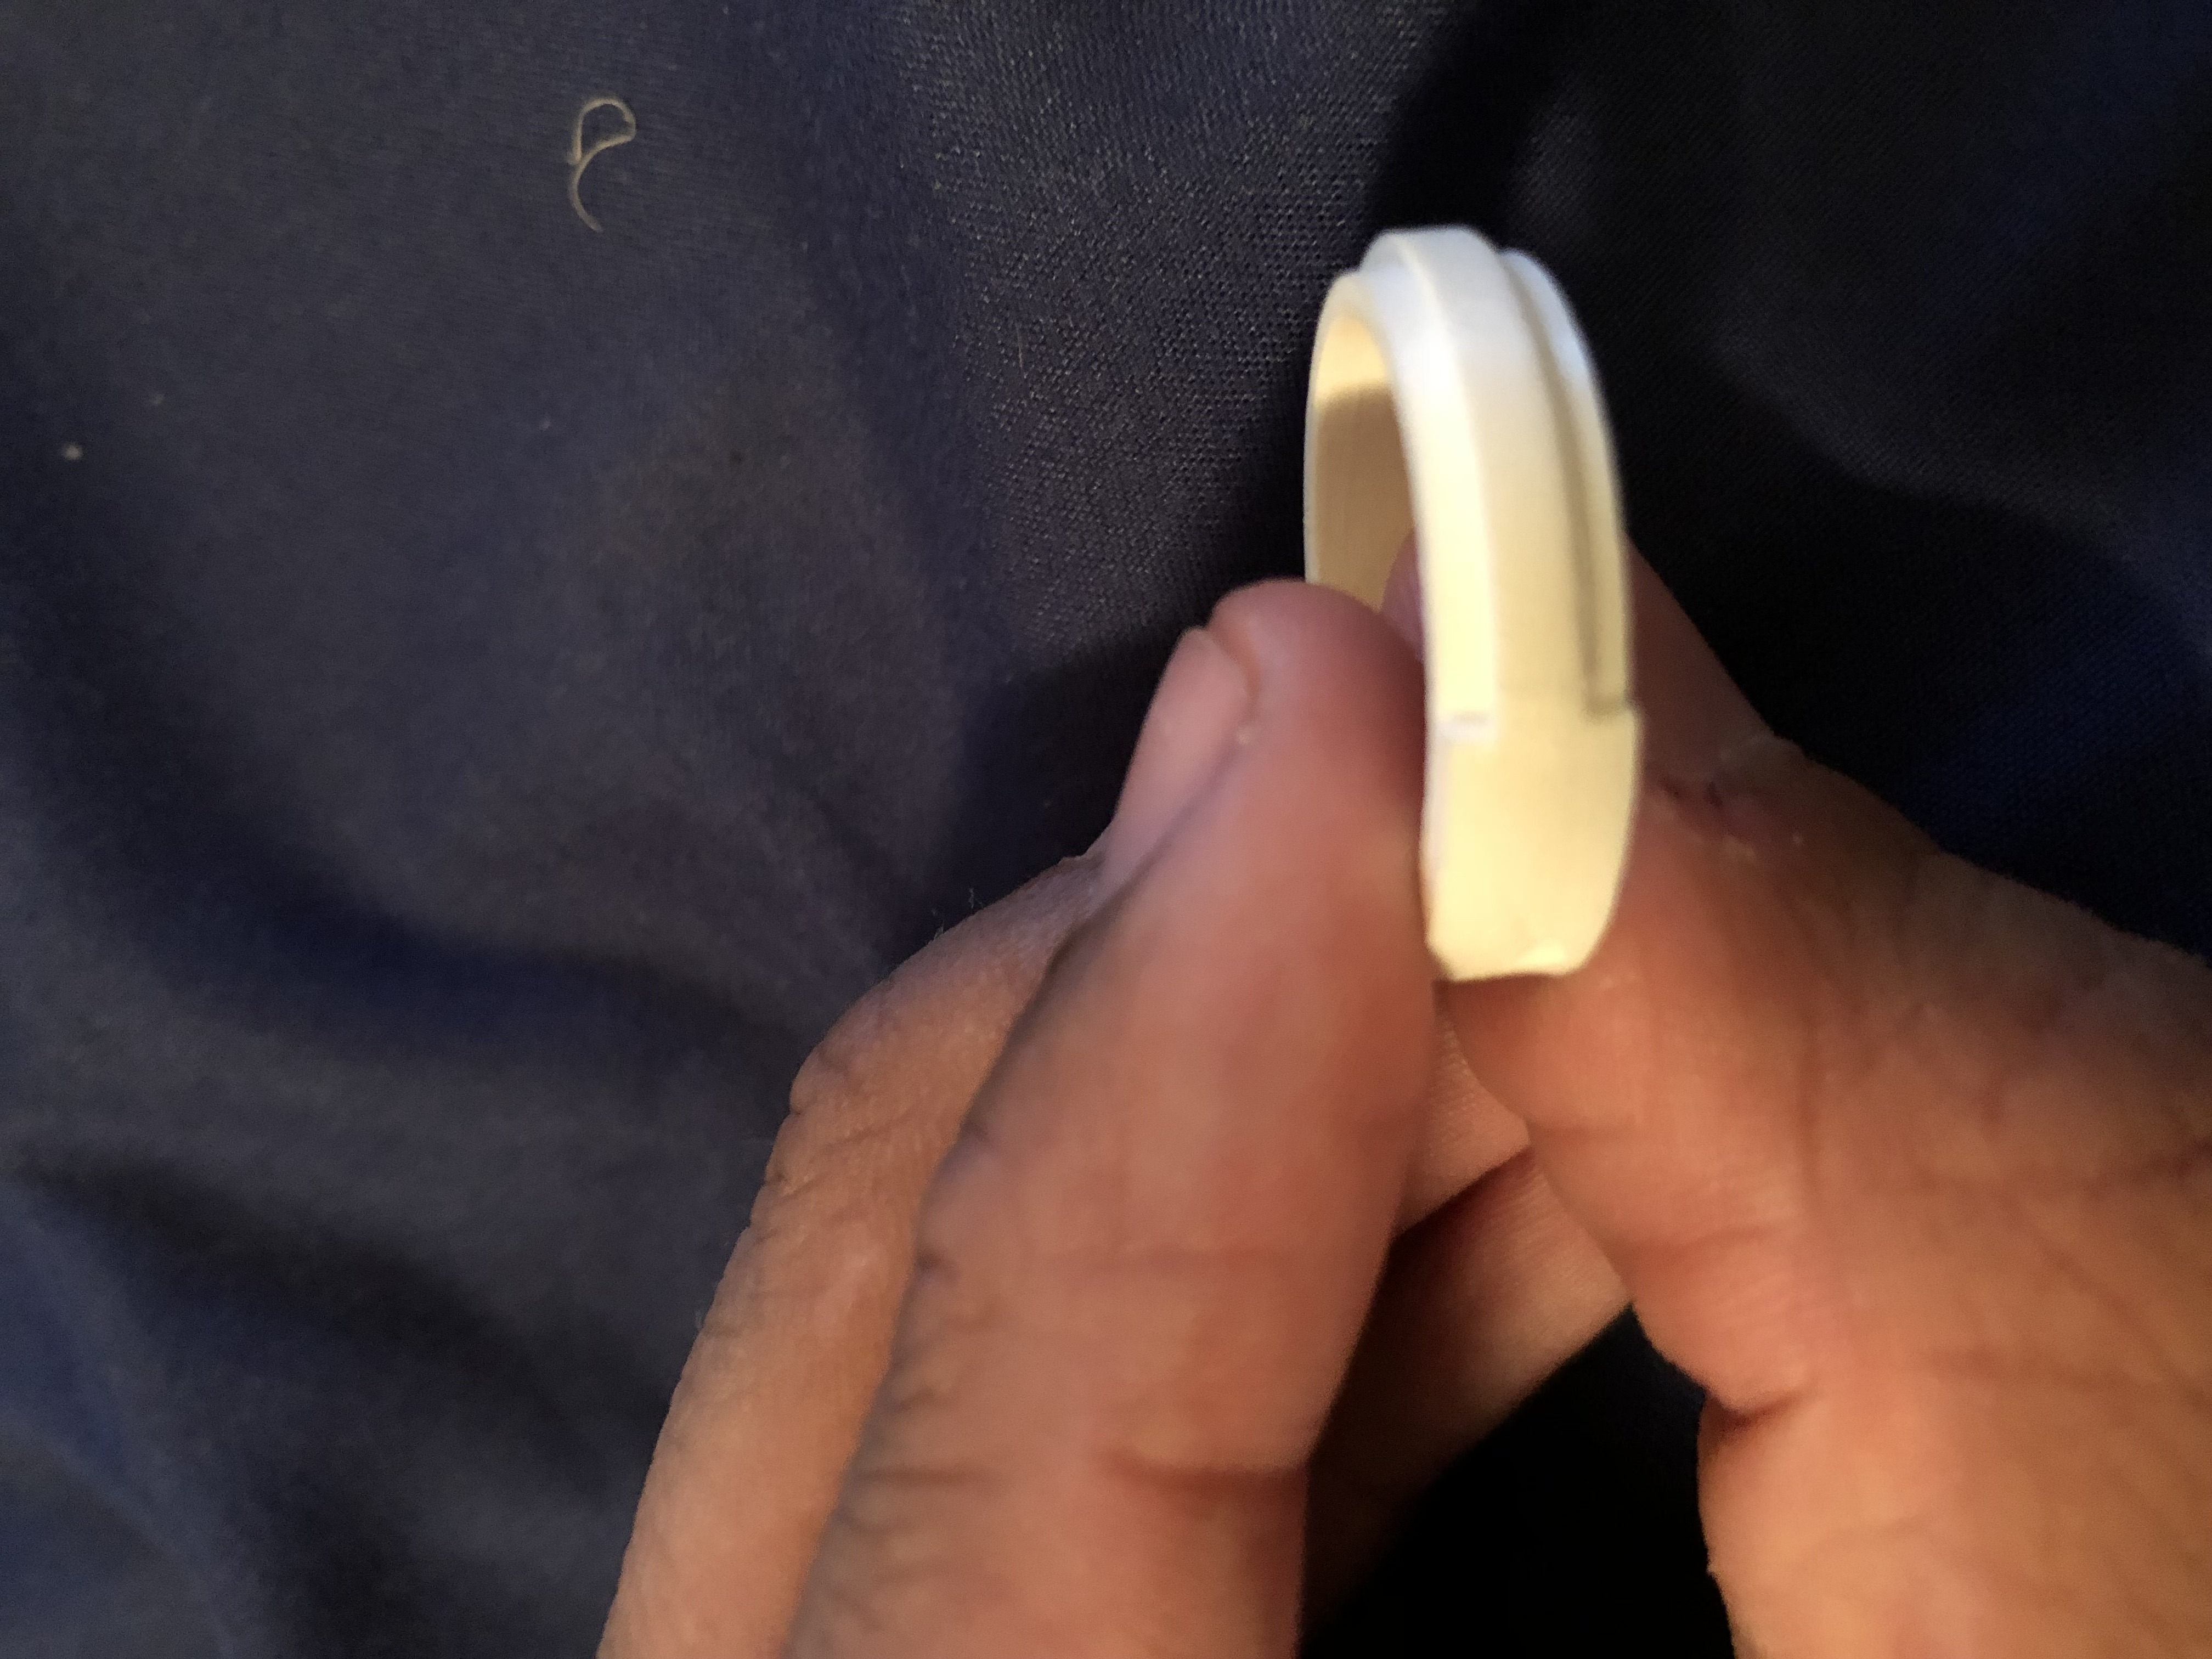
Final Ring Recieved
So I recieved my order from Shapeways on November 16. I was suprised overall with how fast they were able to get my ring out and shipped. I am completely satisfied with how my ring turned out. The ring looks very sharp and the material feels nice. The swoosh looks like something nike put exactly on the ring. the material makes the swoosh look subtle, and it can be seen by looking at it head on or from a particular angle. I think this is a cool hidden feature for the ring because some people won’t know what it is until they get up and look at it. I look forward to see how the material will stand over time.