Introduction
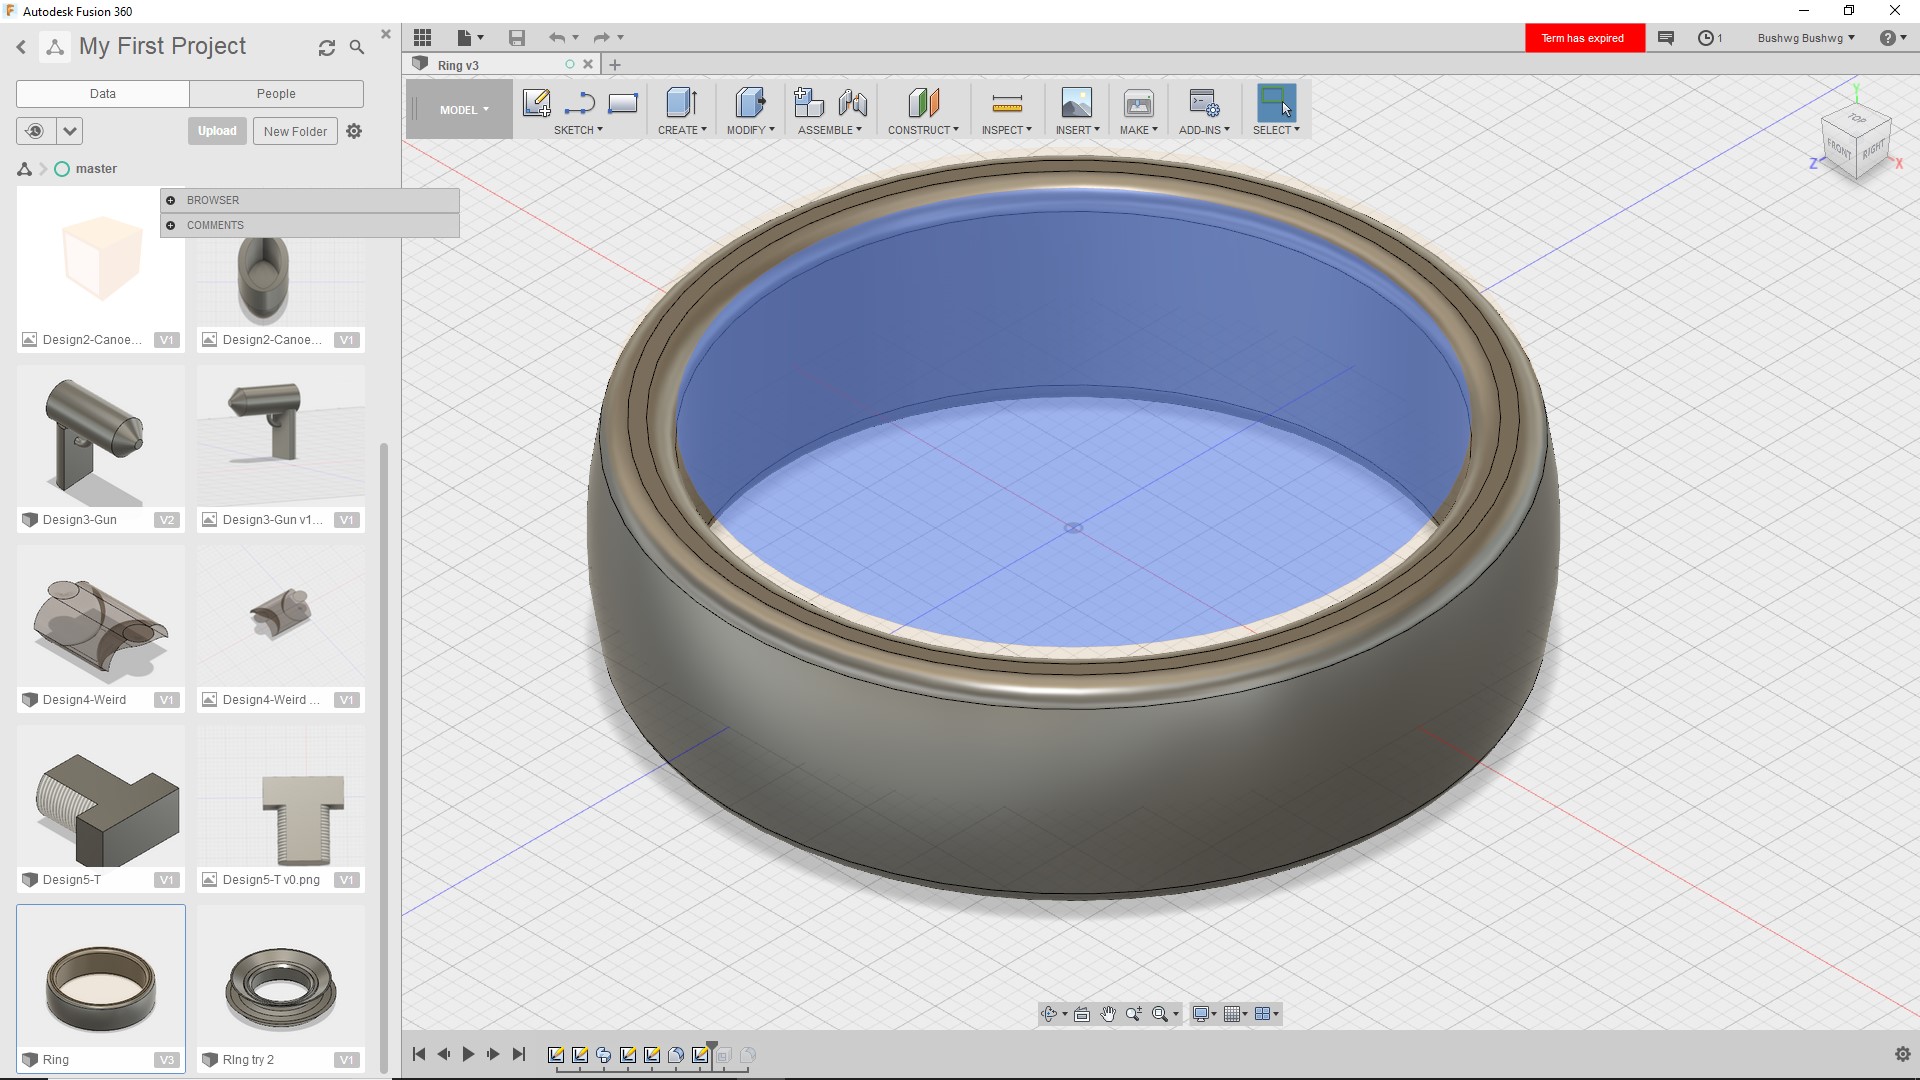
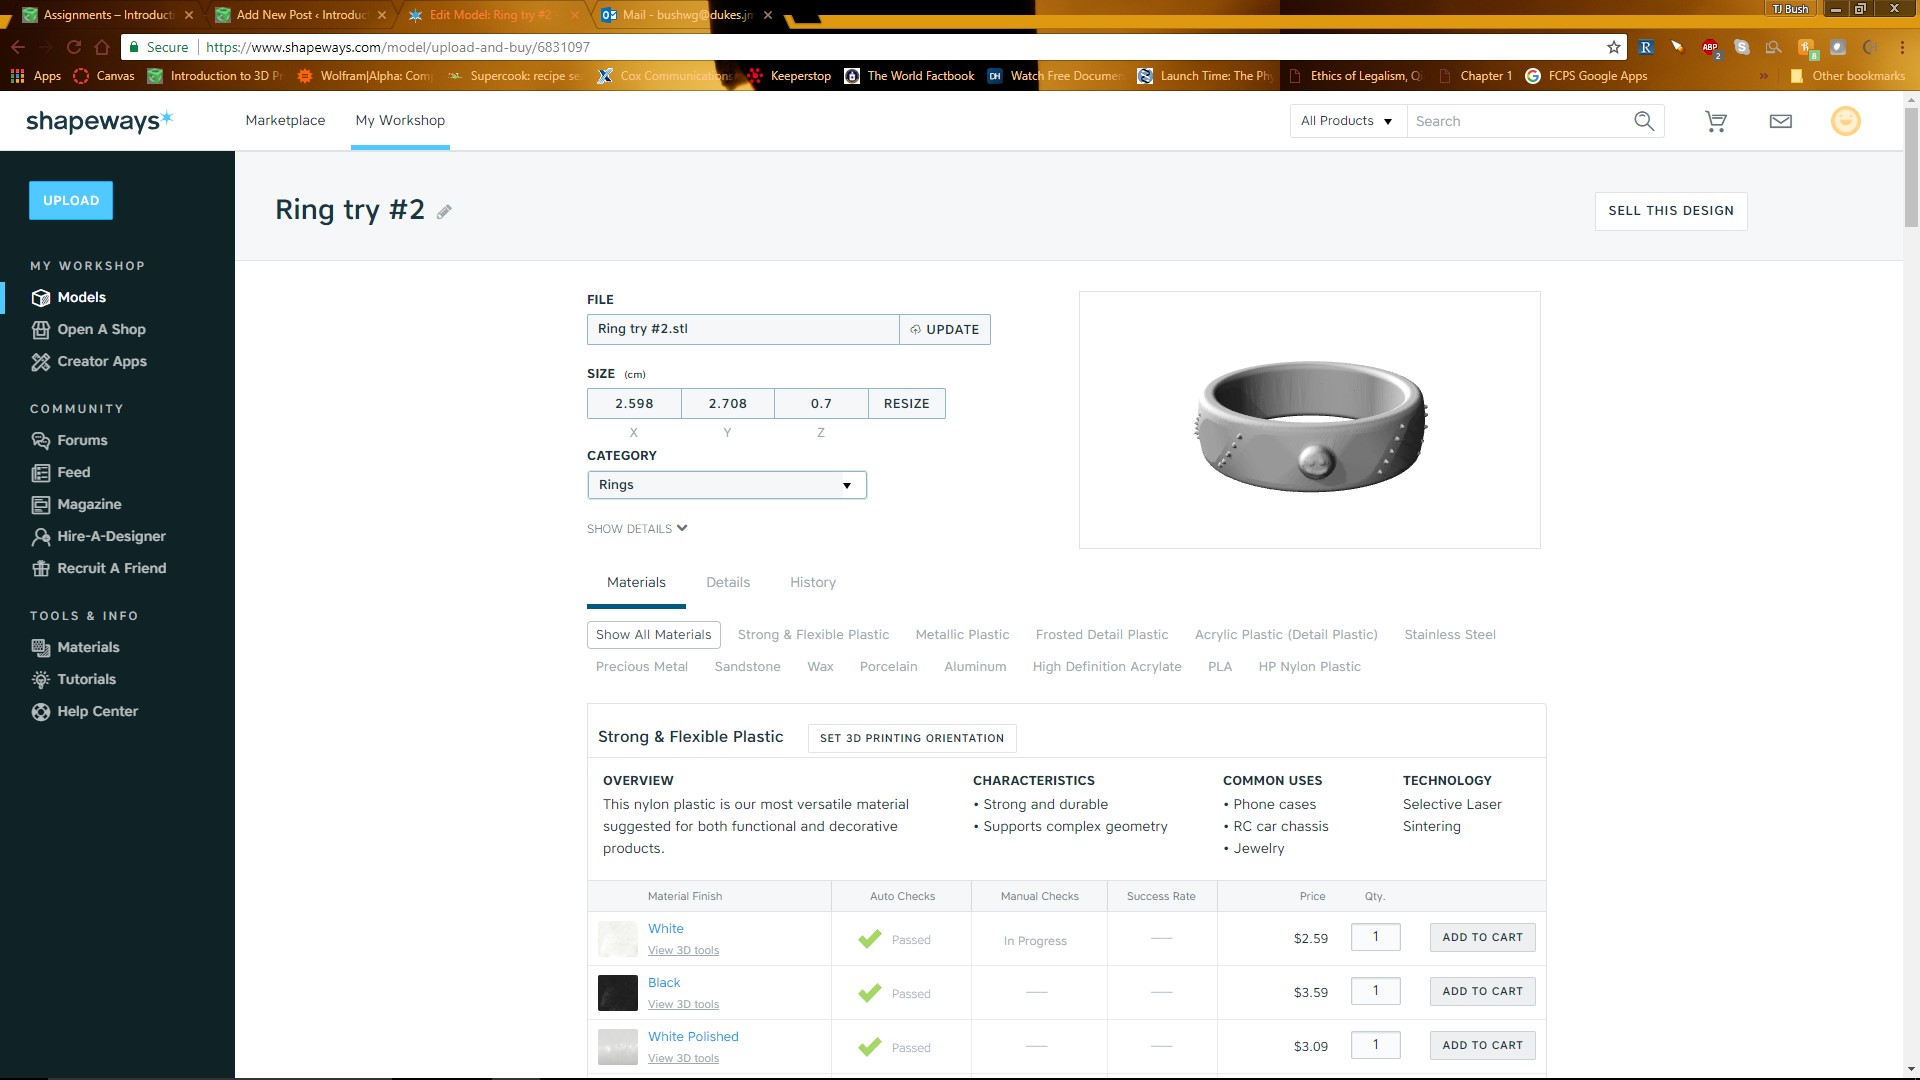
This ring project presented several challenges for me, and was certainly the biggest test that I have encountered in this class thus far. I ended up having to make two separate base designs for my ring, and had to make several design iterations for both base designs. In Fusion 360, however, my design ultimately stayed exactly the same throughout my entire experience. Below is a picture of that base design.
First (Failed) Design
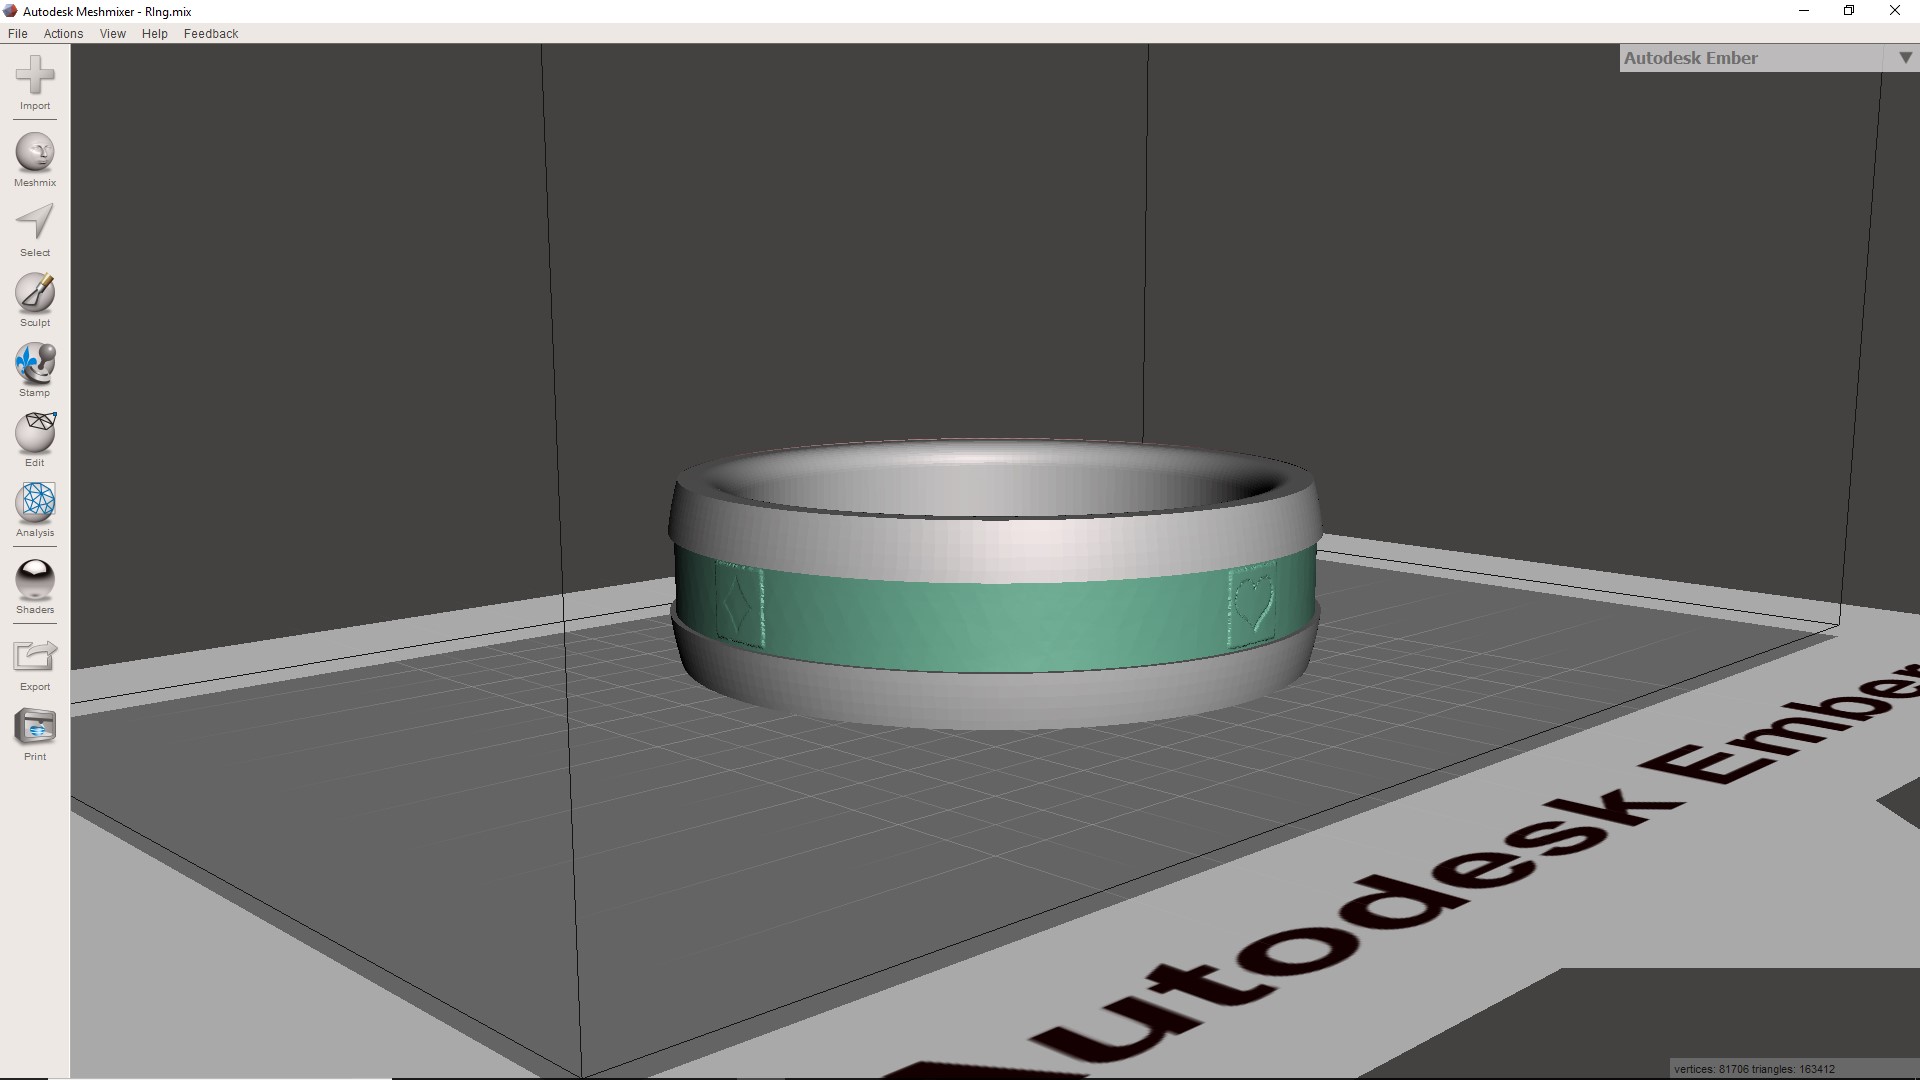
For my first design, I decided to try to make my ring “card themed” by using the stamp tool to stamp in all of the different suits of cards: hearts, diamonds, clubs, and spades. For the base ring I used the shell tool to make a line in the middle of the ring where I decided to stamp the different suits of the card.

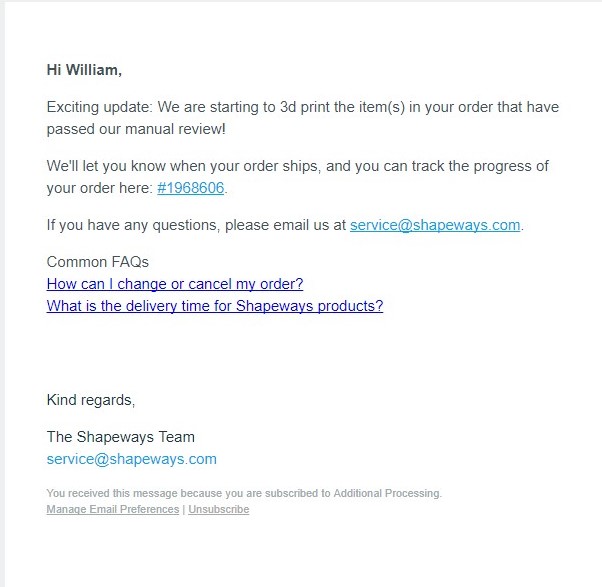
This was originally going to be my final design, and it actually passed the auto checks at first, however after I submitted my design to be printed and delivered, It failed the manual check and then they went back and re-did the auto check and it failed that as well as you can see. When I sent it to be printed, I received the following picture in an email:
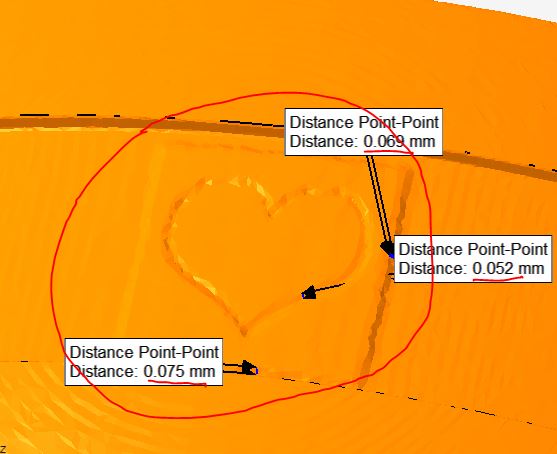
The email said that this part of my design was too fine, or not deep enough to be able to print. I tried to fix this by re-stamping it several times, and I thought I had it fixed, so I sent it to be printed yet again, but I got a very similar email back cancelling the print because of the same issue. At this point, I decided that it was not worth it to try to keep iterating this design, because it seemed as though there was nothing I could do to fix it without completely changing my design. Because of this, I decided to do just that.
Final Design
I completely changed my base design, and I started with just a normal ring in fusion 360, and then I did all of the altering in meshmixer. My first idea was to try to cut holes in the base of the ring so that I could have a sort of minimalist design where there were several holes in it so it looked like there were bands in sort of stripes going along the ring. When I tried this, however, I did the analysis tool in meshmixer and it tried automatically fixing these holes because it said it would not be able to print. The little indents in the picture below are where I tried to cut out the portions of the ring.
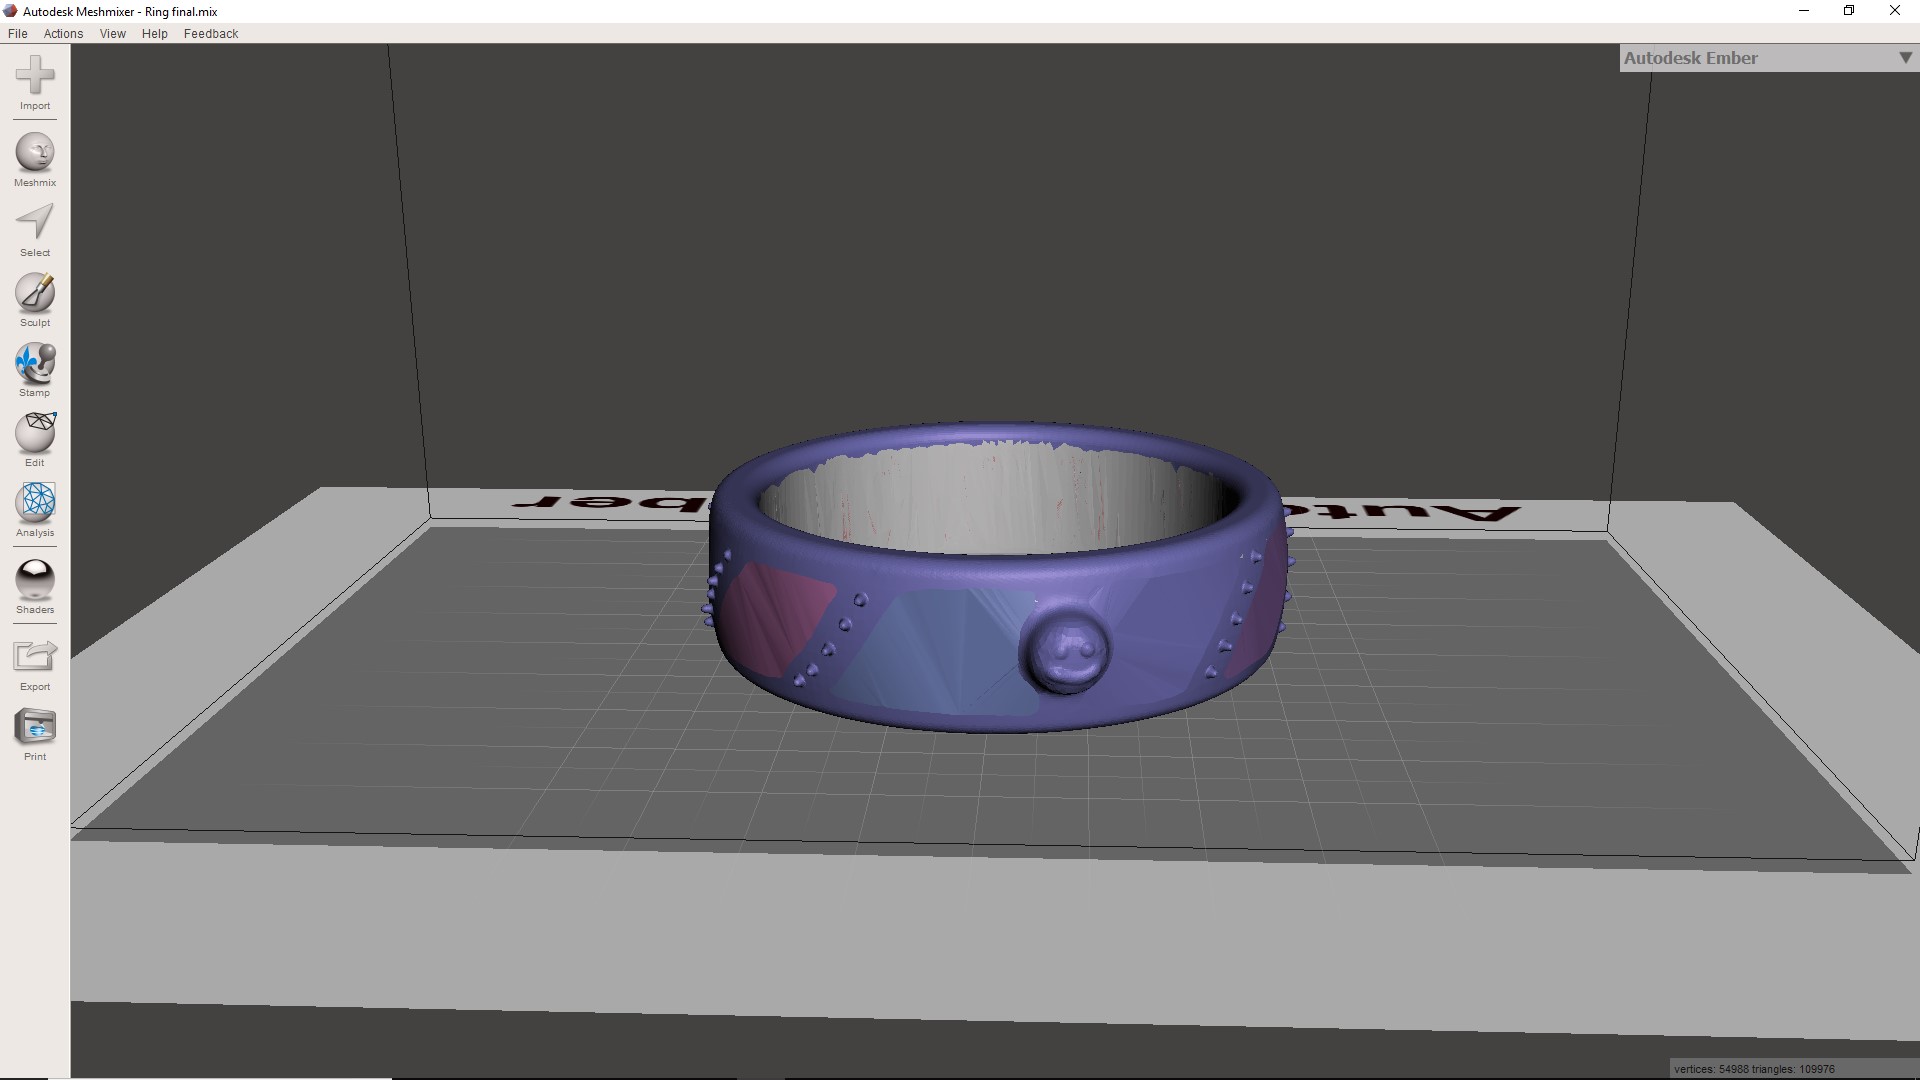
As you can see above, I used the draw tool to make the smiley face dimple that is front and center in the picture of my ring, and then I used the “spike” tool to make all of the spikes where I originally wanted the bands to be on my ring. This ring worked perfectly the first time I made it, and I did not have to make any iterations after I decided to fill in the holes that I originally created. This design passed all of the automatic tests the first go-around, and it also passed the manual check when I sent it to be printed, and it is currently on its way, and is projected to be delivered by November 16th.
Next Steps/Conclusion
My ring failed to print successfully on the 3D printers that we have, however, I am sure that the printers at Shapeways are much more capable of printing a more refined version of the ring, as our printers are simply incapable of printing some of the fine details of my ring.
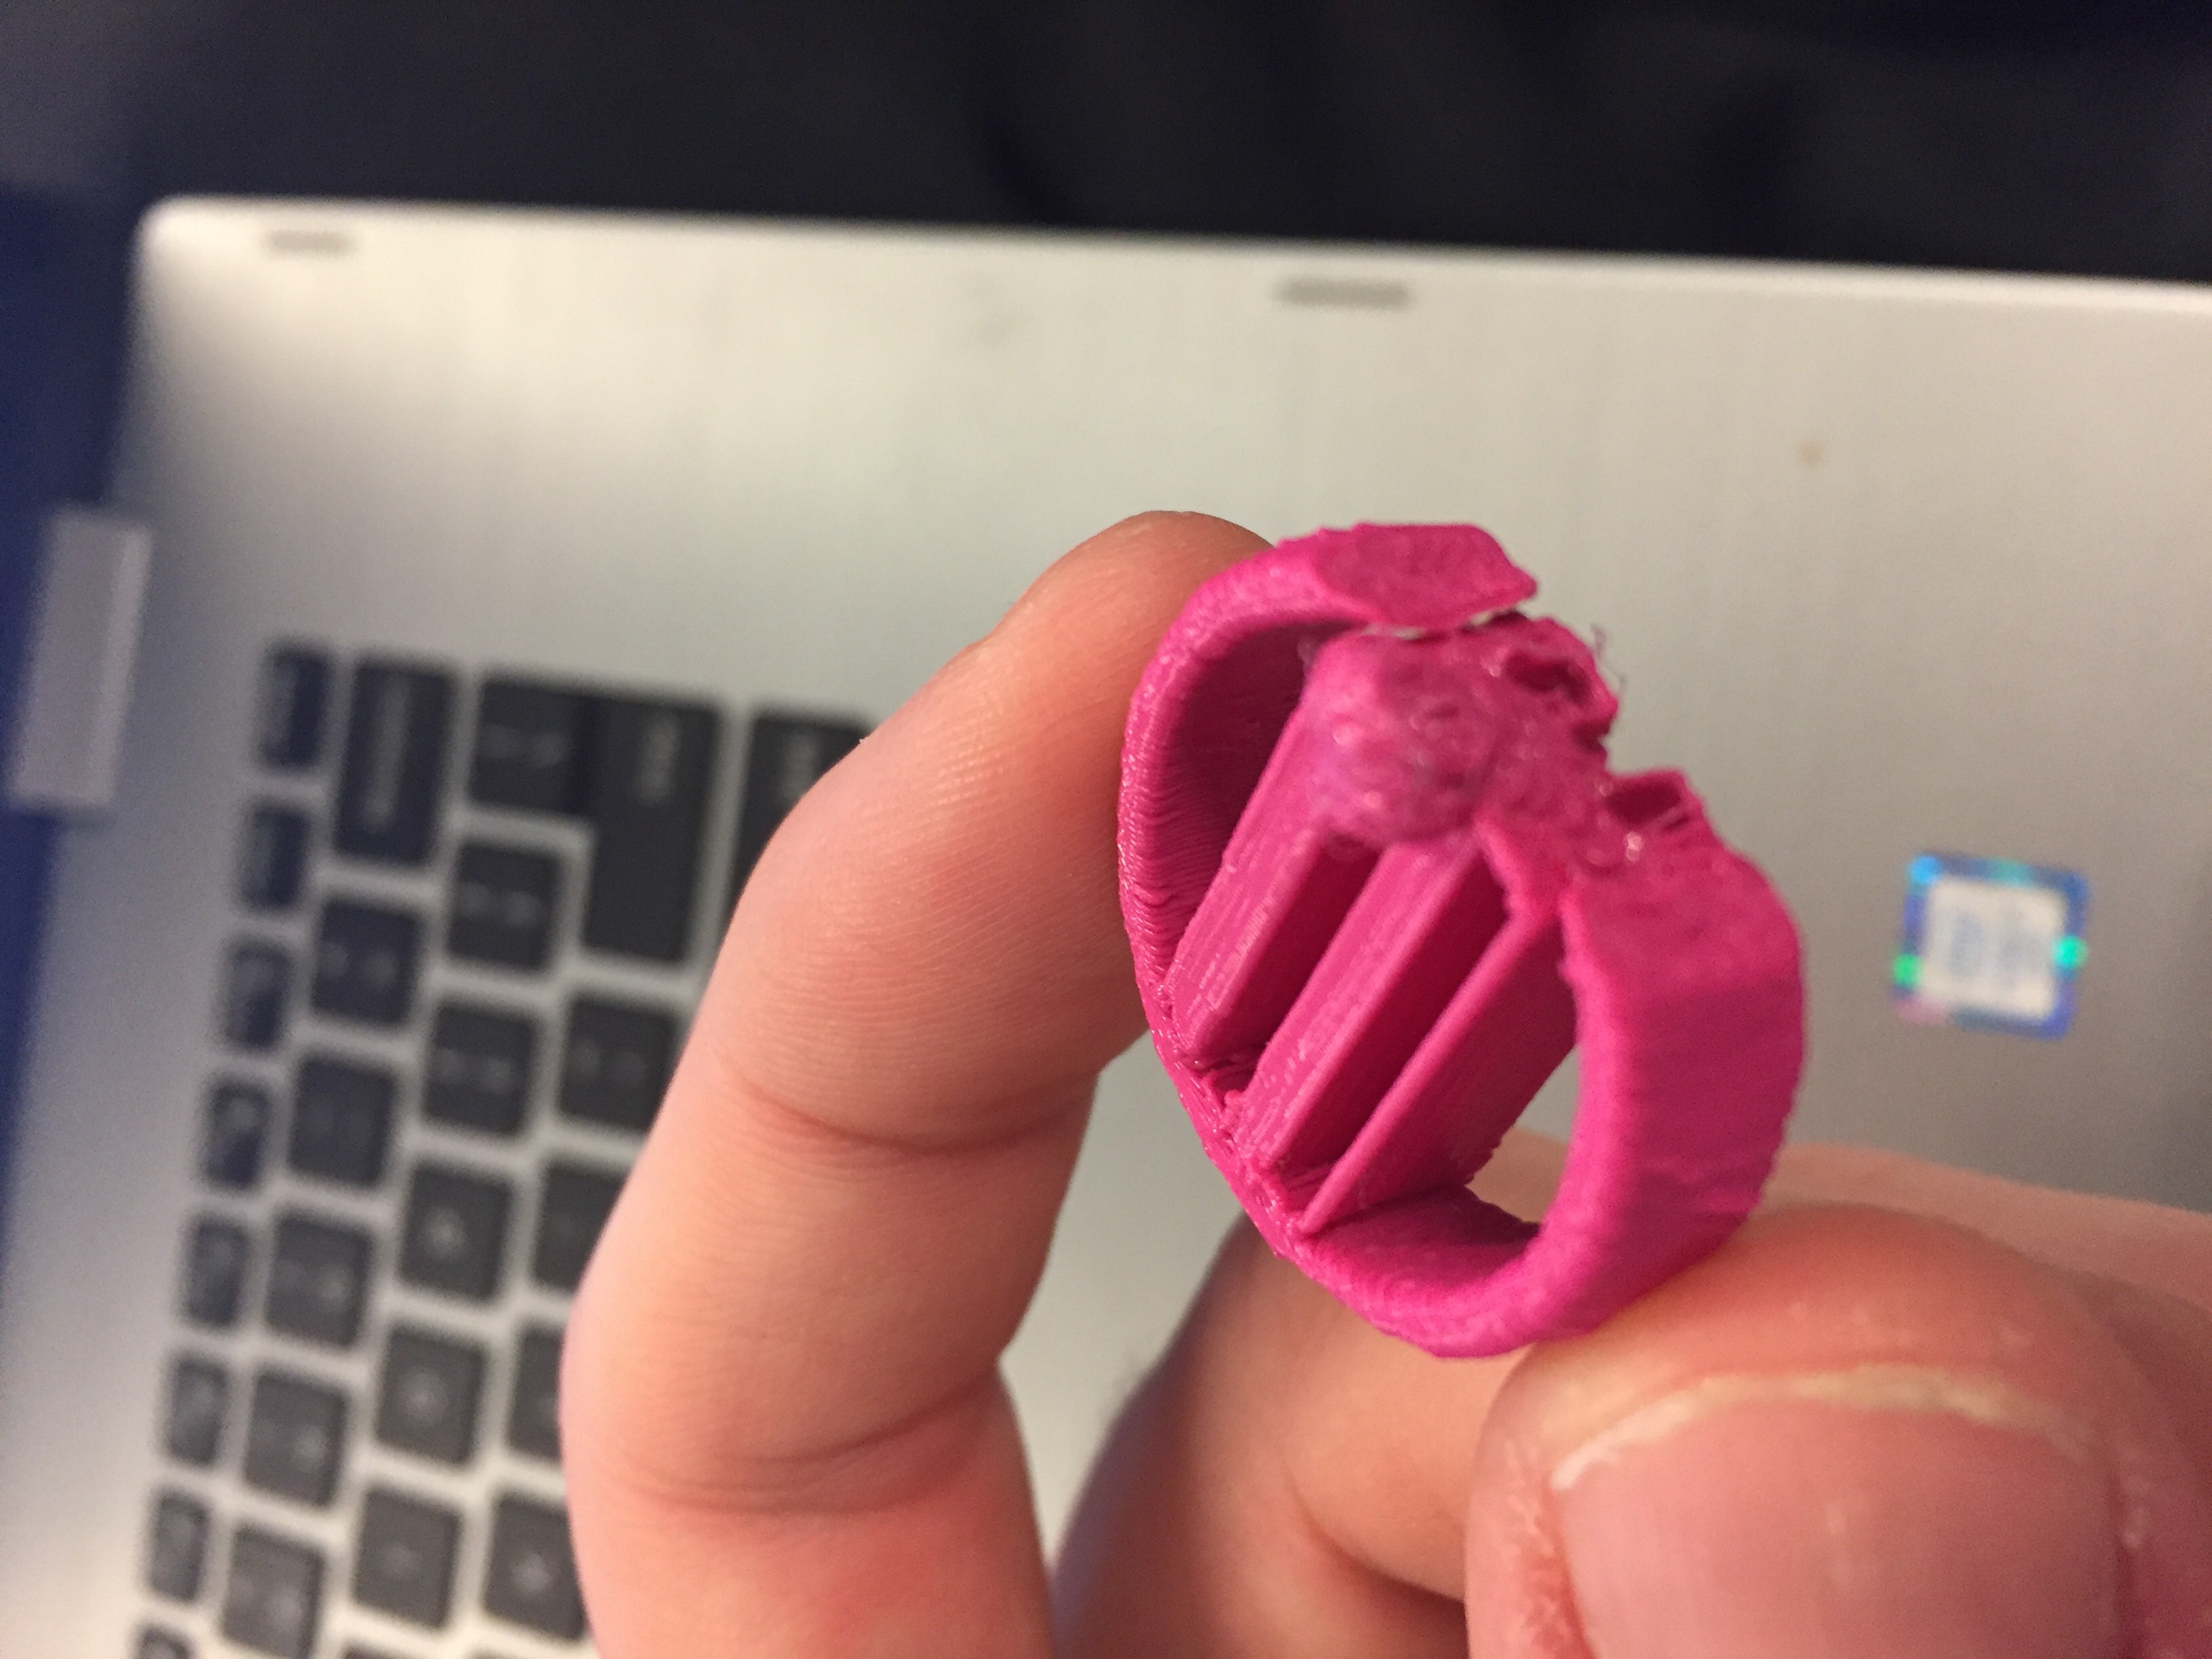
As you can see, the smiley face part of the ring failed to print, along with many of the spikes, because the printer that we have can not print that fine of detail.
Despite this failure to print by our printers, I am still very satisfied with my final design, and I can not wait to see how my ring turns out from shapeways!
Sharing
https://www.shapeways.com/model/upload-and-buy/6831097
UPDATE
After some issues with the Postal Service delivering to the wrong address, I was FINALLY able to retrieve my final print of my ring from shapeways. I decided to use the last material available on the checklist, the HP nylon plastic, to print my ring. I thought that choosing white as my color would be beneficial because I thought that the white would make certain aspects of the ring like the face on the big lump and the spikes stand out more. Unfortunately, I was incorrect with this assumption, and, as you can see below, the print did not show the details of the ring as well as I would have liked.

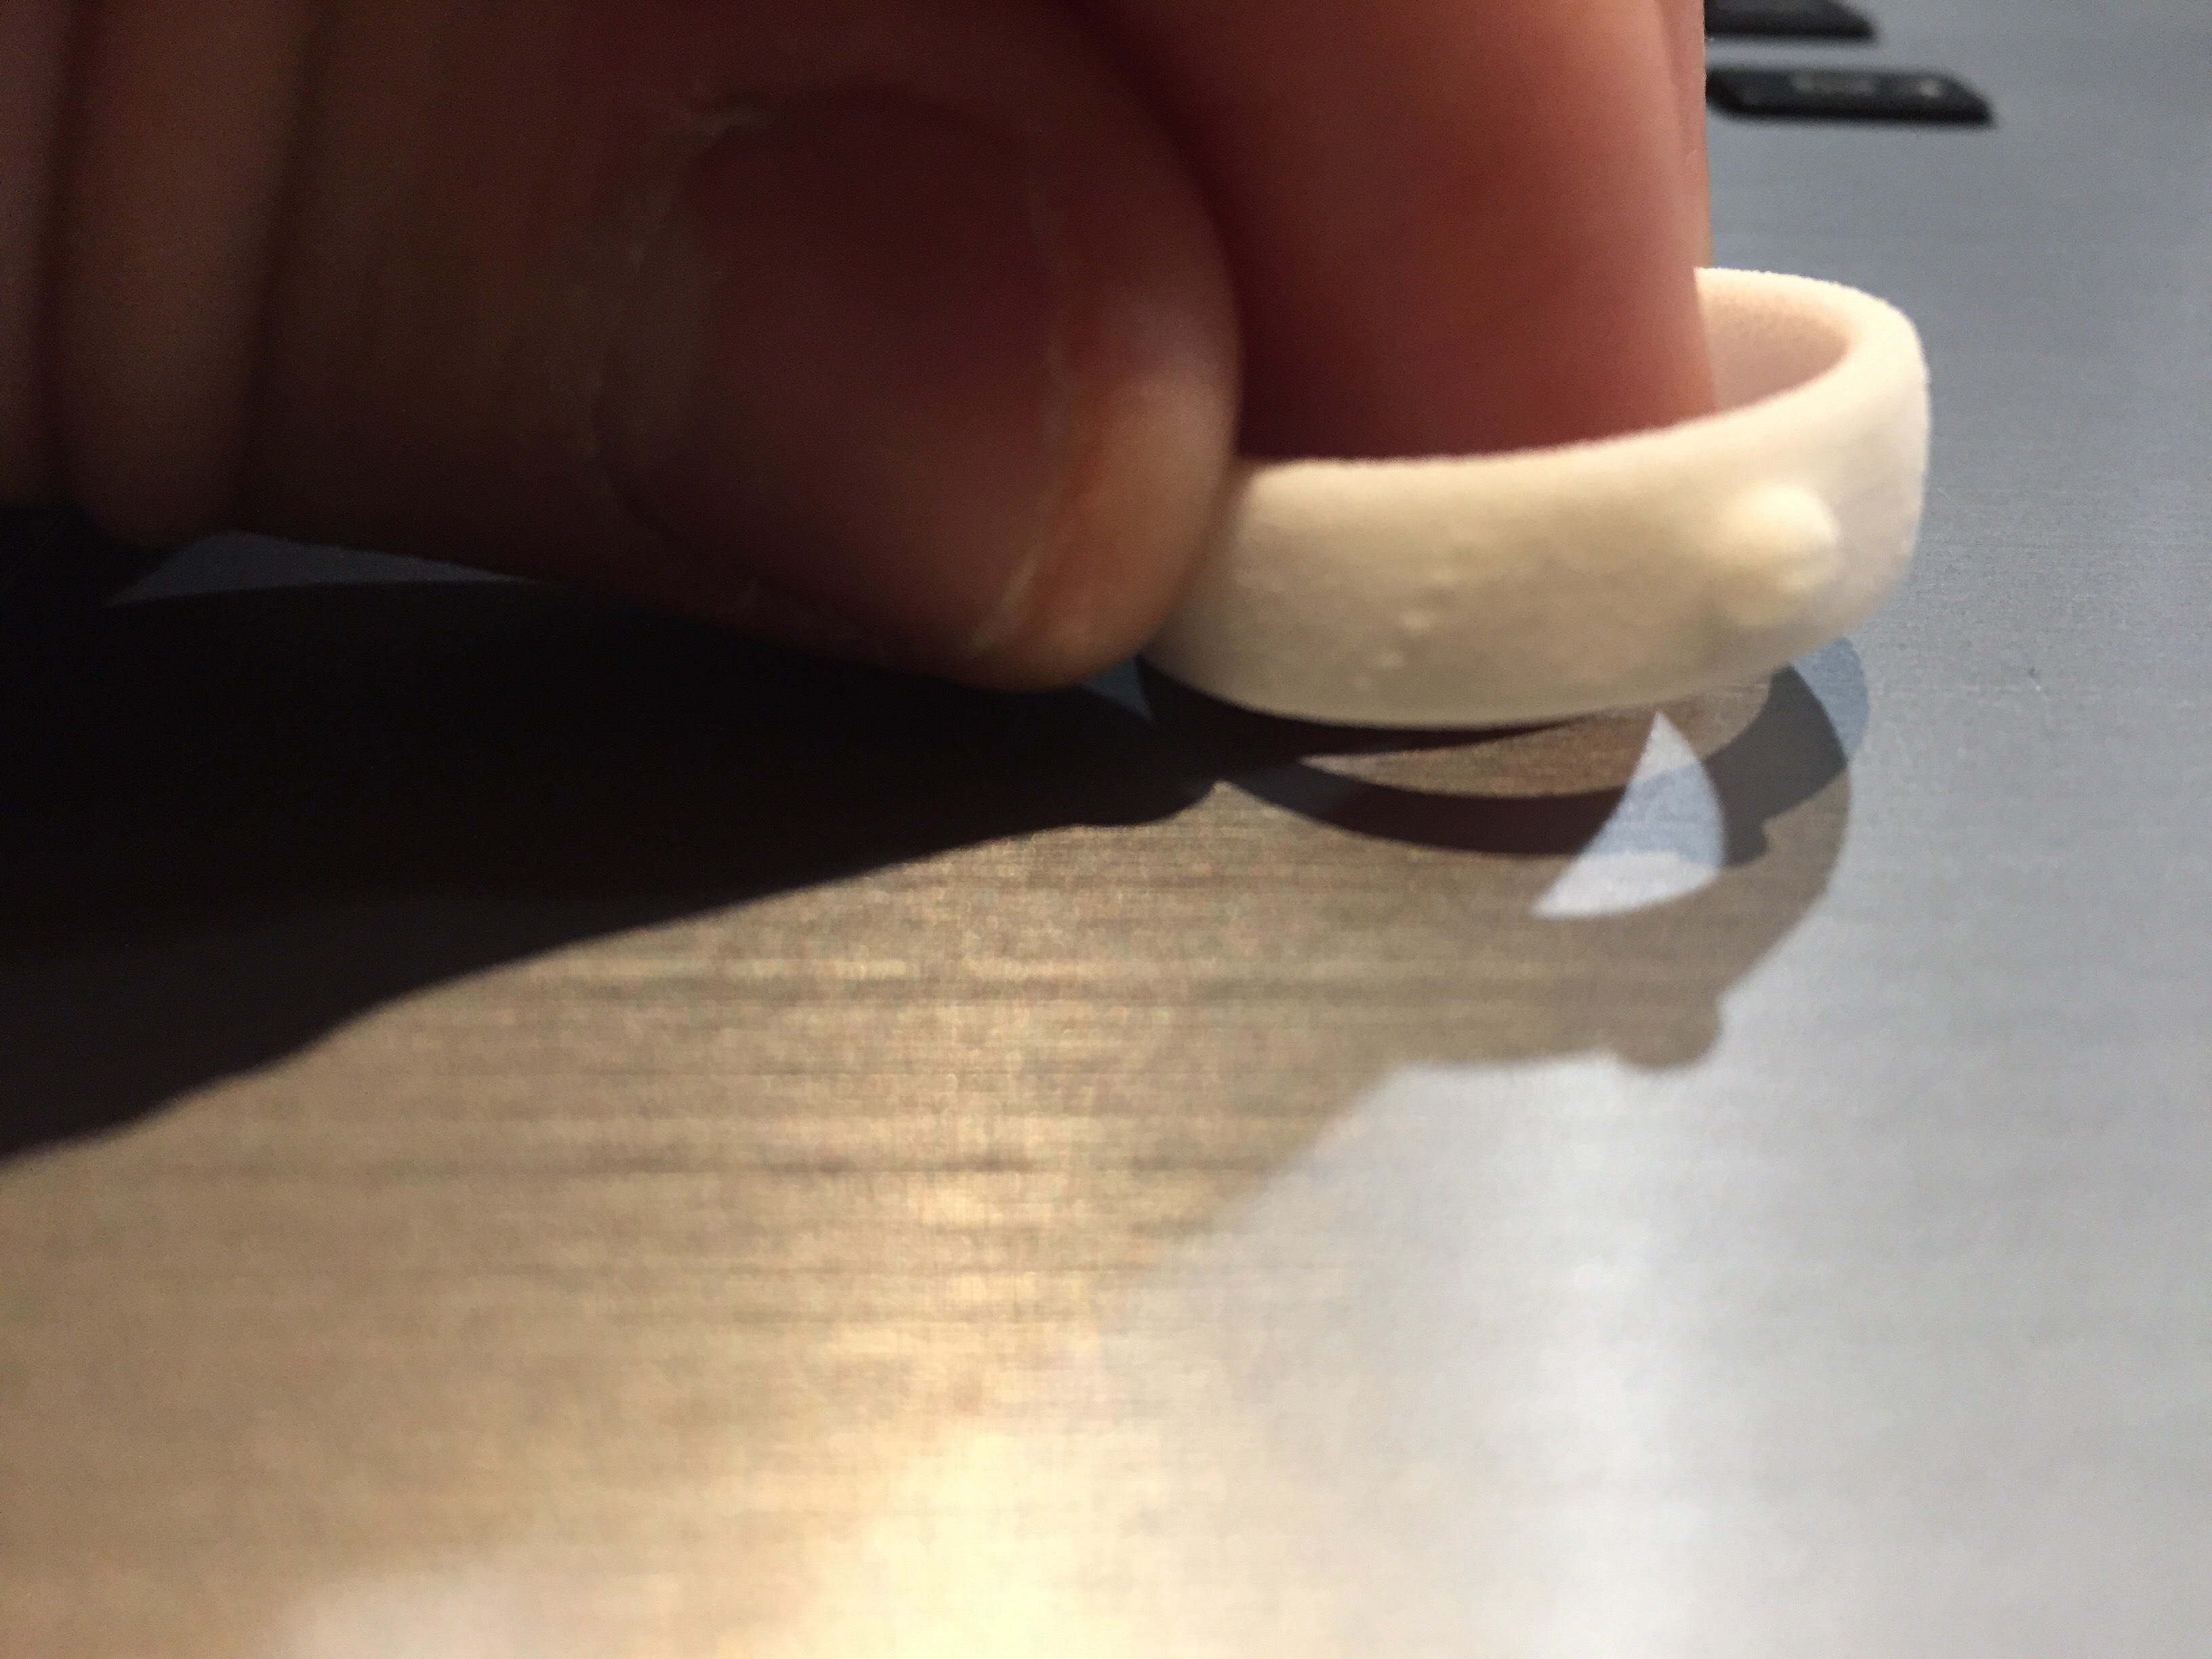
Overall, however, I am still generally satisfied with how this project turned out. I enjoyed the process of actually creating the ring very much, and would not be opposed to starting over and trying to get even more creative with the design. If I could change one thing about this project, I would definitely make the spikes slightly bigger so that they show better, along with making the eyes and mouth of the smiley face on the bump bigger.