Intro
This project was definitely the most daunting of everything we’ve done so far in this class. When I was told that I was going to have to write a code and and 3D print something using that code, I was unsure of what to think. Code looks like it’s a difficult thing to do, but after a quick walkthrough of the basics, I suddenly felt a little eased. Over break, I began to brainstorm on what I could design. I eventually decided to print a Turner’s cube, which looks intricate but really is not. It is essentially a cube that repeats itself and gets smaller – on the inside. I figured it would not be too difficult to create the base cube for my first design, and then finish the Turner’s cube for the second part.
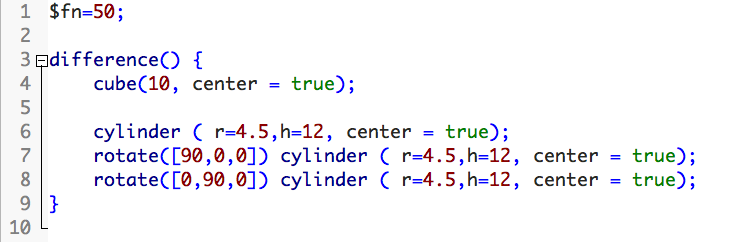
I started with a base cube and subtracted two cylinders out of it, in opposite directions, to begin the base of the cube. This was the end result, and it looked pretty much exactly how I hoped it would. This was very simple to do and easy to construct, yet it looked interesting enough that I felt it satisfied the first part of the project. I used the “difference” function to create the open space inside of the cube, and I used cylinders with specific measurements to do so. Once the code was completed, this is what the render looked like.
However, the print did not work as it was supposed to. This was the result.
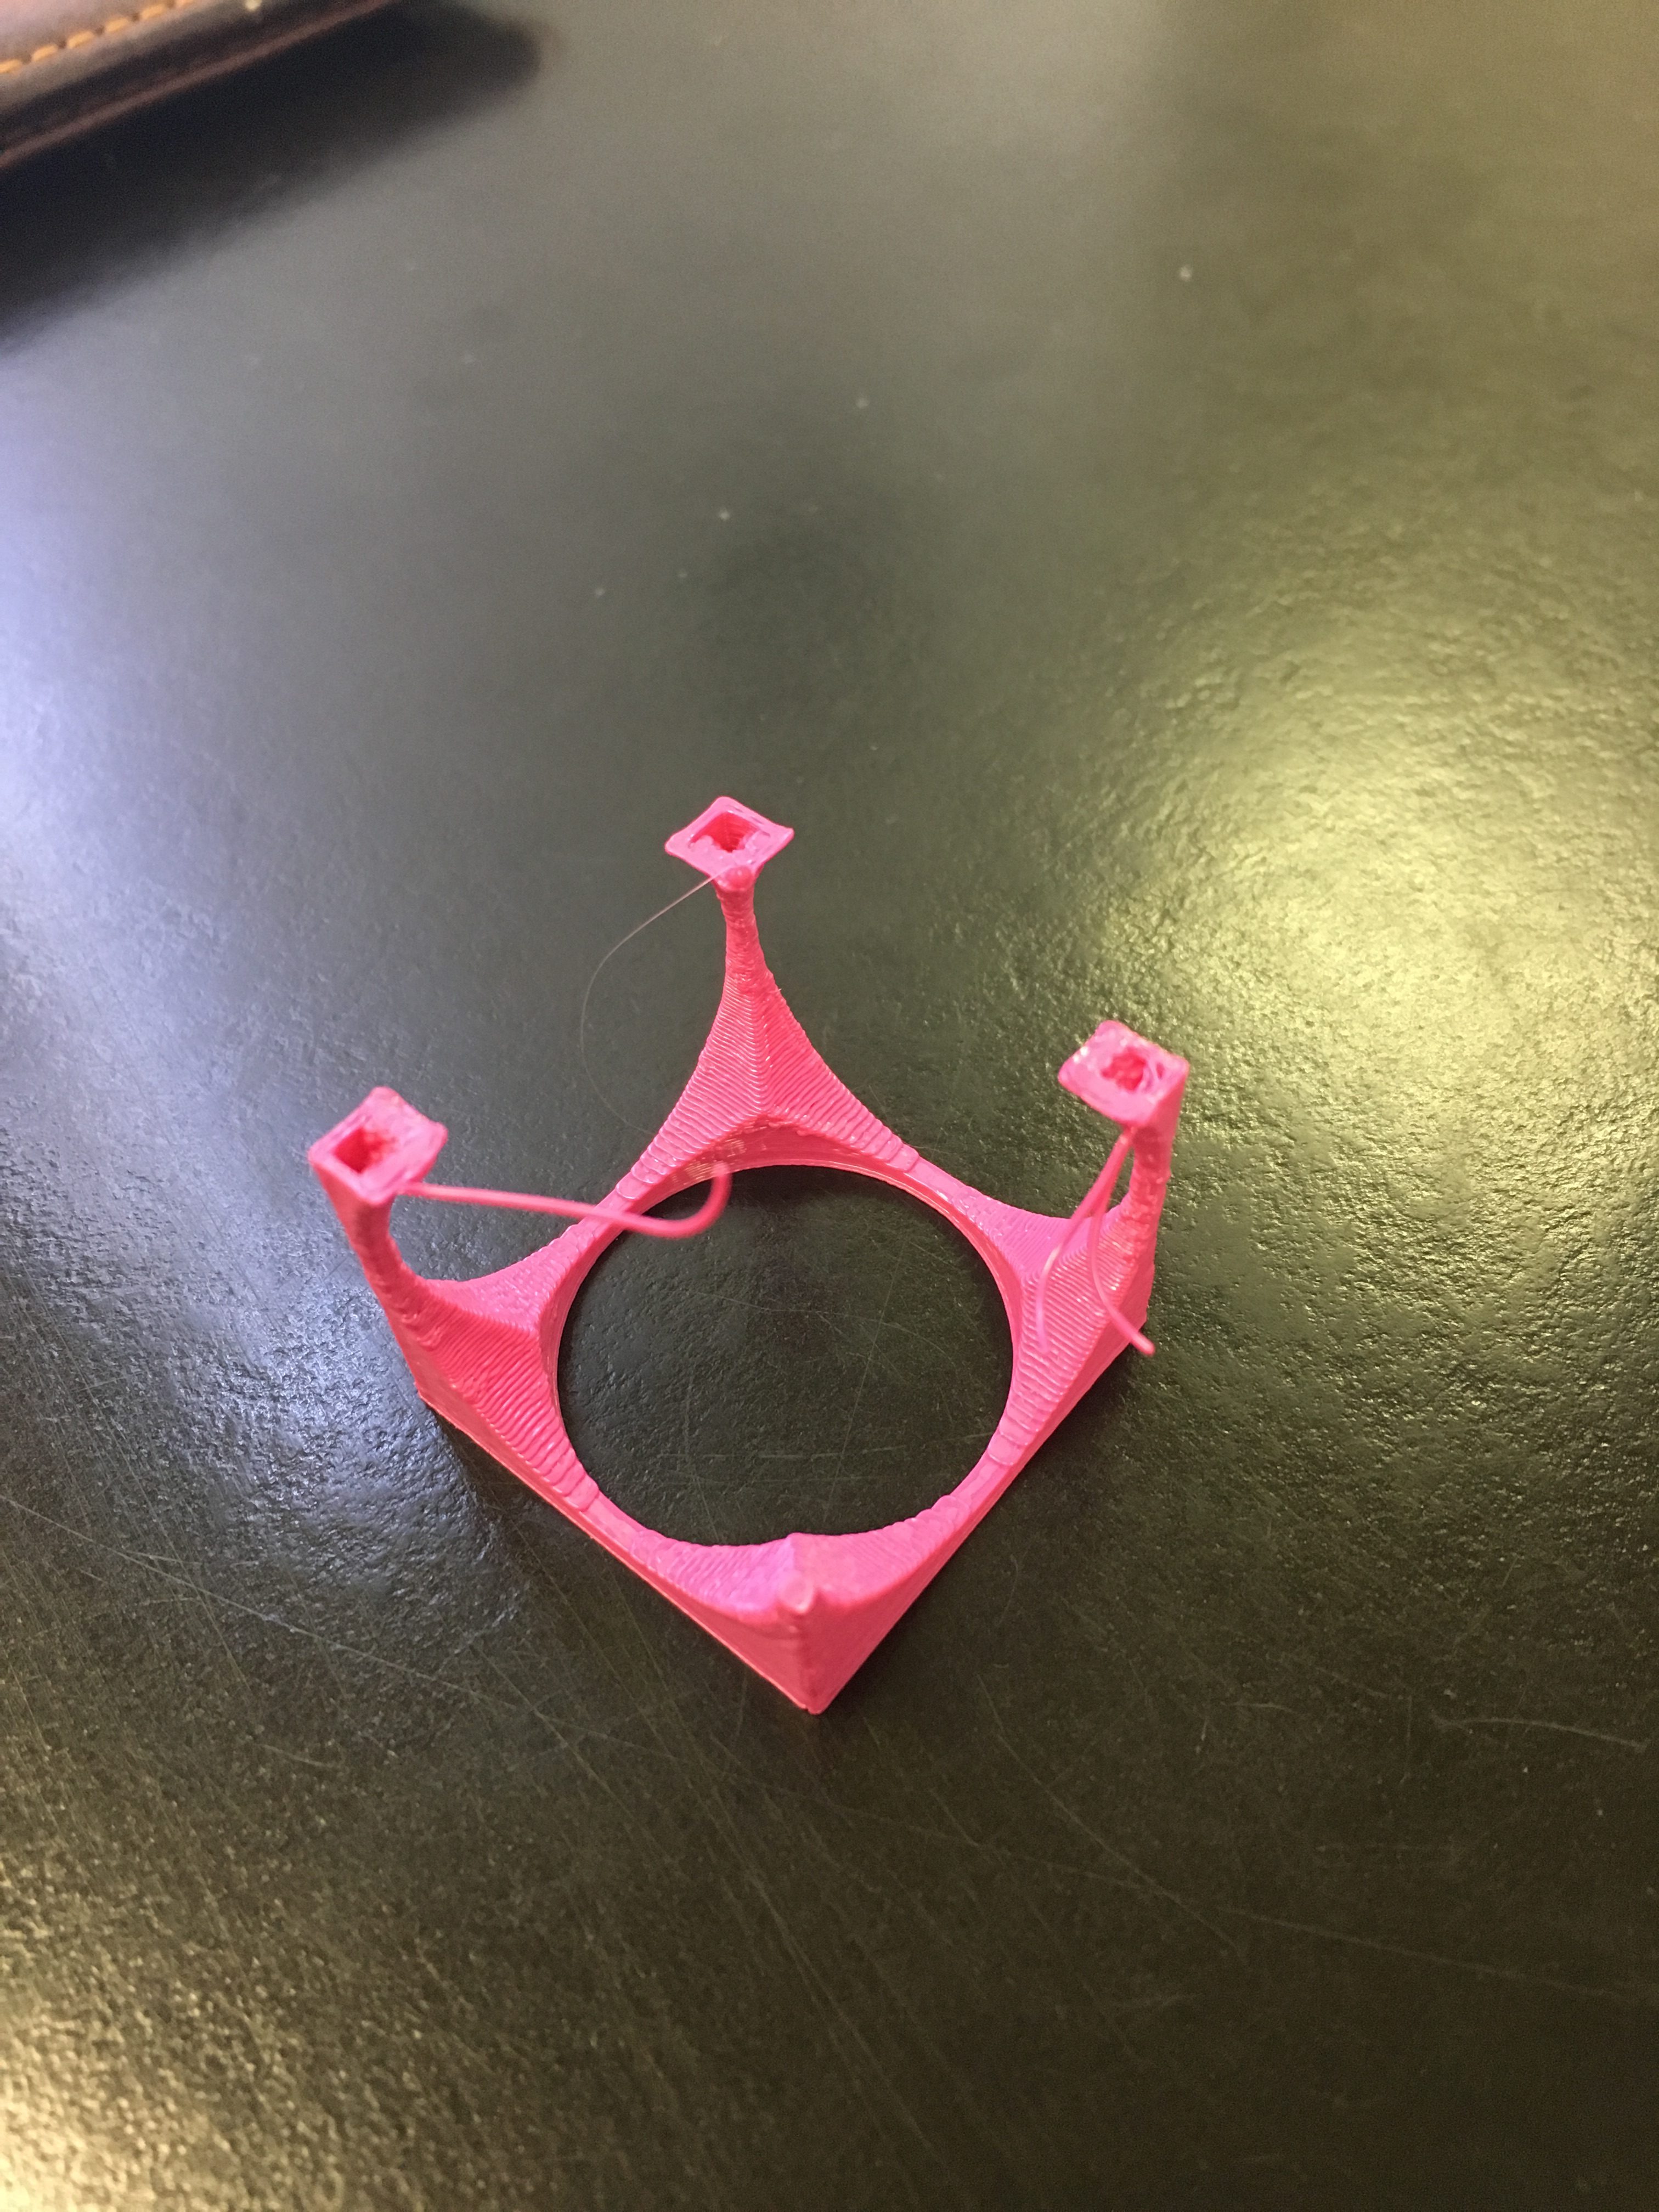
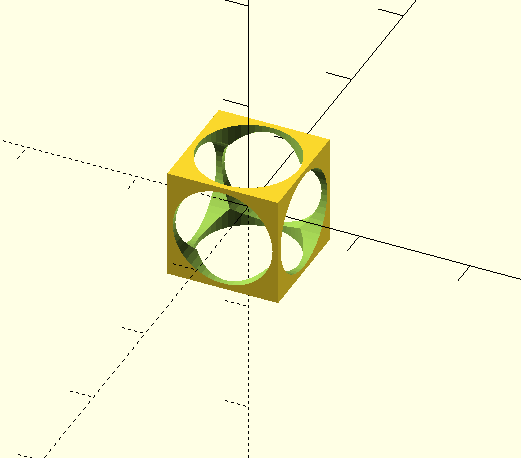
I tried to print the cube a second time on a smaller scale and got the same result. The “edges” were not strong enough to support the top part of the cube and it kept falling apart. I hoped that once the cube was completed, as the inside would be much stronger, it would be able to print accordingly. For the second, more intricate part of the project, I copy and pasted the initial code and added some modifications to make each incarnation smaller to fit inside of the cube. This gave it the Turner’s Cube look. I was careful not to add too many cubes inside for a fear that it would not translate well when printing. I used smaller numbers to manipulate the original code, and this was the end result.

It looked pretty cool, just how I hoped it would. Fortunately, it printed correctly the first time, and this was the final result.
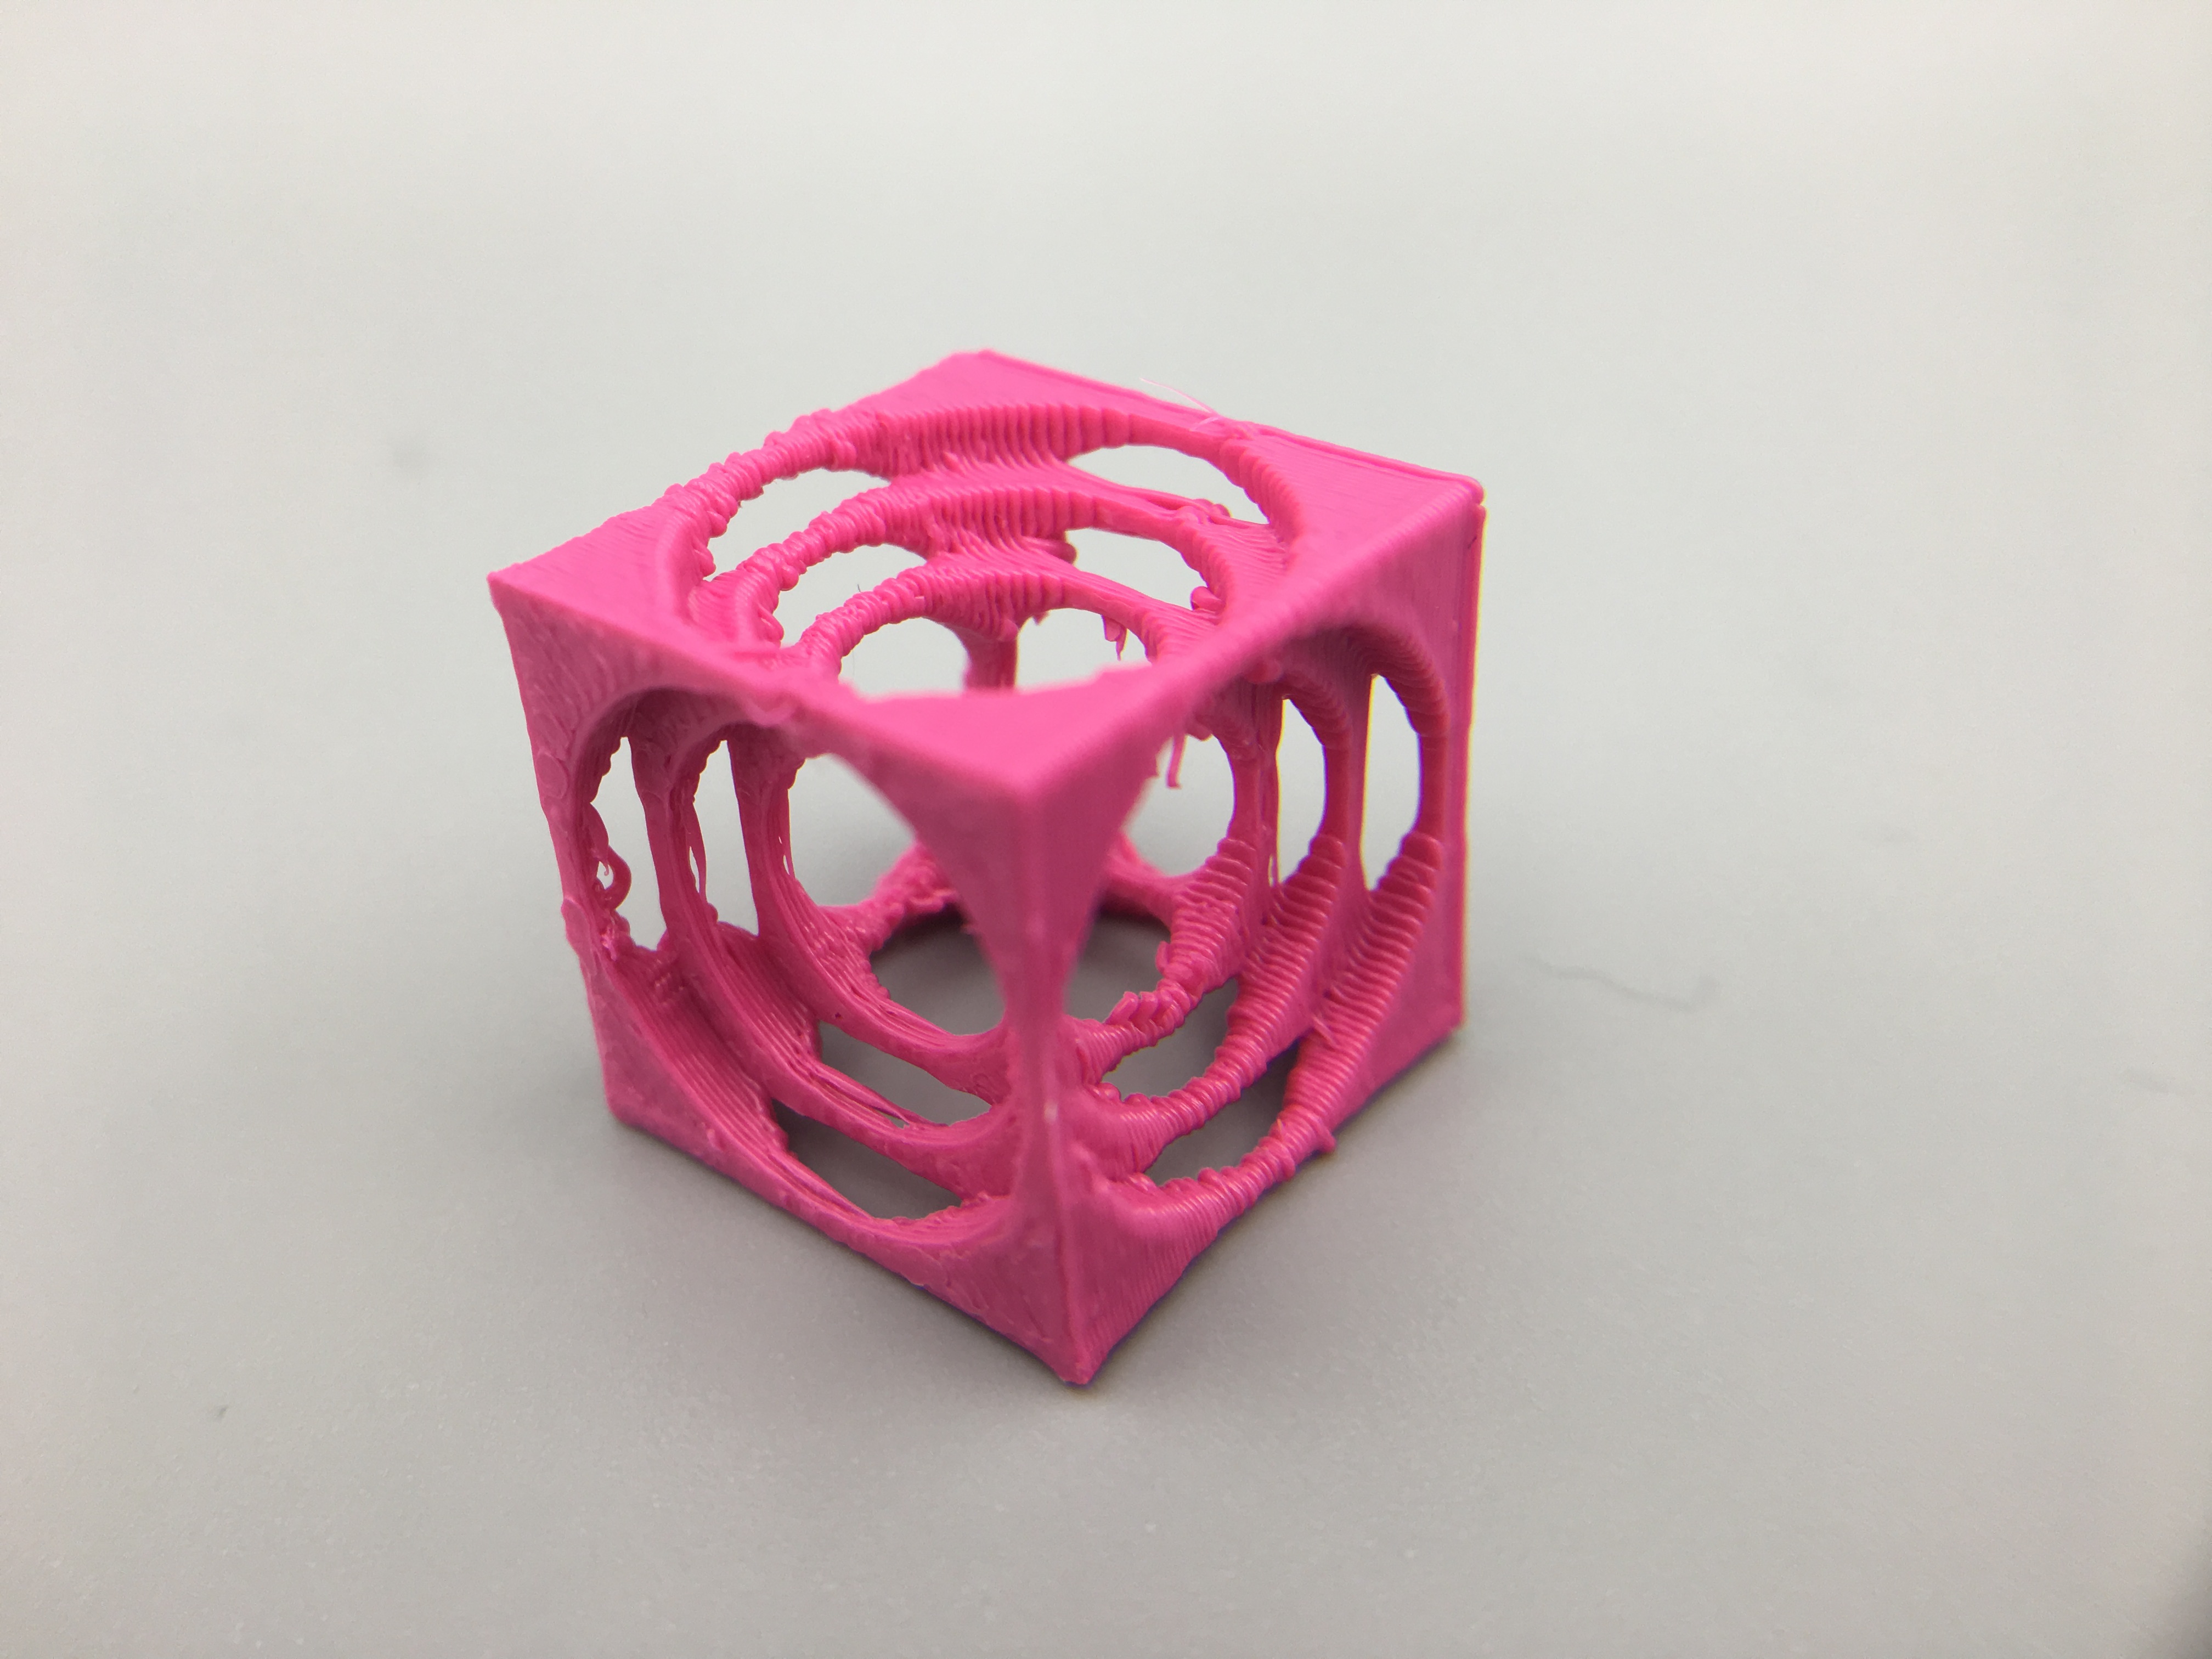
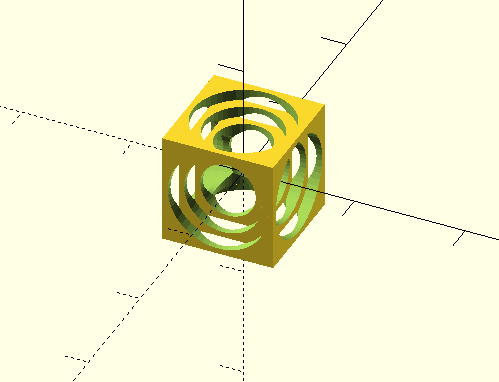
This is definitely a level up from my first design mainly because it is so visually appealing. I wasn’t quite sure how I was going to make the turner’s cube work and look correctly through code, but it turned out to be not so difficult. I think another reason it is a level up is because I wasn’t completely positive it was going to print correctly. The first simple code wouldn’t even print correctly, and I wasn’t sure this one would either, but it did (although it came out a little messy).