Working with OpenSCAD was really fun and interesting! I didn’t have a chance to code before but it was an amazing experience and I hope I can code something else in the future. I am not going to say it was easy to figure out how everything worked, most likely because I made a lot of mistakes and I had to figure out what I was doing wrong. However, with the help of Mrs. Taalman and the Cheat Sheet could finally start my project. Compared to the other programs we used throughout the semester, I liked OpenSCAD the most.
When I started to think about what my project should be about, I just finished playing Monopoly. I am a great fan of table games so I decided that I should do something related to it. And, what could be better than the object that is present in most of them, the DICE! I checked out if it would be a good idea to do it and I started working on it.
The code I used was like this:
difference(){ //here I make the difference of everything between the cube, the sphere and the small spheres–difference formula.
intersection(){
cube(20, center=true); //Under it I made an intersection between the cube and the sphere to give them that curve in the corners of the cube
sphere(15);
}
translate([10,0,0]) //from here on I made small spheres to obtain the points of each side of the dice
sphere(2);
translate([-10,5,0]) //face 1
sphere(2); // face 6
translate([-10,-5,0])
sphere(2);
translate([-10,5,5])
sphere(2);
translate([-10,-5,5])
sphere(2);
translate([-10,5,-5])
sphere(2);
translate([-10,-5,-5])
sphere(2); // face 6
translate([0,10,0])
sphere(2); // face 3
translate([0,10,5])
sphere(2);
translate([0,10,-5])
sphere(2); // face 3
translate([-5,-10,-5])
sphere(2); // face 4
translate([5,-10,-5])
sphere(2);
translate([-5,-10,5])
sphere(2);
translate([5,-10,5])
sphere(2); // face 4
translate([0,5,10])
sphere(2); // face 2
translate([0,-5,10])
sphere(2); // face 2
translate([0,0,-10])
sphere(2); // face 5
translate([5,5,-10])
sphere(2);
translate([-5,5,-10])
sphere(2);
translate([5,-5,-10])
sphere(2);
translate([-5,-5,-10])
sphere(2);
} //face 5
To understand the code better, I attached a picture of it below.

The printed out version looks like this:
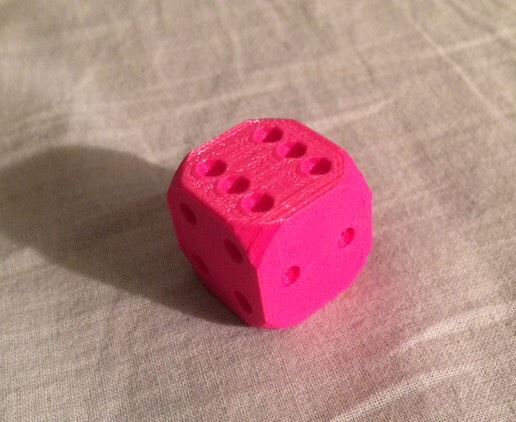
However, I found it very difficult to improve my dice. I tried to but I didn´t like the results of it, so I decided to create something related to it, but harder to program. In fact, I improve my first design. Therefore, I chose to do a Domino Piece because it has similar dots as the dice but it is harder to code. Furthermore, it is also part of another table game and I found that it could be fun as well. It was hard work, which is the reason why I got some helpfrom the Internet to finish it. I introduced several new formulas into this new design such as: Union (to put together the two sufaces of the domino piece), cylinder and rotate, color or module (that way I only had to write the size of the sphere once, its color, etc., which was very repetitive and saved me some time)
The code I used was like this:
//difference between cube and dots
difference(){
//difference bases and cylinder
difference(){
//union of bases
union(){
// inferior base
color(“DarkSlateGray”)
cube([2.4,4.8,0.2], center=true);
// superior base
translate([0,0,0.2])
color(“White”)
cube([2.4,4.8,0.2], center=true);
}
//cylinder, I create a cylinder and I rotate to situate it in the middle of the two bases. By using difference I make the hole that is situated in the domino´s piece.
translate([-3,0,0.4])
rotate([0,90,0])
color(“DarkSlateGray”)
cylinder(r=0.2,h=5,$fn=100);
}
//left side dots
translate([0,-1.3,0.3])
dots();
//right side dots
translate([0,1.3,0.3])
dots();
translate([-0.8,0.6,0.3])
dots();
translate([0.8,0.6,0.3])
dots();
translate([0.8,2,0.3])
dots();
translate([-0.8,2,0.3])
dots();
}
//middle sphere
color(“Gold”)
translate([0,0,0.25])
sphere(0.3,$fn=100);
//module of the dots. This is used to introduce the dots for the domino piece, I just put dots(), and it will refer to whatever I wrote in this part, where I establish the color and the radio of the sphere
module dots(){
color(“DarkSlateGray”)
sphere(0.15,$fn=100);
}
This code made my figure look like this:
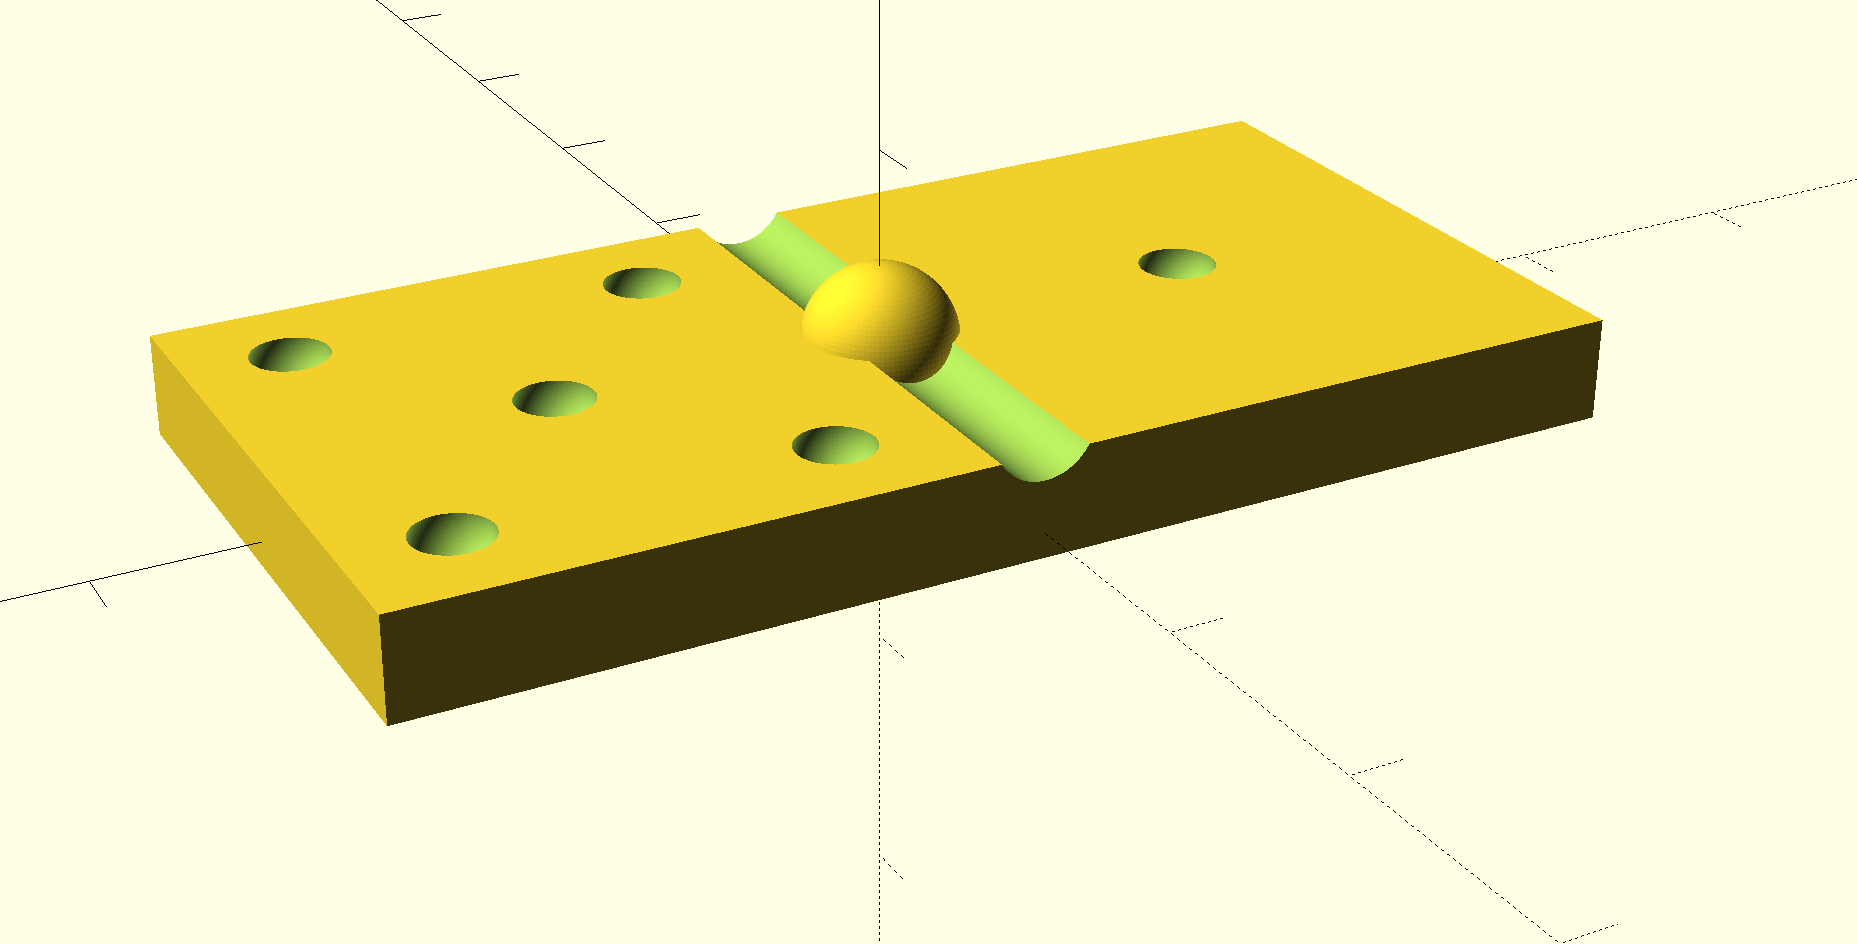
The final print out version of it looks like this:

In my opinion, the second figure was a leveled up figure in comparison with my first design. I added numerous new things to it just like I have mentioned before and it was definitely much harder than the dice. I believe that my domino piece is a really cool figure!
Overall, I just can say thanks for this amazing class where I was able to learn so many new things and I really enjoyed doing the activities I was supposed to do. From now on, 3D printers will always be in my heart!!!
Here you can find the link to my Thingiverse Model (2)