Ring Design
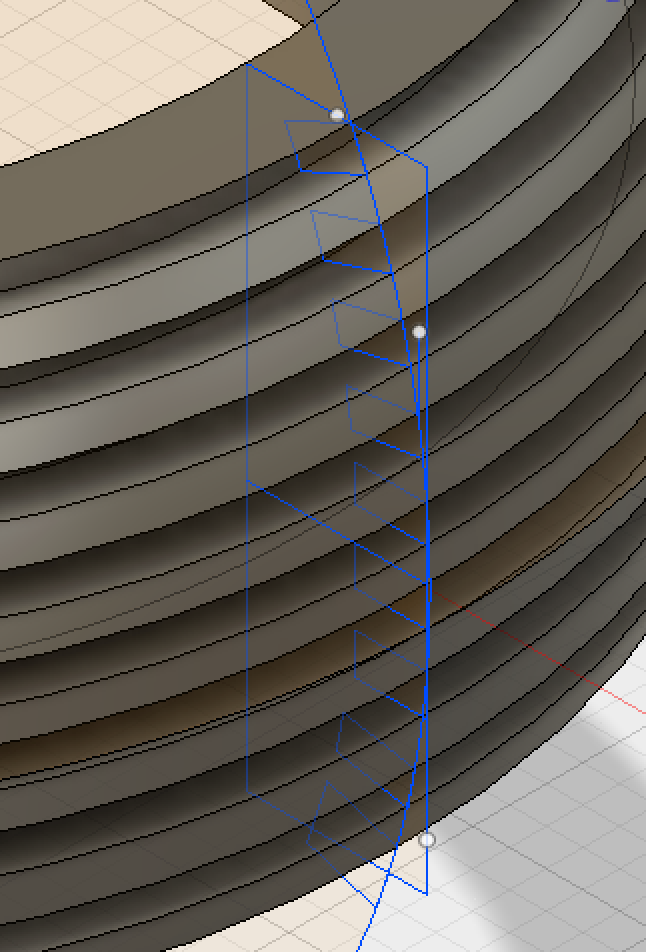
The most difficult part of the project was deciding on the design of the ring. Once I learned how to make the basic shape of the rounded ring I tried a couple different designs and variations. The one feature I knew I wanted was a geometric ring. I didn’t want it to be rounded like a typical ring that you can find in a store. The sweeping feature in Fusion360 was the place were I decided to make my geometric shapes. First I made the path with a lot of very small squares so the ring would have a lot of little levels all the way around. However, when I printed it the detail was too small. I then made the squares larger in order to have larger levels all the way around. After I designed the path I swept the path and printed it on the Ultimaker in class.

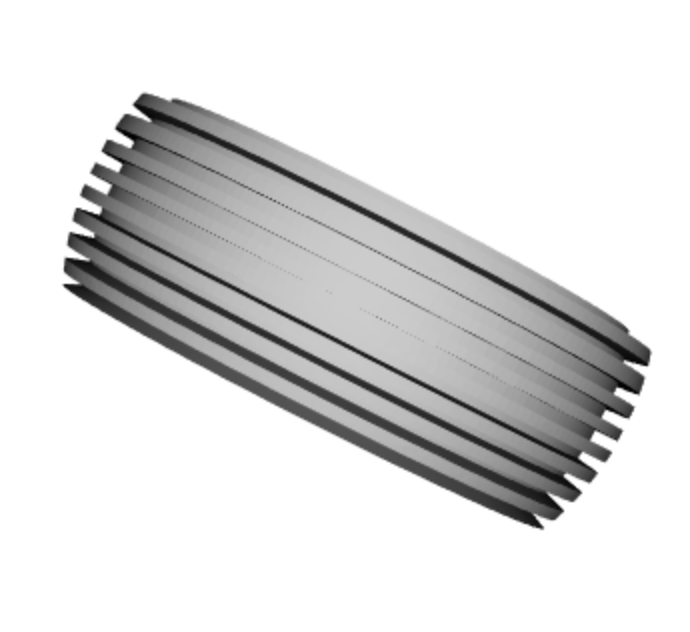
The original path before I used the sweep tool in Fusion 360 to make the final ring design.
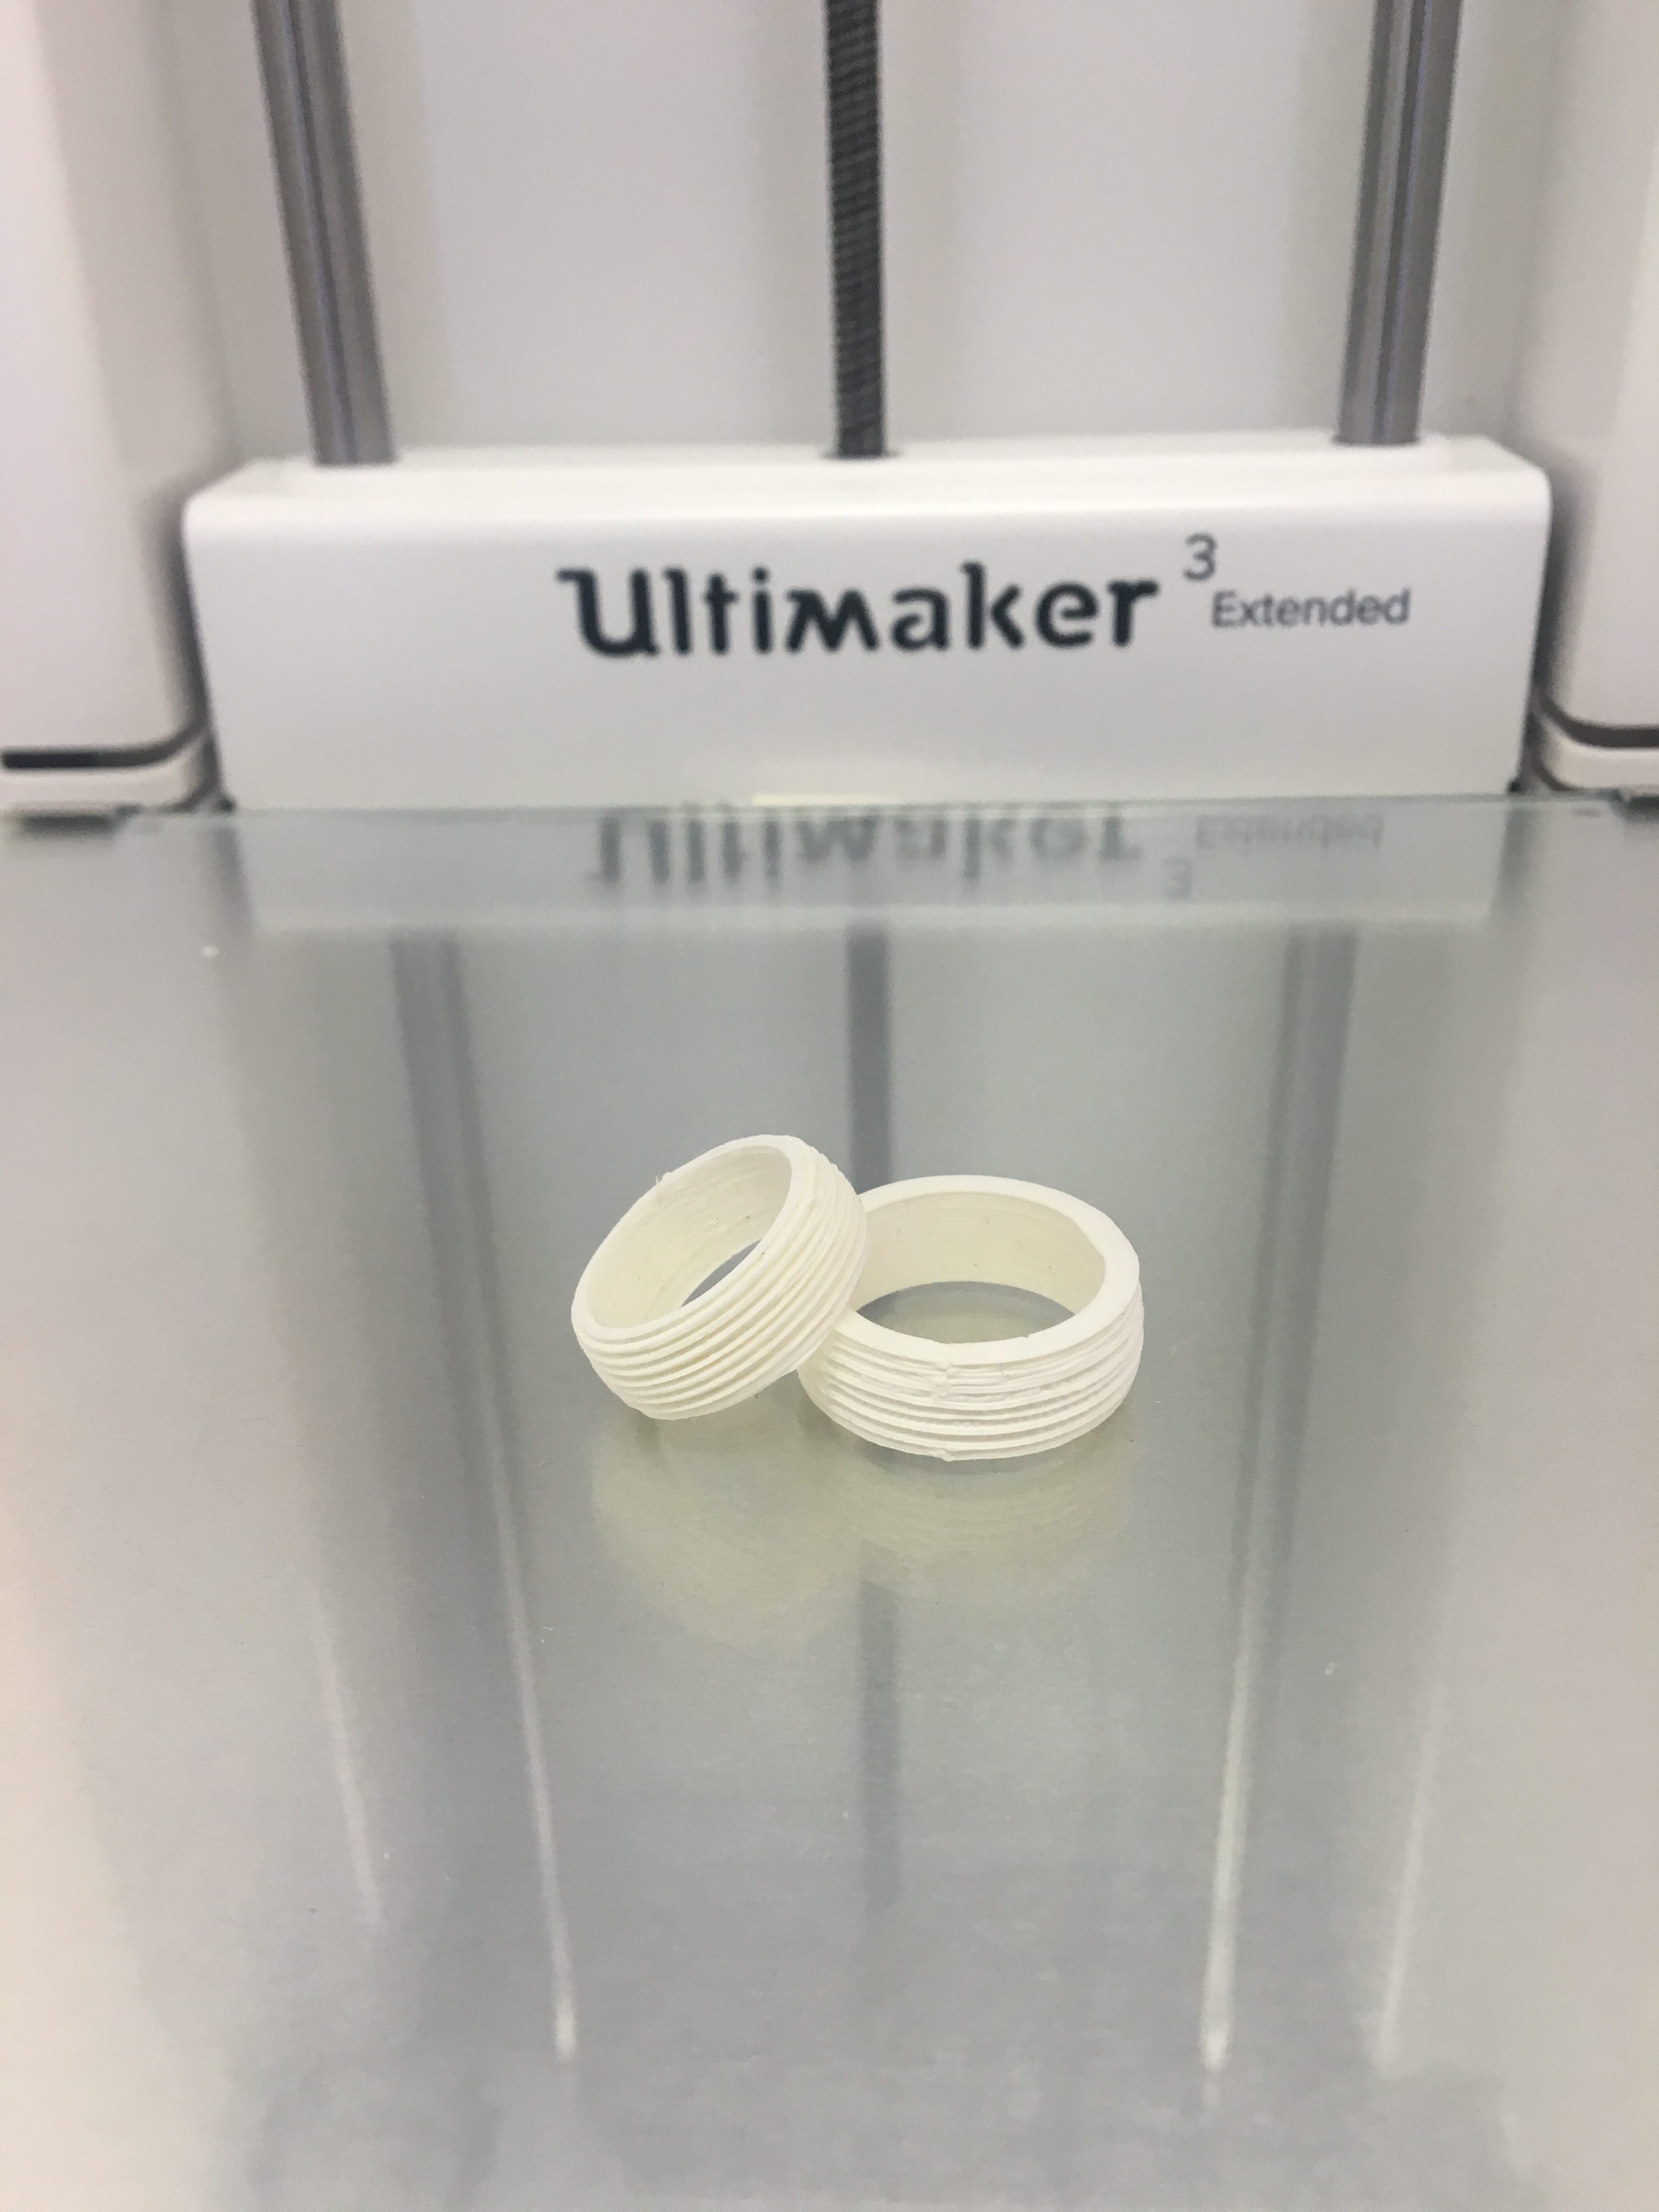
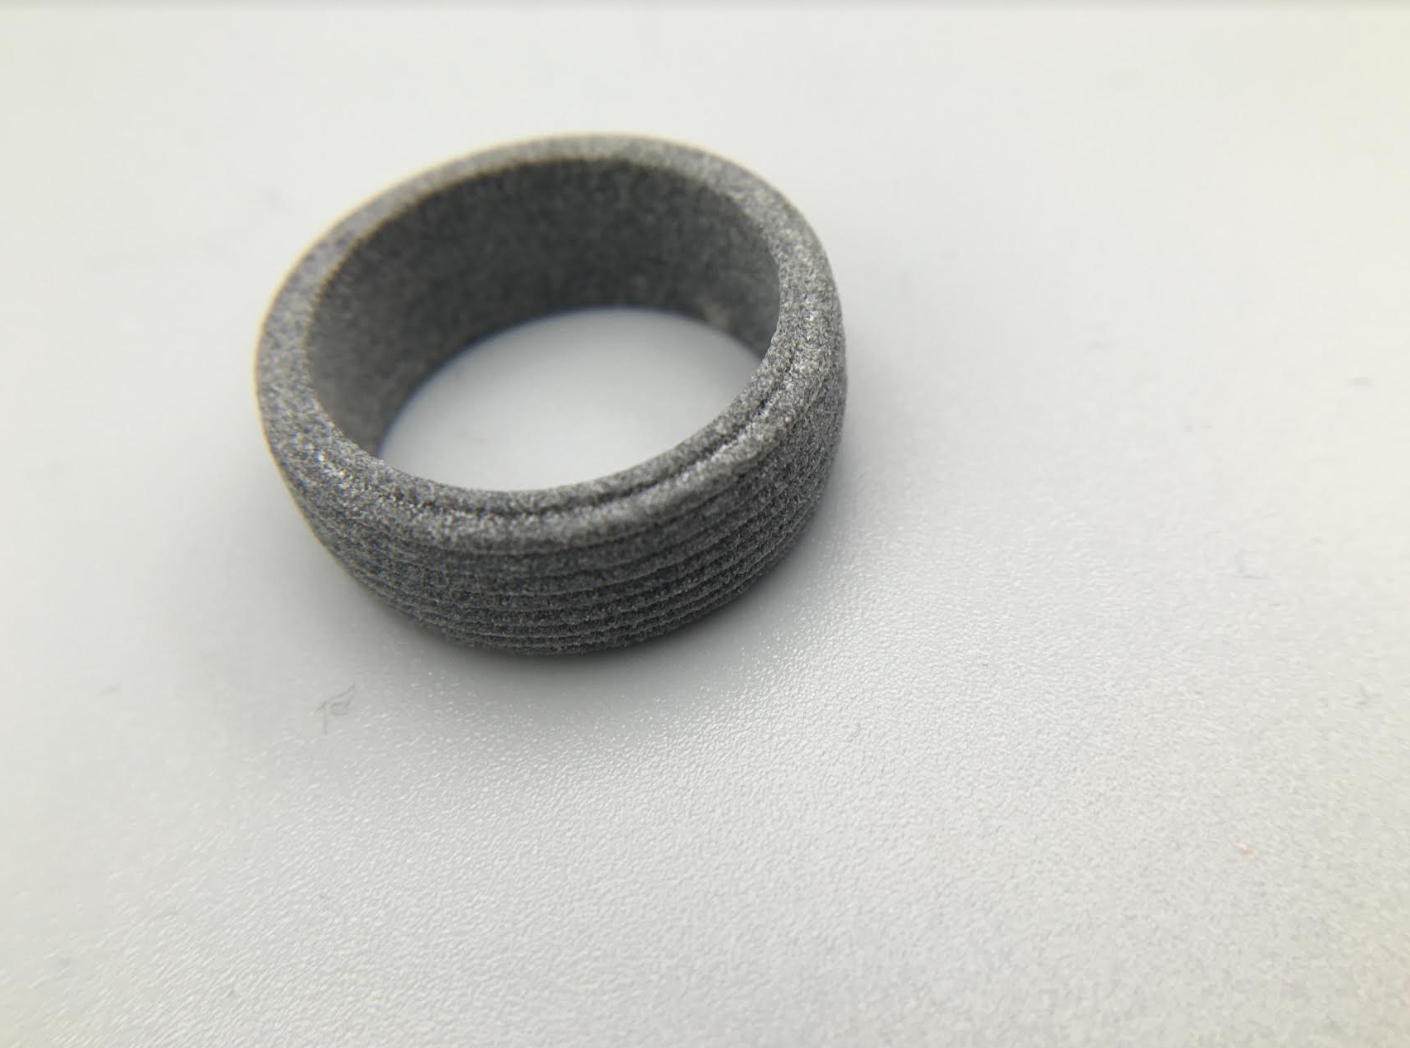
This was the ring print on the Ultimaker. I was pleased with the detail of all the ridges. Some of them were a little off and smashed together, but I knew that when I sent it off to a better quality printer it would fix those little quirks.
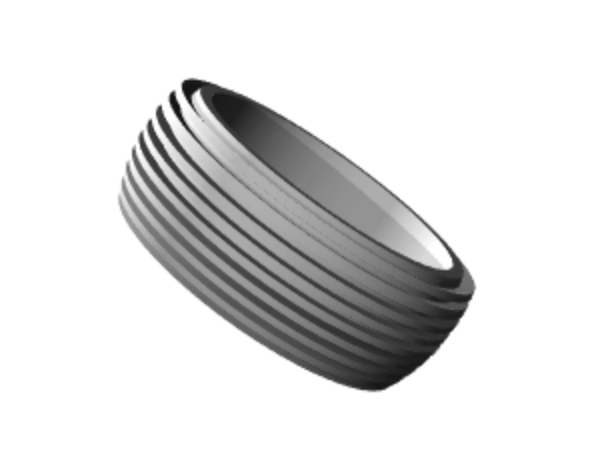
3D render of my final ring before it was sent off and printed through shape ways.
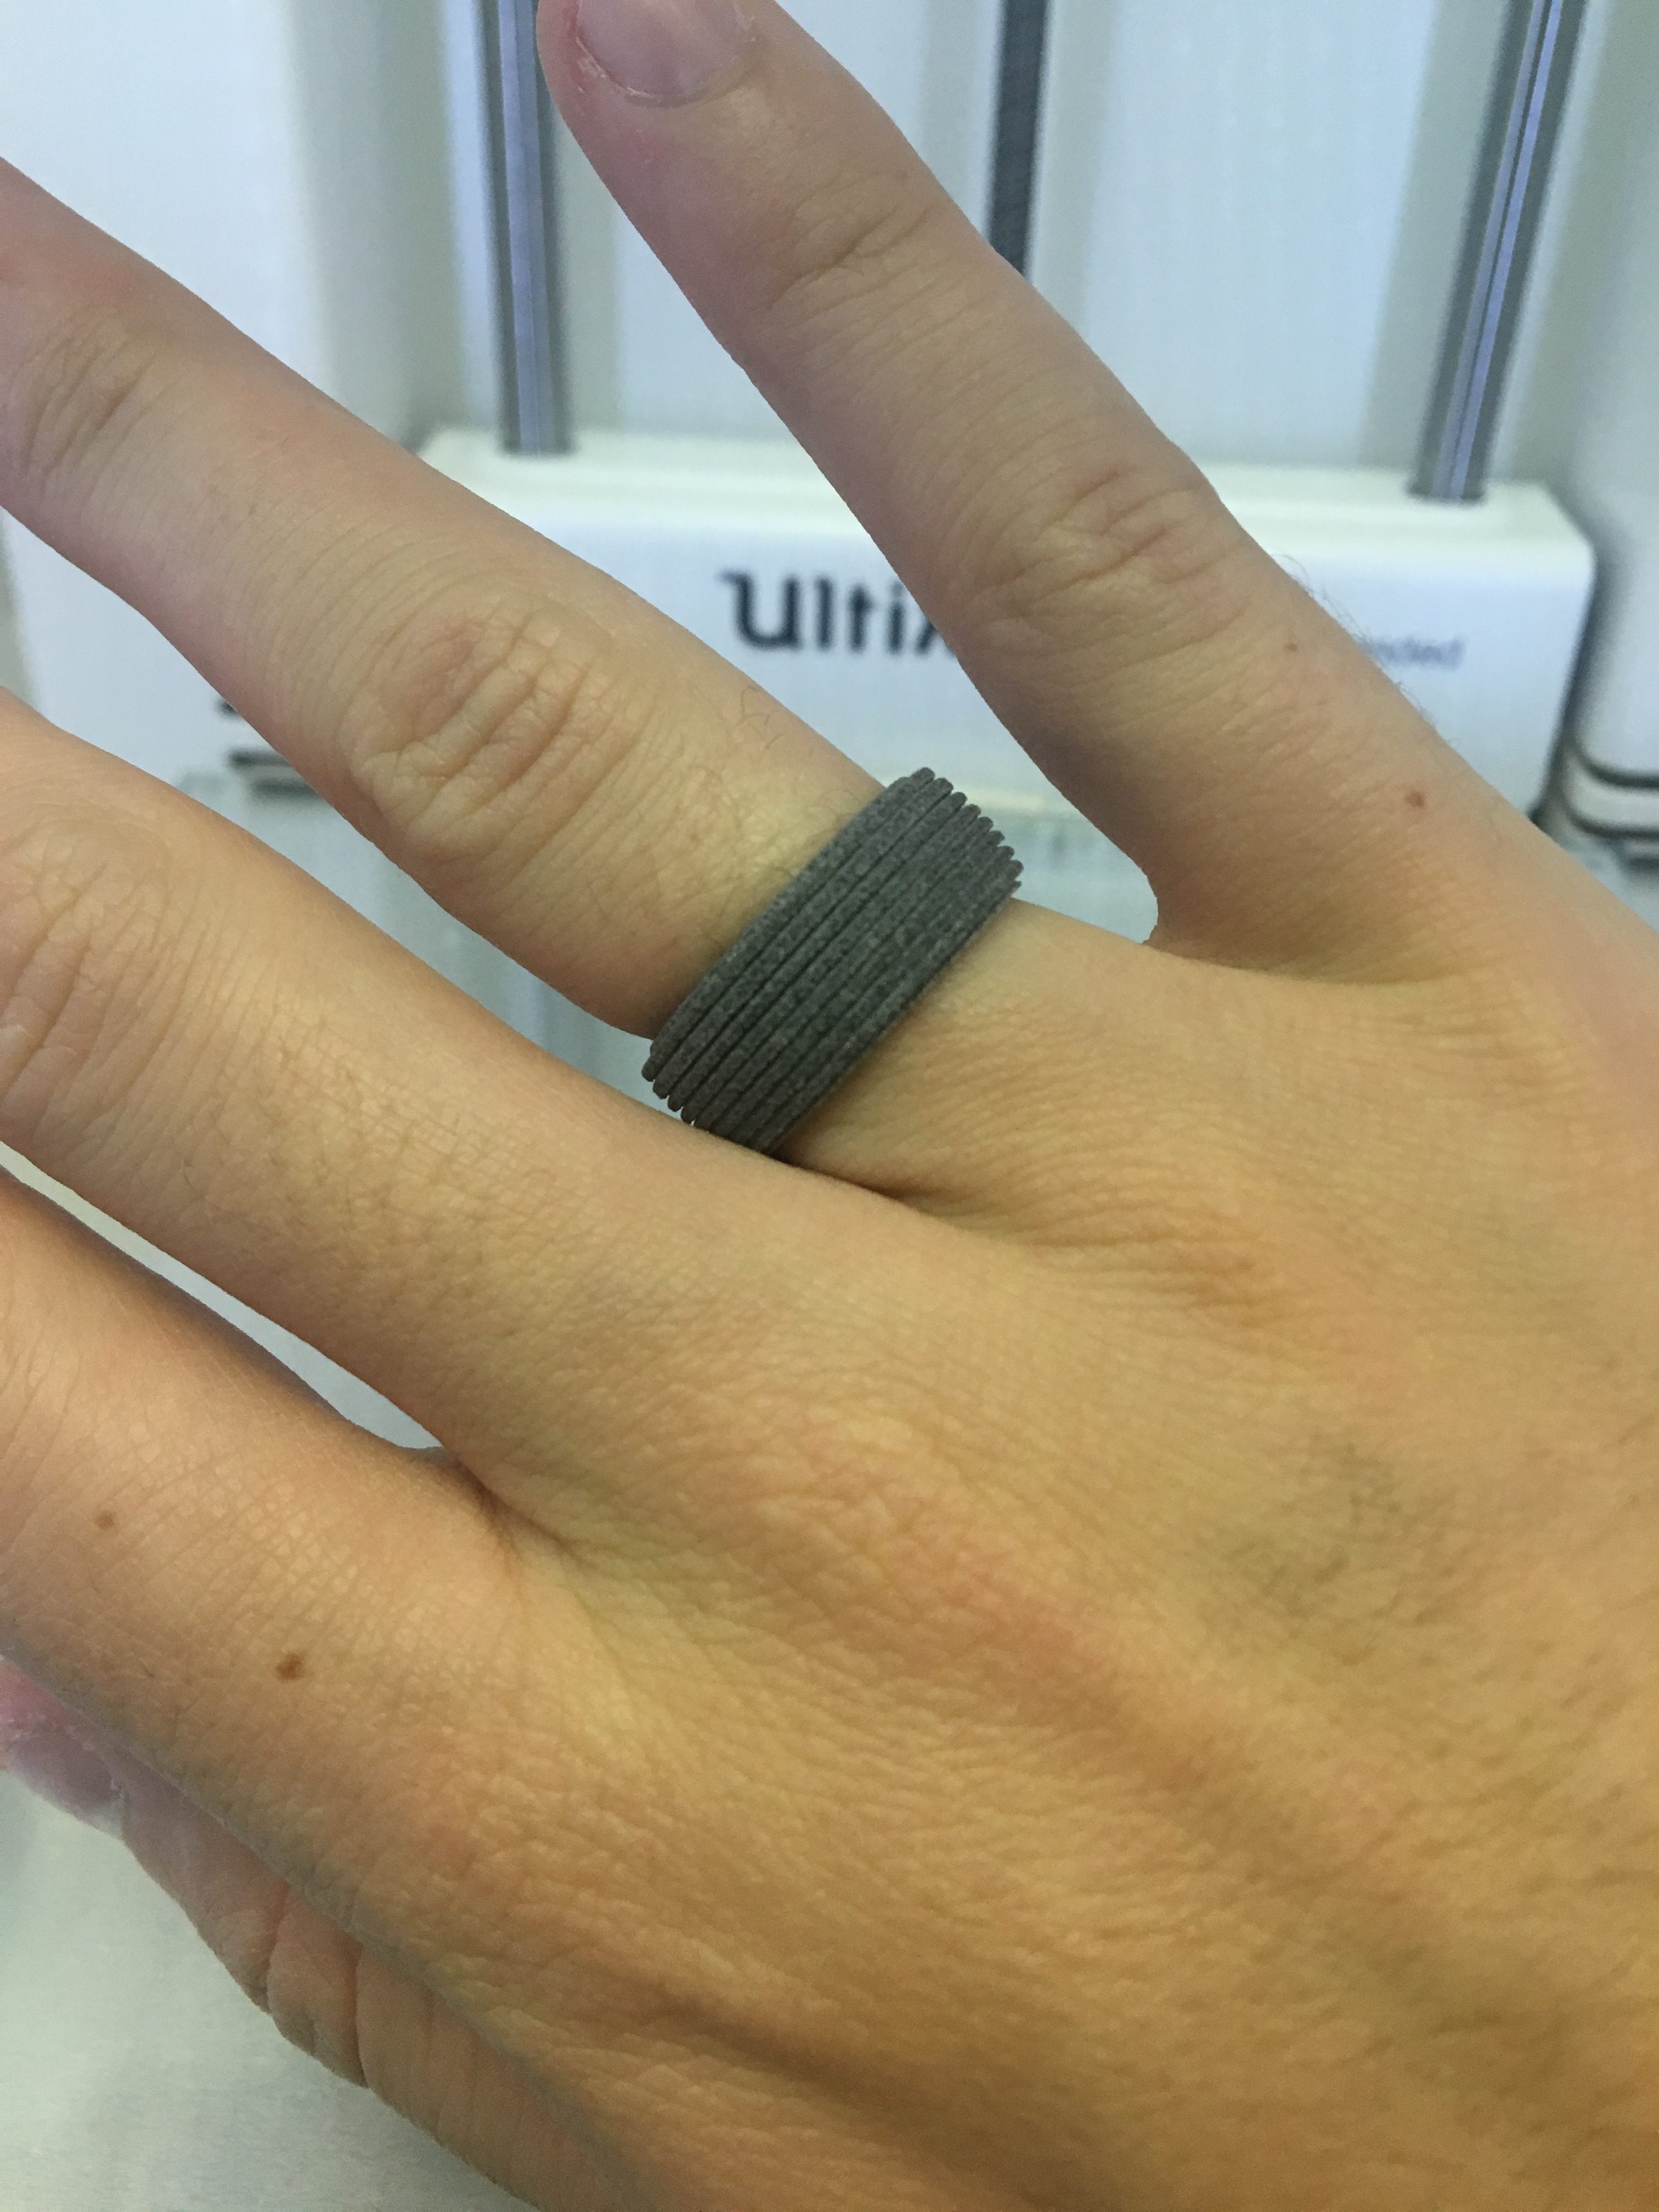
The final print from Shapeways in HP Nylon Plastic grey. The ridges were not as deep as I designed them, but I still really liked the way the final design came out.
The final print from shape ways looks great! I like the color, material, and the fit! I have been wearing it, and have loved being able to say it is a custom design!