I had never used openSCAD (which I assume was the same with most of us) but I have a small amount of experience with coding in java from taking CS 149 and 159 and was surprised to learn how similar it felt. Since I wasn’t in class on the day of the introduction to openSCAD I tried to familiarize myself with the application through the tutorials provided on our class site, which proved to be very helpful.
First openSCAD Design Attempt
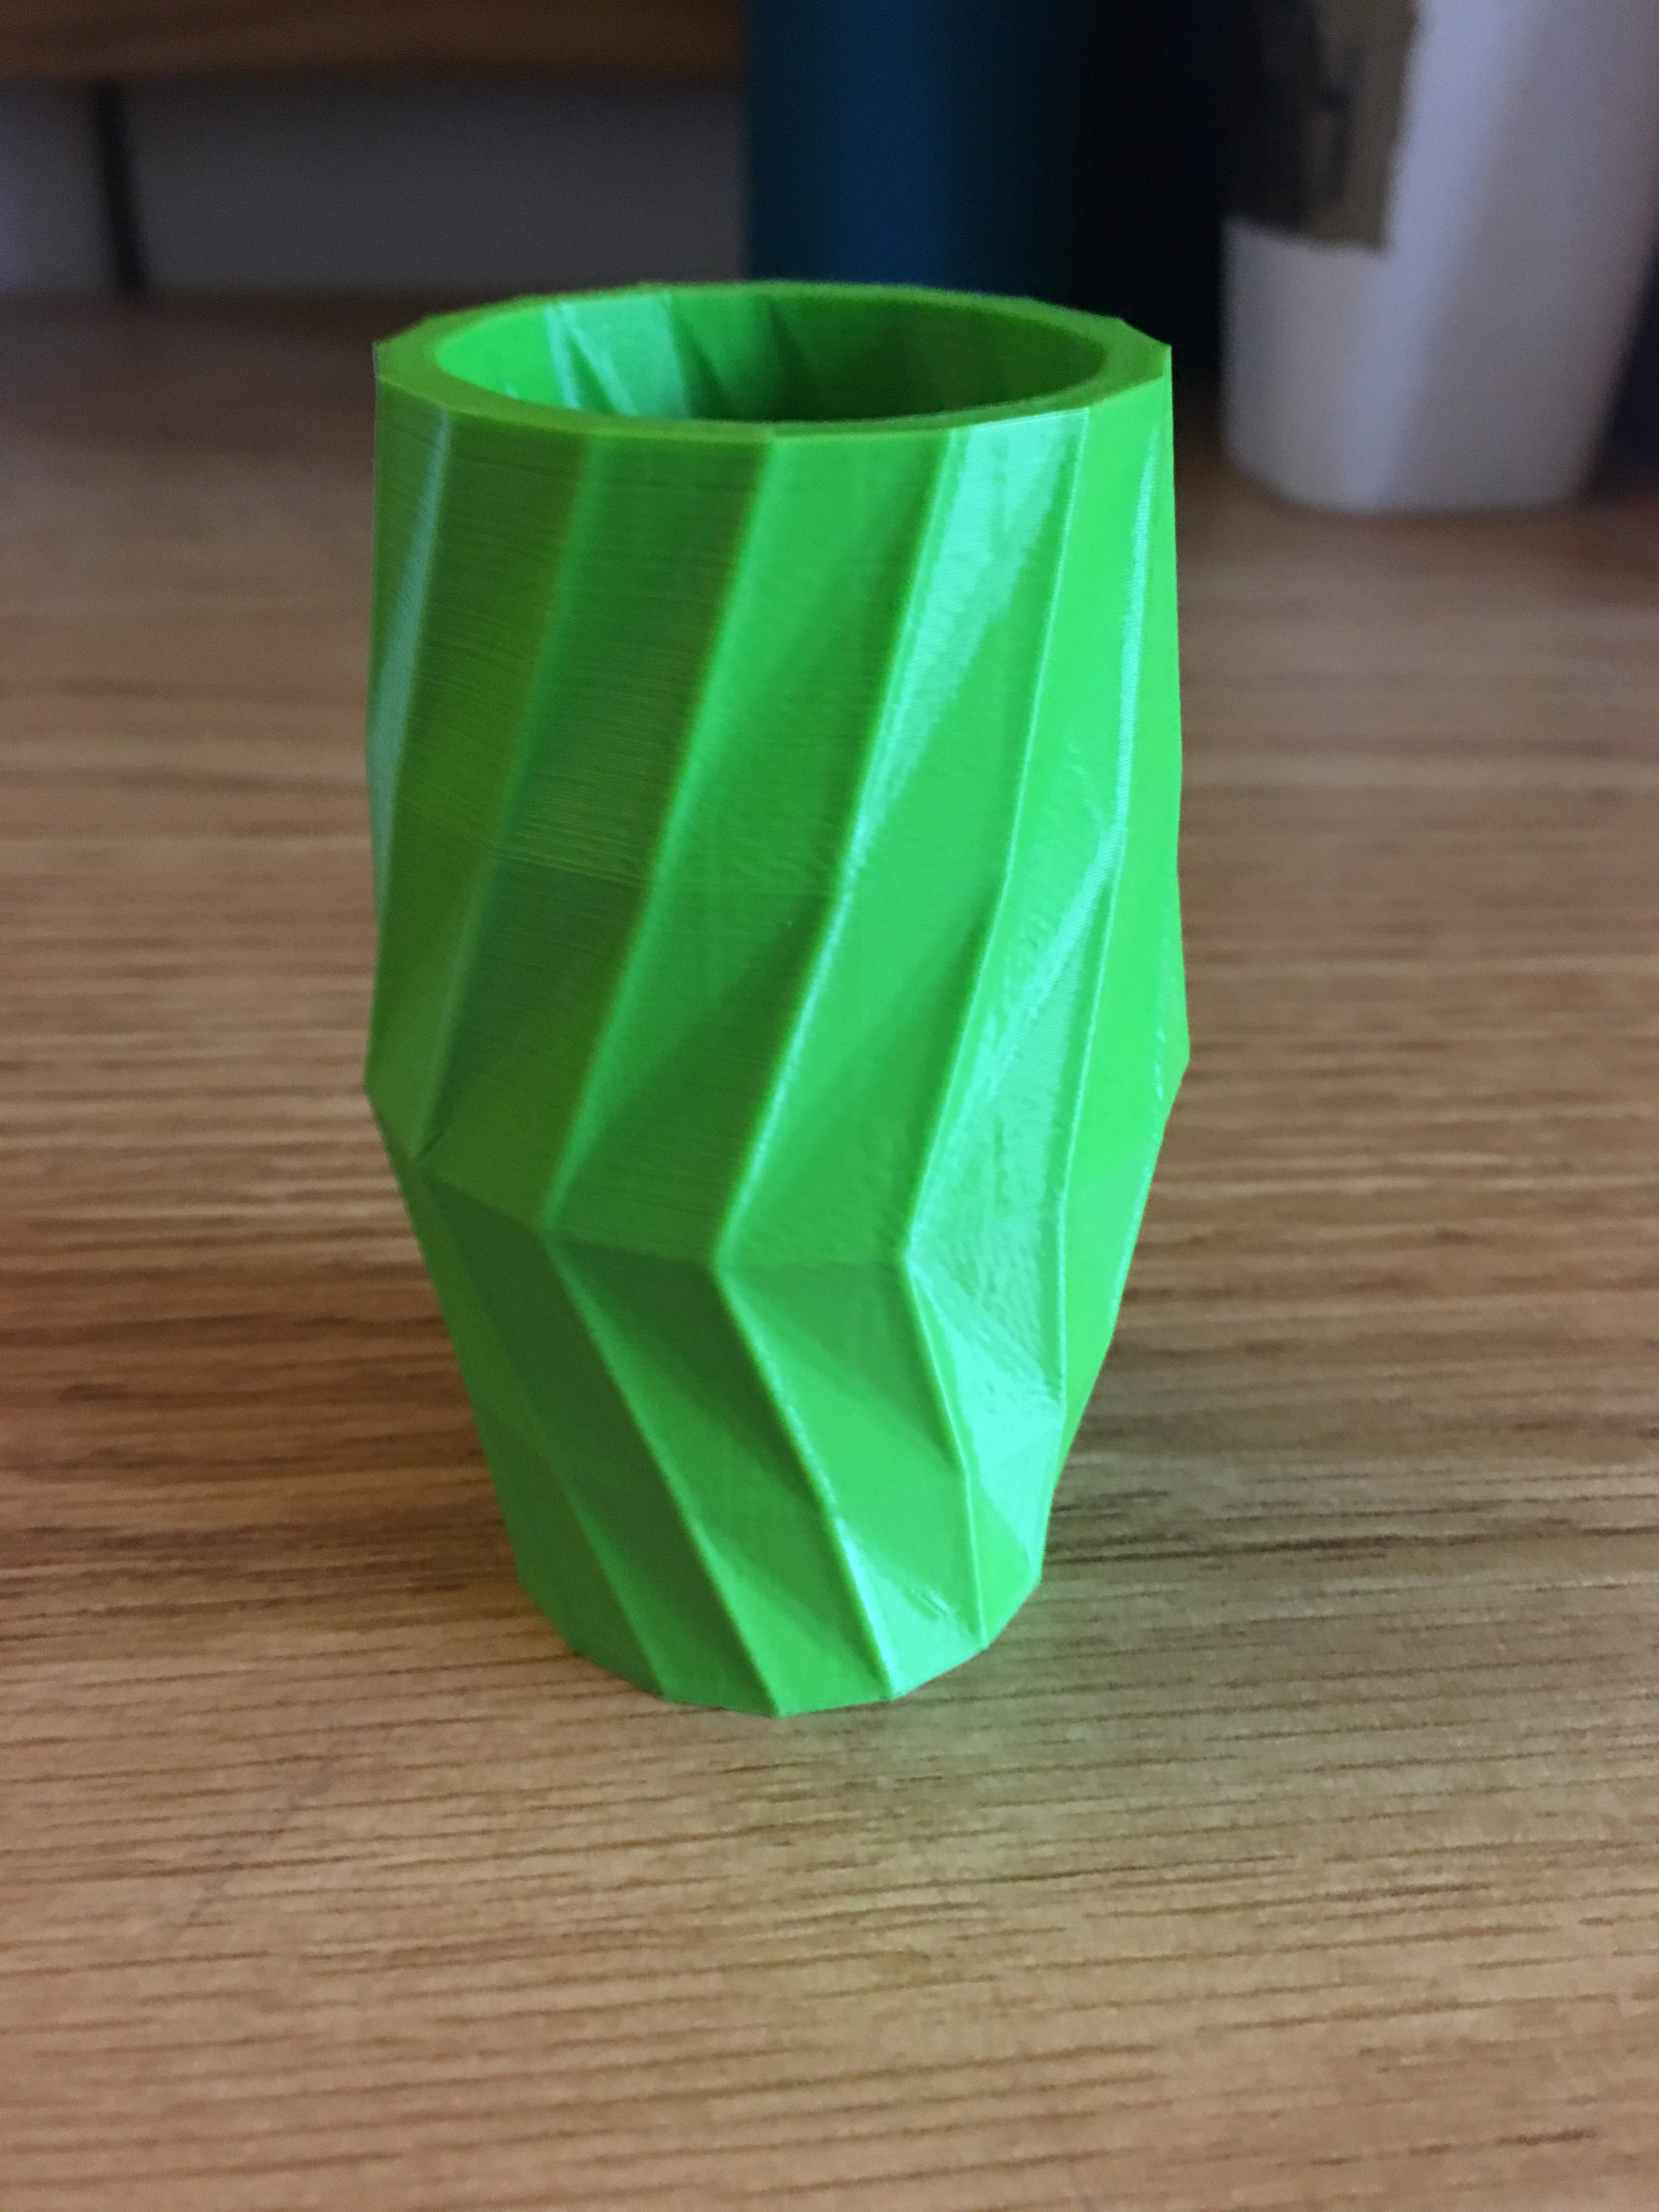
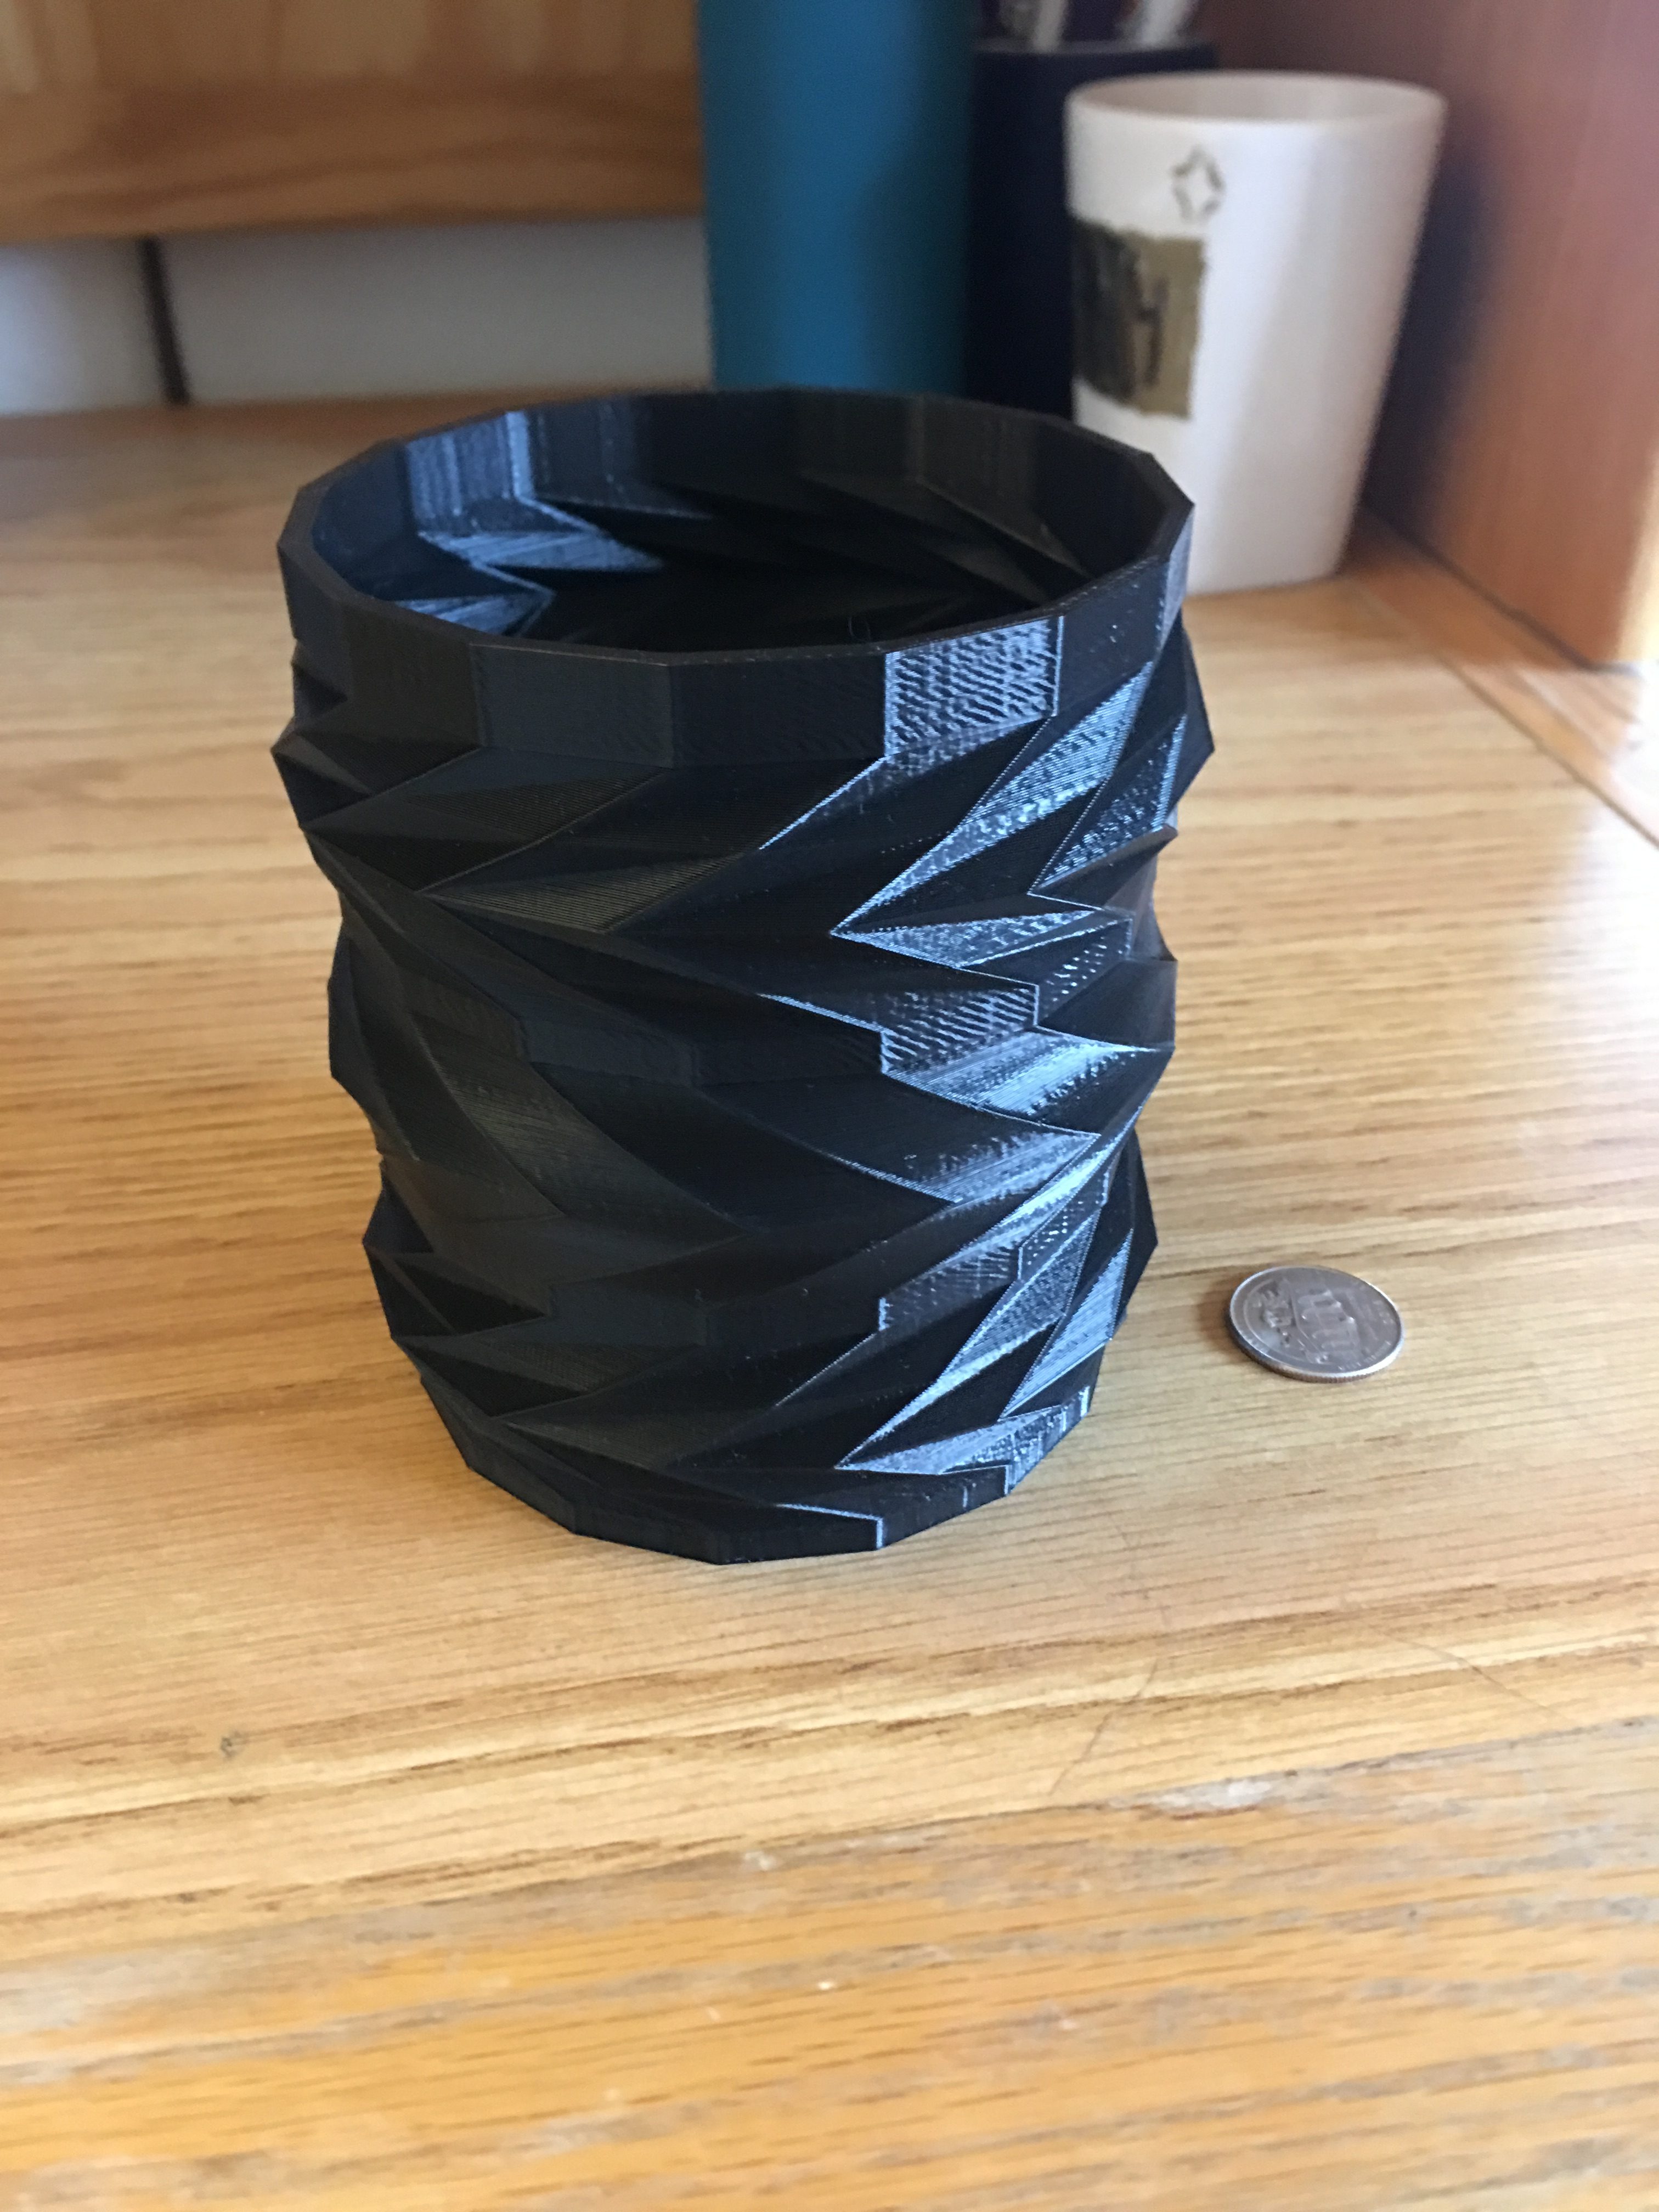
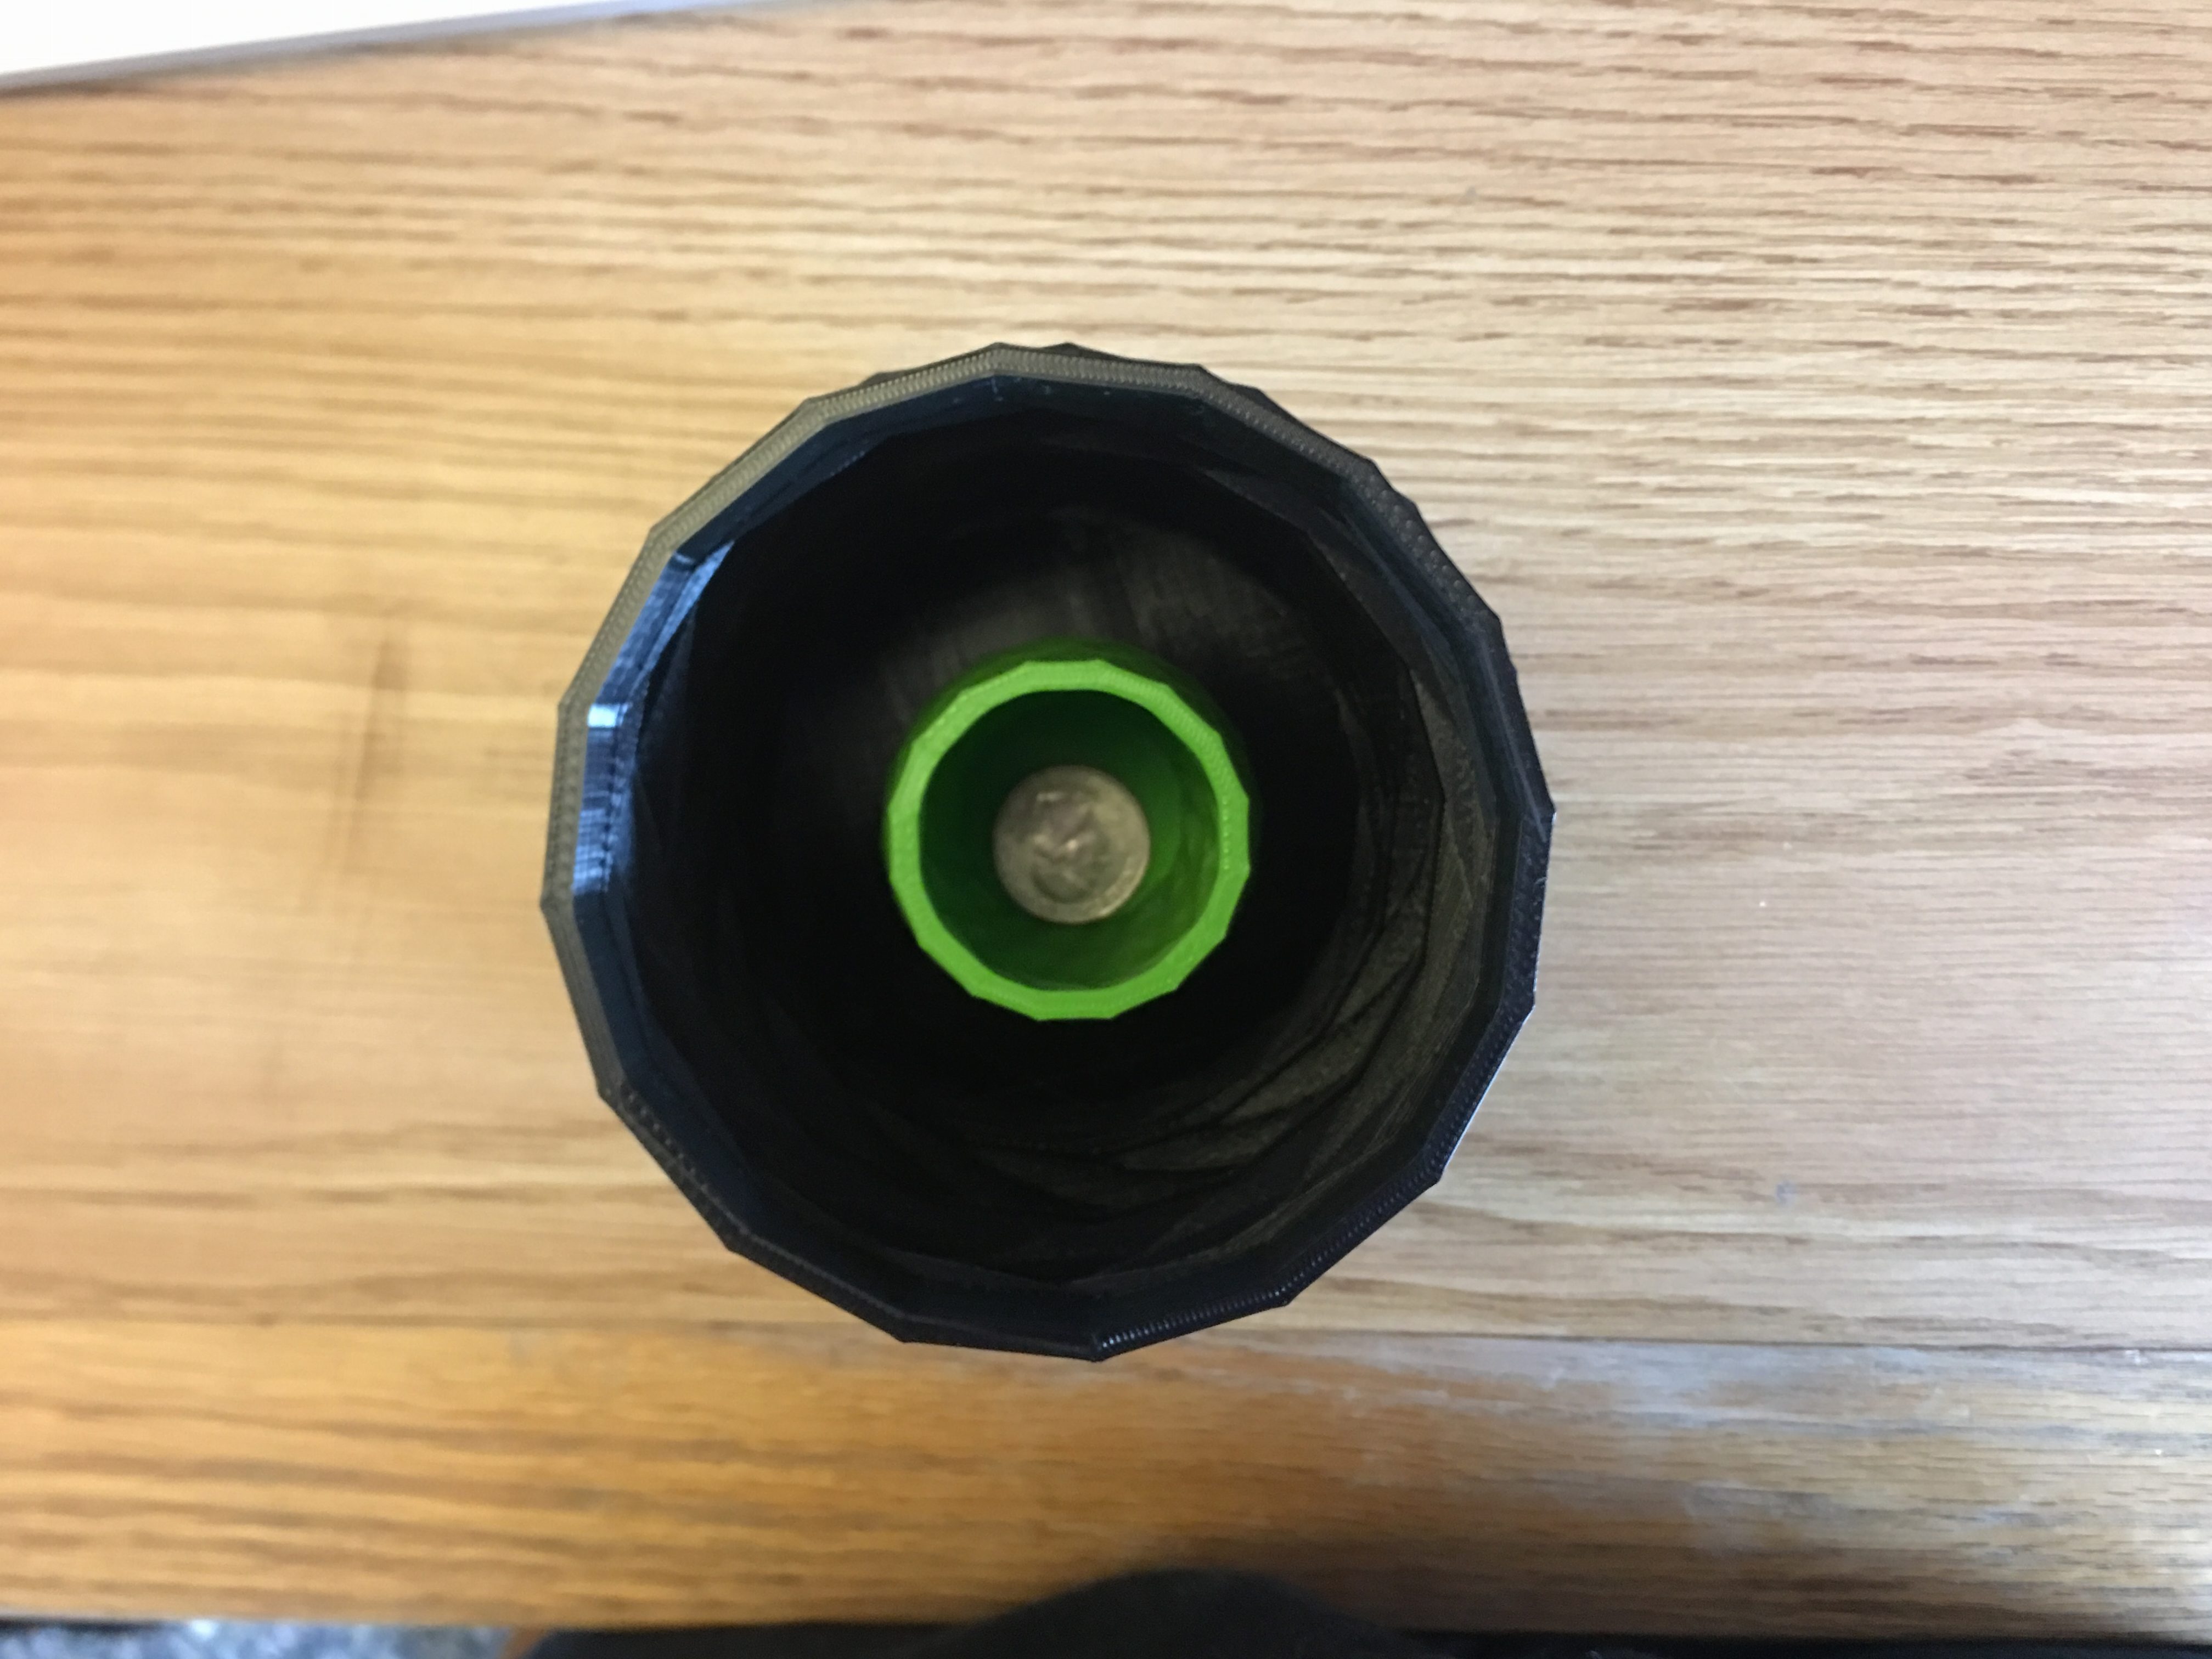
My first design was based off the polyBowl shape from one of the videos and I attempted to make a cup.
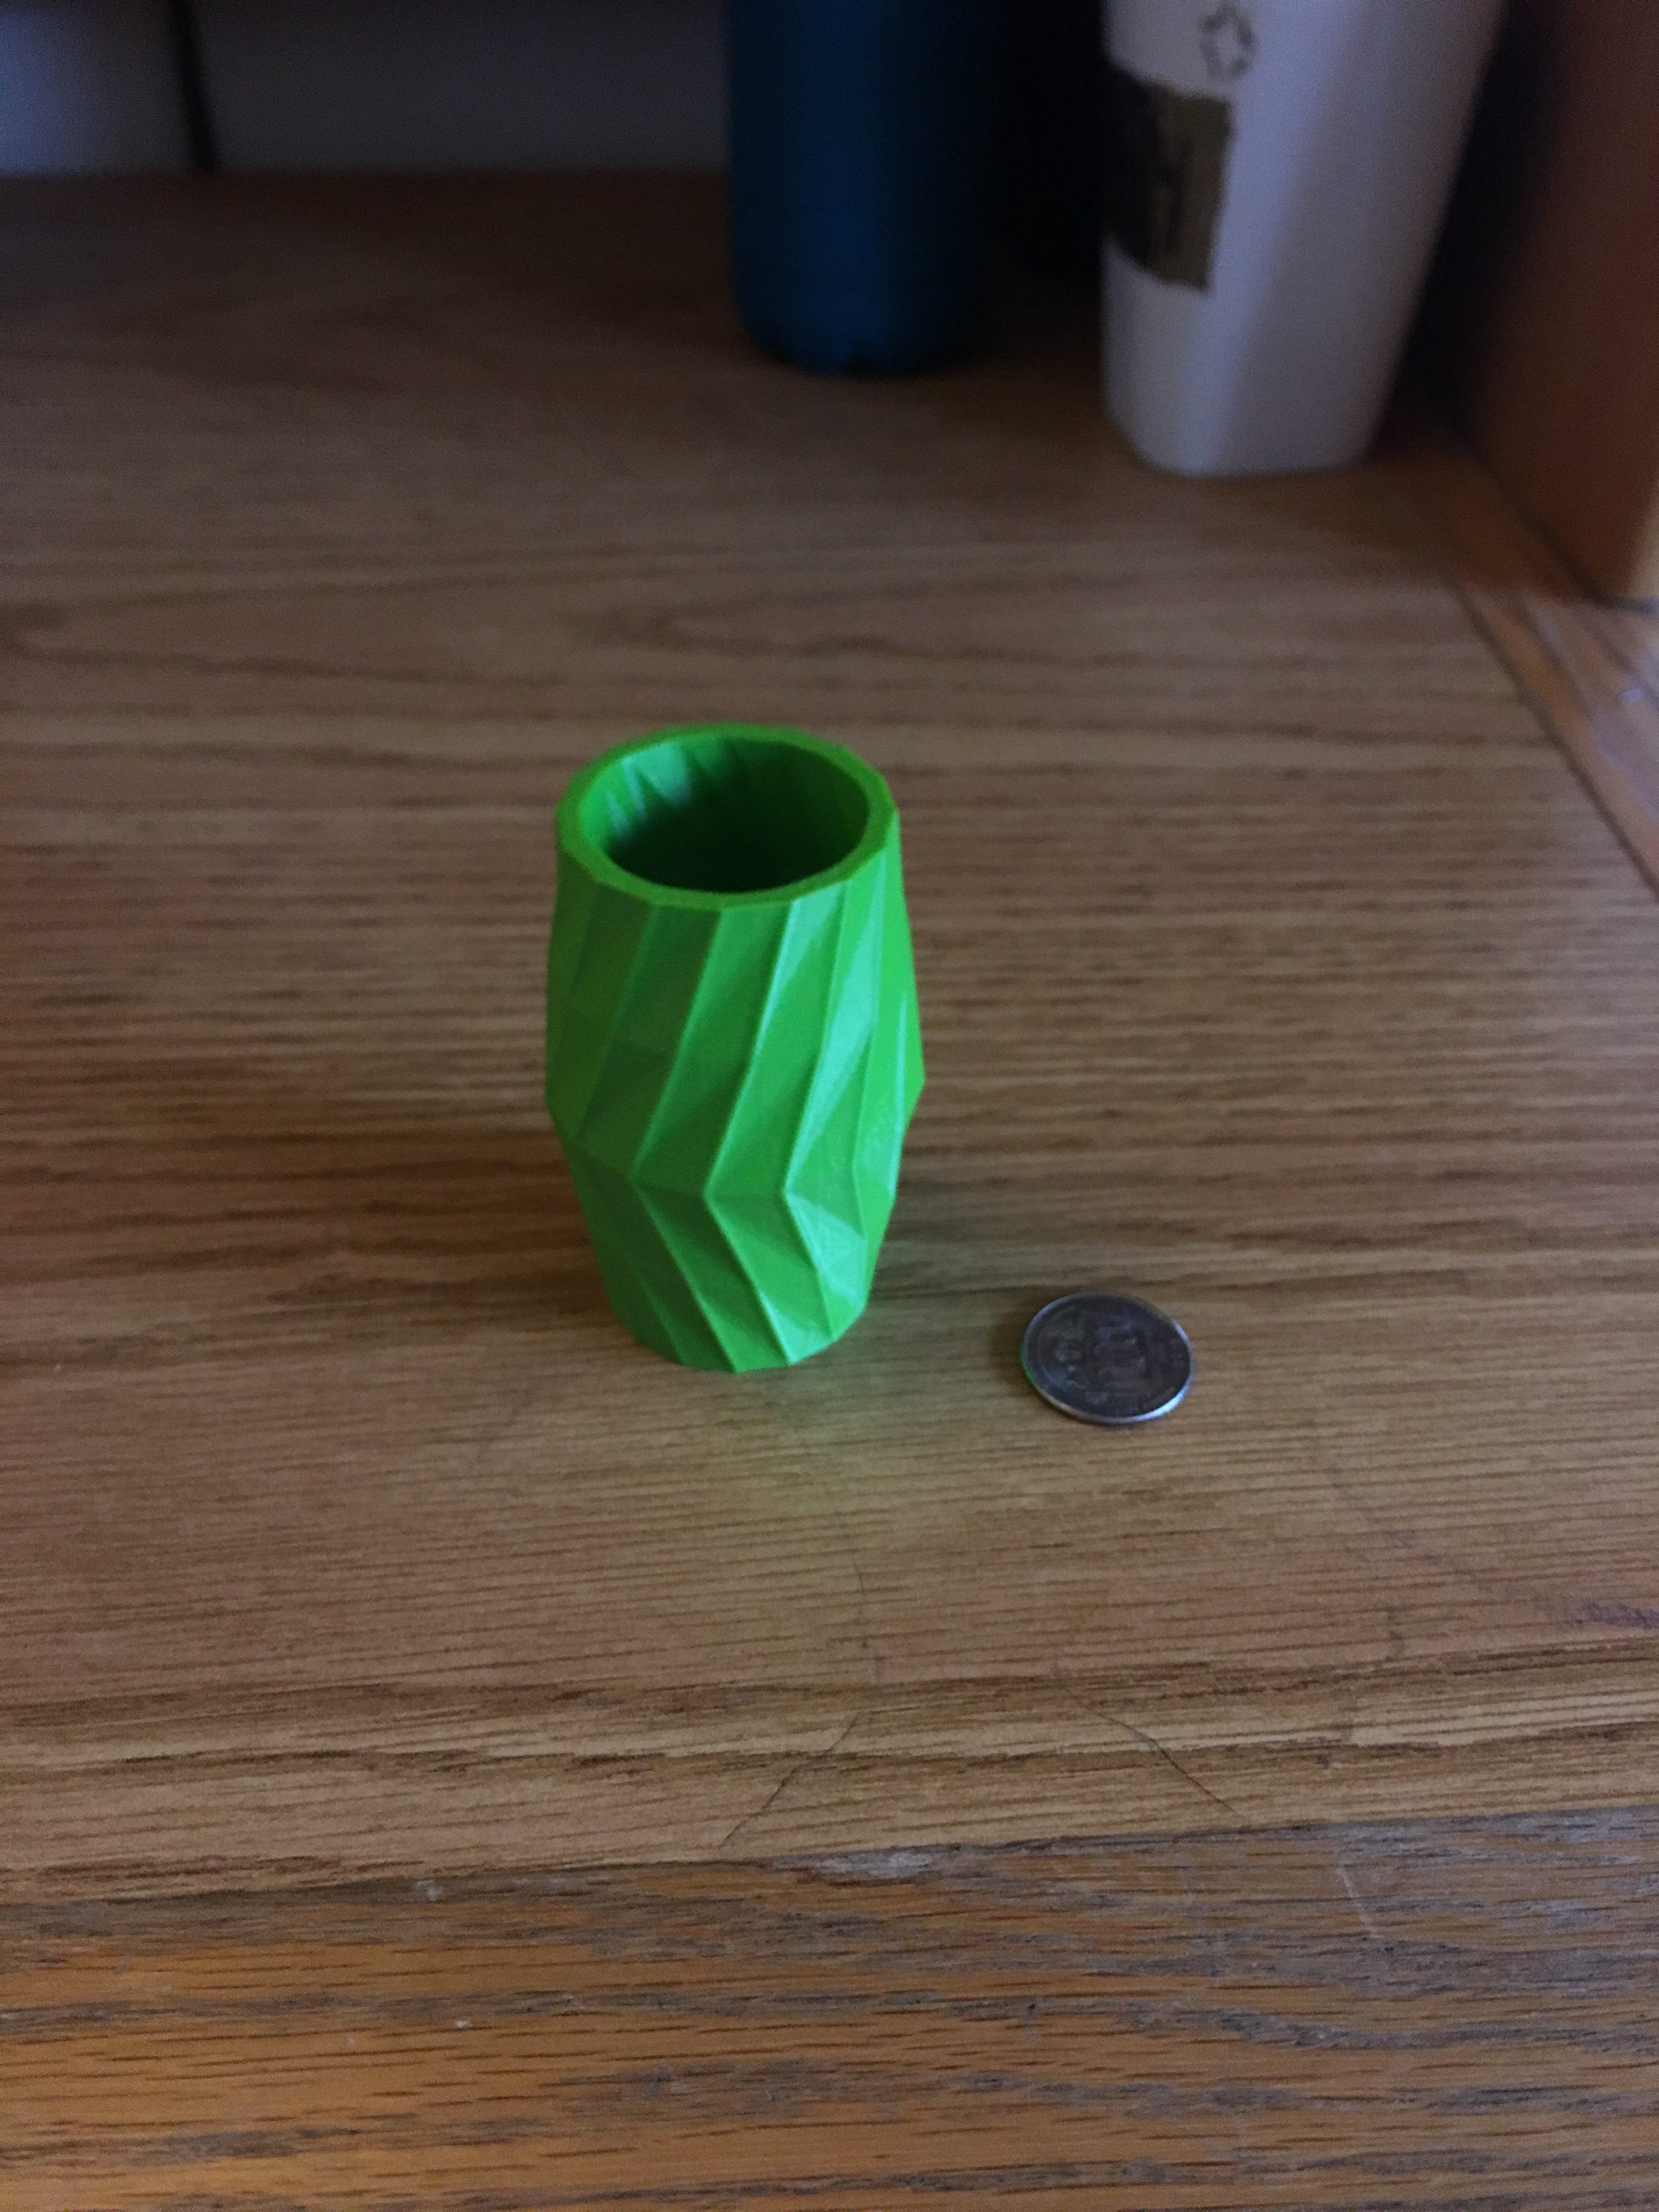
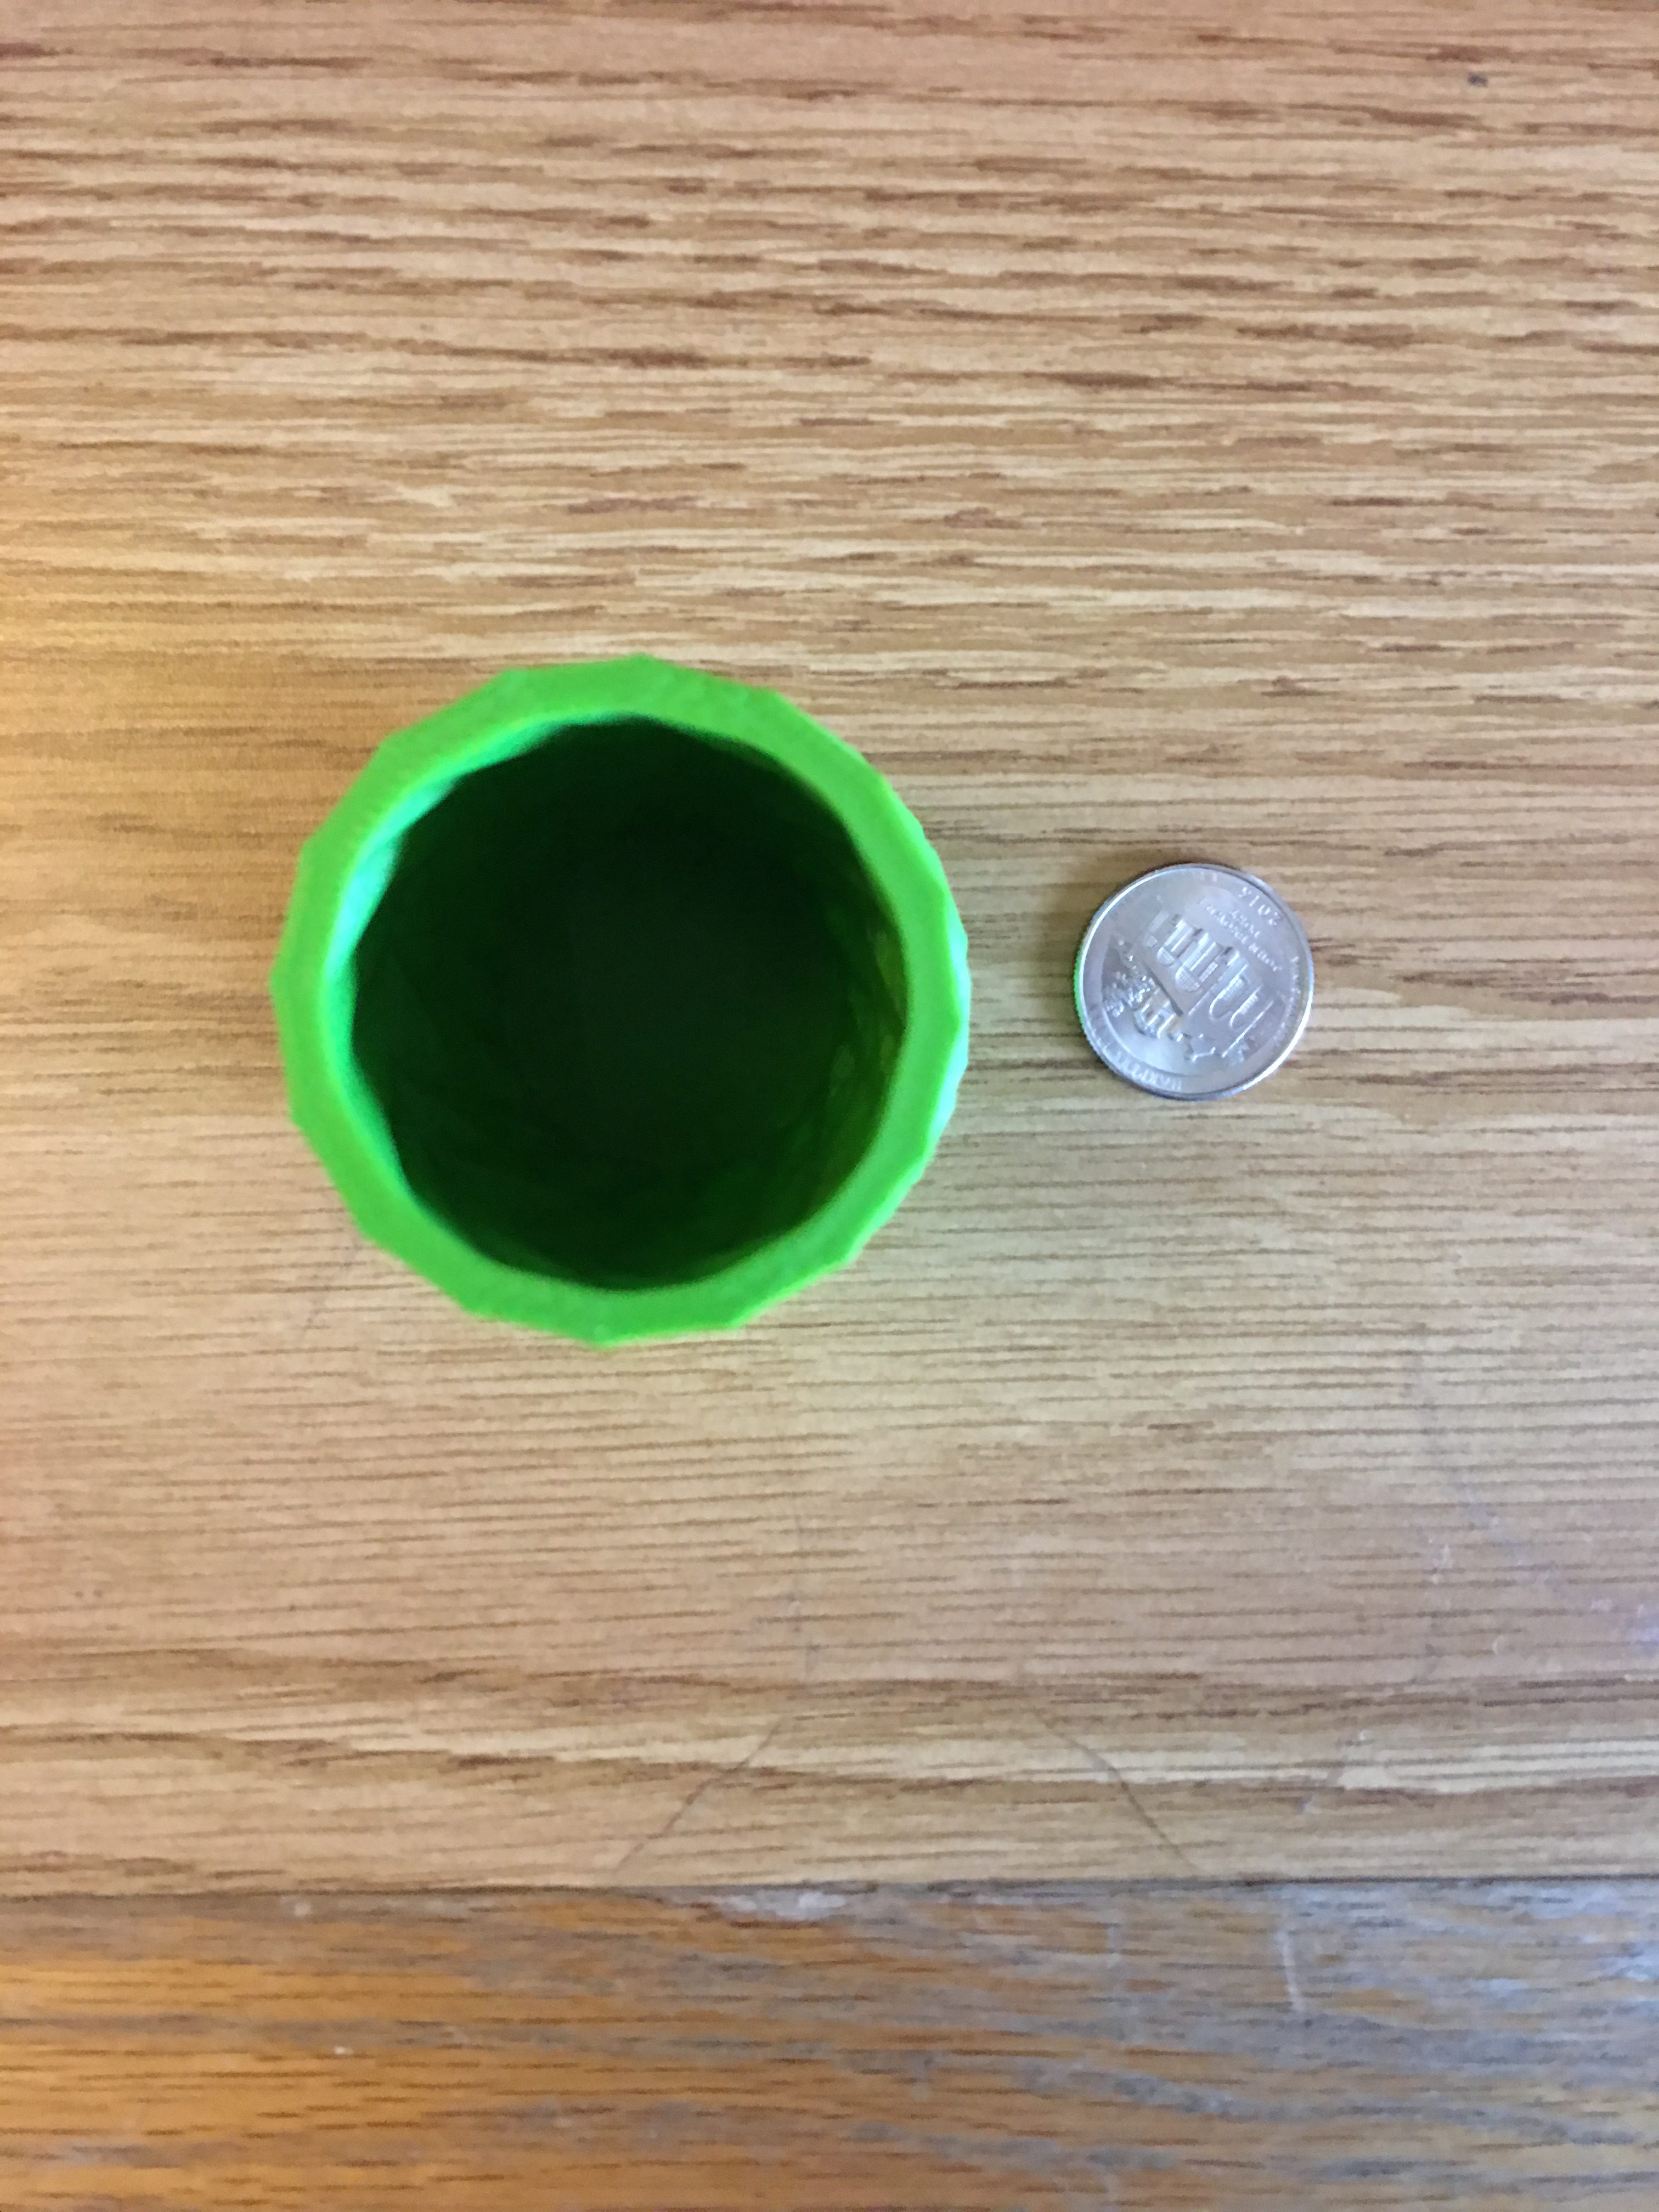
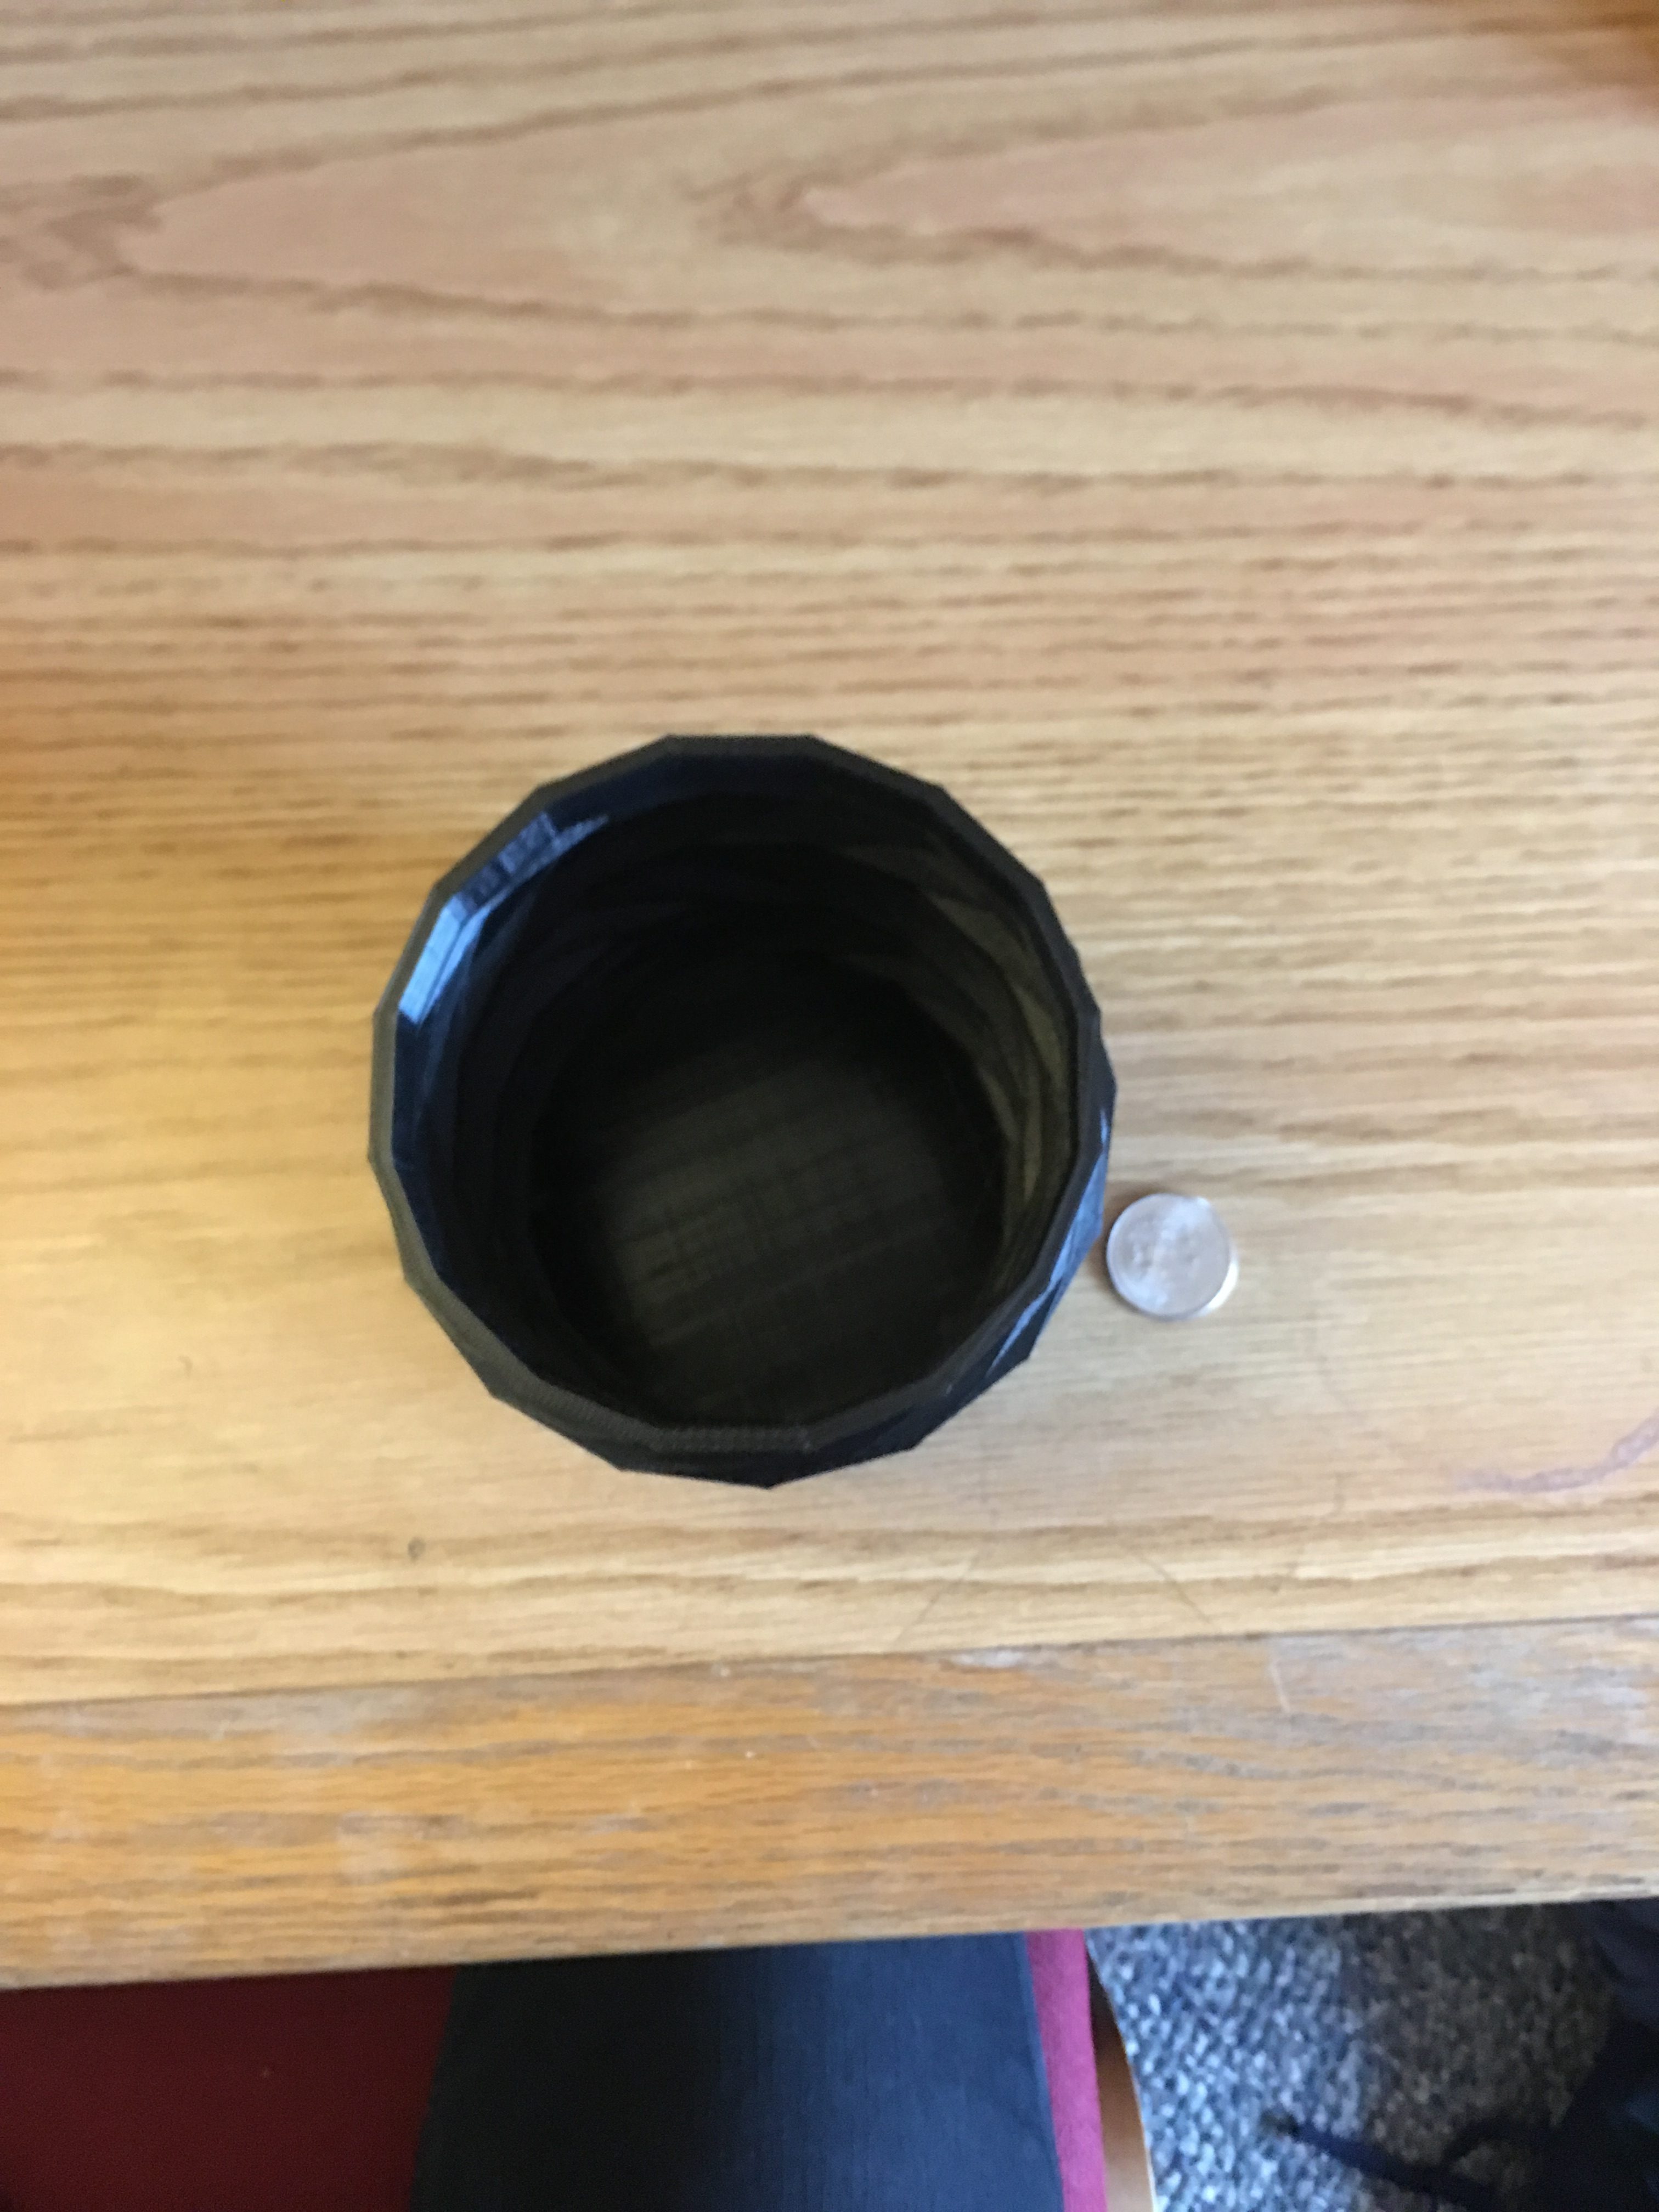
I put a quarter next to it for scale. As you may be able to tell, it really wouldn’t make a great cup but, more of a little vase for flowers or something. It really was not the worst thing in the world for a test print though since I was planning on a redesign and didn’t end up wasting too much filament.
I did enjoy playing with the idea of having different kinds of ridges that alternated in direction though. I also likes the sort of rugged grip of the outside which I was able to achieve by scaling down the slices to a minimum as well as having a small radius.
Here is the code that I used. I didn’t comment extremely well but hopefully my explanation below is thorough enough ti be able to be understood.
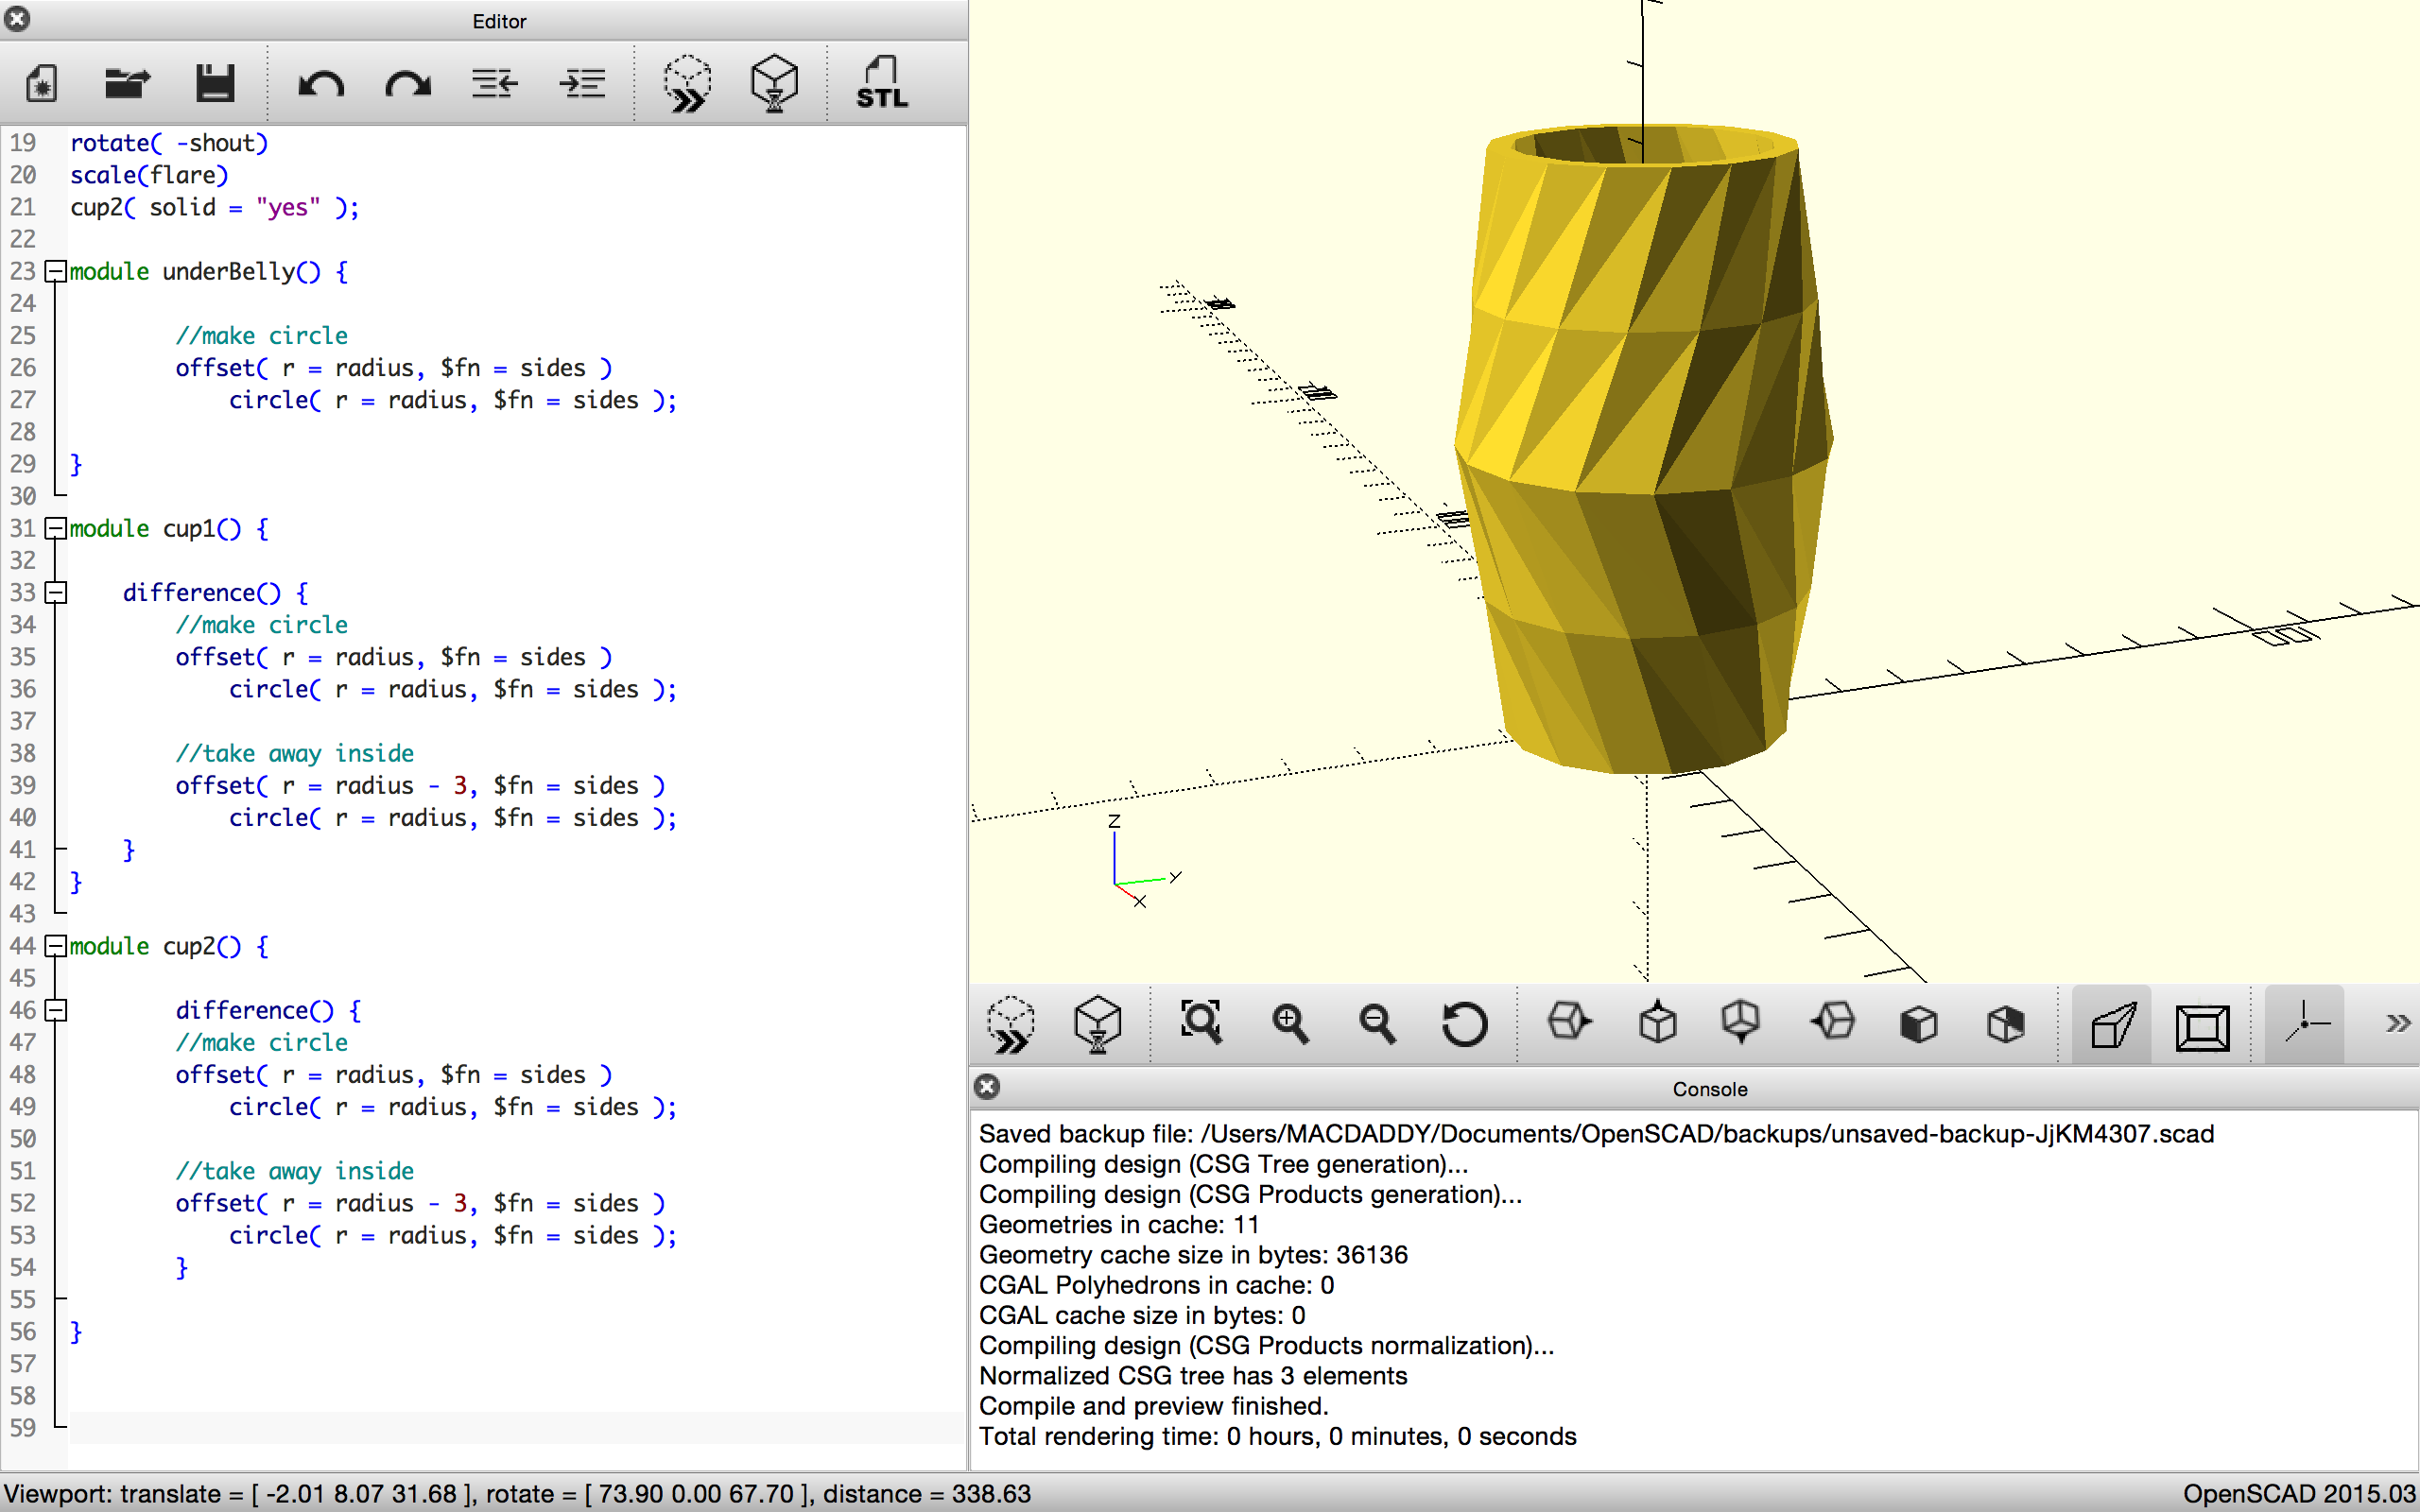
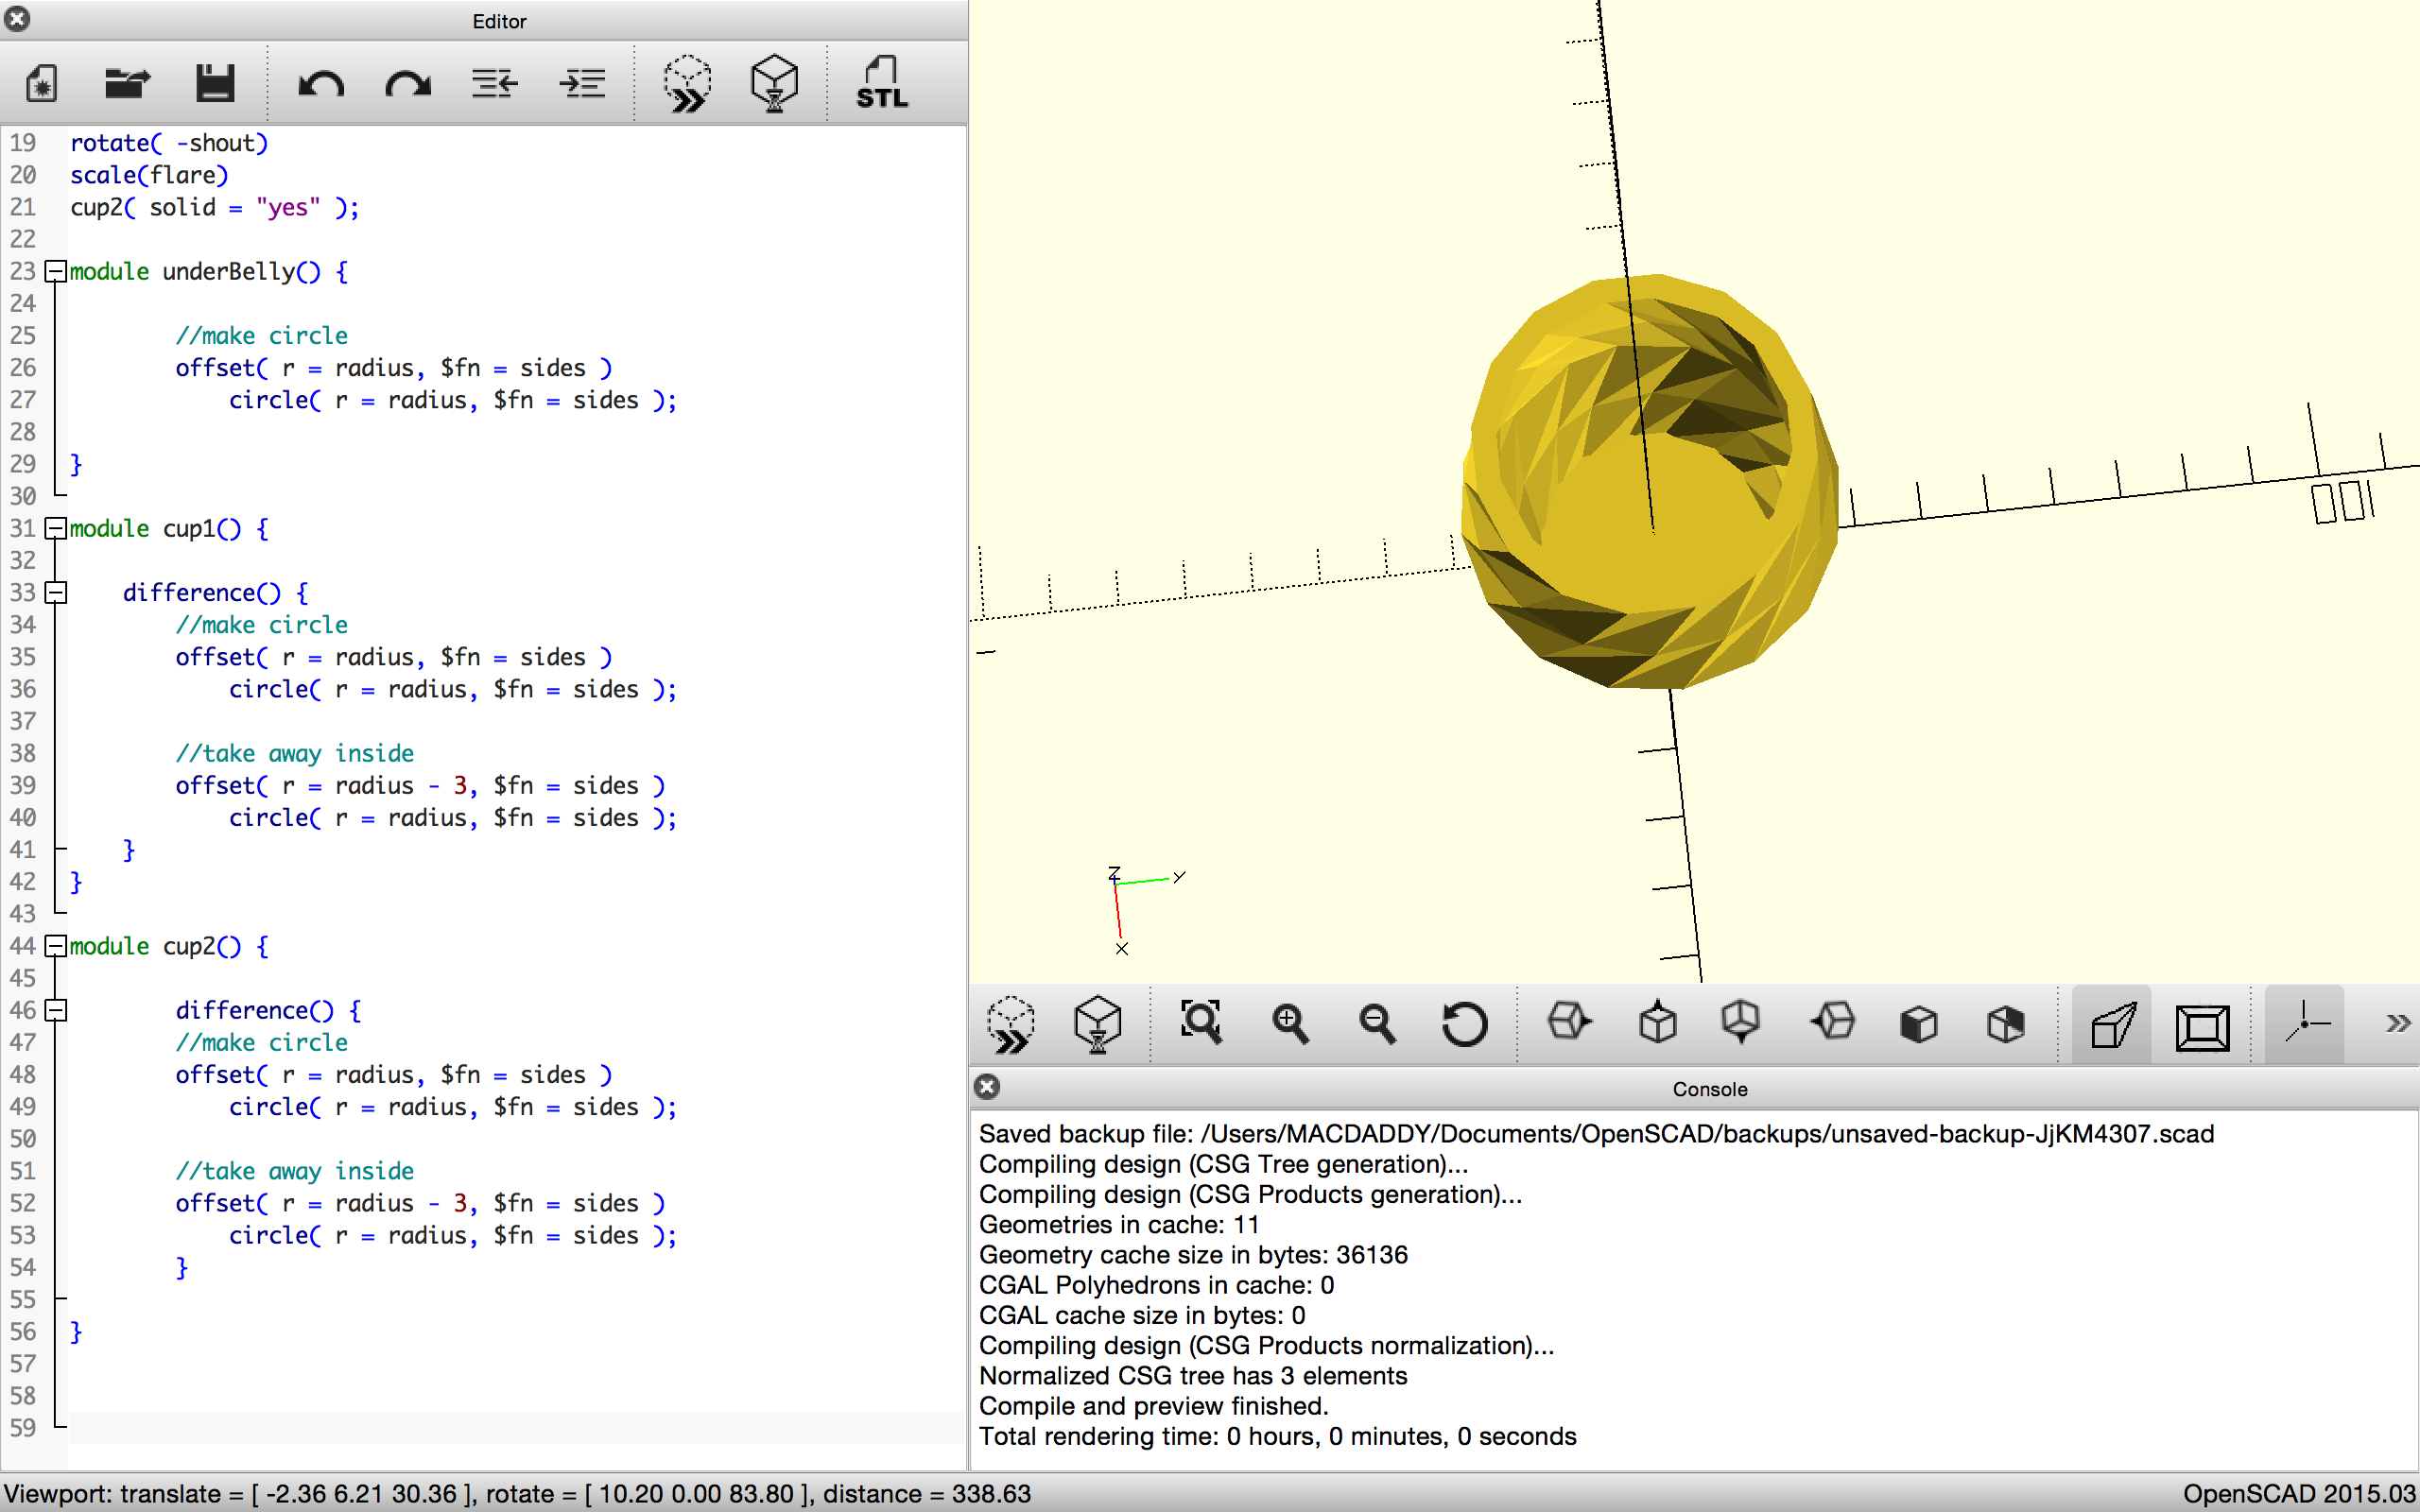
radius = 10;

sides = 8;

height = 40;

botHeight = 3;

flare = 1.3;

shout = 30;


linear_extrude( height = botHeight )

underBelly();


linear_extrude( height = height, scale = flare,

                twist = shout )

cup1( solid = "no");


translate([0,0,height])

linear_extrude( height = height, scale = flare- 0.5,

                twist = -shout)

rotate( -shout)

scale(flare)

cup2( solid = "yes" );


module underBelly()

        //make circle

        offset( r = radius, $fn = sides )

            circle( r = radius, $fn = sides );

}

module cup1() {

    difference() {

        //make circle

        offset( r = radius, $fn = sides )

            circle( r = radius, $fn = sides );

        //take away inside

        offset( r = radius - 3, $fn = sides )

            circle( r = radius, $fn = sides );

    }

}

module cup2() {

        difference() {

        //make circle

        offset( r = radius, $fn = sides )

            circle( r = radius, $fn = sides );

        //take away inside

        offset( r = radius - 3, $fn = sides )

            circle( r = radius, $fn = sides );

        }

}
In order to make the whole in the cup I used the difference function. Inside the difference function I created a circle and then used the offset function with a slightly smaller radius.
At the top I used two separate cup modules, although I now realized that one would’ve sufficed. I used the linear extrude command and then flared out the sides and rotated it. I did pretty much the inverse of the flare and scale options with the second module in order to get the directional effect on the sides of the cup.
Second openSCAD Design Attempt
For my second design I tried to build off of many of the ideas I had from my first design. This in many ways is an expansion of what i envisioned the first design to be, yet maybe it is too expanded as you’ll see in a second.
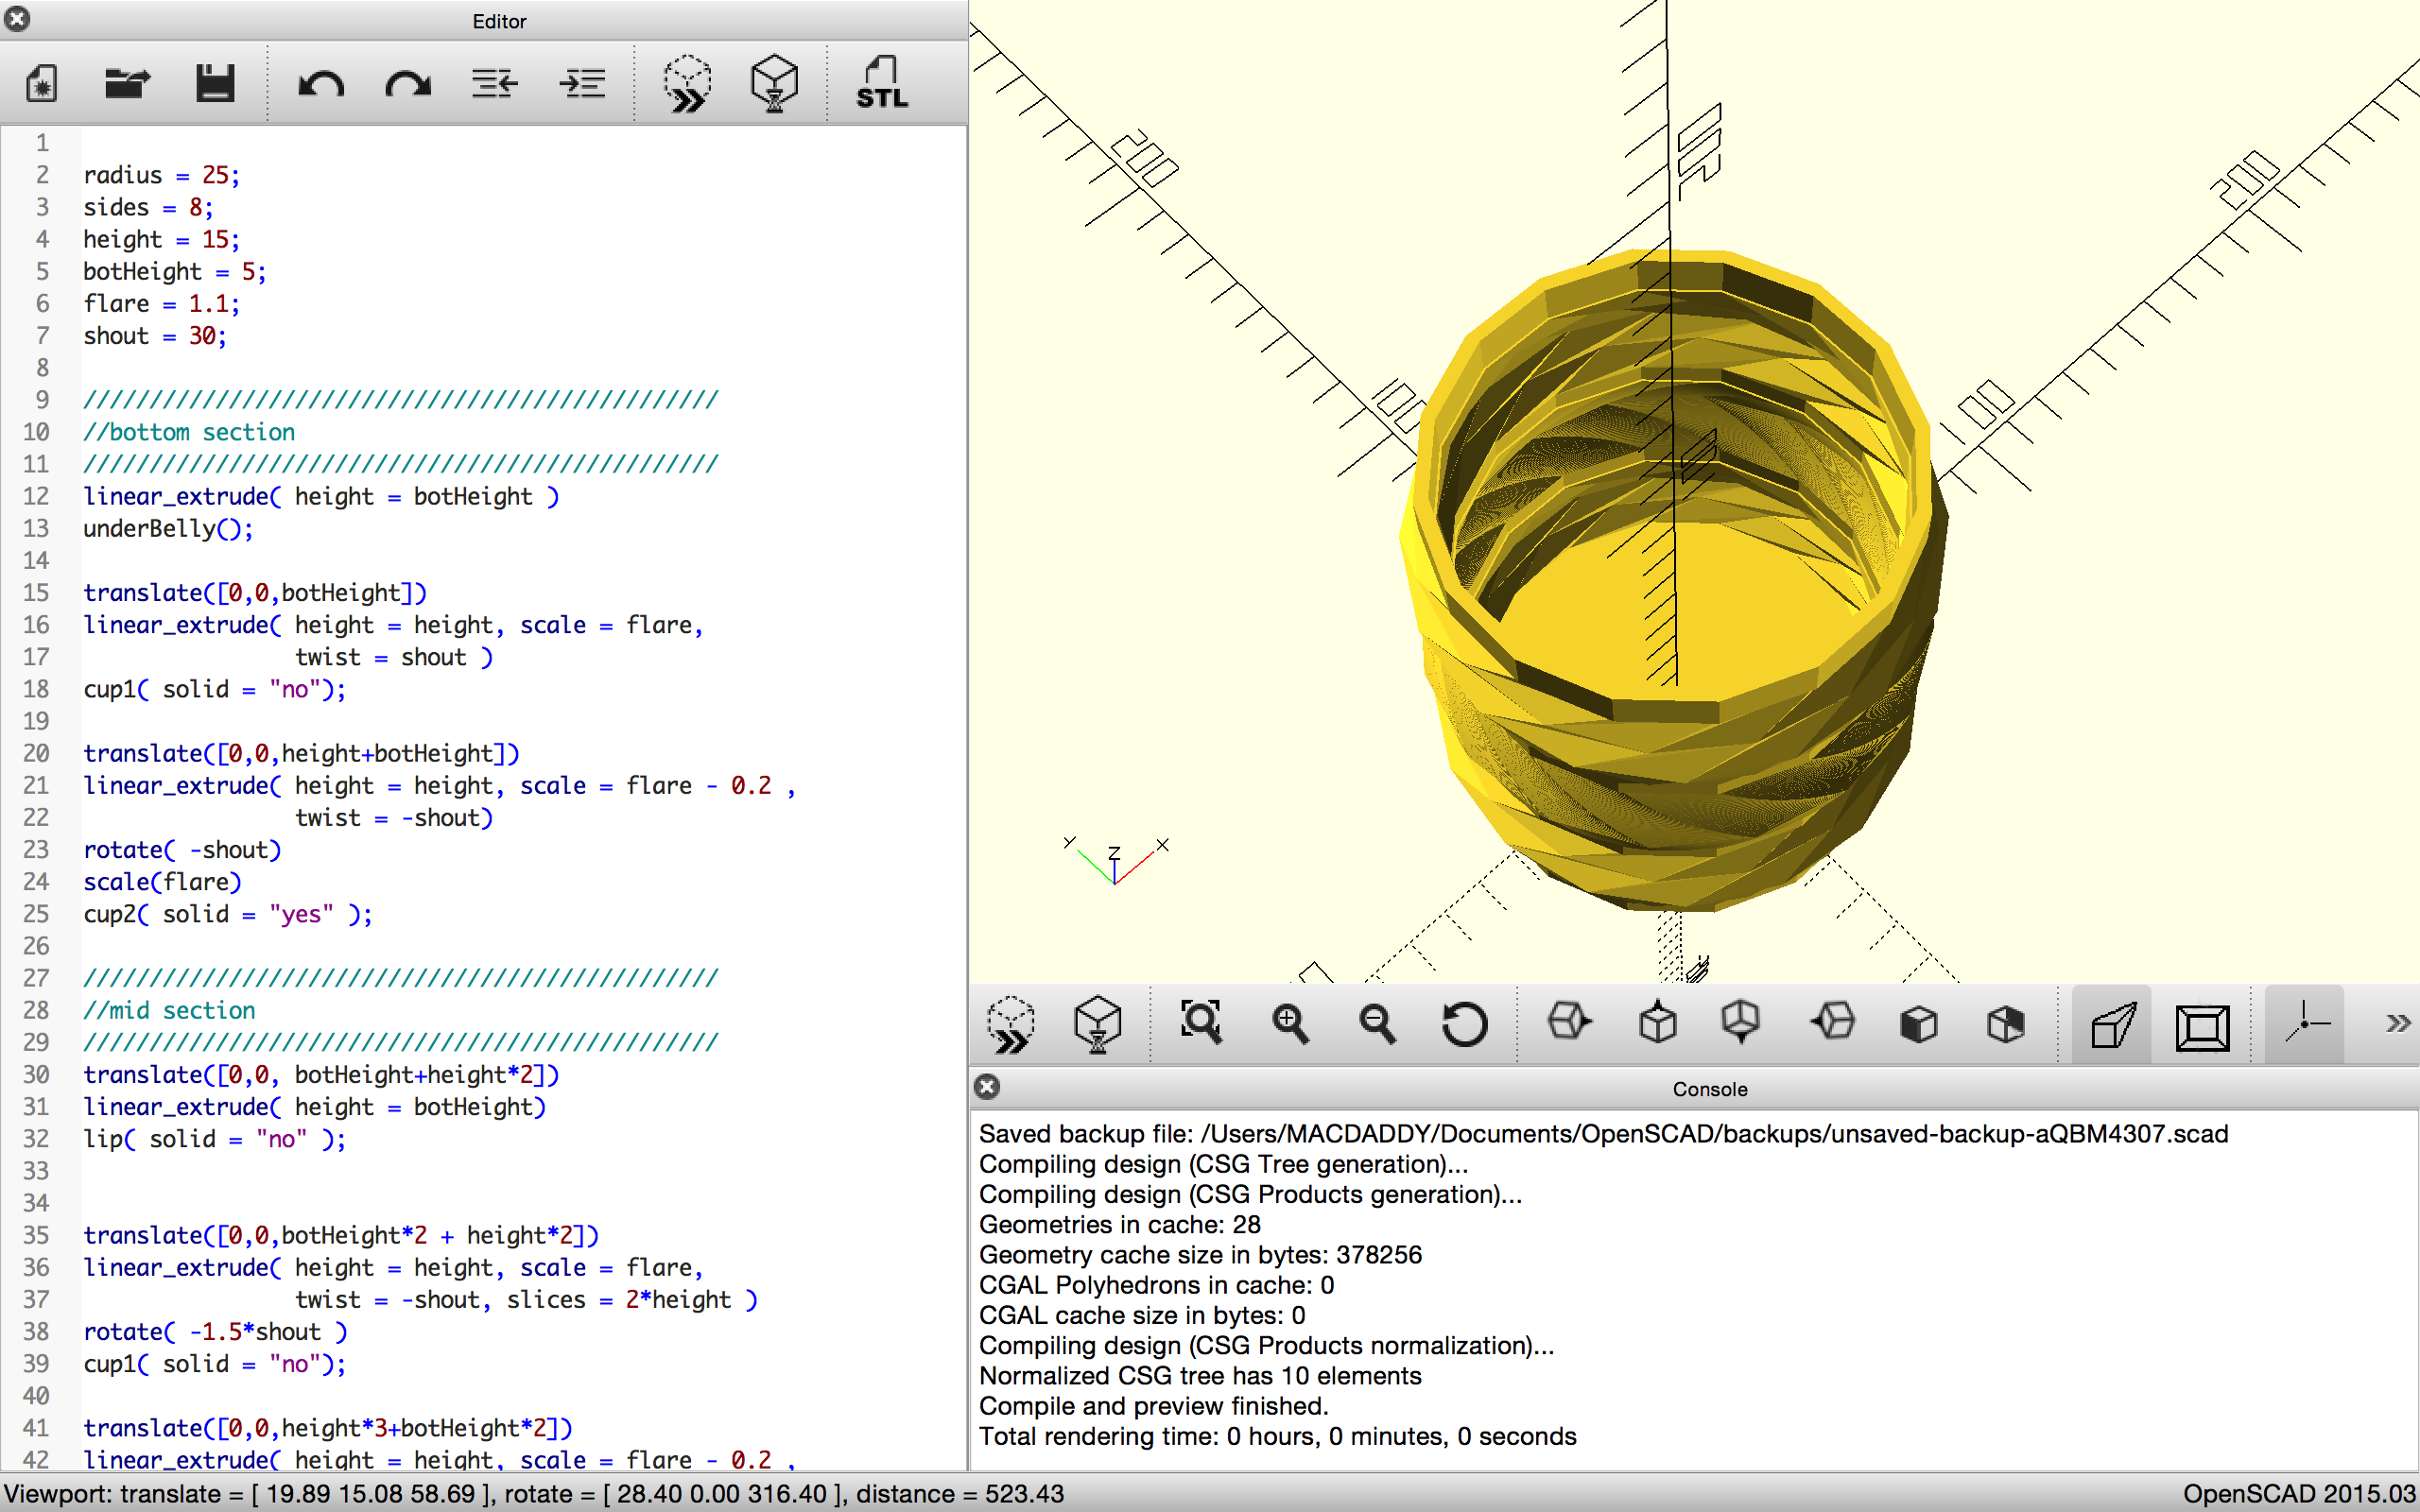
So as I now know and will actively warn others, radius is not the same as diameter, I repeat radius is NOT the same as diameter. I knew that I wanted my cup to be bigger this time but I confused the meanings behind those two key terms, radius and diameter, and had accidentally made a cup which was double the size of the cup I intended to make.
My first design, as seen above, is about a quarter of the size of this one.
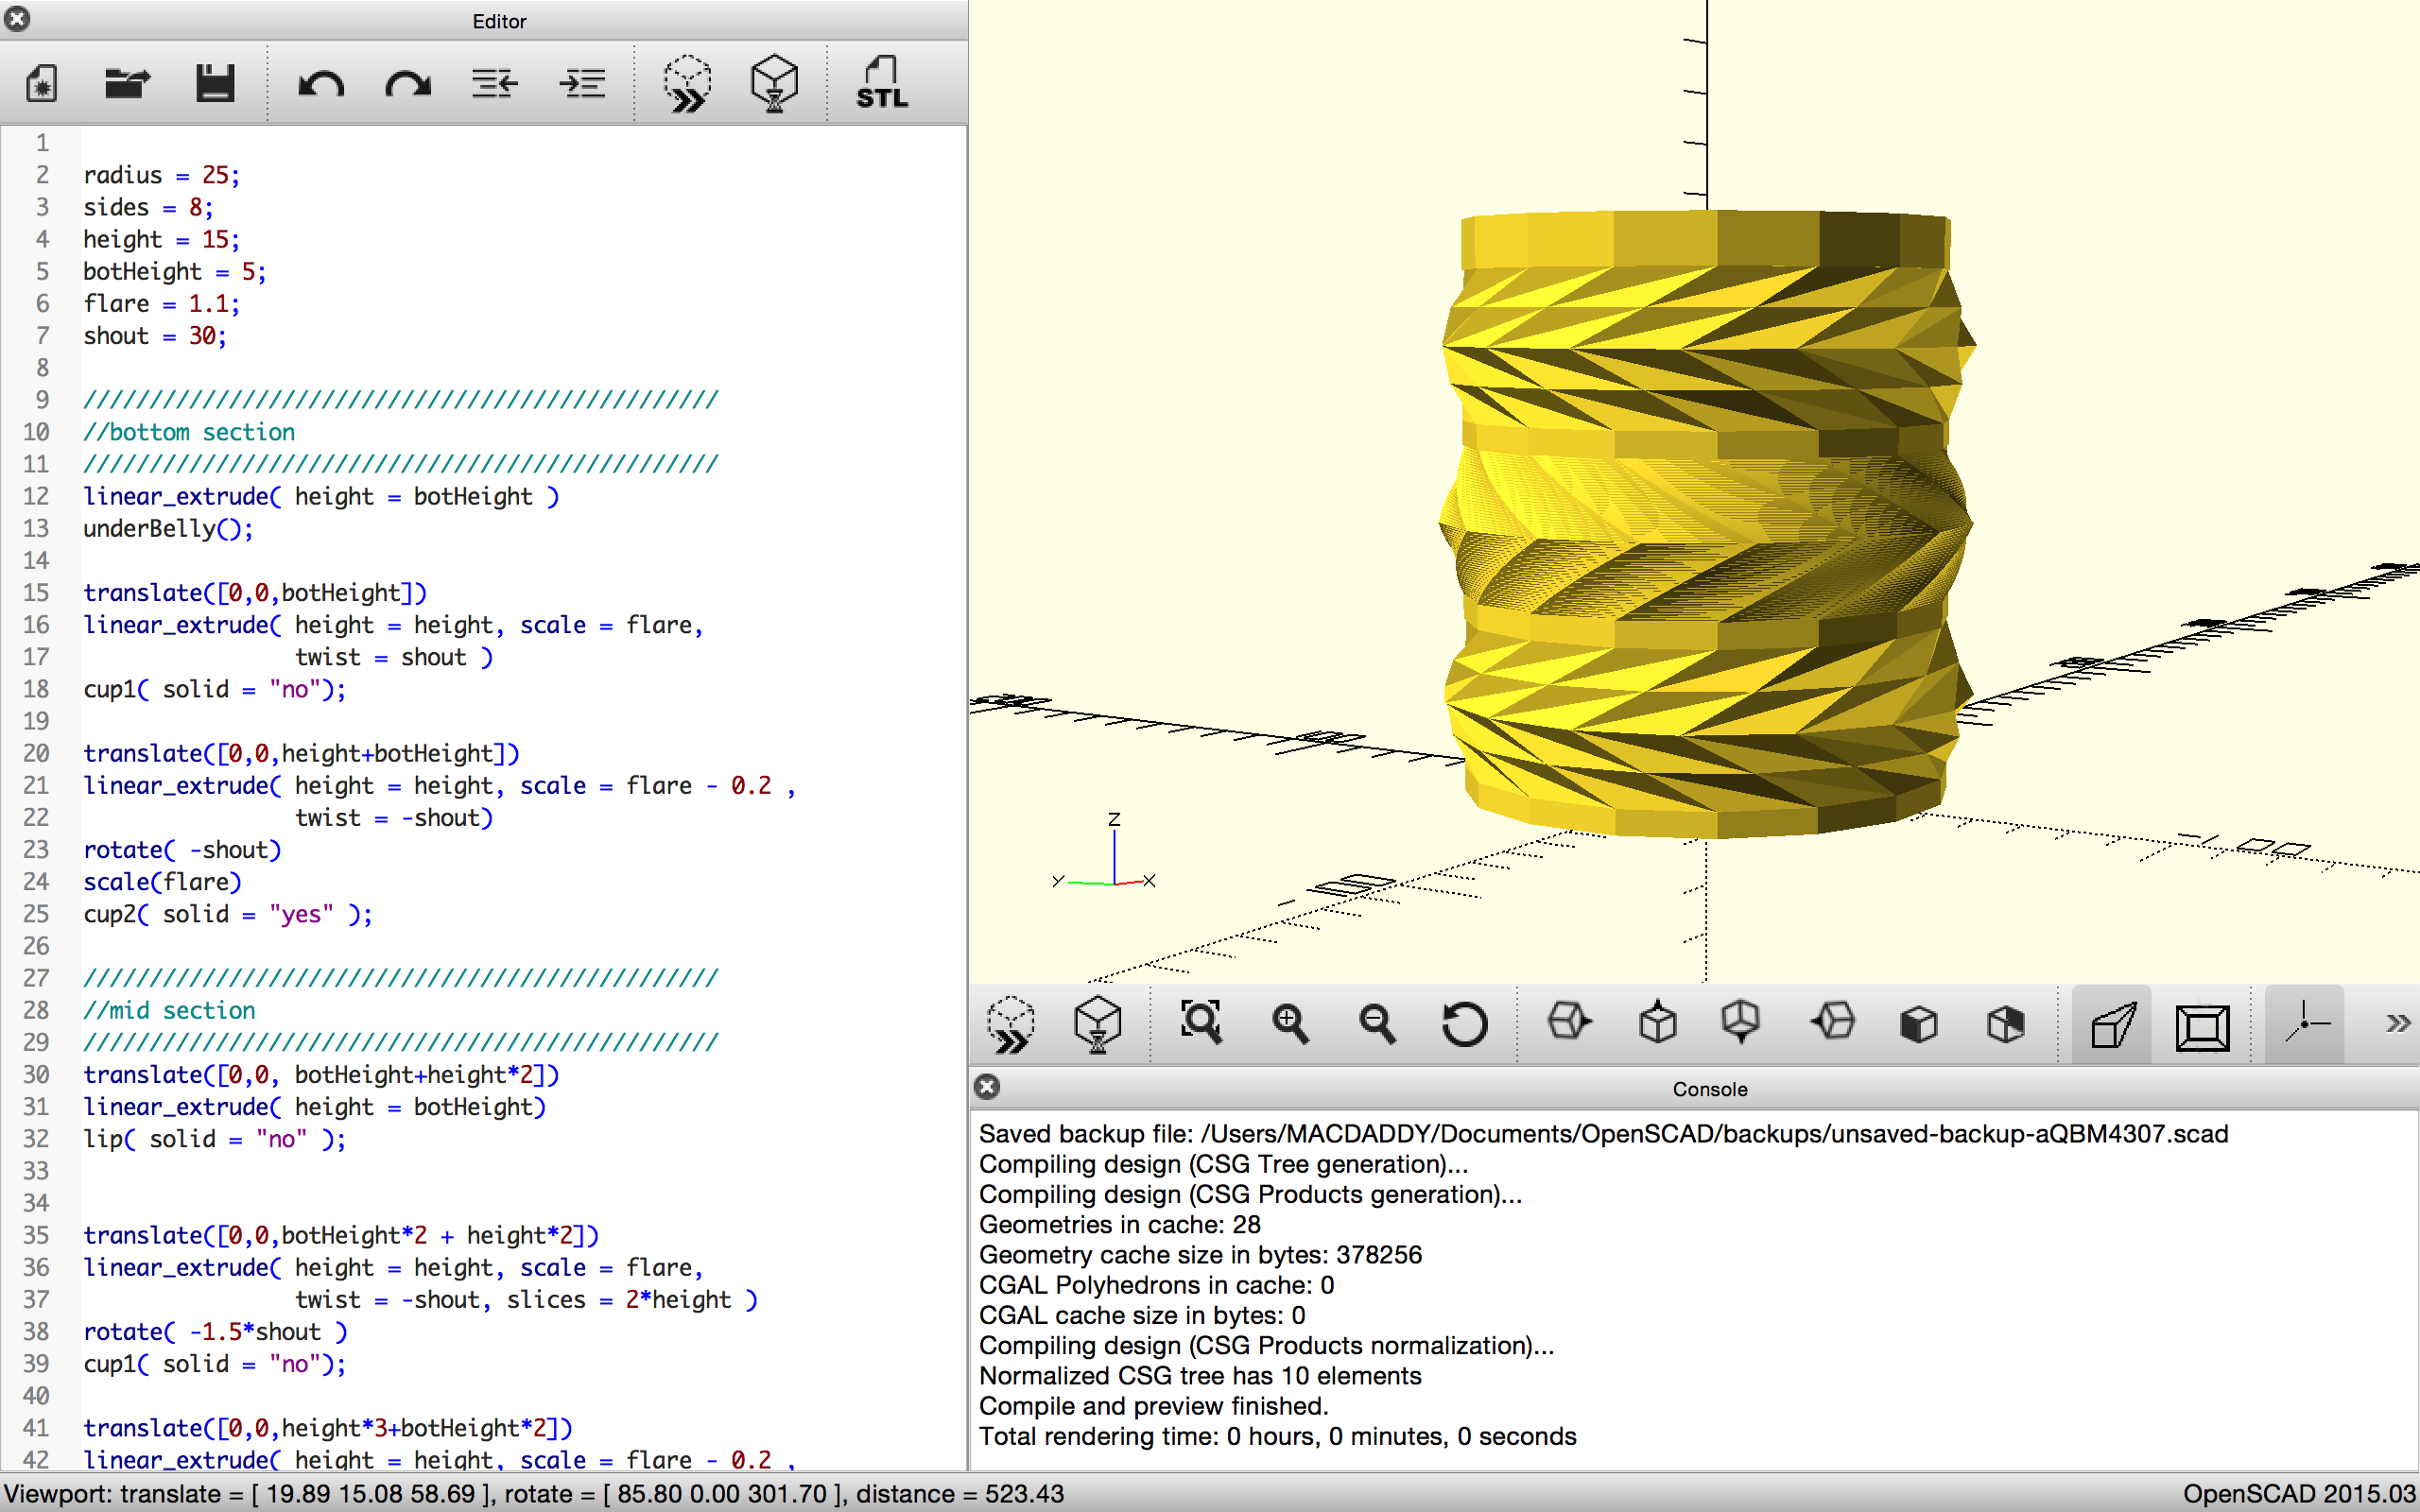
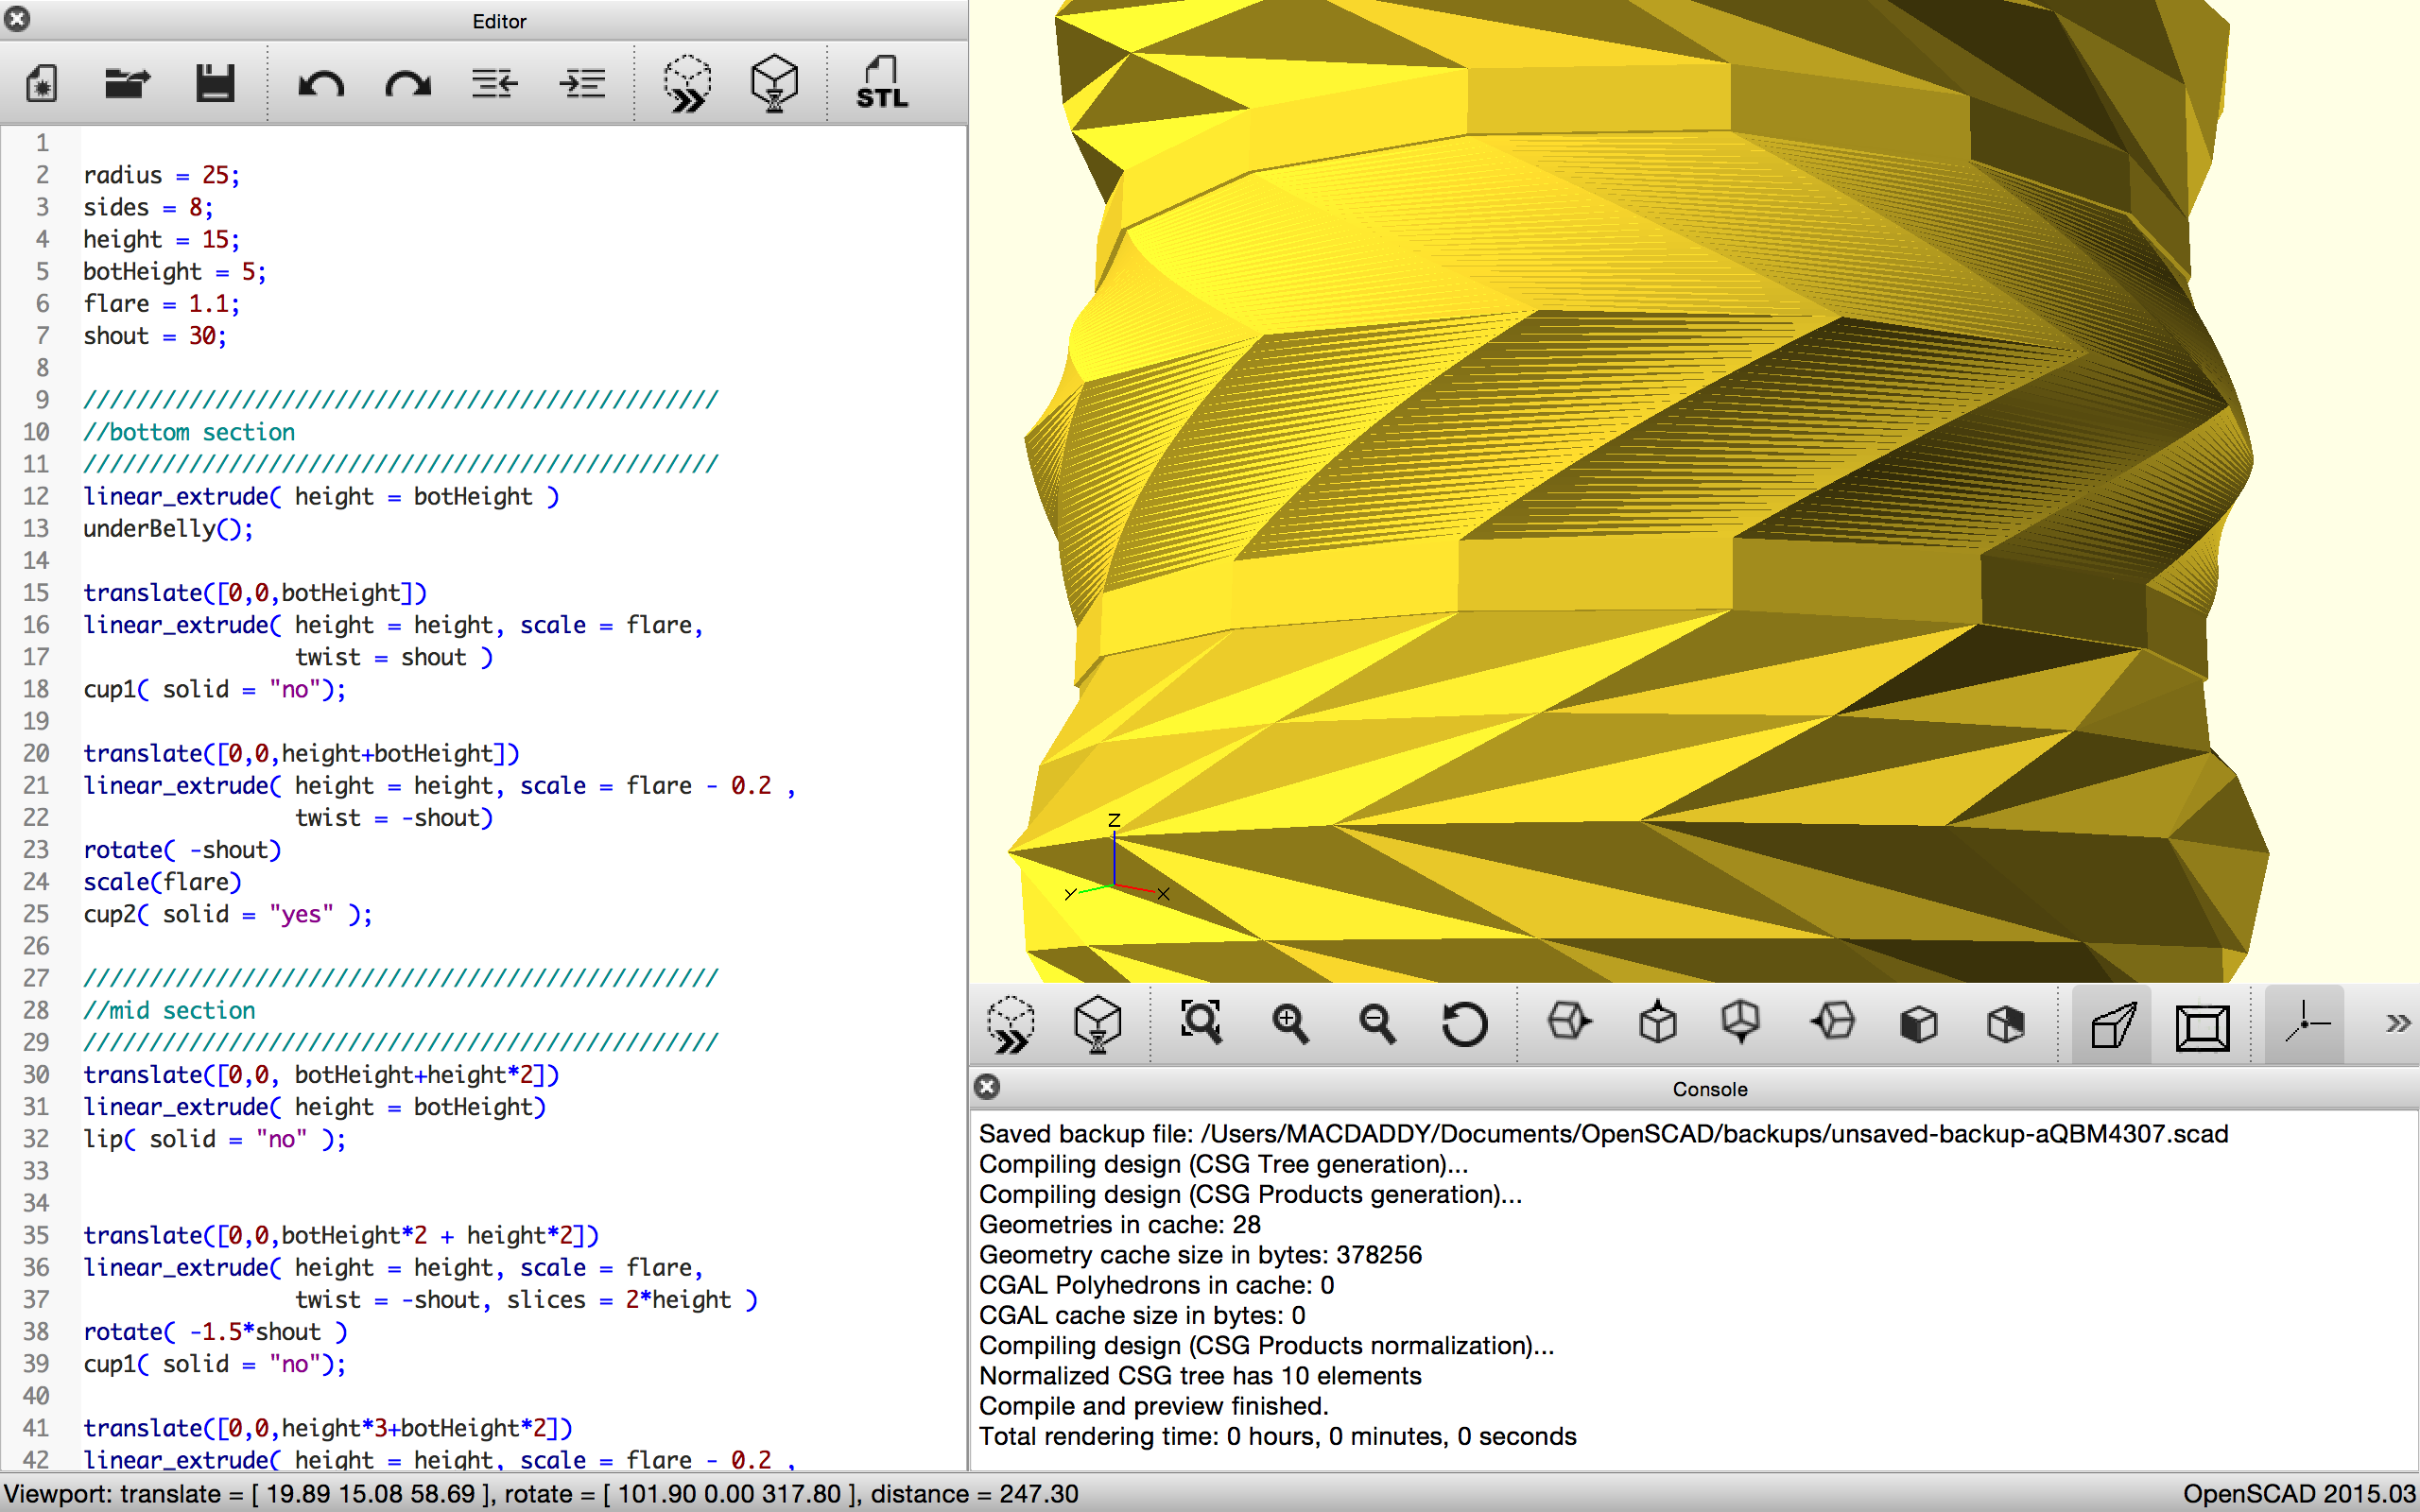
Other than going big or going home on this one, I liked the idea of the texture from the first cup and attempted to enhance that aspect of the design from the first cup. So I altered the dimensions of the modules to be shorter and wider than in my first design and I created three sections of the cup which were all interconnected by a small ring between them so the design felt smoother and not as abrupt. In the middle section I tried to add a significantly larger amount of slices as to smooth it out and create a contrast between the top and bottom sections of the cup. While this seemed more dramatic in openSCAD’s rendering of the design, in reality the difference it made, while palpable, was minor.

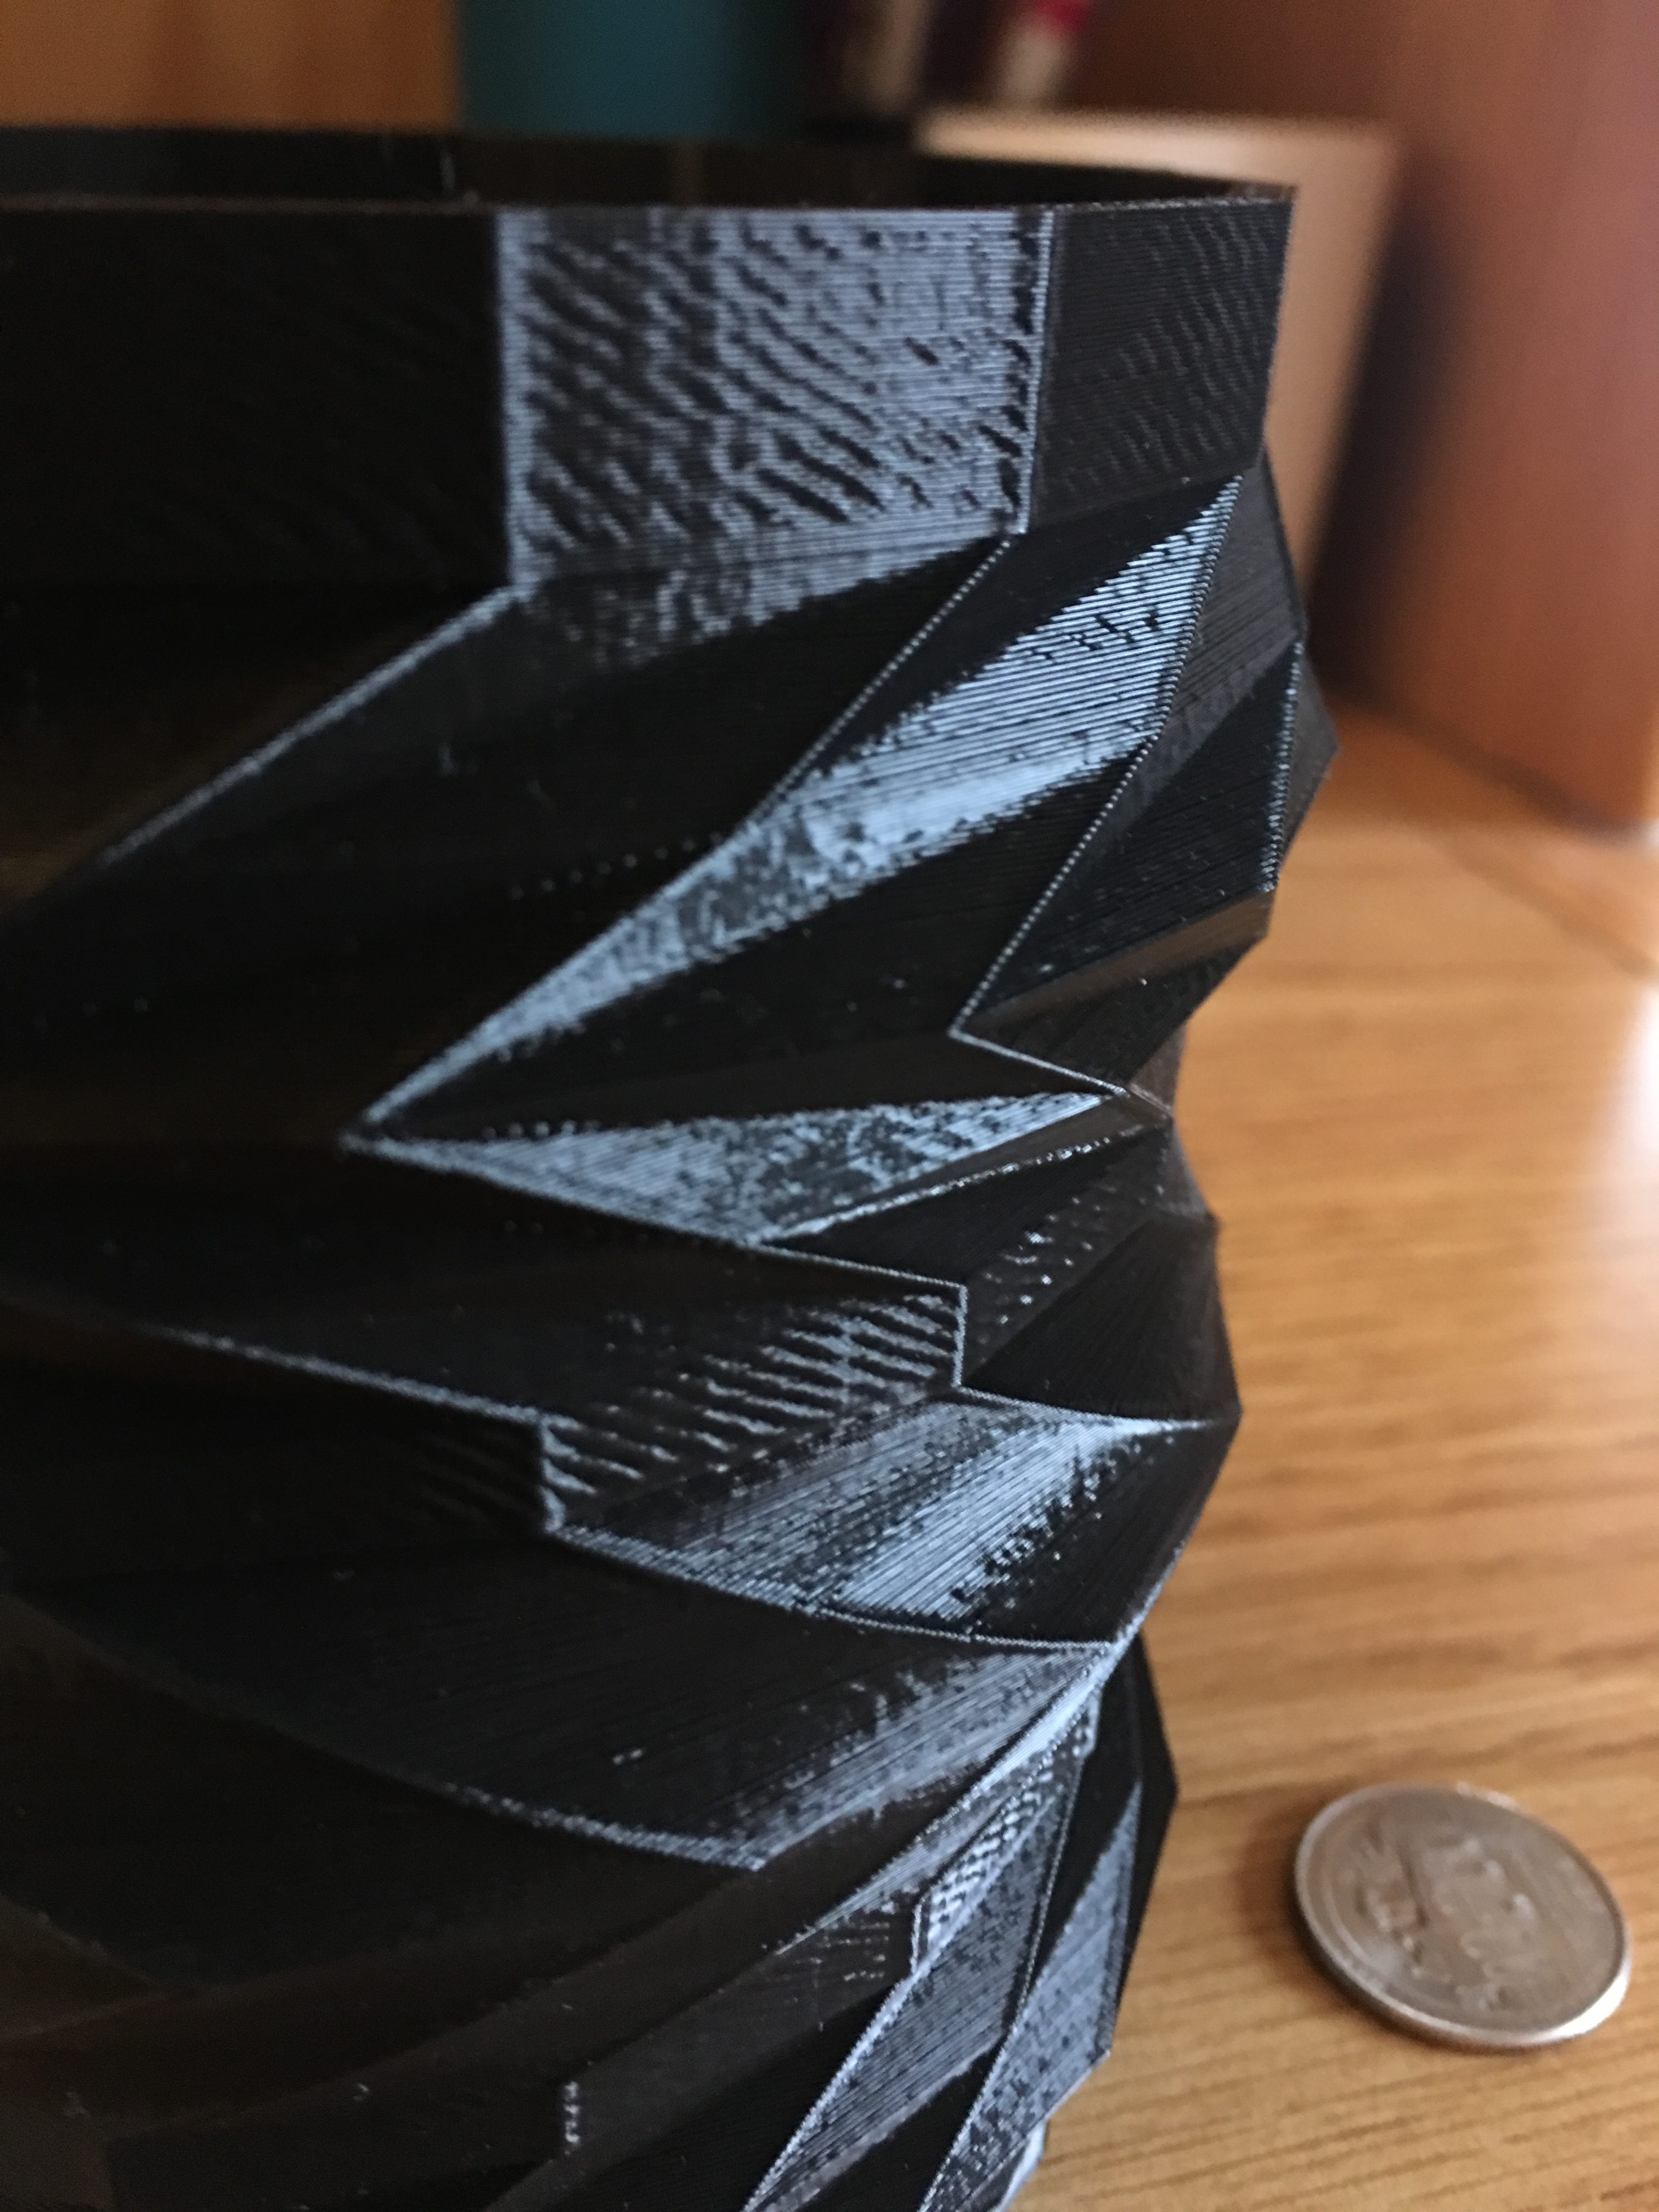
My code didn’t turn out to be too much more complicated than the code I had for my first design. It was just mostly repeated segments of what I had initially printed with altered dimensions. I also added a ring module to divide between the alternating directions of the cup, as well as a lip module to allow it to become easier to drink from.
radius = 25;
sides = 8;
height = 15;
botHeight = 5;
flare = 1.1;
shout = 30;

////////////////////////////////////////////////
//bottom section
////////////////////////////////////////////////
linear_extrude( height = botHeight )
underBelly();

translate([0,0,botHeight])
linear_extrude( height = height, scale = flare,
 twist = shout )
cup1( solid = "no");

translate([0,0,height+botHeight])
linear_extrude( height = height, scale = flare - 0.2 ,
 twist = -shout)
rotate( -shout)
scale(flare)
cup2( solid = "yes" );

////////////////////////////////////////////////
//mid section
////////////////////////////////////////////////
translate([0,0, botHeight+height*2])
linear_extrude( height = botHeight)
lip( solid = "no" );


translate([0,0,botHeight*2 + height*2])
linear_extrude( height = height, scale = flare,
 twist = -shout, slices = 2*height )
rotate( -1.5*shout )
cup1( solid = "no");

translate([0,0,height*3+botHeight*2])
linear_extrude( height = height, scale = flare - 0.2 ,
 twist = shout, slices = 2*height)
rotate( shout)
scale(flare)
cup2( solid = "yes" );

////////////////////////////////////////////////
//top section
////////////////////////////////////////////////
translate([0,0, botHeight*2+height*4])
linear_extrude( height = botHeight)
lip( solid = "no" );

translate([0,0,botHeight*3 + height*4])
linear_extrude( height = height, scale = flare,
 twist = shout )
cup1( solid = "no");

translate([0,0,botHeight*3 + height * 5])
linear_extrude( height = height , scale = flare - 0.2 ,
 twist = -shout)
rotate( -shout)
scale(flare)
cup2( solid = "yes" );

translate([0,0,botHeight*3 + height*6])
linear_extrude( height = 2*botHeight )
lip();


module underBelly() {

 //make circle
 offset( r = radius, $fn = sides )
 circle( r = radius, $fn = sides );


}


module lip() {

 difference() {
 //make circle
 offset( r = radius , $fn = sides )
 circle( r = radius, $fn = sides );

 //take away inside
 offset( r = radius - 3, $fn = sides )
 circle( r = radius, $fn = sides );
 }

}
module cup1() {

difference() {
 //make circle
 offset( r = radius , $fn = sides )
 circle( r = radius, $fn = sides );

 //take away inside
 offset( r = radius - 3, $fn = sides )
 circle( r = radius, $fn = sides );
 }
}

module cup2() {

difference() {
 //make circle
 offset( r = radius, $fn = sides )
 circle( r = radius, $fn = sides );

 //take away inside
 offset( r = radius - 3, $fn = sides )
 circle( r = radius, $fn = sides );
 }

}
Overall, while the size became more overwhelming than intended, I was happy with this design and am looking forward to tinkering with the openSCAD application more over winter break.