Hello
I can be found at:
Thinker cad: DanielMusikanth1
Sketchfab: Dmusi
Thingiverse: Dmusi
Initial puzzle research.
The first puzzle I found is a typical cube puzzle that has the Tetris design with its various pieces. created by Piet hein I think this is an important puzzle to study alittle bit because it is the root of a good puzzle and its most basic form I think. I like that their are hundreds of ways it can go together.
here is a picture of the puzzle.

link: Puzzle.
The second puzzle I found that interested me was this woodworking puzzle. this one caught my eye because it bring the whole tetris piece idea and mixes in so jigsaw puzzle. its like a 3D jigsaw puzzle which I really like. this is some design I want to incorporate into my puzzle because I like the idea of pieces fitting together and meshing to create. I think this limits my design alittle though because unless I come up with a special way the pieces can really only go one way and I would like to have a puzzle that can be put together in lots of different ways.
here is a photo:


link to the puzzle creators website with designs and pdf: puzzle.
https://youtu.be/luQ2Vaz9lks
Thingiverse puzzle print.
the puzzle I found and chose to print can be found here
Puzzle Cube (easy print no support)
designed by : Wildrosebuilds.
I chose this puzzle because I like the design of pieces having to seemingly mesh together and that is what I want to do for my own puzzle that I am designing now. the print was very easy but took way longer than I thought. I am impressed that it didn’t need scaffolding or support to print the hanging section. this software is so smart. this design will lend heavily to my design and I like to have the pieces be similar to make the puzzle alittle harder than just lego building it up.
due to the time it took to print though I didn’t not get all three pieces of the puzzle. I plan to print the third today and will comeback and put the photo of the completed puzzle here.
apologies for the lack of photos.
Tinkercad cube puzzle
the basic design I was shooting for was something pretty simple and something that goes together super quick but is pleasing. not necessarily to challenge the person building the puzzle. I realize now that I made it way way to easy there isn’t really any puzzle aspect to it. I need to tweak my design to add some difficulty. id like to incorporate the whole magnet inside. I will need to make multiple prints to get tolerances correct.

Further iteration proved to be tricky finding the right tolerances for the dovetail. tolerances for the whole in the center and the tube seemed to be pretty consistent but the dove tail would vary from printer to printer and what filament was best. it even seemed like what time of day had effect on quality of the print. perhaps the room temperature had some effect.
Cube puzzle iteration.
my first iteration I added some difficulty to the puzzle and tightened some tolerances. overall the end result was acceptable but I do not have the formula down just yet. I will be taking most of what ive learned from this puzzle to my personal project. things I changed was tolerances for the dove tail and I added sides for the through rod to make it more round and better to touch. I also added some difficulty by making the rods come together from both sides and making them look identical with an extra little plug. 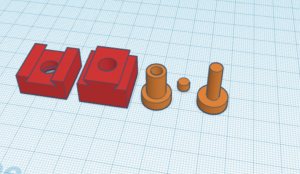
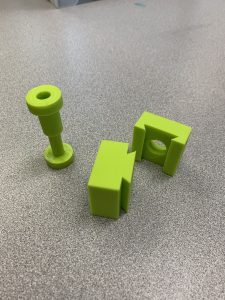
Unfortunately the print did not come out that great. I had a previous print that was amazing before I added the difficulty but I think the fact that I used another printer may have messed with the tolerances. I need to fix the tolerances and stick with one printer. im also kinda convinced the temperature of the room has a big impact on the quality of the print.
can be found on thingiverse here:
Cube puzzle Wrap up.
For my final iteration I got down the correct tolerances and found that to be .7 of a mm. I ditched the magnet idea for this puzzle and am saving that for my final project. overall I learned alot on how to model something to be nice to hold and play with. I think this is equally if not more important that a puzzles difficulty. if a puzzle is aesthetically pleasing then you are automatically drawn to play with it. as far as technical skill I feel like im pretty proficient in Tinkercad now. learning how to Line things up properly and using figures and shapes just to line up things and then deleting them or cutting into the original structure.
here is the final design sketch.

design can be found here.
Personal Project Pitch .
For my personal project pitch I want to kinda carry on with my puzzle cube and make it larger and more elaborate including rounded surfaces internally and create the whole puzzle by printing smaller pieces to assemble the puzzle. I will make each piece with a dove tail and them assemble them into the final puzzle pieces. I will have to glue them together to it doesn’t fall apart and ideally ill print them all the same color. id like there to be the secret magnet holder as the final crux and I want to design some sort of internal prize like a candy or something. I think it would be cool to also have empty space in the puzzle because everything ive made so far has been solid. this will essentially be a Japanese puzzle box. my final idea would be to print it quite large so that the user has a satisfactory experience and a nice tactile experience. I also might try to put in some click hinge. im not really sure how to name it but kinda like a snap buckle found on a backpack. this would need the design of a bendable piece which I think could be fun and tricky to design and get just right. for the internal rounded piece I will have to use fusion 360 which I might use to design the whole thing honestly.
20 Things in fusions 360
Here are the things I made using fusion 360:
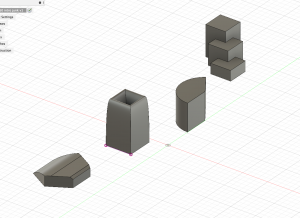

in mostly all of my forms I used extrude. my favorite took to use is loft because it creates such nice angles. the follow tool is pretty nice and the screw/bolt tool will be useful and maybe I can incorporate that into my puzzle instead of using dove tails.
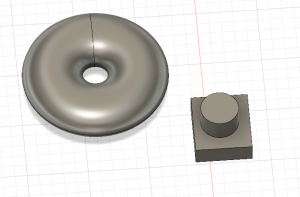
this is the small print I made. I liked this form the most cause I accidentally found that I can use the loft tool backwards and it made a really nice curved edge holder type thing that I intend to maybe use in my final project and the internal prize holder.
Photo: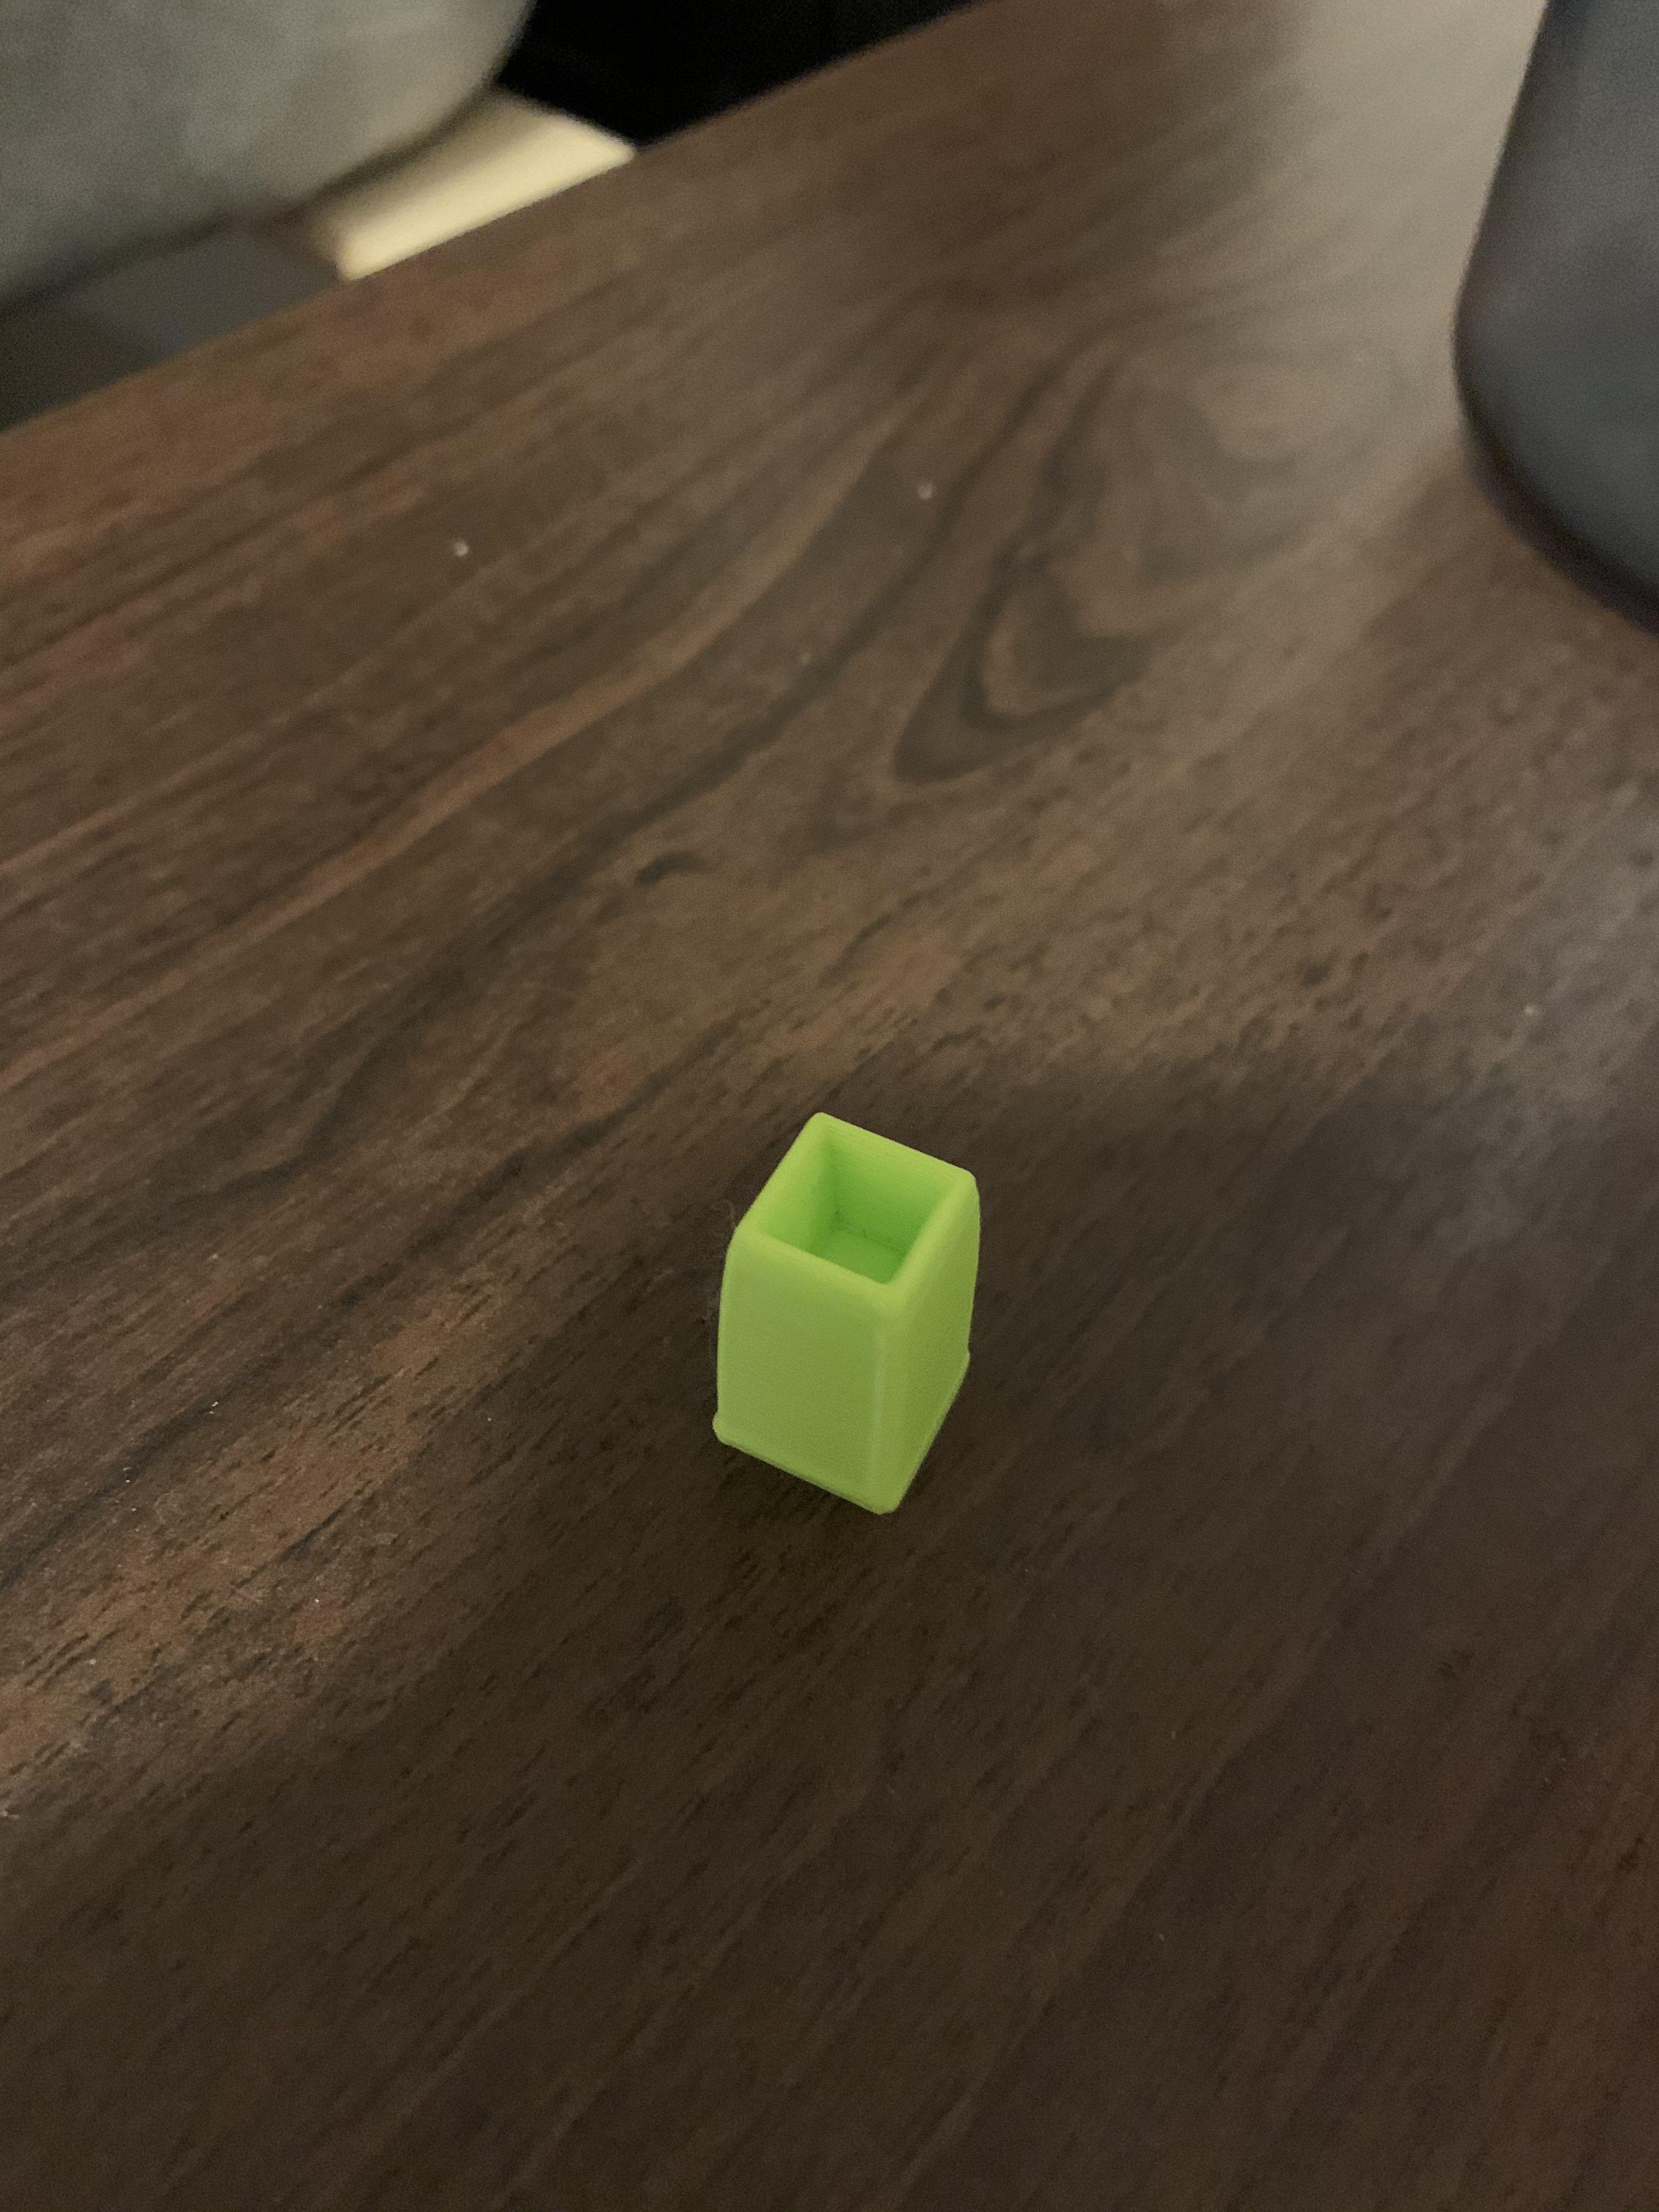
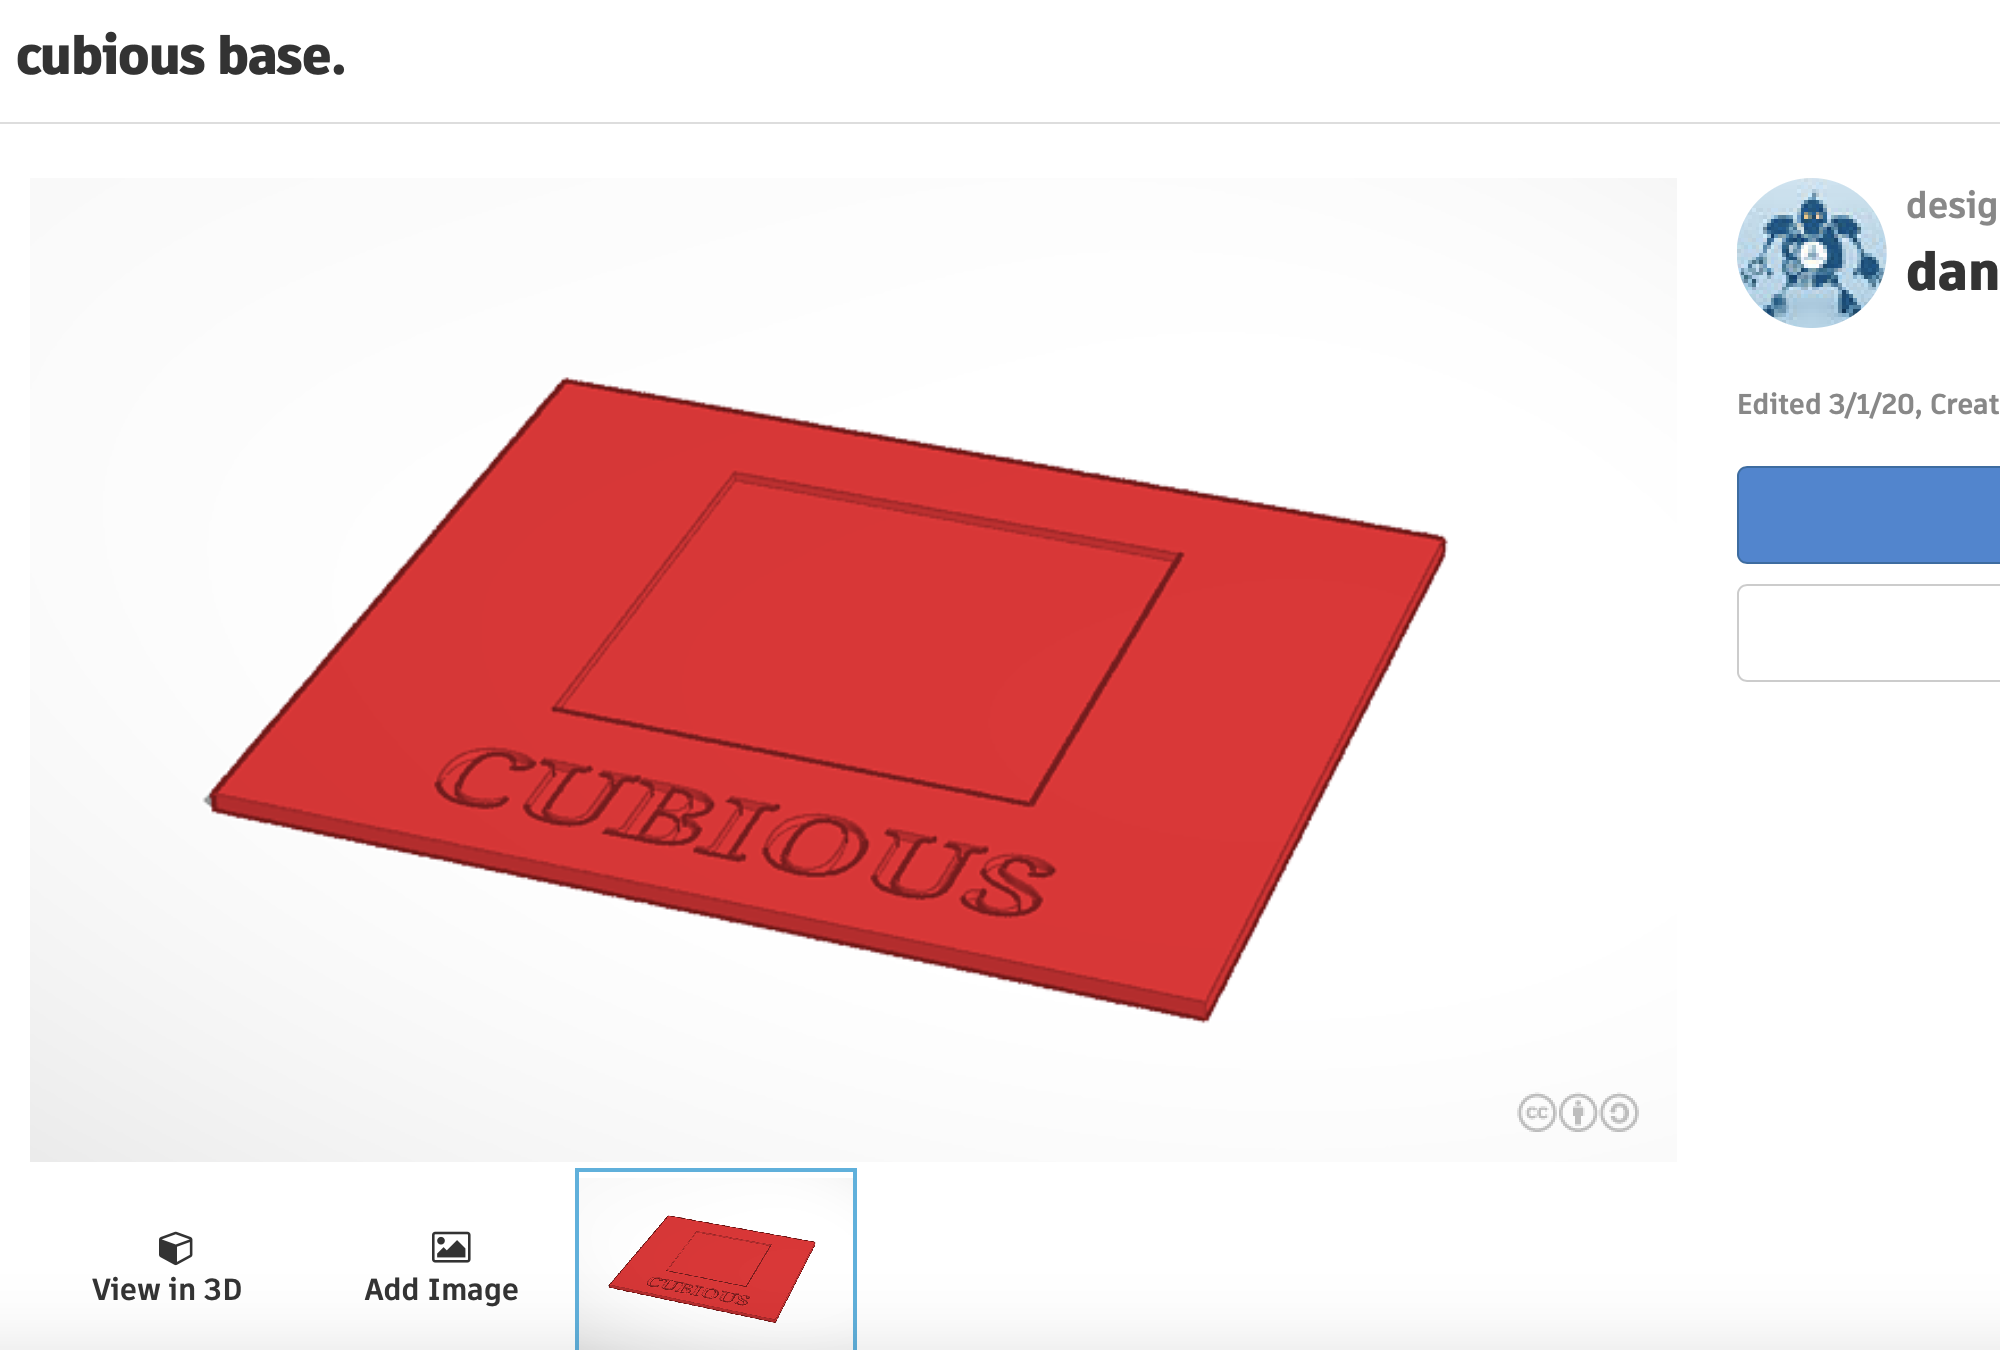
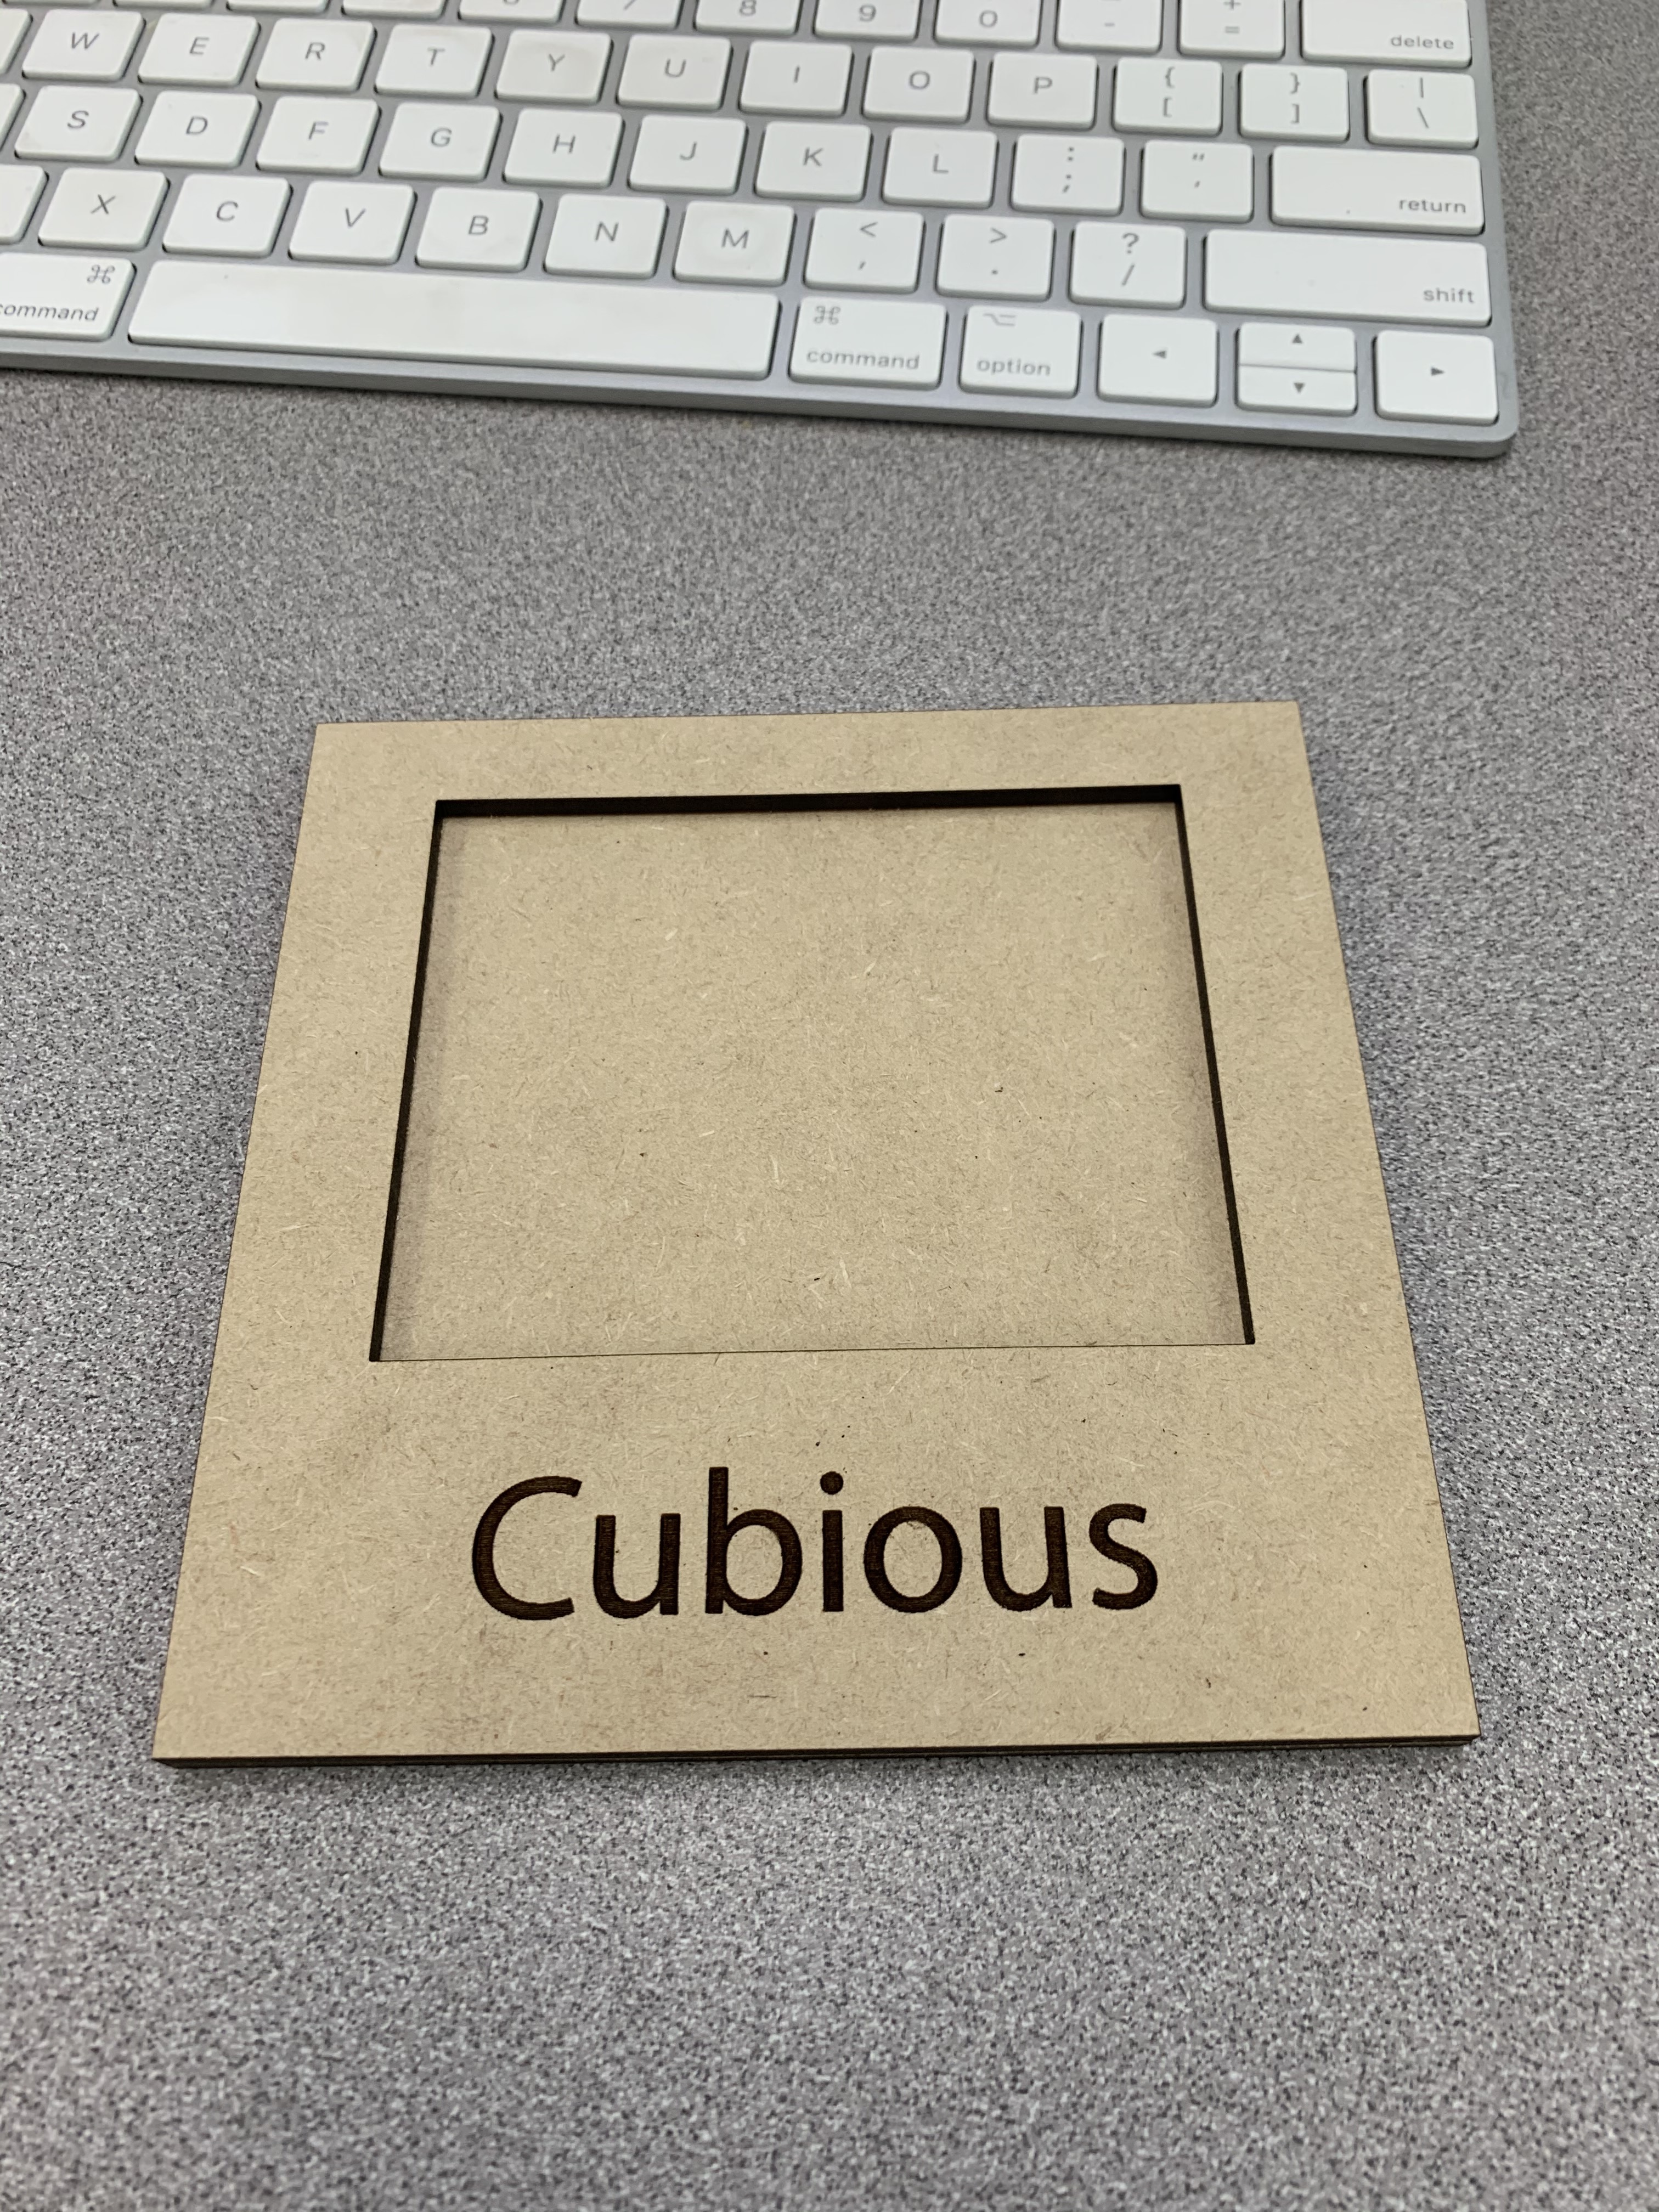
Digital Fabrication in the makery.
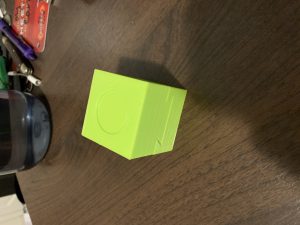
What I made in the Makery was a nice wooden presentation base for my puzzle called cubious.
I chose to make this because I need a nice home for my completed puzzle and I think it would make a nice desk object. it also brands my puzzle with its name.
the process was pretty simple. I made the base first on Tinkercad but that didn’t work well with glowforge application. I instead just copied my exact design to adobe illustrator and printed it. took all of 2 minutes to print which was very impressive.
here is a photo of the design on Tinkercad.
the final product came out really nice I think the only thing I might change in putting my name as the creator on the base somewhere. either on the back or under where the cube will sit.
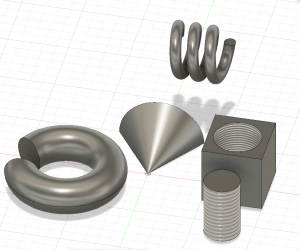
Openscad 10 things.
this is using the code provided from your video. I modified it and this is what I printed in class. it didn’t work.
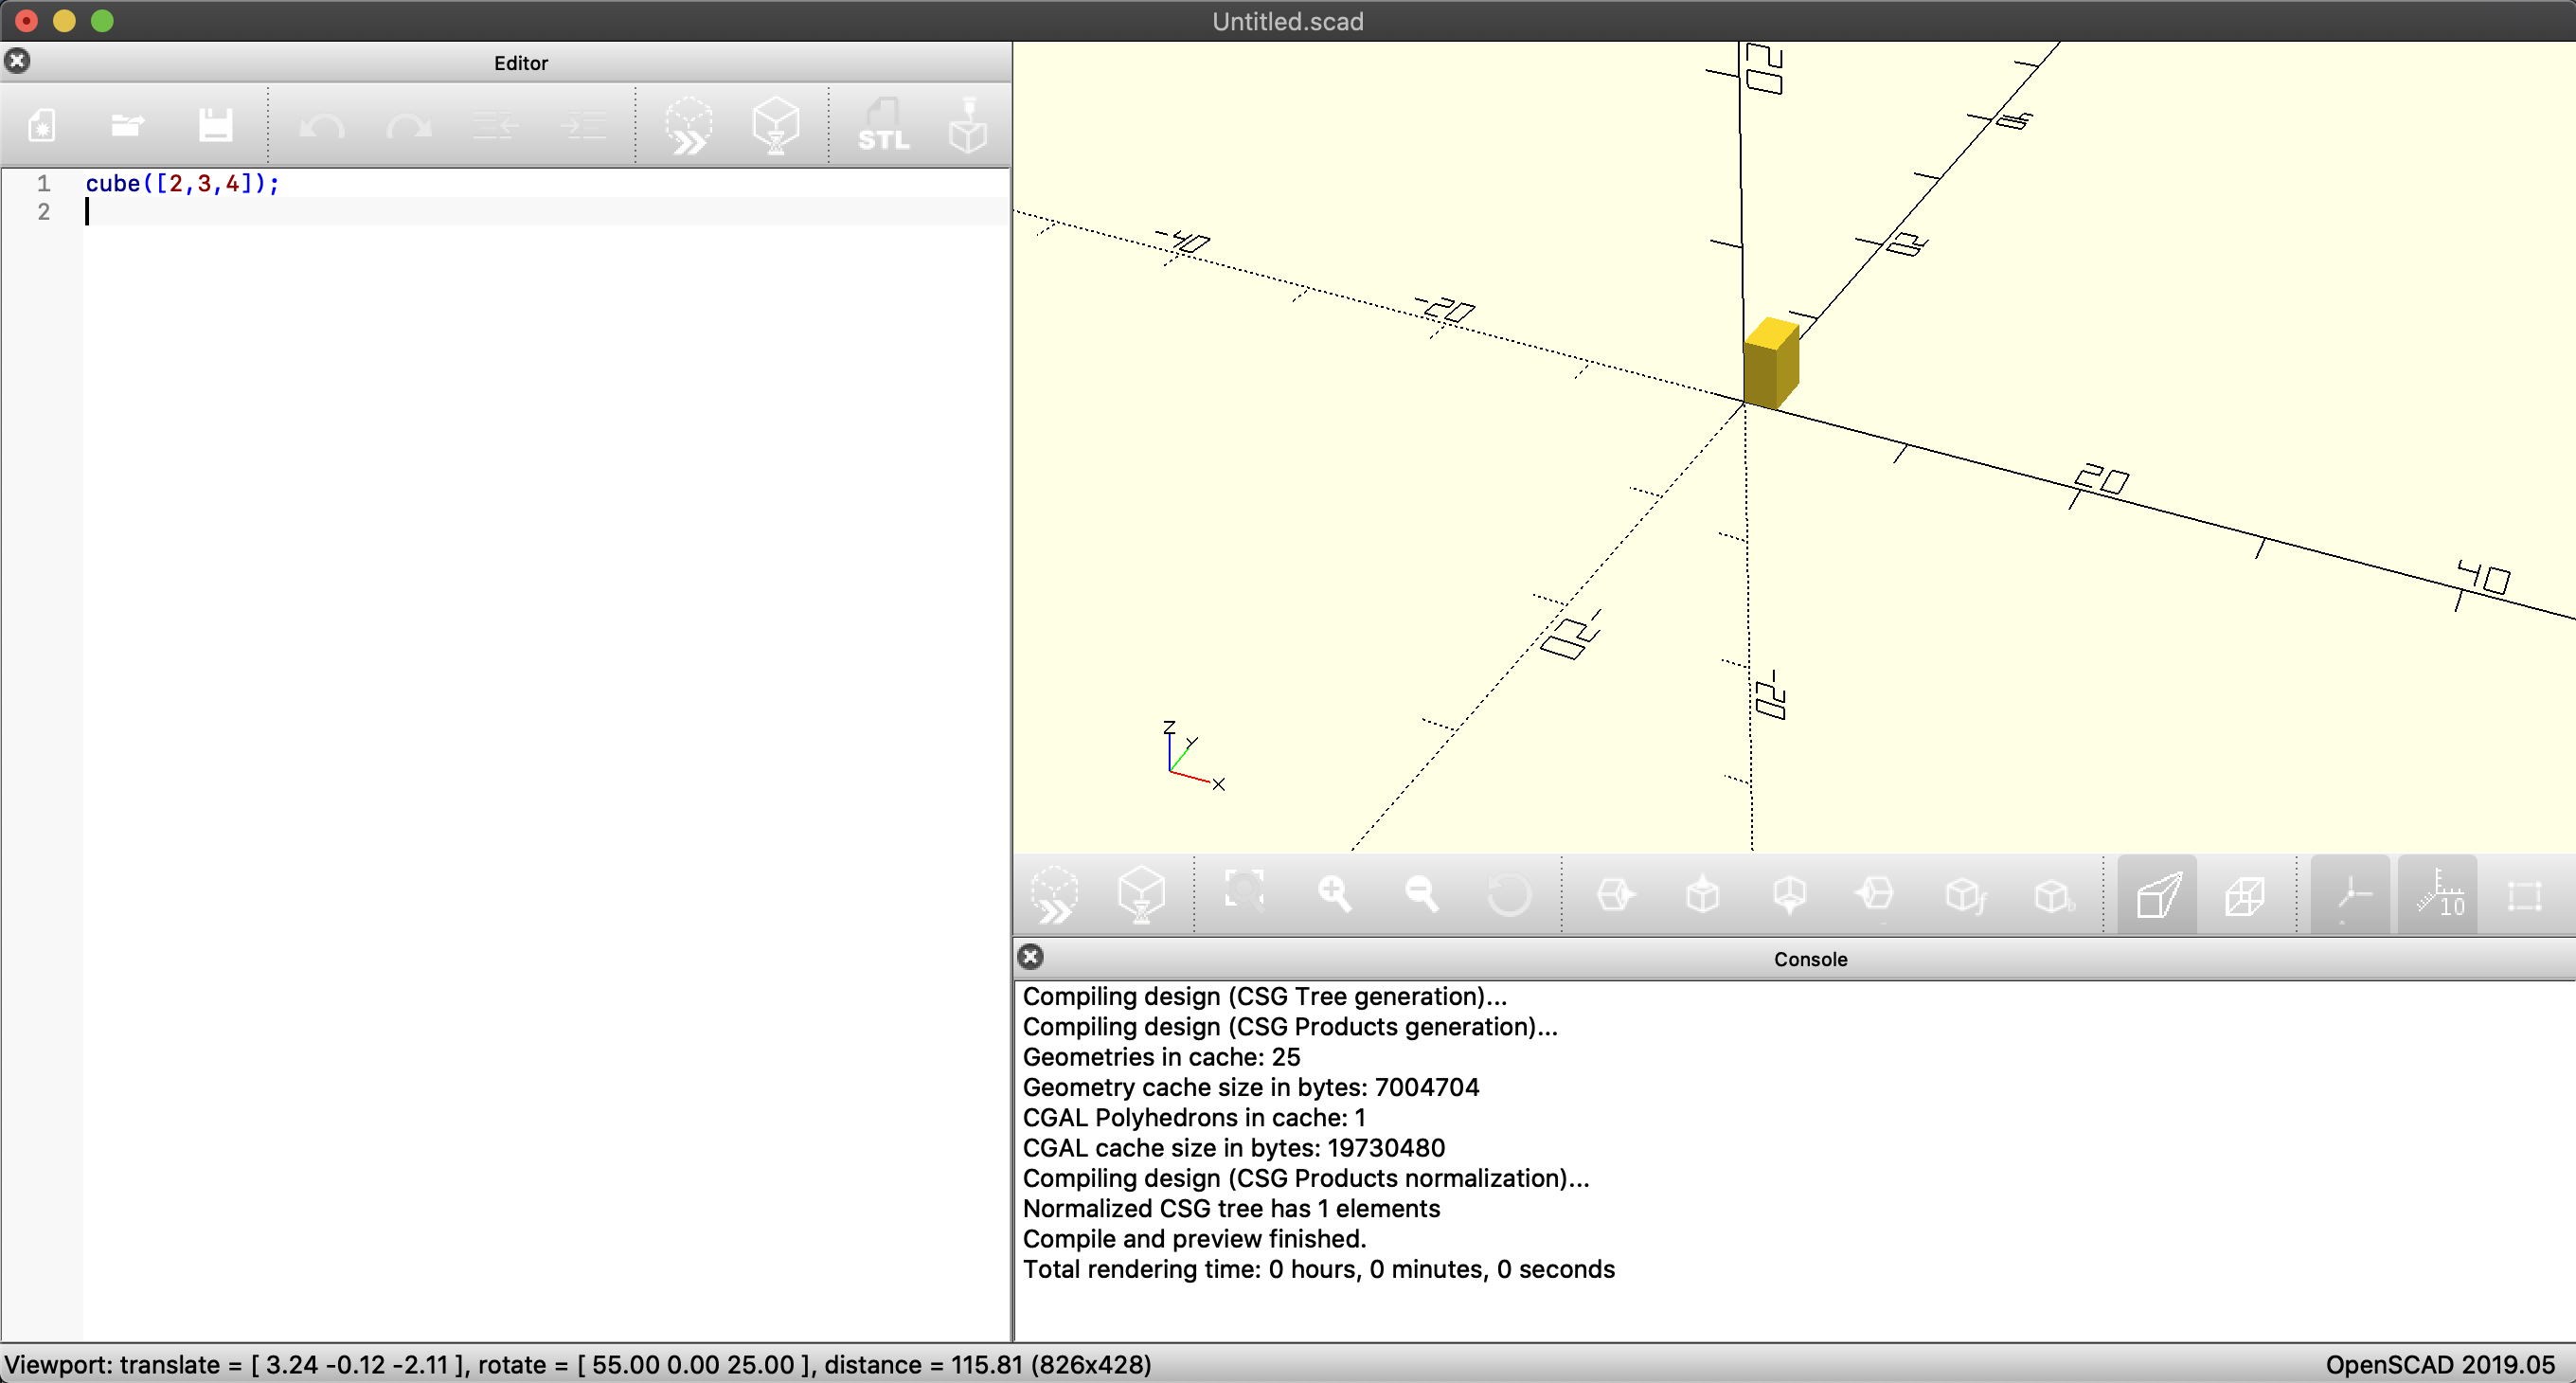
started with something super simple like a cube
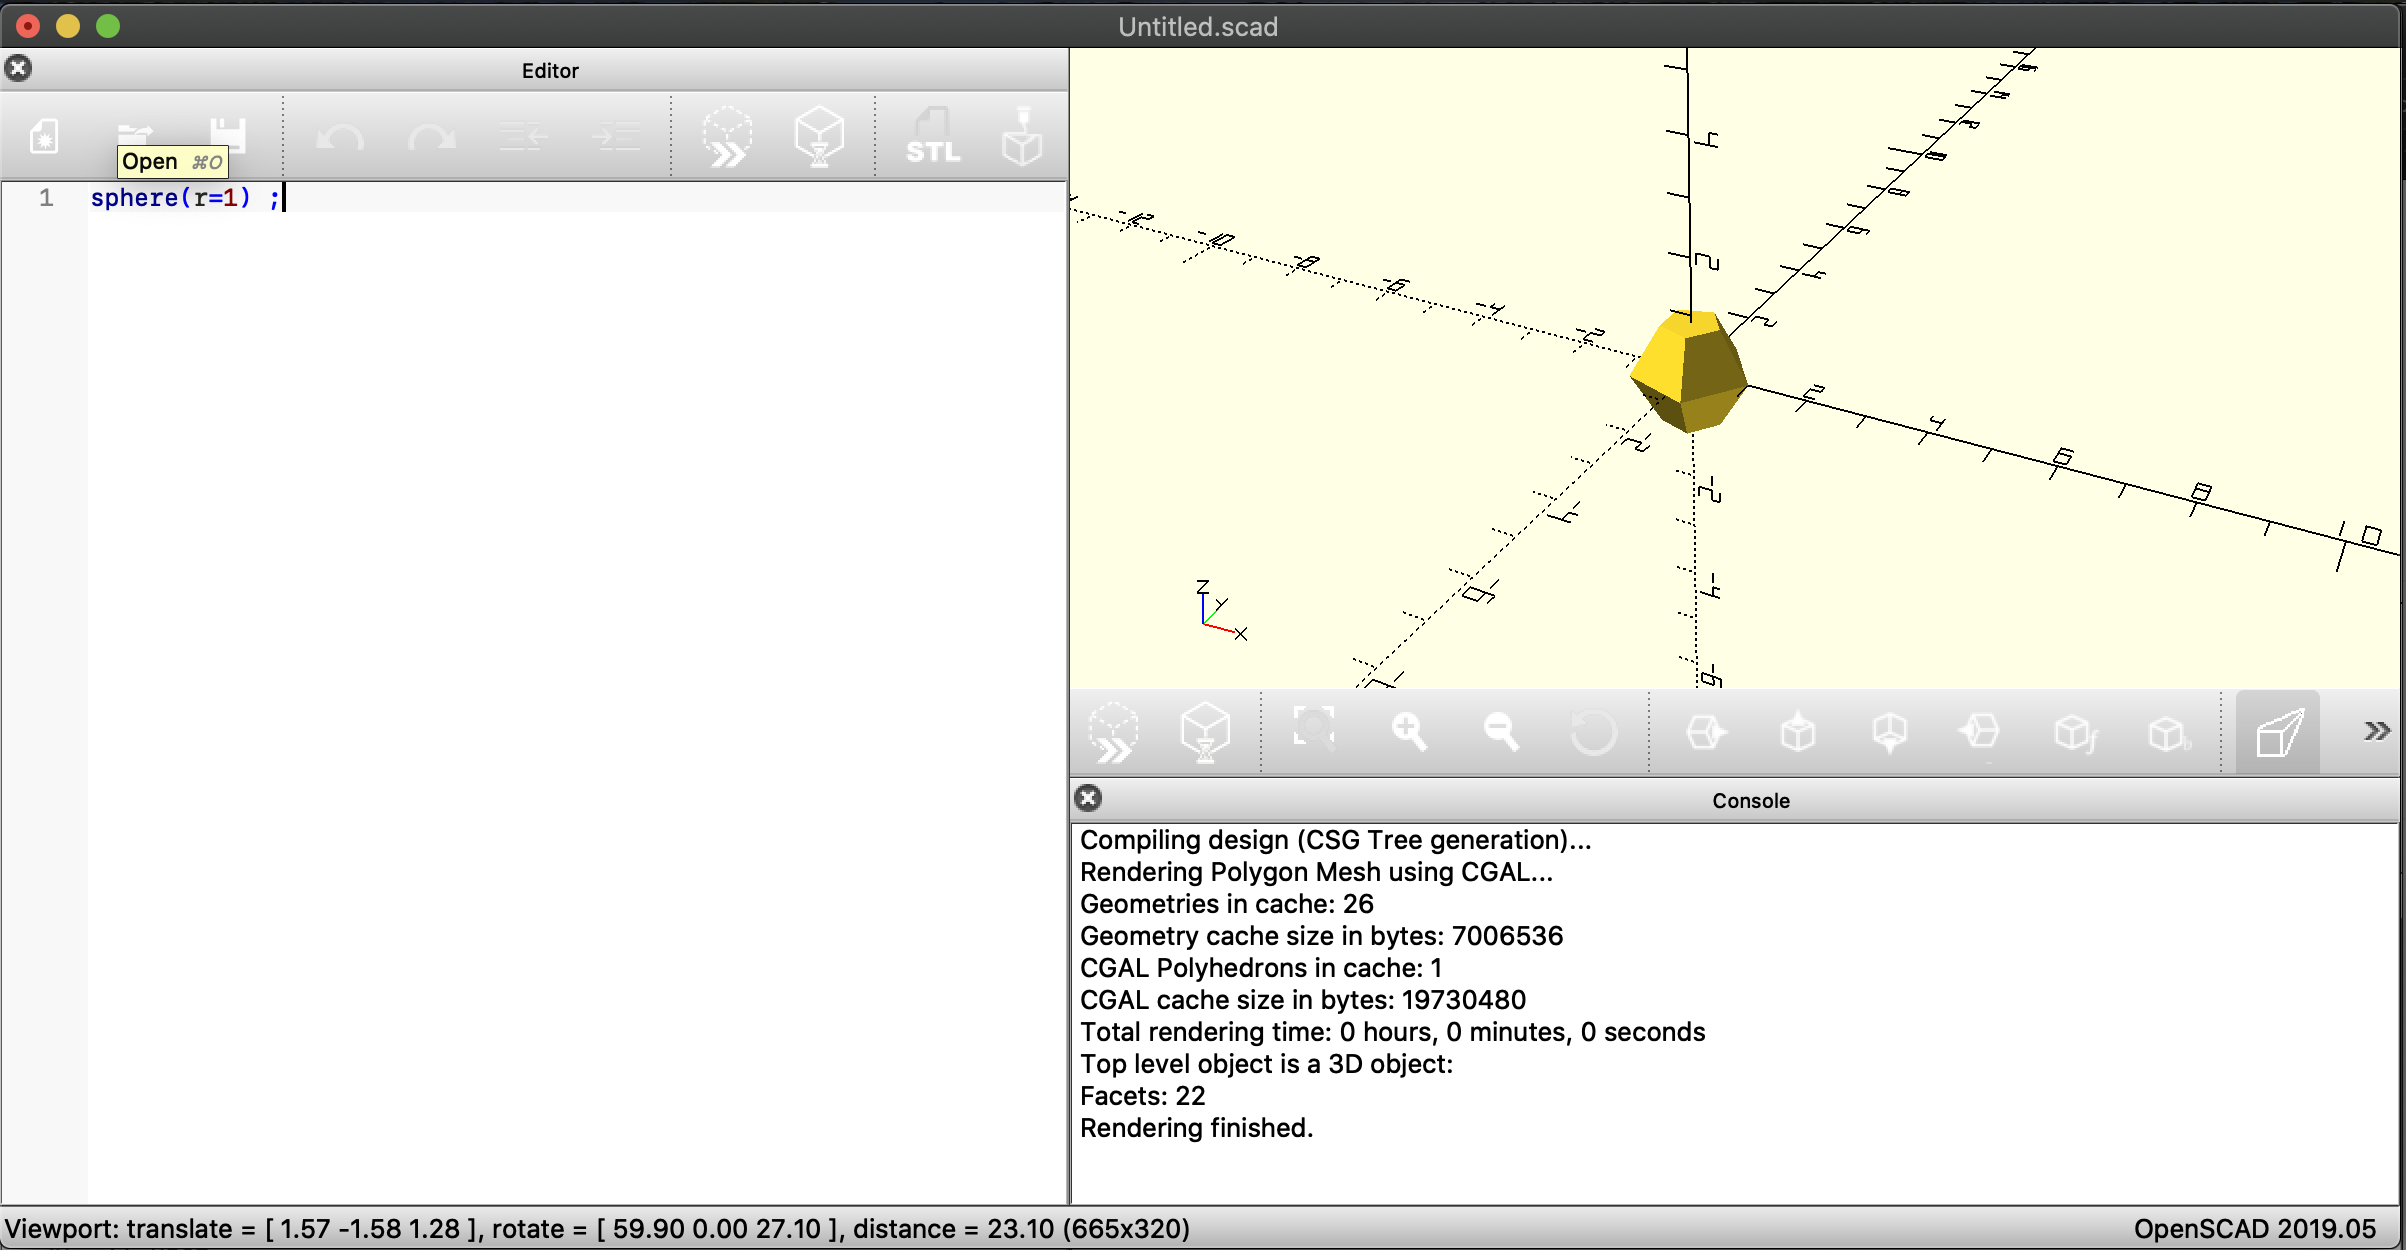
moved to a sphere even though this isn’t really a sphere. I can increase the facets to make it more round but I kinda like the gem stone look.
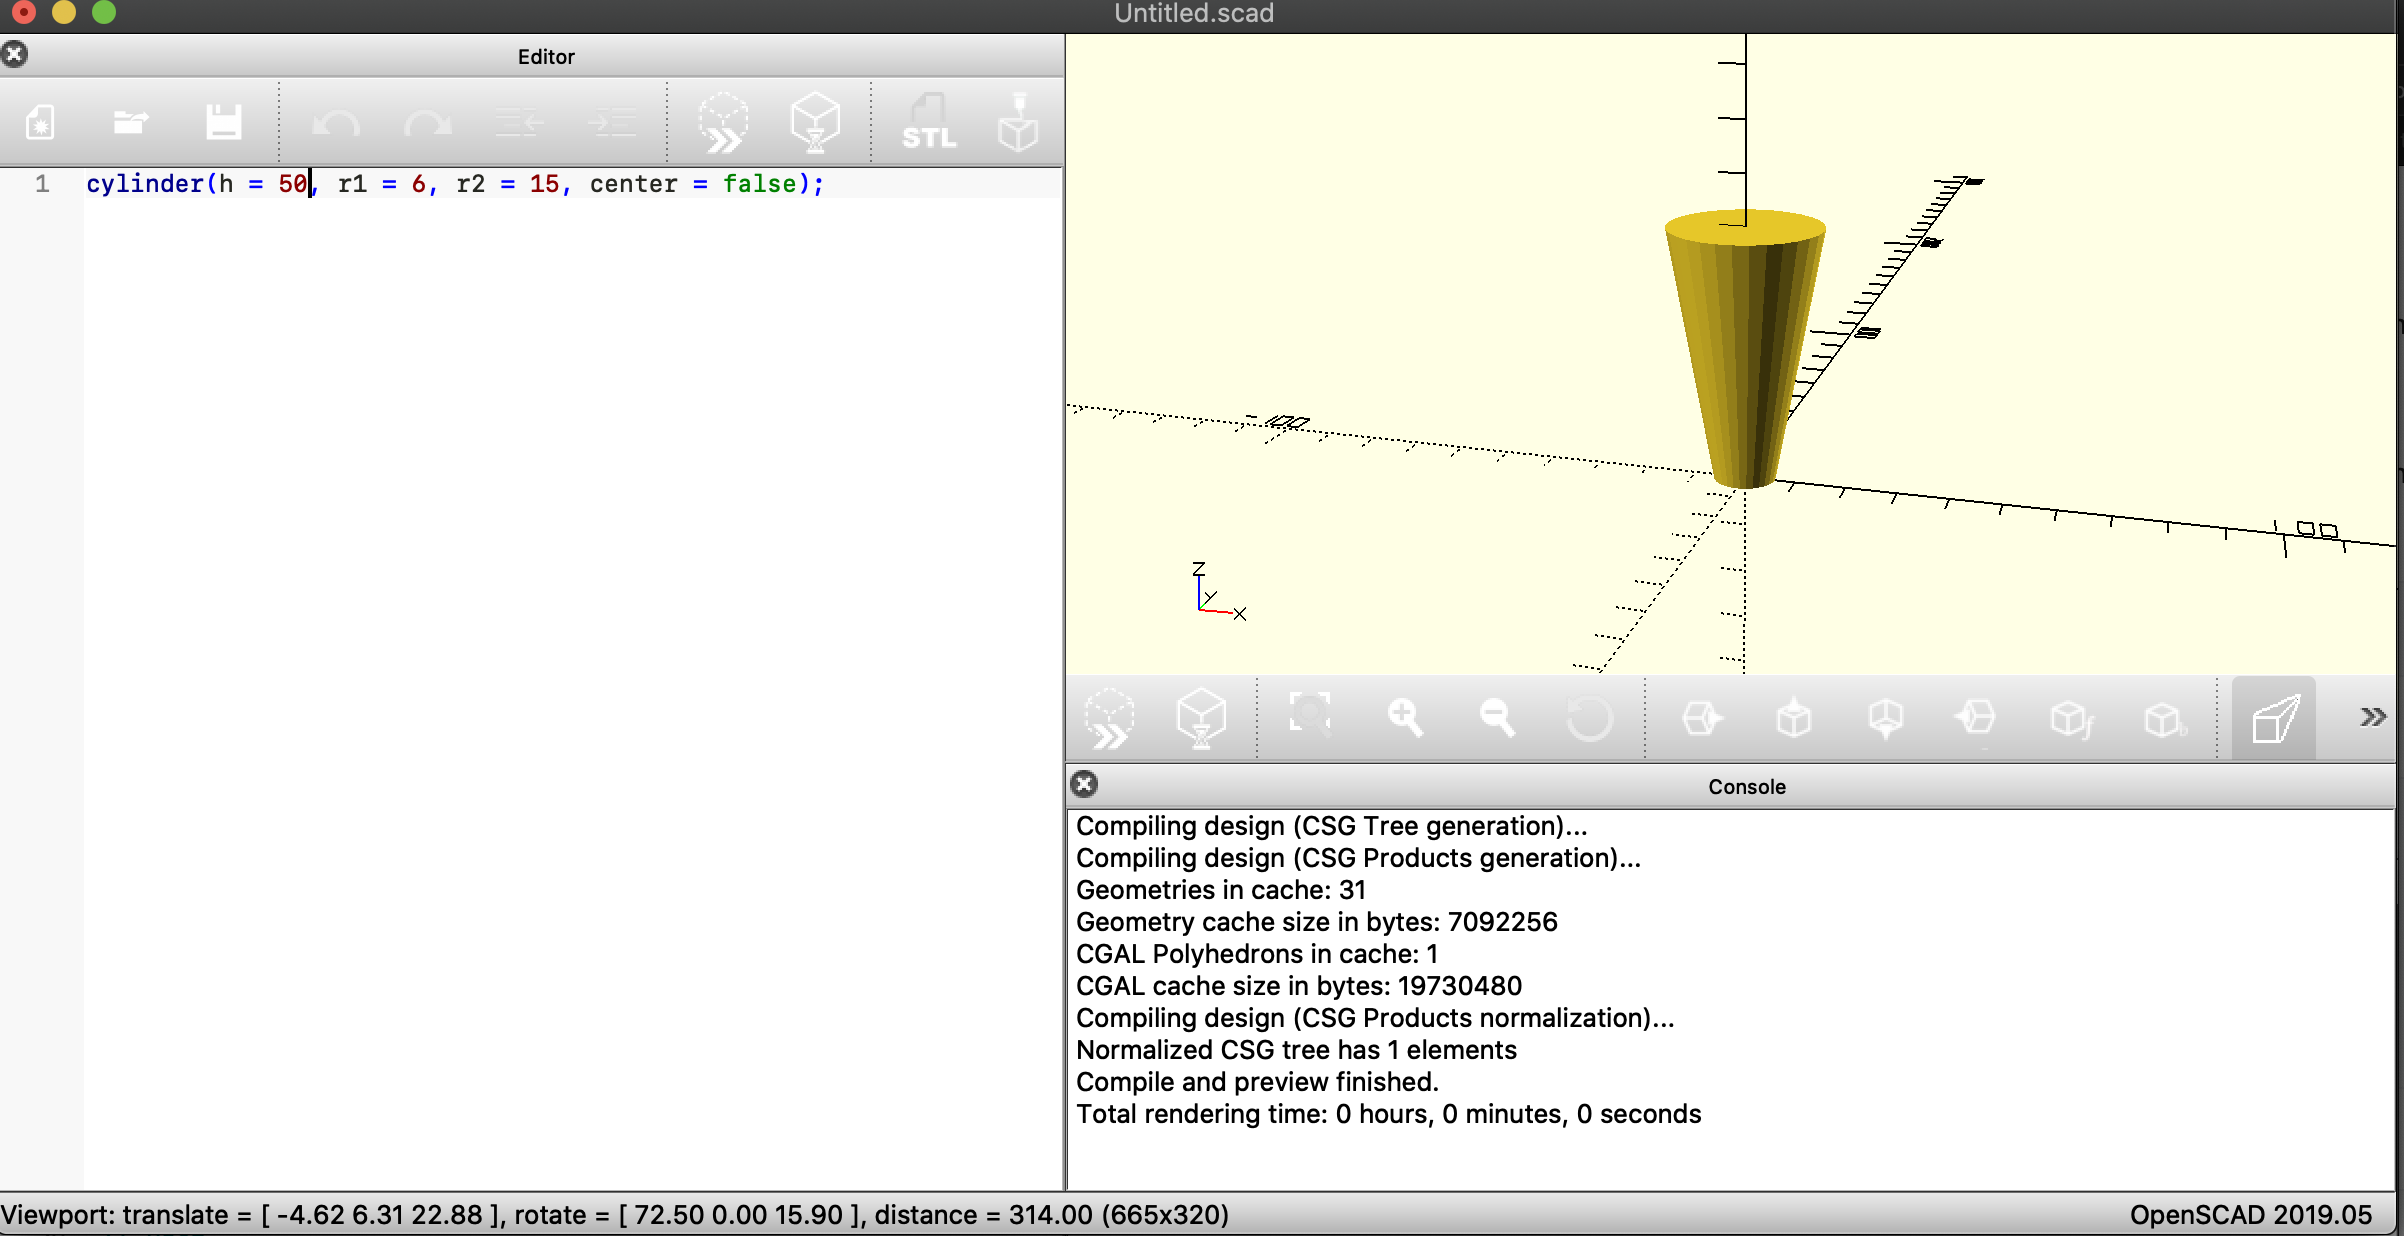
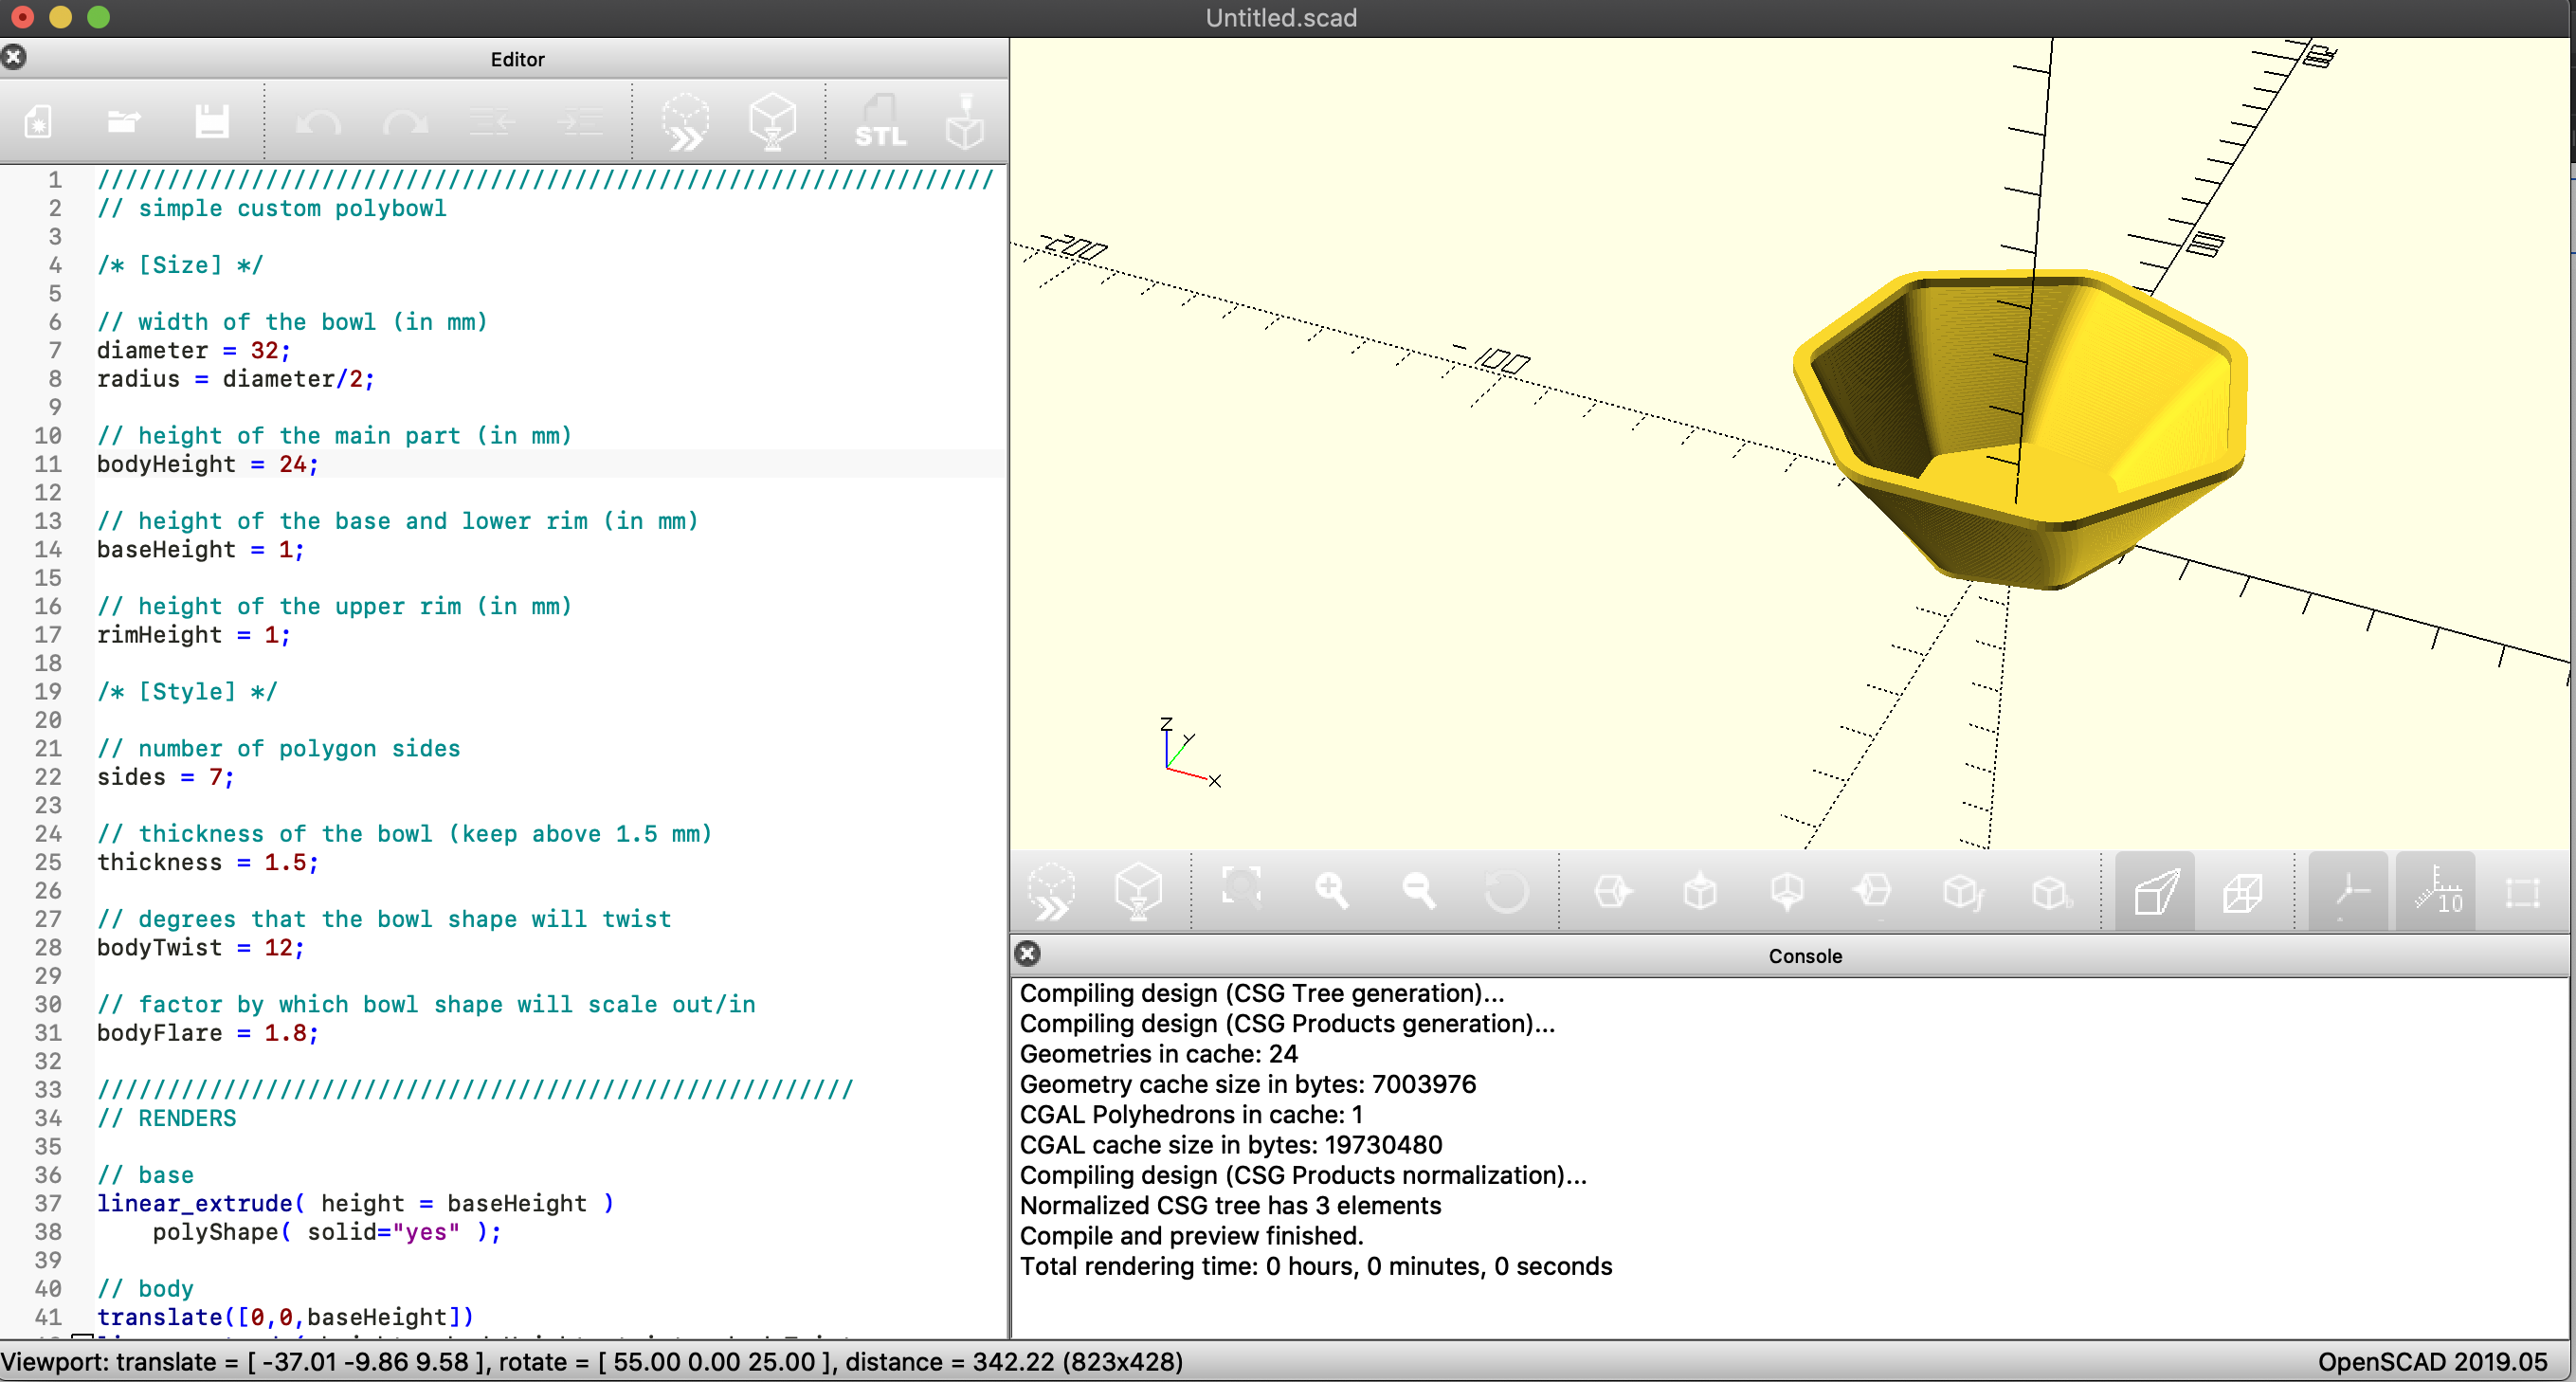
I like this alot I found a step by step guide and followed it to create my own code for a cylinder and like how it came out. this is another method of creating a bowl potentially if hollowed out.
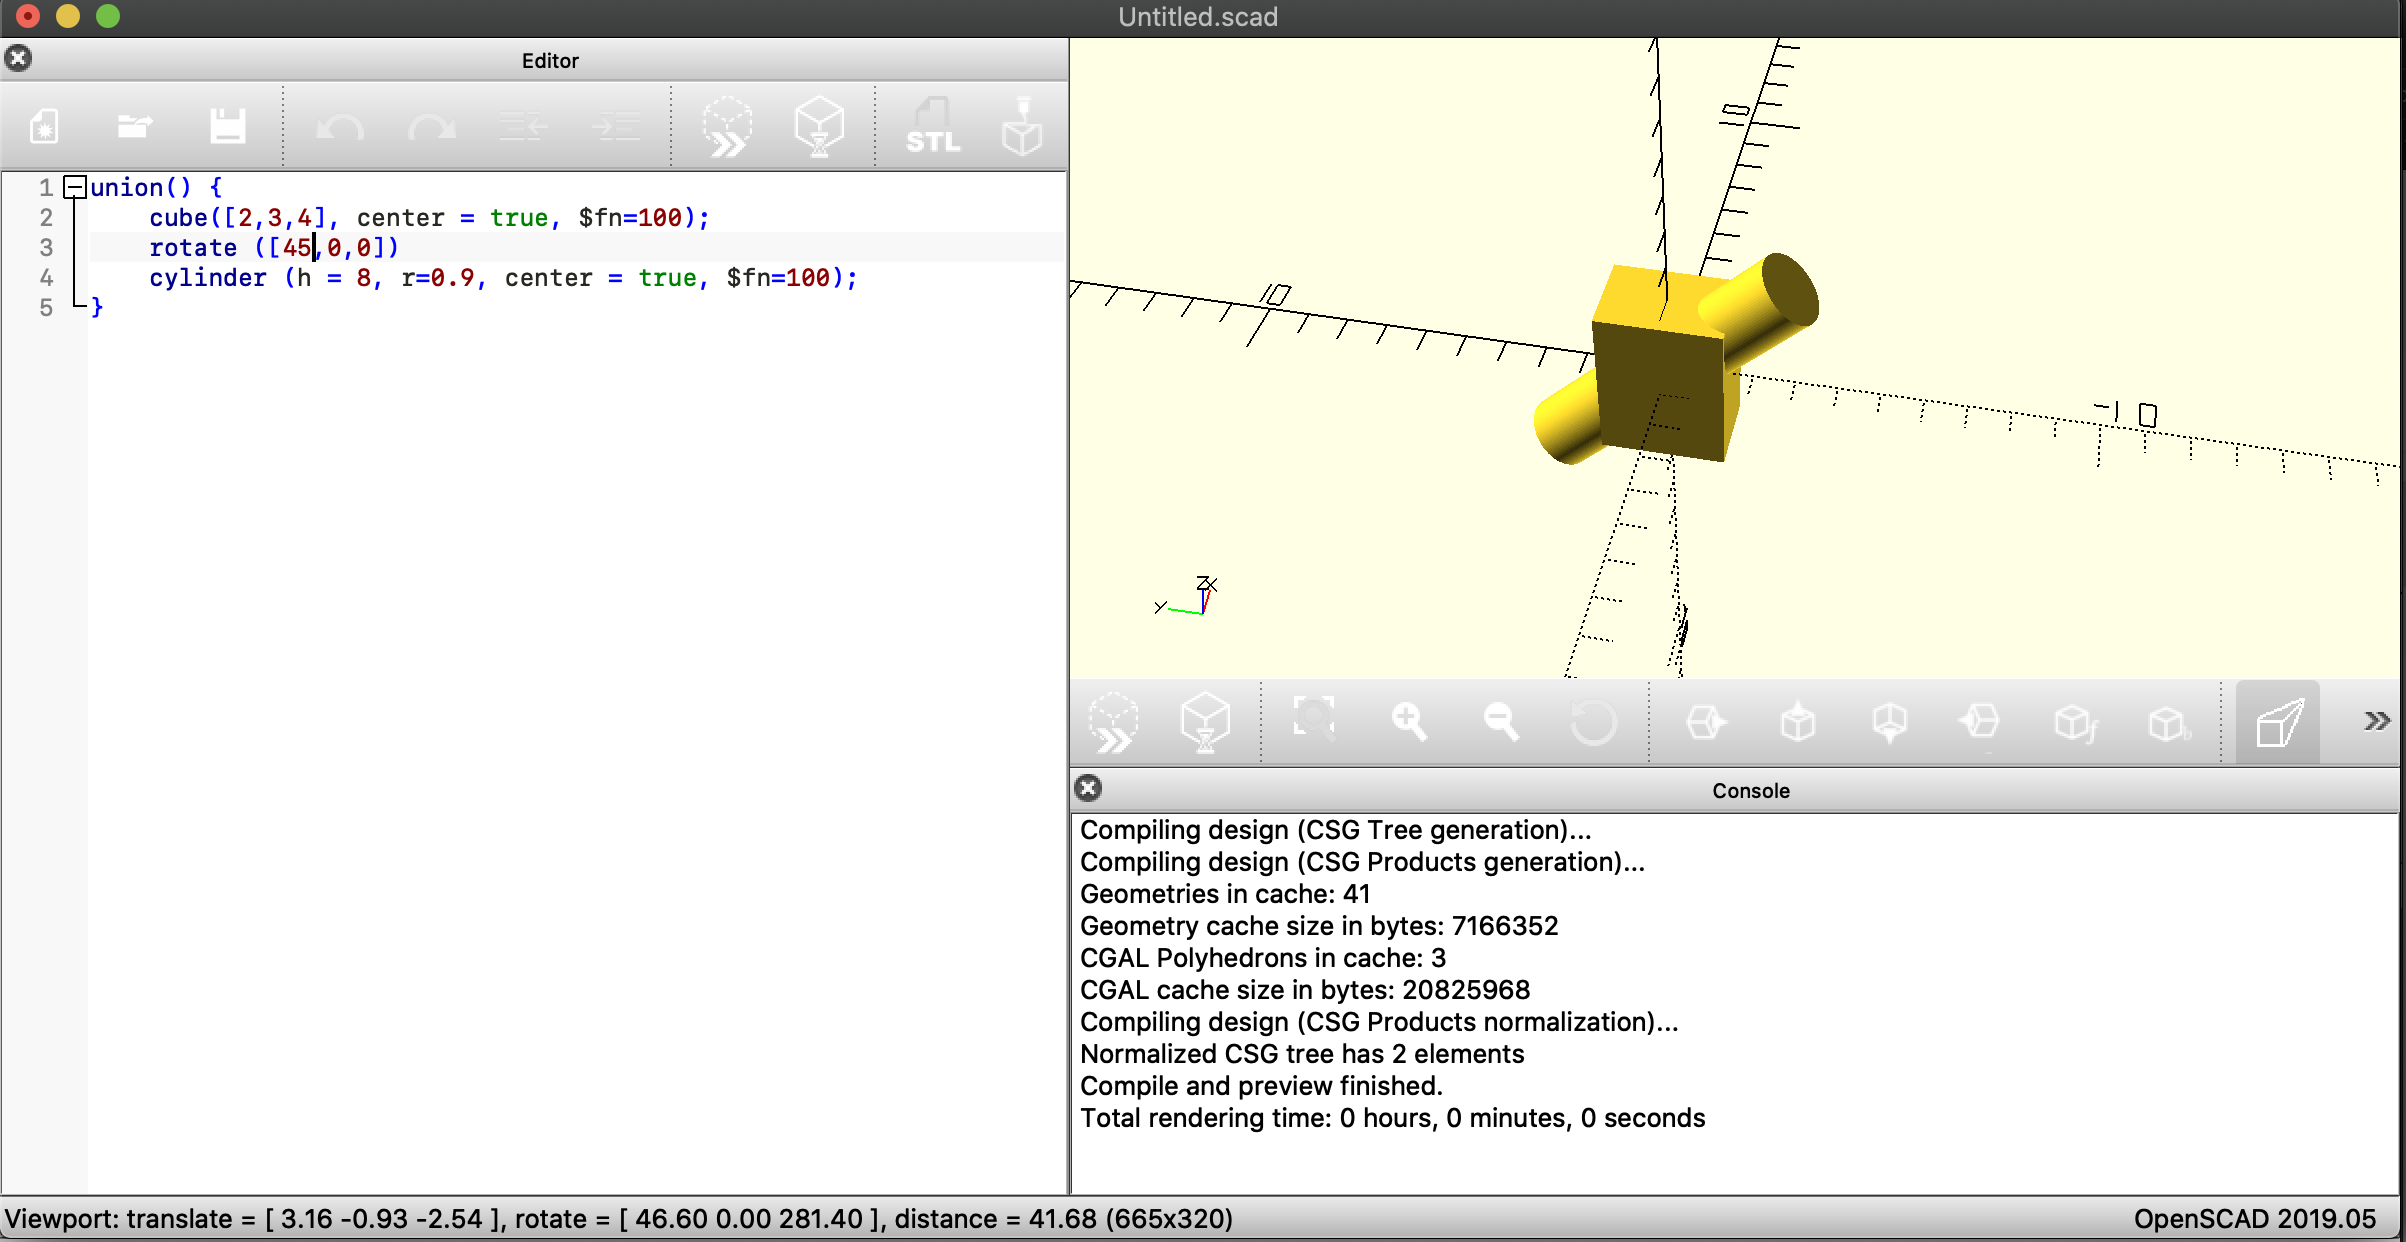
using the same step by step guide I found a way to join two objects. here I joined a cylinder to a rectangle at a 45 degree angle.
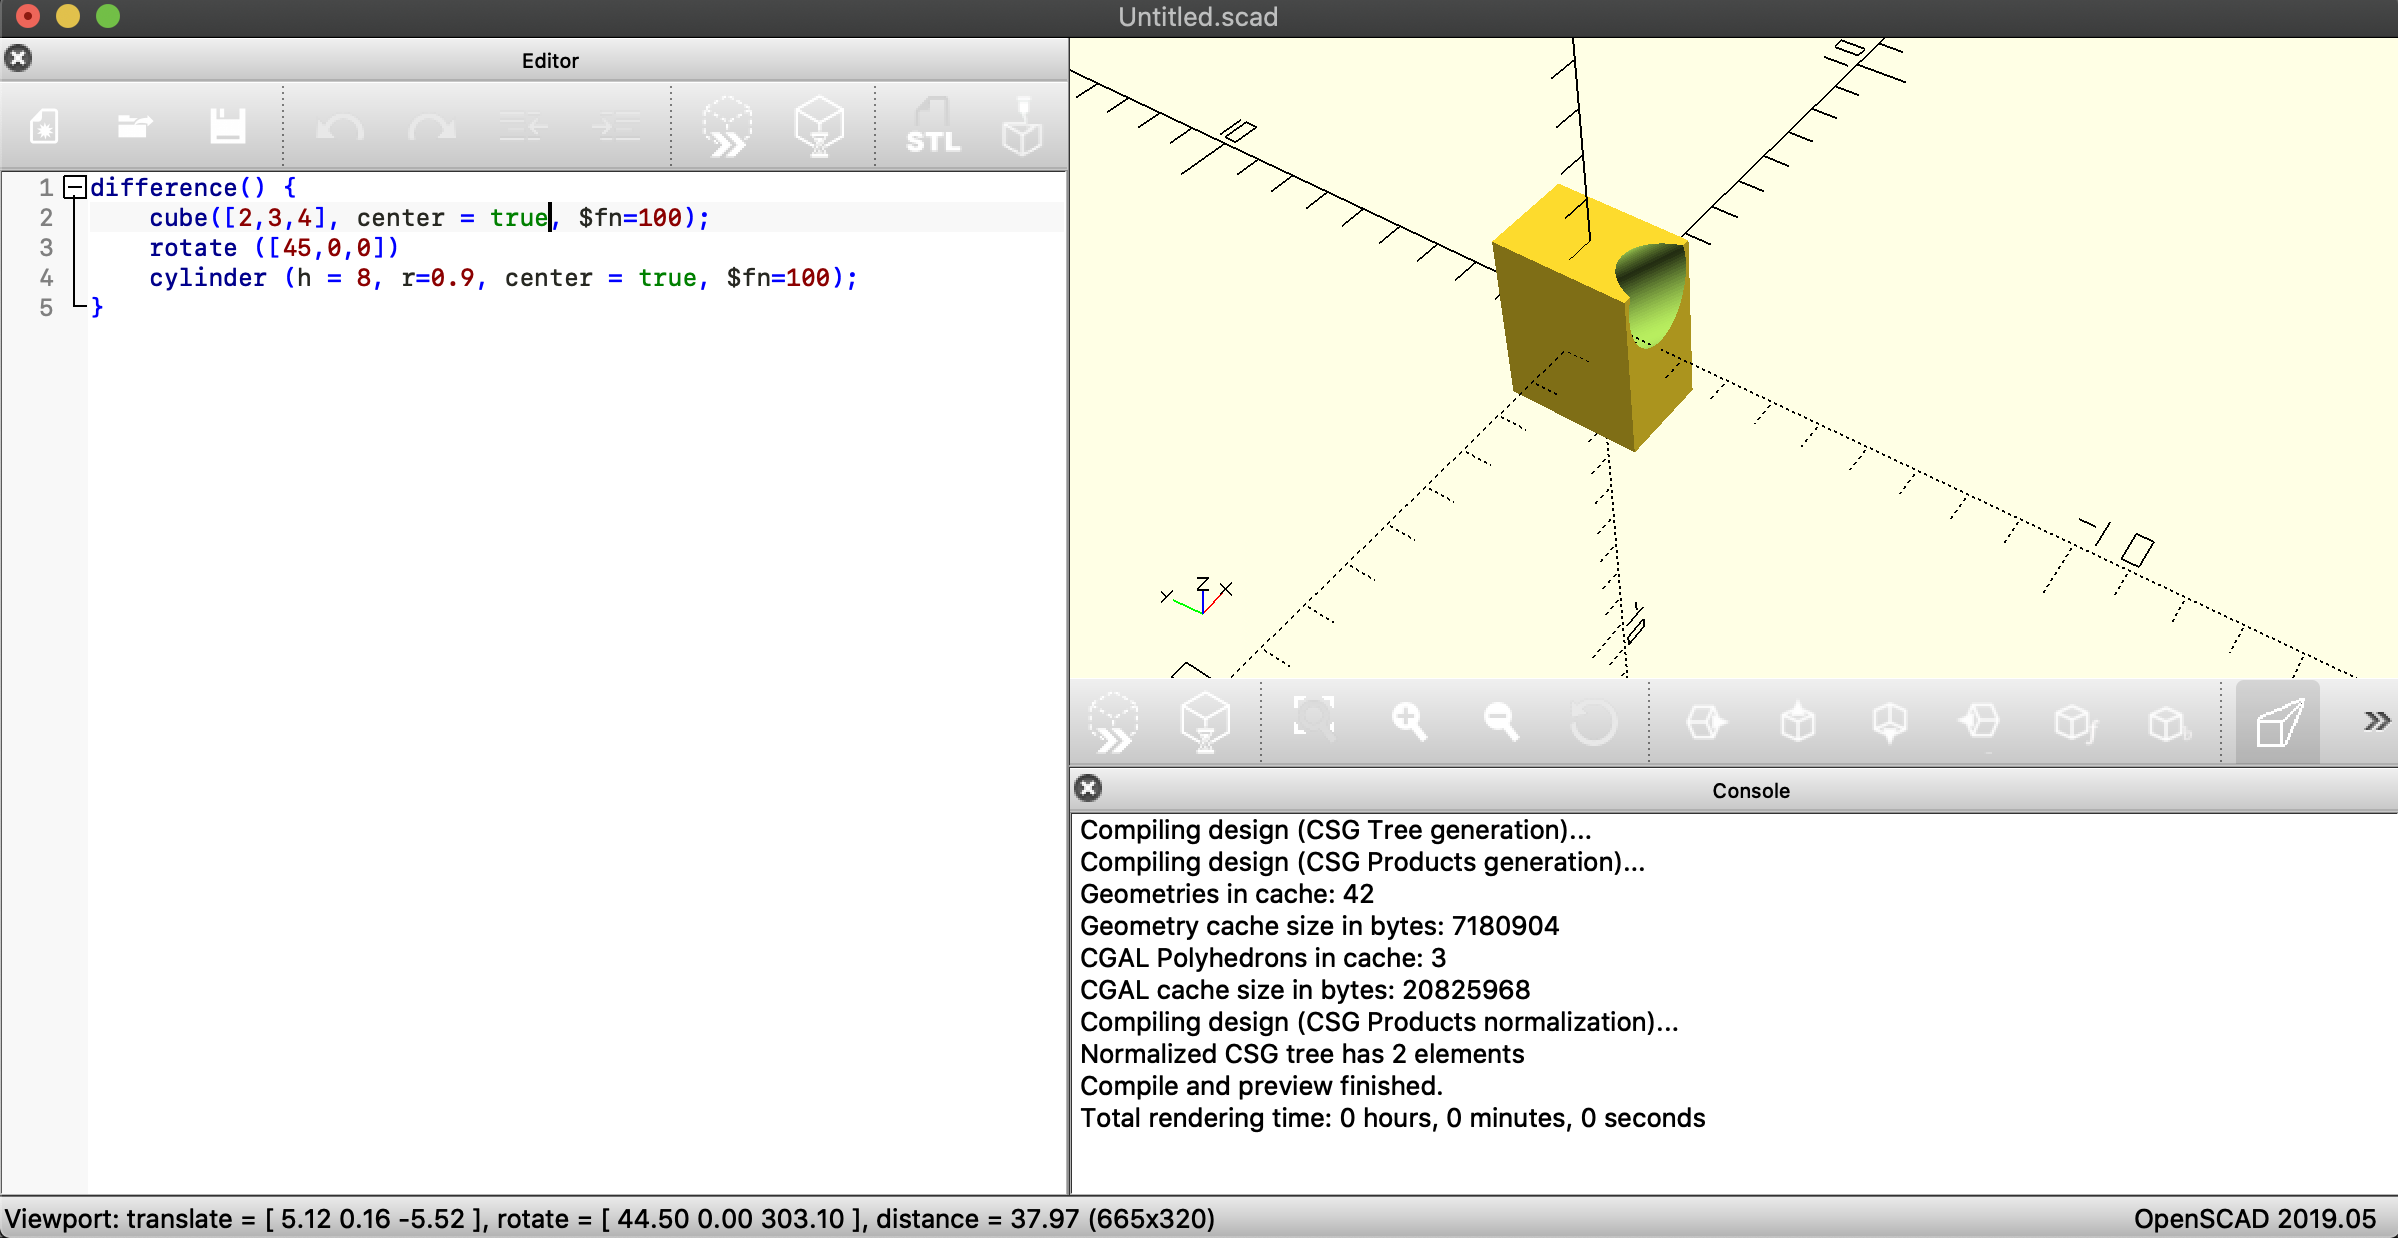
figured out how to cut objects out so I just changed up the previous code to cut the cylinder out of the rectangle instead of joining them.

had to go alittle crazy with it and made a intersection piece. I would love to print this and see how it turns out. this could be a hydraulic joint or something
this is an idea of a potential joint. like a cup and ball joint. I know 3d printing prosthetics and implants are getting big now with biomedical engineering.

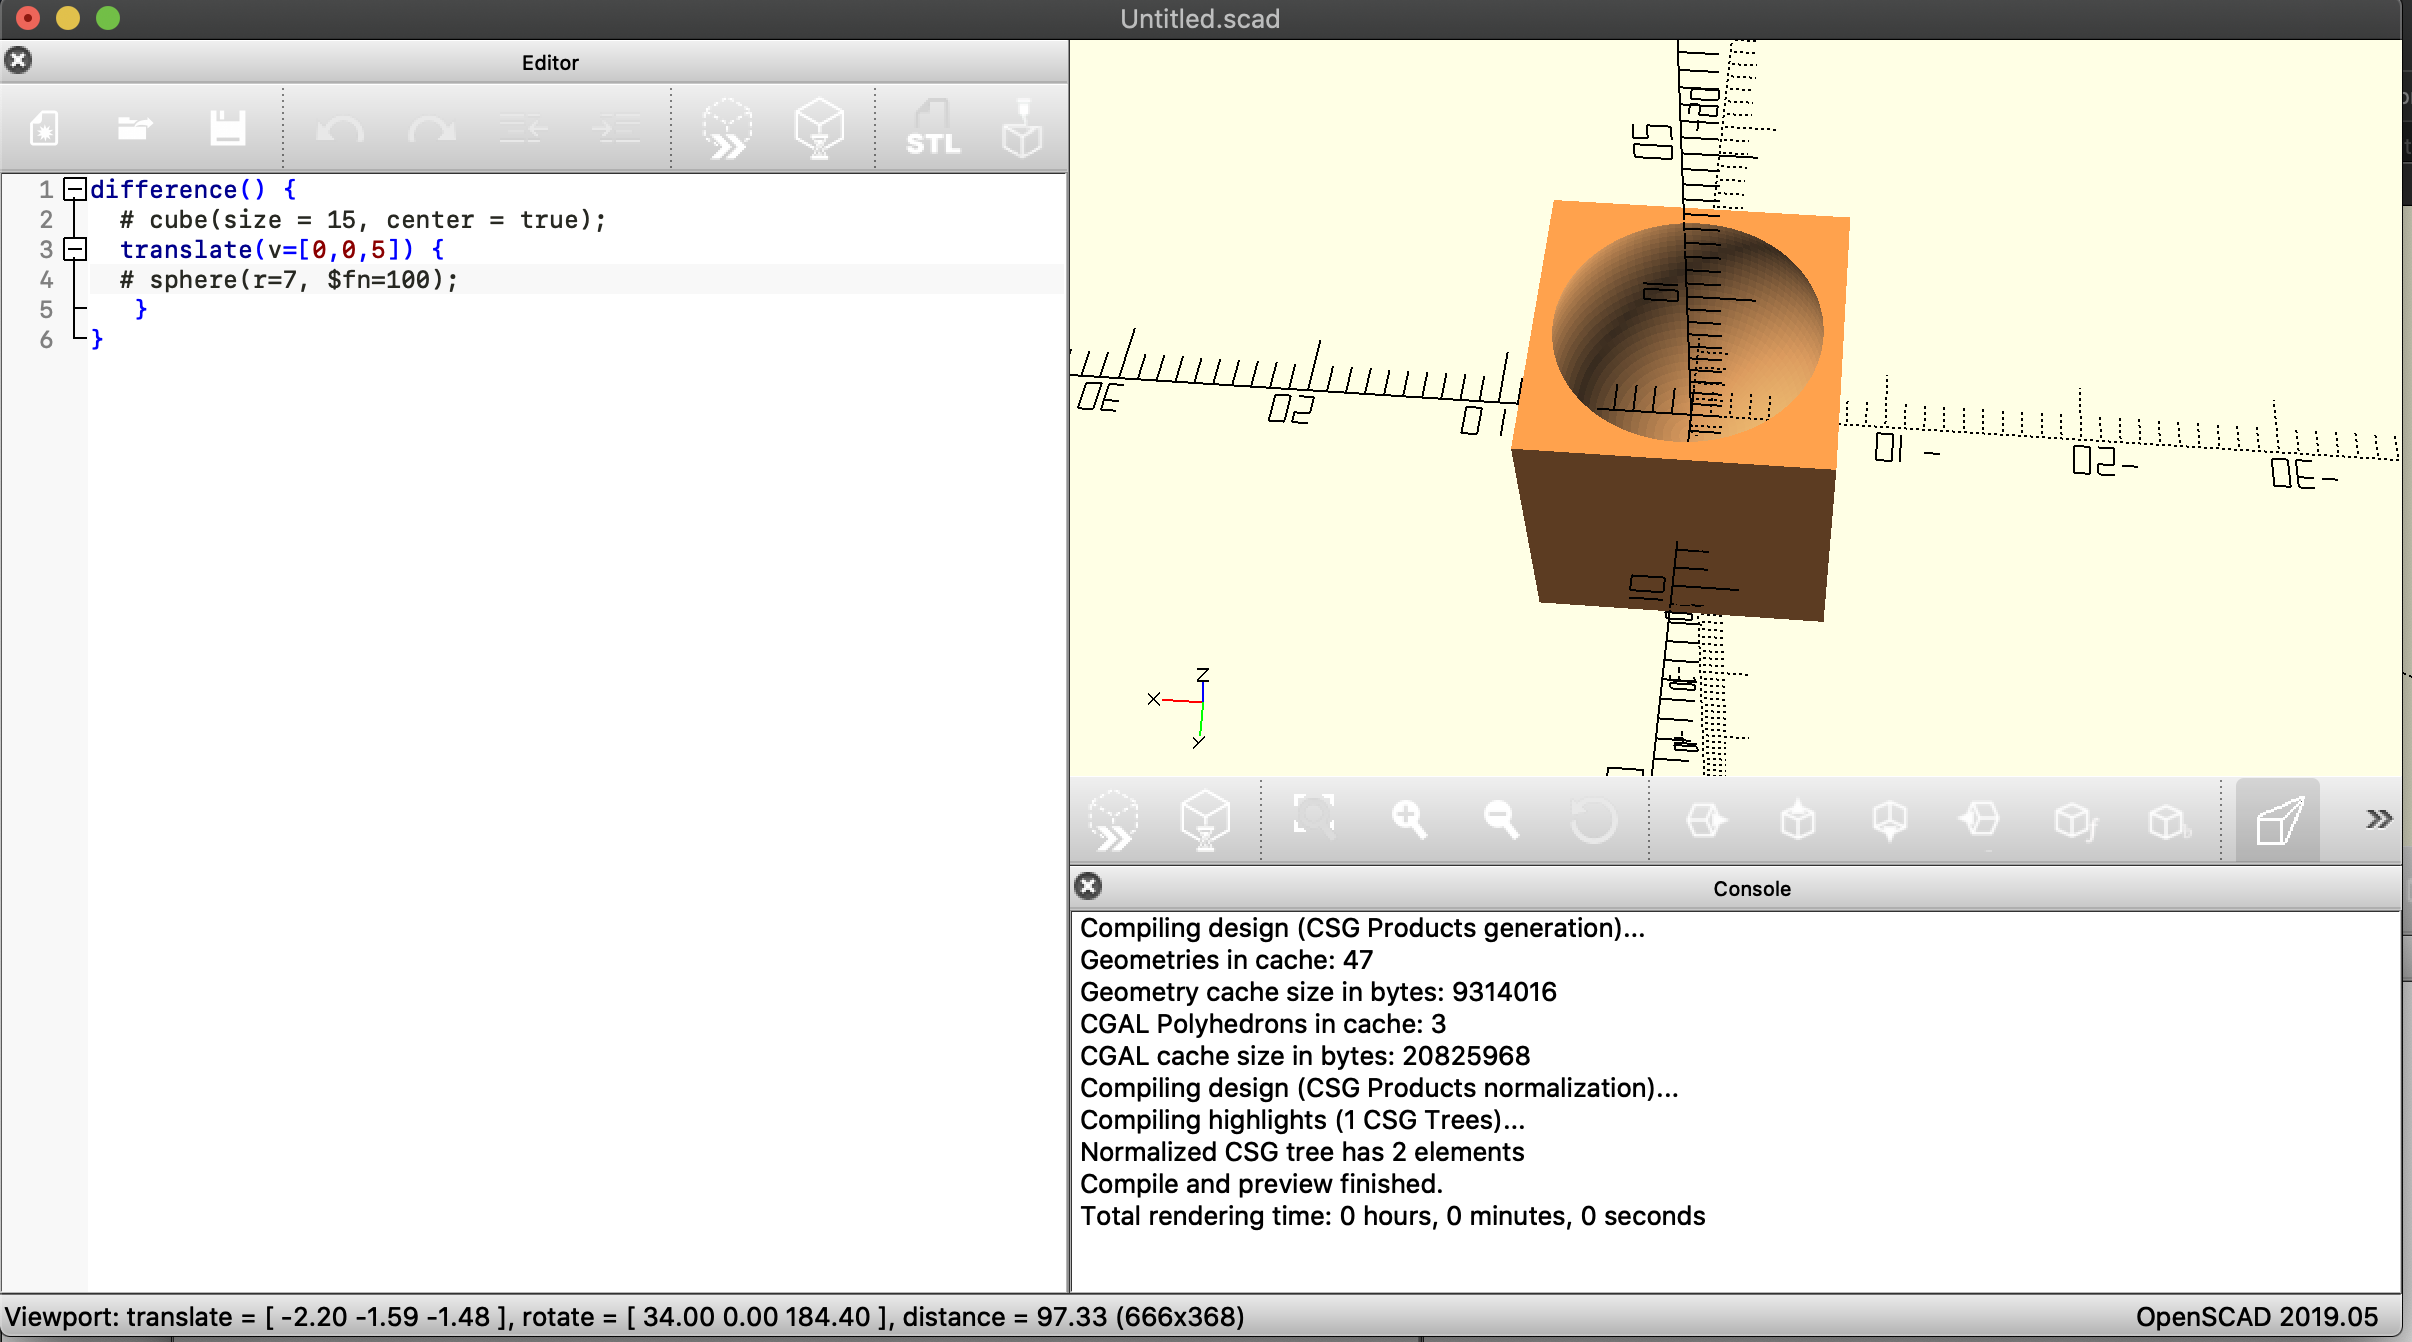
here I modified the code to add a hole for a fastener by cutting out a cylinder at a 45 degree angle.
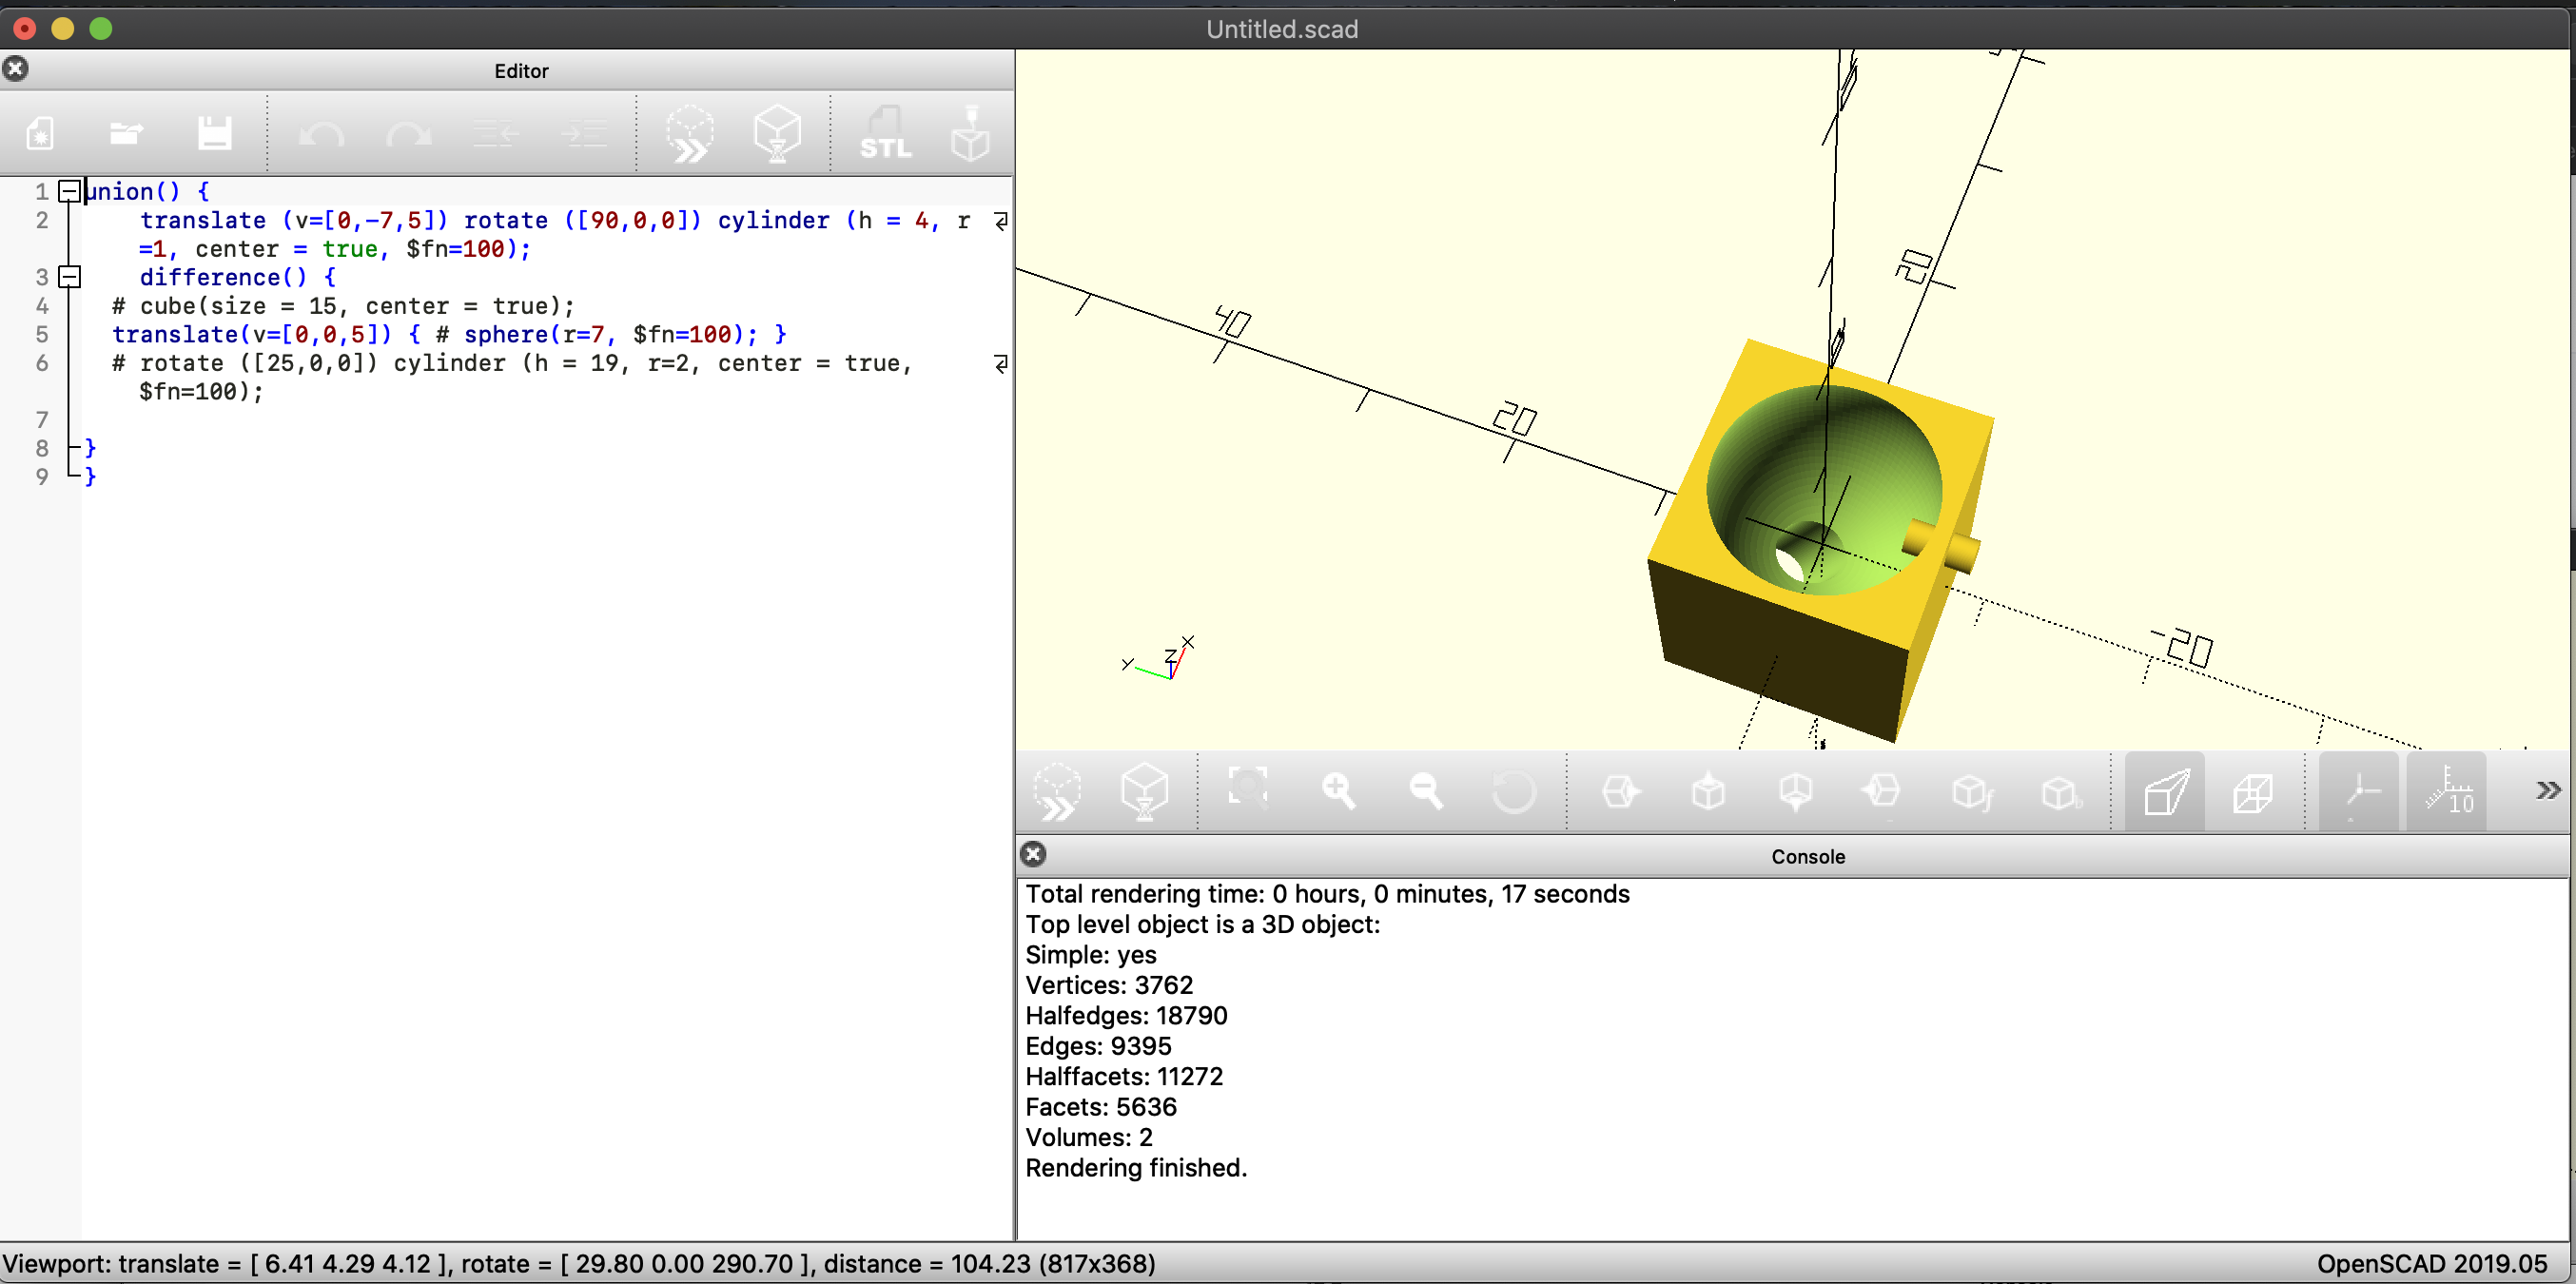
this was just a im a genius moment where I wanted to see if I could merge a union and a difference into one code and nest it. this 3d model serves no purpose besides to pad my ego on the non existent coding skills I have.
in an attempt to get a better grade I made another object.
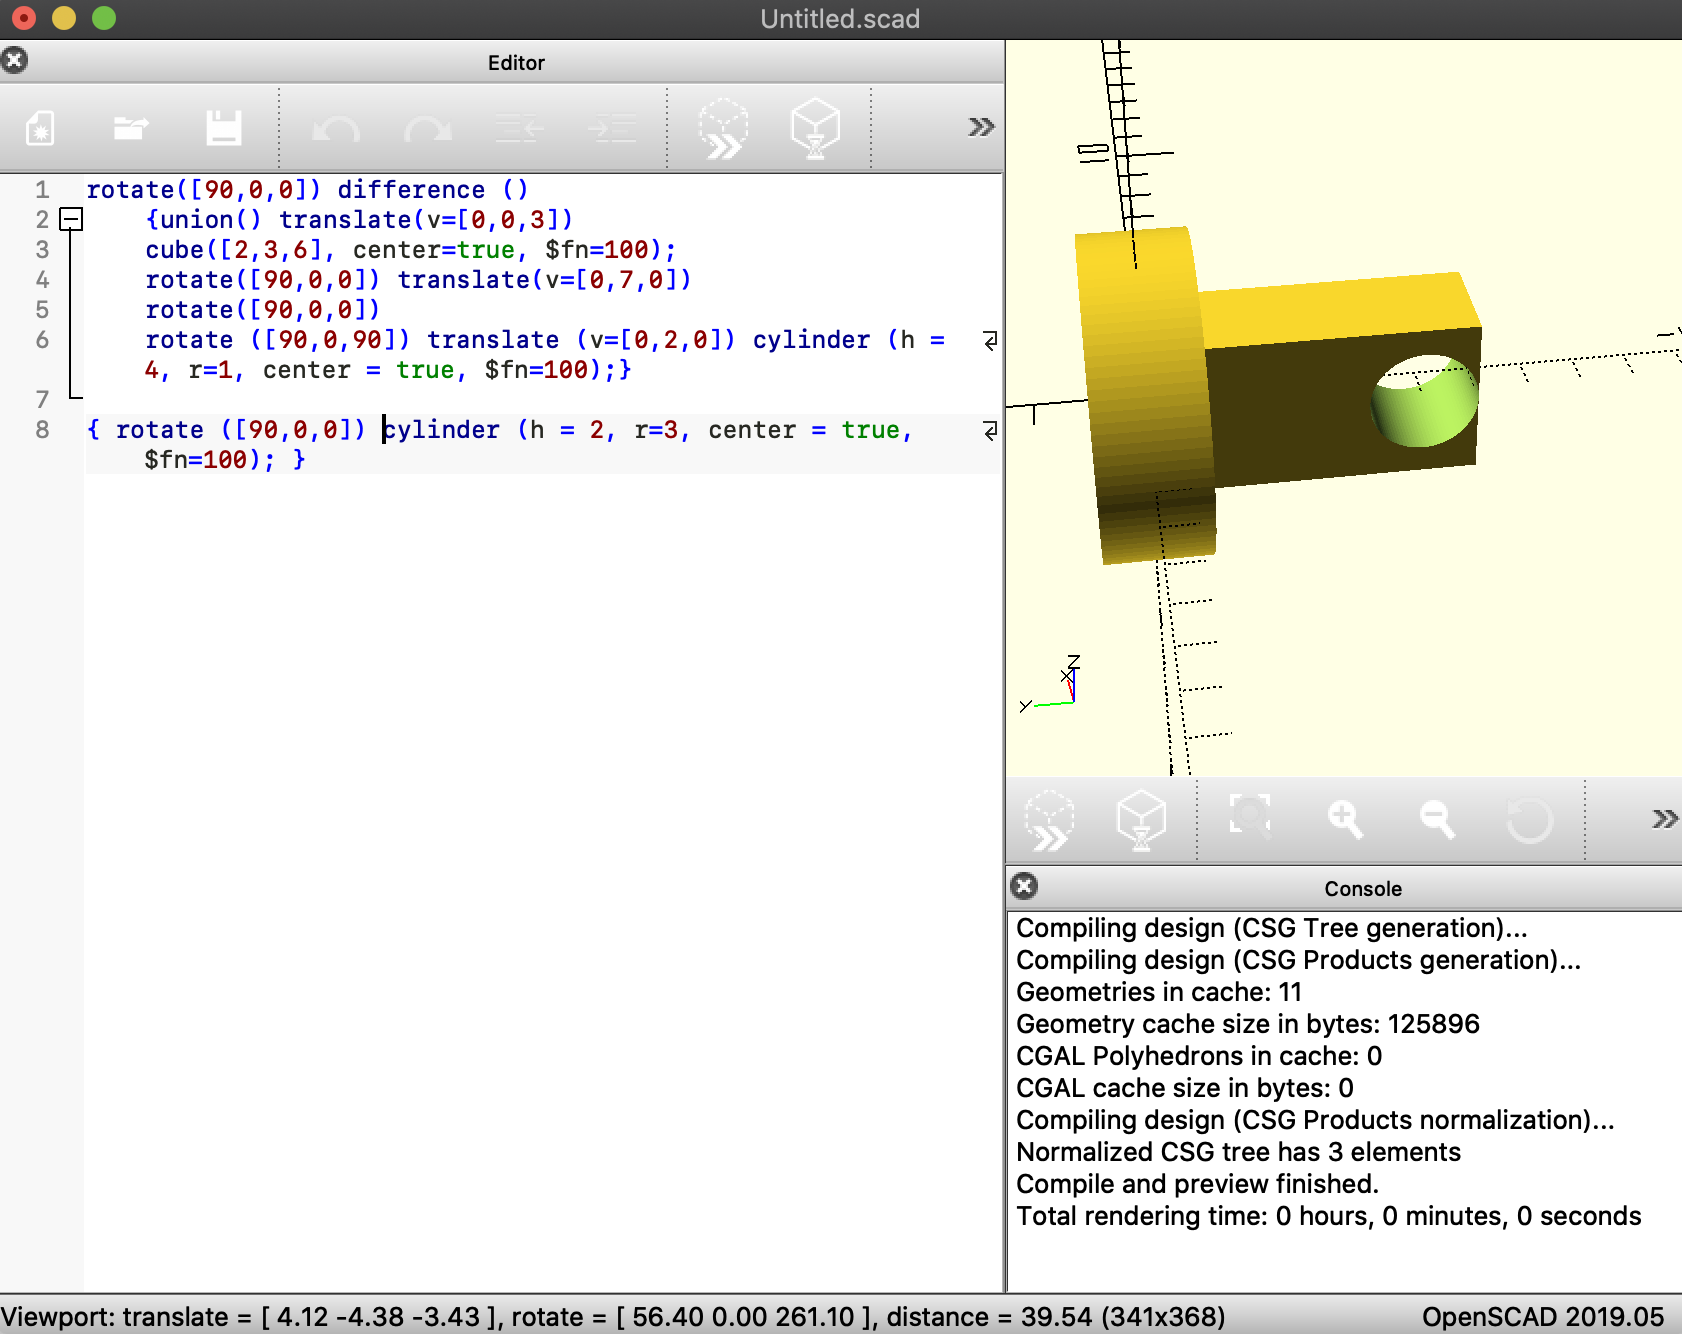
this is a very crude piston for an engine.