Project Summary
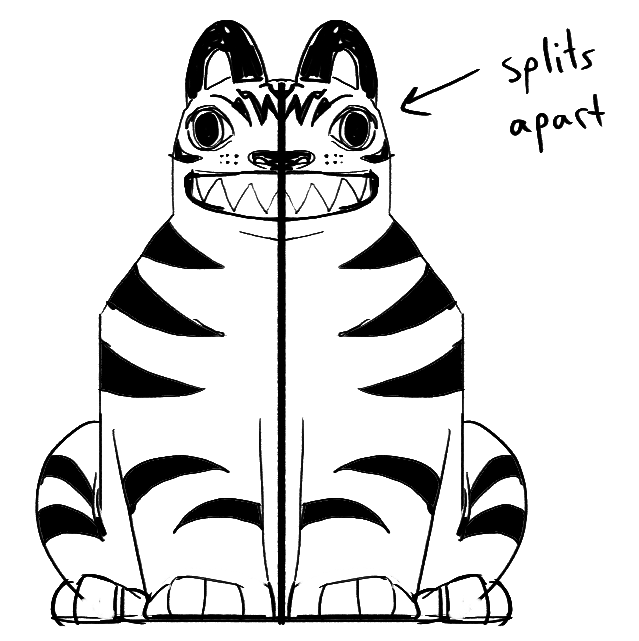
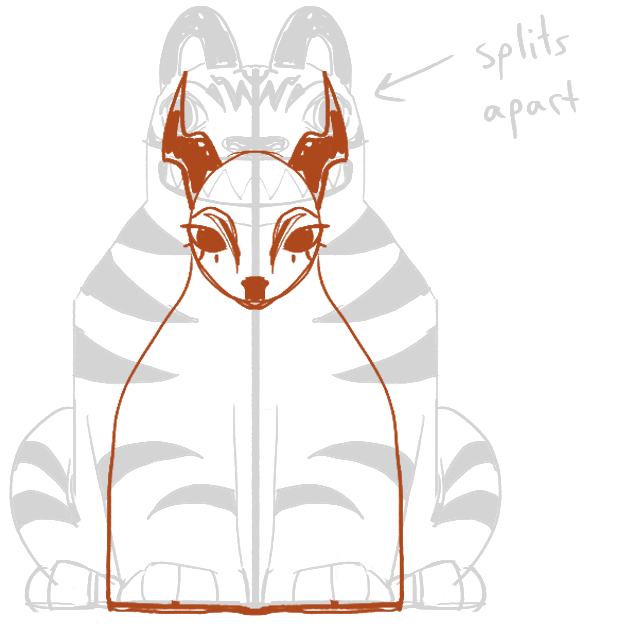
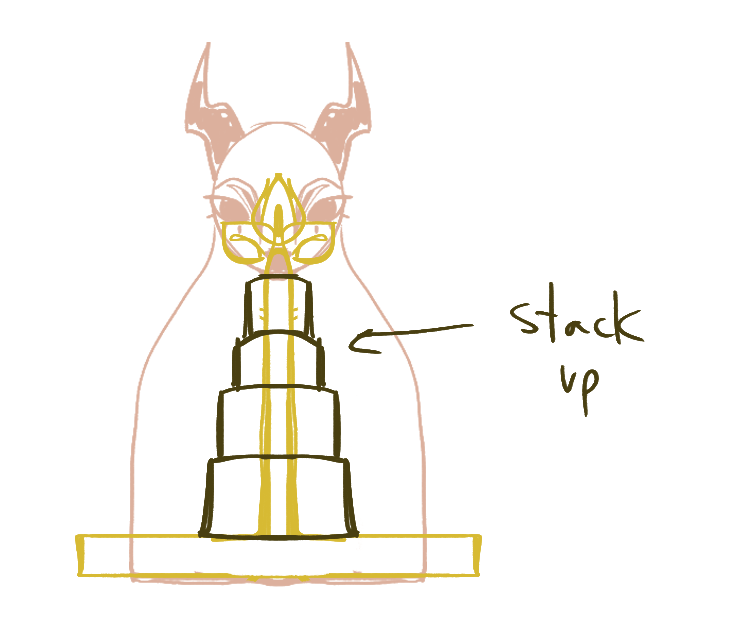
I would like to create a nested puzzle that includes two decorative “shells”, each resembling an animal. On the innermost layer of the shells is a simple puzzle, maybe one that you have to rotate or stack the pieces of to solve.
Prototype
My prototype is made entirely out of aluminum foil. I am in the process of moving and don’t have many materials on hand. The physical prototype may not be pretty, but it does function.
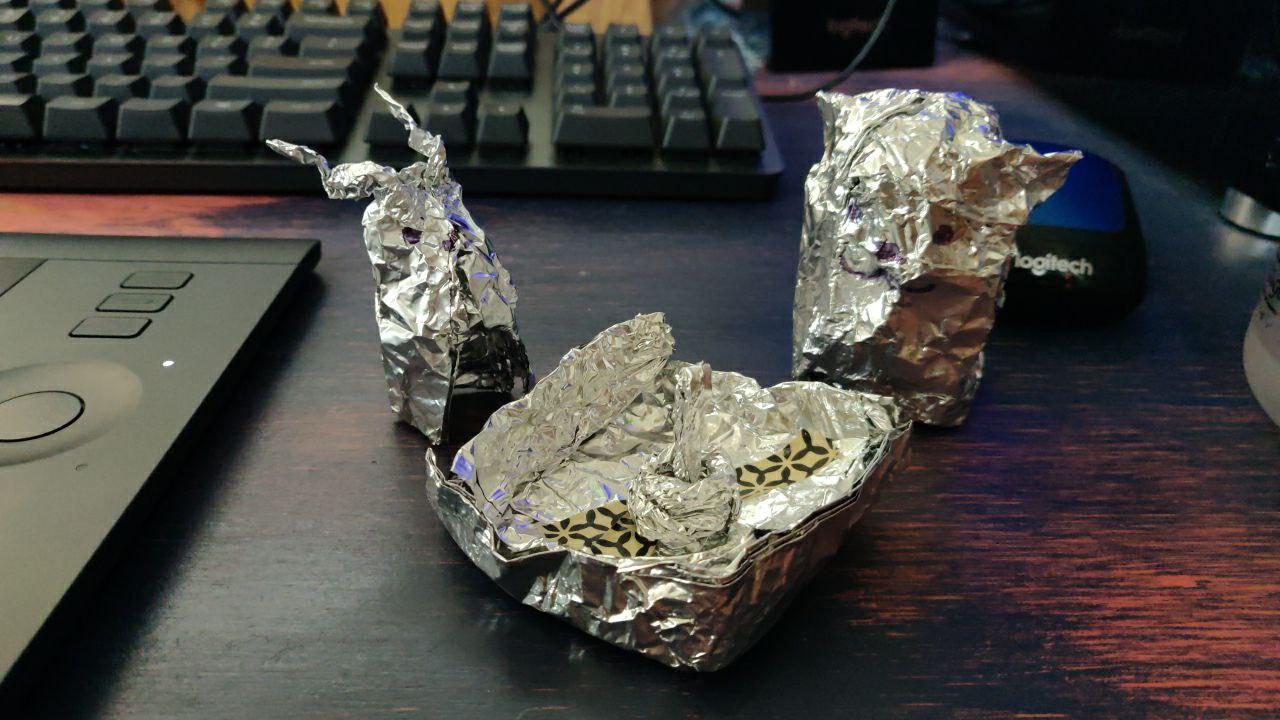
The main purpose of the prototype is to show how the puzzle is meant to function, which may not be obvious from these sketches:
Since so much of “the point” of my puzzle is its representational aspect, it’s difficult to quickly prototype. Obviously, the completed model will have a lot more care put into the appearance. As for the function, the prototype (despite appearances), mostly does what it needs to do. I couldn’t cut through the aluminum foil easily at home, so the outermost layer doesn’t split apart like in the drawing.
Initial Design Tests
The first element of my puzzle that I wanted to test was tolerance. Even though I made several iterations of my cube puzzle, I was never able to make the pieces fit together right. This puzzle, like the cube puzzle, needs perfect tolerance in order to be useable, so I’m very interested in getting this right!
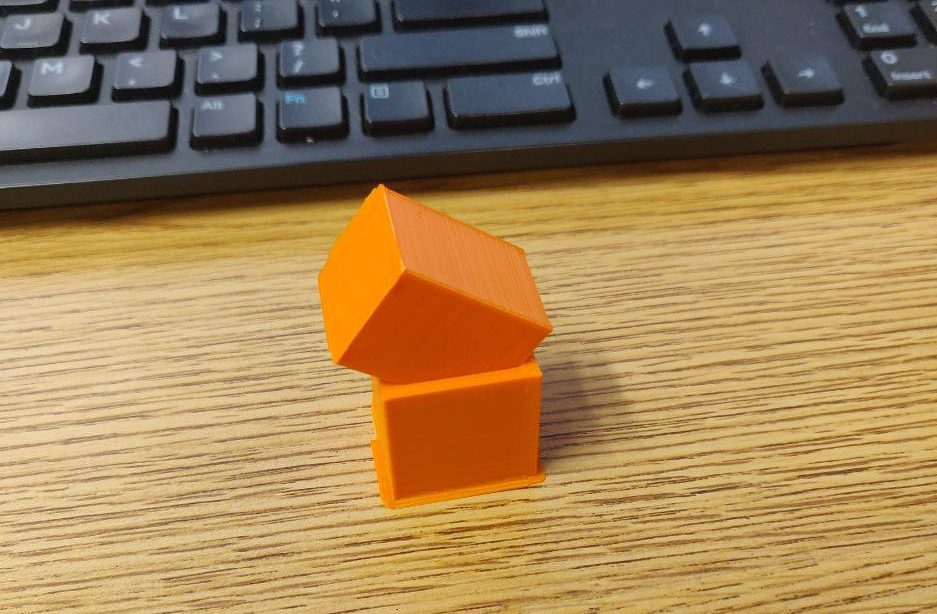
The second test DID result in pieces that could fit together, however it was a very tight fit even with the full 0.4 mm tolerance on all sides. I think with higher quality settings this tolerance may have worked. Also, it is possible that the “blobbing” visible near the corners of the objects are causing the tolerance to be too little. My next course of action will be to increase this tolerance a little and see how well it works out as well as start creating the basic shapes that the puzzle will be made of in Fusion 360. After that, I will use Blender to make each shape resemble whatever animal it’s supposed to.
Continued Testing
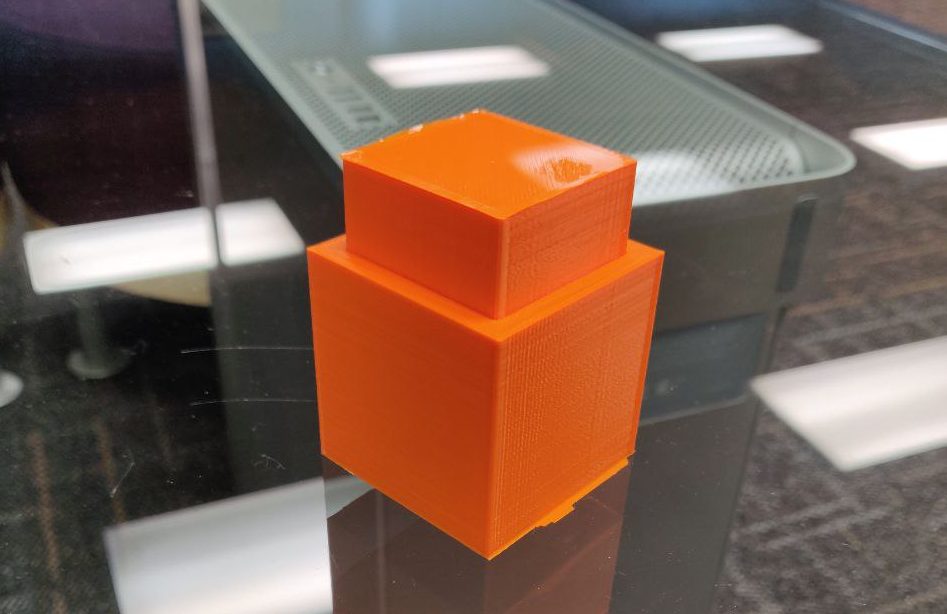
For this round of testing I made it my goal to figure out tolerance not just with two slotting pieces, but with three nesting pieces. Tolerance should be the same no matter how many layers one is fitting together, but I wanted to continue working on getting better with Fusion 360. Since a tolerance of 0.4 mm proved to be to low last time, I bumped it up to 0.5 mm.
Unfortunately, I did not have access to a computer or internet over the weekend (I just moved), so my 3D prints didn’t get started in a timely manner and I was only able to finish one test print. I wonder if 0.5 mm would work with taller pieces (more area to create friction between pieces). My next test print will likely be a taller version of the pieces pictured above. I haven’t yet succeeded at solving my problem, but I am continually making steps toward doing so!