Project Summary
For my final project, I intend to create a puzzle that looks almost like a piece of art. I decided to sculpt my final project out of air-dry clay into a unique figure. I then plan to scan the figure down in the Makery and break it down in Tinkercad into various puzzle pieces.
Prototype
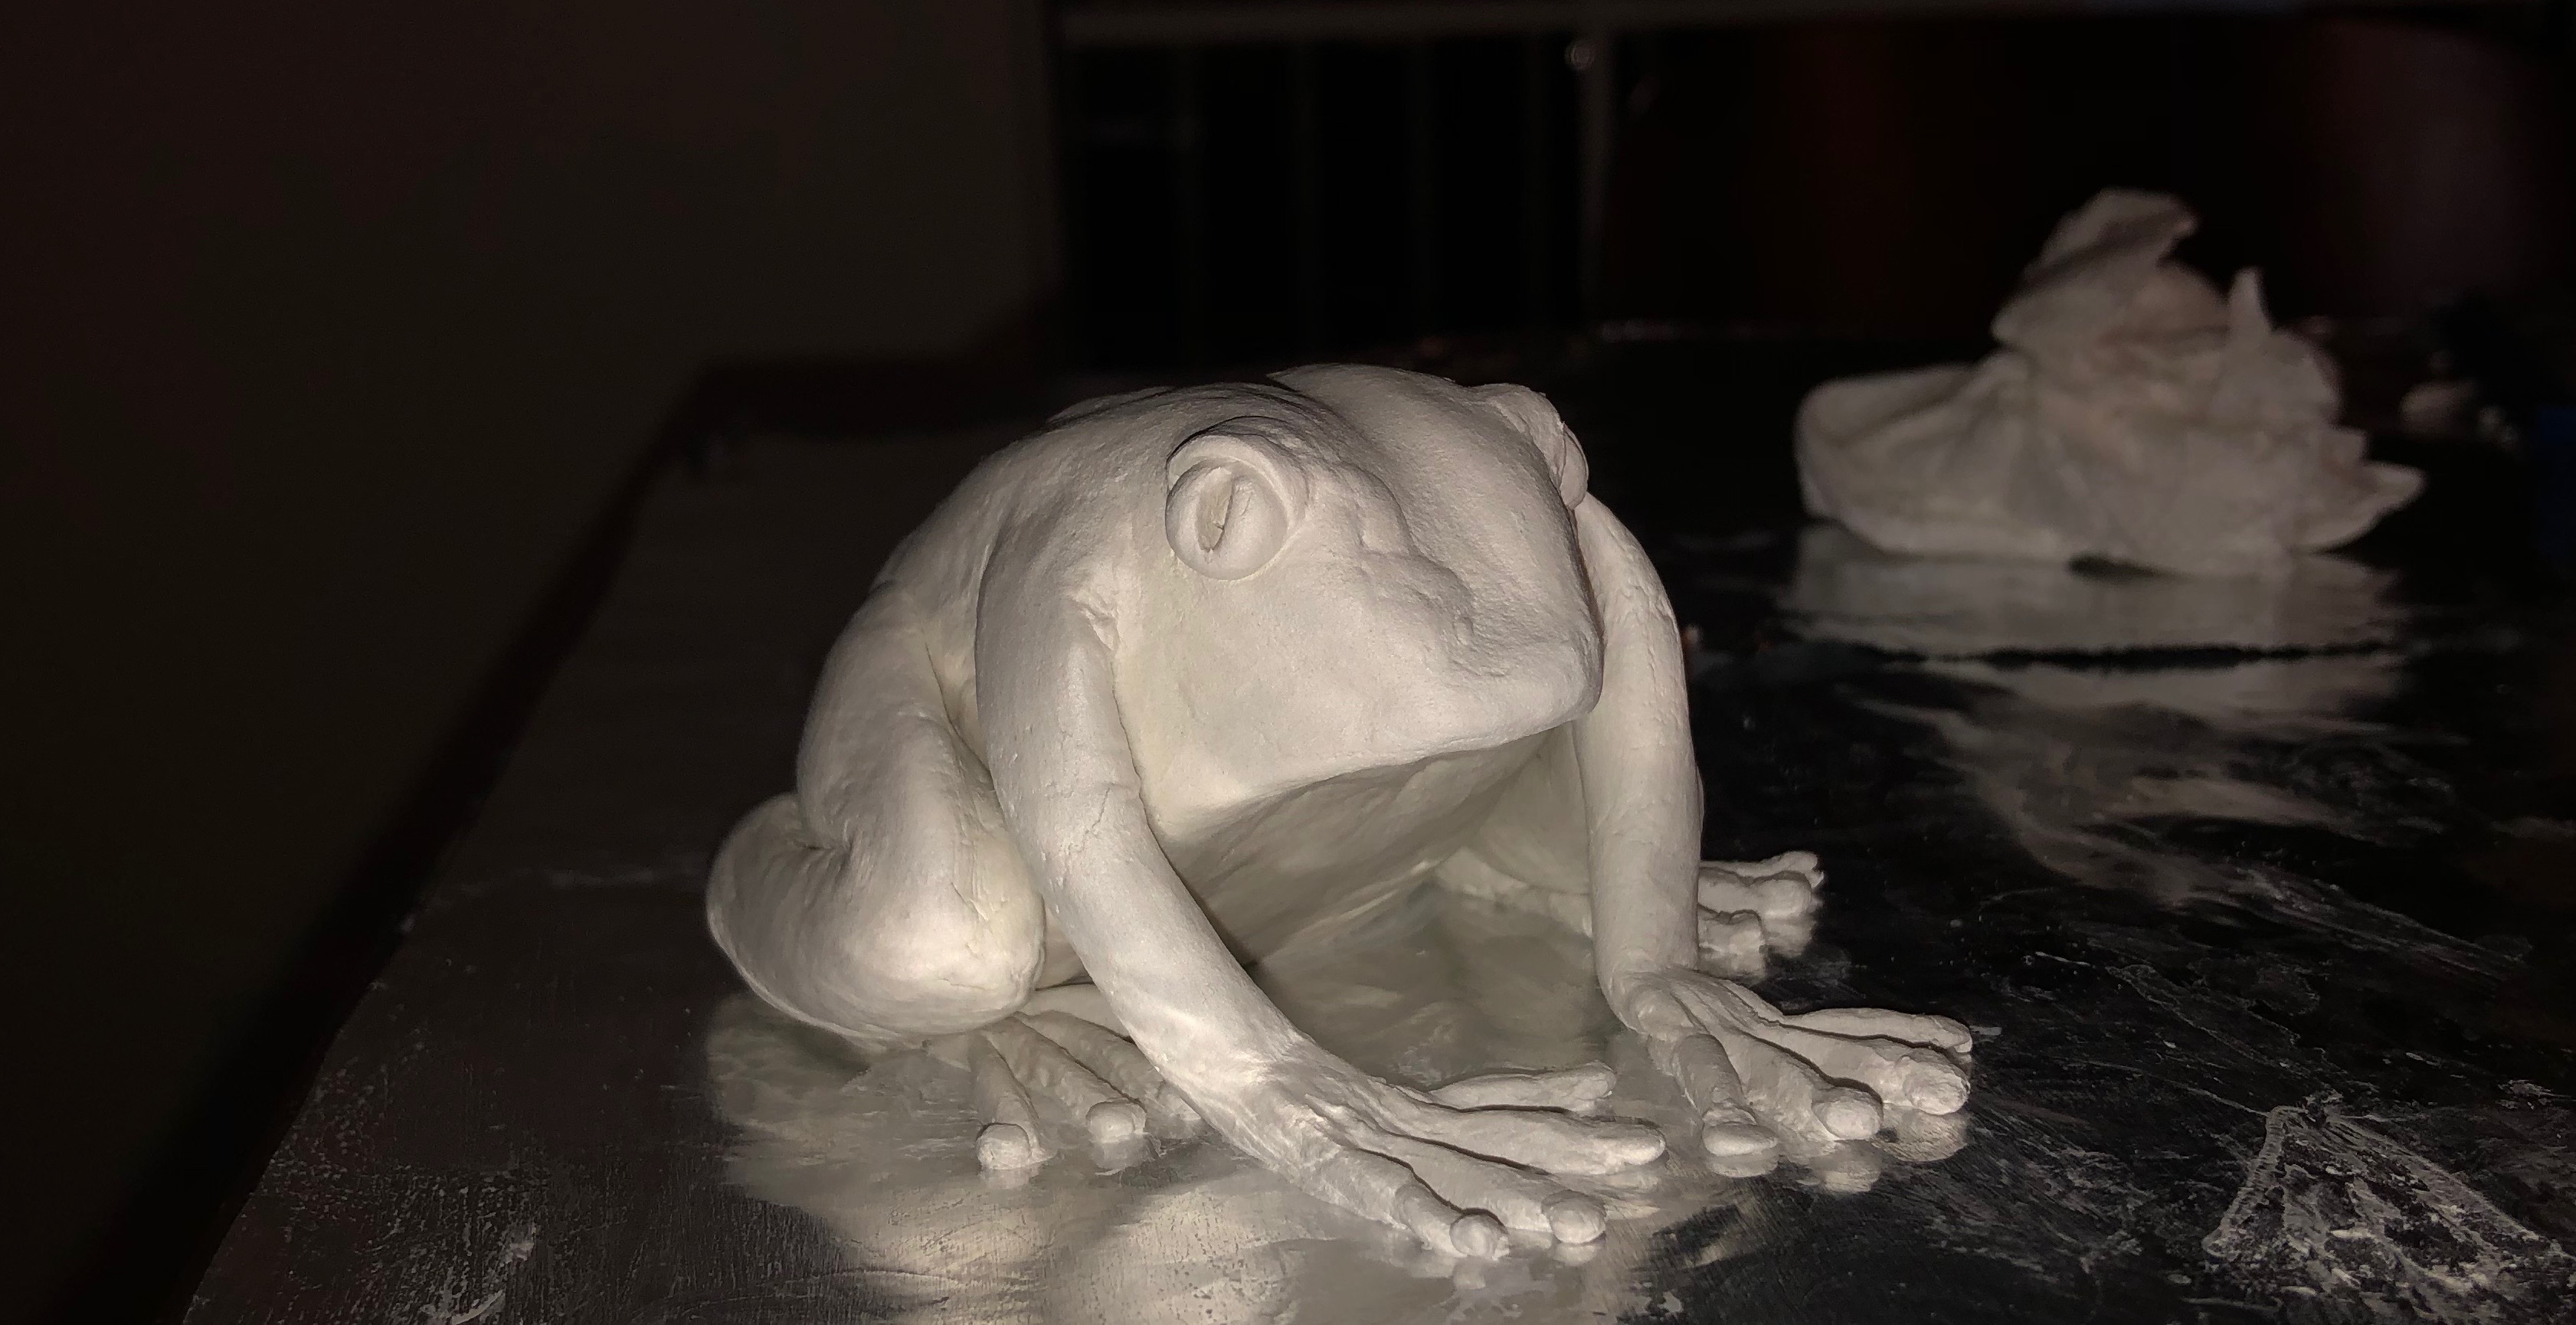
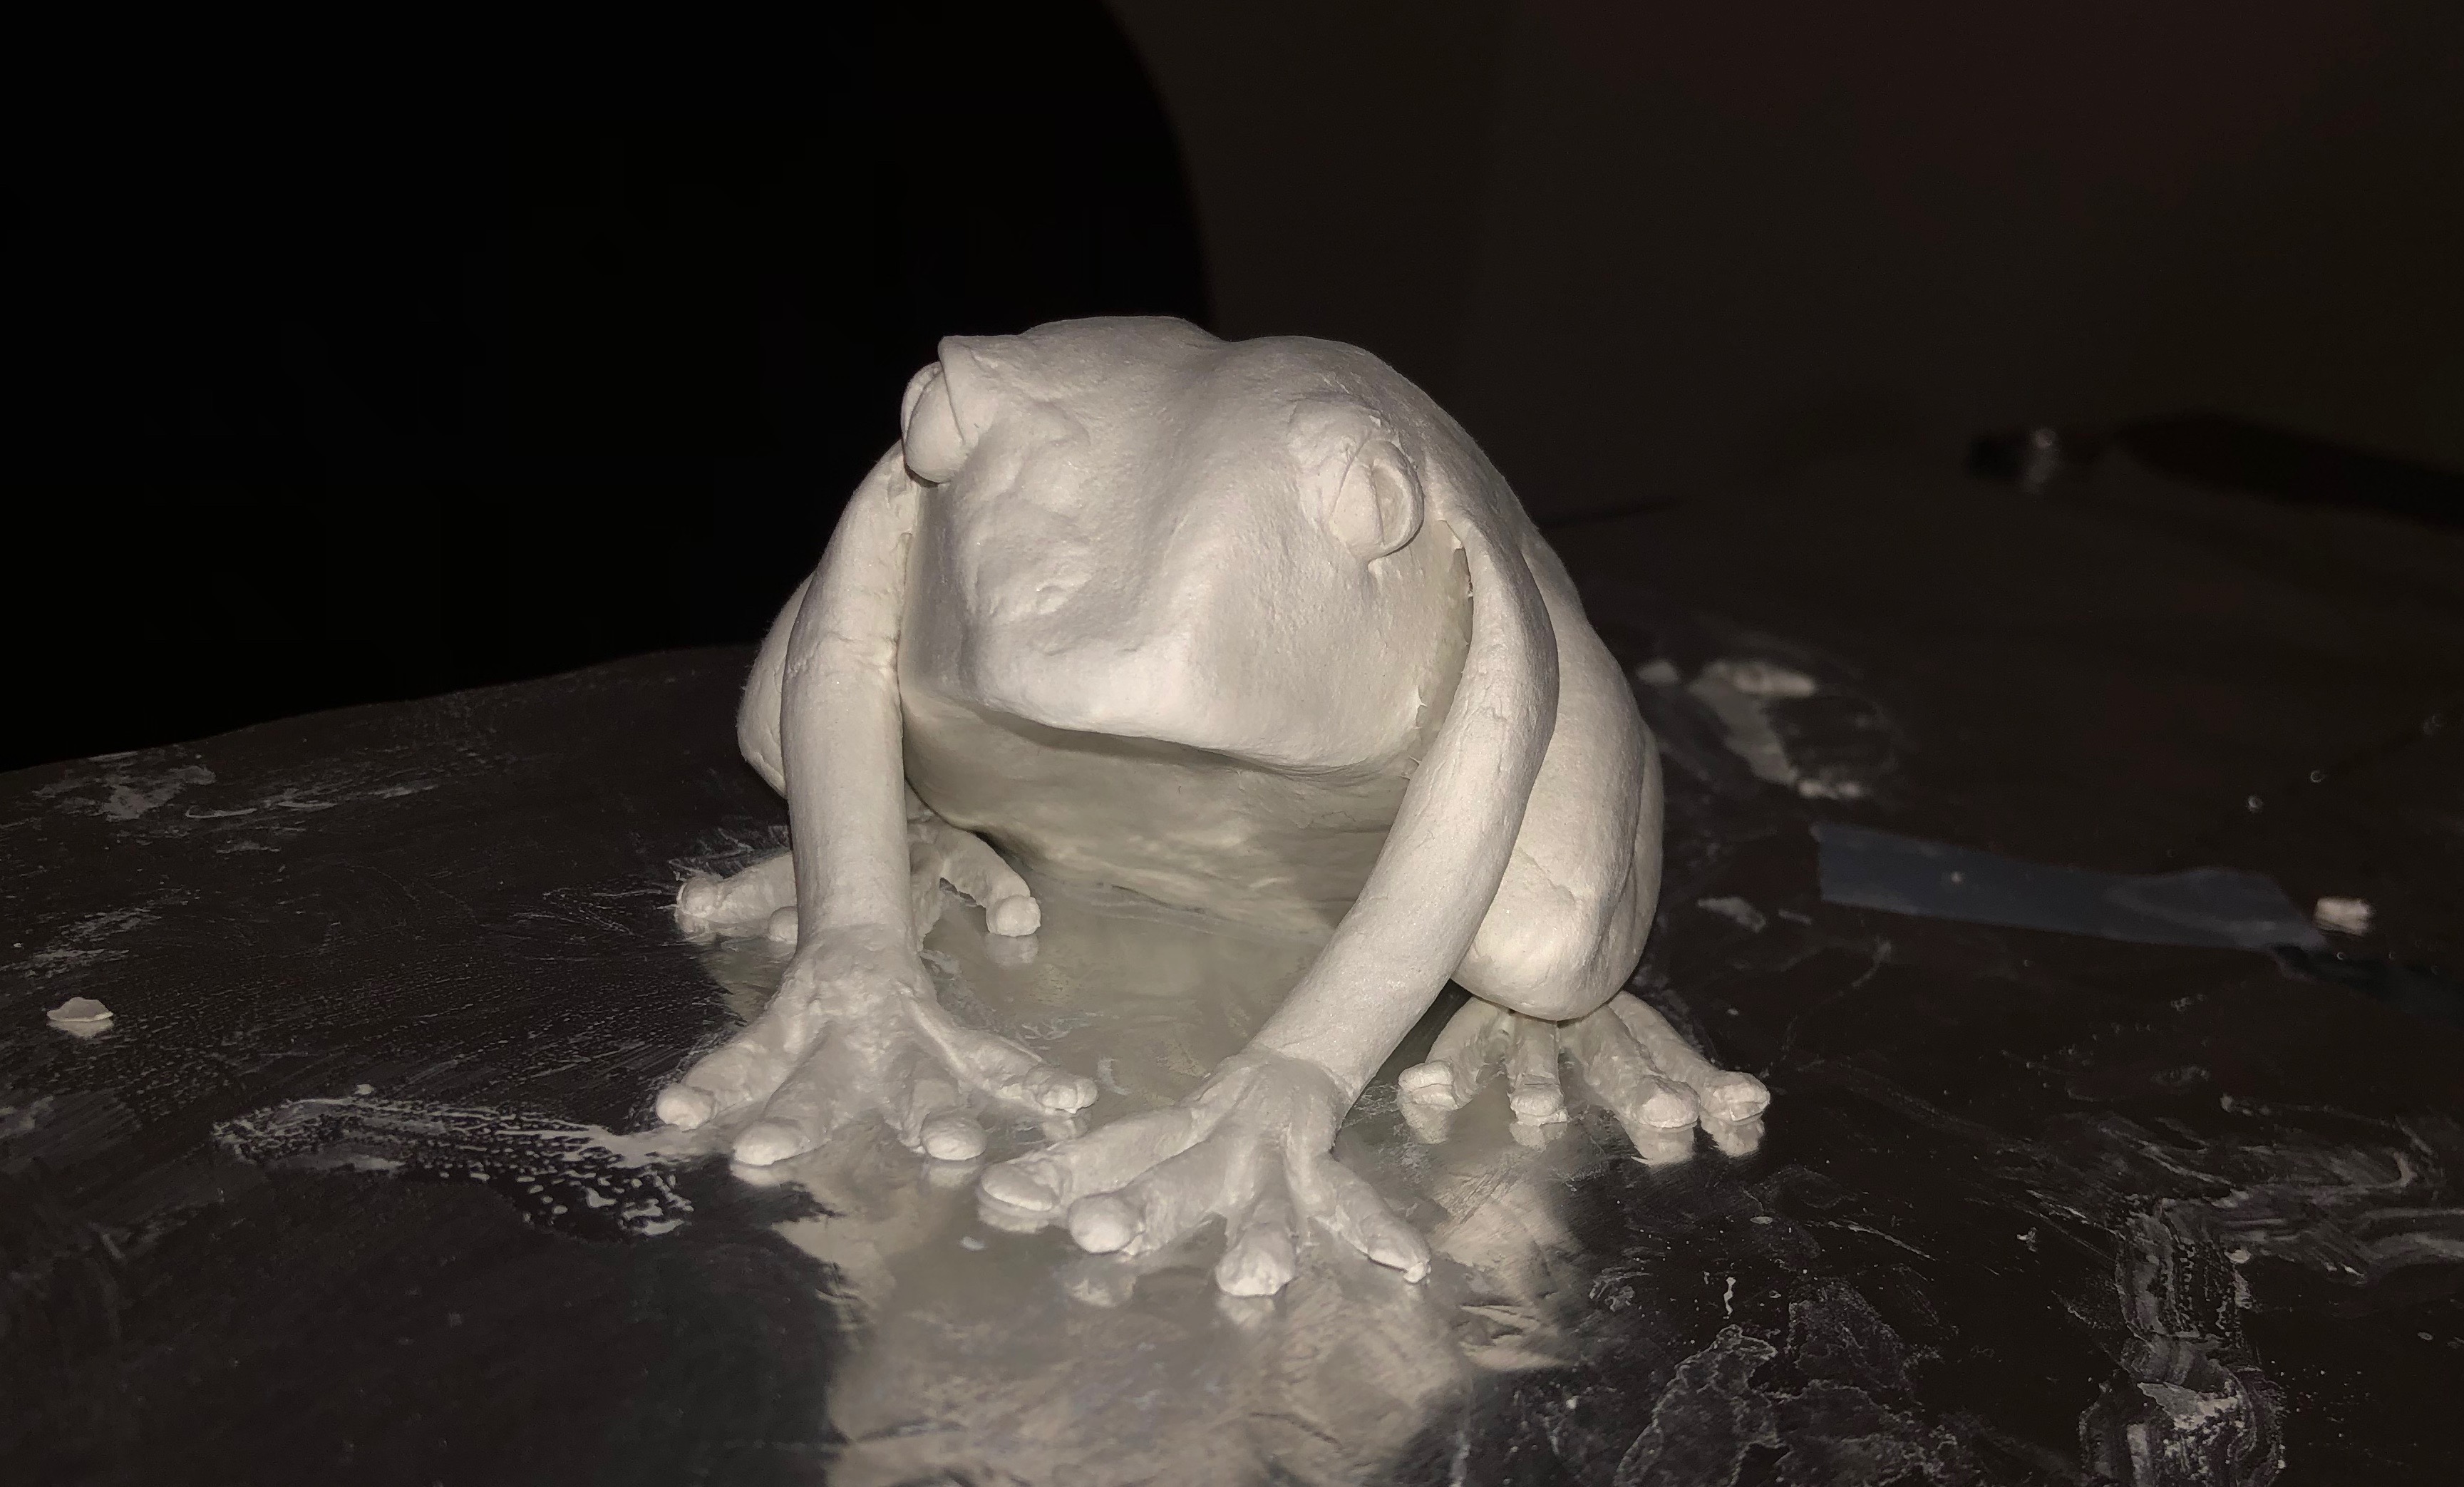
For my prototype, I used clay to create my prototype in the shape of a frog. I did not think that breaking it down into puzzle pieces before I scanned it would be a very good idea because it would not have a very snug fit. I used air-drying clay because it was cheaper than purchasing the bakeable clay. First, I shaped the body of the frog and then sculpted the legs. Once I attached the legs, I sculpted the face. For the puzzle aspect, I would like to cut up the body of the frog into medium-sized pieces that are smooth and curved just like the frog. I don’t think harsh edges would be very appealing considering the frog is already rounded. The puzzle would not be too complicated because of its unique design. 
Initial Designs Test
One aspect that I will be testing a lot is breaking down my puzzle in order to fit in nice snug pieces. Since I will be scanning the frog figure down in the Makery and then breaking the figure down into puzzle pieces, I decided to practice breaking a large rounded figure down using Tinkercad. The reason why I am using Tinkercad is that I have a lot of practice with it and I find it easiest to use. 
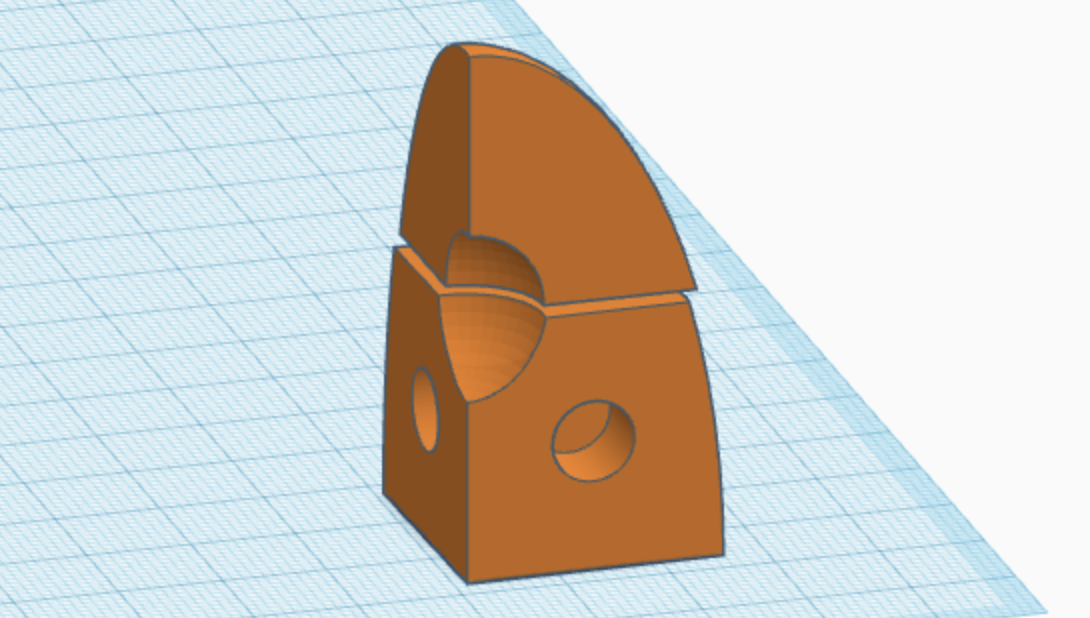
First, I started off with a basic rounded shape and I used a rectangle on the “hole” setting to break down the piece. The align tool really helped me to be precise and create 9 smaller pieces that all fit together to create this dome shape.

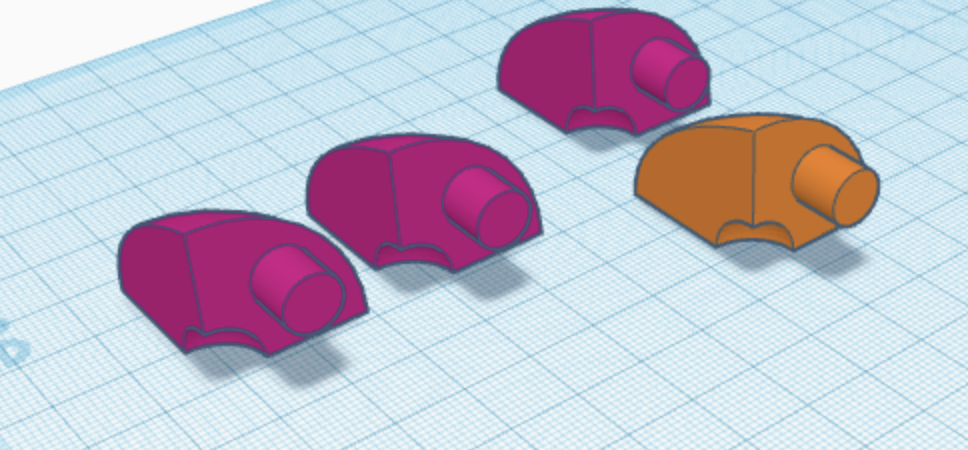 The puzzle I designed for the final cube project has a very similar set up as the one I am designing now. They both have cylinders that fit tightly into each hole with a sturdy sphere in the center of the figure. I test the fit of the cylinders in the hole quite a bit with the first project so I know that the holes need to be slightly larger than the peg for a snug fit.

For the centerpiece, I wanted to print the sphere in 2 halves at 90% infill. I wanted to print it in two halves and glue the pieces together because if I printed a whole sphere with support, it would diminish the smoothness of the piece. The 90% infill will also give the centerpiece a bit more weight than the others. This example was mostly just me practicing breaking down a large figure into pieces but having it keep its original shape when put back together. I plan on stopping by the Makery on Tuesday or Thursday when Artem will be there to help me with the scanning of the figure. I sent him an email to see when he will be working in the Makery so he can show me how the scanner will work.
Continued Testing
I contacted Artem via email, who is in charge of 3D scanning in the Makery at Rose library. He said he was available on Mondays and Wednesdays and I plan to meet with him tomorrow after class to scan my frog figure. He said I could stop by from 2-7pm tomorrow.

I have now decided instead of 3D printing a sphere with 90% infill, I am going to use a marble instead. I think this would add a unique centerpiece to the puzzle with a little bit of weight. These are the marble I had and they are quite plain and somewhat small. For some reason, they are a little bit lopsided and lumpy. I am worried that since the marbles are not a perfect, smooth sphere that this element might take away part of the satisfaction of the puzzle.

I plan to order these cat’s eye marbles from amazon that are slightly larger, have a much smoother finish, and would make a unique centerpiece. I went to Micheal’s and they did not sell marbles for some reason. Anyways, I really like this type of marble because the design reminds me of a tadpole egg.
In the figure above, I have stacked 2 pieces on top on top of each other to display where the marble will sit in the center. To assure that the marble has a snug fit, I will be using a caliper to measure the diameter of the marble to make sure that it is a perfect sphere. The smaller clear and blue marbles are a little bit lopsided and not a perfect sphere so that is why I am purchasing the cat’s eye marble from amazon. The problem with the first attempt was that the sphere would not fit in in the center of the puzzle because it was too big. This can easily be accounted for by making the hole for the marble 0.25mm larger. Even a small adjustment can make a huge impact on the satisfaction of the puzzle.
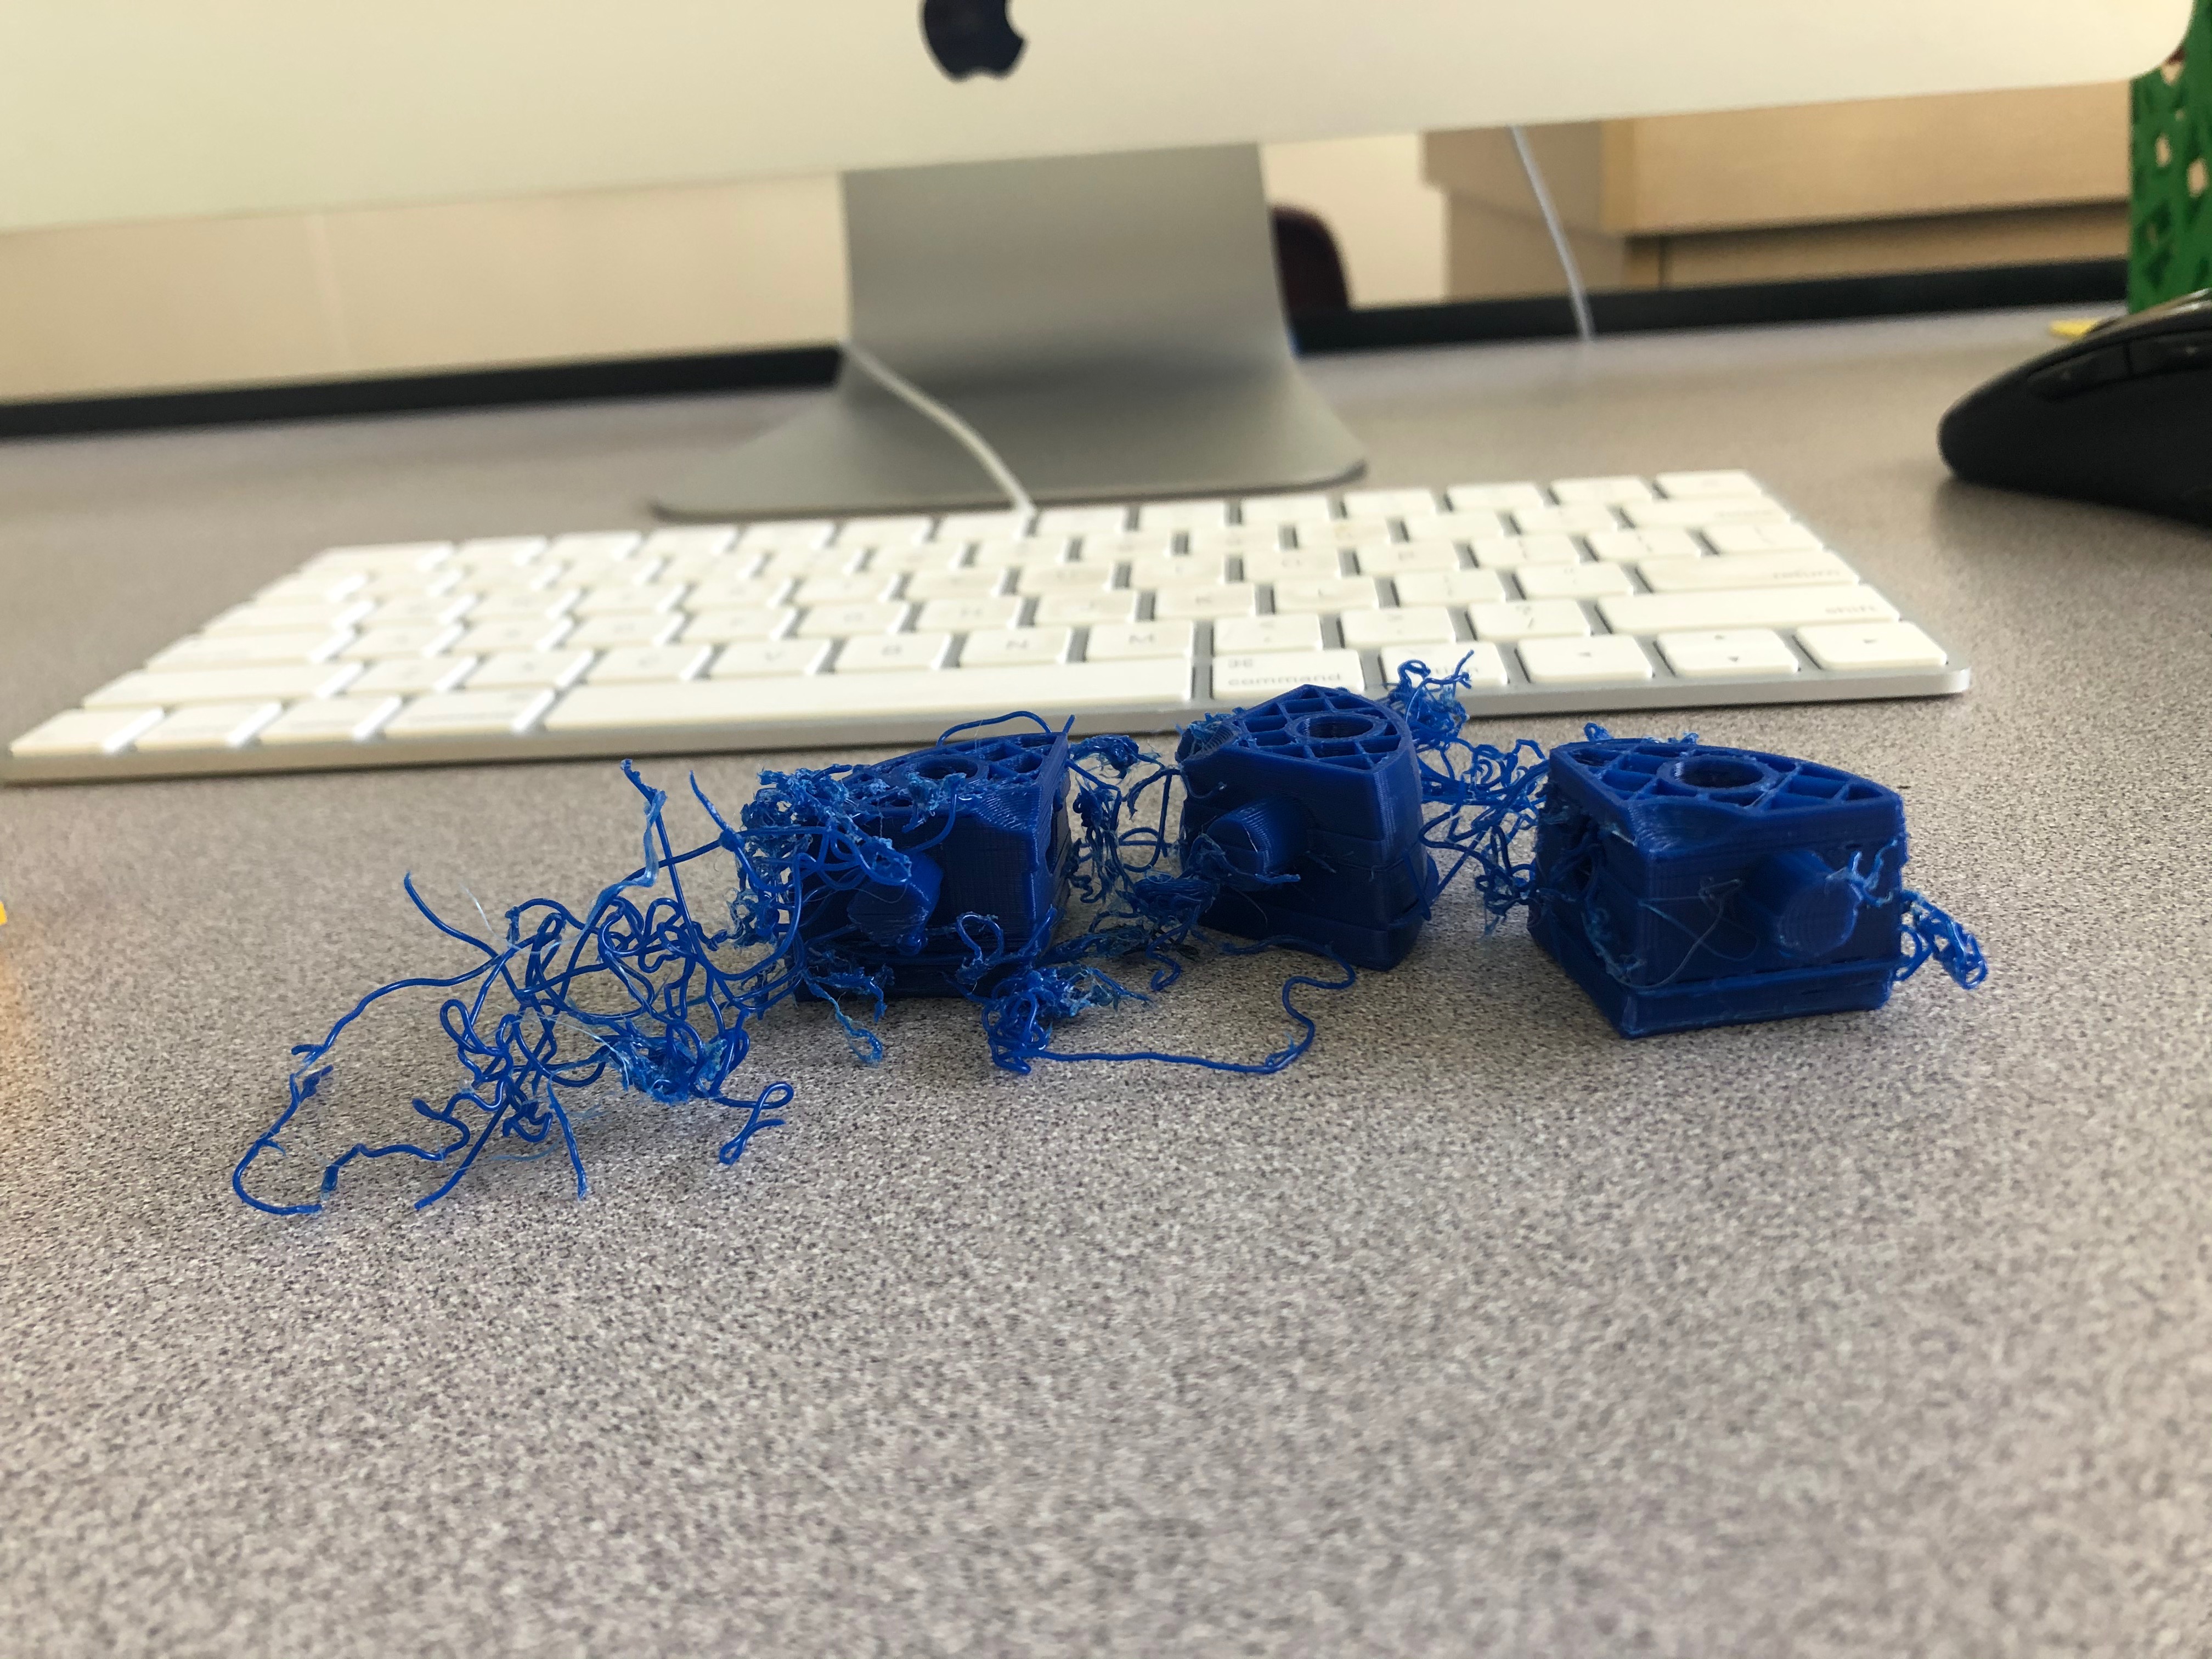
I reprinted the puzzle with the pegs being 20mm smaller and they still were way too large to fit in the holes so I went ahead and made them 30 mm smaller. I measured the diameter of the marble using a caliper to be 15.85 mm by 16.05mm. So, based on my trial and error of things not properly fitting previously, I decided to make the hole 16.5mm in hopes of a snug fit to all sides of the marble in the center. Somehow both prints failed so I could not actually test if the marble fit or if the pegs fit 🙁
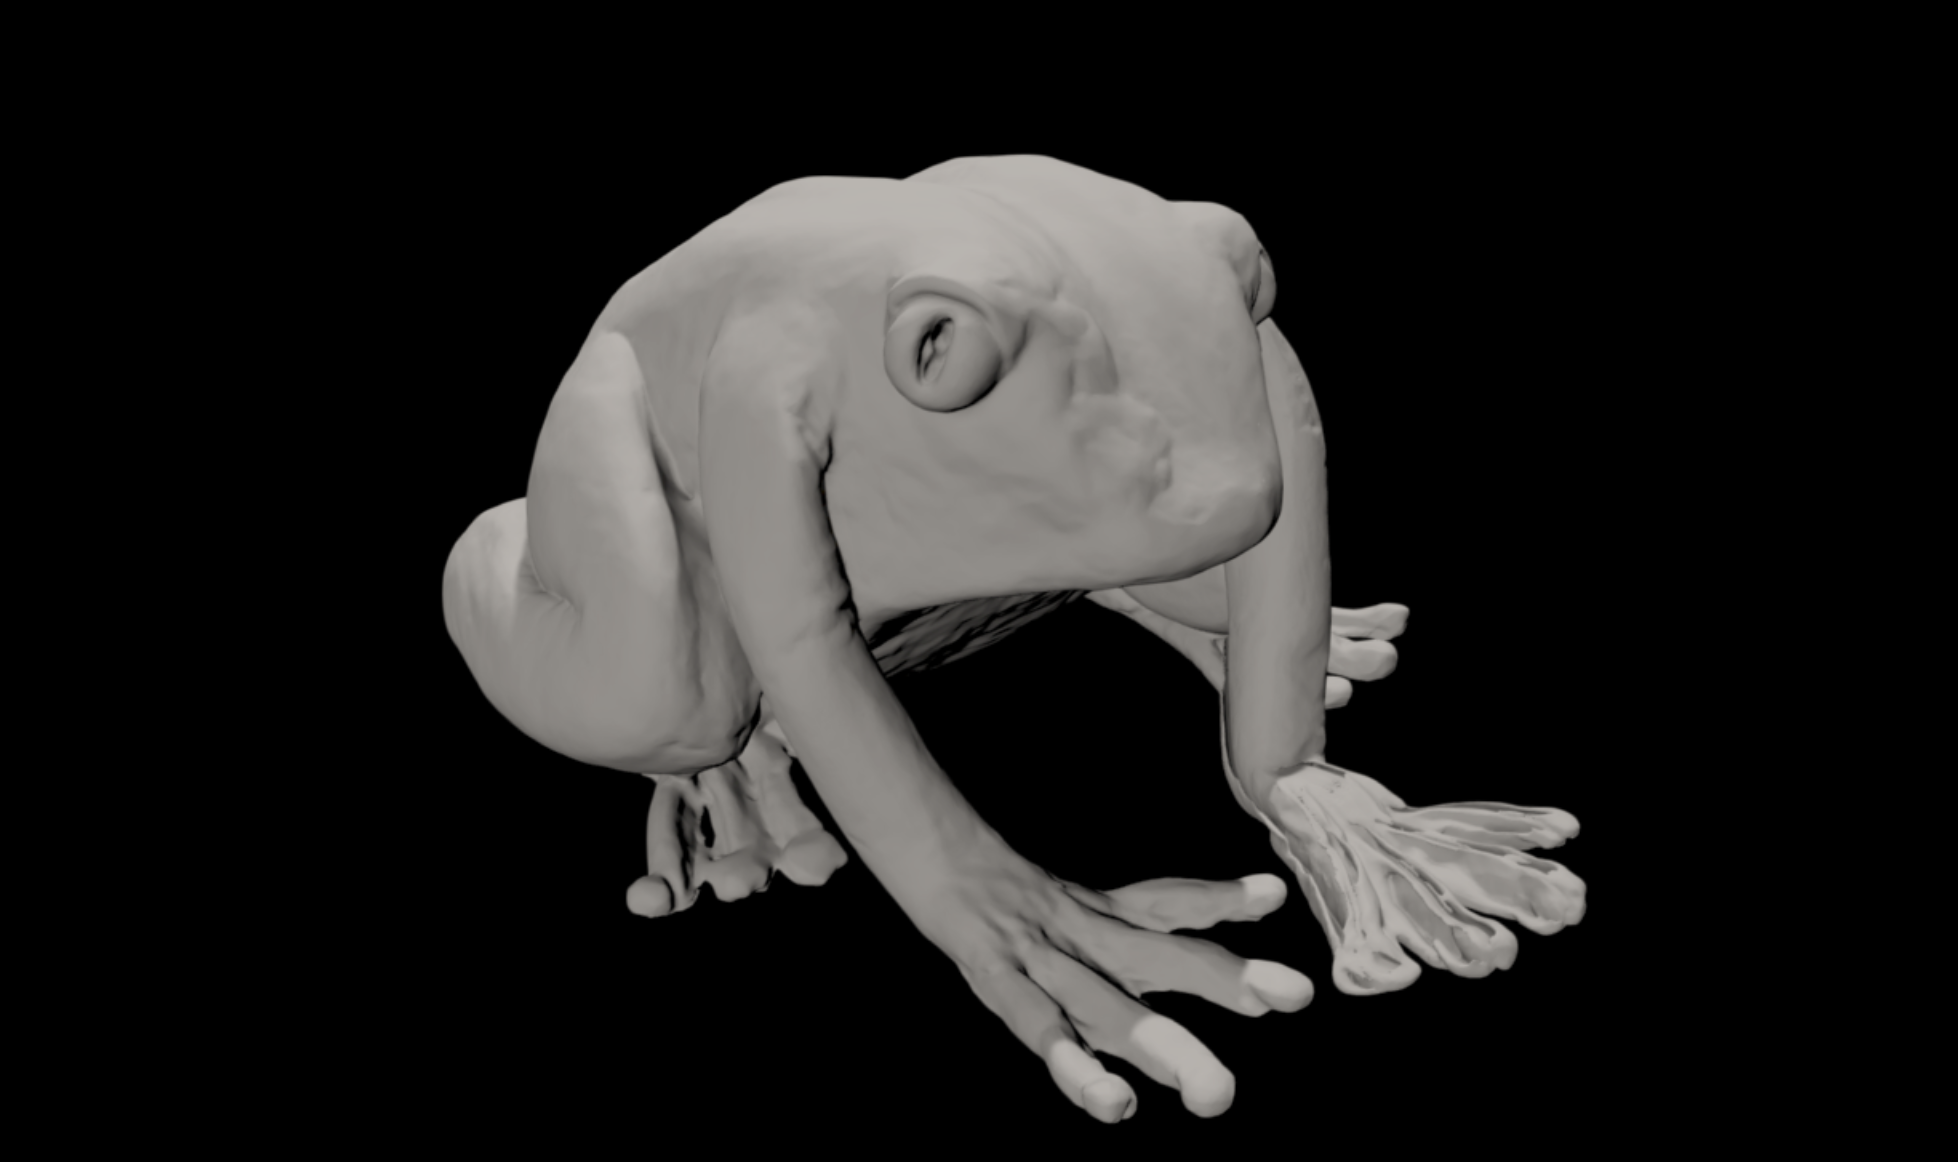
However, I did go to the Makery on Monday and I finally scanned my clay frog figure. The scan turned out really well, but there is a lot that needs to be done in Mesh Maker to clean up the look, but I am excited to move forward with my project.