Project Summary
My final project is two-fold. I created two prototypes for my final project to try and narrow down which direction I wanted to go, the winner is….both. I am going to be daring and see if I can create two both designs. From what I was able to see in the creation of my prototype I discovered that I can start with the same basic process and from it create two different puzzle types. One will be the Celtic leaf that pieces together to create a 3-D cube. The second is a flat puzzle using the Celtic leaf design, but the patterns seen in the picture will actually be created within the shape.
Prototype(s)

For my first prototype, I printed off the image and using straight pins to attach it to a cubed shaped piece of styrofoam. As you can see from this picture that worked really well and allowed me to attached the paper and create even corners. Until it didn’t…

Ummm….
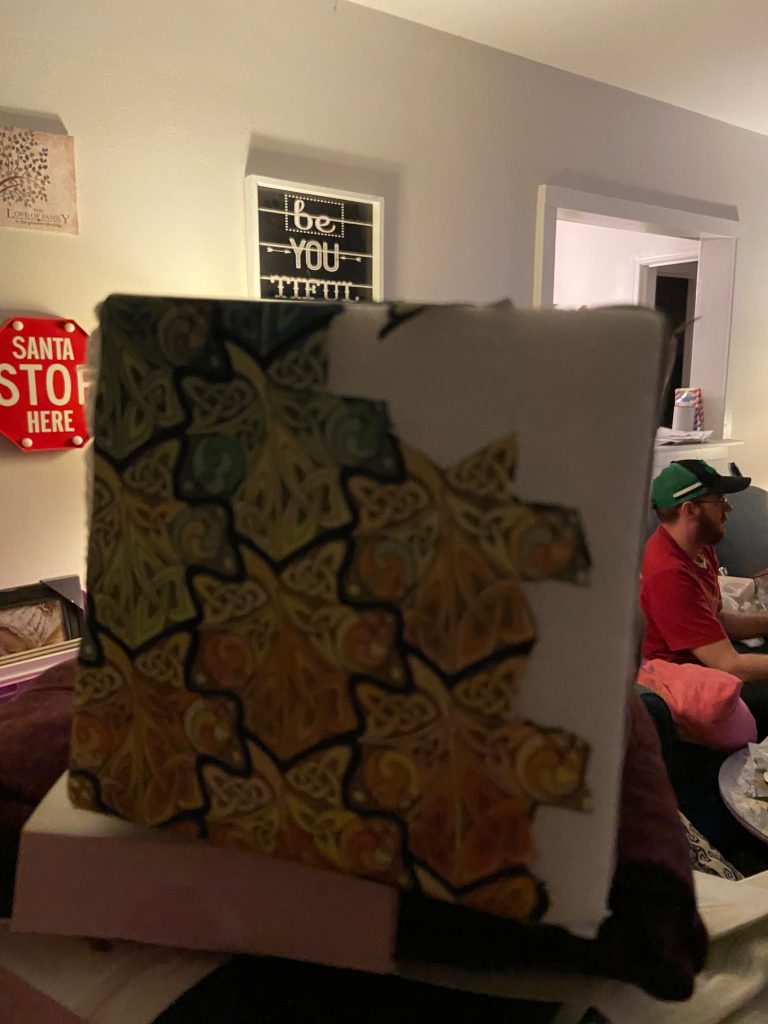
If you compare these two pictures to the beautiful top image you will notice that the directions of the leaves don’t match. This is not an accident in uploading the pictures. What I found was that the images would line up correctly on three sides; top, front, and bottom. But once you start trying to place the pieces on the sides and back, your directionality no longer works.
I think the biggest adjustment I need to make is the size of the individual leaves. The other thing that I need to zone in on is the edges. That is where my orientations were getting changed, and in order to prevent that I have to address this.
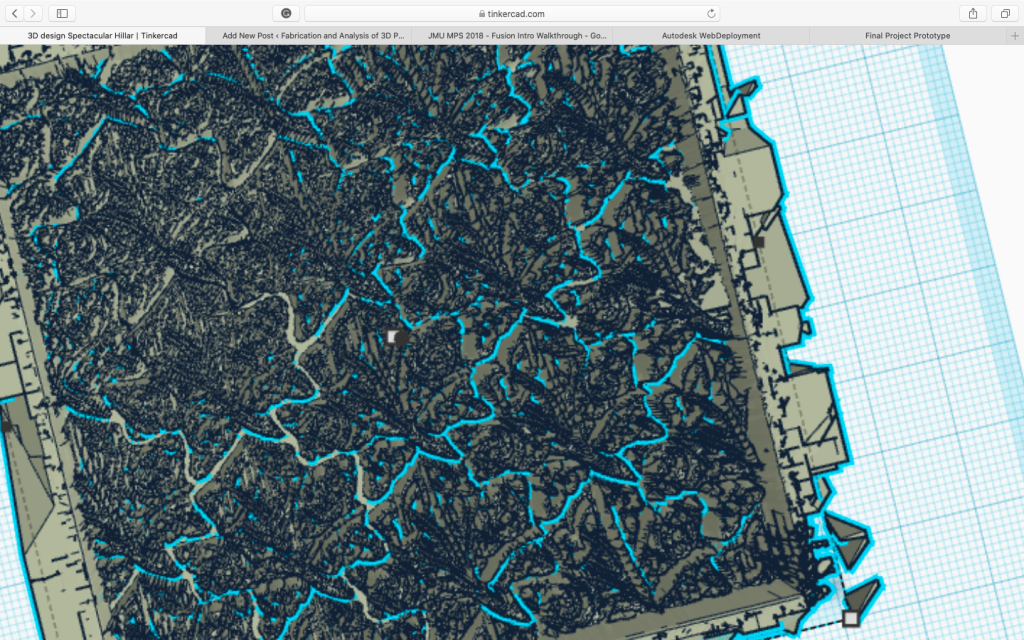
This was my other prototype. I took the original image and using a program turned the .jpeg into a .stl which I then uploaded into Tinkercad. If you look closely you can kind of see the patterns, but because I used the fully colored image it threw off the digitizing and I wasn’t able to get clear images. In order to make it work, I think need to focus on a single leaf and remove the colors. In all fairness, I was asking a lot, but the fact that I even got what I did is actually saying something about the feasibility of doing it.
While I obviously have some work to do, both of these prototypes helped me to figure out where my problem areas are and what I (theoretically) need to do in order to make both variations work. If nothing else it tells me where I need to focus my energies to have the best chance of success, but only time will tell if my work will pay off.
Take One…
For my first trial run, I took the original picture and using a photo editing program cropped it down so that I had just one full leaf image. I also edited the coloring so that it was black and white instead.
![]()
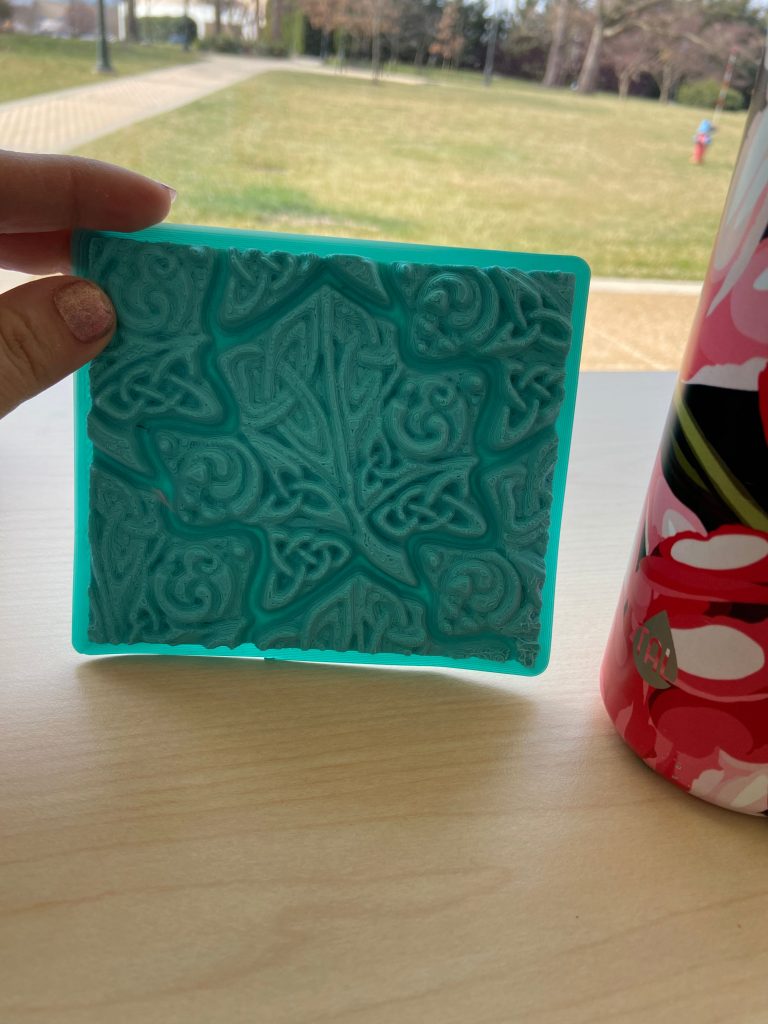
Since both printers have the ability to create a take a .jpg file and create a 3-D image I uploaded the file onto both an Ultimaker and a Lulzbot.

This is the Ultimaker print, and I think it came out looking really good. The problem though is that it is actually really hard to see the designs. The picture was taken holding it up to sunlight which helped, but when it is just laying down on the table it is really hard to see.
From a usability perspective, the images came out grouped, which makes me think it would be difficult to separate. The image above actually creates the illusion that there is a clear definition around the leaf, but the reality is that is actually a raised area and there is no line there. So I couldn’t just print off a group and cut them out.
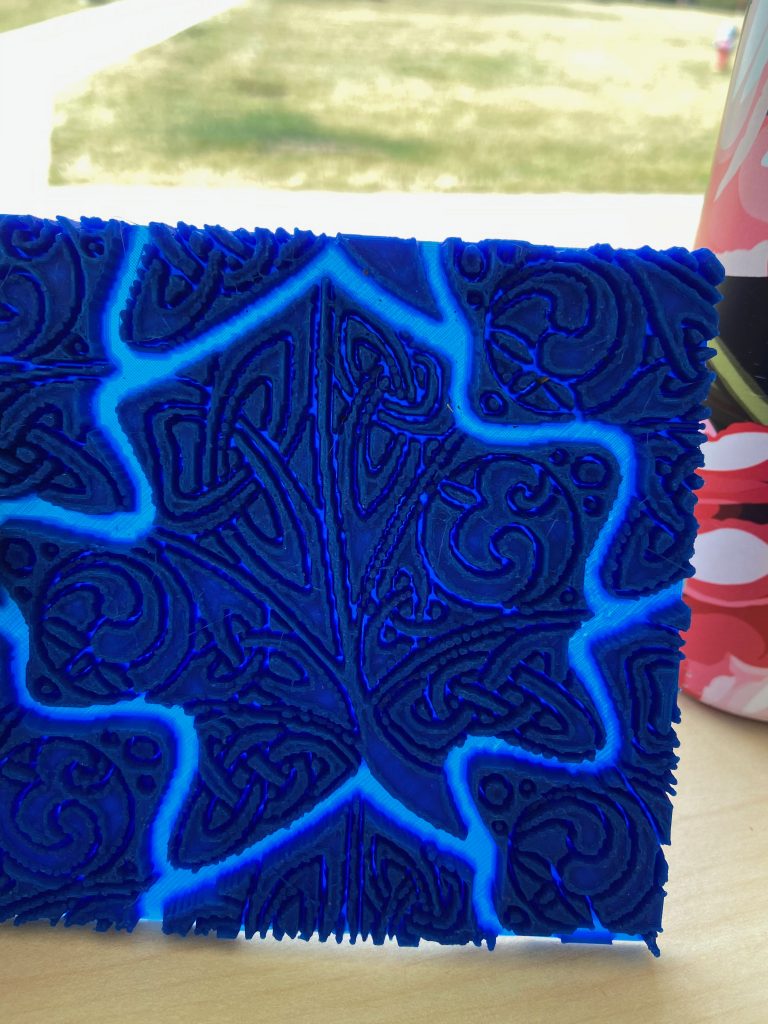
In some ways, the Lulzbot print is clearer. Looking straight on the design is clearly visible, but as soon as you lay it down you can see where the design is actually very choppy. It is possible I could tweak some of the settings to create a better final image.
I am also a little concerned about the stability or the print. Unlike the print from the Ultimaker, this print feels very heavy and stiff. Again this could be a result of some settings that need to be tweaked but as I move it in my hands I keep feeling like it is going to snap.
Take two…
For this trial, I only printed out on the Ultimaker since it seemed to have the better overall print. This isn’t to say that I won’t go back and work with the Lulzbot again but I wanted to try and just focus my energies on the machine I felt I would have the best success.
This is the result. I managed to find another version of the original image that when I used the editor made the coloring lighter which seemed to allow the Ultimaker to create a more defined image. I also raised the height up to 5mm. I definitely think it improved what I had, but it still needs work.
Some of the design is not fully connected in places. At this point, I still have everything connected to the raft, but I worry that if anything starts to come apart those areas are going to be extremely weak and prone to breaking.