Project Summary
For my final project, I wanted to build a puzzle that would serve as a functional tool for me, in addition to being an engaging and mysterious puzzle. There’s an episode of Batman (or maybe a movie scene) where Alfred, Bruce Wayne’s butler, plays a piano chord to open the hidden door to Batman’s super-secret “bat cave”. This puzzle has a very similar principle; upon playing a specific chord, the top of the synthesizer will open, revealing a hidden compartment on top of the instrument.
Prototype
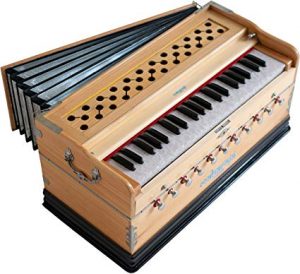
I used cardboard and duct-tape to build my model for this synthesizer puzzle. I modeled the puzzle after a small acoustic keyboard instrument called a “harmonium”. Harmoniums aren’t super popular anymore, but their small portable frame proved to be super useful as a model for my prototype.
I am more of a hands-on learner than a visual one, so my design doodles weren’t much, but they did help me figure out that I needed a false bottom under the secret compartment to house the electronics for the synthesizer.


I built my prototype with a raised keyboard with a compartment above it. The top of the puzzle will open much like that of a standing acoustic piano.

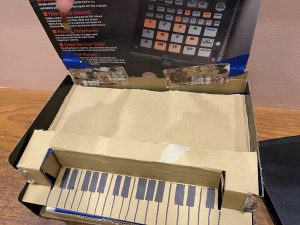
This prototype has more keys than the final will. I plan on having a two octave (23 key) keyboard on my final synthesizer. This is for playability, as the smaller keys are more difficult to use, and less practical.
I haven’t fully fleshed out the locking process of the keyboard yet, but I left ample space under the compartment for the electronic components of the synthesizer and the locking mechanisms.
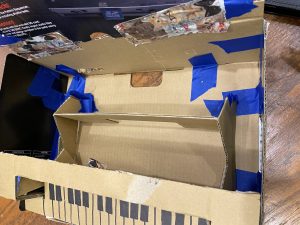
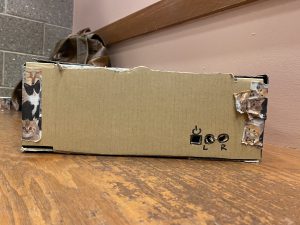
I plan on using one half of the bottom space for figuring out and implementing the locking puzzle aspect of this project, and the other half for the electronic and audio components. The prototype is a lot lighter than the final product will be, but it is functionally very similar. Though the keys didn’t actually move, the top lid folded, I included a power button, and I left space for the outputs on the back of the instrument.
Initial Design Test Logistics
The first element of my final project that I am concerned with is the actual puzzle/locking mechanisms. I thought it would be interesting to (instead of using the keys), use the three knobs on the synthesizer as a safe-like combination lock.
The three included knobs will be for Volume, Attack, and Release. I got my inspiration for this mechanism from this video by DIY Ocean on Youtube.
Here is my initial design:
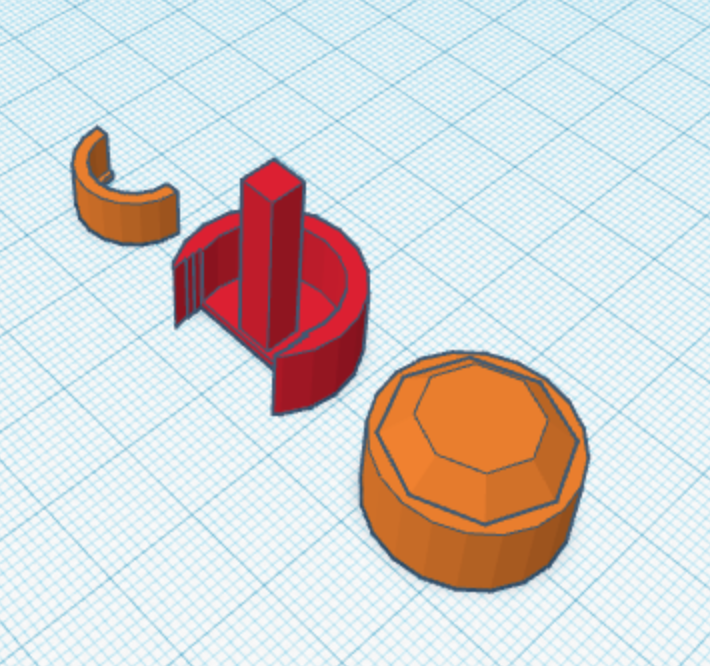
Unfortunately, my first iteration of this knob had a few fatal flaws:
- Due to a misunderstanding between the video I watched and the concept I first printed, the bottom piece was not a functional locking shape.
- The circle pieces did not connect/fit together well.
To fix these problems, I redesigned the knob-locks on Tinkercad by reversing the post on the bottom/hidden piece, and adjusting the shape. I got rid of the smallest piece of the knob triad, as it is no longer functional with the new design. I set the knob pieces to fit inside of each other better as well, by making a rectangular “glove” that holds the two pieces together.

I haven’t had a chance to print the new design yet, but I am confident they will work with the re-design. The next thing I hope to work on is the shell of the synthesizer. It is a tall order, but I need to have a working frame in order to move forward.
Continued Testing
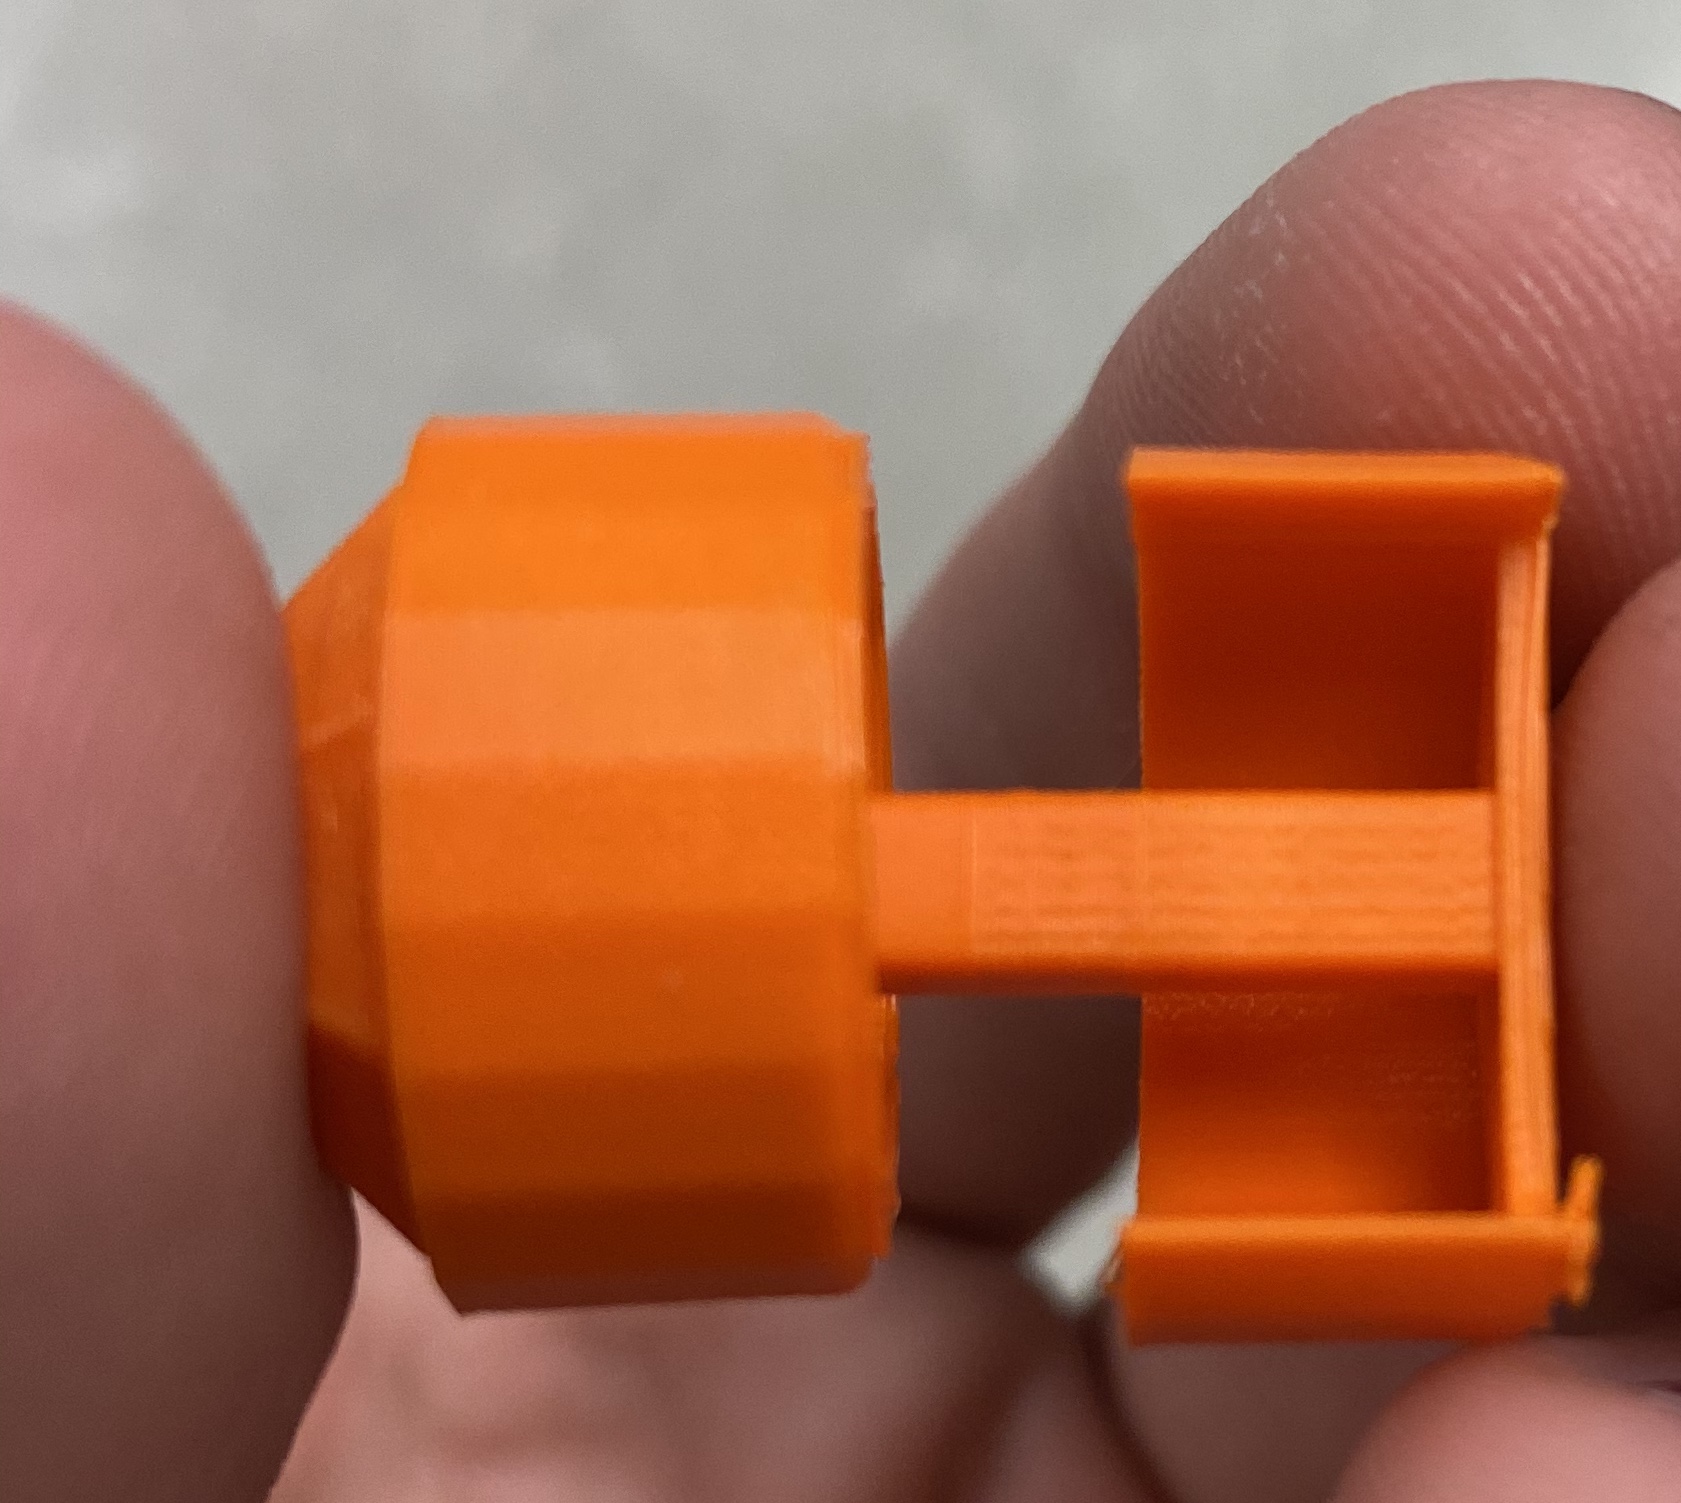
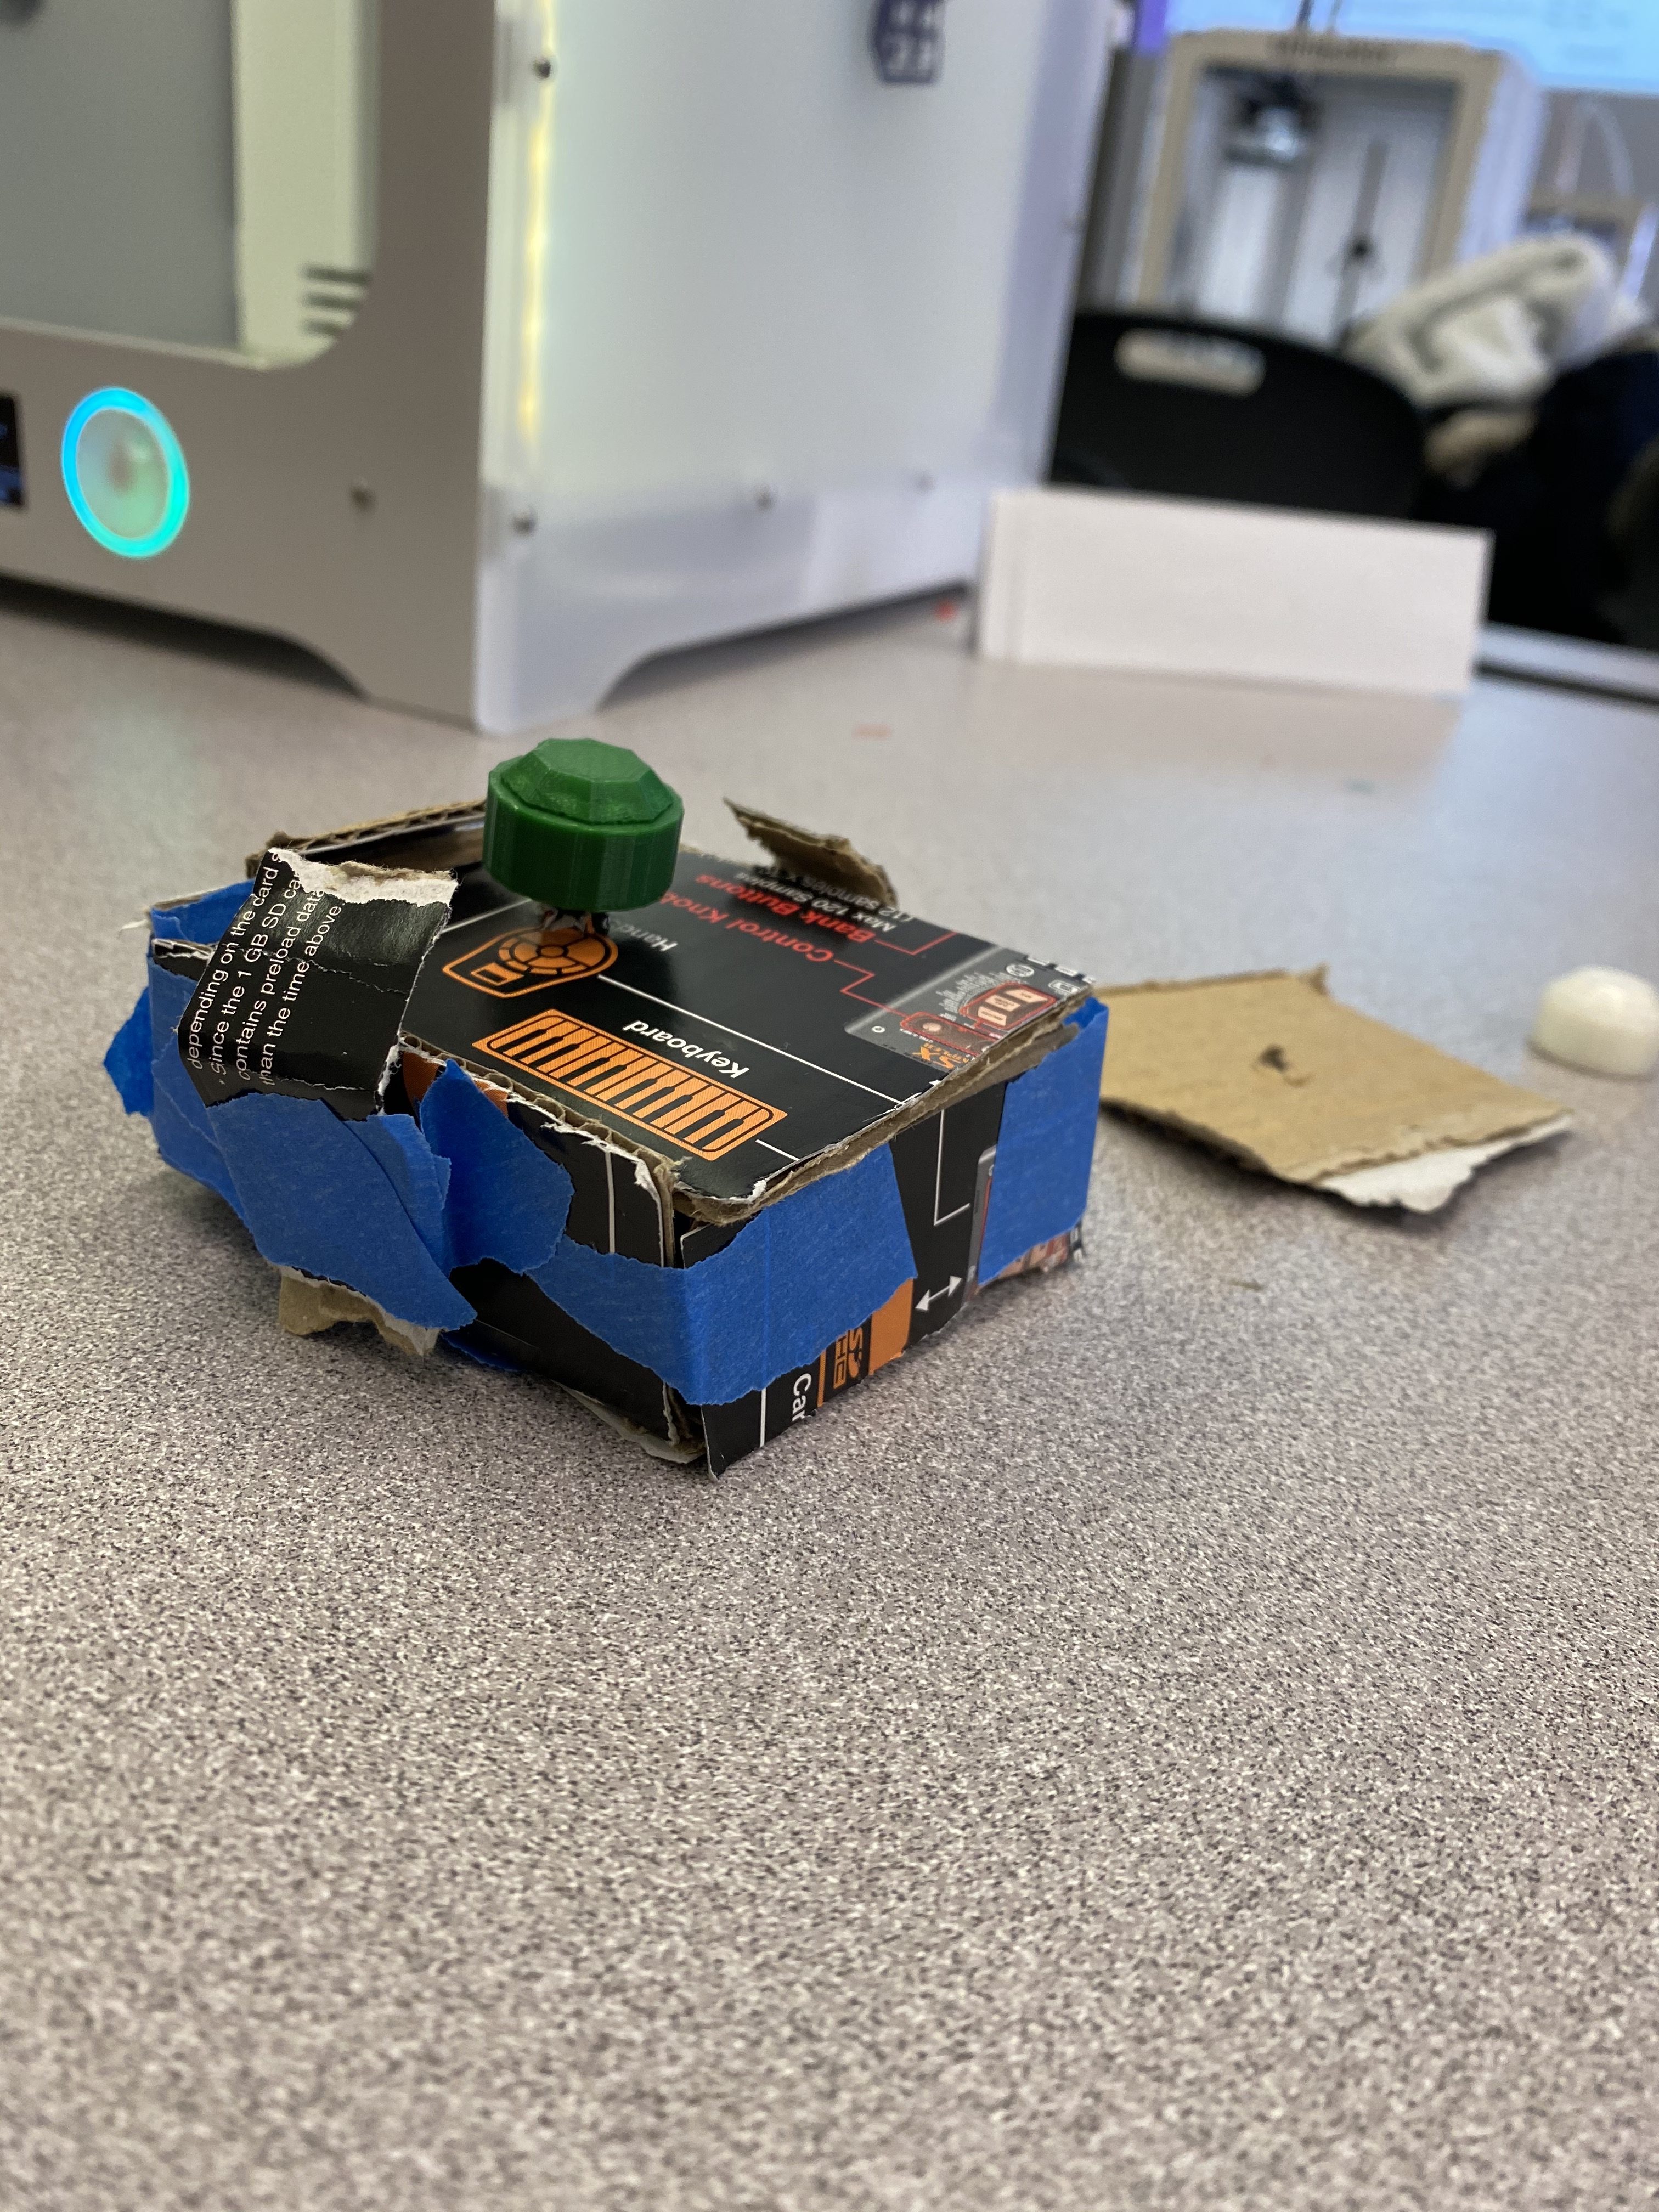
The second print of the design was a success. I printed the newer design, and apart from a few minor future adjustments, the pieces fit together well and functioned as a safe locking mechanism. To see if the pieces would actually function as a safe lock, I built a small prototype of a sliding lid lockbox out of cardboard (pictured below). The lid held in place, and could only slide open if the knob was rotated a certain way. For the final print of this puzzle, there will be three knobs that, when rotated to specific positions, will allow the lid of the synthesizer to open.
For the most part, this second attempt at the knob-design was a success. However, I would there are a few adjustments that need to be made for the final prints. For my final print of these knobs, I will use a higher infill and make them all consistent colors. I realized that the length of the column on the bottom piece was too tall, and that for structural integrity’s sake, I ought to place a small cone at the bottom where the column and the base of the bottom piece connect. The former print broke with only slight pressure applied to it.
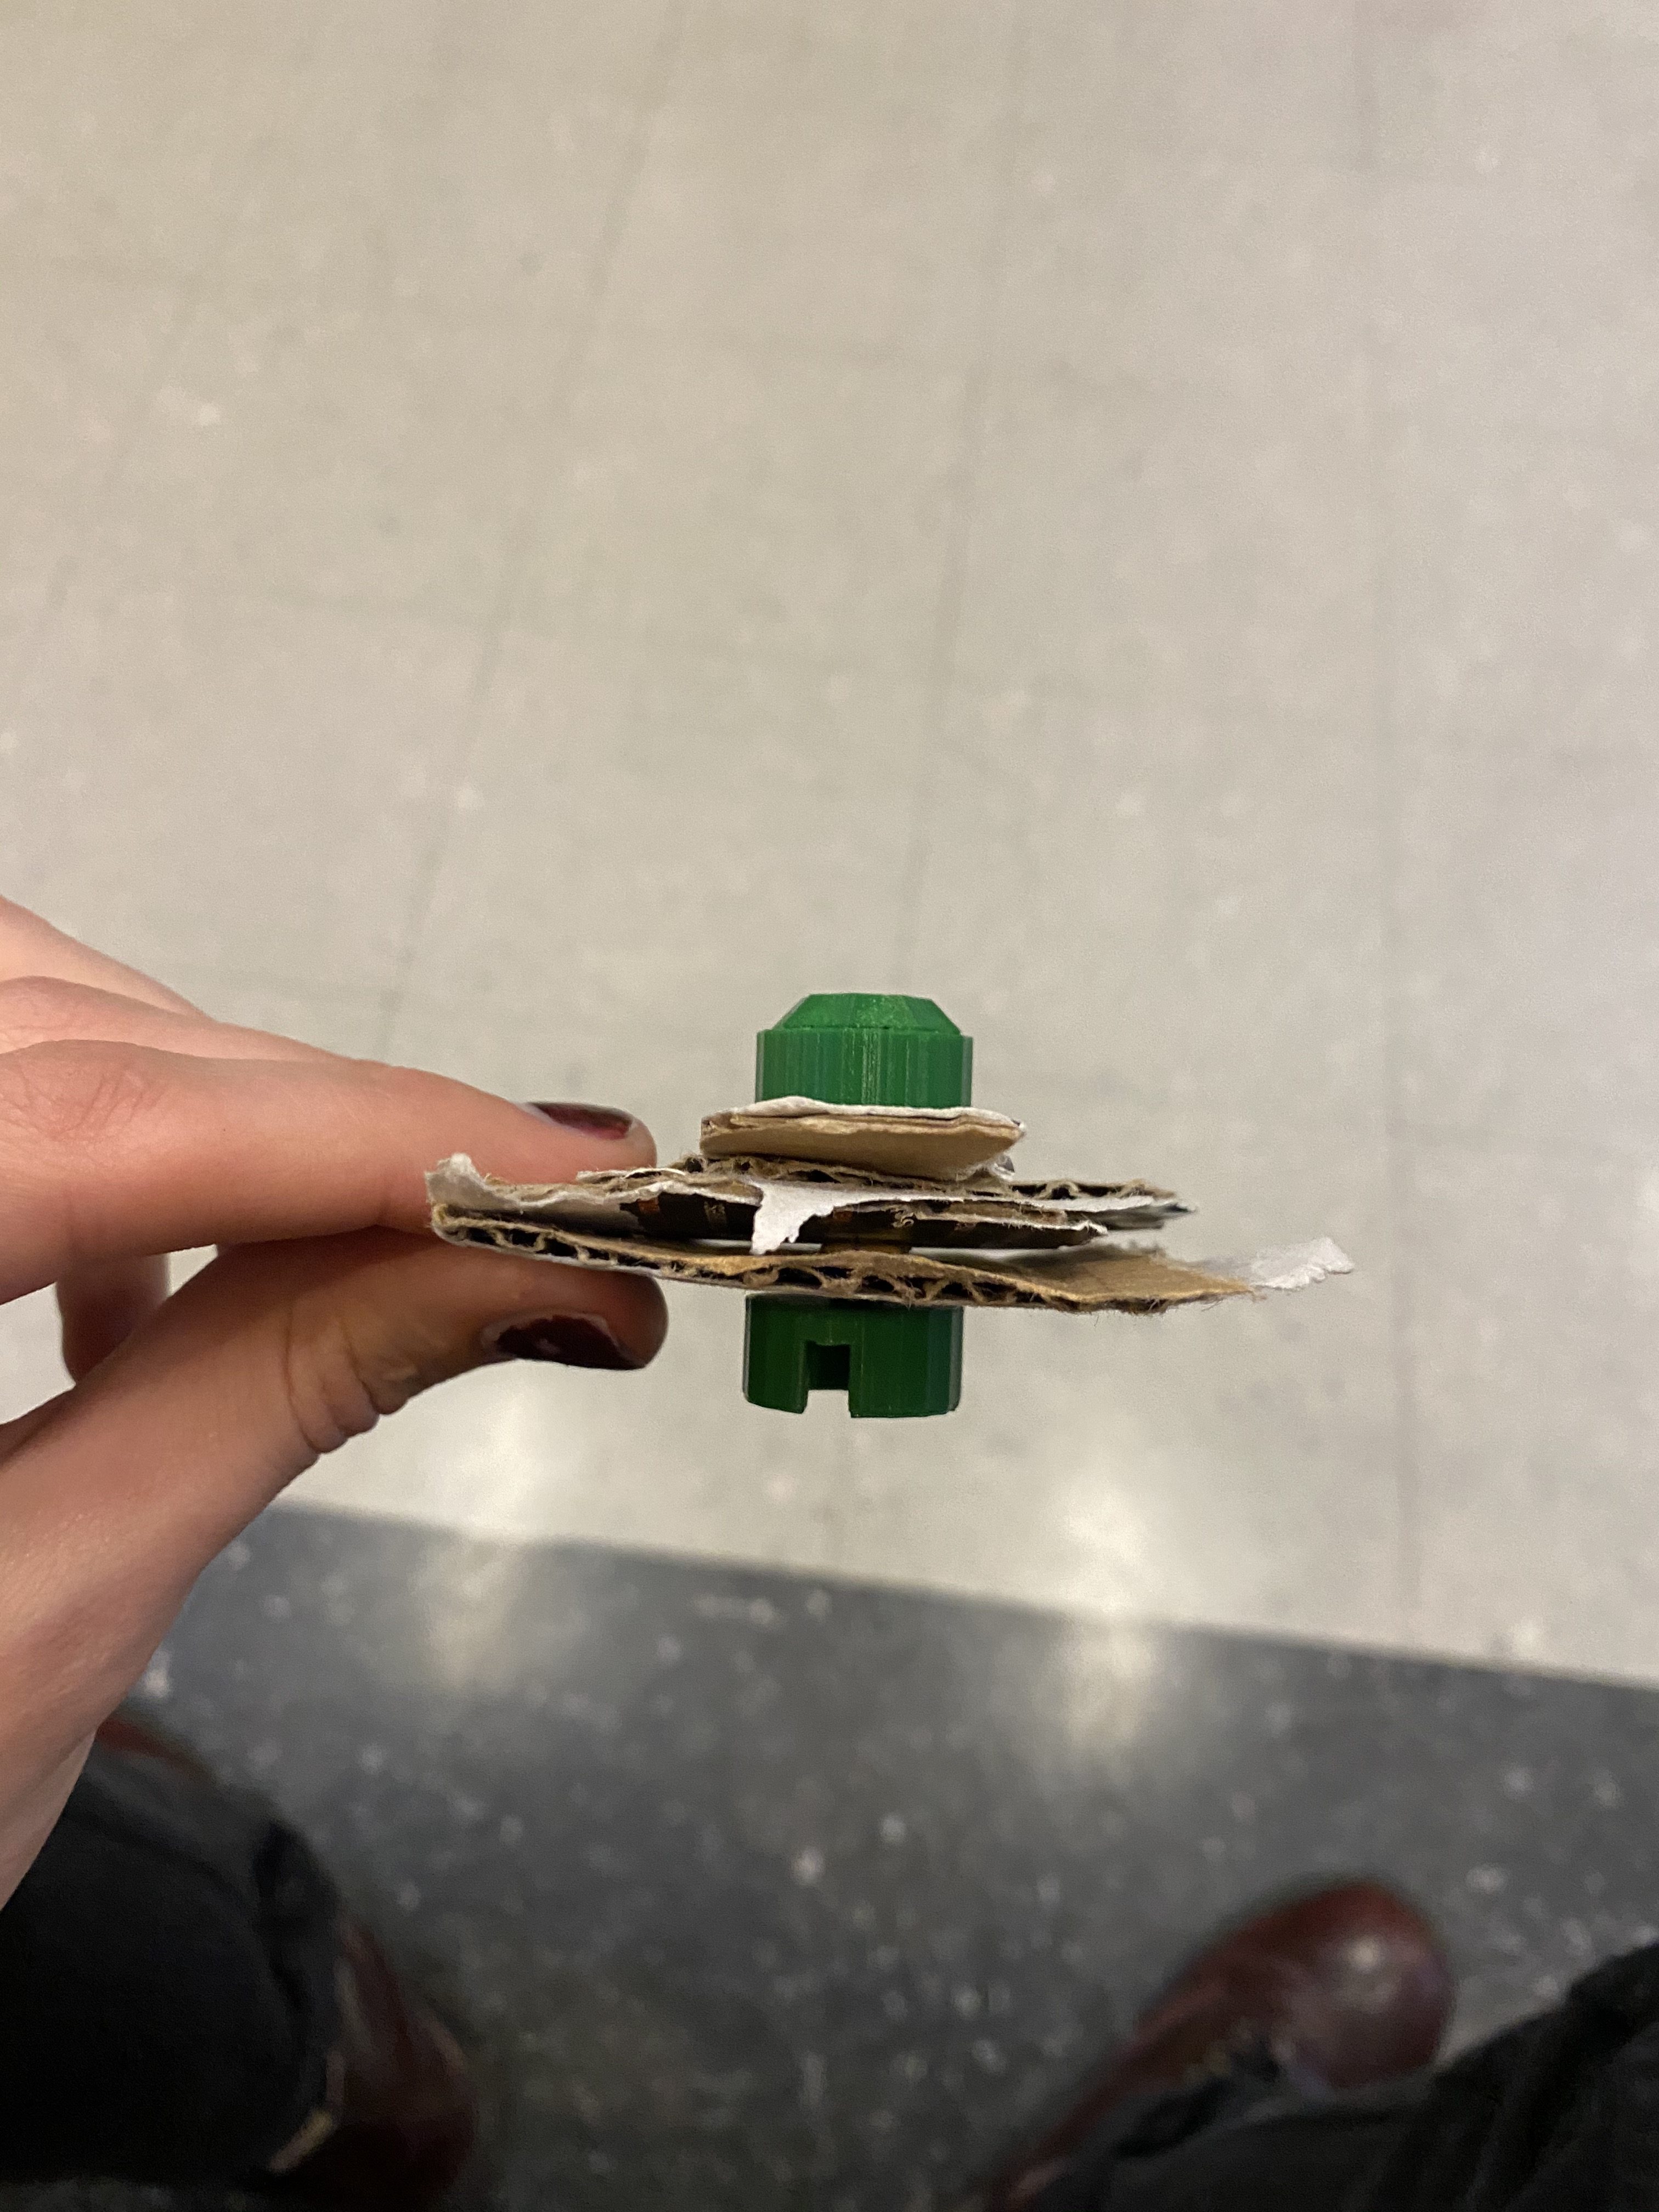
As you can see in the above picture, the second iteration of the knobs left too much open space between the top and bottom pieces. I used cardboard as a filler for the lid that will eventually fit between the knobs.
The next piece of this puzzle that I want to address is the MIDI tech needed for the synth. I have a makey-makey which I will likely use to prototype the synthesizer. I have settled on calling this CrypticSynth for now!