First OpenScad Design
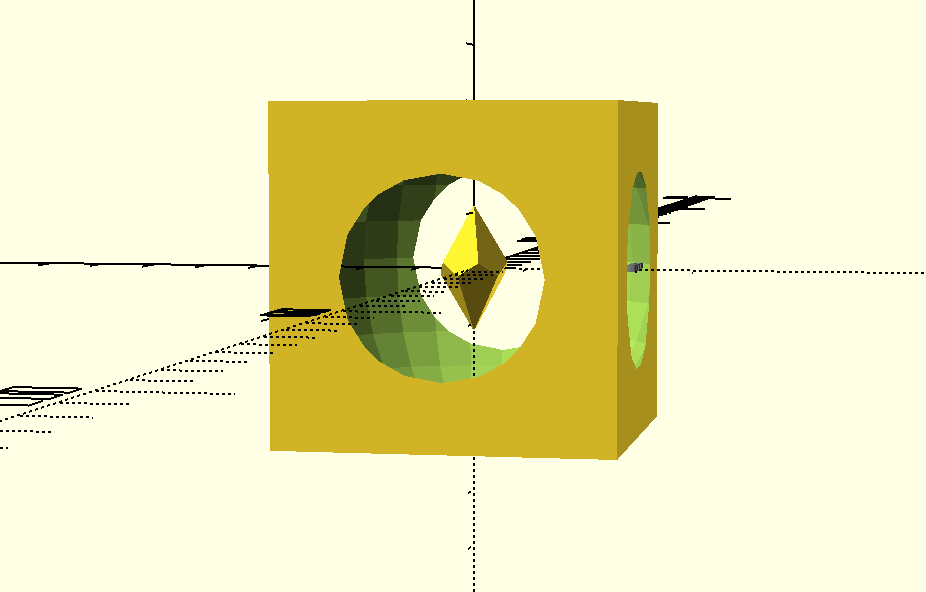
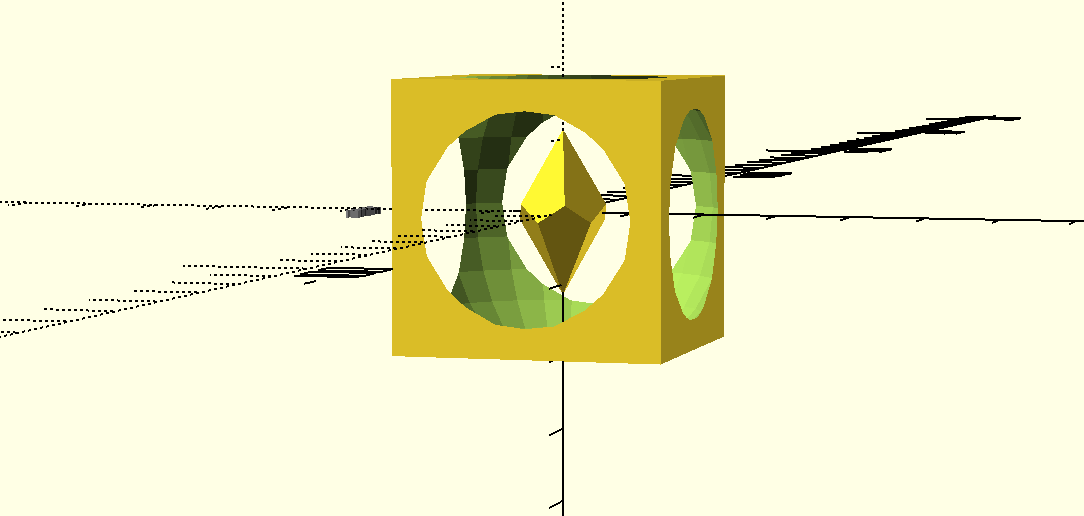
I have never coded before so I had to look up a lot of “how-to” videos and read a handful of articles. For the outside box, I looked up how to make it on Wikipedia and it was not to complicated. It is simply a cube with a sphere shape cut out.
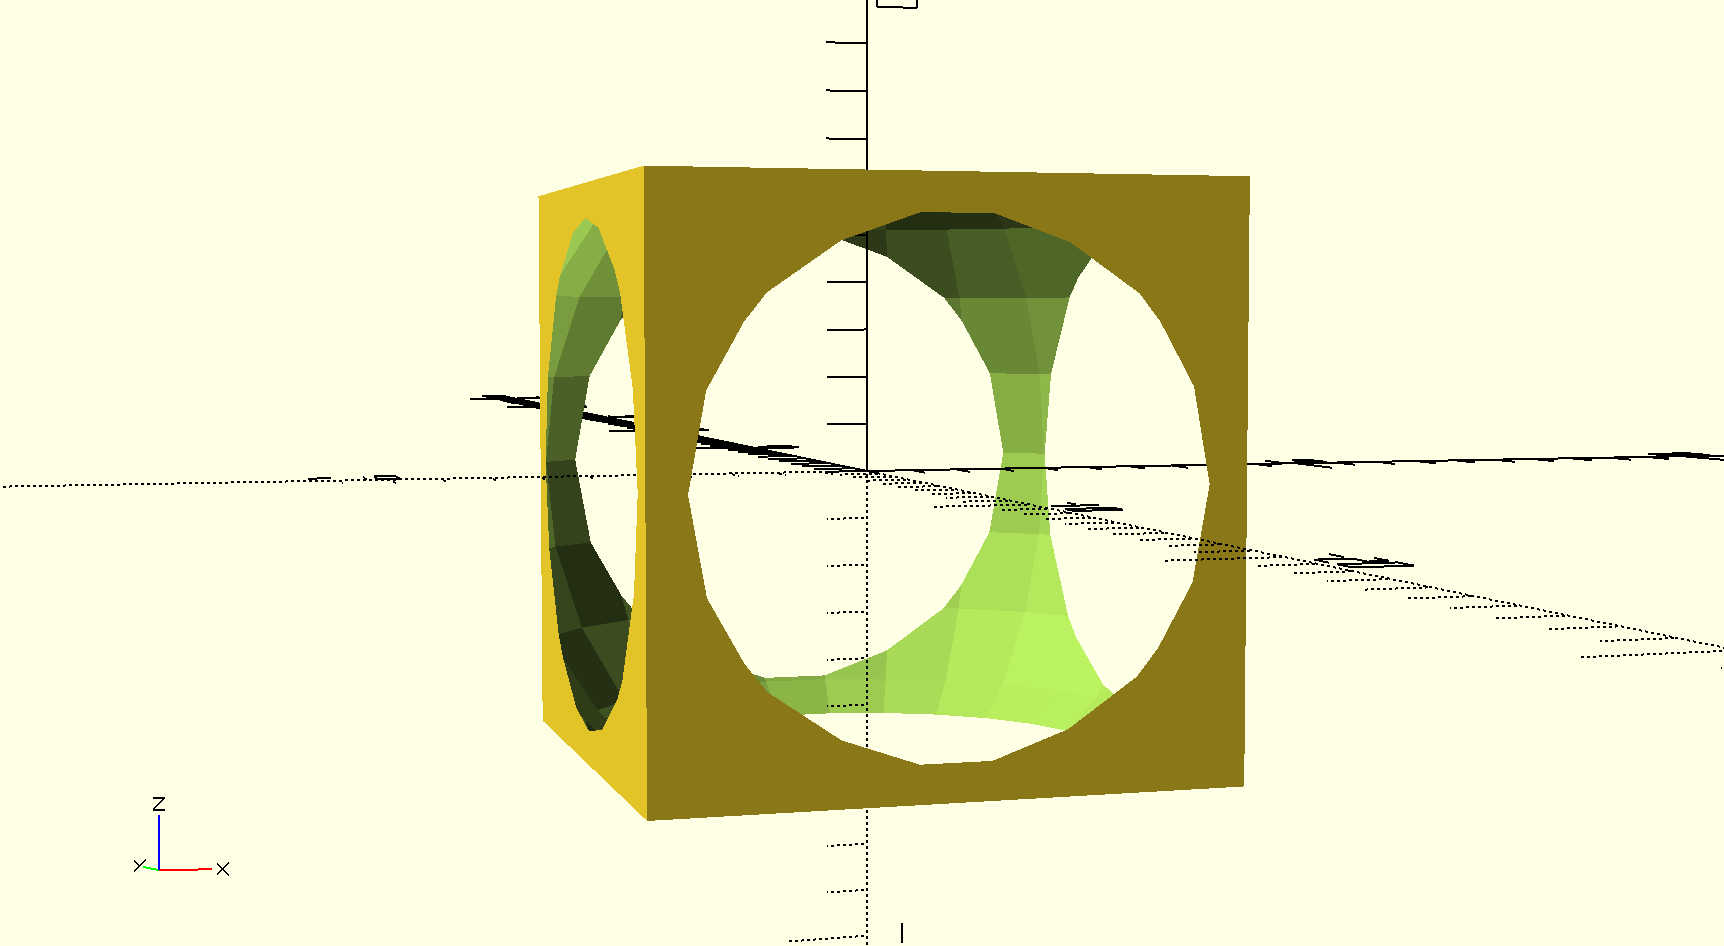
For the center shape, I messed around with it for quite a while trying to figure out how I could make something cool. It is a diamond with 10 sides to it but the code consists of a cube with 2 x 2 x 1 sides. I made sure they were both centered and here is the finished product.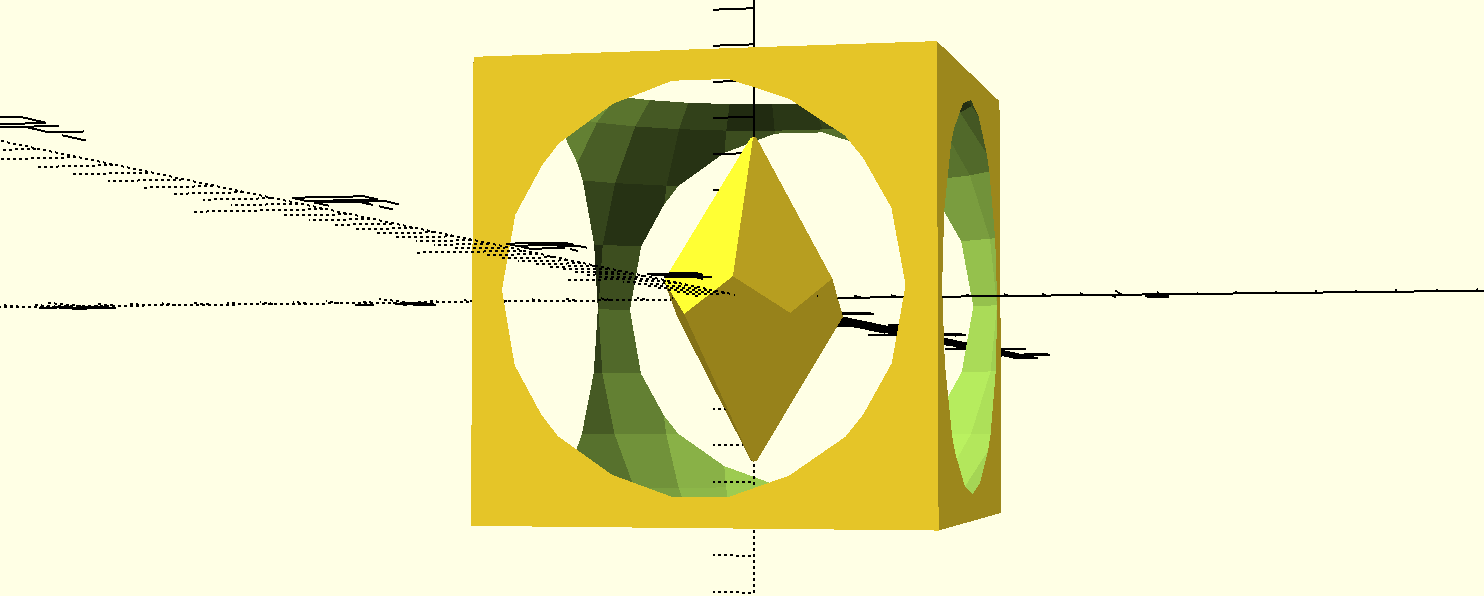 I mean obviously the diamond would not remain suspended in the cube when it is printed, but I think it looks pretty cool. The centerpiece can always be replaced with a sphere that is fairly large that would be trapped in the cube.
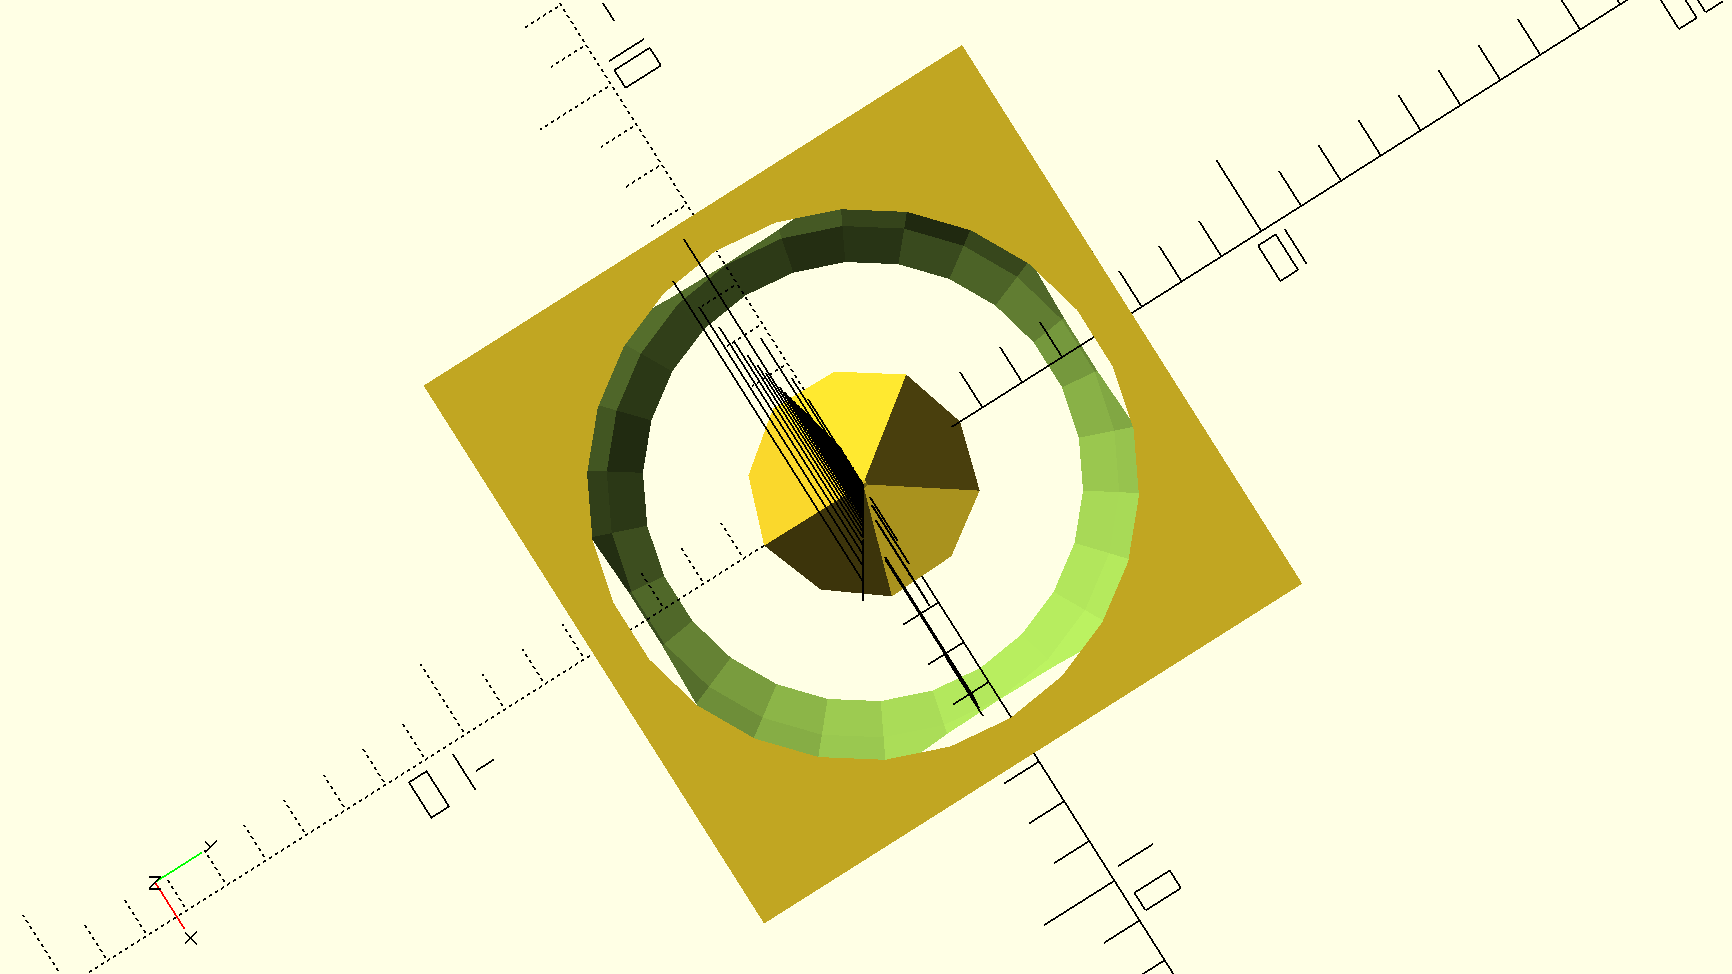
Here is my code:
difference() {cube(12, center=true); sphere(8);}

  intersection_for (i=[0:4])
       {
              rotate ([0,0,72*i])
                rotate ([116,0,0])
                 cube ([8,8,4], center = true);
   }
Second OpenScad Design
I wanted to design something that was useful and functional, unlike my first design. About a month ago in class, we designed and printed a bowl, so I thought that this time I should design a mug. Creating the base of the mug was pretty simple, and I knew that I wanted the mug to be wider on the top than on the bottom. I did this by setting the 2 radiuses of different sizes.

Next, I wanted to create a hollow center so I had to create the same cylinder, but on a smaller scale. I then set these cylinders up and took the difference. 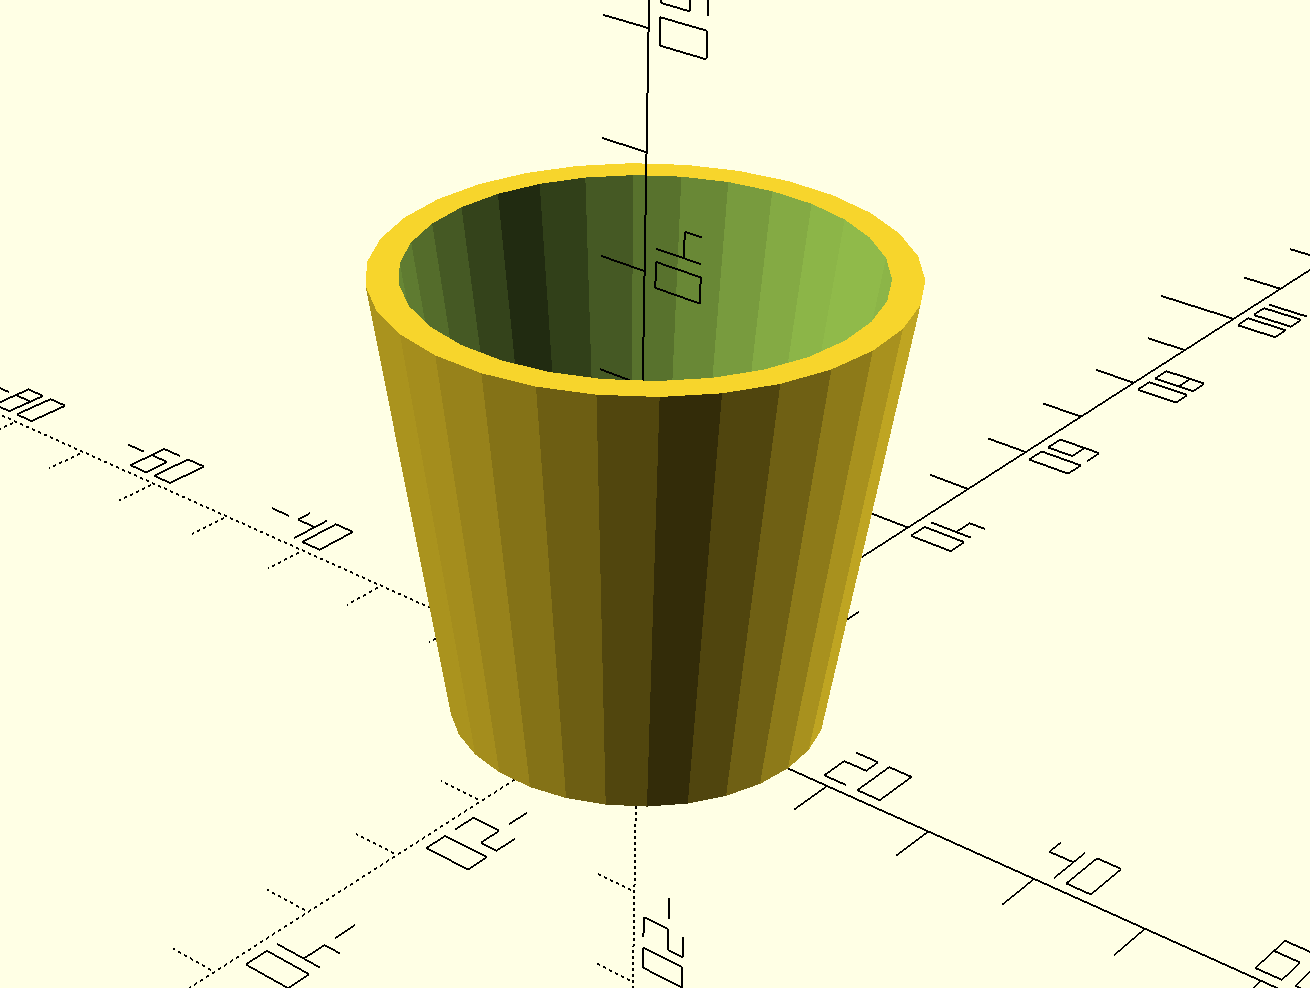
I then needed some help creating the handle, so I looked up some techniques on how to do so. The technique used to make this is a combination of a sphere and a cylinder. 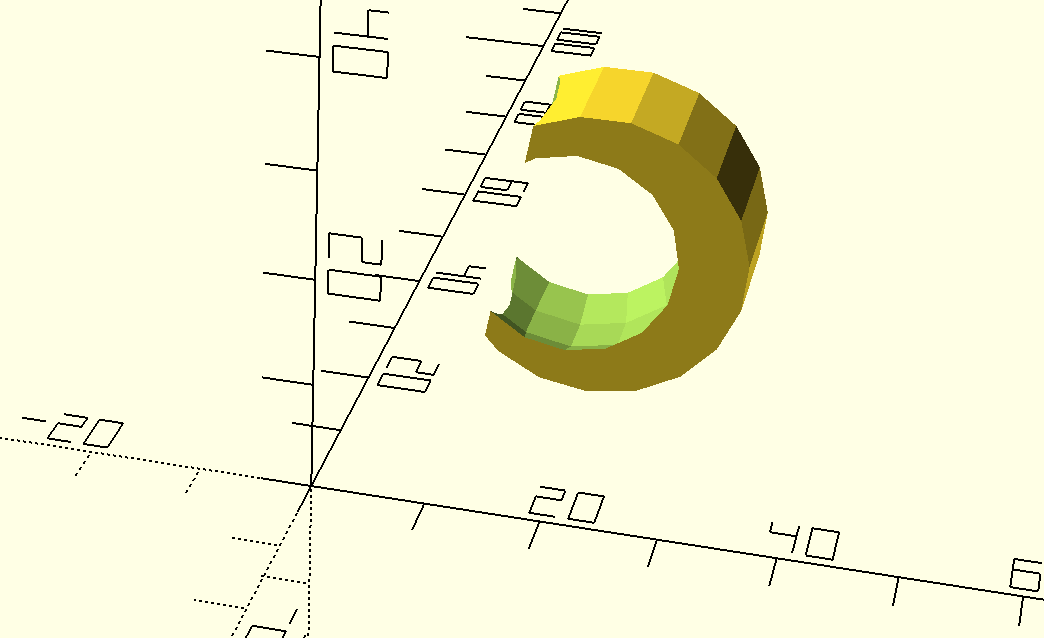
Then, I put the 2 shapes together and made. sure that the handle aligned with the cup considering the top has a different radius than the bottom.
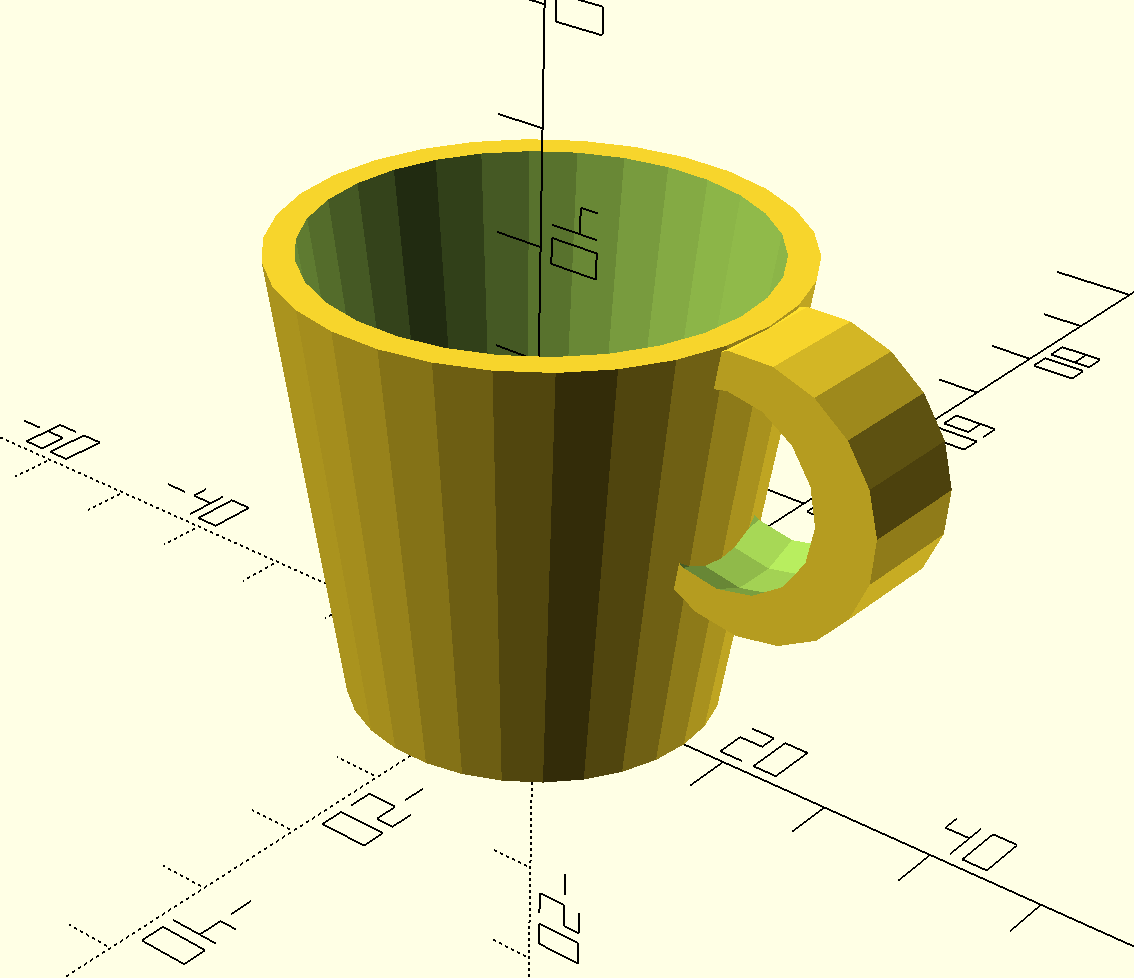
I really like this mug and I think it is adorable. I don’t think a hot beverage would do so well in design if it was printed considering the mug would be plastic. Maybe some pencils would be a better fit? It could make a cute pencil holder for a desktop.
Here is my code:
scale ([2,2,2])
{
    union()
    {
        difference ()
        {
            cylinder(h=20, r1=8, r2=11);

         translate ([0,0,2]) cylinder(h=20, r1=7, r2=10);
        }

        difference ()
        {
            rotate([90,90,0])
            {
                difference ()
                { translate ([-14,12,-2.5]) cylinder (r=6, h=5);
                    translate ([-14,11,0]) sphere (5);
                }
            }
            translate ([0,0,2]) cylinder (h=20,r1=7, r2=10);
        }
    }
}
Iteration on Second Design
I decided to alter my second OpenScad design. My original design was a plain cylinder mug, so I decided to make it a bit fancier. I remembered that we had made a bowl in class for our first OpenScad figure. It was a unique bowl that had 5 sides with a twist to it. So I incorporated that idea and that code into my mug, while still using my code for the handle.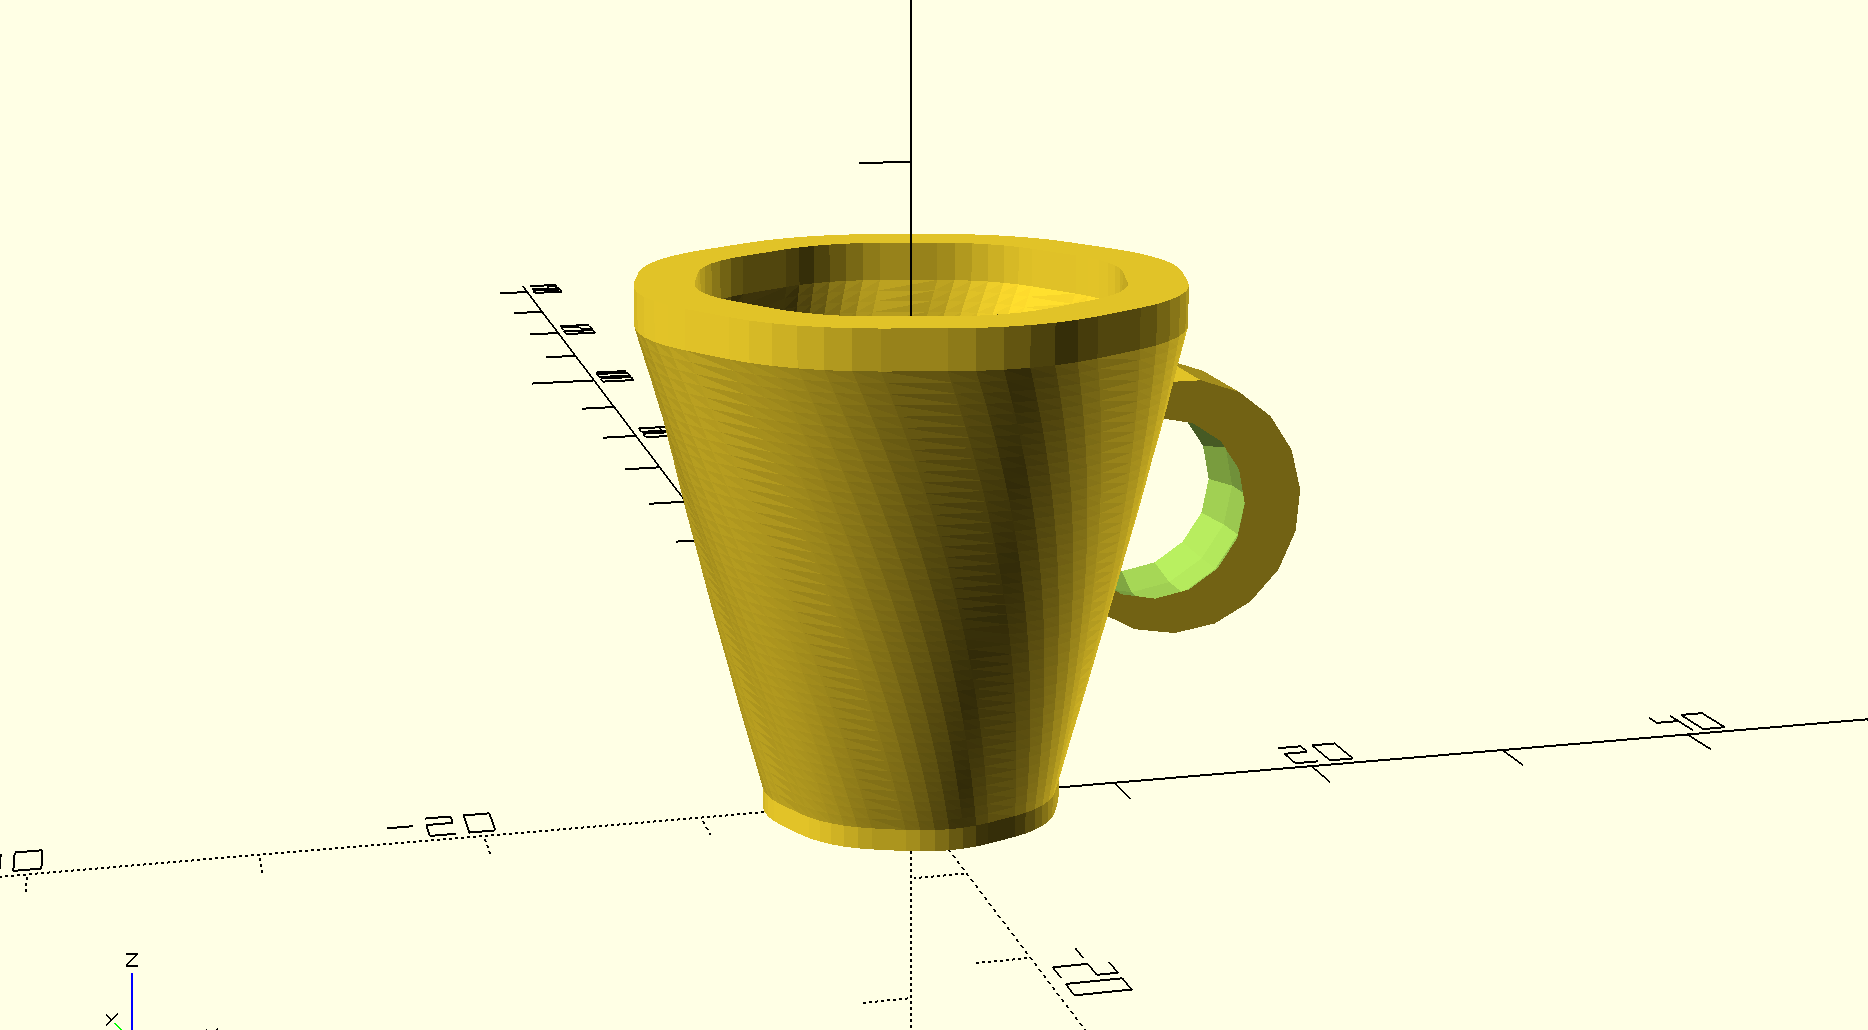
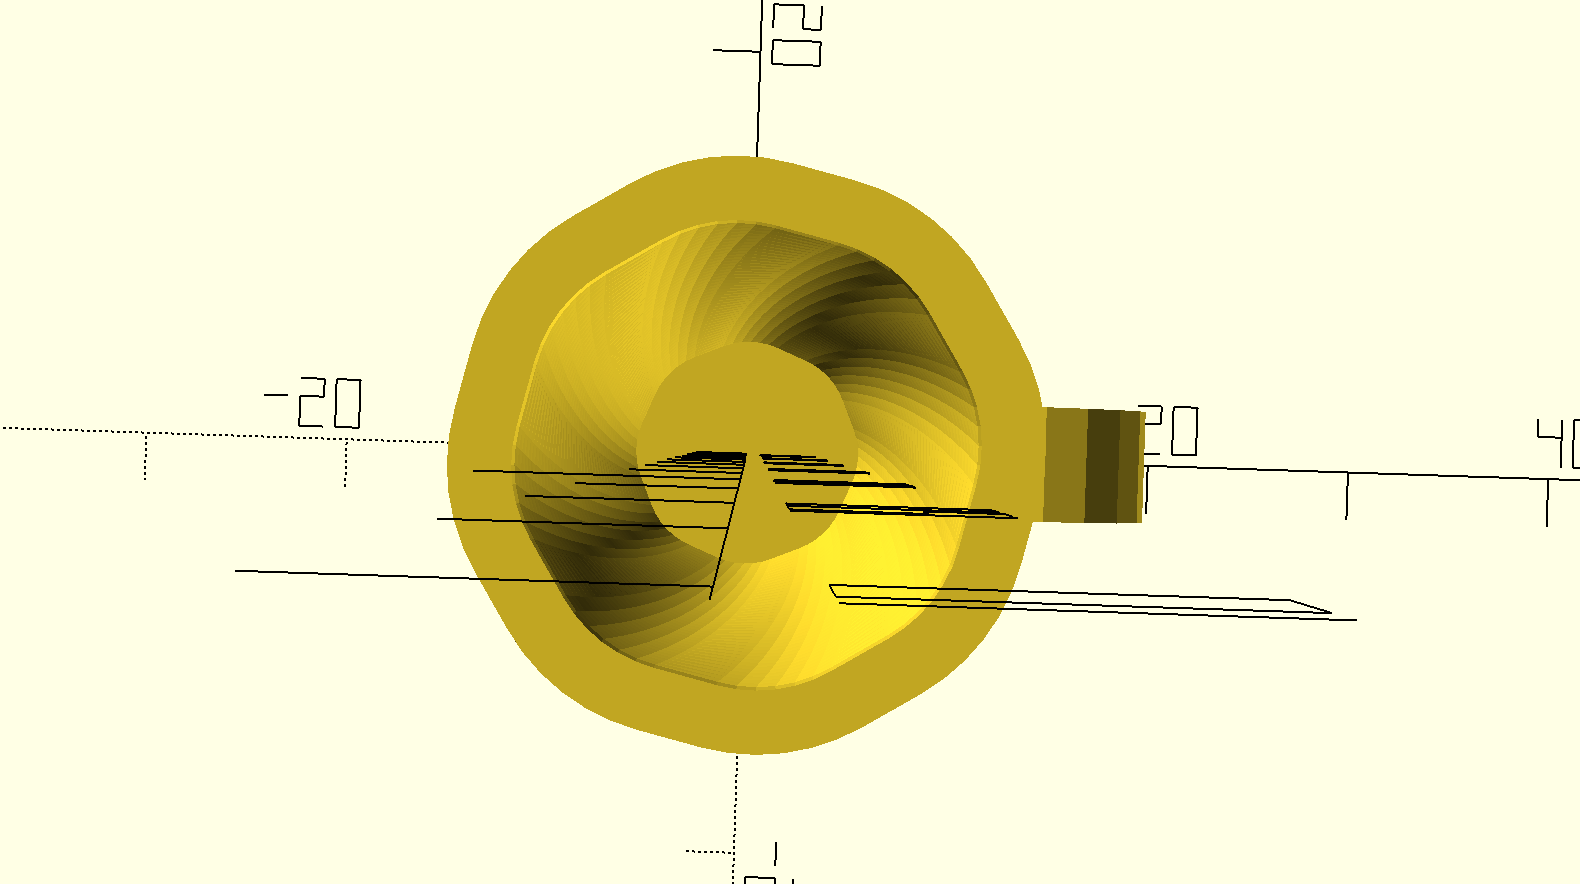
I think it has more of a smoother and more elegant look to it. It seems to look more like a teacup now and less like a mug. Either way, I think it turned out very petite looking and I’m happy with it.
Here is my code:
difference ()
        {
            rotate([90,90,0])
            {
                difference ()
                { translate ([-14,12,-2.5]) cylinder (r=6, h=5);
                    translate ([-14,11,0]) sphere (5);
                }
            }
            translate ([0,0,2]) cylinder (h=20,r1=7, r2=10);
        }
    // simple custom polybowl

/* [Size] */

// width of the bowl (in mm)
diameter = 4.;
radius = diameter/2;

// height of the main part (in mm)
bodyHeight = 22;

// height of the base and lower rim (in mm)
baseHeight = 1;

// height of the upper rim (in mm)
rimHeight = 1;

/* [Style] */

// number of polygon sides
sides = 8;

// thickness of the bowl (keep above 1.5 mm)
thickness = 1.5;

// degrees that the bowl shape will twist
bodyTwist = 36;

// factor by which bowl shape will scale out/in
bodyFlare = 1.8;

//////////////////////////////////////////////////////
// RENDERS

// base
linear_extrude( height = baseHeight )
    polyShape( solid="yes" );

// body
translate([0,0,baseHeight])
linear_extrude( height = bodyHeight, twist = bodyTwist,
                scale = bodyFlare, slices = 2*bodyHeight )
    polyShape( solid="no" ); // change to yes for solid bowl

// rim
translate([0,0,bodyHeight+baseHeight])
rotate(-bodyTwist)
scale(bodyFlare)
linear_extrude( height = rimHeight )
    polyShape( solid="no" ); // change to yes for solid bowl


//////////////////////////////////////////////////////
// MODULES

module polyShape(solid){
    difference(){
        // start with outer shape
        offset( r=5, $fn=48 )
            circle( r=radius, $fn=sides );
        // take away inner shape
        if (solid=="no"){
        offset( r=5-thickness, $fn=48 )
            circle( r=radius, $fn=sides );
        }
    }
}
Adding Randomness
As you know I am very new to coding and for some reason, I found this “randomness” concept very hard to comprehend. It was very challenging for me to generate my own randomness code, considering I know practically nothing about code. I tried to create my own, but it would not generate properly and there were a lot of errors. I use the class example to help me generate. randomness.
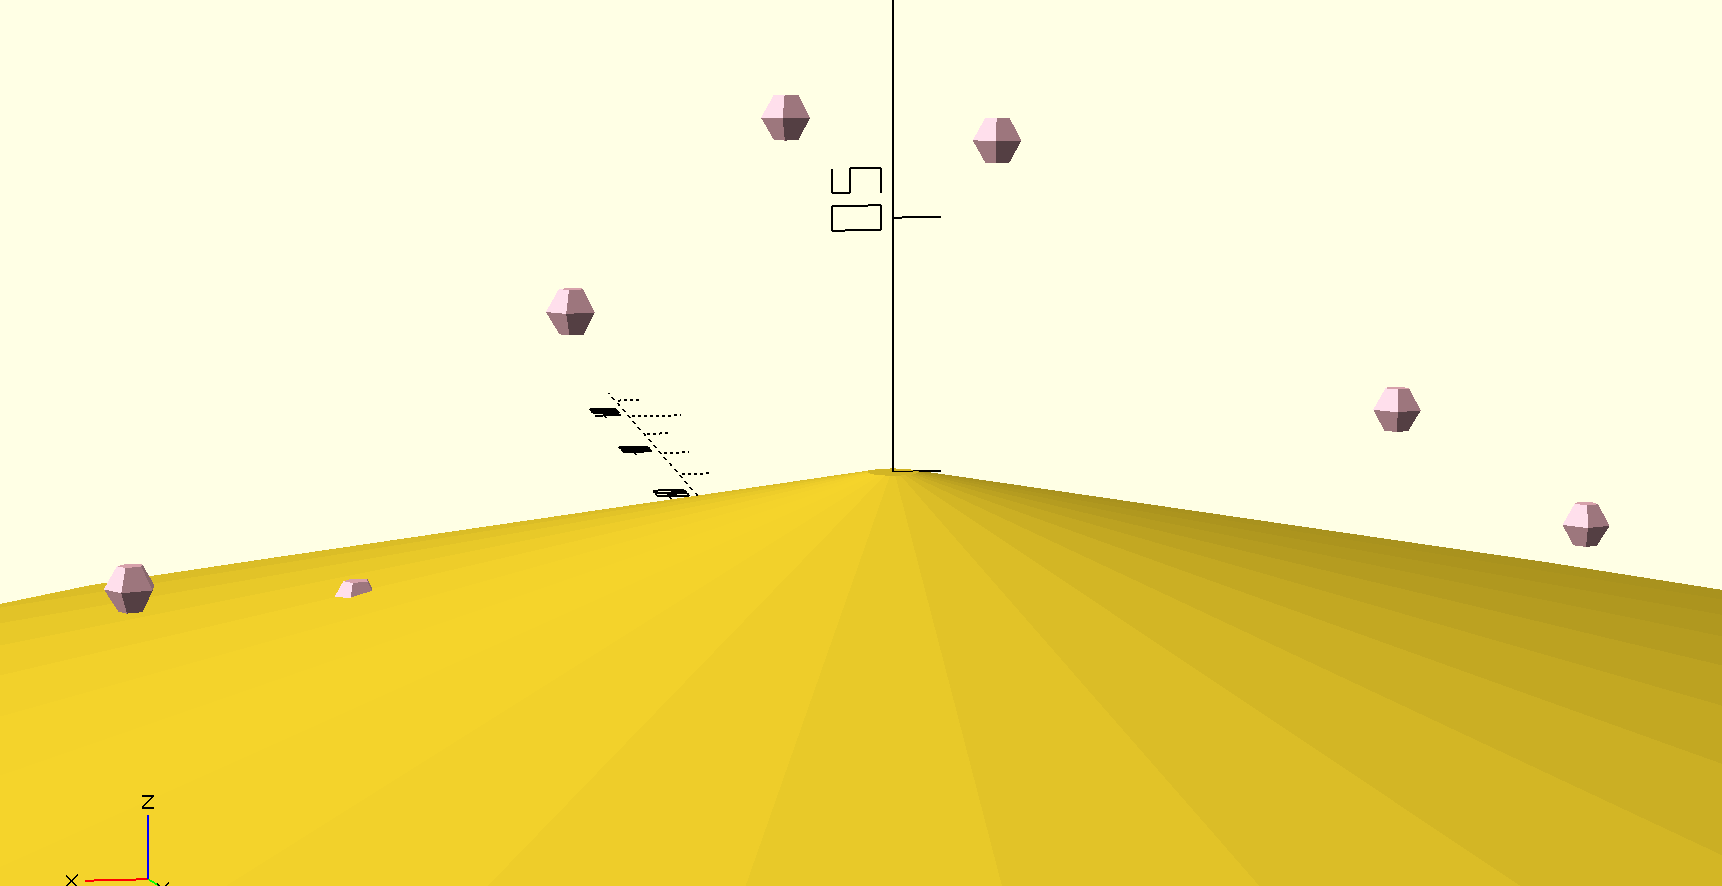
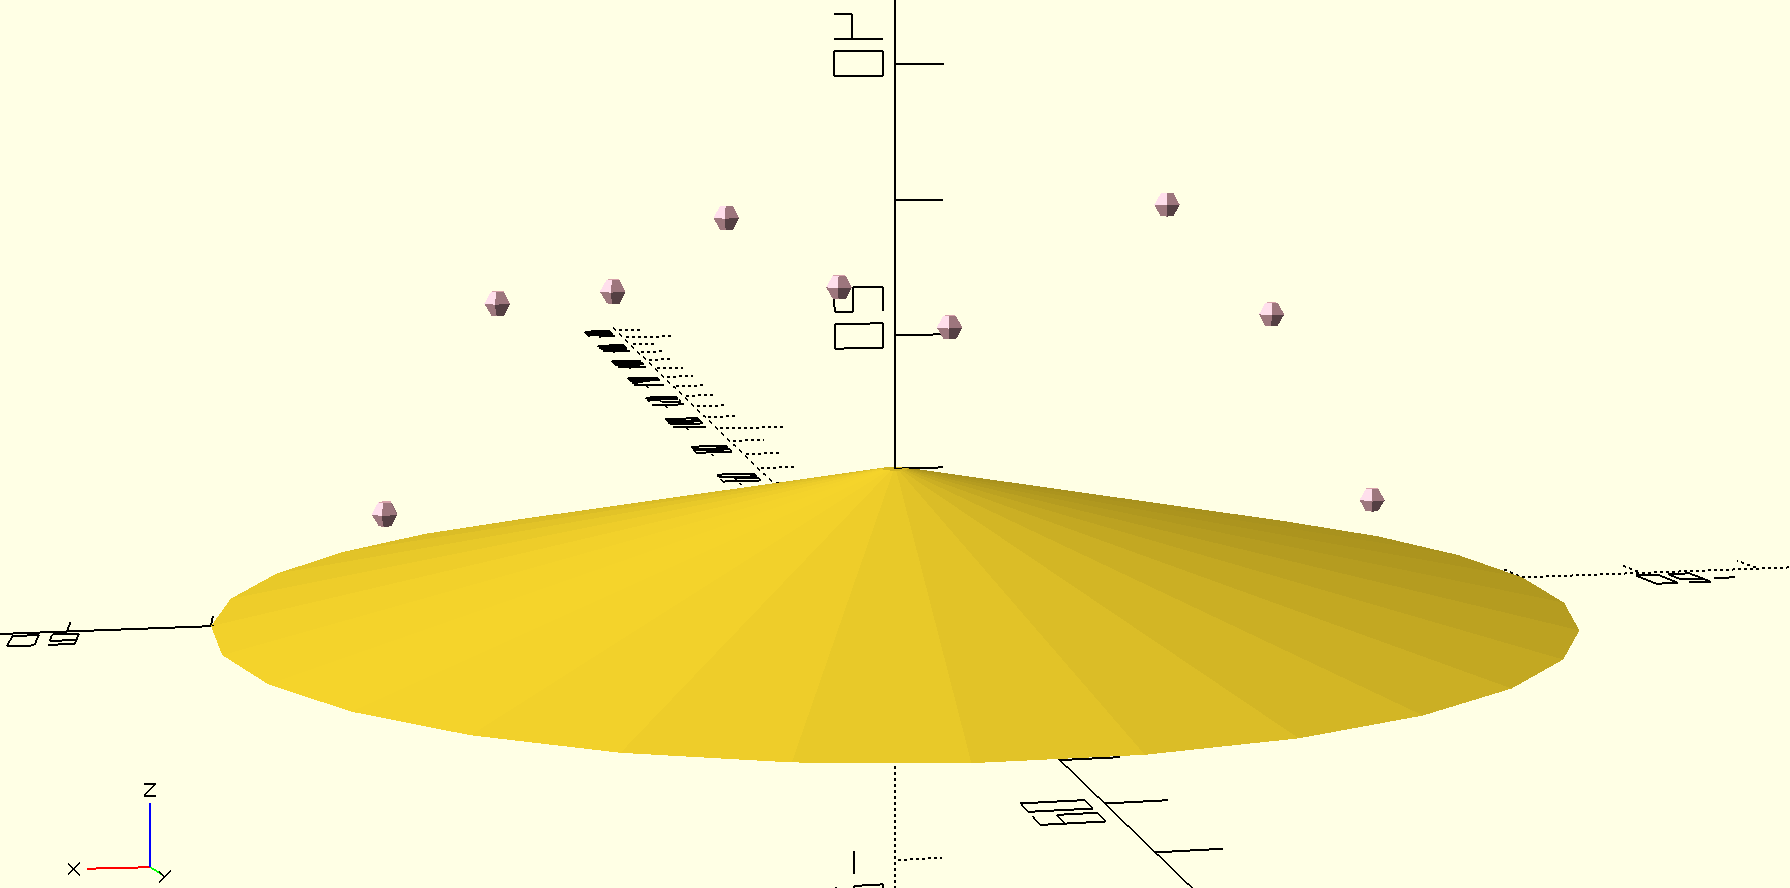
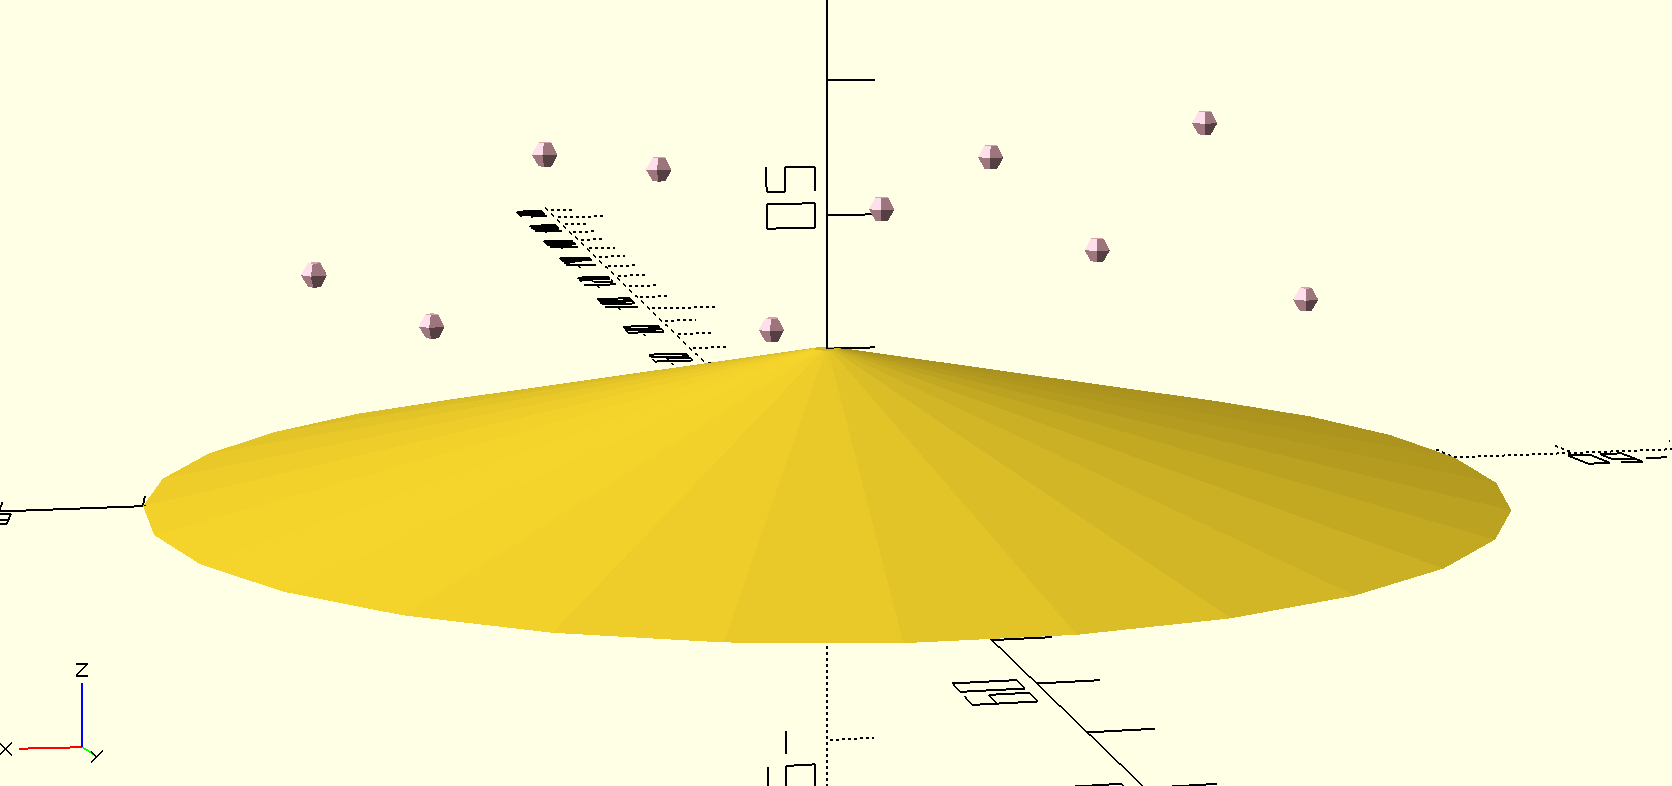
I created a tent-like base with some floating spheres. It kind of reminds me of a circus tent with some floating pink gems. To make this, I used the example to help me generate my code.
Here is the code:
/////
// CONTROLLING THE RANDOMNESS

// controls scaling of elements in random subsequence1
// number from 0 (min allowable) to 10 (max allowable)
style1 = 5;

// controls likelihood of true/false in random subsequence2
// number from 0 (always false) to 10 (always true)
style2 = 10;

///////////////////////////////////////////////////////////////////
// RANDOM SEED

// LET OPENSCAD CHOOSE A RANDOM SEED
random_seed = floor(rands(1,9999999,1)[0]);

// OR TYPE IN A SEED MANUALLY
// Overrides the slider seed unless set to 0
custom_seed = 0;

// set the random seed
seed = (custom_seed==0) ? random_seed : custom_seed;

// Show random seed? (it won't print even if you say yes)
show_seed = "yes"; //[yes:Yes,no:No]

// Create a string to output the random seed
labelString=str(floor(seed/1000000)%10, floor(seed/100000)%10,
                floor(seed/10000)%10, floor(seed/1000)%10,
                floor(seed/100)%10, floor(seed/10)%10,
                floor(seed/1)%10);

// Display the random seed in the render (F5 only)
if(show_seed=="yes"){
    translate([0,-30,0])
        color("gray")
        %linear_extrude(height=1)
            text(labelString,size=4,halign="center");
}

// Output the random seed in the log
echo(labelString);

///////////////////////////////////////////////////////////////////
// RANDOM SEQUENCES

// construct the main random sequence
// a list of random real numbers in [0,10] based on the chosen seed
maxSteps=30*1;
random = rands(0,10,maxSteps,seed);
echo(random);

// subsequence of 10 items from the main sequence
// weighted by style1
subrandom1 = [for(i=[0:10-1]) random[i]*style1];
echo(subrandom1);

// subsequence of another 10 items from the main sequence
// output as true/false verdicts by comparison to style2
subrandom2 = [for(i=[10:10+10-1]) random[i]<=style2];
echo(subrandom2);

///////////////////////////////////////////////////////////////////
// EXAMPLE RENDERS

// example: flat base based on overall size parameters
cylinder(h=10, r1=50, r2=1, center=false);

// example: sphere
// heights based on subrandom1, visibility based on subrandom2
color("pink")
for (i=[0:10-1]){
    if (subrandom2[i]==true){
        translate([(i-5)*(100/12)+100/24,0,5+subrandom1[i]/2])
        sphere([subrandom1[i]],center=true);
    }
}
Final Project with Random Parameters
For the final assignment, I decided to use my first Openscad design to incorporate randomness. The design is simply a cube with a visible diamond shape in the center. I used the example code to help me create randomness in my design since I am inexperienced with coding.
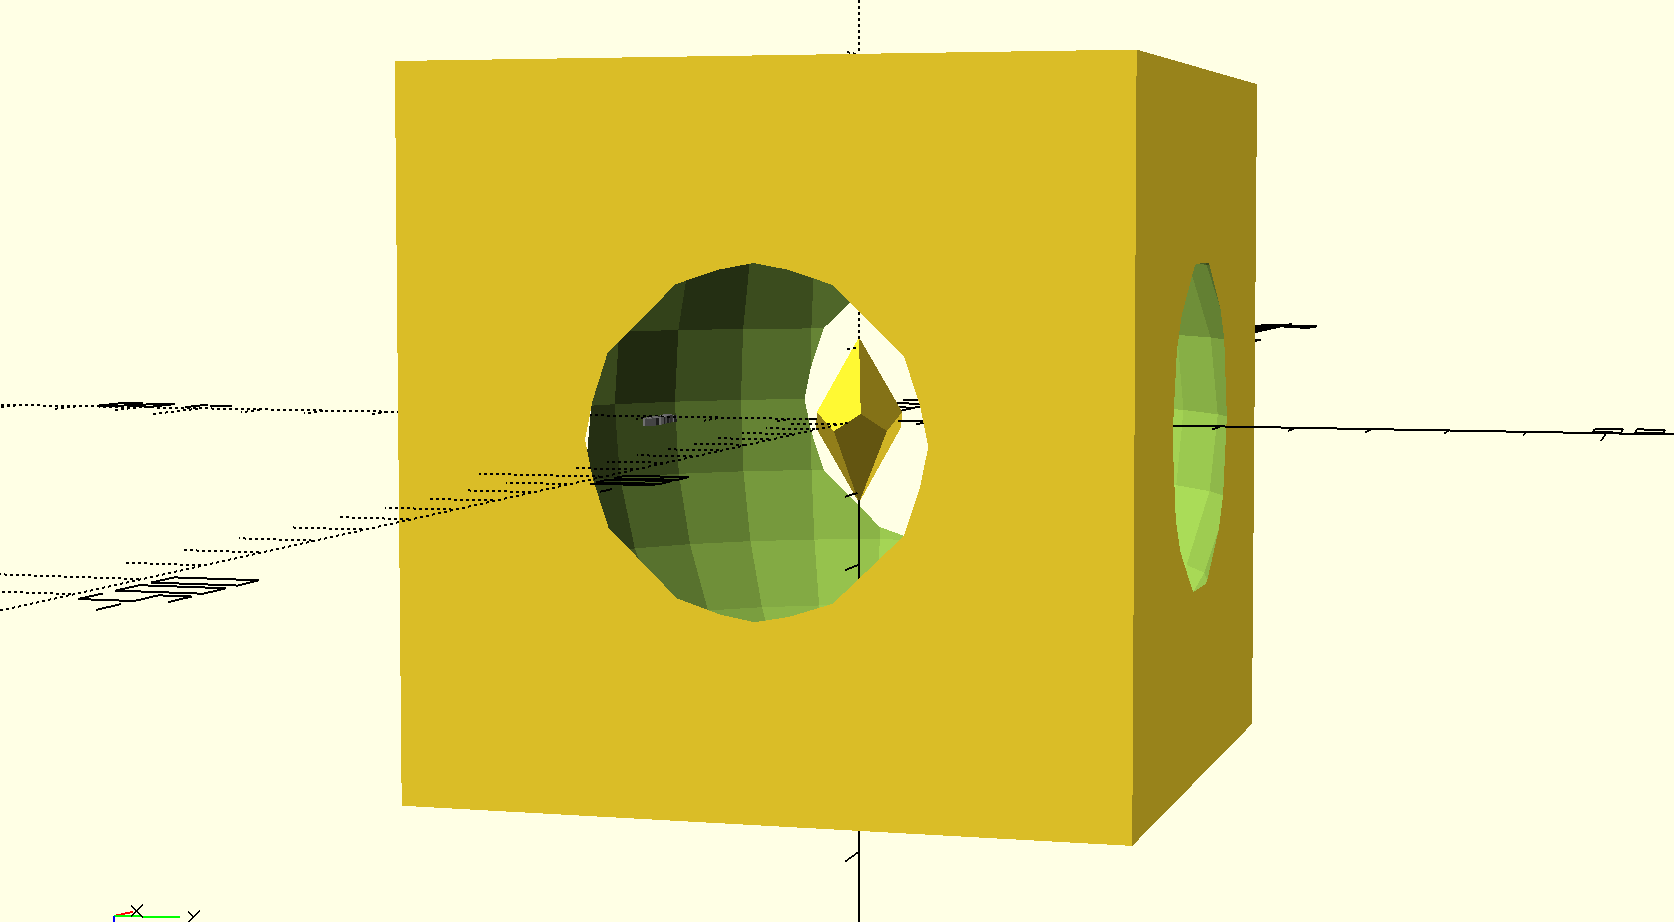
The randomness code changes the size of the box that encases the diamond in the center. However, the diamond always remains visible despite the randomness of the box.
here is my code:
///////////////////////////////////////////////////////////////////
// CHOOSE ONE RANDOM SEED AND THEN A RANDOM LIST

// LET OPENSCAD CHOOSE A RANDOM SEED
random_seed = floor(rands(1,9999999,1)[0]);

// OR TYPE IN A SEED MANUALLY
// Overrides the slider seed unless set to 0
custom_seed = 0;

// set the random seed
seed = (custom_seed==0) ? random_seed : custom_seed;

// a list of 30 random real numbers in [0,10] based on the chosen seed
// to use these in the code type random[0], random[1], random[2], and so on
maxSteps=30;
random = rands(0,10,maxSteps,seed);

///////////////////////////////////////////////////////////////////
// DISPLAY THE SEED

// Show random seed? (it won't print even if you say yes)
show_seed = "yes"; //[yes:Yes,no:No]

// Create a string to output the random seed
// thank you laird for showing me how to do this with your code
// from http://www.thingiverse.com/thing:188481
labelString=str(floor(seed/1000000)%10, floor(seed/100000)%10,
                floor(seed/10000)%10, floor(seed/1000)%10,
                floor(seed/100)%10, floor(seed/10)%10,
                floor(seed/1)%10);

// Display the random seed in the render (F5 only)
if(show_seed=="yes"){
    translate([0,-30,0])
        color("gray")
        %linear_extrude(height=1)
            text(labelString,size=2,halign="center");
}

// Also output the random seed and the resulting list of random numbers in the log
echo(labelString);
echo(random);

///////////////////////////////////////////////////////////////////
// OK NOW MAKE SOMETHING!
difference() {cube(10*random[0]+10, center=true); sphere(5*random[0]+10);}

  intersection_for (i=[0:4])
       {
              rotate ([0,0,72*i])
                rotate ([116,0,0])
                 cube ([20,20,10], center = true);
   }