First OpenSCAD design
So the first thing I have learned from this exercise is that I am really bad at coding. More often than not I did not create what I was trying to create. But after watching some of Patrick Conner’s YouTube videos I started playing around just to see if I could do any of the things he was demonstrating.
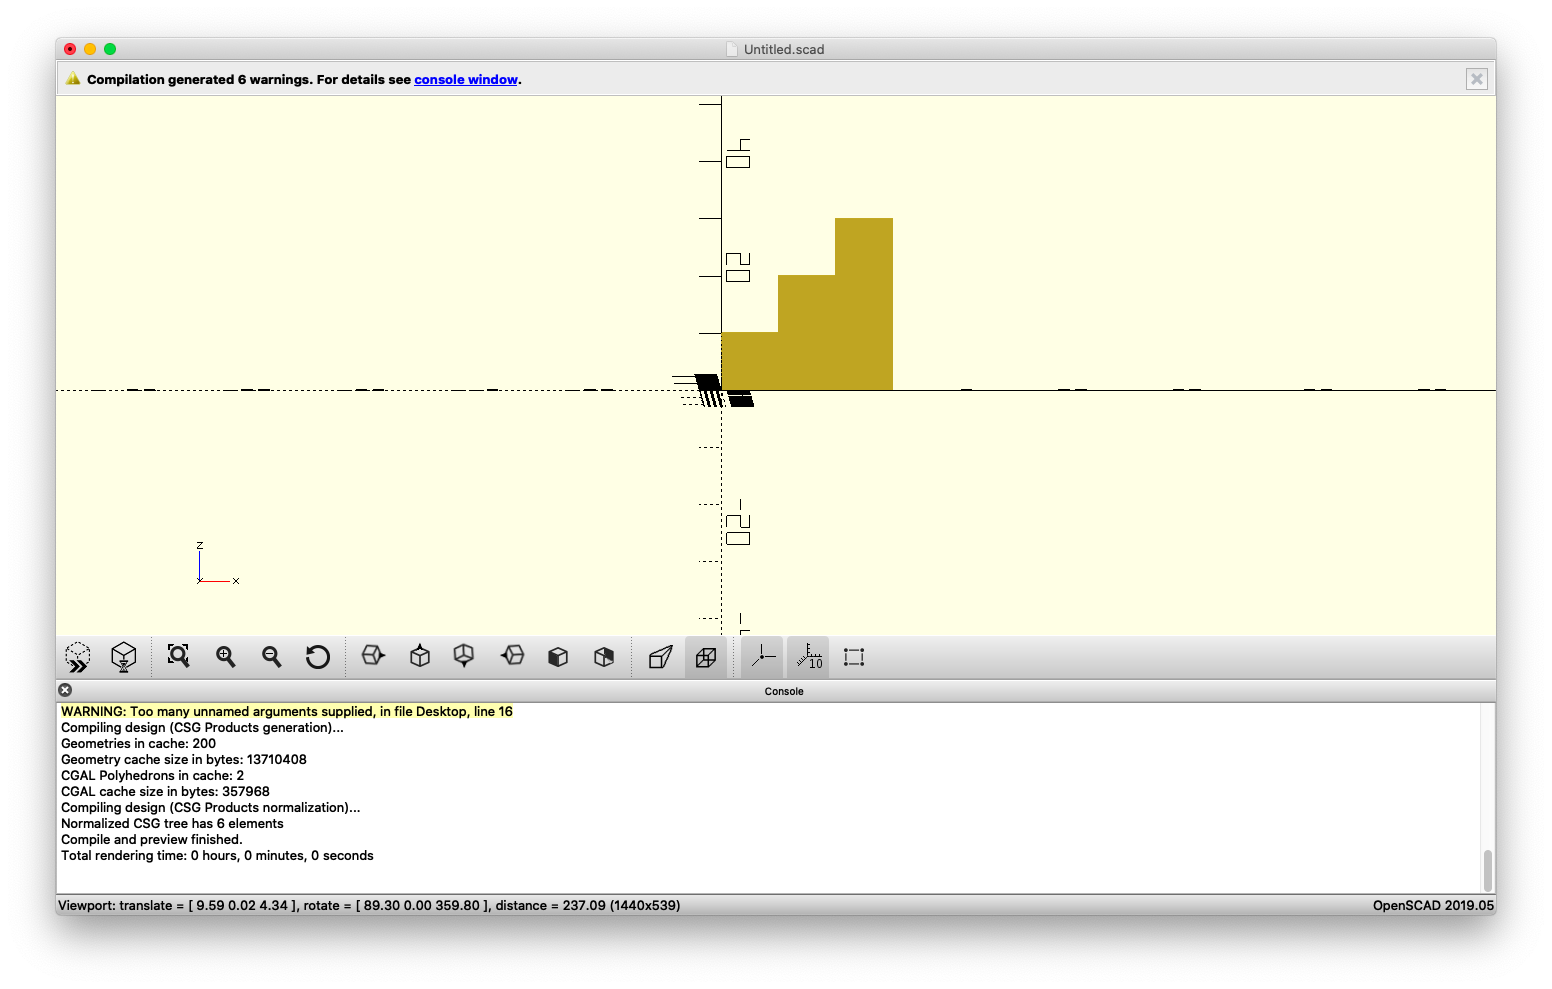
This was my first little “project”. Basically I just created a cube and then used translate to add identical cubes beside it, which created a little stair step.
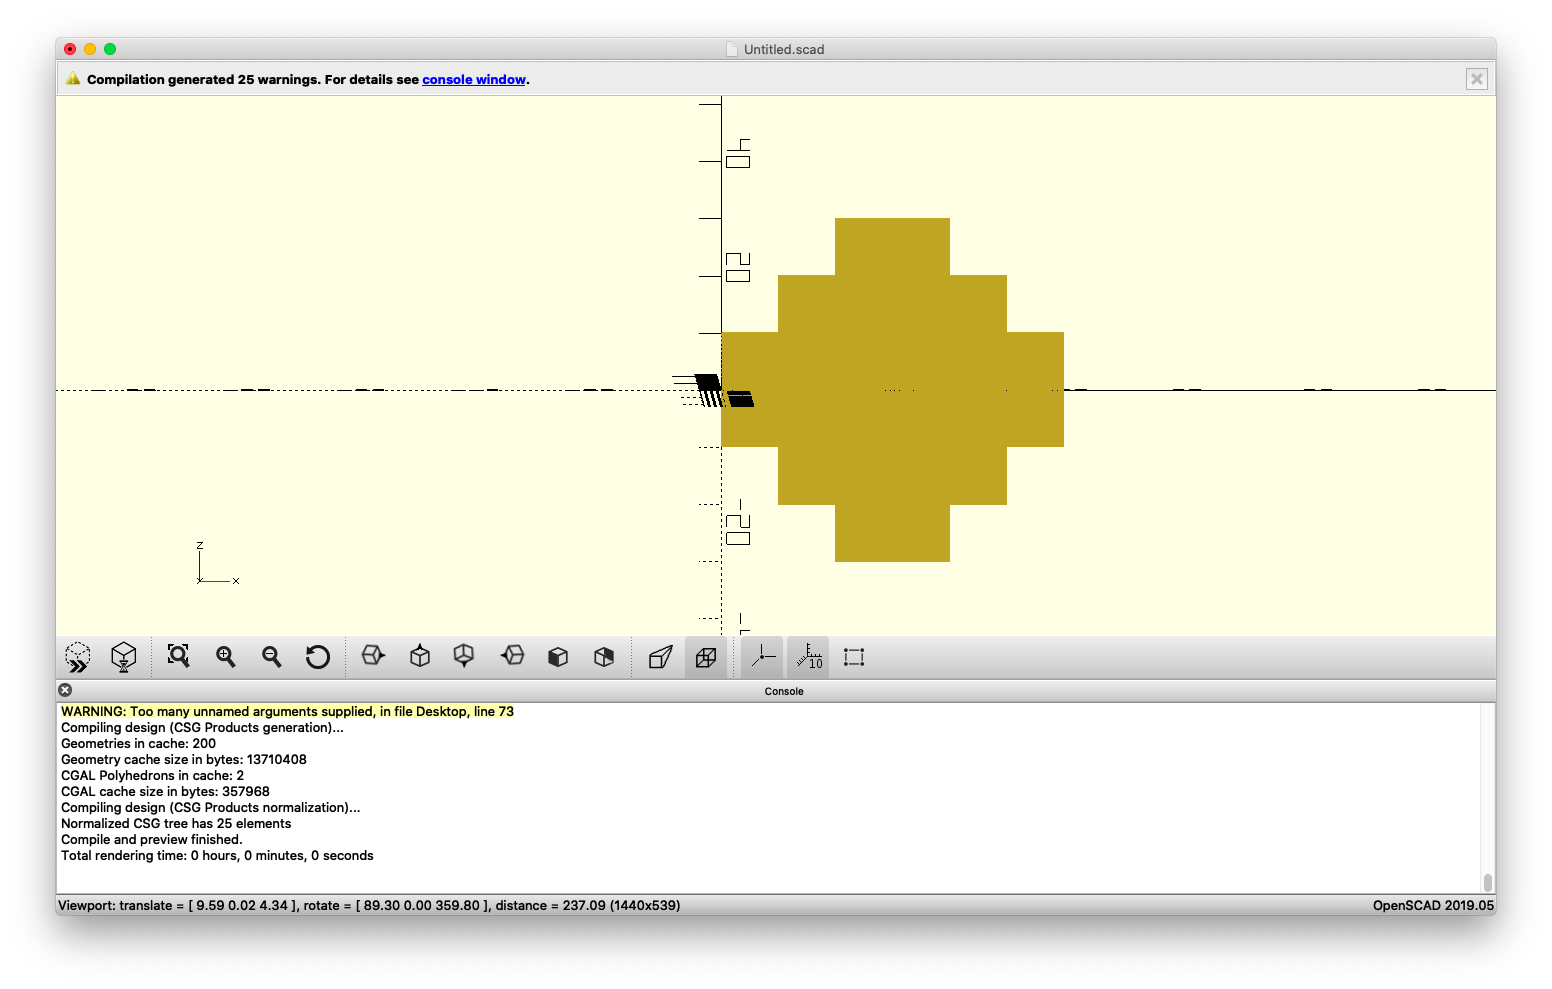
Next, I got the bright idea to turn it into a flower. I soon found out exactly how much code that would require me to put in. But I eventually got this design, which to me just looks like a bunch of blocks stuck together.
Which meant I had to get even more creative and that is when I added in color and got this guy.(1980’s video games calling) In order to get this design I had to take out the center pieces and then re-add them as a separate code on the bottom. However, I still wasn’t happy with what I had so I decided to adjust the scaling.
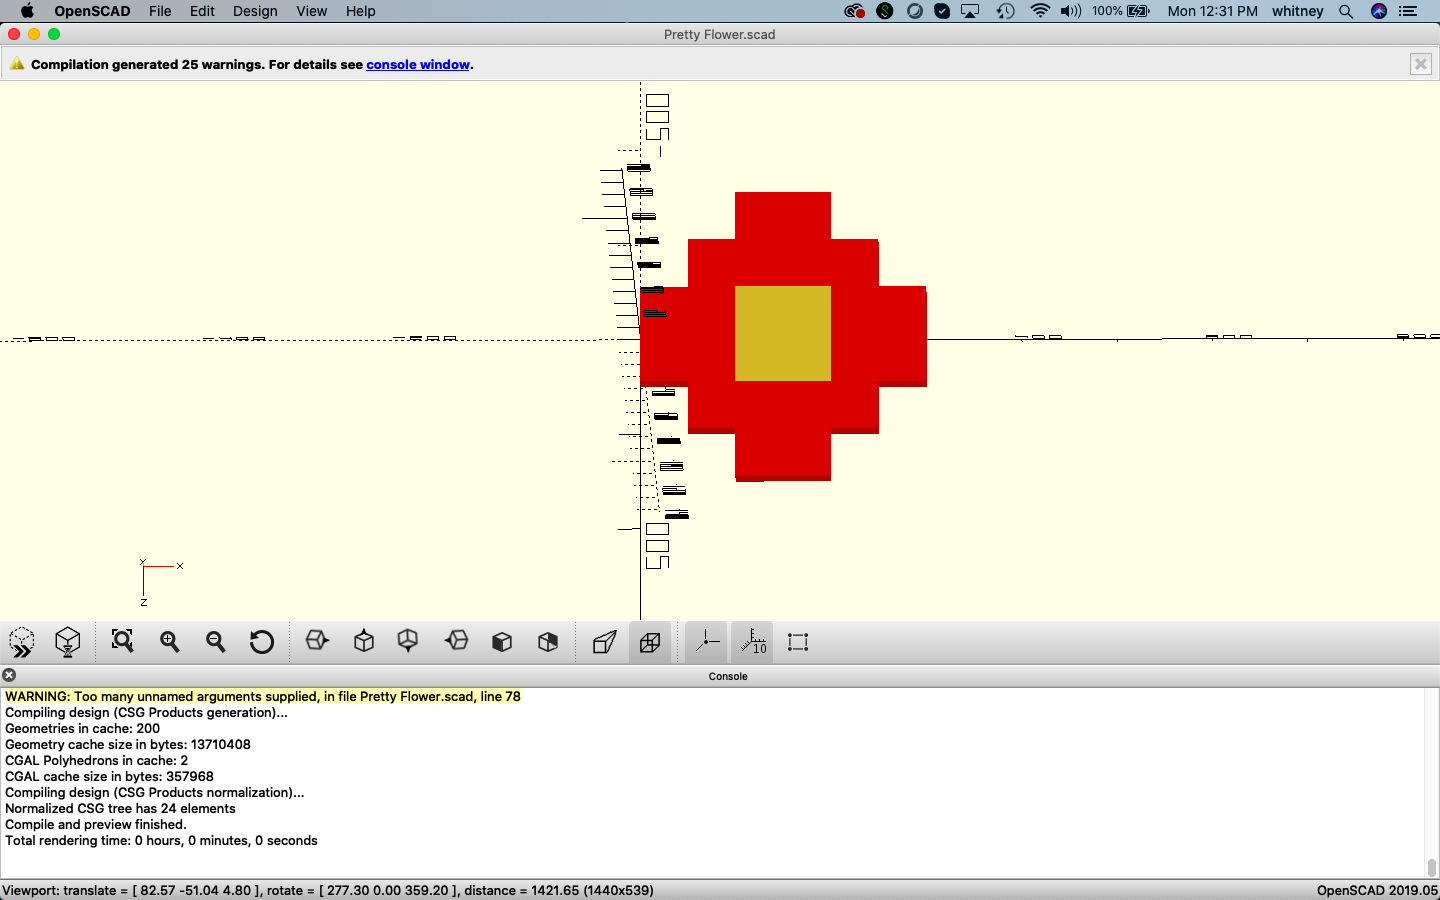
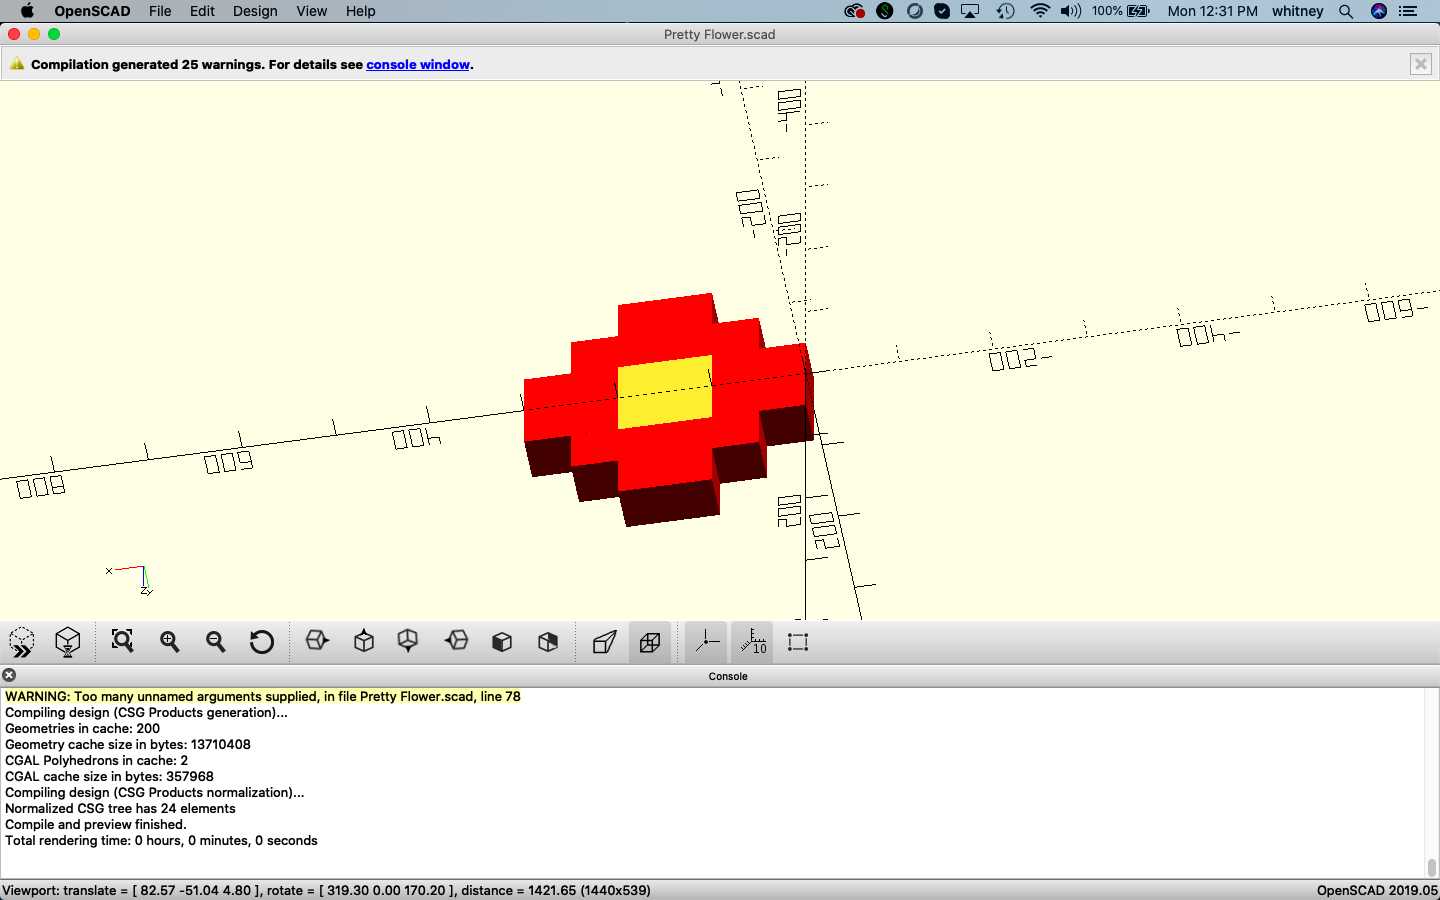

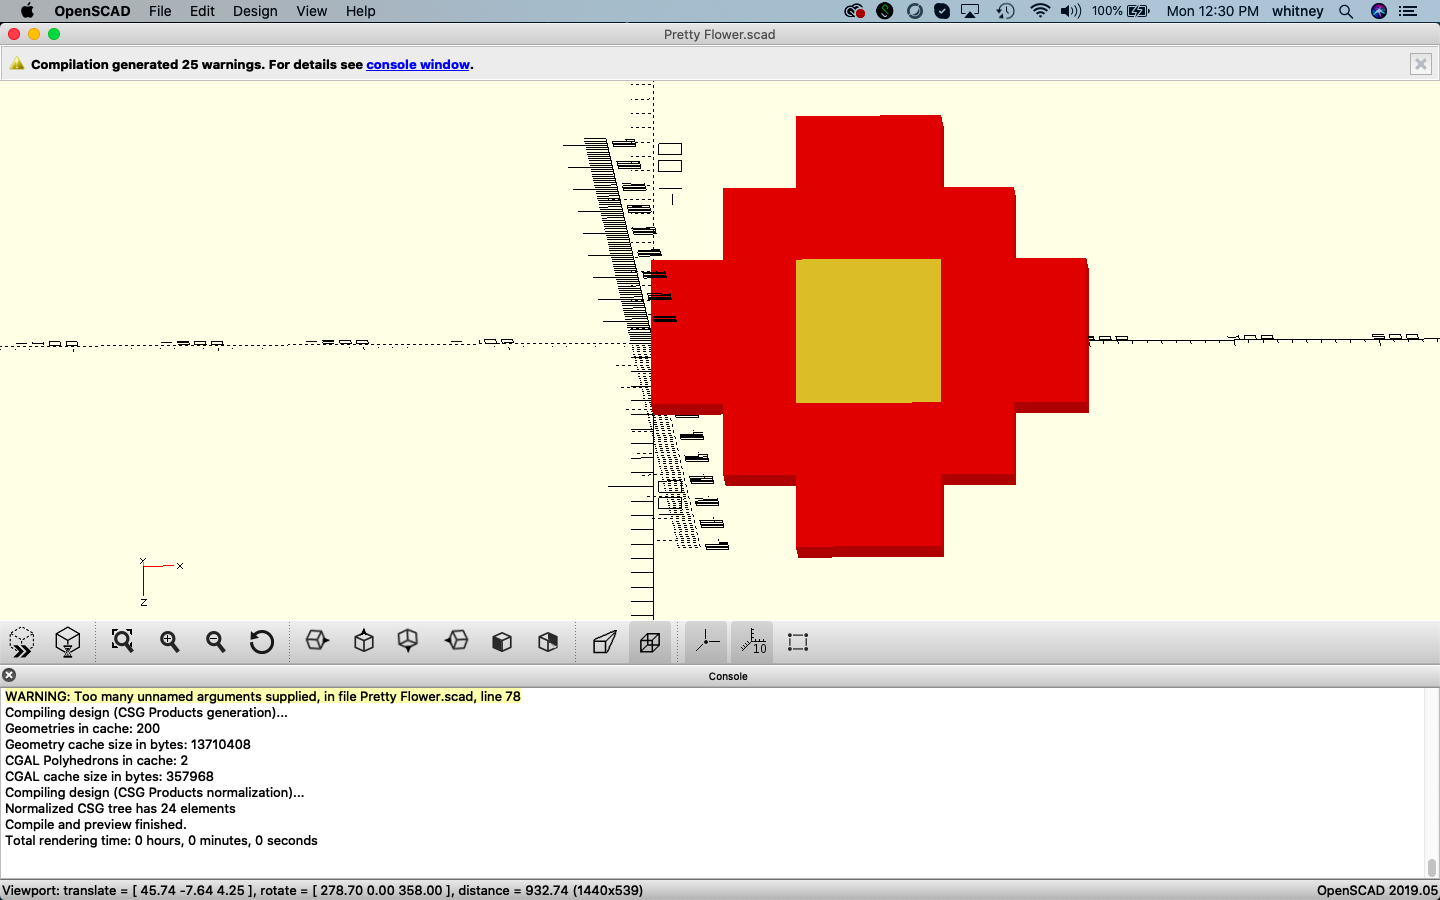
Here’s the code I used to create my masterpiece. (For some reason I can’t get it to paste with the spacing)
scale (5,5,5)
{

    color ("red")
{

        cube (10,10,10);

        translate([10,0,0])
            cube (10,10,10);

        translate([10,0,10])
            cube (10,10,10);

        translate ([20,0,10])
            cube  (10, 10, 10);

        translate ([20,0,20])
            cube (10,10,10);

        translate ([30,0,20])
            cube (10,10,10);

        translate ([30,0,10])
            cube (10,10,10);

        translate ([40,0,10])
            cube (10,10,10);

        translate ([40,0,0])
            cube (10,10,10);

        translate ([50,0,0])
            cube (10,10,10);

        translate ([50,0,-10])
            cube (10,10,10);

        translate ([40,0,-10])
            cube (10,10,10);

        translate ([40,0,-20])
            cube (10,10,10);

        translate ([30,0,-20])
            cube (10,10,10);

        translate ([30,0,-30])
            cube (10,10,10);

        translate ([20,0,-30])
            cube (10,10,10);

        translate ([20,0,-20])
            cube (10,10,10);

        translate ([10,0,-20])
            cube (10,10,10);

        translate ([10,0,-10])
            cube (10,10,10);

        translate ([0,0,-10])
            cube (10,10,10);

        }

    translate ([20,0,0])
        cube (10,10,10);

    translate ([20,0,-10])
        cube (10,10,10);

    translate ([30,0,0])
        cube (10,10,10);

    translate ([30,0,-10])
        cube (10,10,10);

    }
Second OpenSCAD Design
Much like with my first design this one started as just a simple shape and I was inspired. Originally all I had was just a simple cylinder with a wide base and a narrow top, but before long I had this beauty…

I created a duplicate cylinder but inverted the shape and used a longer symmetrical cylinder to connect the two. And with that I have created a sewing spool. Except……
Everyone knows that you need the hole down the middle. Which meant that I need to create a third and final narrow cylinder that I used to cut out the center of the shape.
//render//

    difference(){
        //start with this//
        union() {
            cylinder(10,40,20);

            translate([0,0,10])
                cylinder(70,20,20);

            translate([0,0,70])
                cylinder(10,20,40);
  }
    //remove this//
        translate([0,0,-1])
            cylinder(85,5,5);
}
Second OpenSCAD Design Iteration
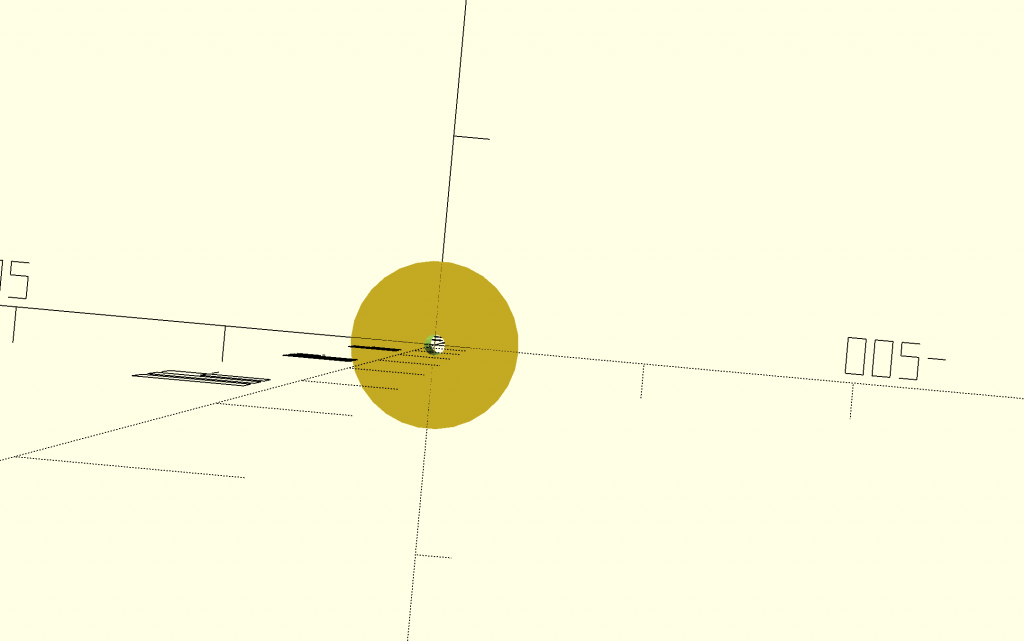
My initial thought was to go from a thread spool to a kind of hybrid between a spool and a yarn bowl. I wanted to essentially elongate the center cylinder since yarn is much thicker than thread and on the top triangular cylinder add a swirl or something similar that is used to unroll the yarn without it tangling. It was a dismal failure.
What I ultimately went with was to change my thread spool into something more wire spool like. In theory if I wanted to keep working with it, I could make this into my hybrid with a few modifications. But I think I will need to become a little more adept at coding better before that could happen.
So this is what I have….

//render//

difference(){
    //start with this//
        union() {
            cylinder(10,60,60);

            translate([0,0,10])
                cylinder(70,15,15);

            translate([0,0,70])
                cylinder(10,60,60);
  }
    //remove this//
        translate([0,0,-1])
            cylinder(85,10,10);
}
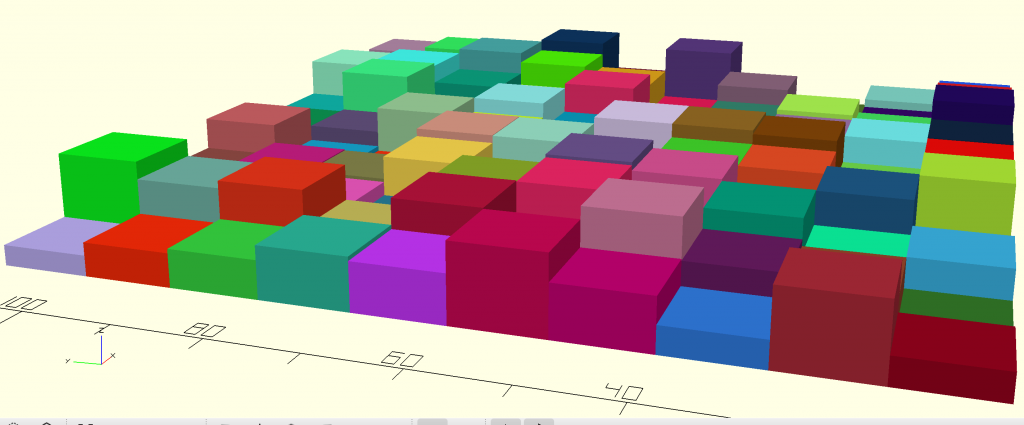
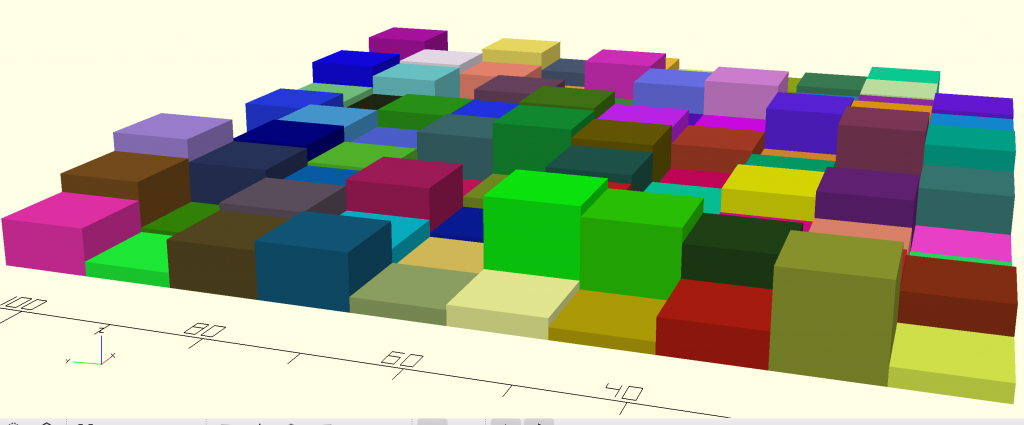
Third OpenSCAD Design/Final Project-Randomization
So leave it to me to bite off more than I can chew. My original thought of doing Giant’s Causeway went down in fiery flames. For some reason I sadly miscalculate the difficulty of a project, and my own abilities. After many hours of hard work and beating my head against a wall I was finally able to create a finished project that came out pretty good if I do say so myself.

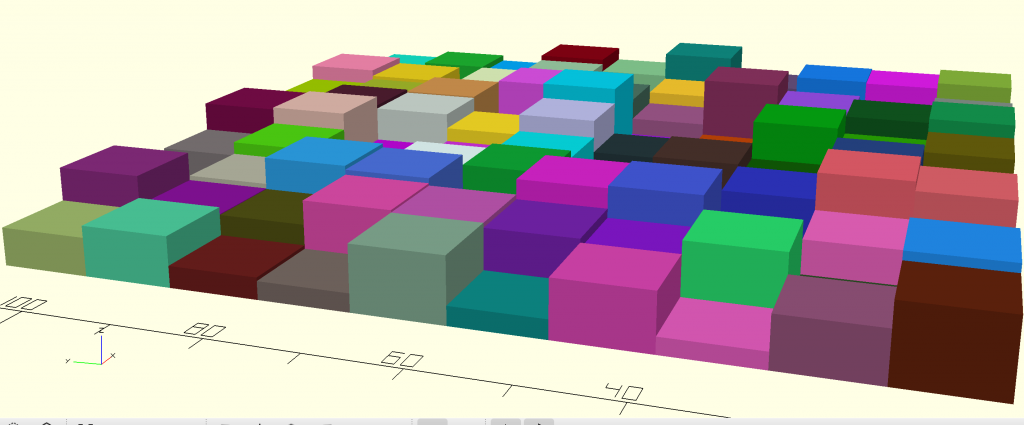
//Draw 10 rows of cubes
for (j = [10:10:100]) {
    translate ([0,j,0]) { //Shift up each loop iteration

        //Draw a row of 10 cubes with random height and color
        for (i = [10:10:100]) {
            translate ([i,0,0]) {

                s = rands(1,10,1)[0]; //Generate values for height of cube
                r = rands(0,255,1)[0]; //Generate value for Red
                g = rands(0,255,1)[0]; //Generate value for Green
                b = rands(0,255,1)[0];// Generate value for Blue

                color([(r/255),(g/255),(b/255)]) //Divide by 255 because color requires a value between zero and one
                cube([10,10,s]);
            }
        }
    }
}