To begin my journey into Blender, I went through the first two modules of Blender Guru’s Beginner Donut Tutorial on Youtube. I asked a friend that animates using blender what she recommended for a beginner, and she said that Blender Guru made fantastic and easily-accessible content. Blender Guru takes you through the process of modeling a 3D donut and a cup of coffee in four modules that explain most of the functions of Blender.
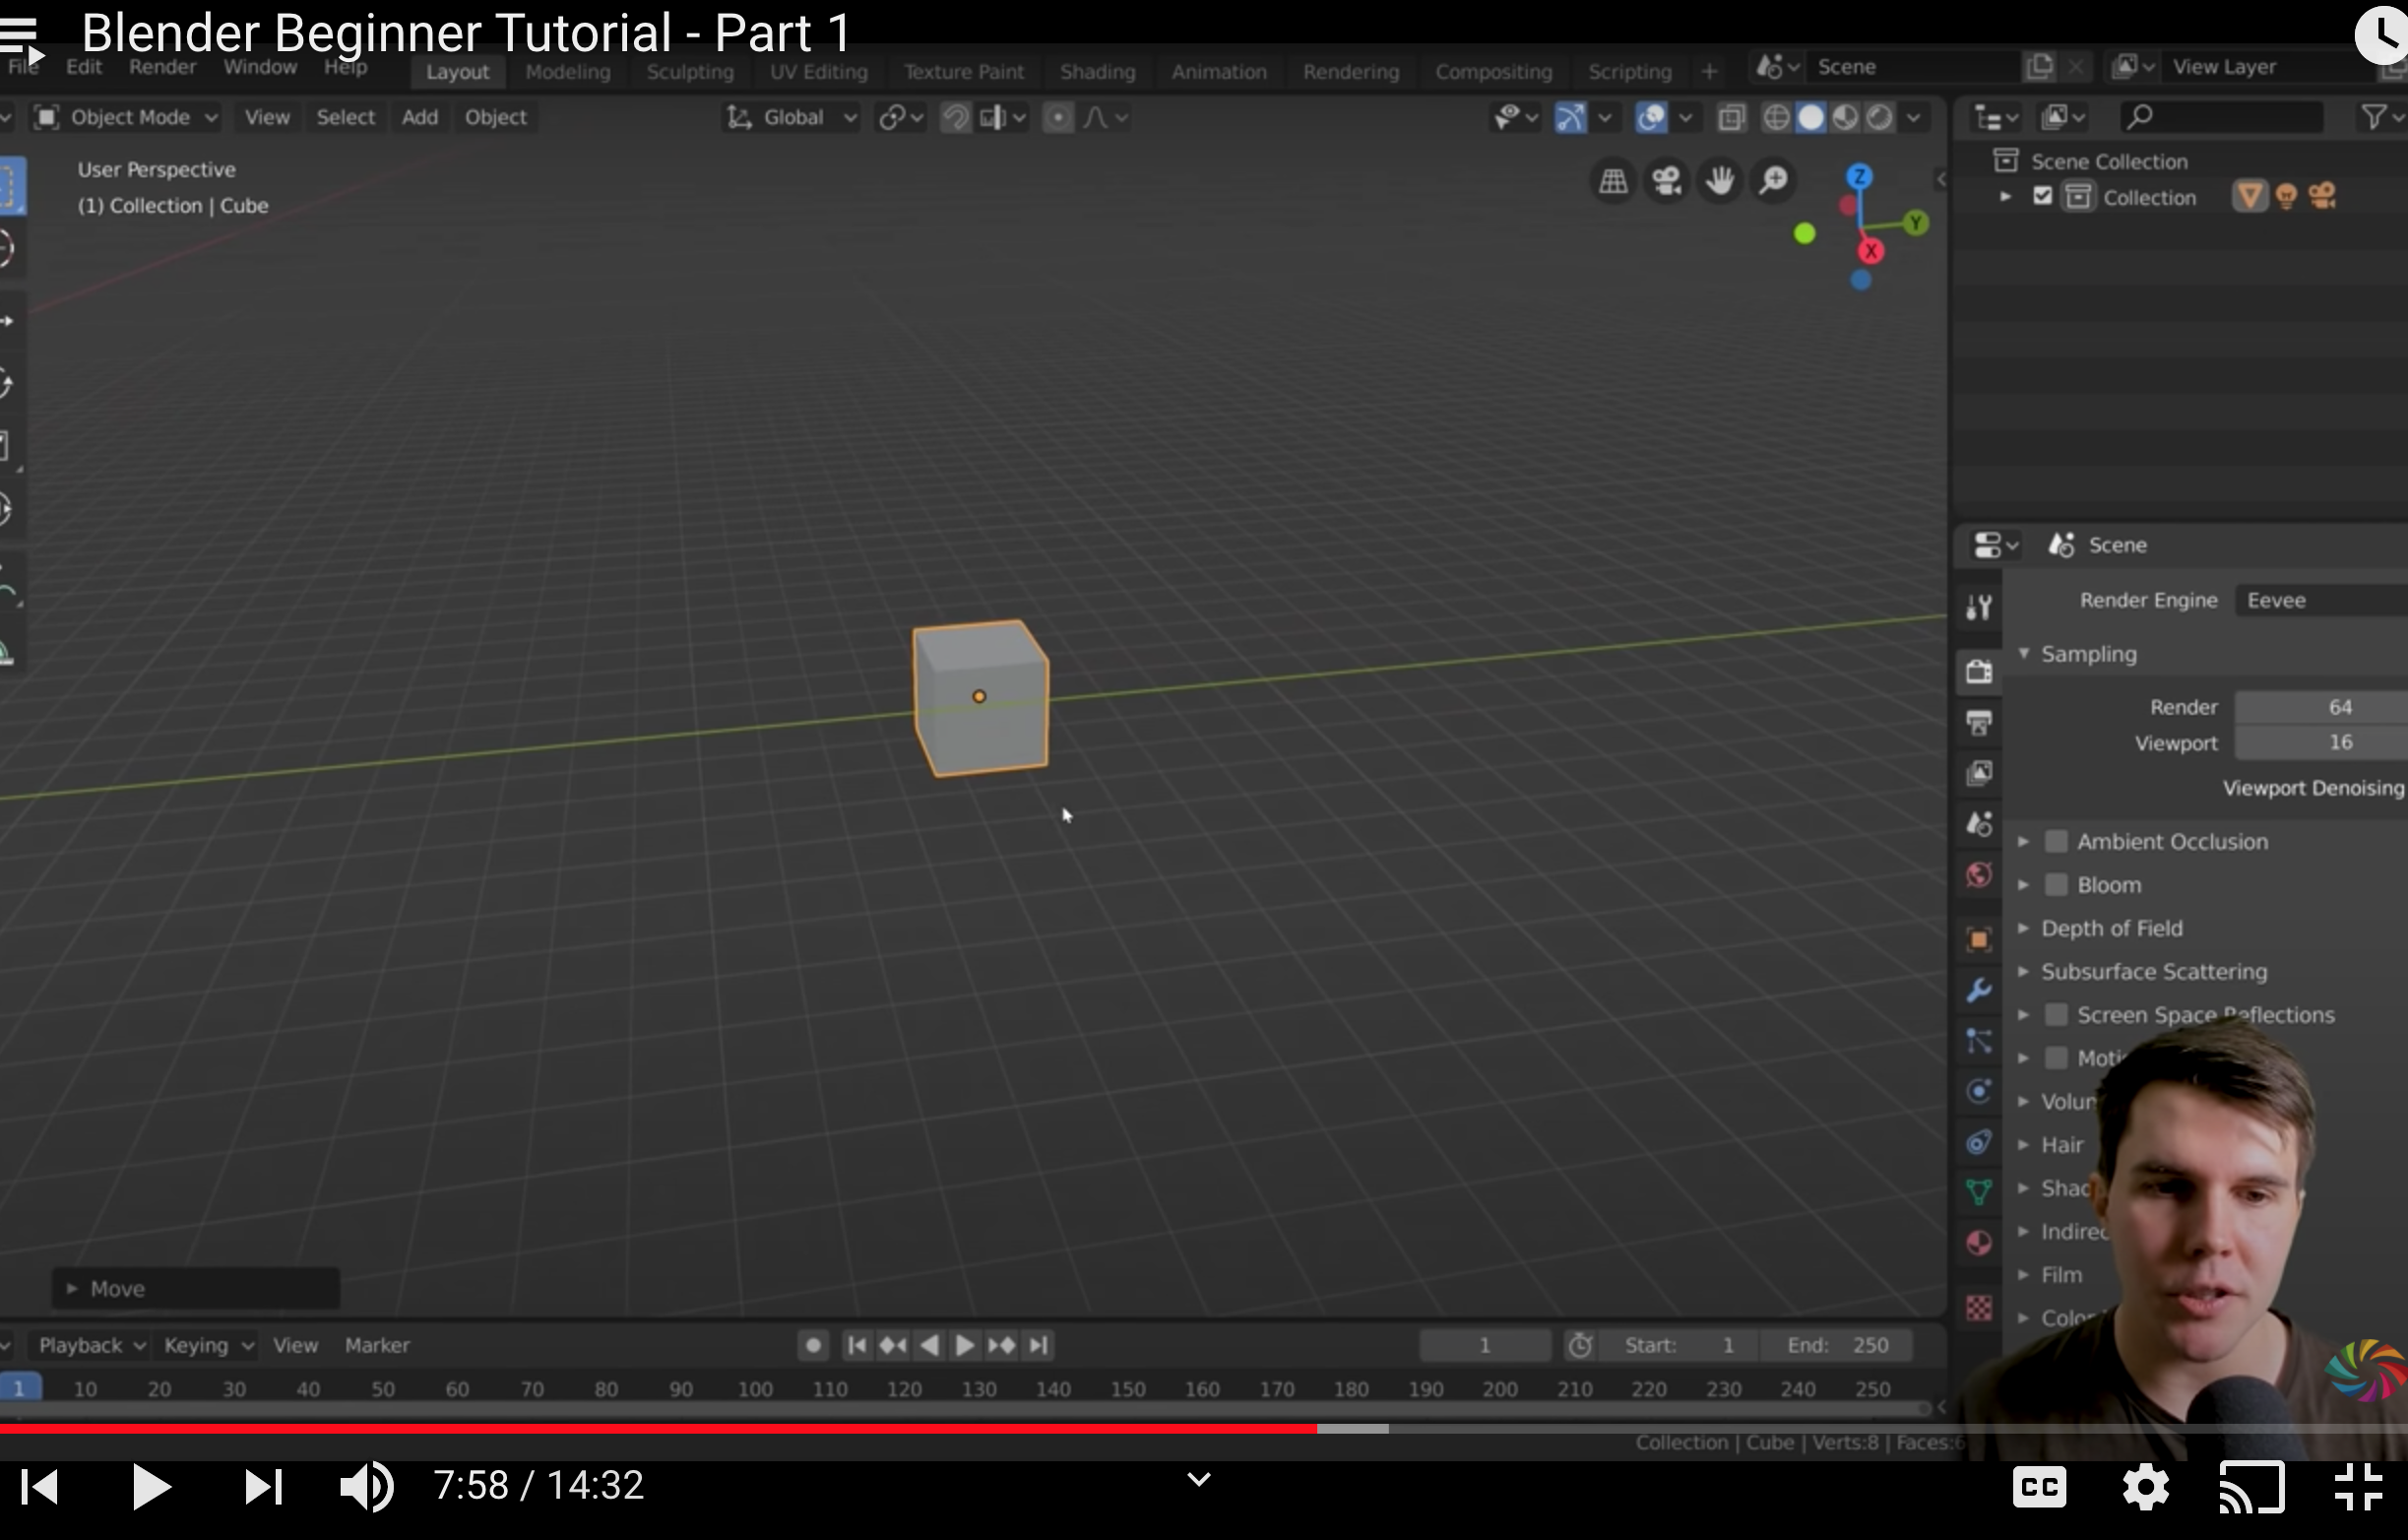
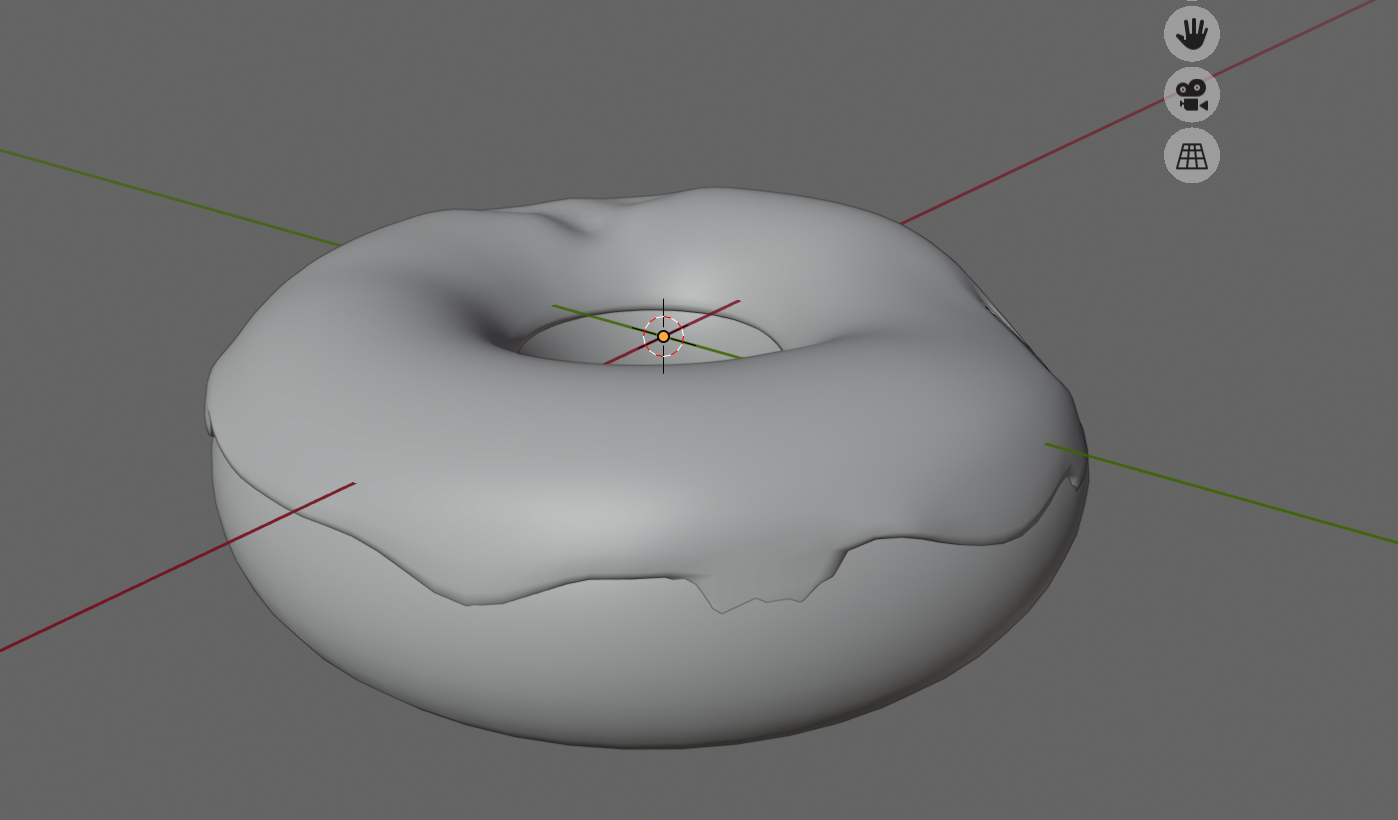
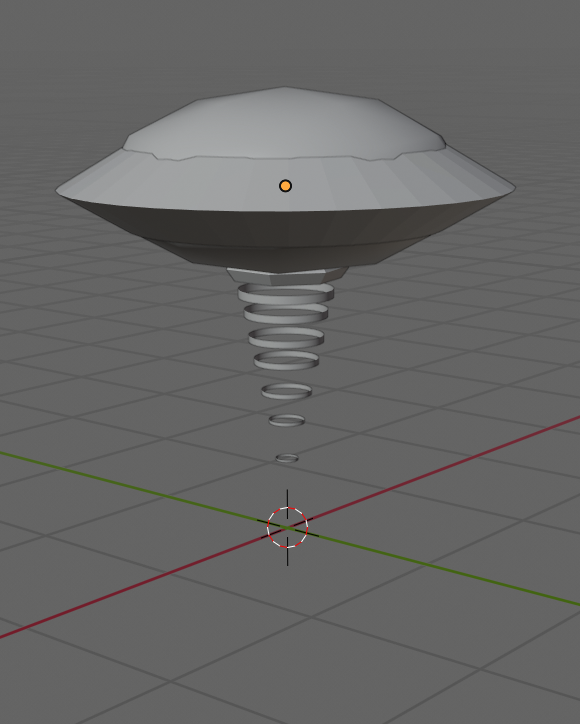
Unfortunately, as soon as I began the third module, my Donut design file corrupted (or something of the sort) and would no longer open on my laptop. Luckily, I have a screenshot of the donut in its early stages, before color and texture were added.
In addition to my donut modeling, I designed small things to practice the skills learned in each video. The goal of them was to utilize the edit, view, modifier, and material functions in Blender, and better understand how to create and modify objects. Here are a few of them:


My first experiences with Blender were super positive, and I am very grateful for the accessible resources available on the internet. For my next project, I wanted to recreate something I had seen as a 2D image, and interpret it in Blender.
Following Blender Designs (Week III)
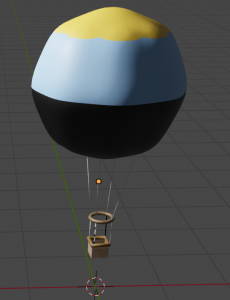
I made a few separate designs this week. The first two were focused on recreating objects, one 2D and one 3D, using modified blender shapes. For the 2D recreation, I roughly modeled the Canvas hot-air balloon, and colored in the materials. This was the most modified objects that I have included in and edited in a single blender project yet. I did a lot of exploration on my own in Blender for these objects, and tried to create something a little more cartoonish, and less jagged than my prior makes.

I don’t yet have a strong grasp of texture painting, but I was able to add material(s) to the mesh, which allowed me to dictate the color. Though I haven’t yet created the signature Canvas Panda, I think I did somewhat justice to their hot-air steed.
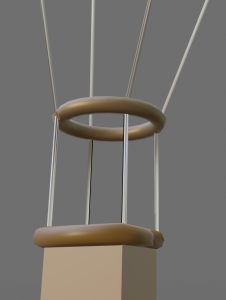
I used the “smooth face” tool to make the basket seem as cartoonish (Animal-Crossing-esque) as I could. The ropes holding up the balloon were made with column meshes that I bent and extruded to look like malleable rope. There is a significant amount of color detail missing from the balloon, which I hoped to fix in later iterations. All in all, this model took about two hours to make and color, but it is the most basic draft of what I had planned.
The second model I made was based on a lotion bottle that sits on my parents’ coffee table. I didn’t do much color editing, but I wanted to see if I could recreate the basic shape and color using only a few mesh objects.
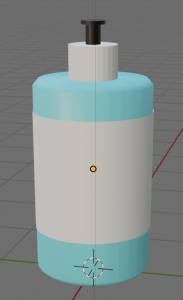
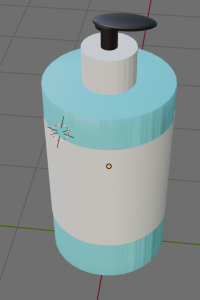
The bottle shape is a column that I used the Smooth and Bevel tools on. I used the extrude tool on a circle to make the wrapping shape, and tried to get it to closely hug, but not quite touch the bottle. I wish I knew more about texture painting, but I will learn that skill next!
Blender Iteration (Week IV)
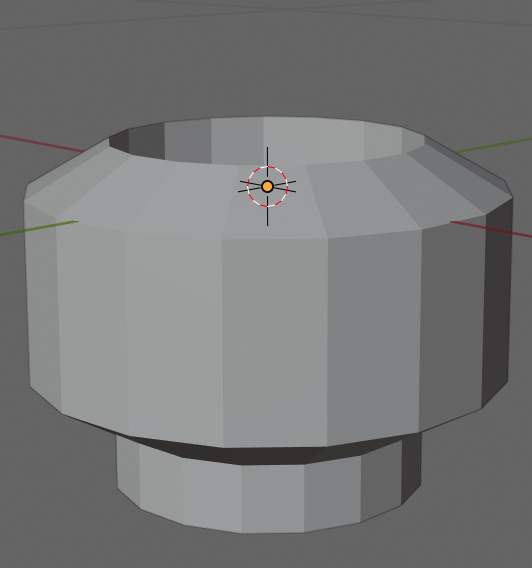
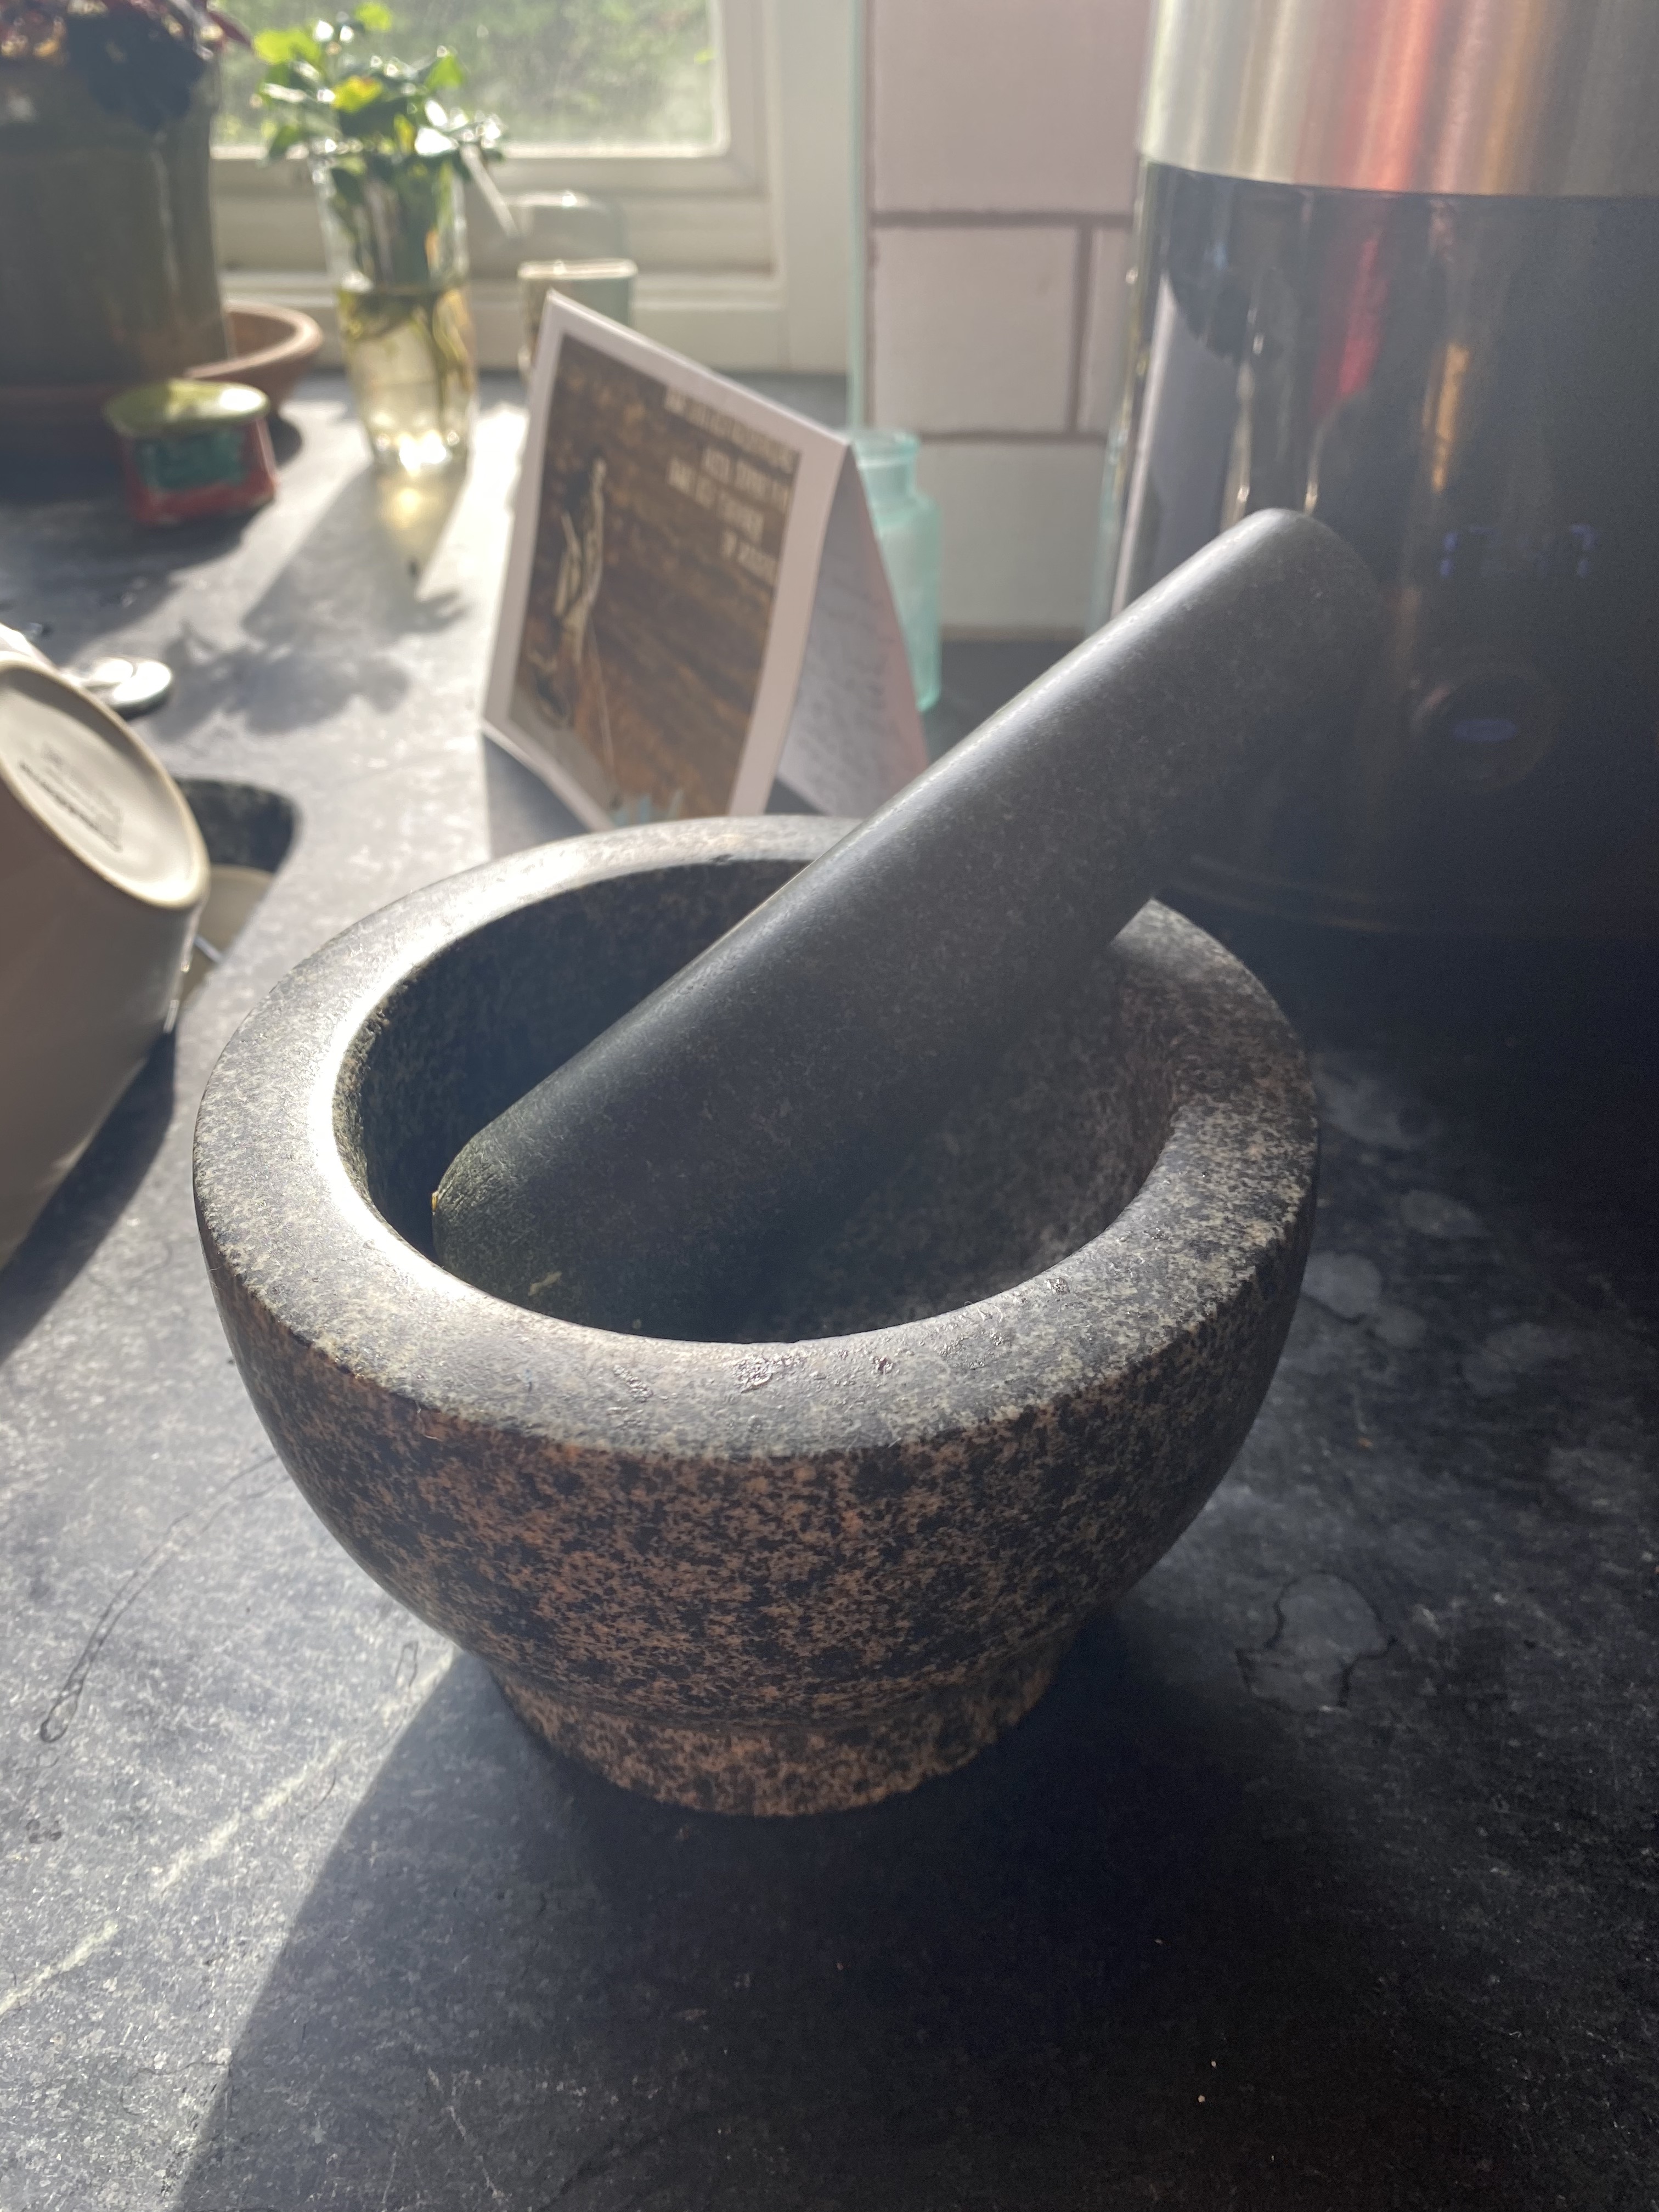
For this assignment, I reworked one of the first objects I created in Blender. The third screenshot in this blog post is of a really shoddy make of my parents’ mortar. Through this iteration, I wanted to learn more about texture painting and rework the mortar to look closer to the tangible one they own. My make didn’t turn out exactly how I had planned; there are a few weird lines that I can’t pinpoint the source of. I am hoping to rework this and create a full-ish table scene for my final project.
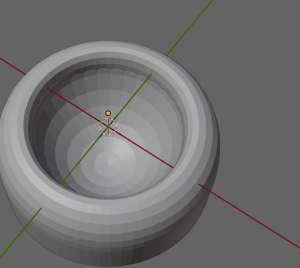
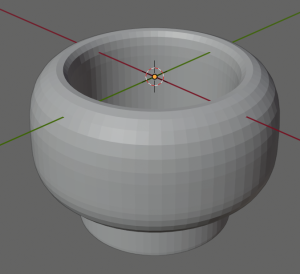
Shaping the design to look more accurate was the hardest part of this. Watching more of Blender Guru’s videos in his donut course helped some with mesh-editing, as well as this super helpful video on Texture Painting from Grant Abbitt on YouTube. To reshape the socket-looking mortar shape I had initially, I added more layers of vertices, subdividing the object, and added a subdivison surface modifier that helped to make the initial Taurus mesh a little more life-like and smooth. Here is the final shape I went with, which has a half-cut sphere I added to help mold the inside of the mortar.
After shaping the mortar, I tried to shape the pestle, which was a more difficult task in someways because it was all one object. Before adding modifiers and smoothing it, it looked very pencil like.

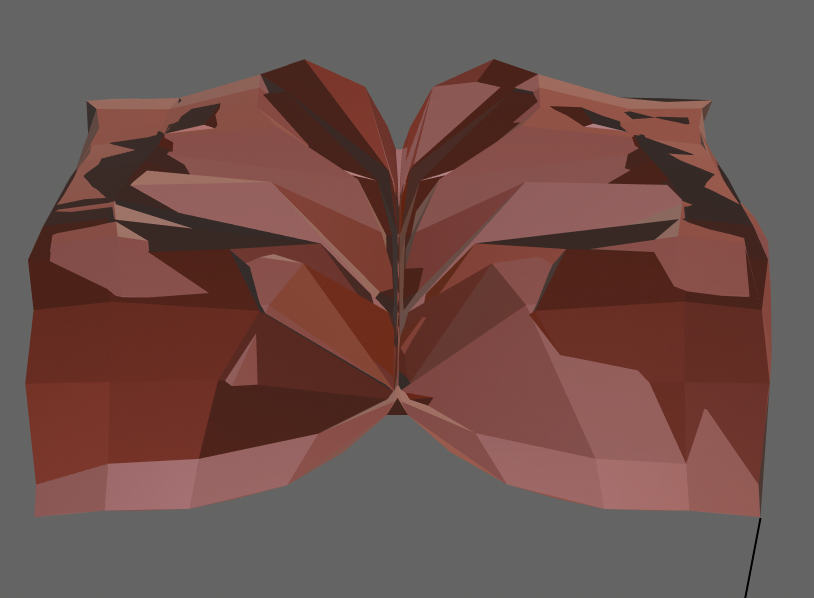
Once I felt comfortable with the shapes, I tried my hand at adding the mortar texture from an image I took of the mortar close-up. In Blender, I created a new material and imported the cropped texture image, then applied it to both objects. The aforementioned video by Grant Abbitt was really helpful with this.

There are these unfortunate lines in the mortar that I can’t cover up. I think it has something to do with the amount of modifiers on it, and the way I beveled and subdivided the faces. Overall though, I am happy with how it turned out!
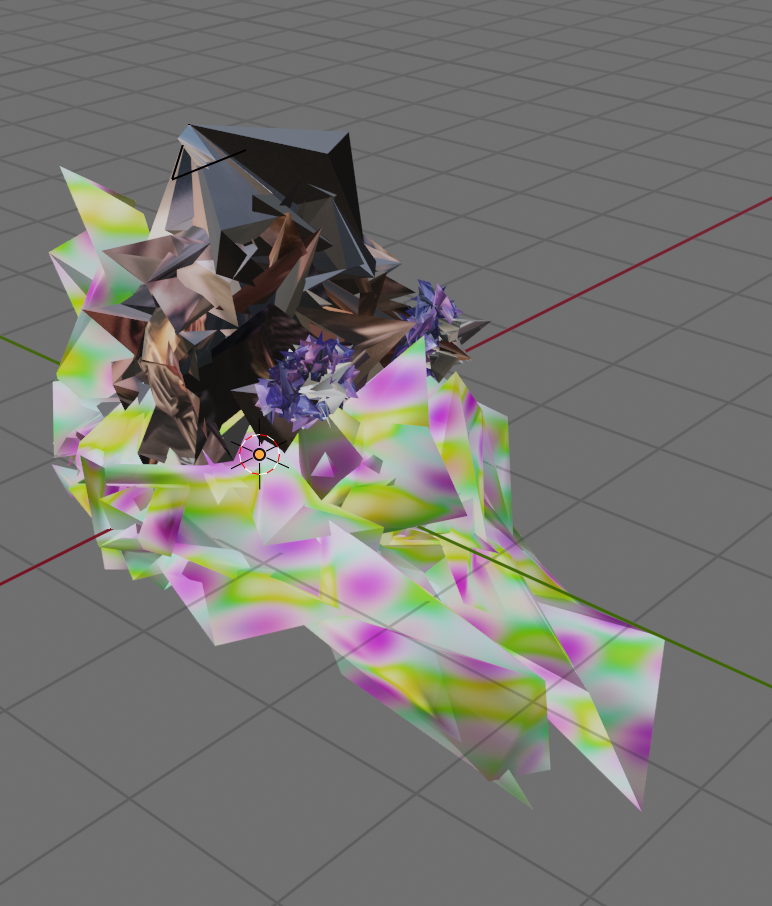
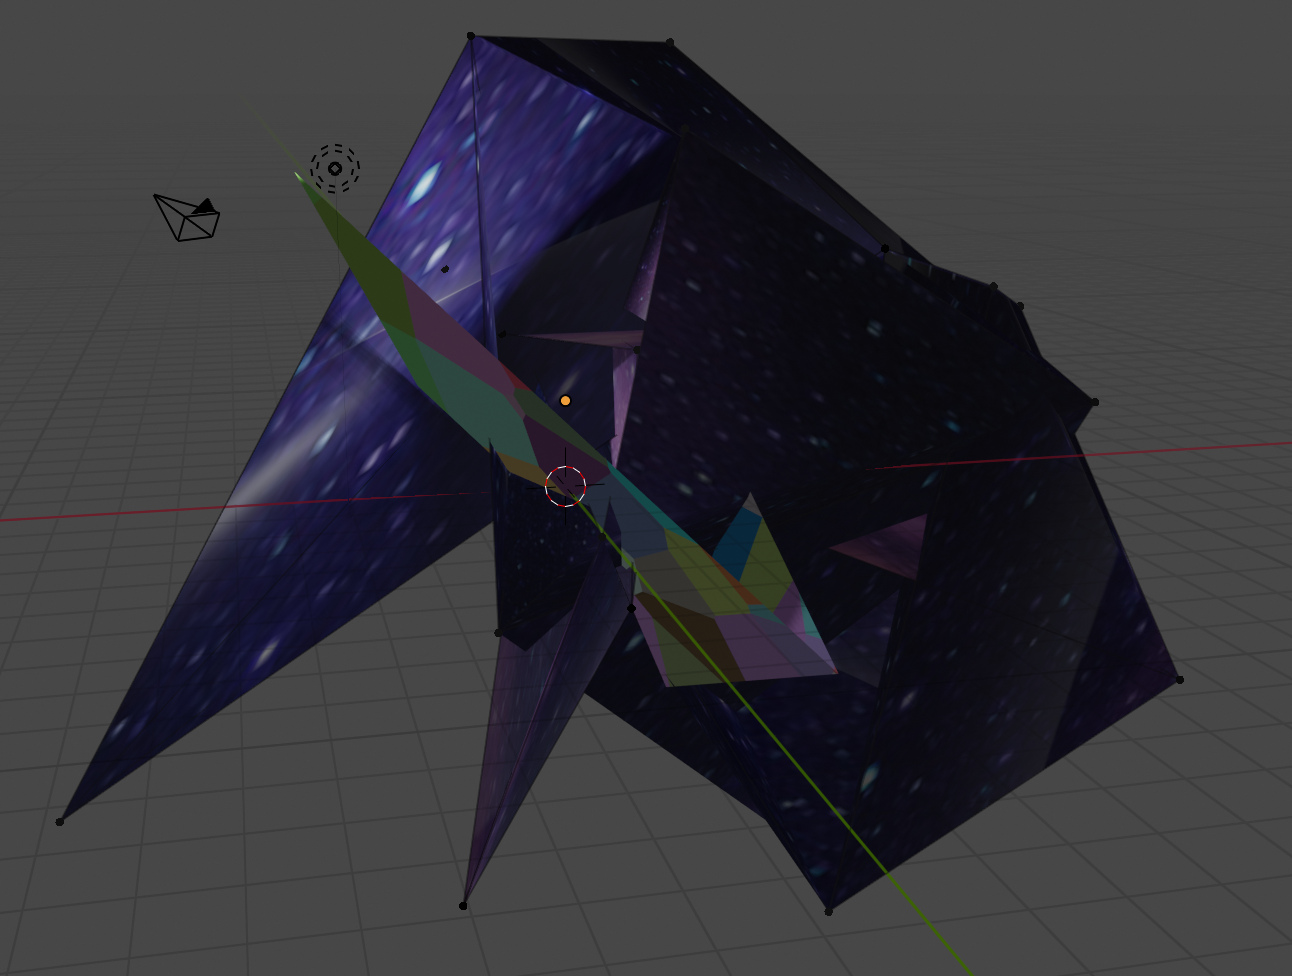
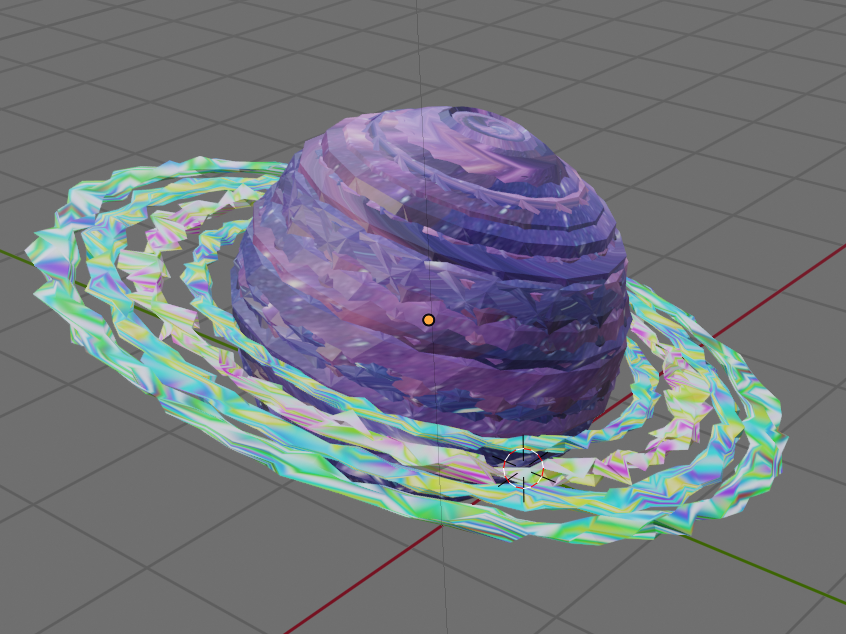
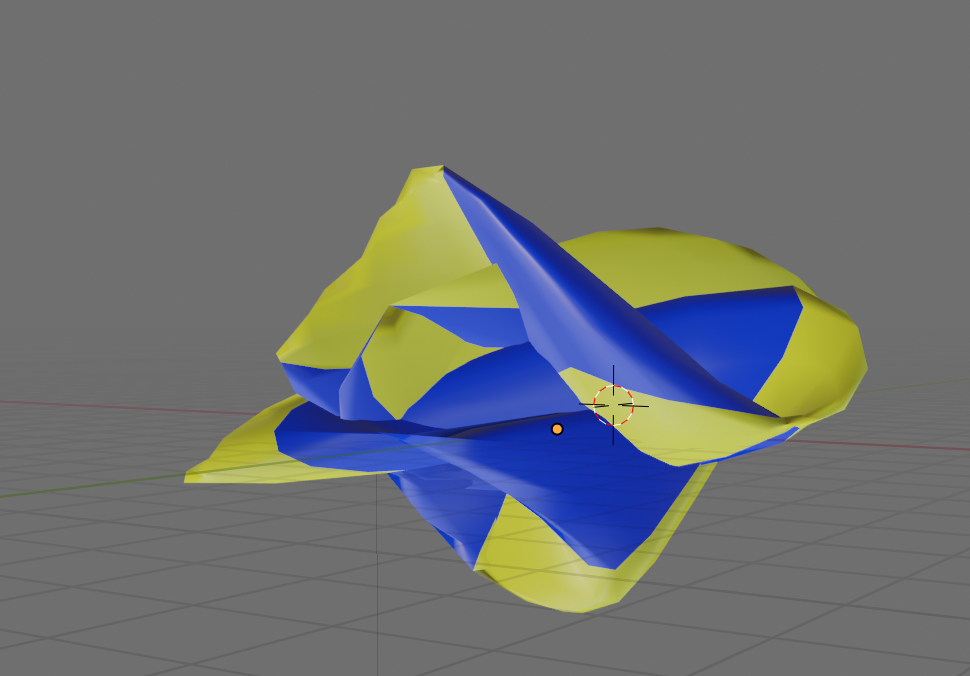
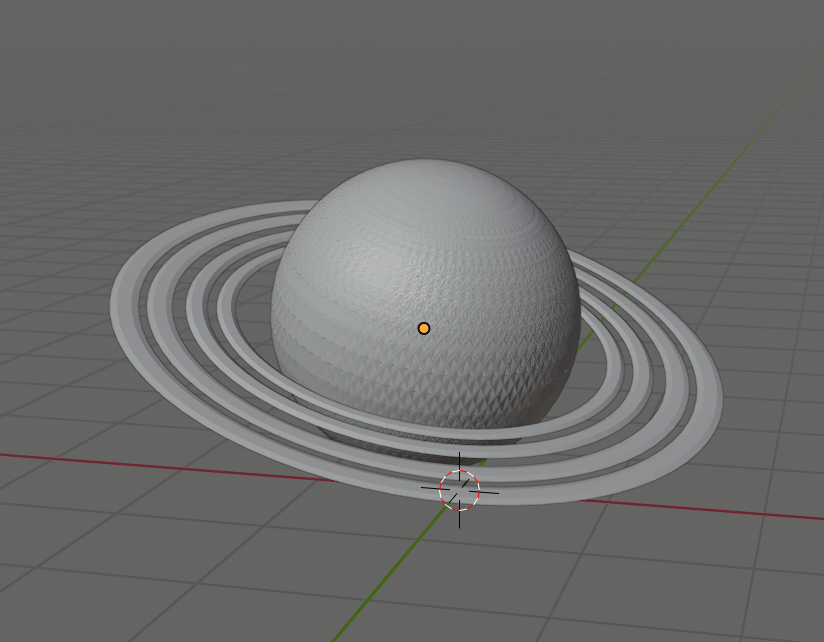
Randomization in Blender
For this assignment, I reiterated a few of my past projects, using Blender’s randomization effect. While re-working my past assignments, I wanted to make them a little more visually appealing. Below are four