1st Form
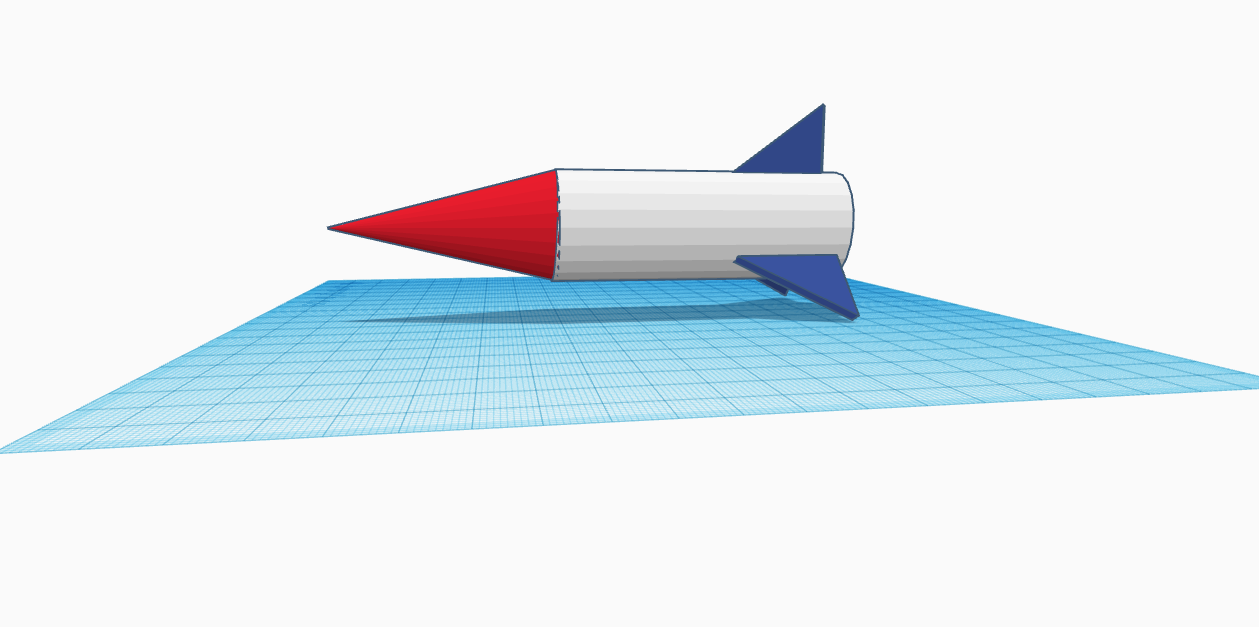
The first design that I created was a missile. I just used simple shapes and placed and grouped them together until I had the form I wanted.
Forms 2-4
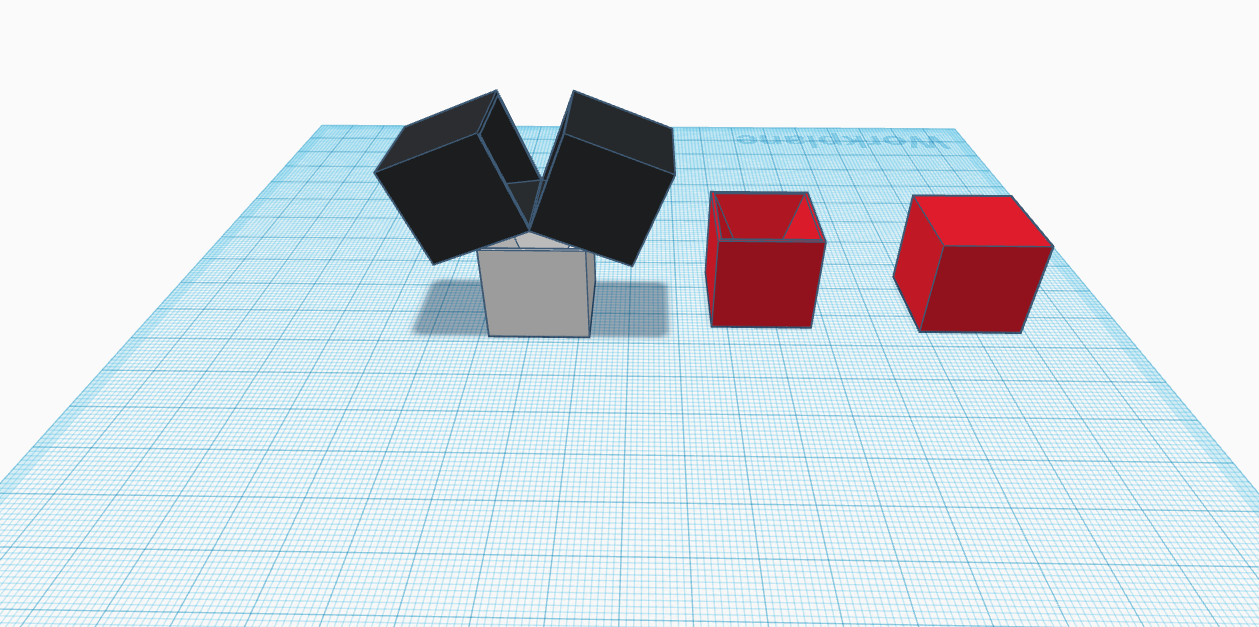
The first shape in this series is the original shape which is just a cube. The second is where I used a pyramid to cut a hole out of the middle of the cube. Then, I stacked 3 of the cubes on each other to make a cool mickey mouse looking shape.
Forms 5-8
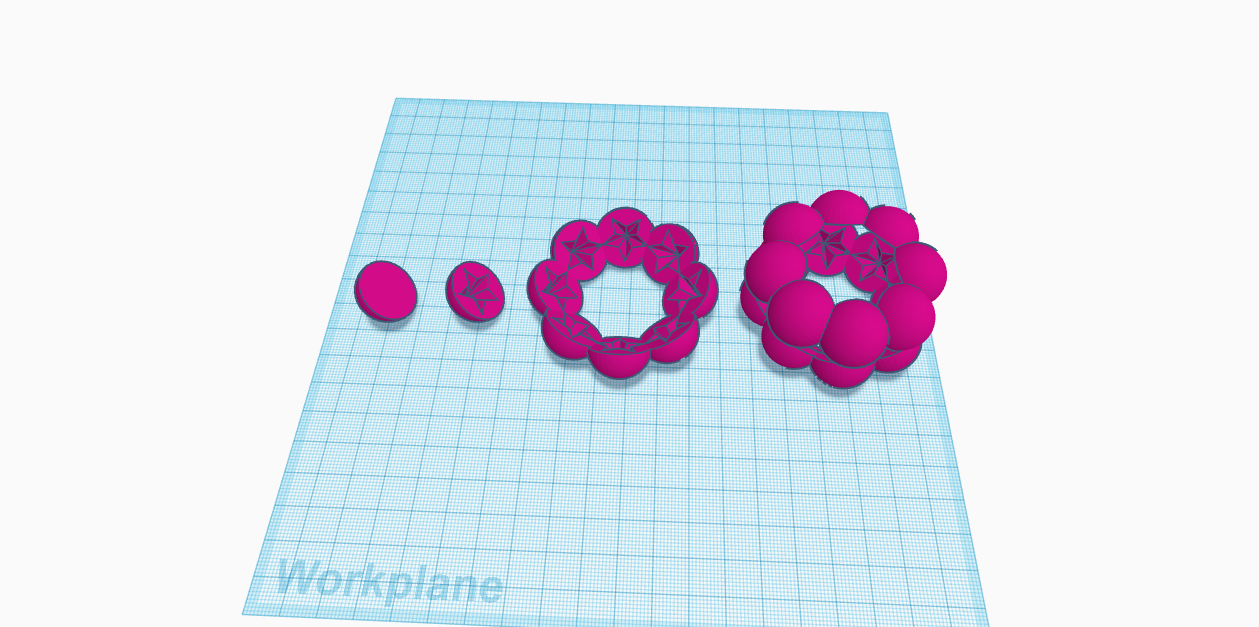
The first shape I used was the half sphere. The second shape in this series is where I used the star to cut out a hole in the half sphere. I then duplicated the sphere several times and made a circle out of my shapes and grouped them together. Lastly, I duplicated this form I created and then I used the flip tool to turn it upside down, put it on top of the other shape, then group it again.
Forms 9-12
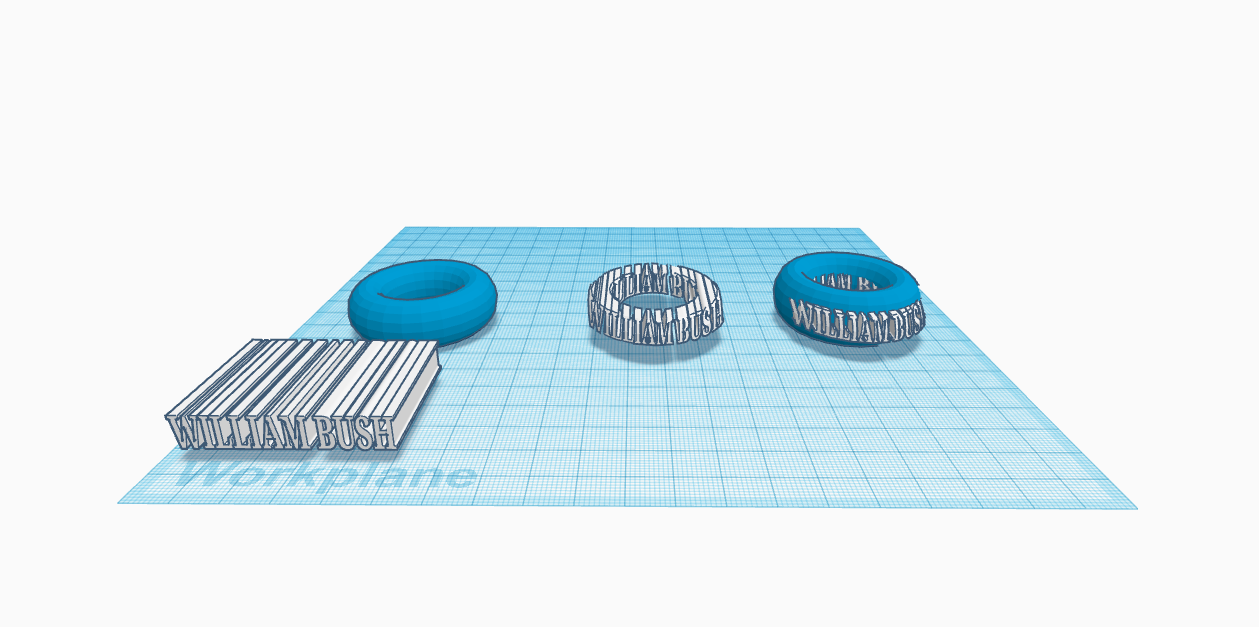
For my next design I decided to try something new by creating wrap text around a ring. The first two objects in this series are simply the base ring shape, and the text shape of my name “William Bush”. Creating this ring was much harder than anticipated. First I stretched the text out so it went through the ring. Then, I put a rectangle shape in the ring covering the ring and the text. I then made the text a hole, then grouped it with the box. I then made this new form a hole as well. Then, I had to duplicate the ring and make it smaller and group it with this box shape. This then created the next shape which is the wrapped text. Finally, I fit the wrapped text onto the ring and then grouped them together for the last shape.
Forms 13-19
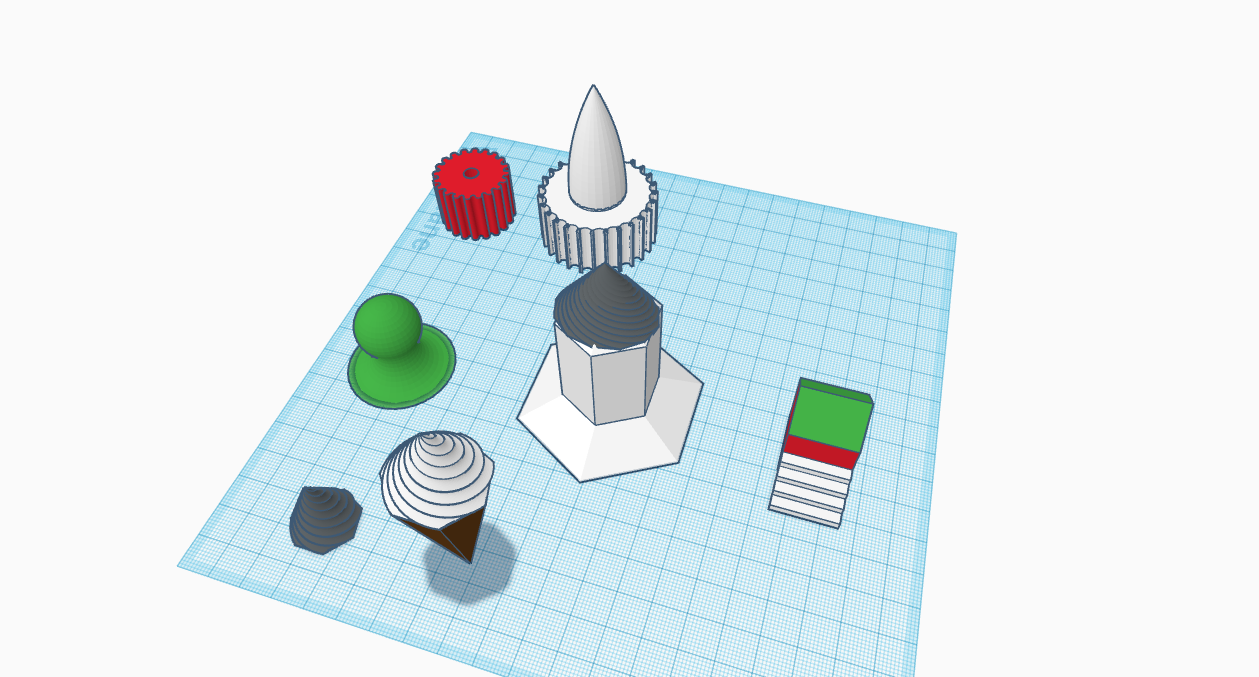
The first shape in this picture is a regular gear. For the second shape, I changed the settings of the gear to add more teeth to it, change the height, and change the bore dia. I then added another shape which was a pre-made Ogive and I centered it on the top and then grouped the two. The second shape was originally a “puller” shape, but I reduced the number of faces that the puller had so that there were only 6, which gave it more edges. I then added the drill piece to the top of this puller and I grouped the two together to make it a drill. I then decided to alter the drill one more time for my 3rd shape, and I increased the depth, which i thought made it seem like an ice cream cone on the bottom. I then duplicated it and put a second drill on top and changed the color to white so the colors would be consistent with an ice cream cone. For the last shape in this series, I made a house with some pre-made stairs.
Form 20
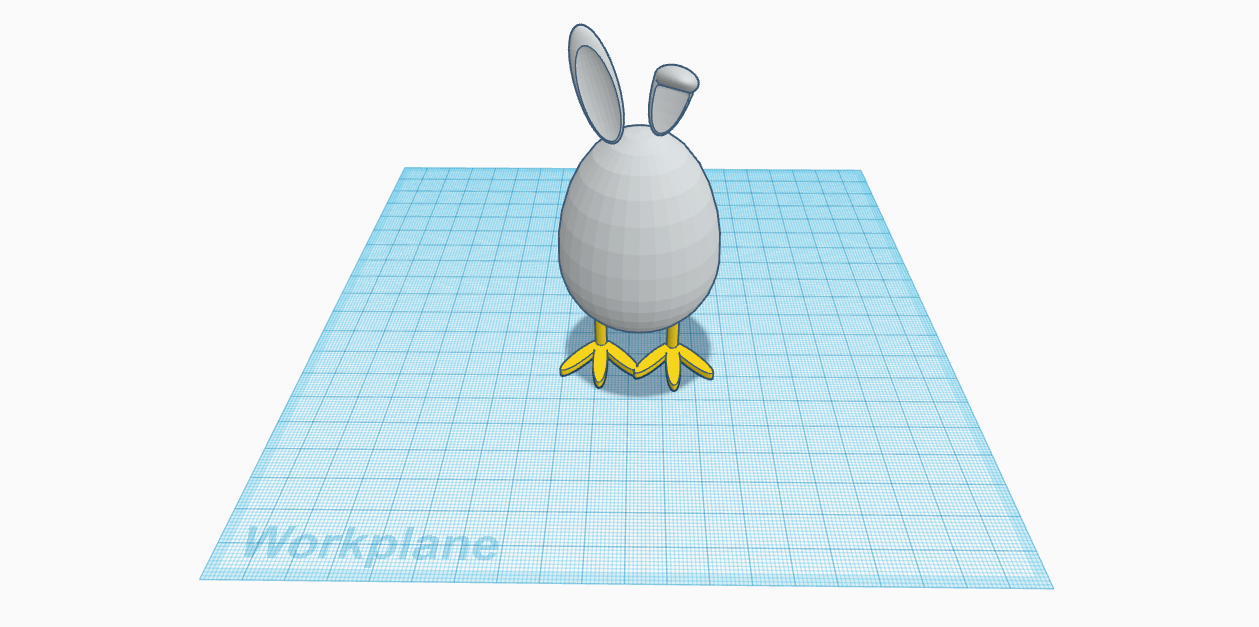
For this form I experimented with some of the community made designs, and I simply grouped some of them together to make a cool design.
Forms 21-22
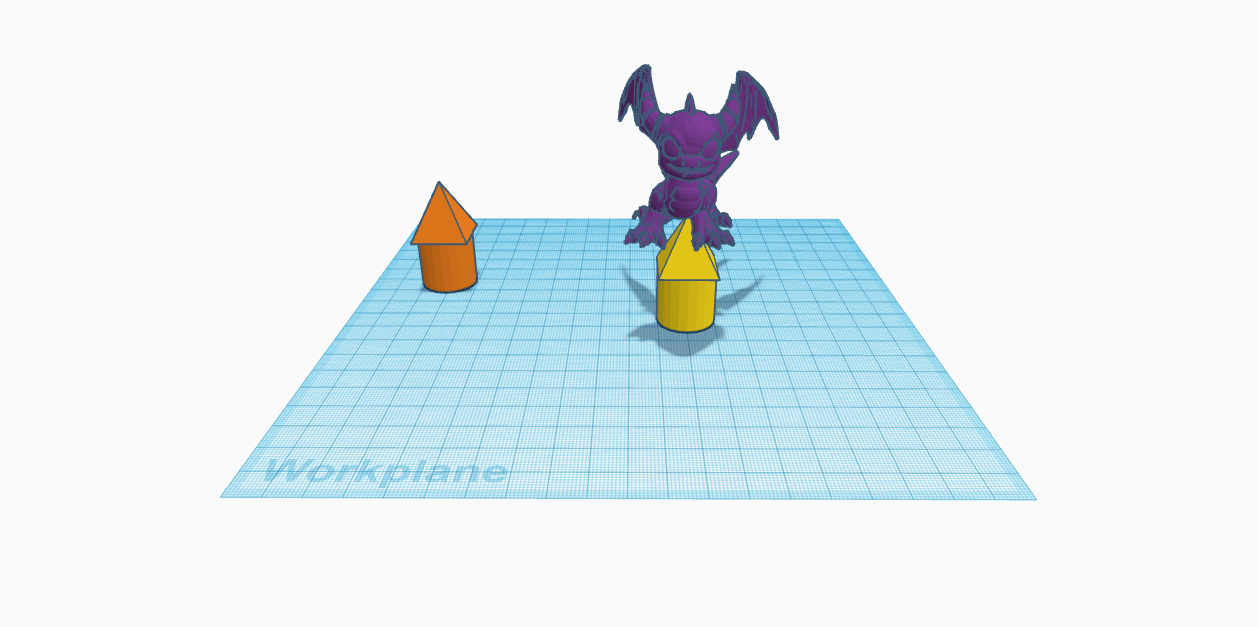
For the next form, I tried out importing by importing this dragon design that I found online. The dragon was very plain, so I then changed the color to purple to match one of my favorite characters, spyro. I then took a pyramid and perched it on top of a cylinder to give the dragon a place to perch itself. I then placed the dragon on top and grouped the items.
Forms 23-24
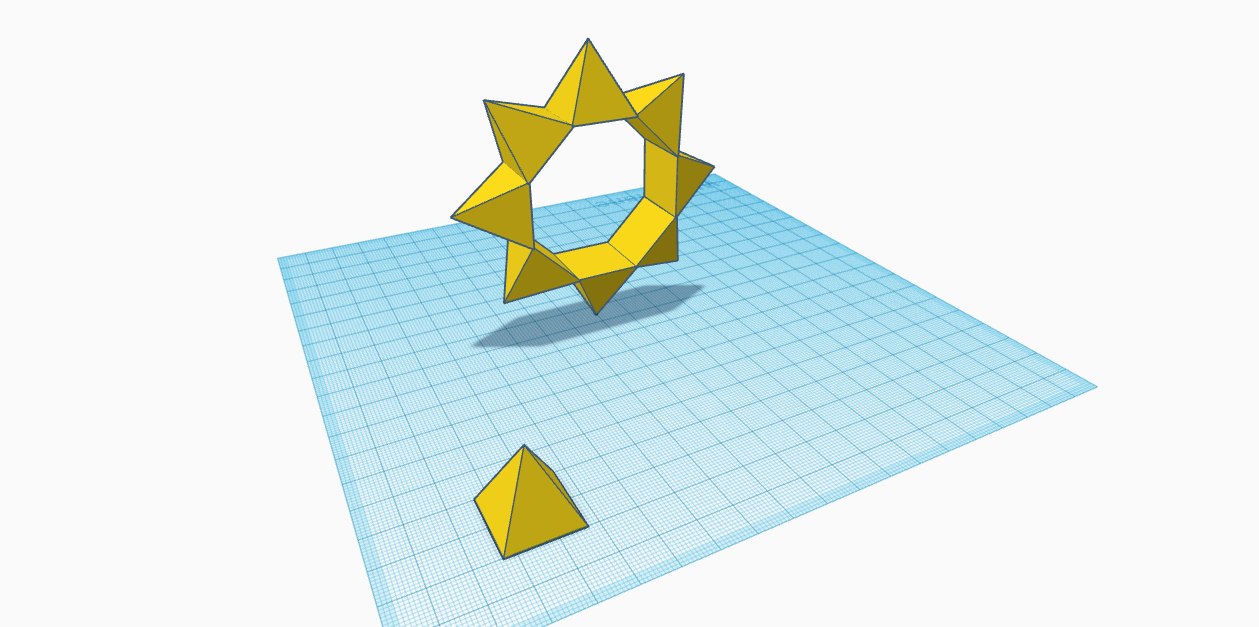
For my next design I started with a pyramid, and i then used the duplicate tool to make a perfect circle, and in effect it created the second shape which looks like the sun.
Forms 25-27
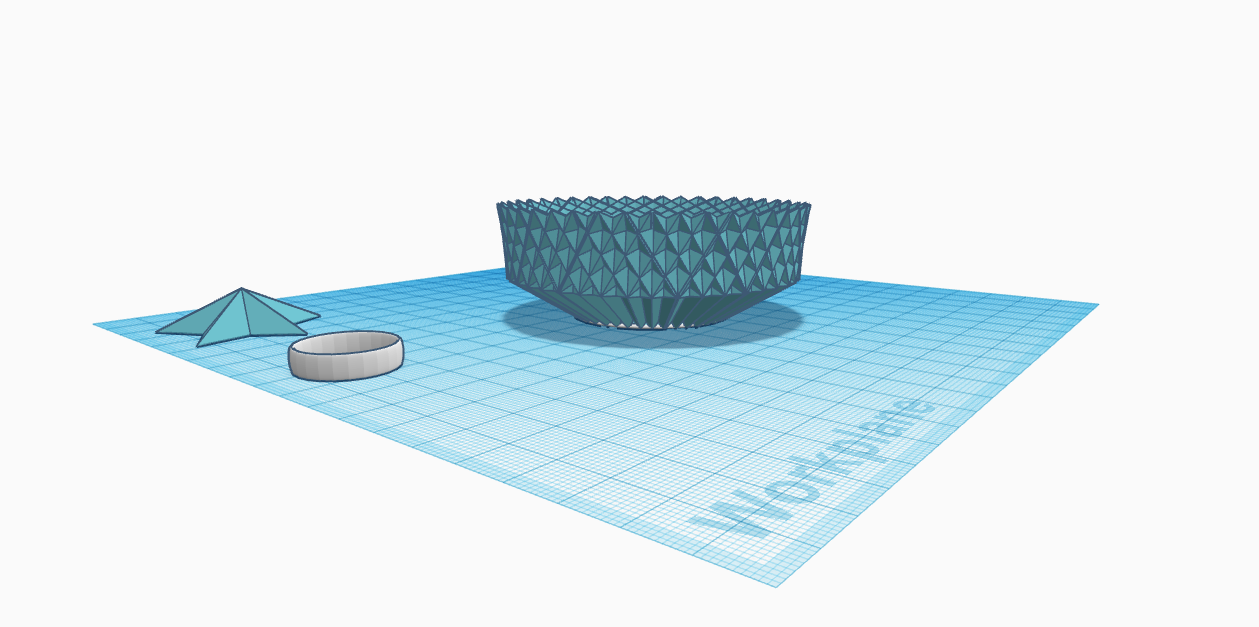
For the next form i used the star and the ring shapes. I simply put a star down, fit the ring around the star, then put a star around the edge and used the duplicate tool to make this cool looking bowl. For the star at the base, I also added more sides to it so that it would be more smooth for the bottom of the bowl.
Forms 28-30
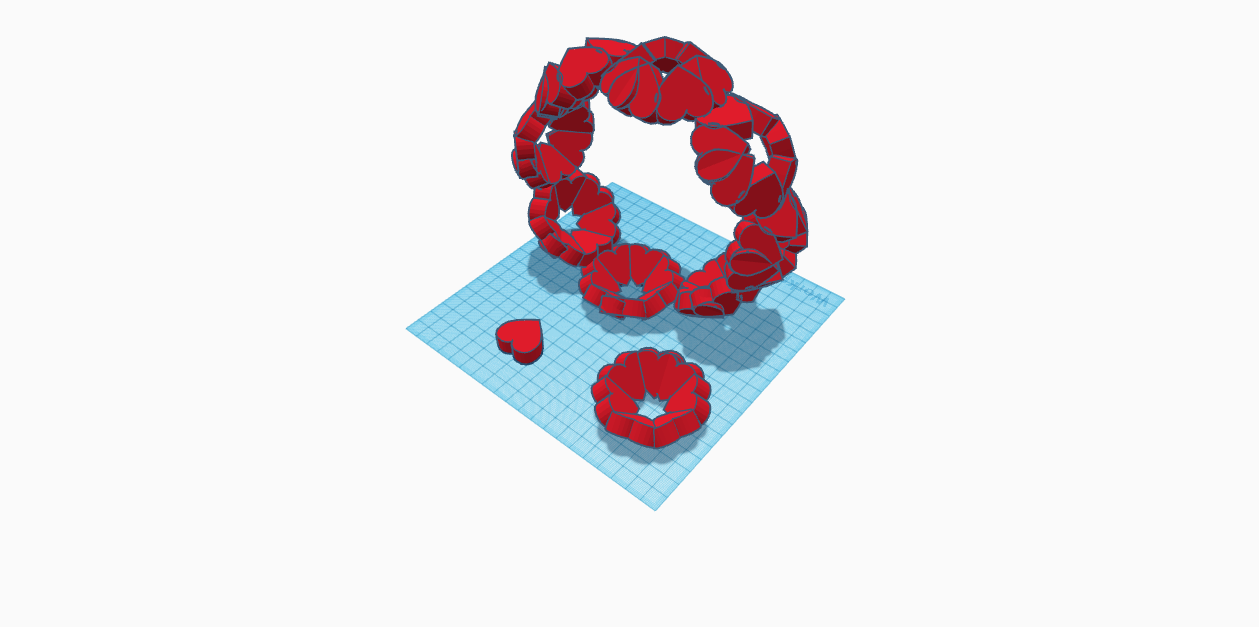
For this next form I used the duplicate tool again on the heart shape and made one form and then grouped it together. Then, I used the duplicate tool again to make the second form.
Forms 31-35

For my next shape, I decided first to mess around with the sliders some more, so i just added sides to try to smooth out the polygon so i could make a shape similar to a bullet. then, I played with the sliders on the ring to make it a cool shape, then I put an icosahedron on the inside of several rings to make a design similar to the penny trap.
Forms 36-41

For my next object, I decided to get much more complex, and I used several shapes, as laid out, to create a caterpillar. I had to make a hole in the sphere and duplicate it to make the body, make small cylinders for the legs and antennae and then duplicate those, and also make small spheres for the eyes.
Forms 42-43

For my next form, I decided to use the duplicate tool in a different way, and to use it to make a cool hole in an object. I used the roof and duplicated it to make this hole resembling teeth in the rectangle.
Forms 44-50
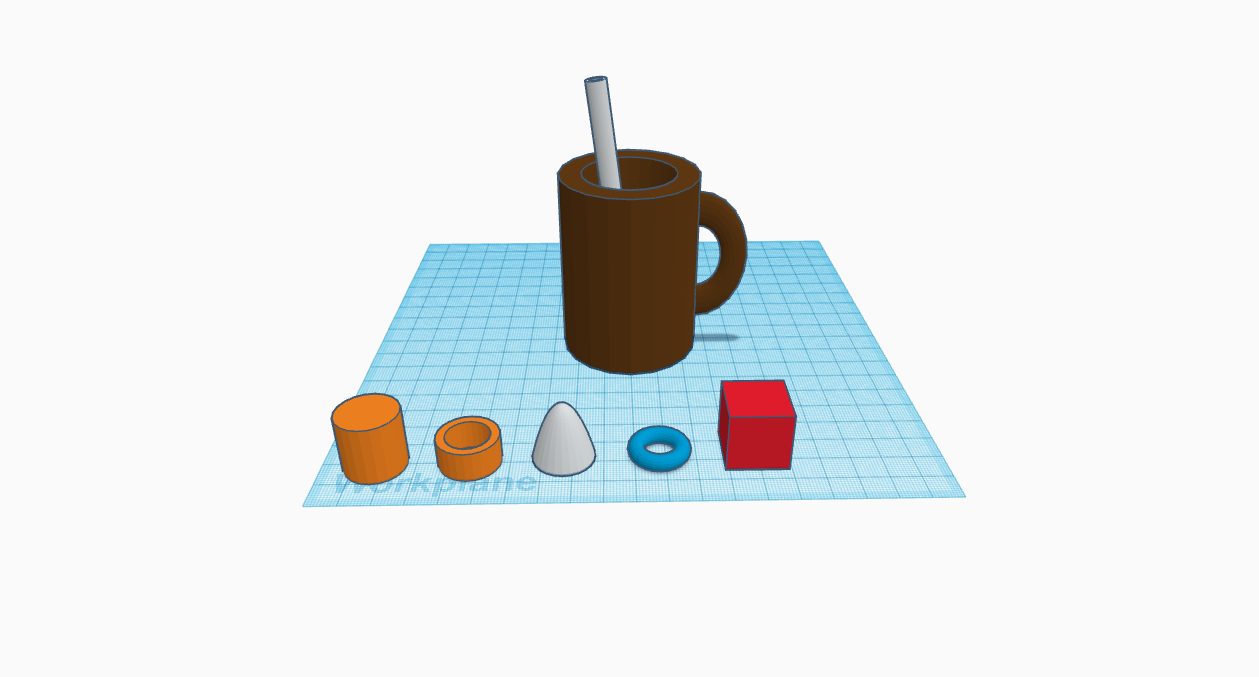
For my last form, I used several different shapes and altered them all to create a mug with a straw sticking out of it. I used the cylinder as the base for the mug, and used the paraboloid as a hole to cut out the center of the mug. I then shaped and stretched out the tube to make it look like a straw, and I angled it so it looked realistically placed in the mug. I then cut a ring in half using the box as a hole, and I attached it to the mug. I then grouped all of the aspects of the mug together, but kept the straw as a separate entity. I did this because if I were to actually print this out, I would put the straw to the side and print it separate so that it could actually function.
Hey can you make the images in this post “full size”? They are difficult to see at this small size