Group Members
Kevin Hagan- Lead Writer
Aaron Acosta- Lead Designer
Our First Design Iteration
For our Tinkercad Design project, we decided upon creating something you described to be difficult. When brainstorming ideas, Aaron and I both came to the revelation that we really enjoyed the concept of 3D printing and wanted something to test our abilities. With this in mind, we agreed upon creating a Car Business Card Holder. The business card holder was our way of making something relevant to our majors and most general professions. Creating the moving car that will hold these business cards was our way of putting our abilities to the test. We look forward to the challenge.
From the perspective of being in the work world, business cards are pretty much a necessity for most professions. Aaron talked about how he used them all the time when he was working for a car dealership. For me, as a hospitality management major, the industry is all about who you know. We are constantly being advised to create our own business cards so we never miss the opportunity to get our names out there. The reason we decided to make this card holder a car was because of the challenge it would bring. Speaking to you, you said you highly encouraged this aspect due to the wheels/axle and how tough it can be to print them so they are fully capable of moving. For these two reason, we believed our project would fit the guidelines perfectly as it hits many major guidelines; difficulty, how it applies to our majors, moving parts, the ability to add creative and interesting parts, and more.
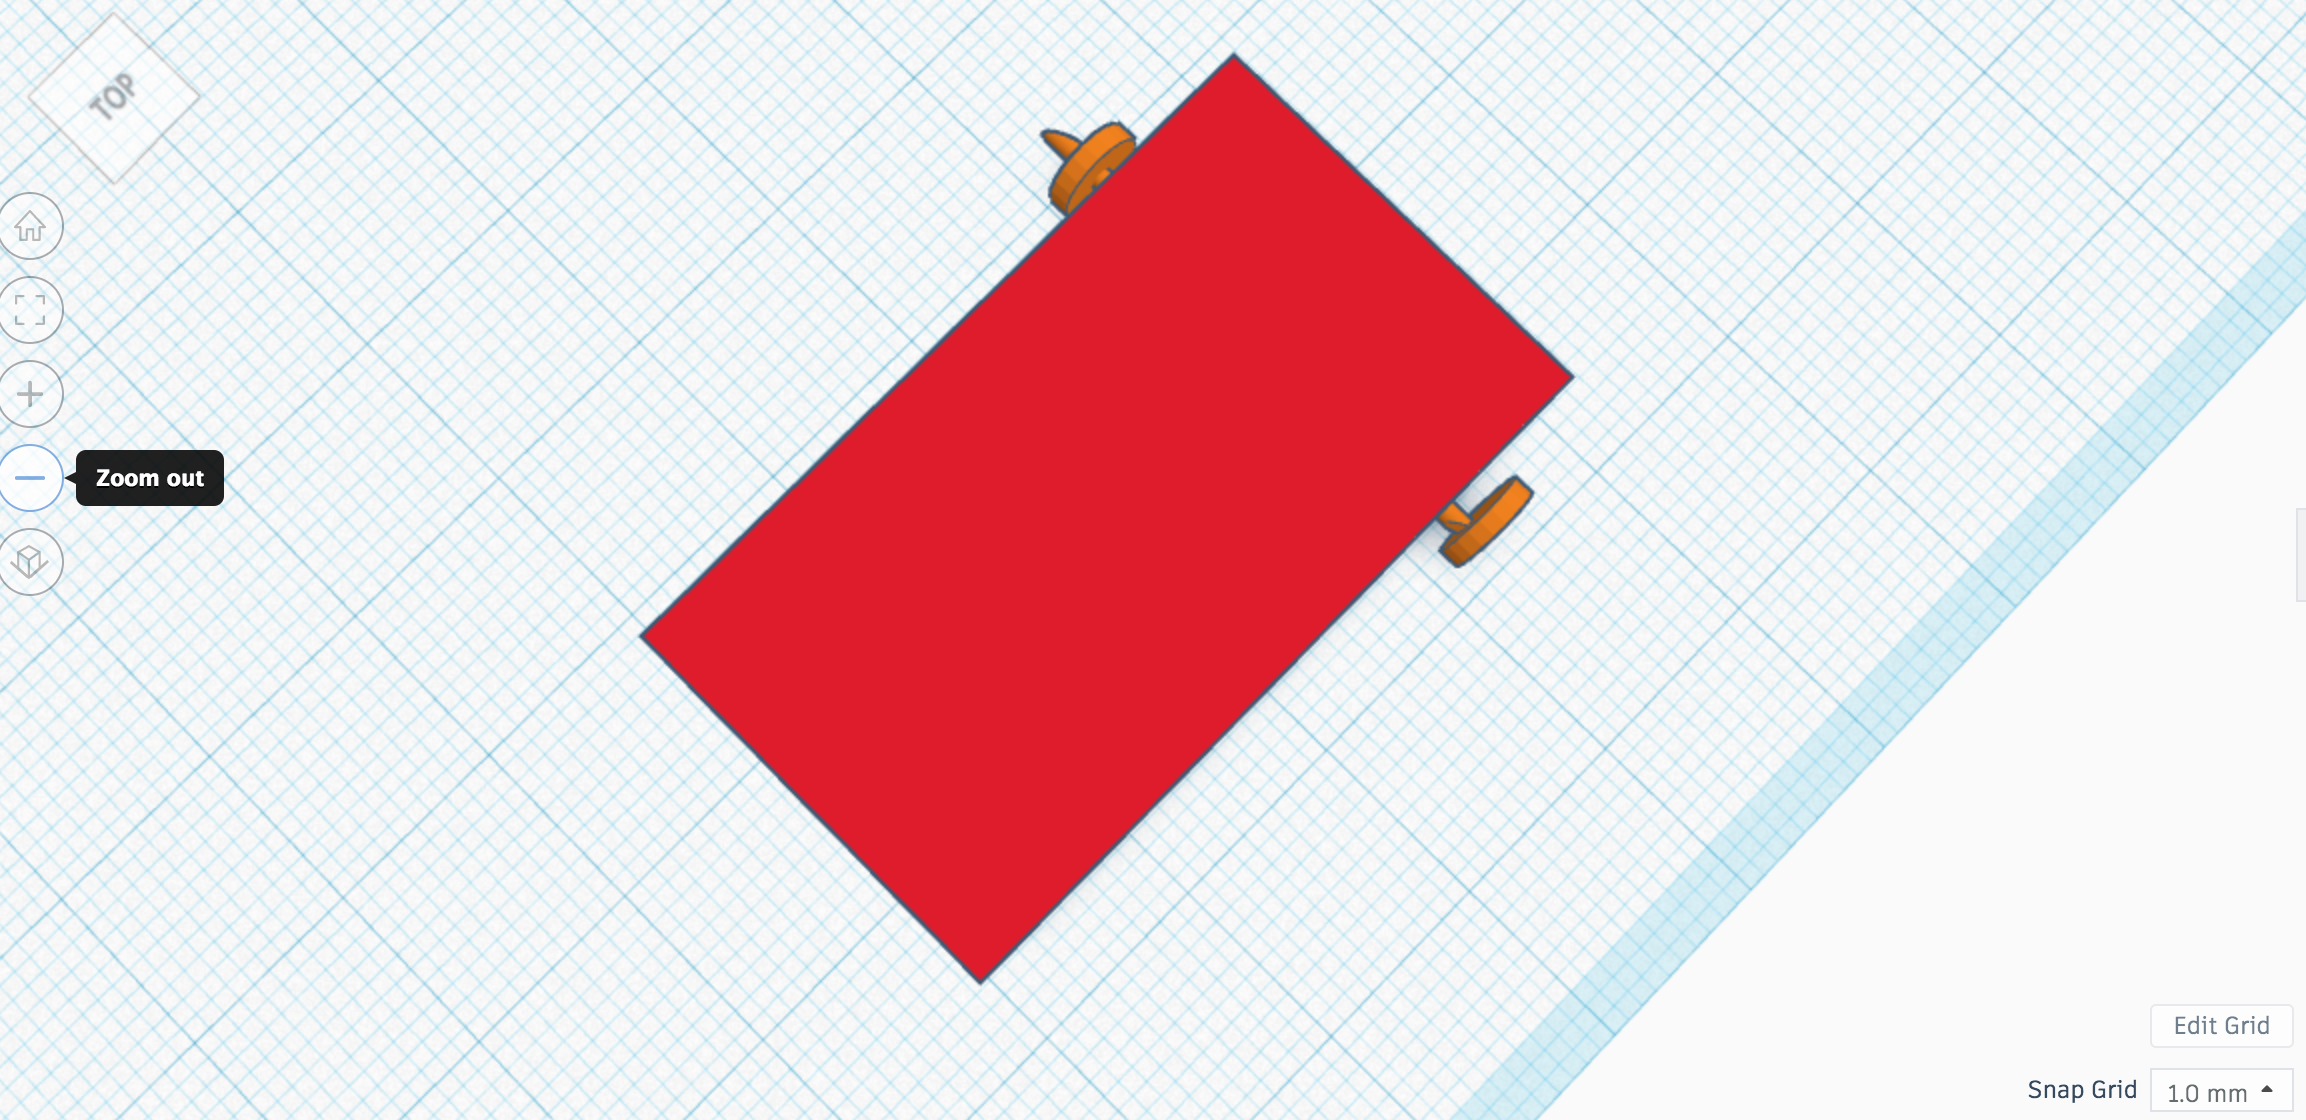
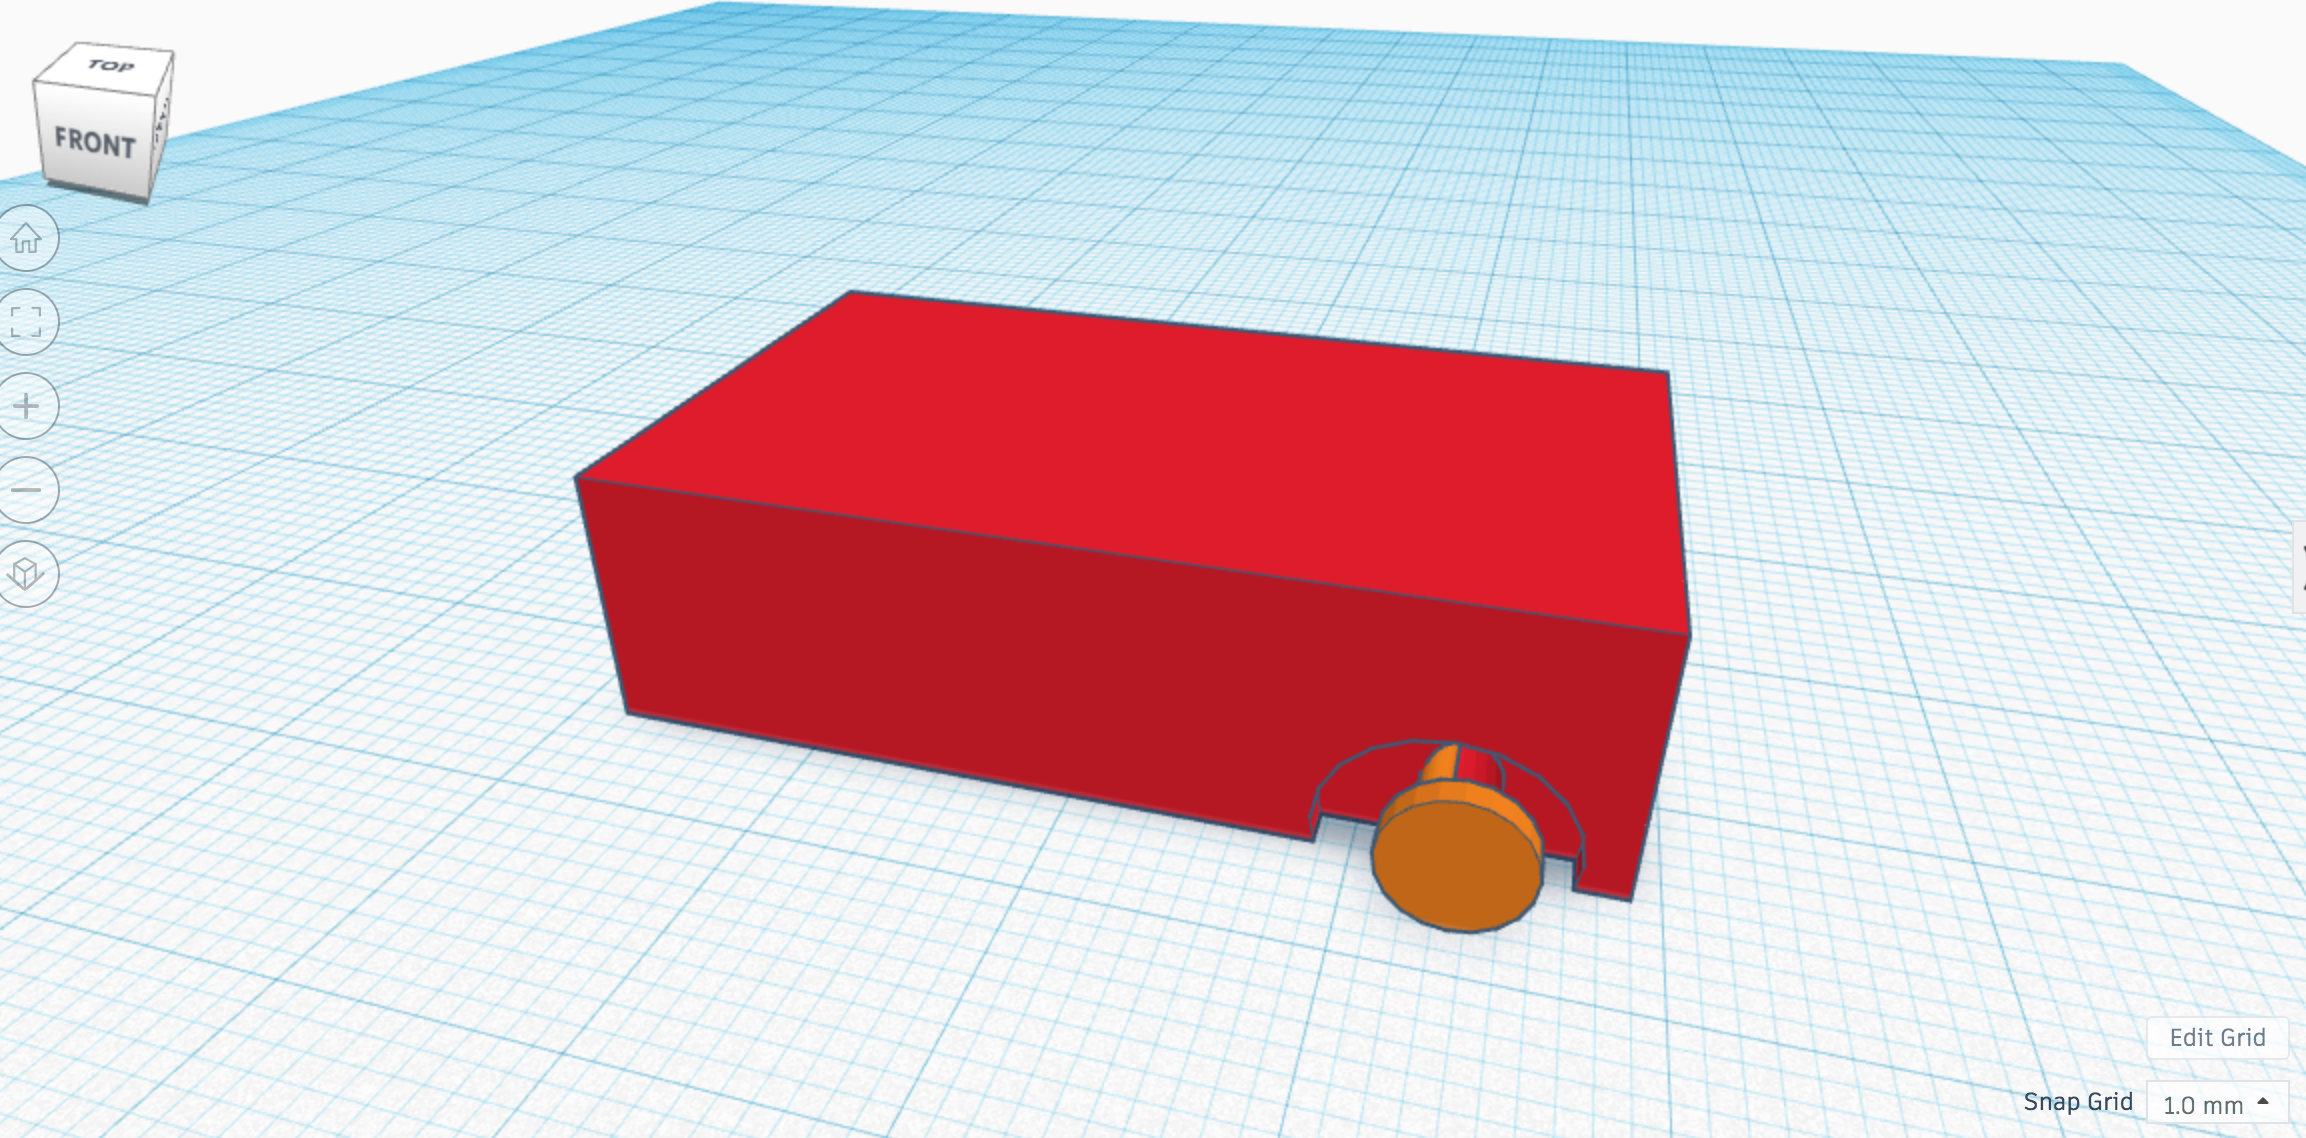
For our first draft, we decided to attack the hardest part first, the wheels. While at first glance the design may seem simple, I can confidently say it was far from it. We started off with just creating a rectangular box to represent a cars’ body. From there, we created the wheel wells by using a cylinder. This part was a little tricky as we had to find the right depth to create a wheel well that would eventually look right and correctly fit with our wheel. After we used the hole function and combined the box with the wheel wells on both sides we moved on to the axle hole. After doing lots of research, we decided on our first try to make the axle hole separate from the box and actual axle. Many projects on Thingiverse used this technique and were successful. The next step was to create the axle. Again, from our research on Thingiverse came another tough decision. We had to decide whether or not to connect the wheels directly to the axle or make them separately. We chose to connect them as our main concern is the axle and how exactly it would turn out on first print. Luckily, once this obstacle is tackled, this will open many doors for creativity and how we want to create the wheels design. The last concept we had to think about was whether to leave it flat or create it on its side. Thingiverse had both on there frequently. We decided our first run would be flat. The thinking process behind this is that we get to observe exactly how it will print so then we can easily adjust the shape and dimensions accordingly.
What we are really looking to learn from our first design is a few major points, the first being the axle. We have decide if after printing it works or if we have to continue our research on how to approach this. This projects hardest part will most likely be the design of the axle and the axle hole. Next would be to learn how the printer will approach what we have made. This is important in testing how we will make the wheels in the future as well as whether we place our design flat or on its side.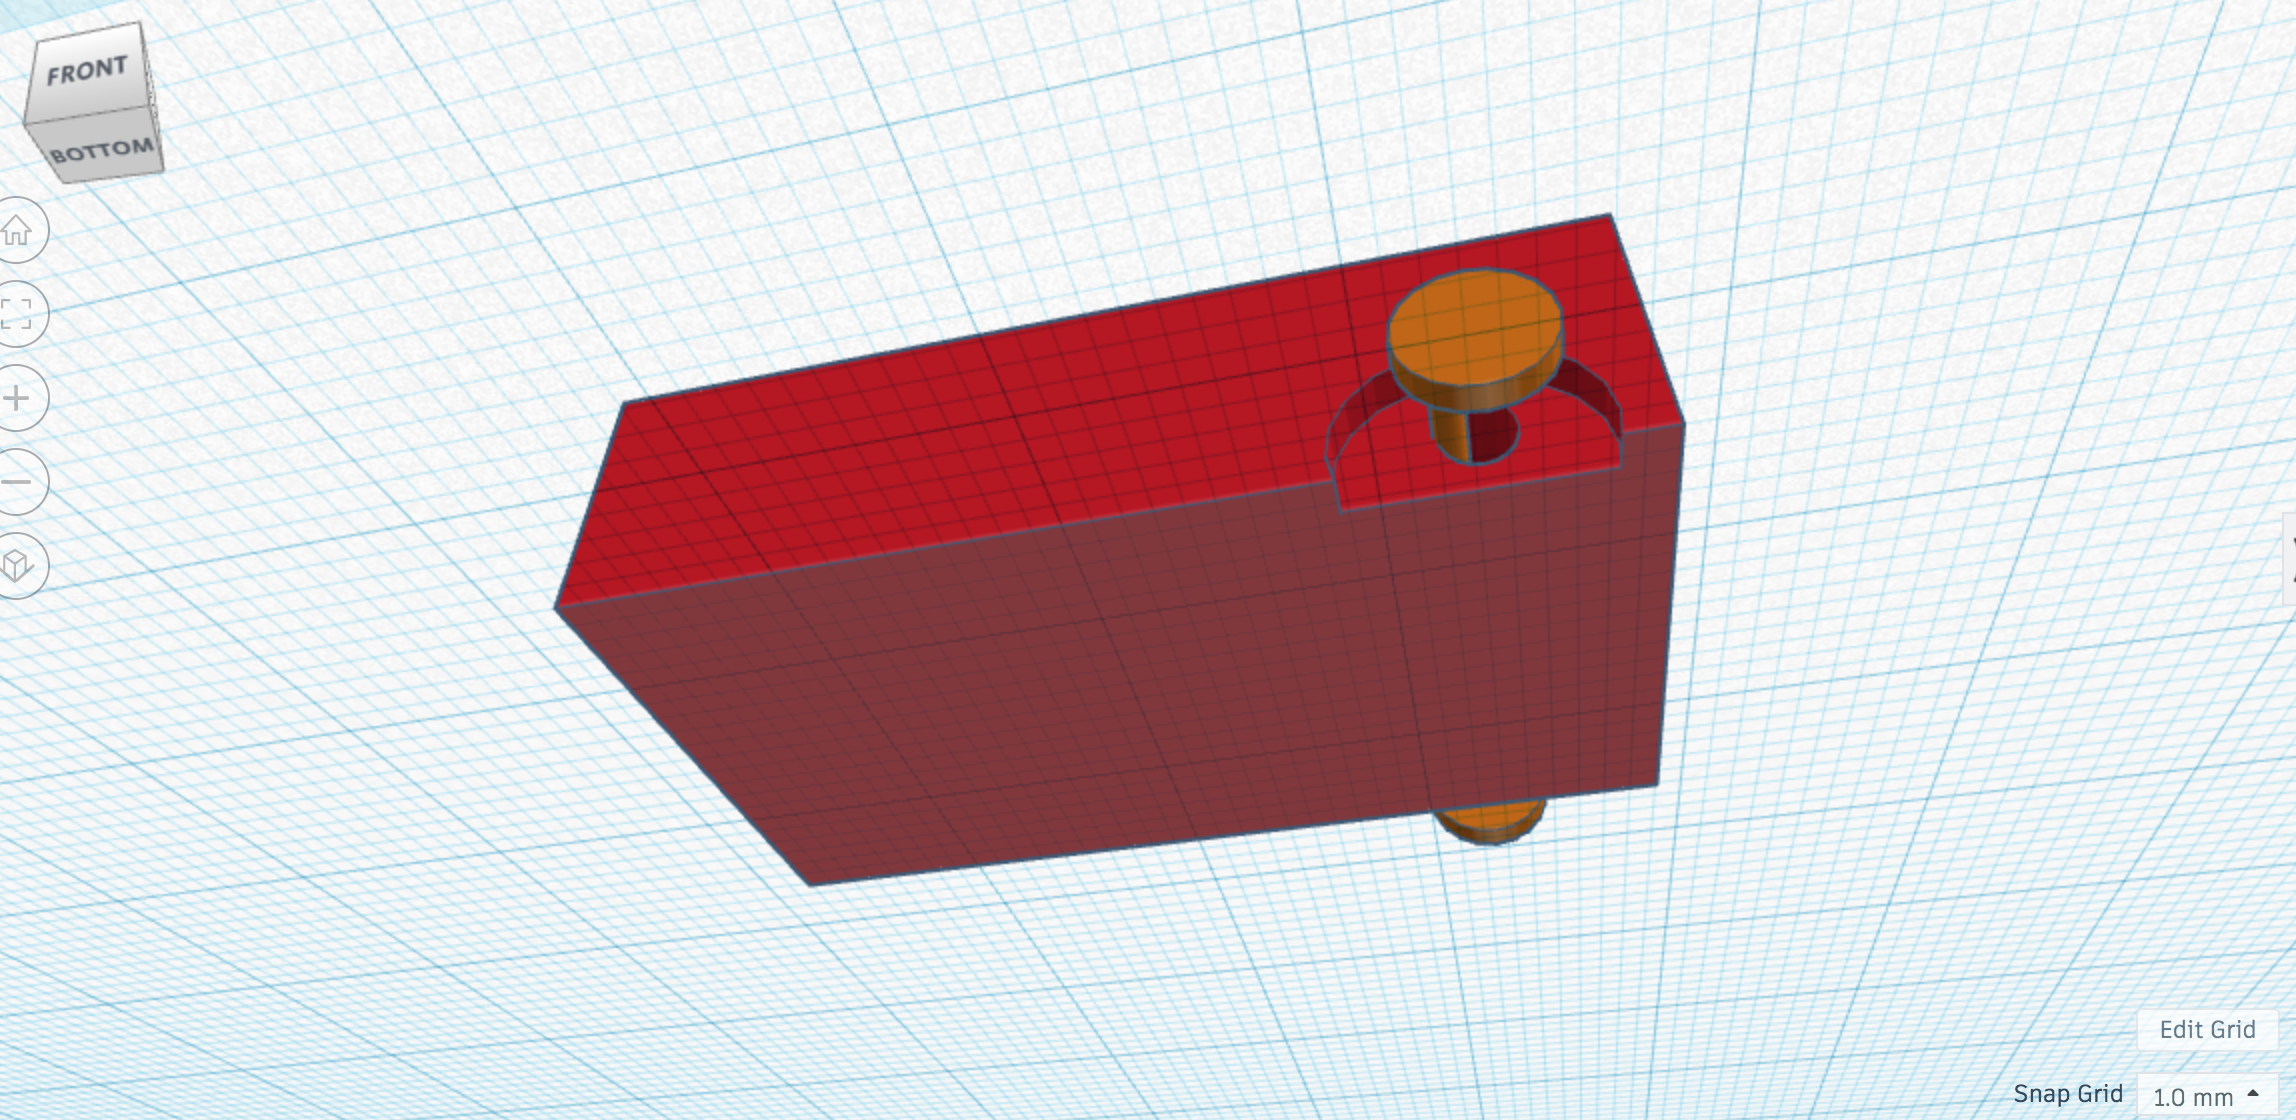
Some additional thoughts, we are definitely happy with what we have chosen. we think it will test us and open doors for lots of creativity. This first step in deciding on the axle will prove to be difficult but we are looking forward to the challenge. If all goes well, the second prints challenge will should include a new axle design and improved axle as well as a body or some wheel designs.
First Draft Print
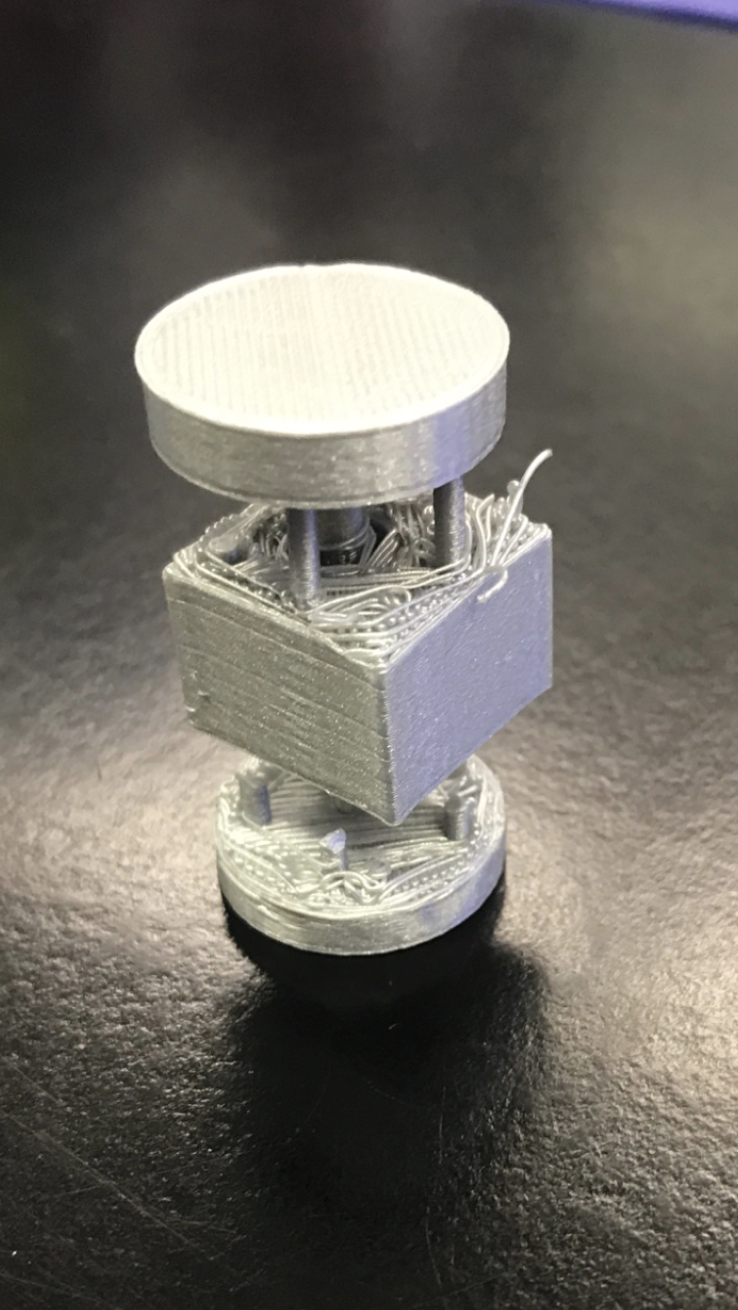
During class we started with our first print of our Car Business card holder and I would say it was a success. Luckily, we came prepared with two designs just as a precaution to the fact we had little knowledge on how exactly the 3D printer would approach creating our design. The firs was a box with wheels, axle, wheel well, and was printed flat. With the main focus on learning how exactly the printer would approach the axle and wheels, we came away with valuable knowledge. The printer would not print the axle flat. the box, the wheels, and the wheel well all printed fine but the axle ended up falling as the print went on. This was an issue due to the fact the wheels would not rotate in the end. The second print we did was the same thing however the model was laid on its side. With the model on its side, the thought is that the printer wont have to suspend the axle in the air with no support. To aid the axle knowing we were low on time and wanted to come away with a successful rolling print, we also added long cylinders through the whole print to act as supports. In the end the model worked but we discovered it would be best to just used the support the printer system has instead of our own. The box in the middle used to represent a car body did not have enough support because we didn’t use the printers support system. As a result, during the print, some of the body fell into the axle hole preventing the turning of the wheels. However, after we cut the supports we created and the pieces of the body that fell into the axle hole, the wheels turned as planned. The first model where the axle fell is pictured on the right, and the second model is pictured on the left.
Iterating the Design
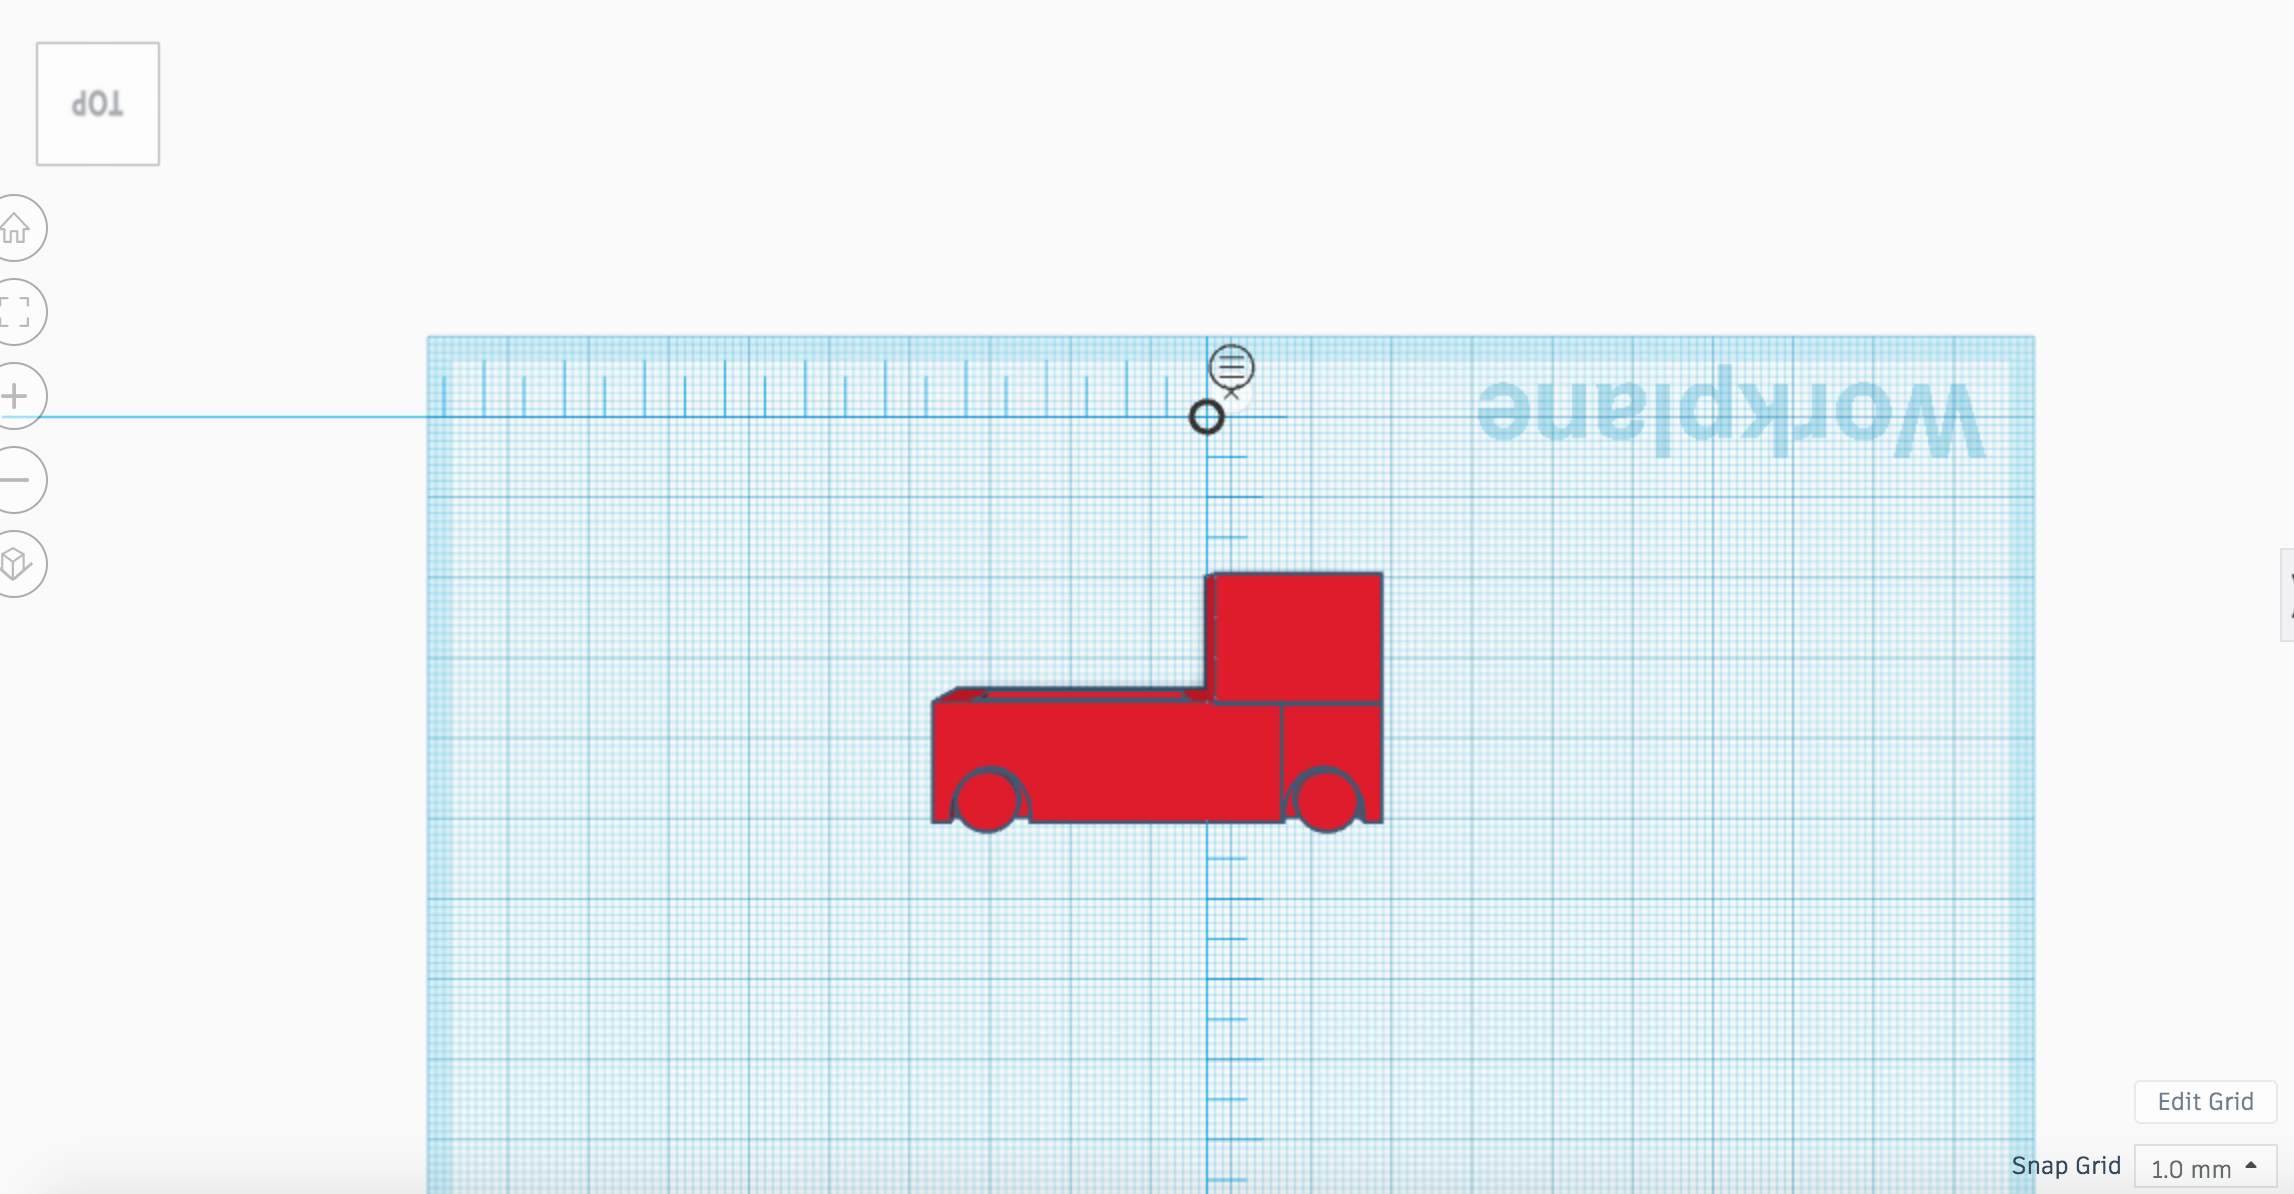
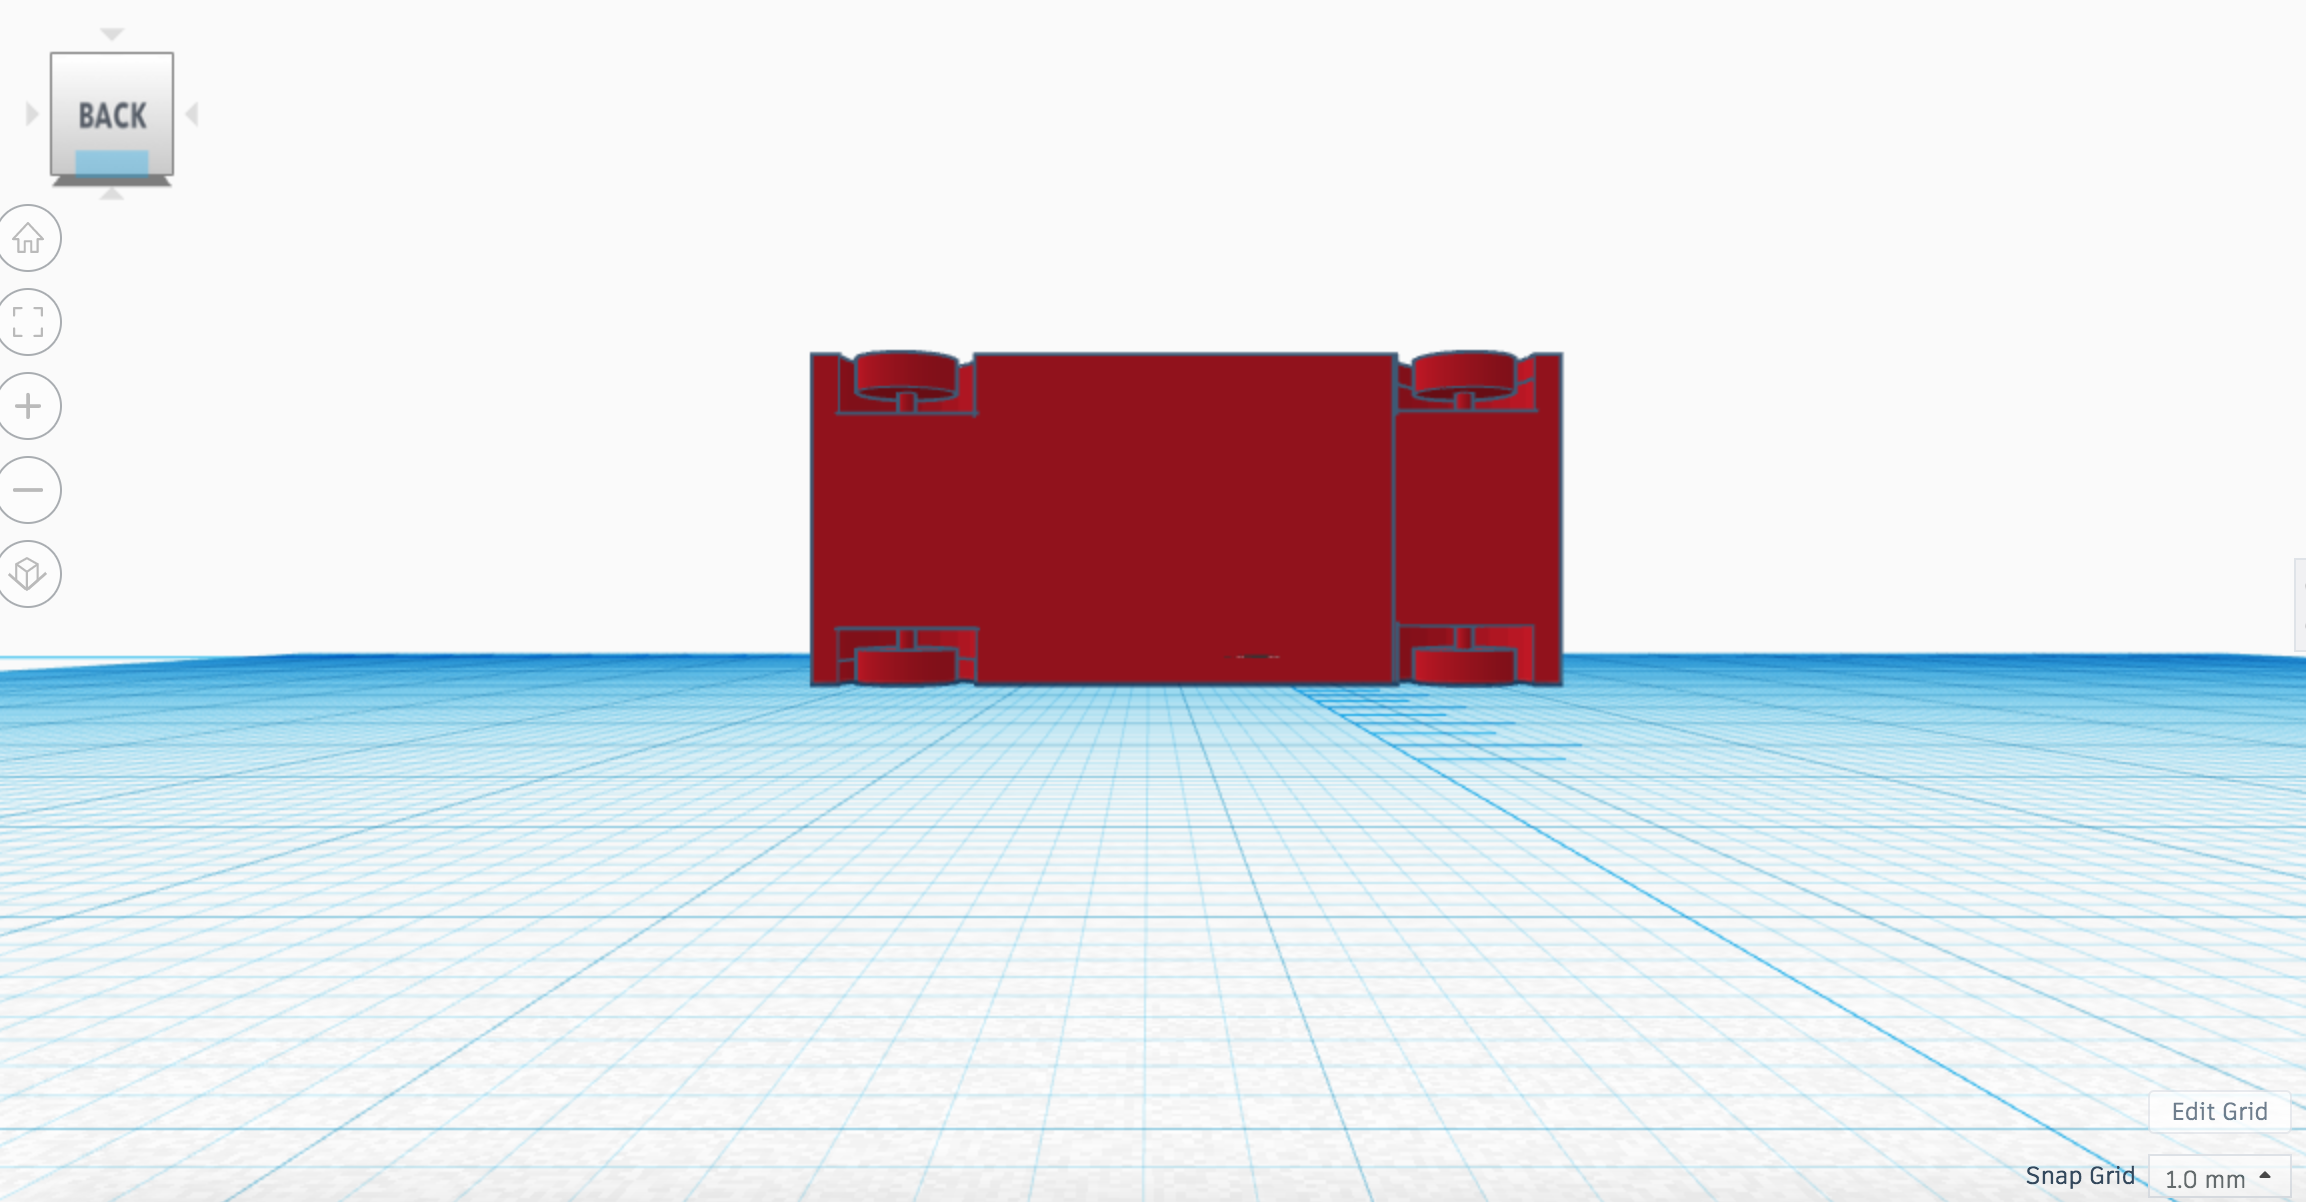
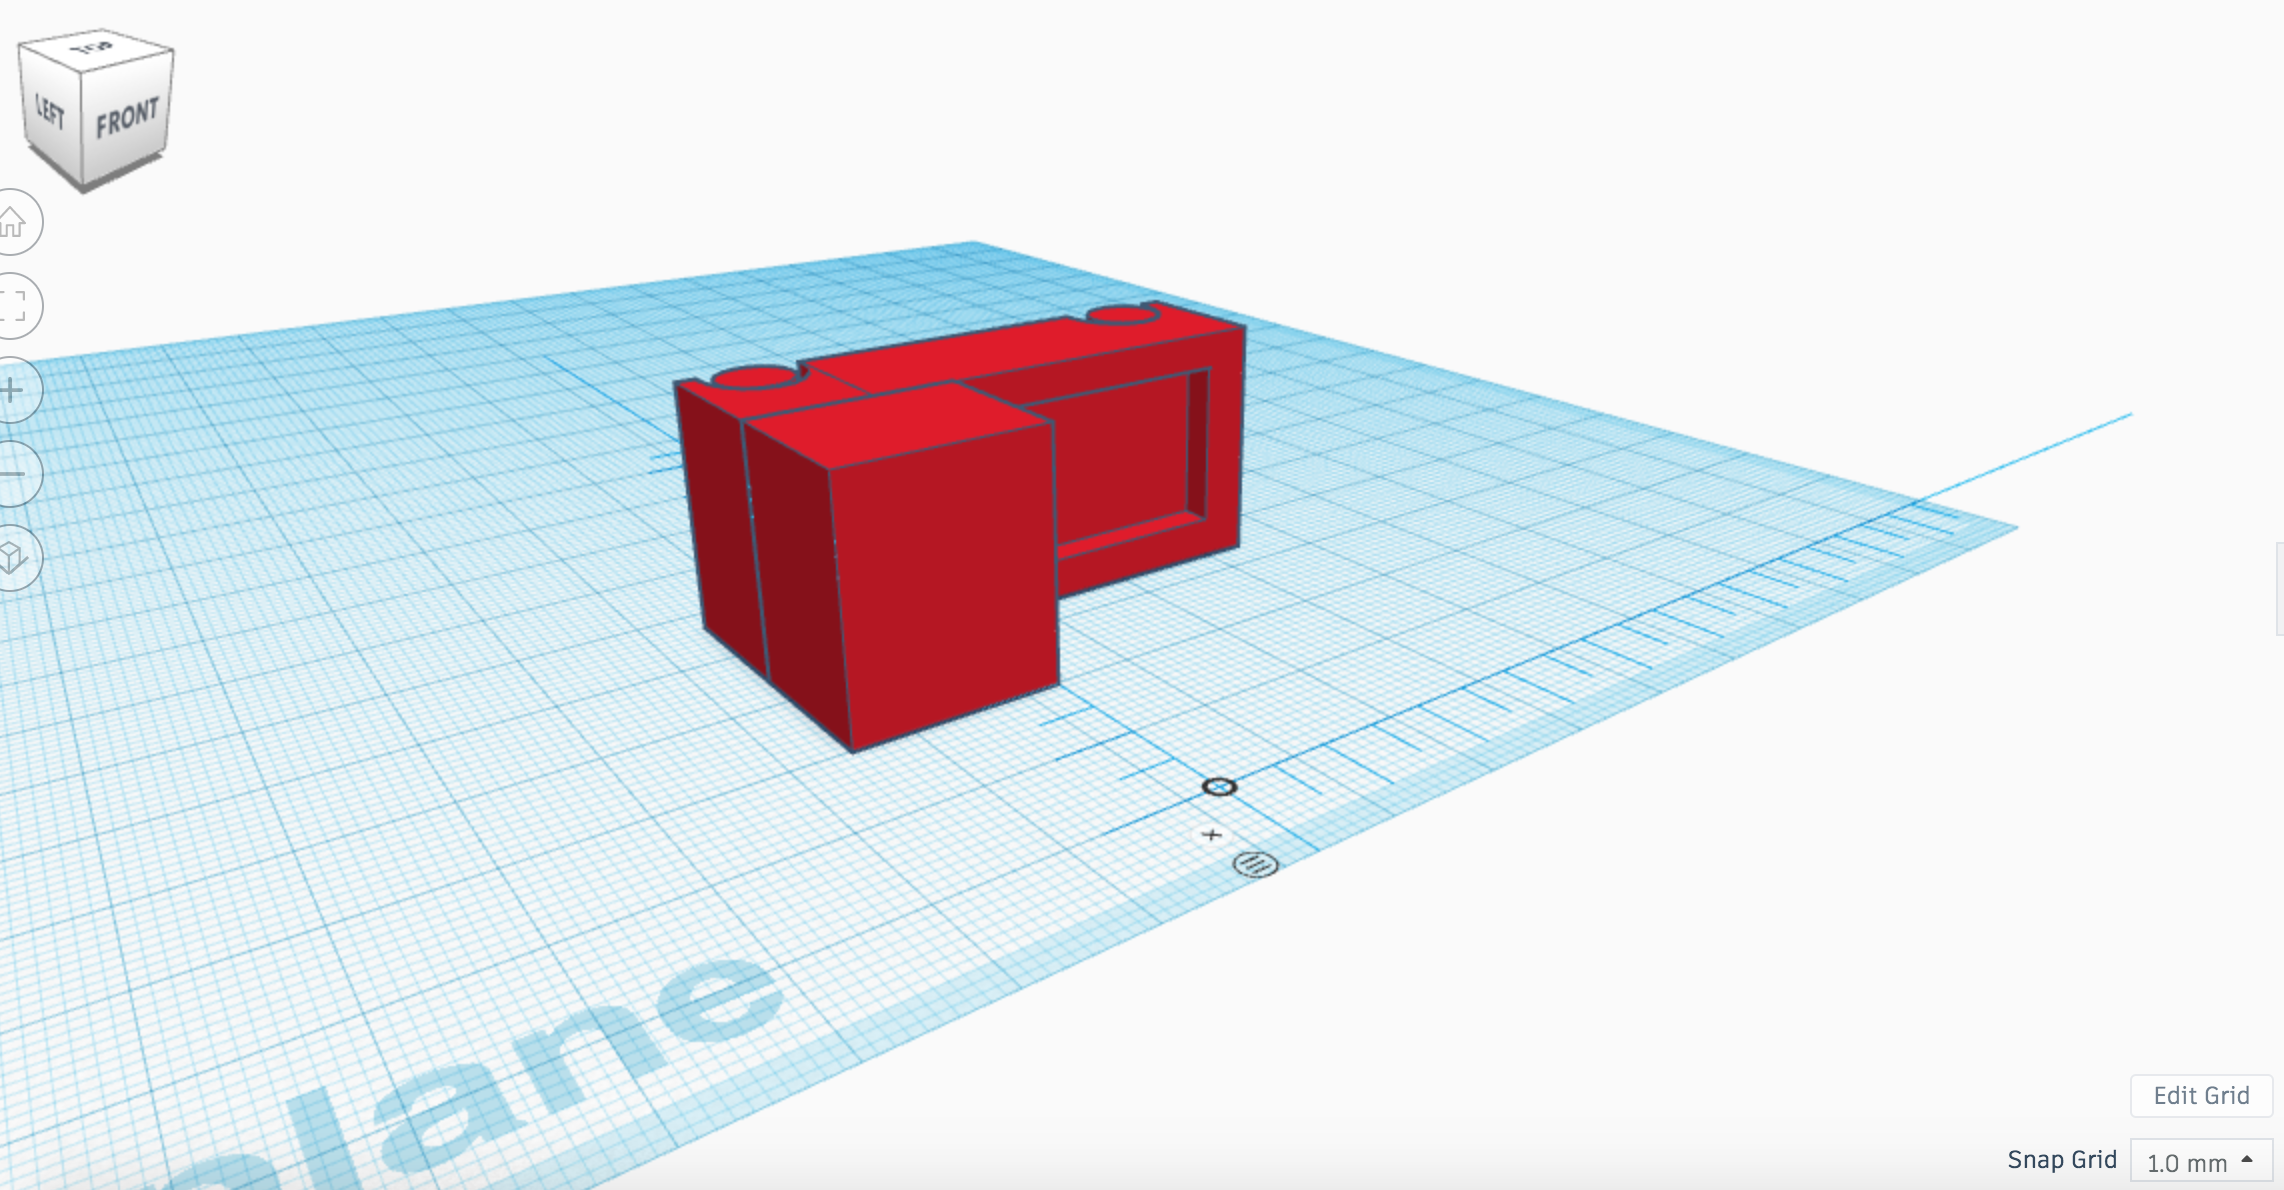
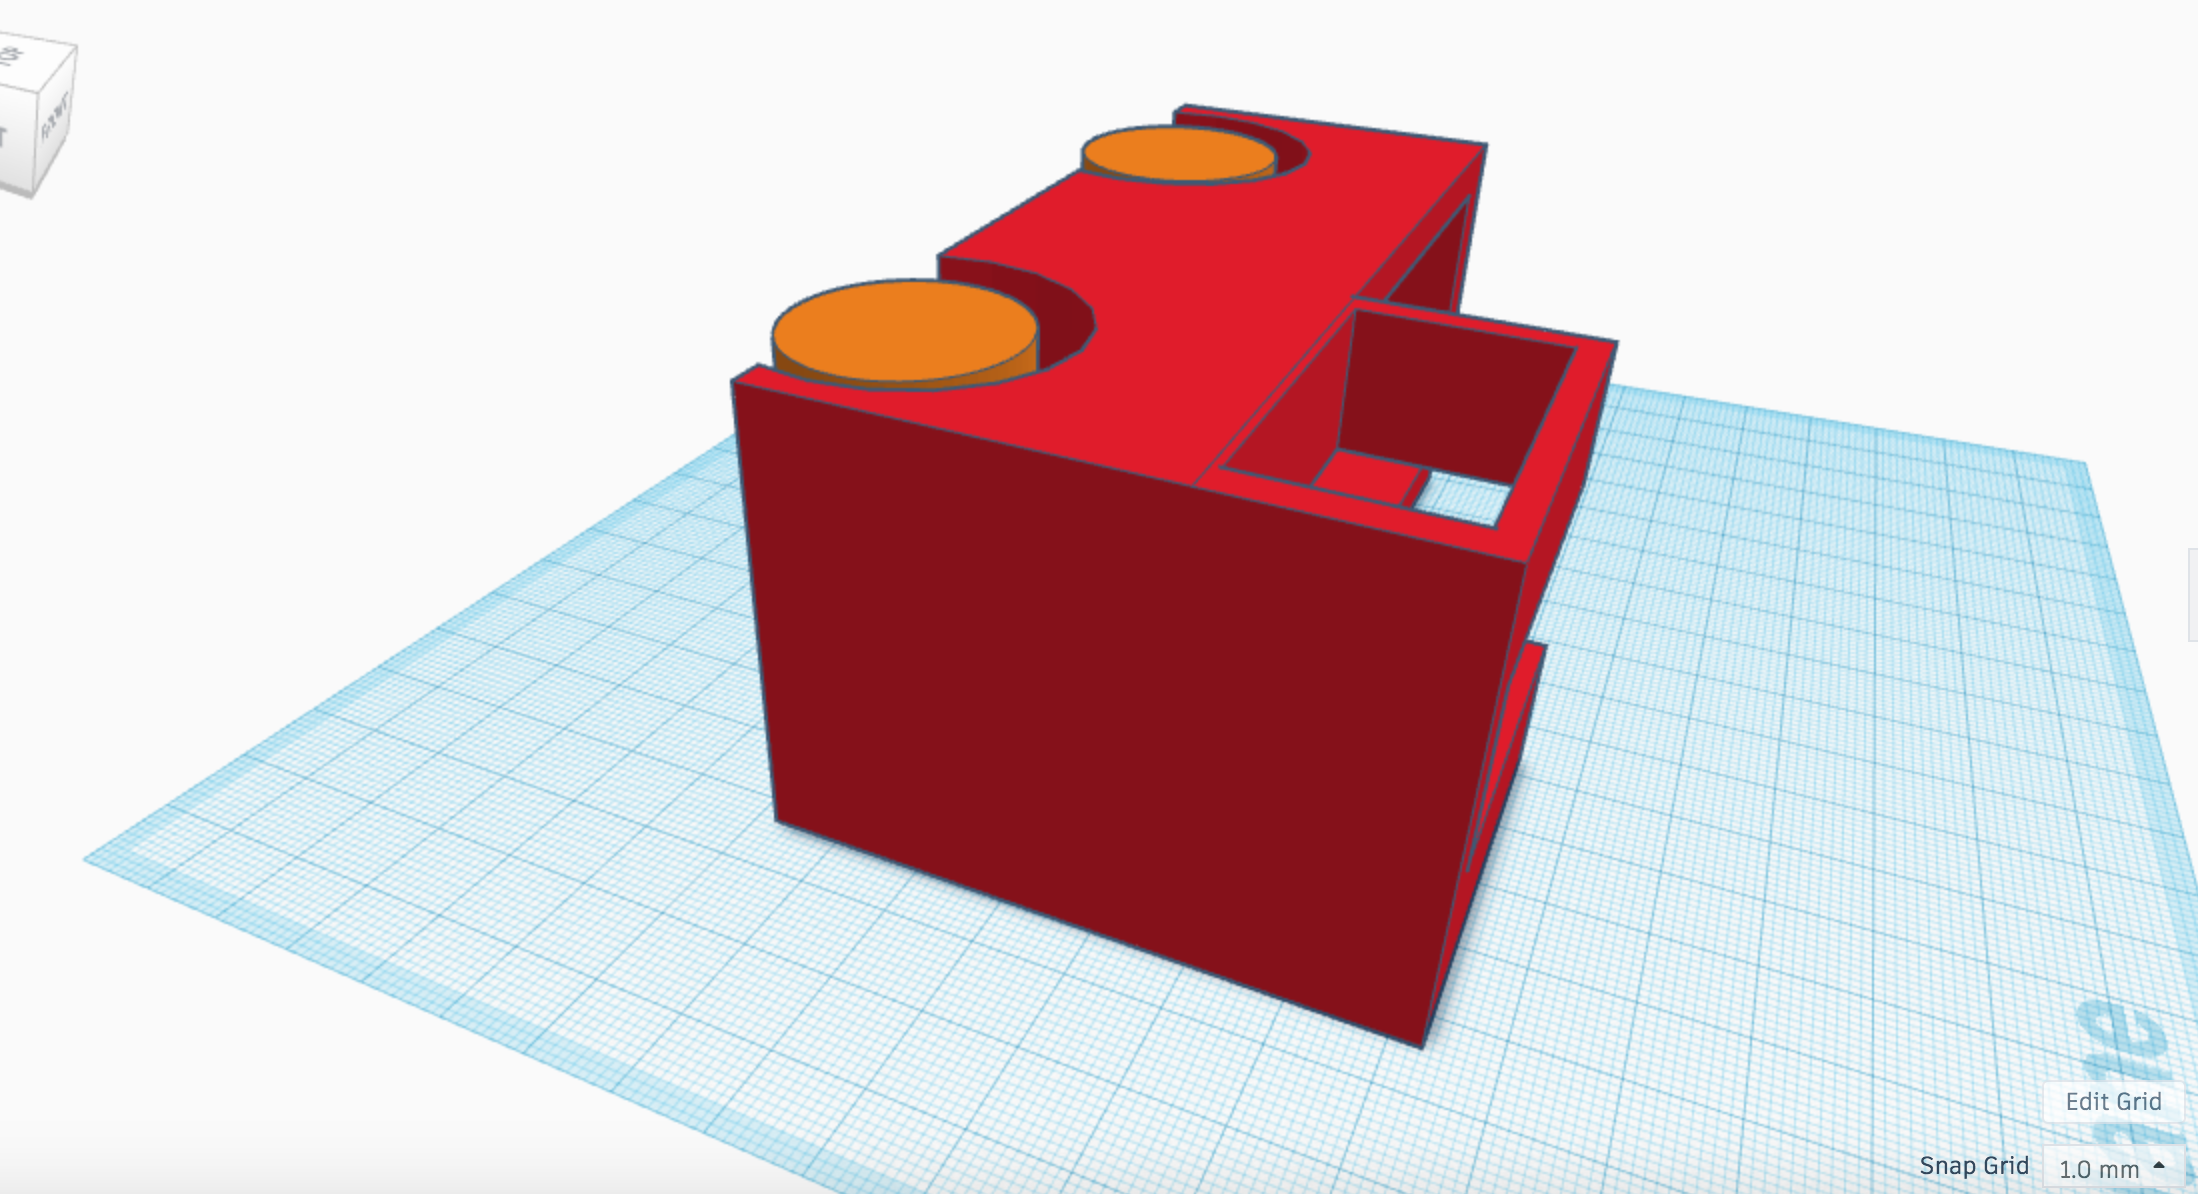
Based off our new knowledge and how we want to approach now attacking the design, we have come up with our new, more developed design. In this model, we have taken what we learned from the second model from last class and applied a few more pieces, again with the hope of learning how the printer approaches the new pieces. The new design has 4 wheels, 2 axles, 4 wheel wells, and a body which will hold the business cards. For the final design we will create a more specific body. Something to note is that this design is laid flat. The pieces we will be watching closely are the support systems being put around the wheels, axle, and wheel well. In the end, after we cut away the supports, we want this to actually resemble a truck with the capability of moving. We believe this final model and watching it print will be the final step in learning what it is we need to create the final model.
Iterating the Final Product
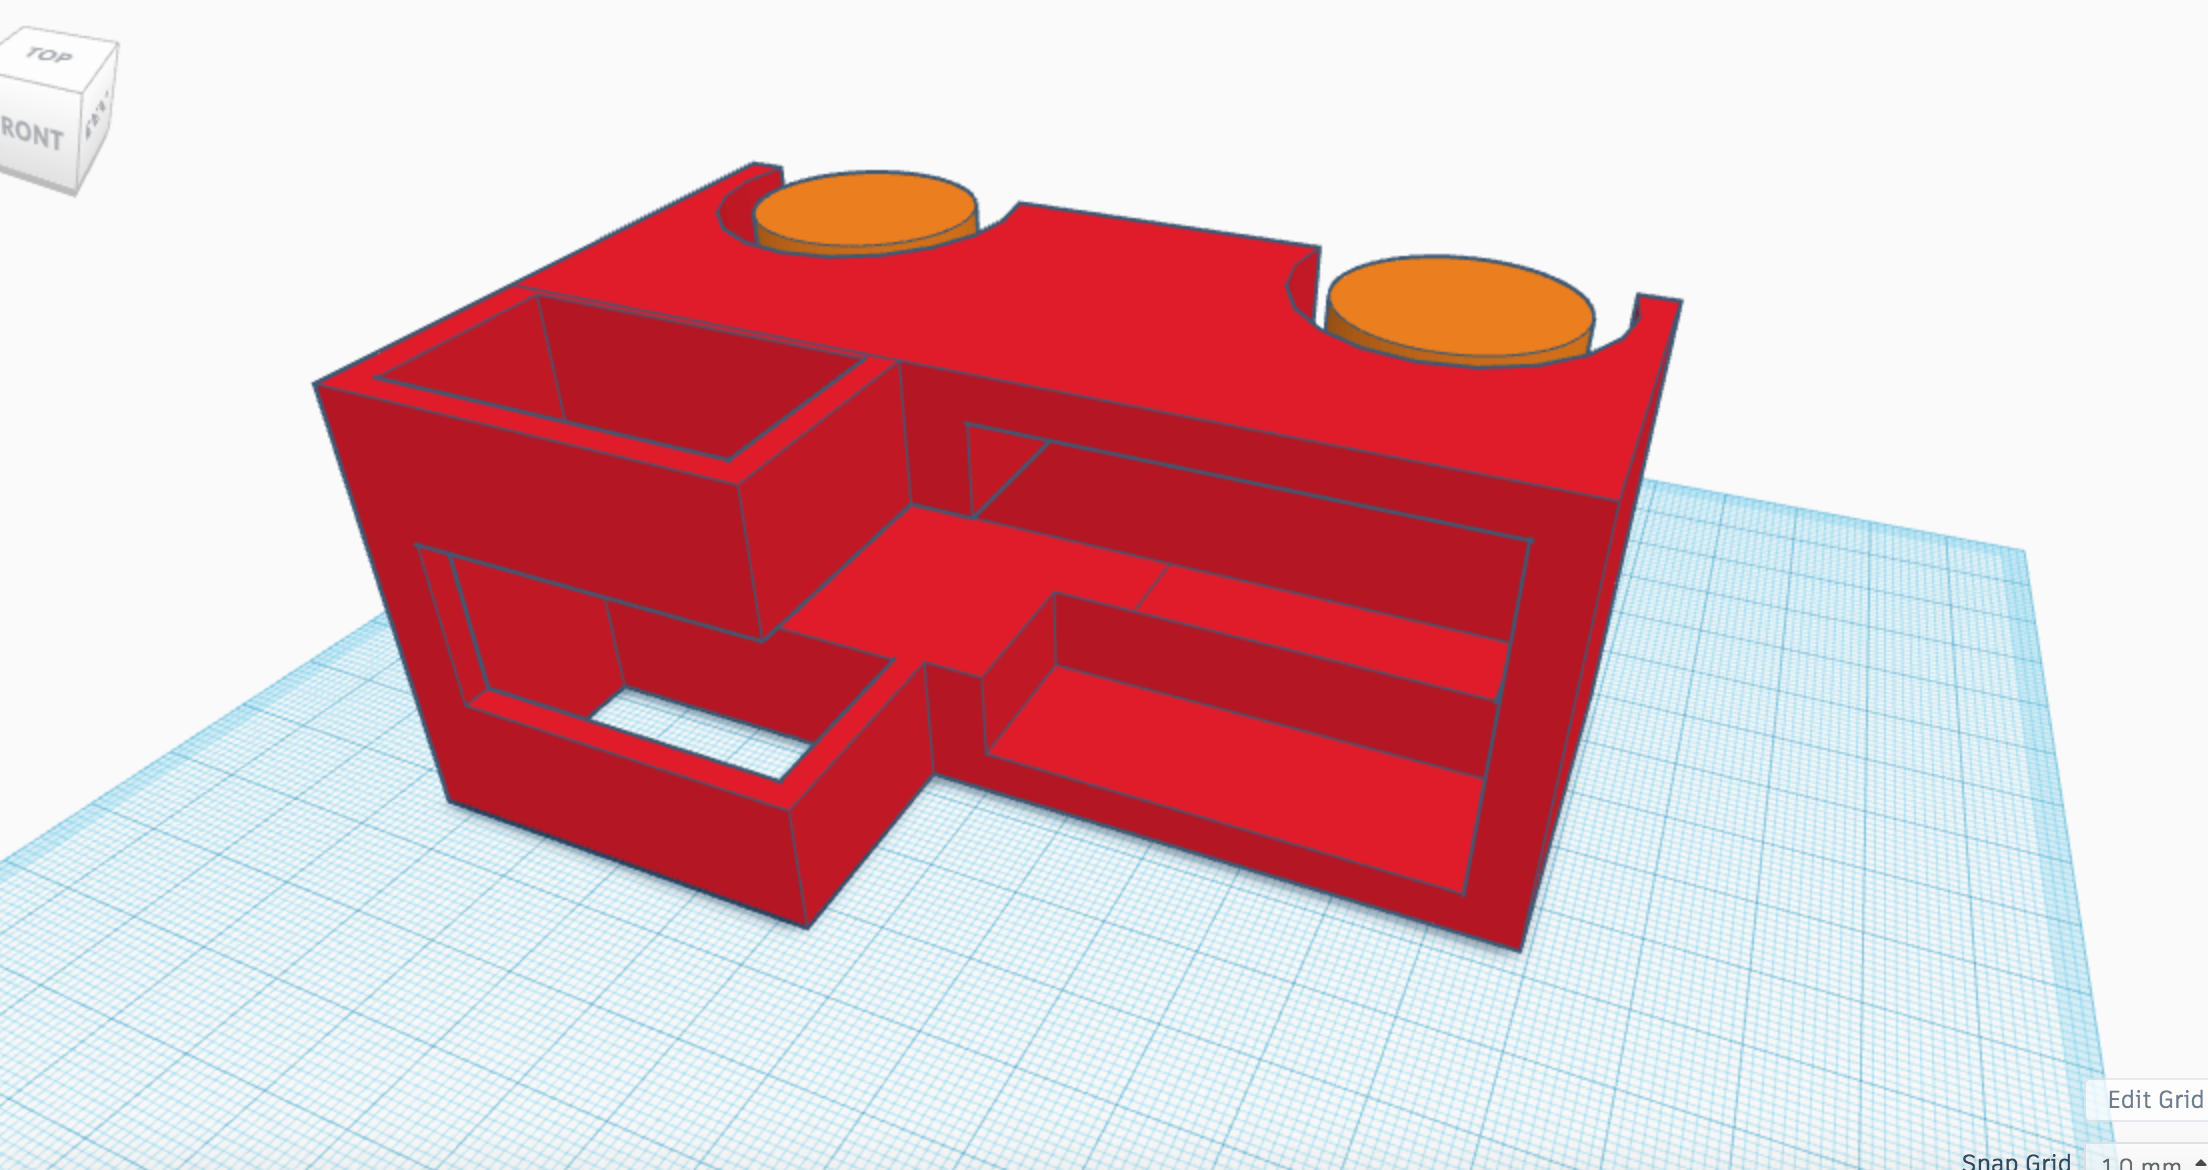
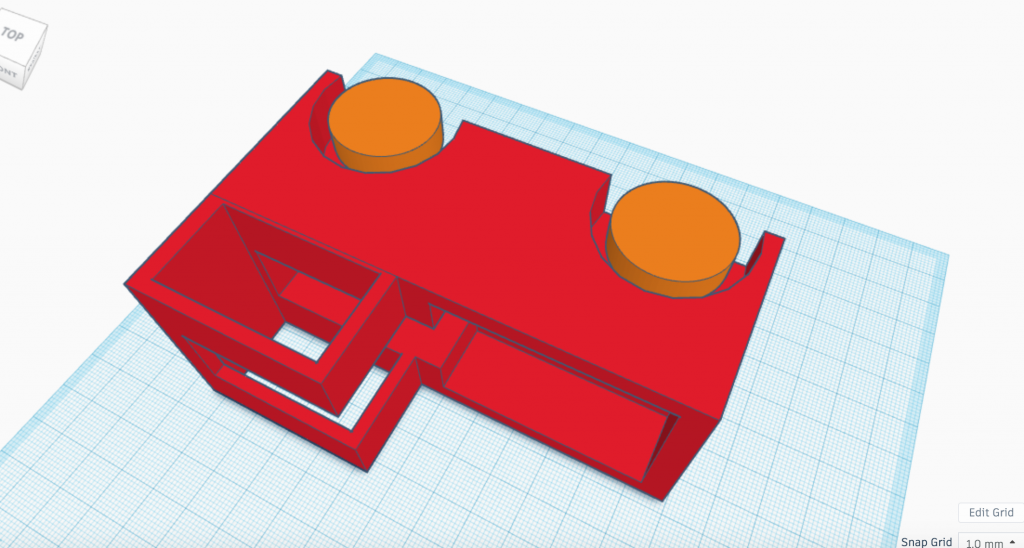
After really paying attention to how our drafts printed and lots of research on how to approach the tricky aspects of our design, we finally developed our final product. We did have to do some tinkering as originally our print was going to have to take almost 20 hours once it was scaled to fit the business card. What we did to combat this is to take the trunk, where the business card holder was supposed to be, and extend that gap through the cabin of the truck. This allowed us to make the print smaller. To add a little artistic flare, we designed the cabin to have a hole so that once the business card is in, you can have that hole display your picture or key information based on how it is laid inside. On our last design, we learned how to make the wheels work. This was the trickiest part of creating our product as well as creating the right size products, and having a good support system during the print.
The Final Product
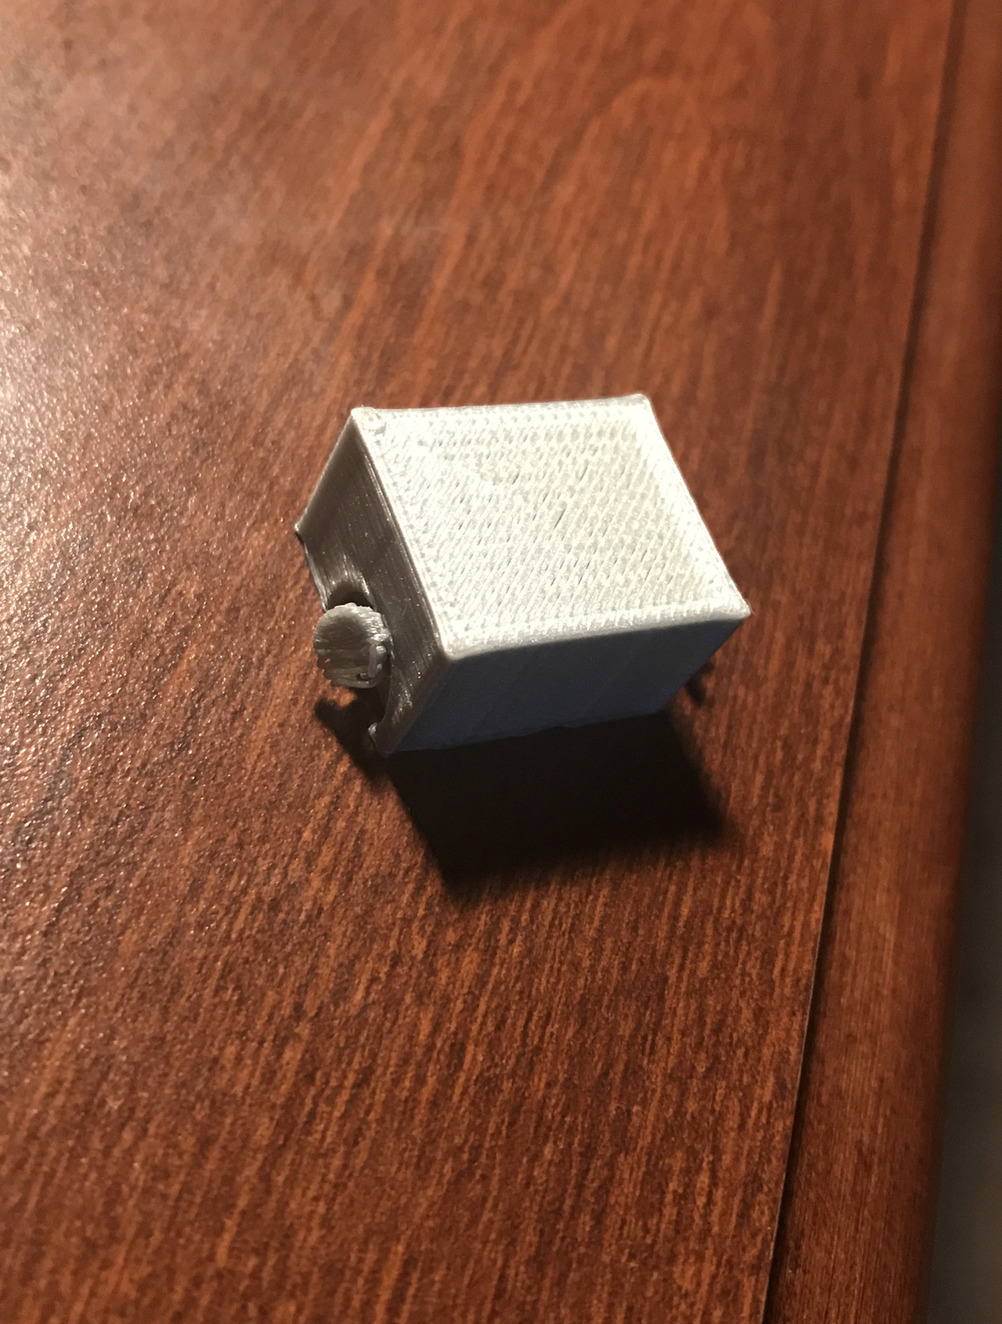
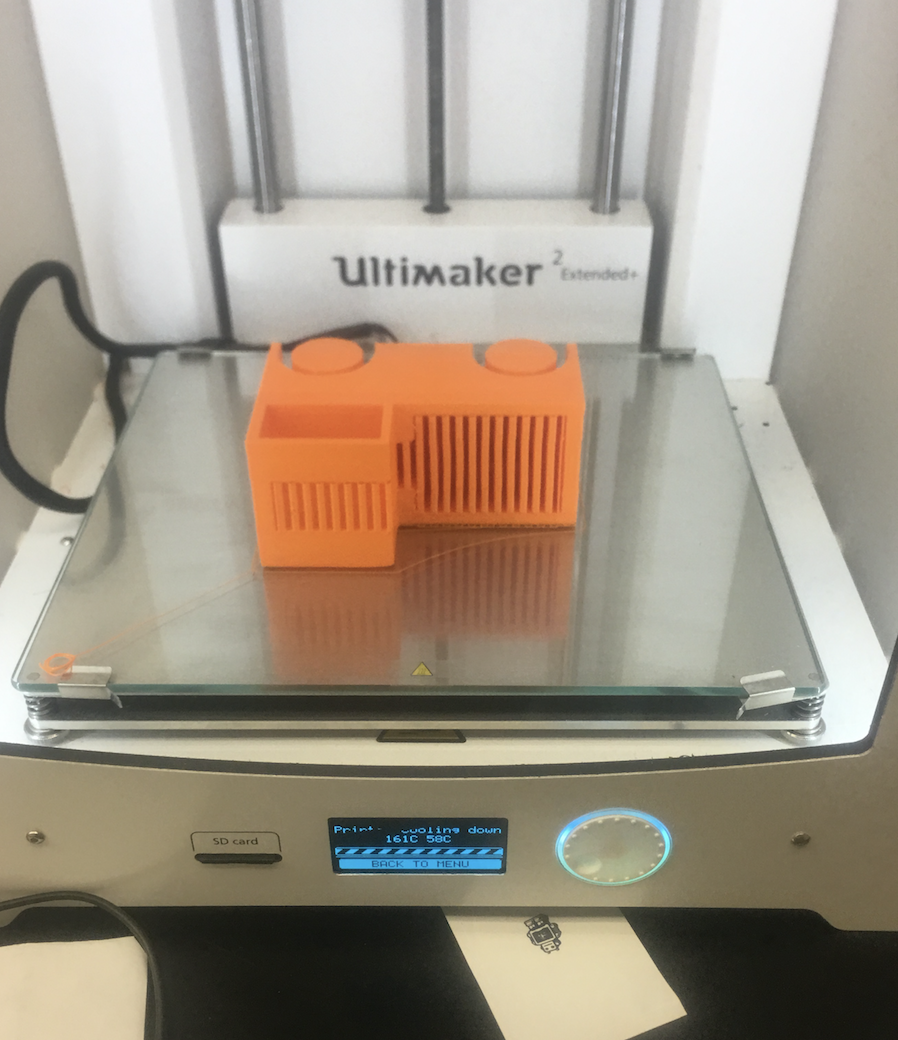
Nervous and anxious, we attempted our final print Sunday. The print went great! It looked scaled correctly, axle looked thick, wheels looked great, wheel wells looked scaled correctly, our body and wheel designs looked unique, and the support systems looked as if they had done their job. However, we ran into the issue of one of our wheels breaking off as we cut away the supports after the print. Aaron, acting quick on his feet, designed another wheel and axle that we could replace it with without having to reprint the whole product. In the end, our final product is exactly what we wanted. The truck rolls, holds and displays the business card creatively, and is our own actual first final self made design using the 3D printers. Take a look! PS: it likes to spin on certain surfaces.

TinkerCad Link: https://www.tinkercad.com/things/a8CFZuUgG7a
Thingiverse Link: https://www.thingiverse.com/thing:2577597