Group Members
Stephanie Serage (Lead Designer)
Kate Penney (Lead Writer)
First Design Iteration
During brainstorming, Stephanie had brought up the idea of Samus’s arm cannon. Initially, we were unsure of how Tinkercad’s constraints would inhibit a relatively detailed design.
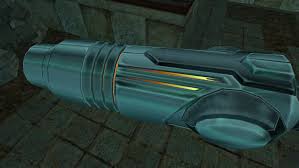
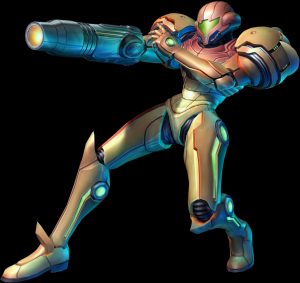
After looking through Google Images however, we found that several people had successfully recreated an actual arm cannon! We looked through some of those designs to assess the level of detail these fellow 3D Printers had put into the arm cannon. The first glaringly obvious thing Stephanie and I knew we couldn’t have in our design was the size. Since we don’t have all of the time and resources to build a design we could put our entire arms through, we decided to build the cannon at a scale where we could simply just put our fingers through it.
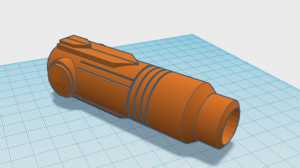
Stephanie began to play with Tinkercad and flesh out some details of the exterior of the cannon.
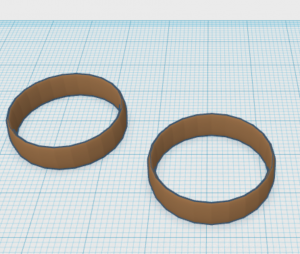
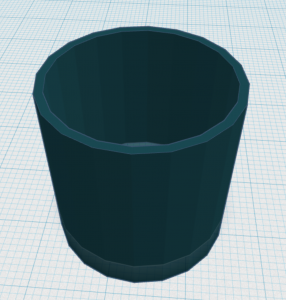
Before we could move on to the design though, we decided it was important to make sure we get out measurements right. We made several ring objects, ranging from ring size 12 to 14, and hollowed out cylinders to test putting our fingers through. We plan to print some of these to get an idea of where to start measurement-wise, and then build the cannon around that.
Completing the Cannon Design
Unfortunately I (Kate) was too sick to come to class last week, so Stephanie did test prints to figure out the width and length of the cannon. It was important that the cannon would fit with one of our fingers for both of us. Unfortunately, Stephanie wasn’t able to collect the test prints due to the fire alarm at the end of class.
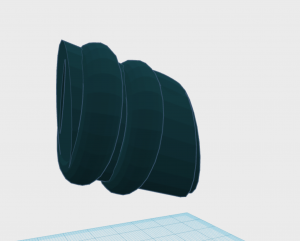
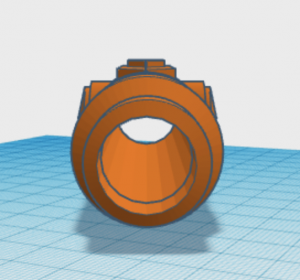
I used Stephanie’s edited design for the inside of the cannon in developing the outside of the cannon. As I was creating it, it was extremely important to maintain the tunnel/hole for our fingers to fit through when adding external features. As you can see below, I stretched the cylinder hole as I moved through the design.
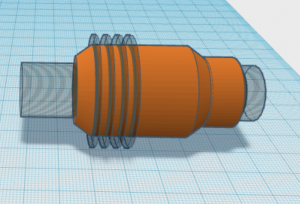
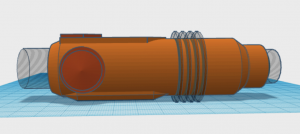
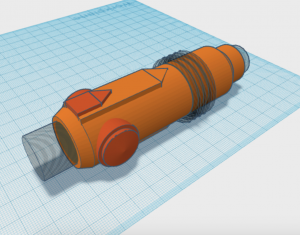
After adding the outer textures and details, I came pretty close to something that resembles the arm cannon we set out to create. We hope to print this and adjust the sizing once again this week. 🙂
Sizing and Printing the Cannon
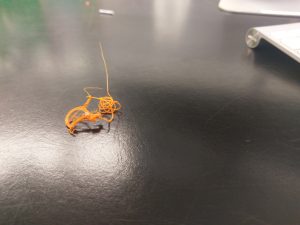
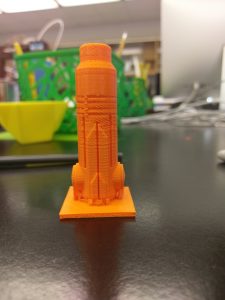
We initially oriented the cannon vertically, using the larger hole at the end as the base. After resizing it so that the print would take a short amount of time, we sent our first final cannon to the printer. Unfortunately, we discovered we needed a base after the printer had a hard time with the opening.
We added a rectangular base and supports for the additional details on each sides of the cannon. We sent the revision to the printer with some much better results. Unfortunately the base was uneven as our printer needed to be leveled, but we felt confident in the design to make an even larger print.
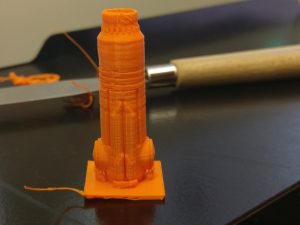
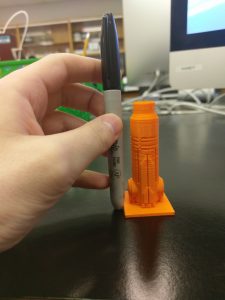
Our last test print took around 2 hours to complete with a sizing of around 60% of the original. Despite not being 100%, we can still fit our pinkies into the base. 🙂
Tinkercad & Thingiverse Links
https://www.tinkercad.com/things/7hsutDxRsNE-samus-cannon-mkii