Introduction and Thoughts
I got very excited when I head we were going to do some programming in thins class. As a CIS minor, I had to take a programming class using Python, and I absolutely loved the class. To me programming is a challenge that I embrace. That is exactly how I approached this assignment. I have been wanting to learn another language other than Python, and here was my opportunity. OpenSCAD is a very unique language but shares some similarities as do all programing languages.
First OpenSCAD Print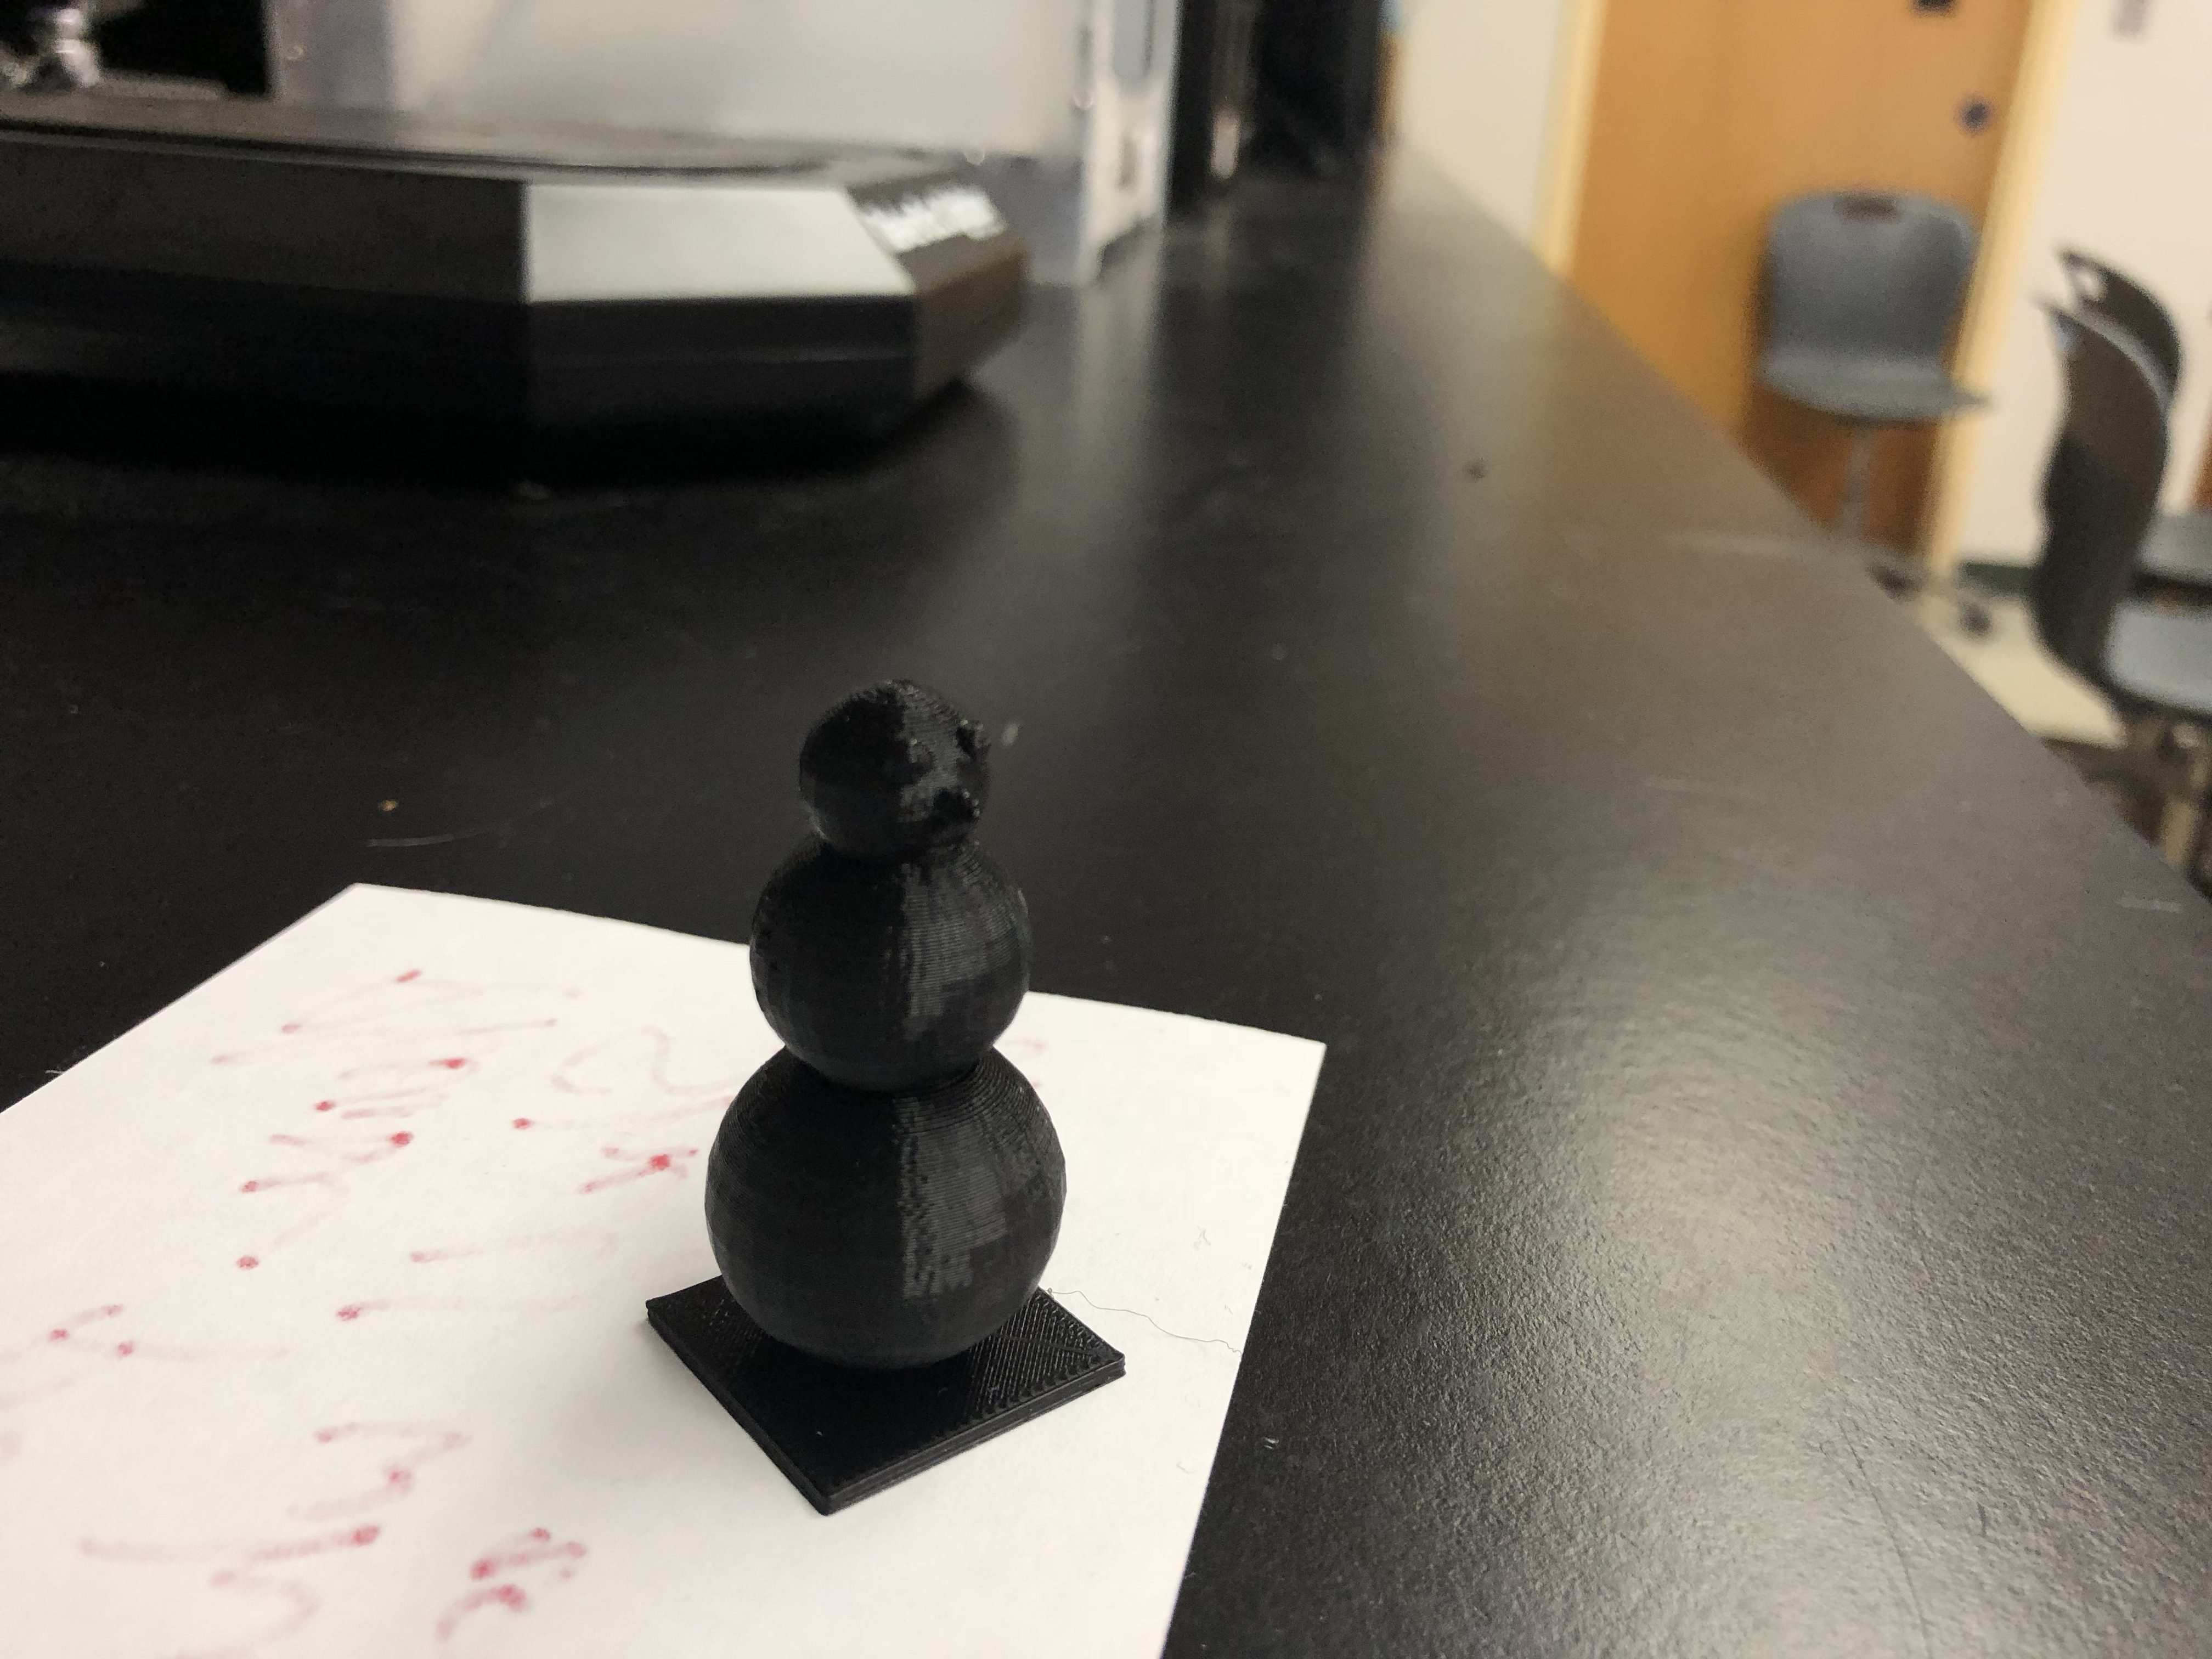
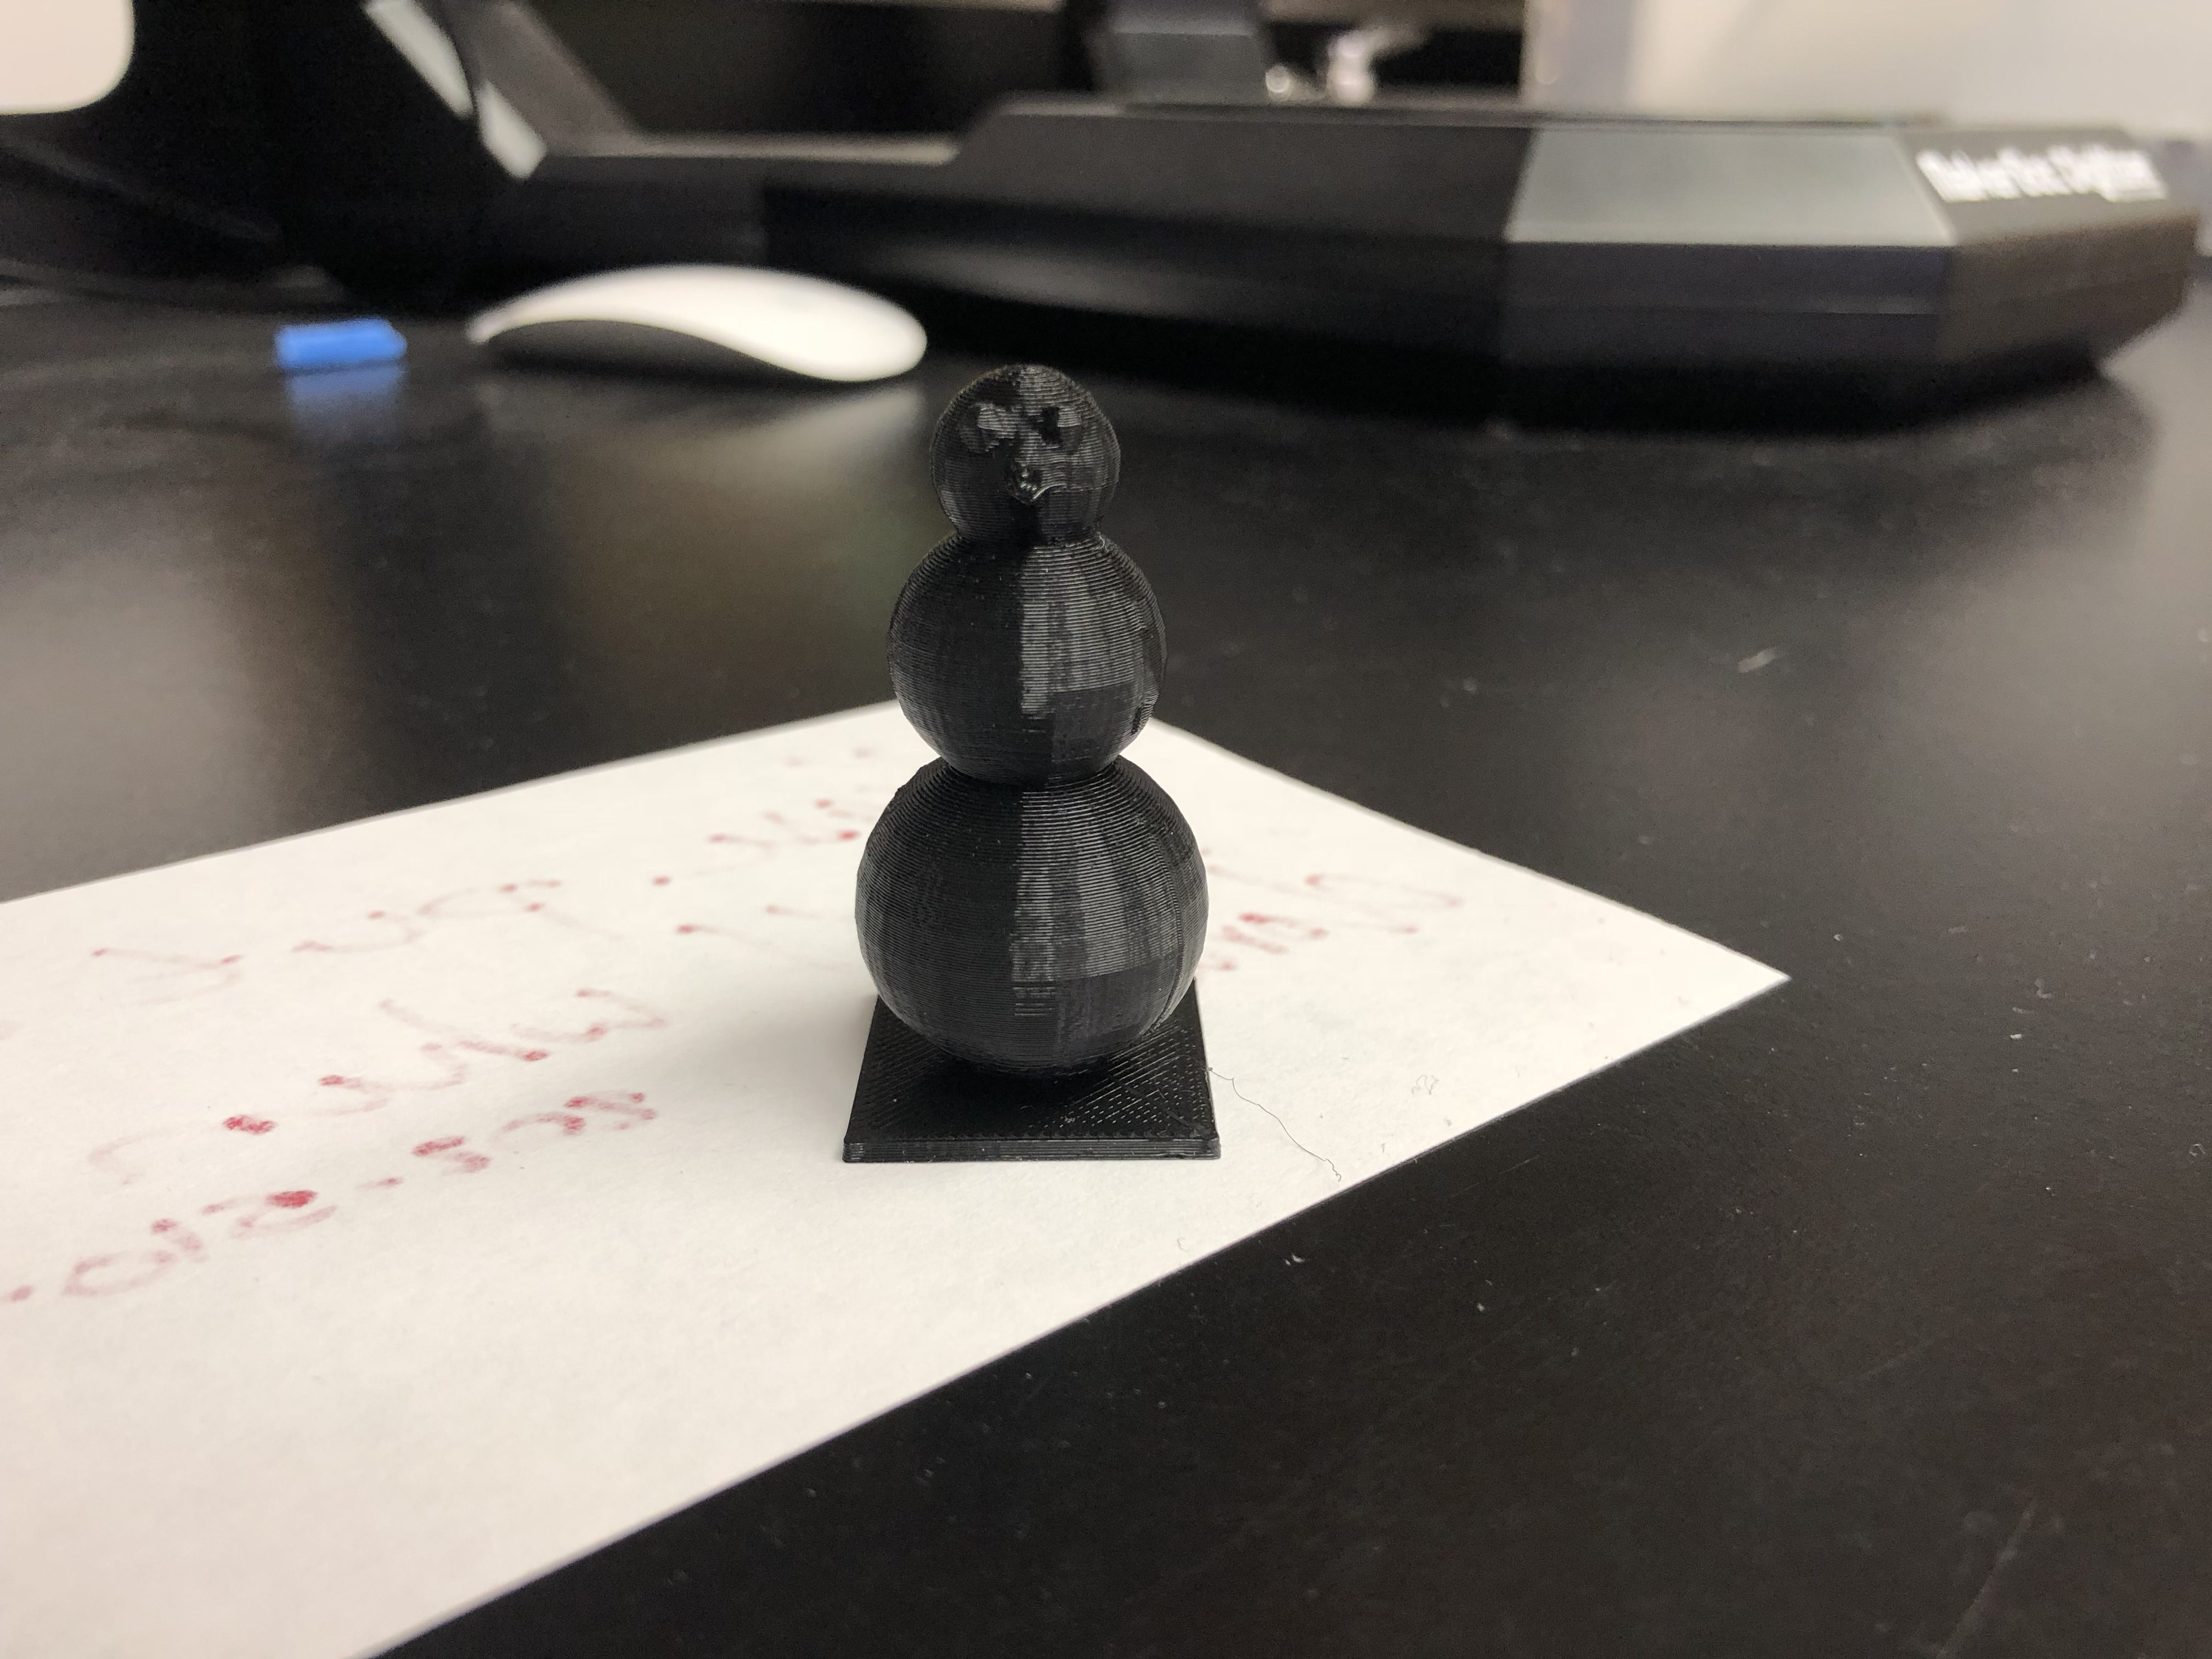
For my first project I was a little stuck with what to do. I did not want to make just a random shape and be done with it. After some thinking, I decided that since the holiday season is approaching why don’t I create something that relates to the holiday season. So I created a basic snowman with round eyes and a carrot shaped nose. The code is provided below:
//radius of sphere
r=12;

//base
cube([r*2,r*2,(1/8)*r],center=true);

//base sphere
translate([0,0,r])
 sphere(r);

//second sphere
translate([0,0,2.5*r])
 sphere(r*(3/4));

//third sphere
translate([0,0,3.5*r])
 sphere(r*(1/2));

//nose
translate([0,r*(1/3),3.5*r])
 rotate([-90,0,0])
    cylinder(r*(1/2),r*(1/8),0);

//eye#1
translate([(-1/5)*r,r*(3/8),3.75*r])
 sphere(r*(1/8));

//eye#2
translate([(1/5)*r,r*(3/8),3.75*r])
 sphere(r*(1/8));
The code was fairly simple, and I only had to learn how to make three shapes: a sphere, a cube, and a cylinder. I started the code off by assigning a variable, ‘r’, that would represent the radius of the sphere. I then found it would be easier if I relate multiple things to ‘r’. Creating a variable in my opinion was necessary because it made it so much easier to adjust the sizing of everything. After assigning ‘r’, I started to make the spheres. I made the first one the size of ‘r’, and the remaining spheres for the head and torso a proportion of ‘r’. The hardest part in all of this was getting the translations perfect, in order to neatly stack the spheres so they actually looked like a snowman. This mainly took some guessing and checking moving the z variable around indoor to find what looked best. I then created the eyes using spheres and translated them to places on the face sphere that looked appropriate. I mirrored the eyes by mimicking the y and z variables and making the x variables opposites of each other. I had to sink the eyes into the head sphere, slightly so that they would print better and overall connect better with the body of the snowman. I rolled the same steps for the nose except instead of making a sphere I created a cone. I then attempted to print my snowman only to have my print fail because the sphere did not stick well to the build plate of the printer. To fix this I added a base out of a cube, that was also referenced back to ‘r’. I sunk the sphere into the base and it printed much better. I was satisfied with this print and it is pictured above. The only think I would have changed was making it a little bit bigger, but all I would have to do for that is change the value of ‘r’ in my code.
Leveled-up OpenSCAD Print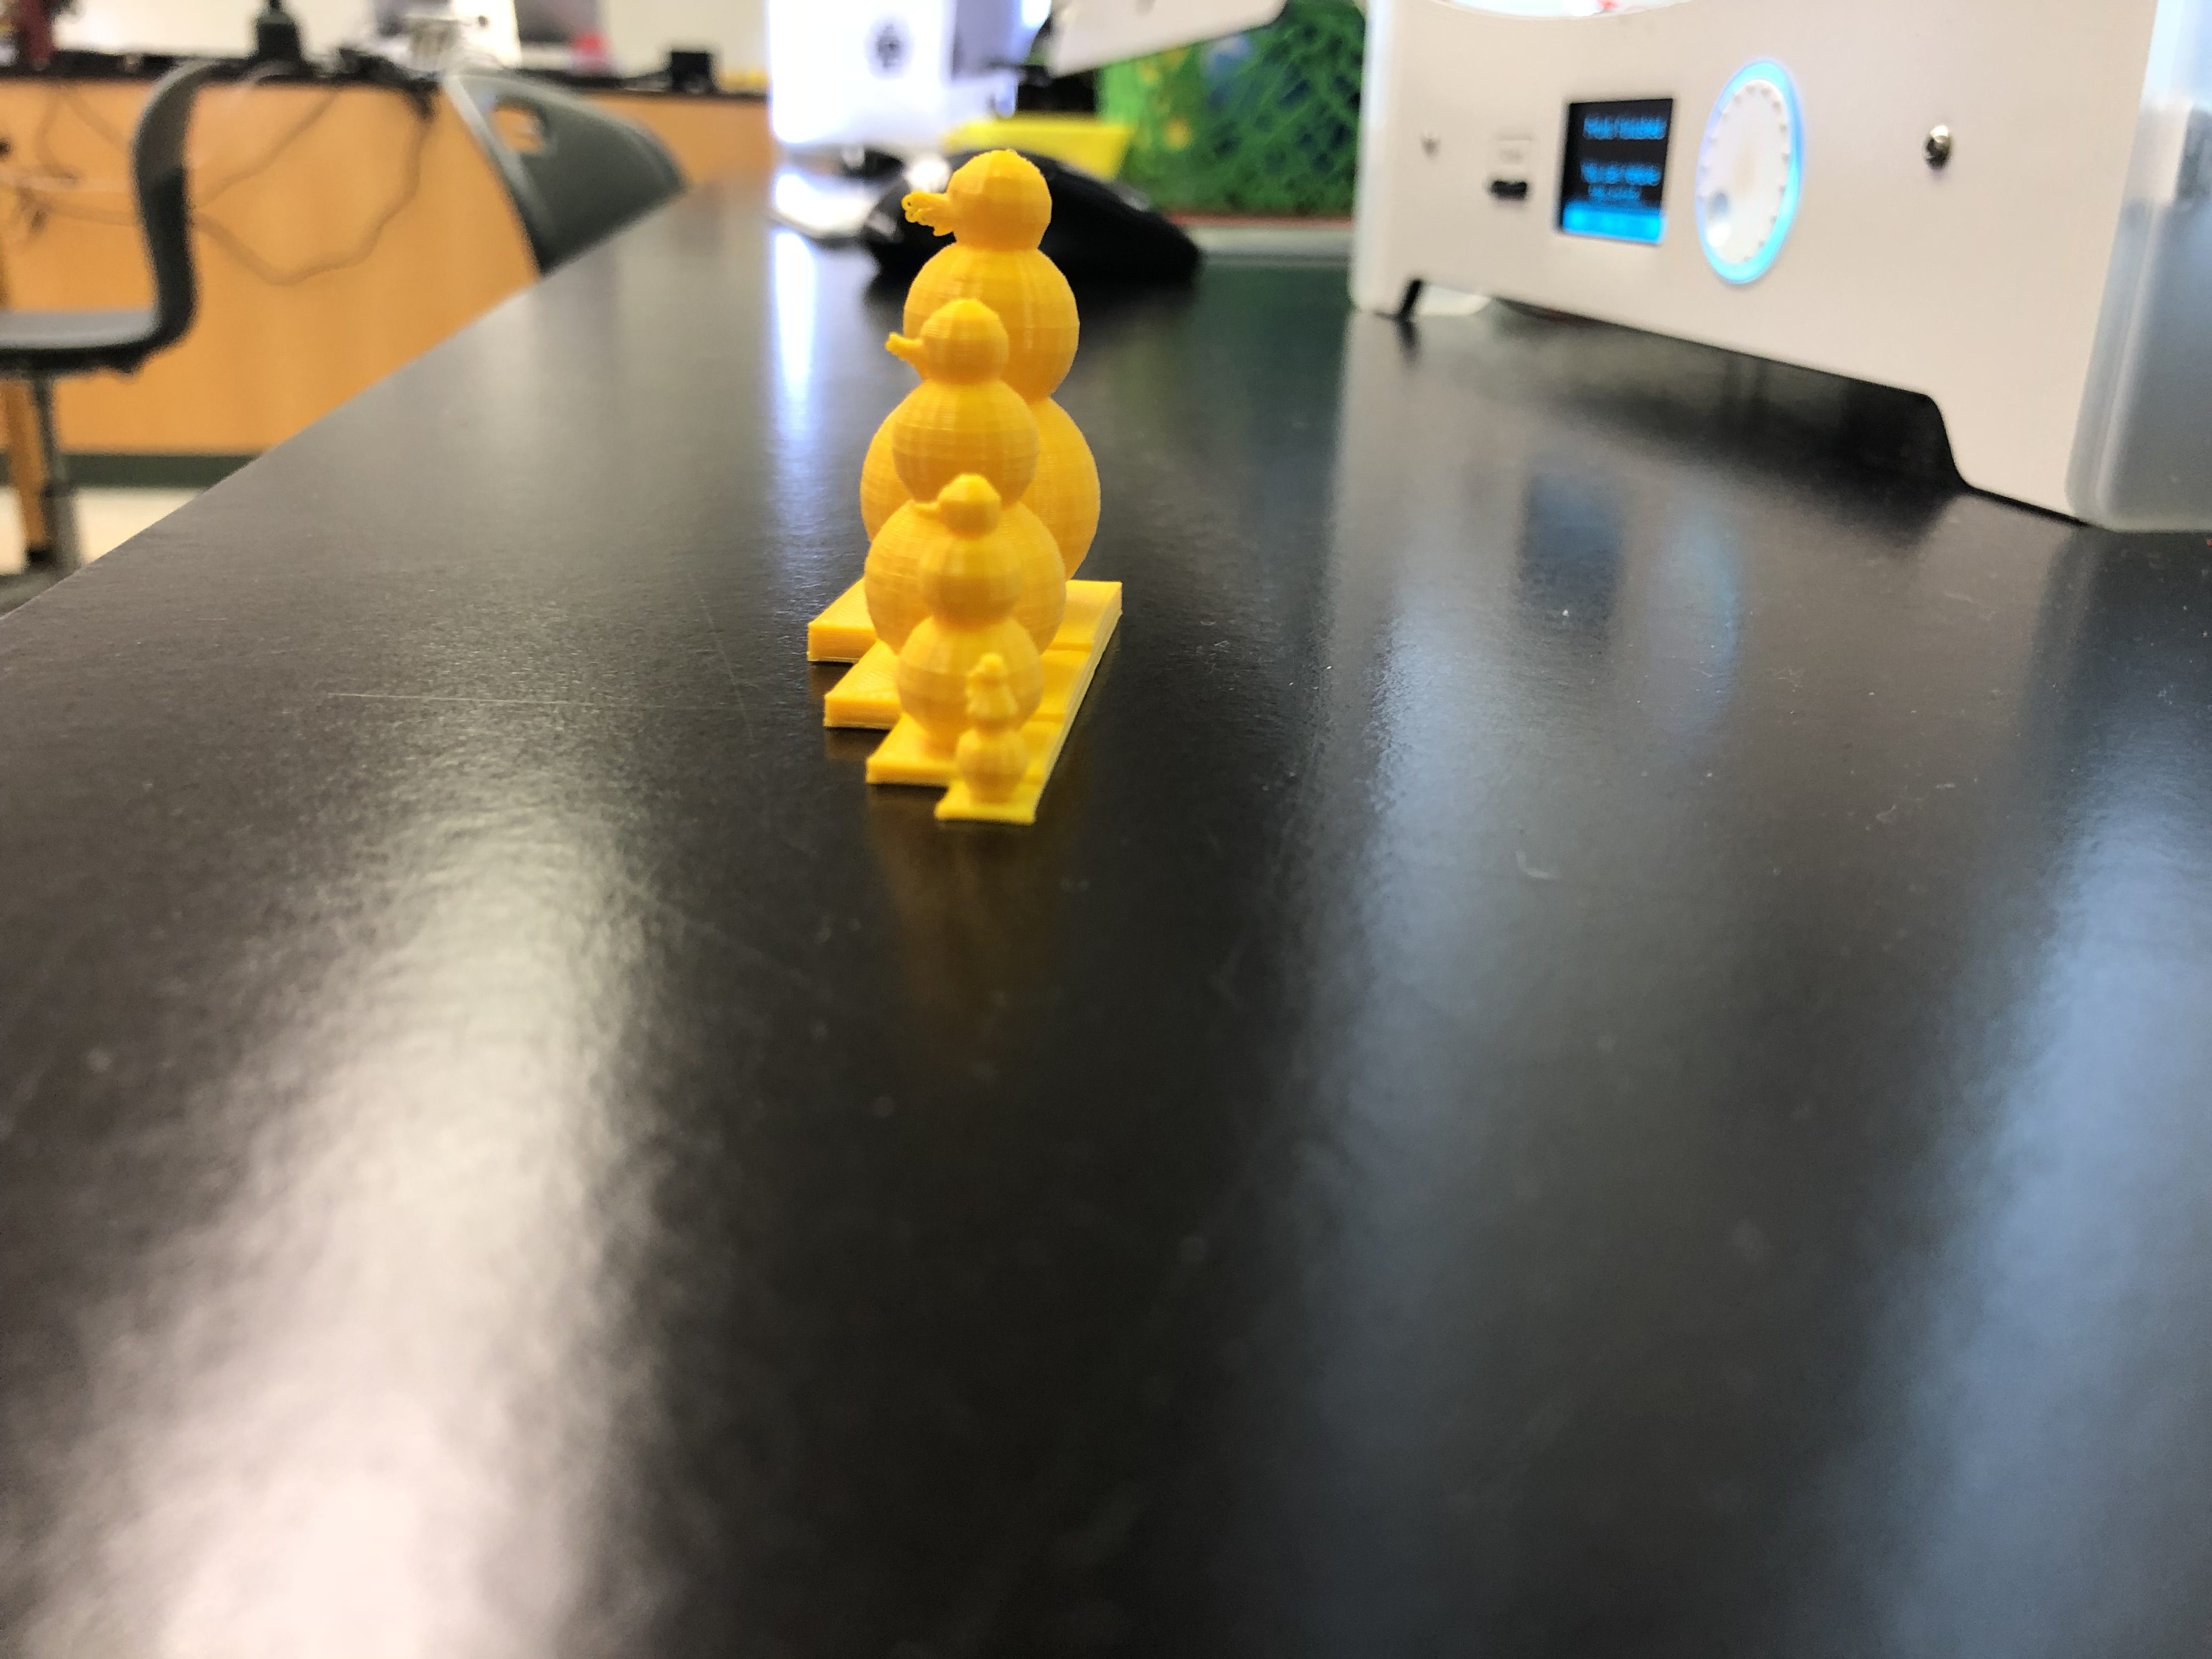
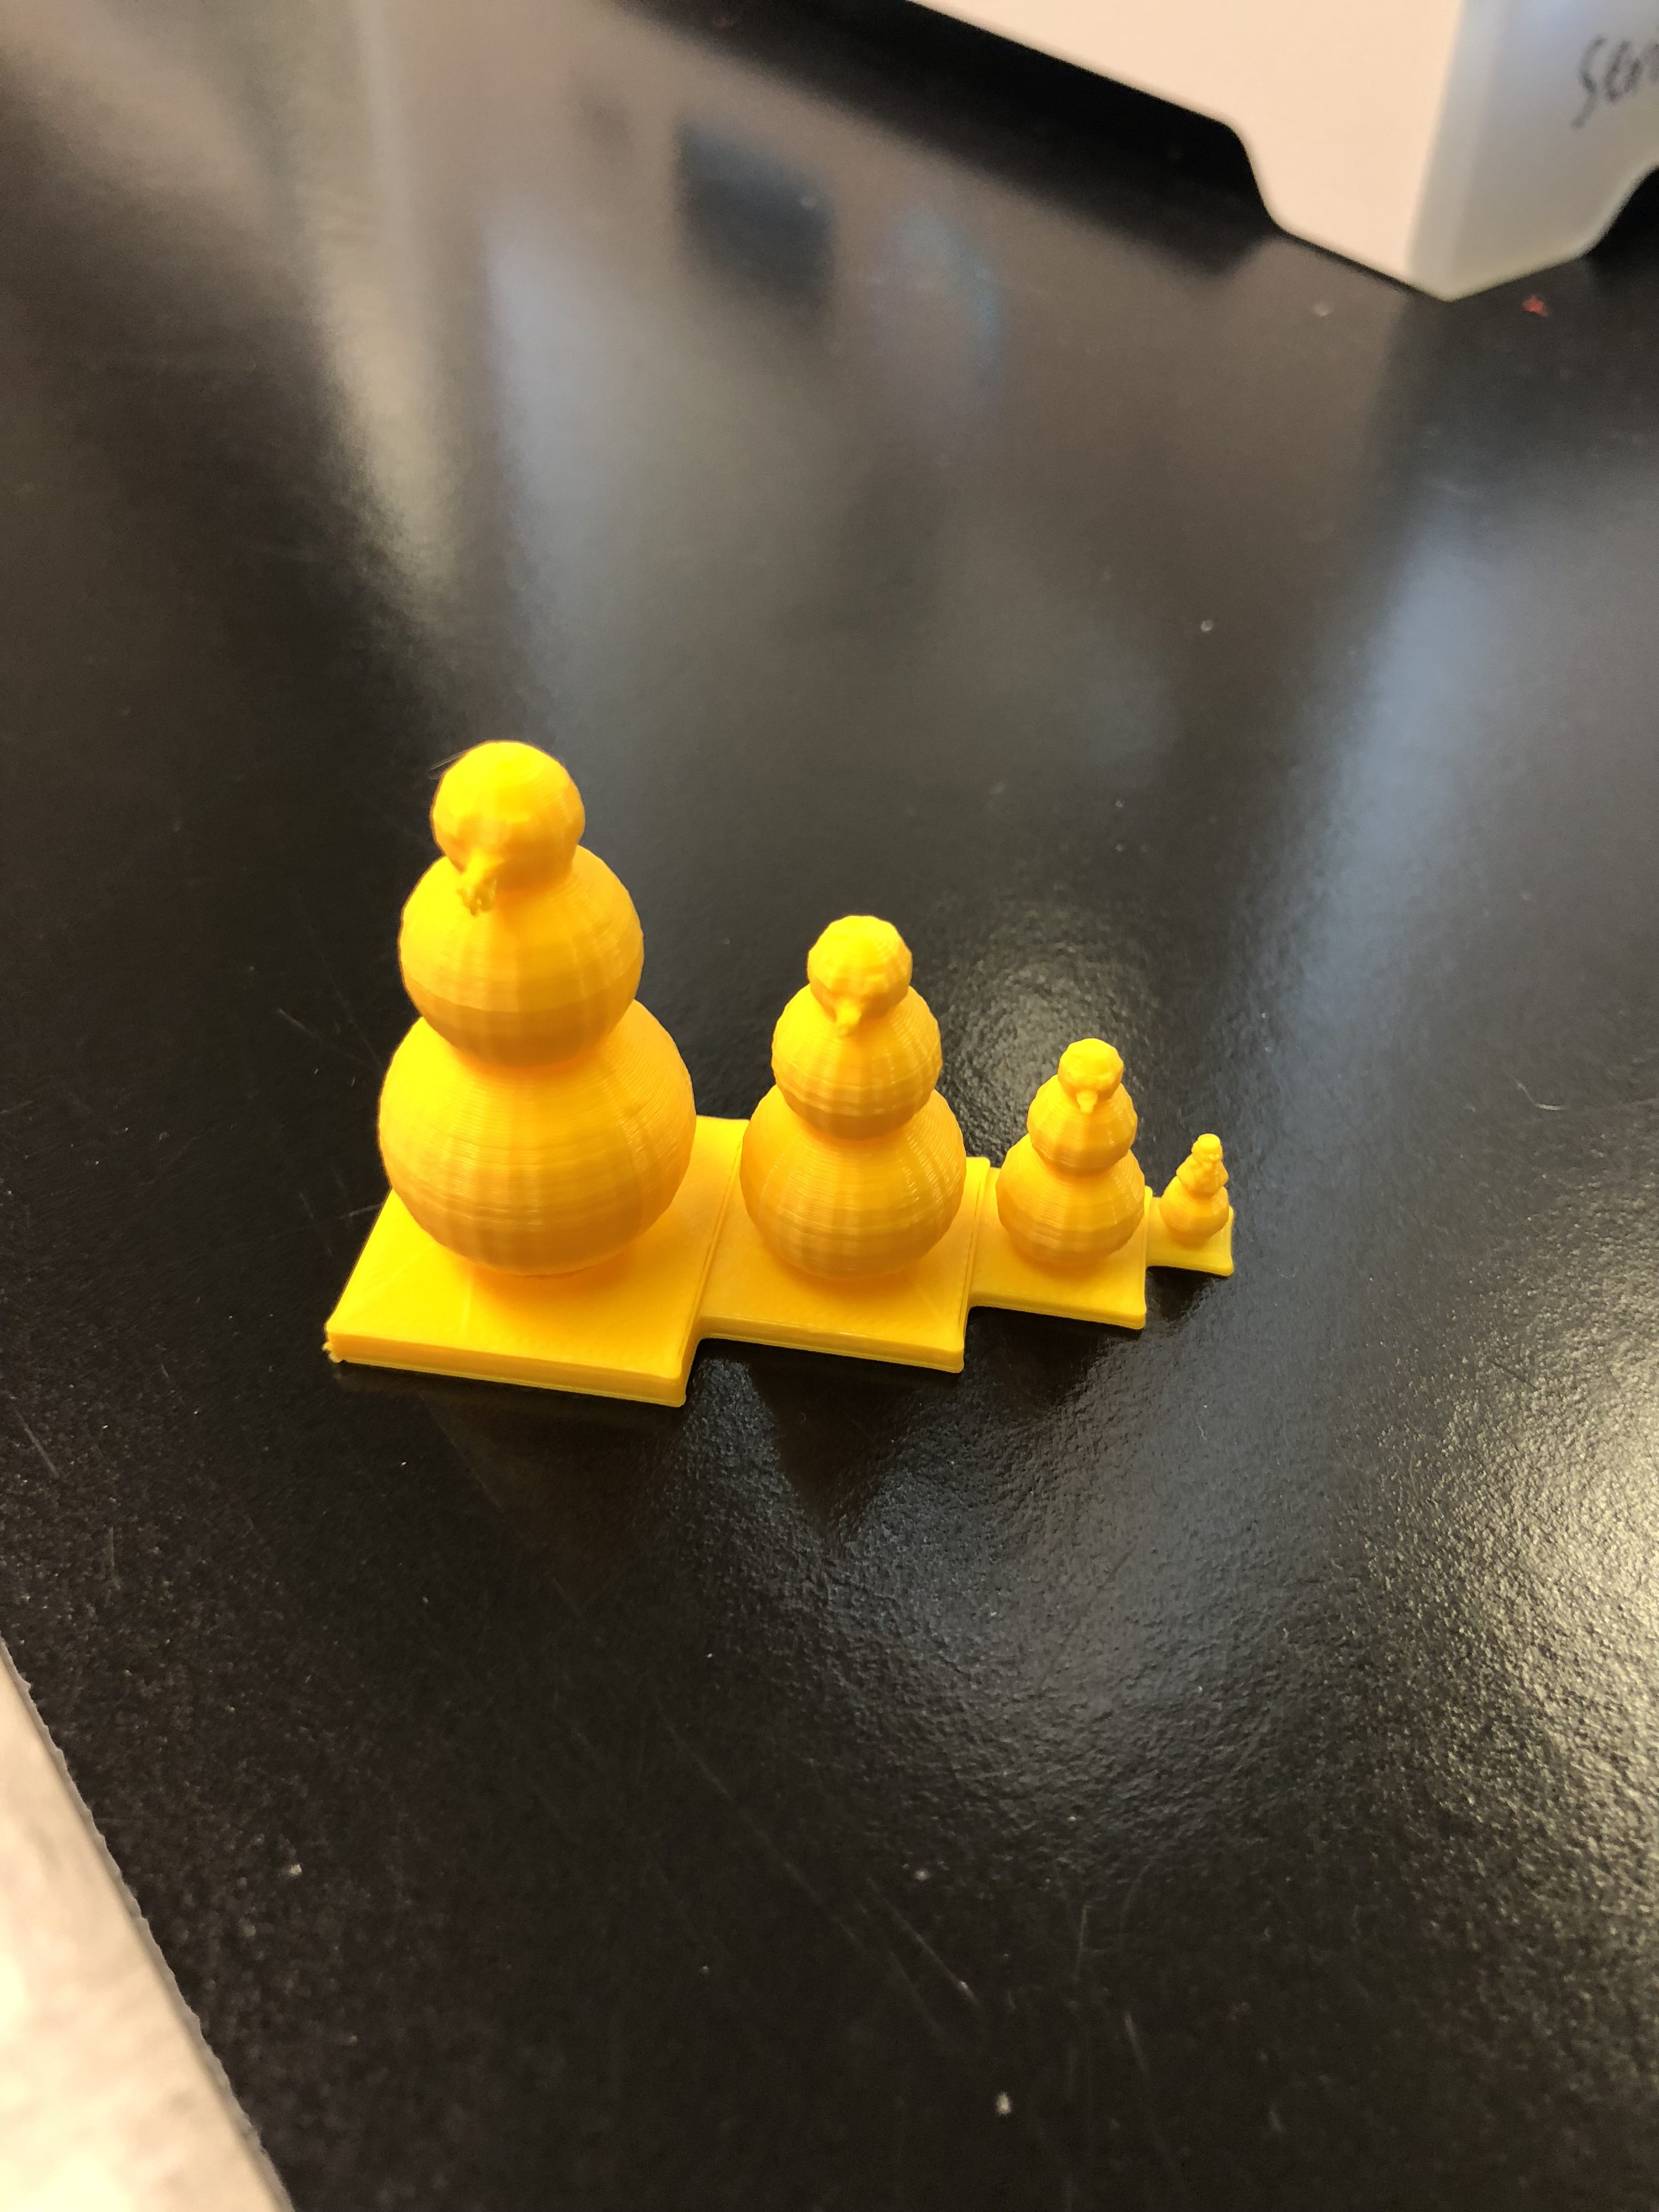
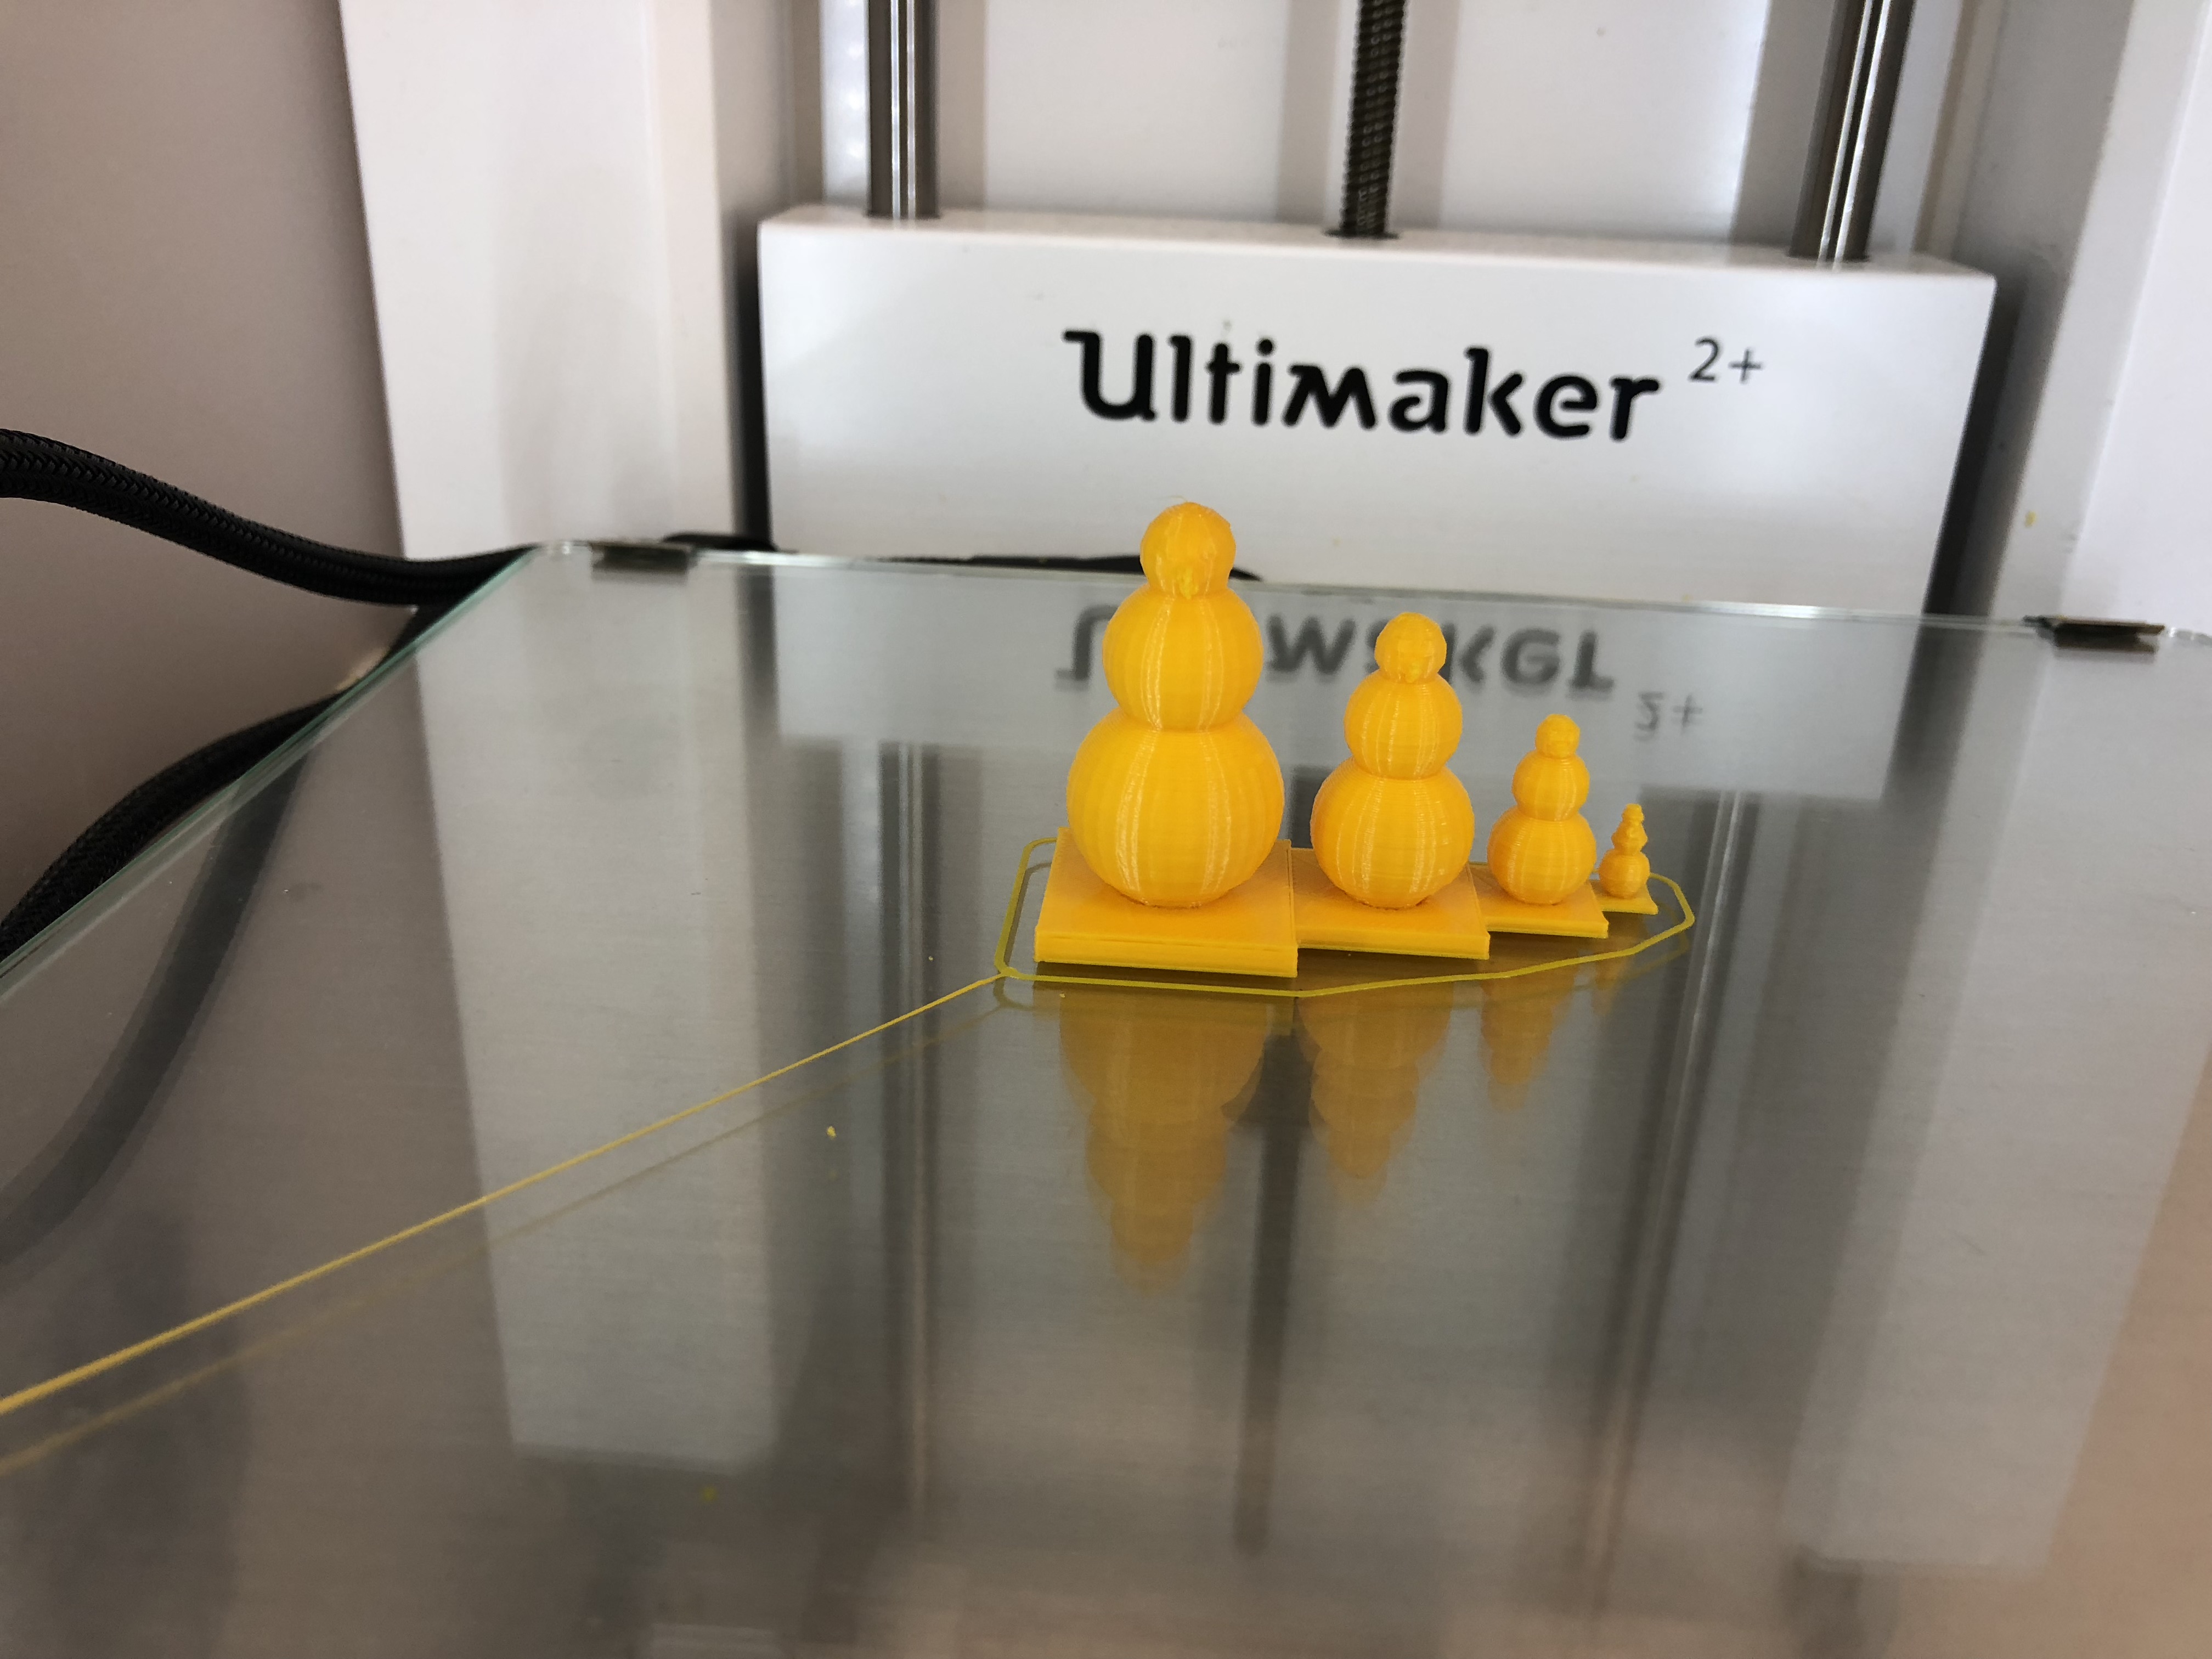
For the level up of my original OpenSCAD design, I was not sure what I could do to make my code better. I was thing of just trying to add more detail to my snowman, but that seemed boring so after thinking, I decided to make a code that would produce a family of snowmen all of different sizes. The code is provided below:
//radius of sphere
r = 56;

for (i = [1:4]){
//base
    translate([r*(i-1),r,0])
       cube([r*2,r*2,(1/8)*r], center=true);

//base sphere
    translate([r*(i-1),r,r])
       sphere(r*(7/8));

//second sphere
    translate([r*(i-1),r,2.2*r])
       sphere(r*(5/8));

//third shpere
    translate([r*(i-1),r,3*r])
       sphere(r*(3/8));

//nose
    translate([r*(i-1),r+r*(1/3),2.95*r])
       rotate([-90,0,0])
          cylinder(r*(1/2),r*(1/8),0);

//eye#1
    translate([r*(i-1)+r*(-1/8),r+r*(1/4),3.10*r])
       sphere(r*(1/8));

 //eye#2
    translate([r*(i-1)+(1/8)*r,r+r*(1/4),3.10*r])
       sphere(r*(1/8));

r=i*r;
i=i+1;
echo(r);
}
The code is essentially the same as the code above, except it has for loop embedded and the overall code is just tweaked a little bit. As in the first iteration the ‘r’ variable essentially controls every. In this case ‘r’ is the radius of the smallest snowman, and it increases in size as the loop progresses. The for loop is set to produce 4 snowmen currently. It has a built in counter ‘i’ that keeps track of the amount of times the program goes through the loop. As stated earlier the body of the loop is very similar to the earlier iteration of the single snowman. The main difference is that I had to fidget with the translations of all of the shapes in order to get everything to line up exactly next to each other in size order. This was really difficult and required a lot of trial and error. Once I got one shape to do what I wanted it to do it was essentially copying that manipulation of the translation into all of the other translations. At the bottom of the loop I put in place a local variable ‘r’. This is essentially the same ‘r’ as the global variable ‘r’ in the beginning of the code except this manipulates the value ‘r’ only within the loop and does not have an impact on the original ‘r’ value. The ‘i’ counter is all manipulated at the bottom of the loop, and once that is done it sends the loop back to the top of the loop to go through again. The echo function was very helpful in making this code. All it does is essentially relay the output of ‘r’ as it goes through the loop, so that I was able to verify that it was changing how I wanted it to change. The only issue I ran into while printing this code was that the platforms did not all sit evenly on the build plate of the printer. I fixed this by lowering the model a fraction of a mm onto the build plate prior to slicing the code in Cura. I would say this is a level up of my original code because while the body of the code is the same the functionality of it is completely different. With this code I am able to make as many snowmen as I would like all within a set ratio of each other. I did this all without having to recopy the code multiple times or having to adjust ‘r’ multiple times.