Introduction and Thoughts
When I was first starting to work with OpenScad, it seemed to be nothing but a slippery slope leading towards nothing but failure for me. I began by downloading the OpenScad software onto my laptop so that I could play around with the software over thanksgiving break. I truly had no clue what I was doing. I went into the software blind, only knowing the absolute basics of how to use it that we had learned about in class, so I decided to look to youtube for tutorials to help me understand what I was doing a little better. When I got a hang of the software, I started to enjoy it quite a bit more. As a Computer Information Systems (CIS) major in the business school here at JMU, I am going to rely on coding quite a bit in my professional life, so I think that this exposure was very beneficial to me as far as just cracking the surface of what coding is all about.
First OpenScad Print
For my first print, I kept my code generally simple, as I still was not all too familiar with the software. I struggled to come up with an idea for what to make for my final project, so I ended up deciding to manually make a penny trap, the very first thing that we made (or had made for us, rather) in this class. My code for the “penny trap” was as follows:
///// base formation

difference(){
translate([-20,-20,-20]) cube(40);sphere(d= 50);
translate([0,0,20]);
}
As you can see-
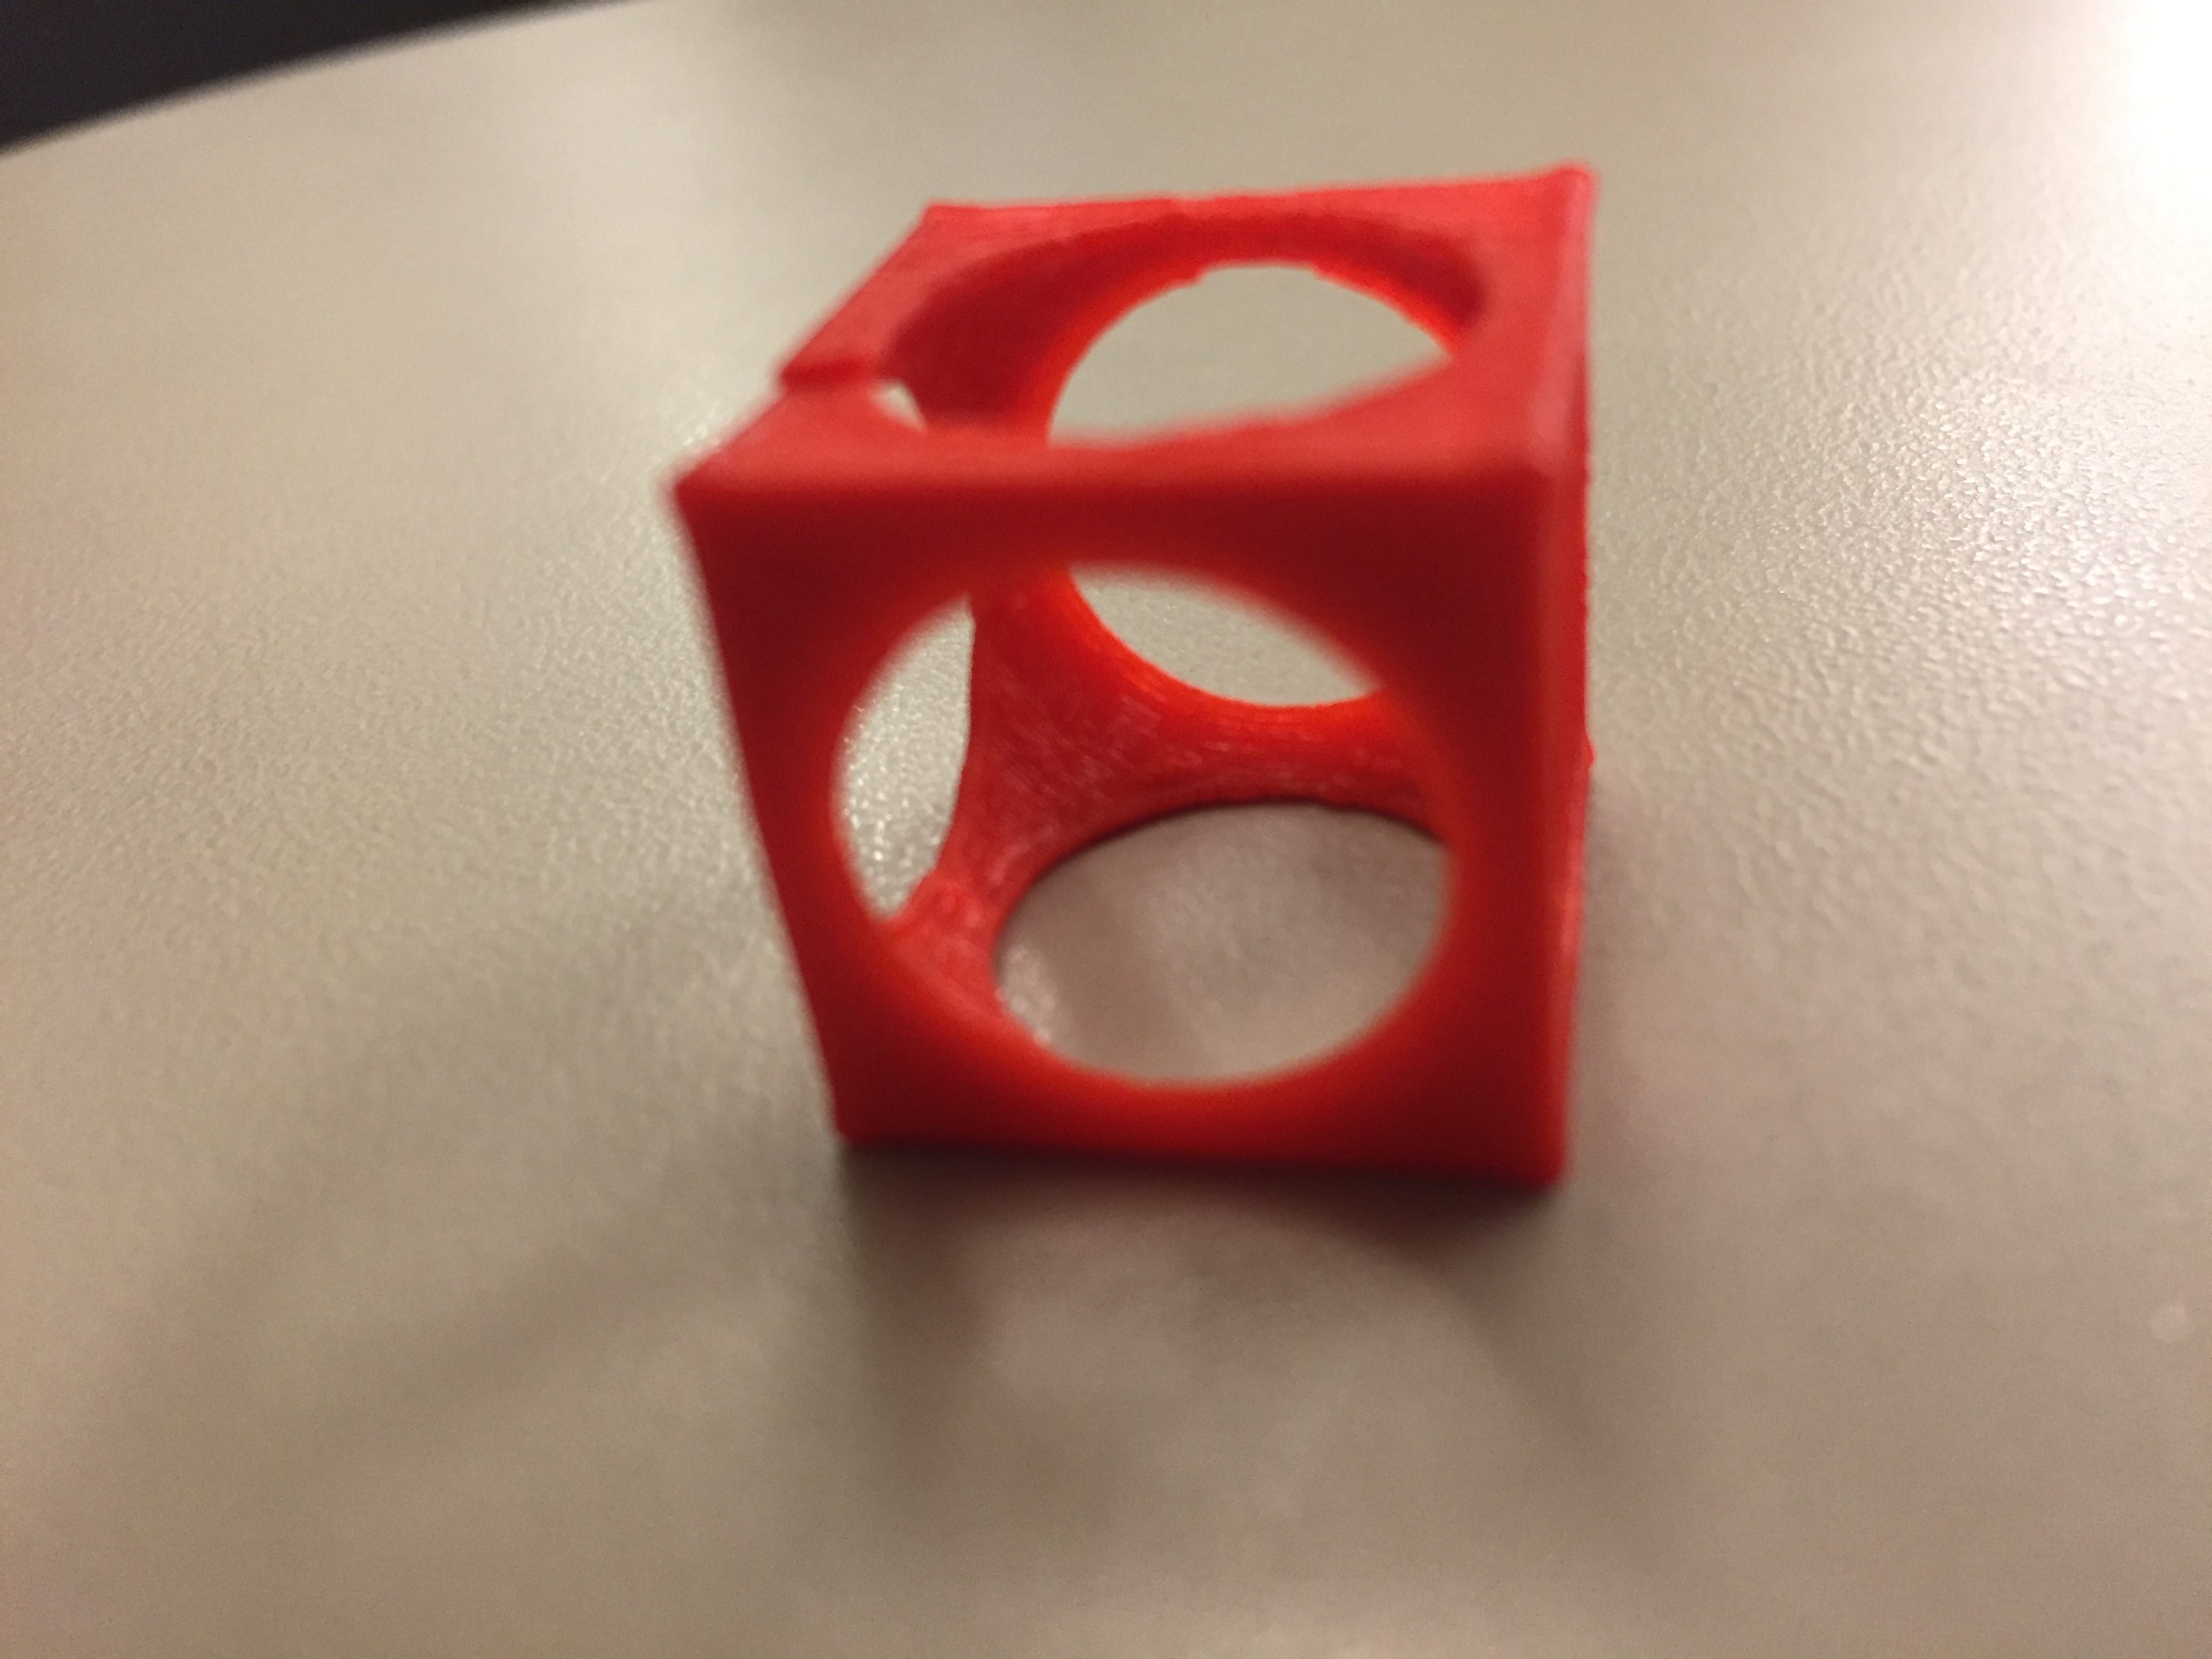
The code worked quite well, and printed perfectly. The only issue that I saw in hindsight that I could not tell in OpenScad was just how thin the print would be. As you can see from the attached photo, my print ended up breaking along one of the “bridges” going from corner to corner. In order to get the spherical hole in the center of the cube in my print, I used the “difference” function in the code in order to make the sphere a hole as opposed to having it be a solid. The “translate” part of the code is there in order to translate the cube so that is perfectly in line with the spherical hole for the print. This first print gave me a very solid base to build off of for my final design.
Leveled-up OpenScad Print
For my “leveled-up” design, I was much more comfortable using the OpenScad software. As a (not-so) seasoned OpenScad veteran, I came up with a plan, and felt confident I could navigate through OpenScad well enough to get the job done. My original design was centered around the spherical hole I created, so my idea was to continue with that trend, and create a sort of “puzzle” made out of 8 separate little cubes. The idea was to have each cube have a small portion of the sphere cut into the cube, so that when all the pieces are fit together correctly they make a hidden sphere. The code to make this “puzzle” was as follows:
///// final formation
scale(.5,.5,.5){
difference(){
union(){
difference(){
translate([0,0,0]) cube(40);sphere(d= 50);
translate([0,0,20]);
}

difference(){
translate([-40,0,0]) cube(40);sphere(d= 50);
translate([0,0,20]);
}

difference(){
translate([-40,0,-40]) cube(40);sphere(d= 50);
translate([0,0,20]);
}

difference(){
translate([0,0,-40]) cube(40);sphere(d= 50);
translate([0,0,20]);
}

difference(){
translate([0,-40,-40]) cube(40);sphere(d= 50);
translate([0,0,20]);
}

difference(){
translate([-40,-40,-40]) cube(40);sphere(d= 50);
translate([0,0,20]);
}

difference(){
translate([-40,-40,0]) cube(40);sphere(d= 50);
translate([0,0,20]);
}

difference(){
translate([0,-40,0]) cube(40);sphere(d= 50);
translate([0,0,20]);
}
}
cylinder(150,20);
}
}
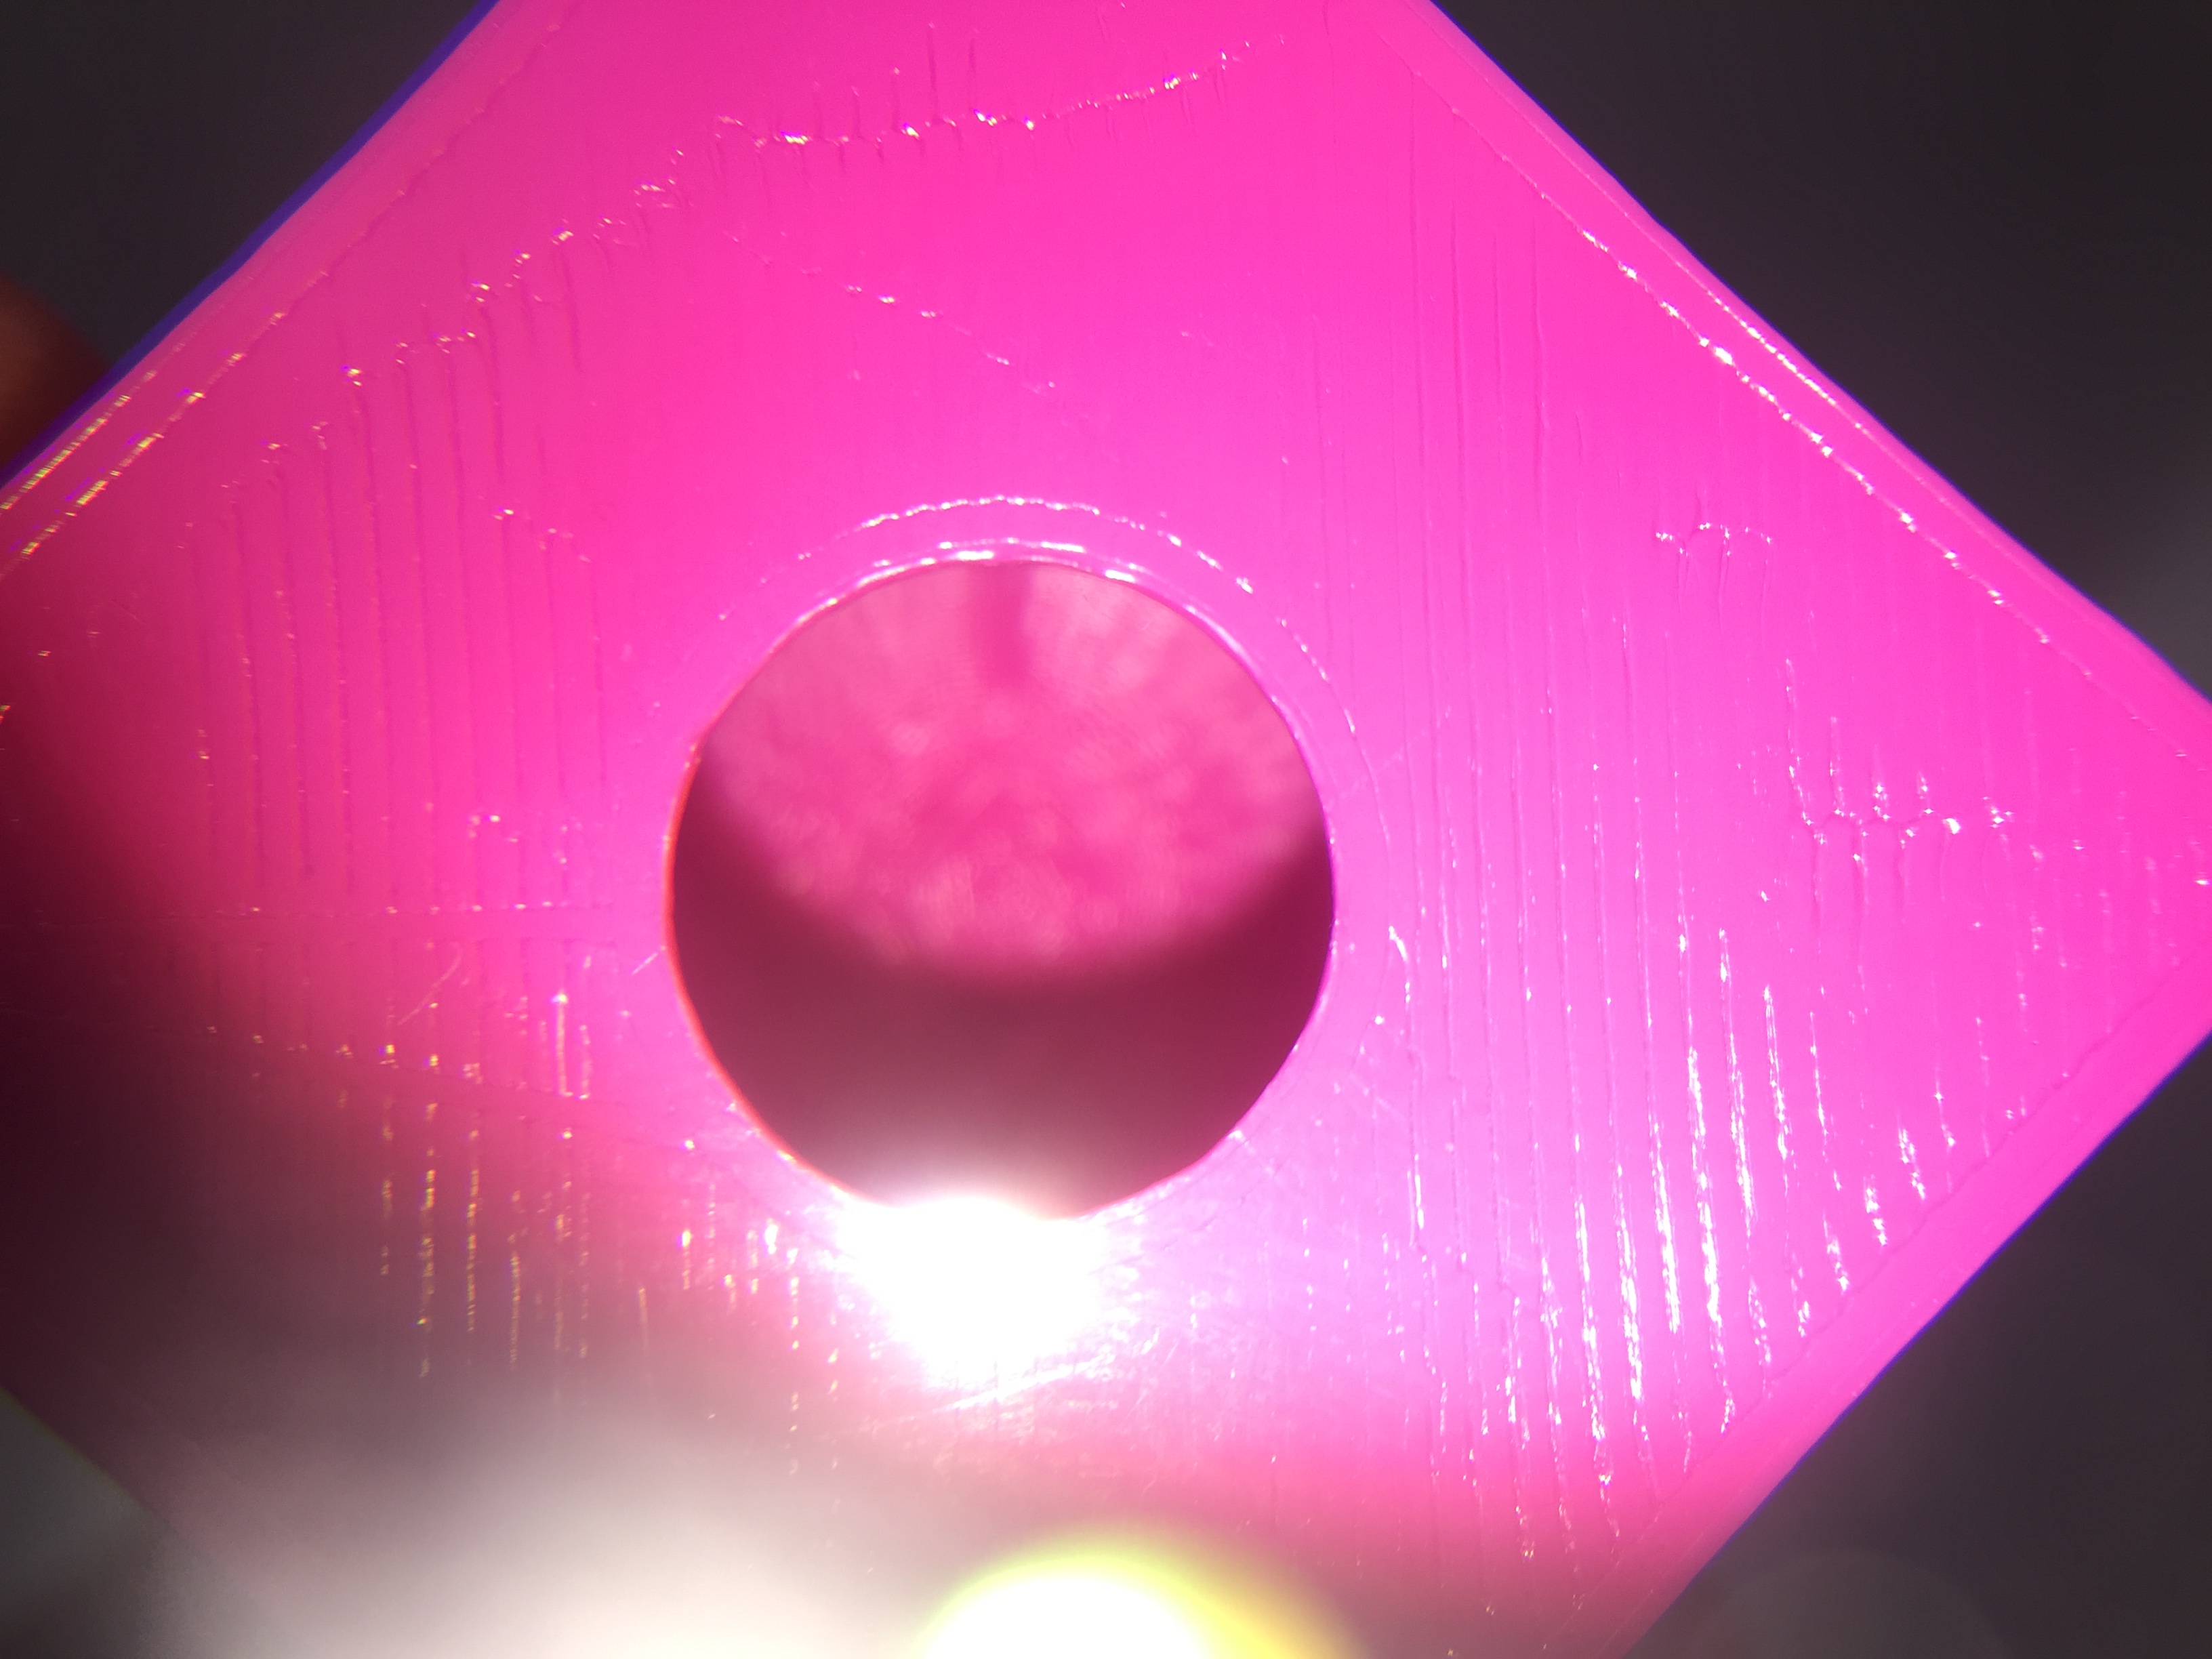
As you can see, this code has 8 separate “difference” commands, 9 including the command to create the cylindrical hole at the top of the shape (seen in picture below). Each of the difference commands represents another one of the cubes, or “pieces of the puzzle”. The numbers in the translation command correspond with each other so that they form together to create the larger cube with the hidden sphere inside. The cylindrical hole at the top was created so that you could see the hidden sphere even when all the pieces were put together. The final print is shown below.
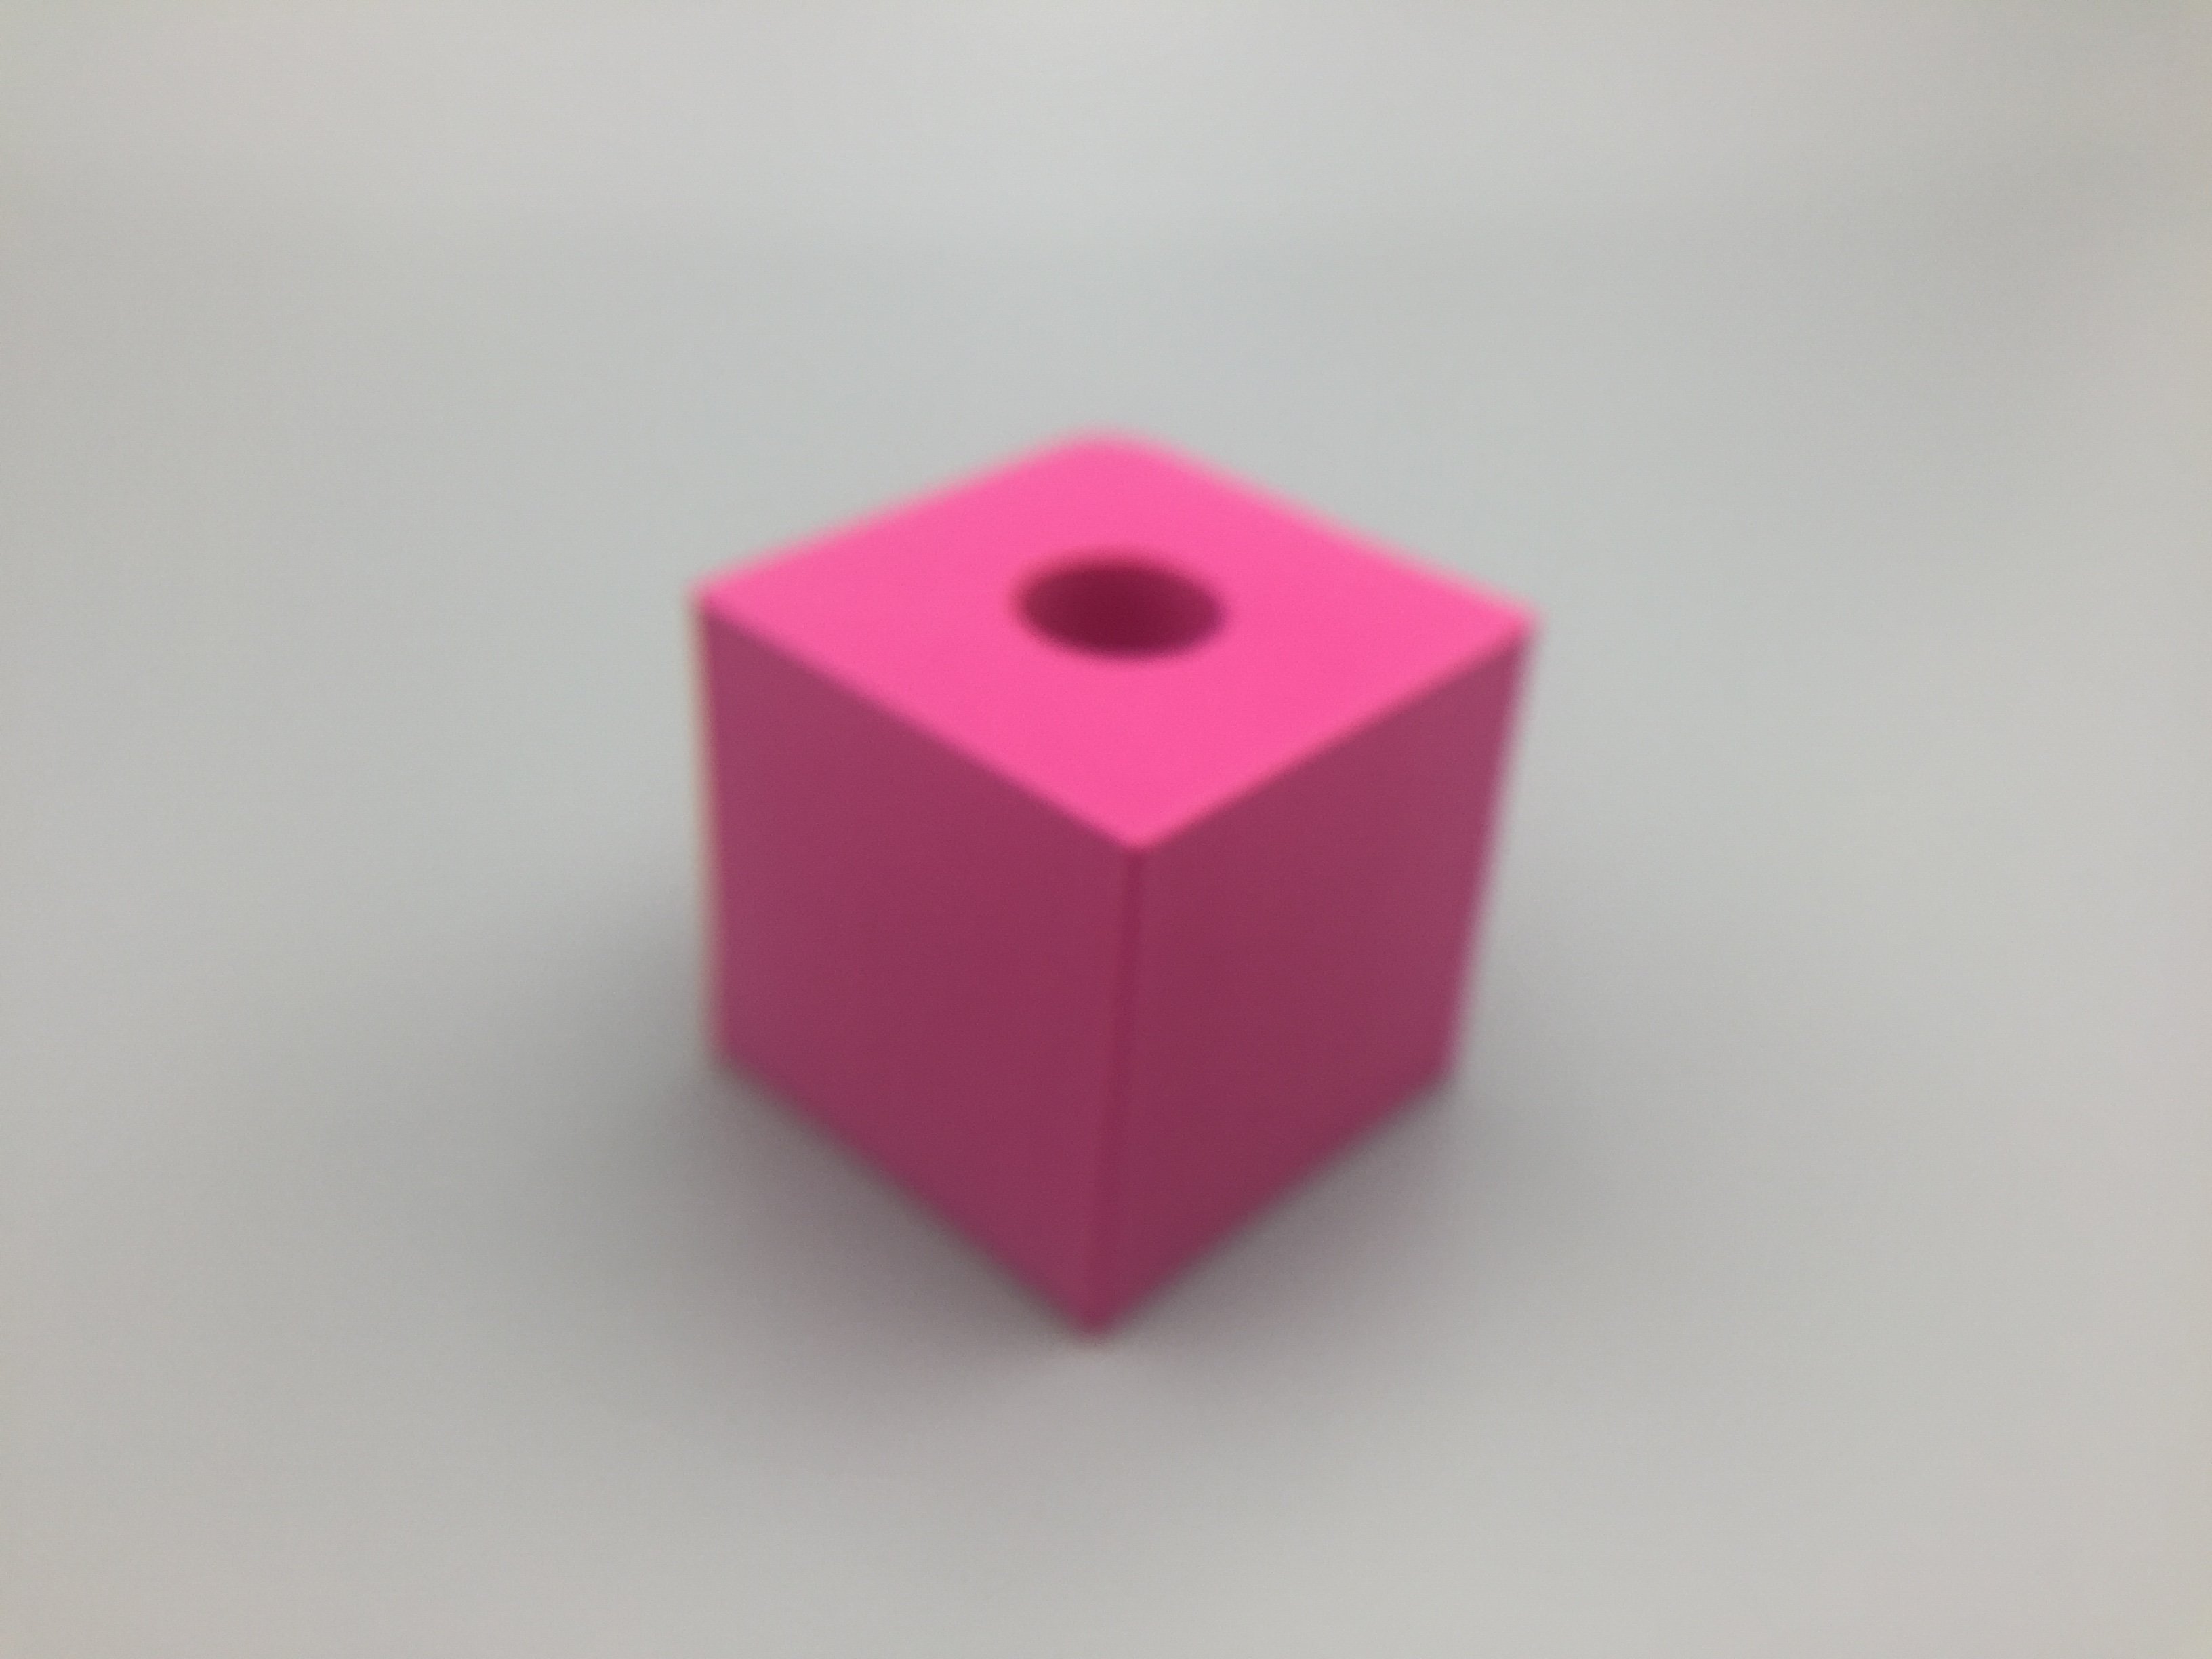
Needless to say, the final print did not quite go as expected. The plan was to have eight separate pieces, yet the final print printed as one single entity. However, I believe that I understand where the problem comes from. I think that because I coded my design so that it would already be formed into the final puzzle. I believe that since all of the pieces were already together in the final puzzle shape, when I exported the file as an STL, that the program thought that I was just creating a single shape with a hole in the middle. Overall though, I am actually quite satisfied with the final product.
This final design is a level-up from the initial design because all I did was make several smaller cubes around a spherical hole in the center as opposed to just one bigger cube around the sphere. Although my idea to make this a puzzle ultimately failed, I am very satisfied with my “leveled-up” design, because I feel that it still holds some mystery. Looking at it from most angles, you would have no idea that there is a hole in the middle of the cube. You could store something small in here, or even drink out of it like a cup if you really pleased.
Overall, this class was a very positive experience for me, and truthfully I enjoyed my time in this class much more than I anticipated I would. I did not know what to expect coming in, but I have a new respect for how truly difficult it is to create objects for 3d printing. I was exposed to some brand new concepts in this class, and I am very glad that I took it for my lab credit.
Sharing
Thingiverse Link: