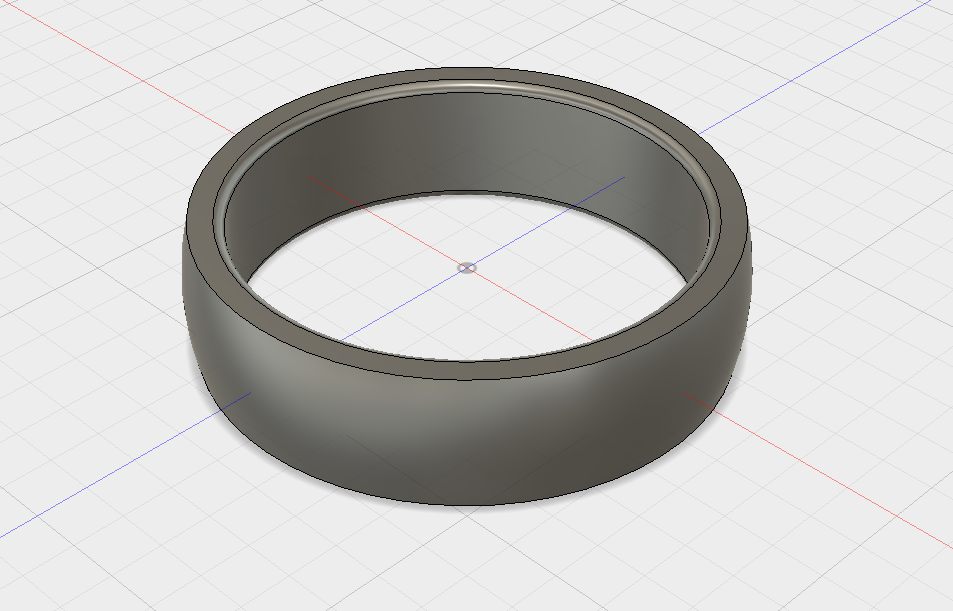
The design process for my ring took several days of thinking and playing around inside of Fusion 360. At the start of the project, the class did a walkthrough in 360, learning how to construct a rudimentary ring with the tools provided. After we learned the steps for a basic ring design, we used Meshmixer to add textures and designs to make the rings more interesting. My original plan was to create a ring that resembled a hexagonal bolt, mainly because I like the aesthetic of a hexagon.
However, when trying to design the hexagon, I accidentally created a different shape that turned out way more interesting. Using the sweep function, this design was my result.
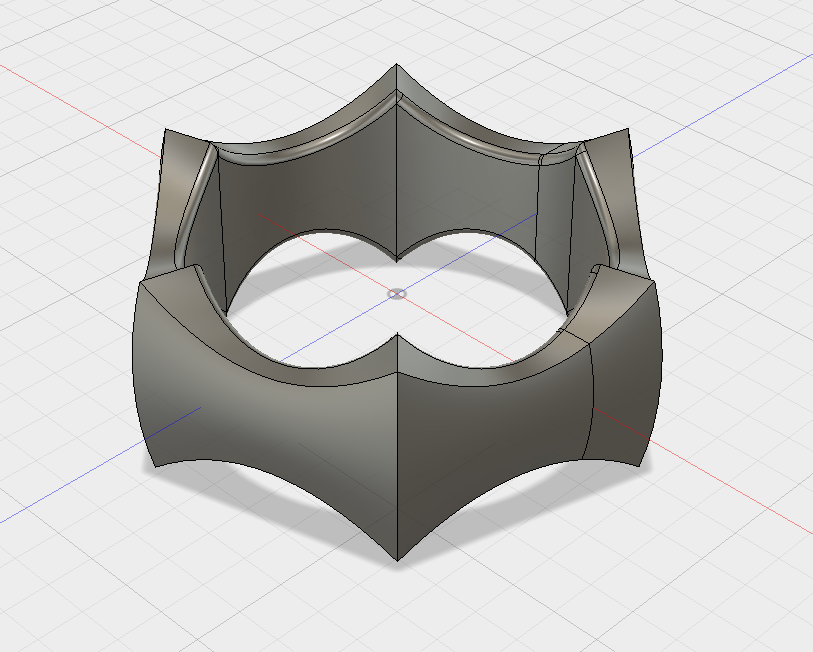
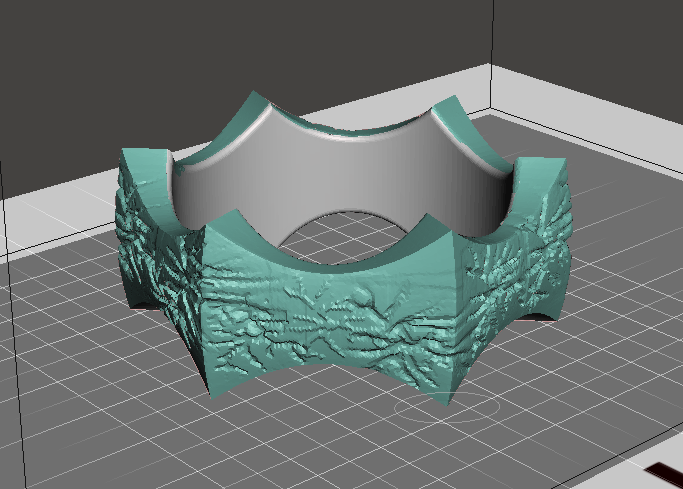
When this design first came up after I used the sweep tool, I was a little shocked as to why. I discovered that a circular path is what triggered the height of the ring to change the way it did, in the pattern that it did. I loved how the ring turned out because it was just so cool looking, and seemed to be quite an interesting design for printing. I was unsure of where to go from here, so I opened Meshmixer and began to play around with the designs provided already. Eventually, I realized that I wanted to take a tree branch design and stamp it into the ring as to make it look “cracked,” and I drew up a design with sharpie. I took a picture and uploaded it to Meshmixer and used a stamp to create this crack-like look all over the ring. I did miss some classes during this project and so I had to teach myself Meshmixer and that was a challenge in itself. Learning the steps through tutorials on the computer wasn’t particularly difficult, but it was frustrating at times.
Overall, this was a very enjoyable project, and it was well worth the money spent!