Hello
 My name is Ella Alvis and I am currently a sophomore Health Services Administration student from Richmond, VA. I am potentially double minoring in General Business and CIS. I am one of two siblings, and I absolutely adore my pug, Brody. I’ve always lived an active lifestyle so I love exercising, exploring, and traveling to new places. I may have a slight coffee addiction, but who doesn’t in college? At JMU, I am currently involved in SafeRides and Club Softball. After graduation, I plan to eventually pursue my Master’s Degree in Health Administration.
I hope to further my knowledge of 3D printing, as I have never had experience with technology like this. I’m very excited to show my creative side and design some cool prints! I also think that gaining experience in coding would benefit me in my future career.
https://www.thingiverse.com/ellaalvis/about
Thingiverse Model
Red Sox tag, by Shawn Brody
https://www.thingiverse.com/thing:2164595
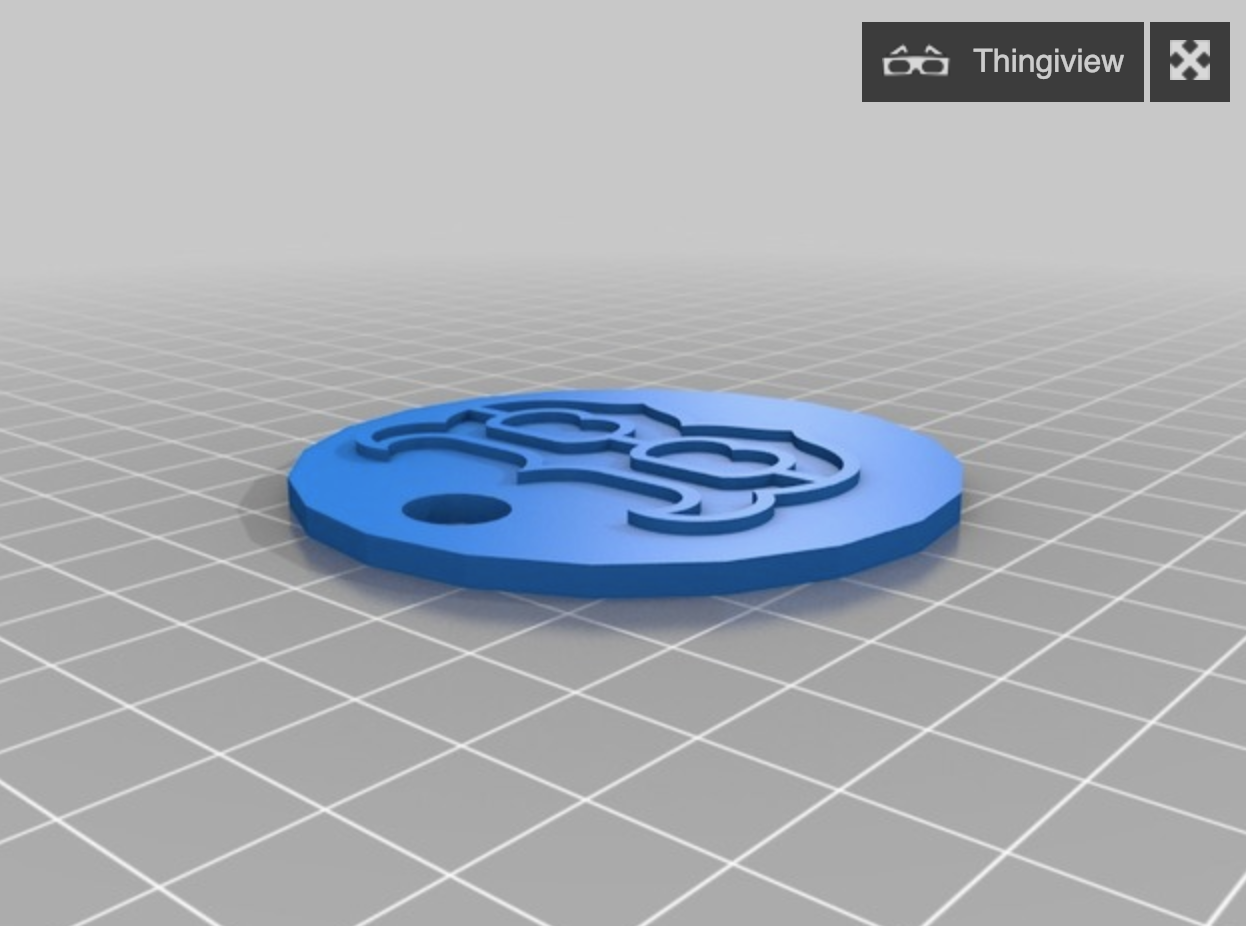
I chose this model because the Boston Red Sox have been my favorite baseball team since I was little. A couple summers ago I had the opportunity to visit Fenway Park for a game and it will always be one of the coolest things I’ll ever experience.
Thingiverse Print
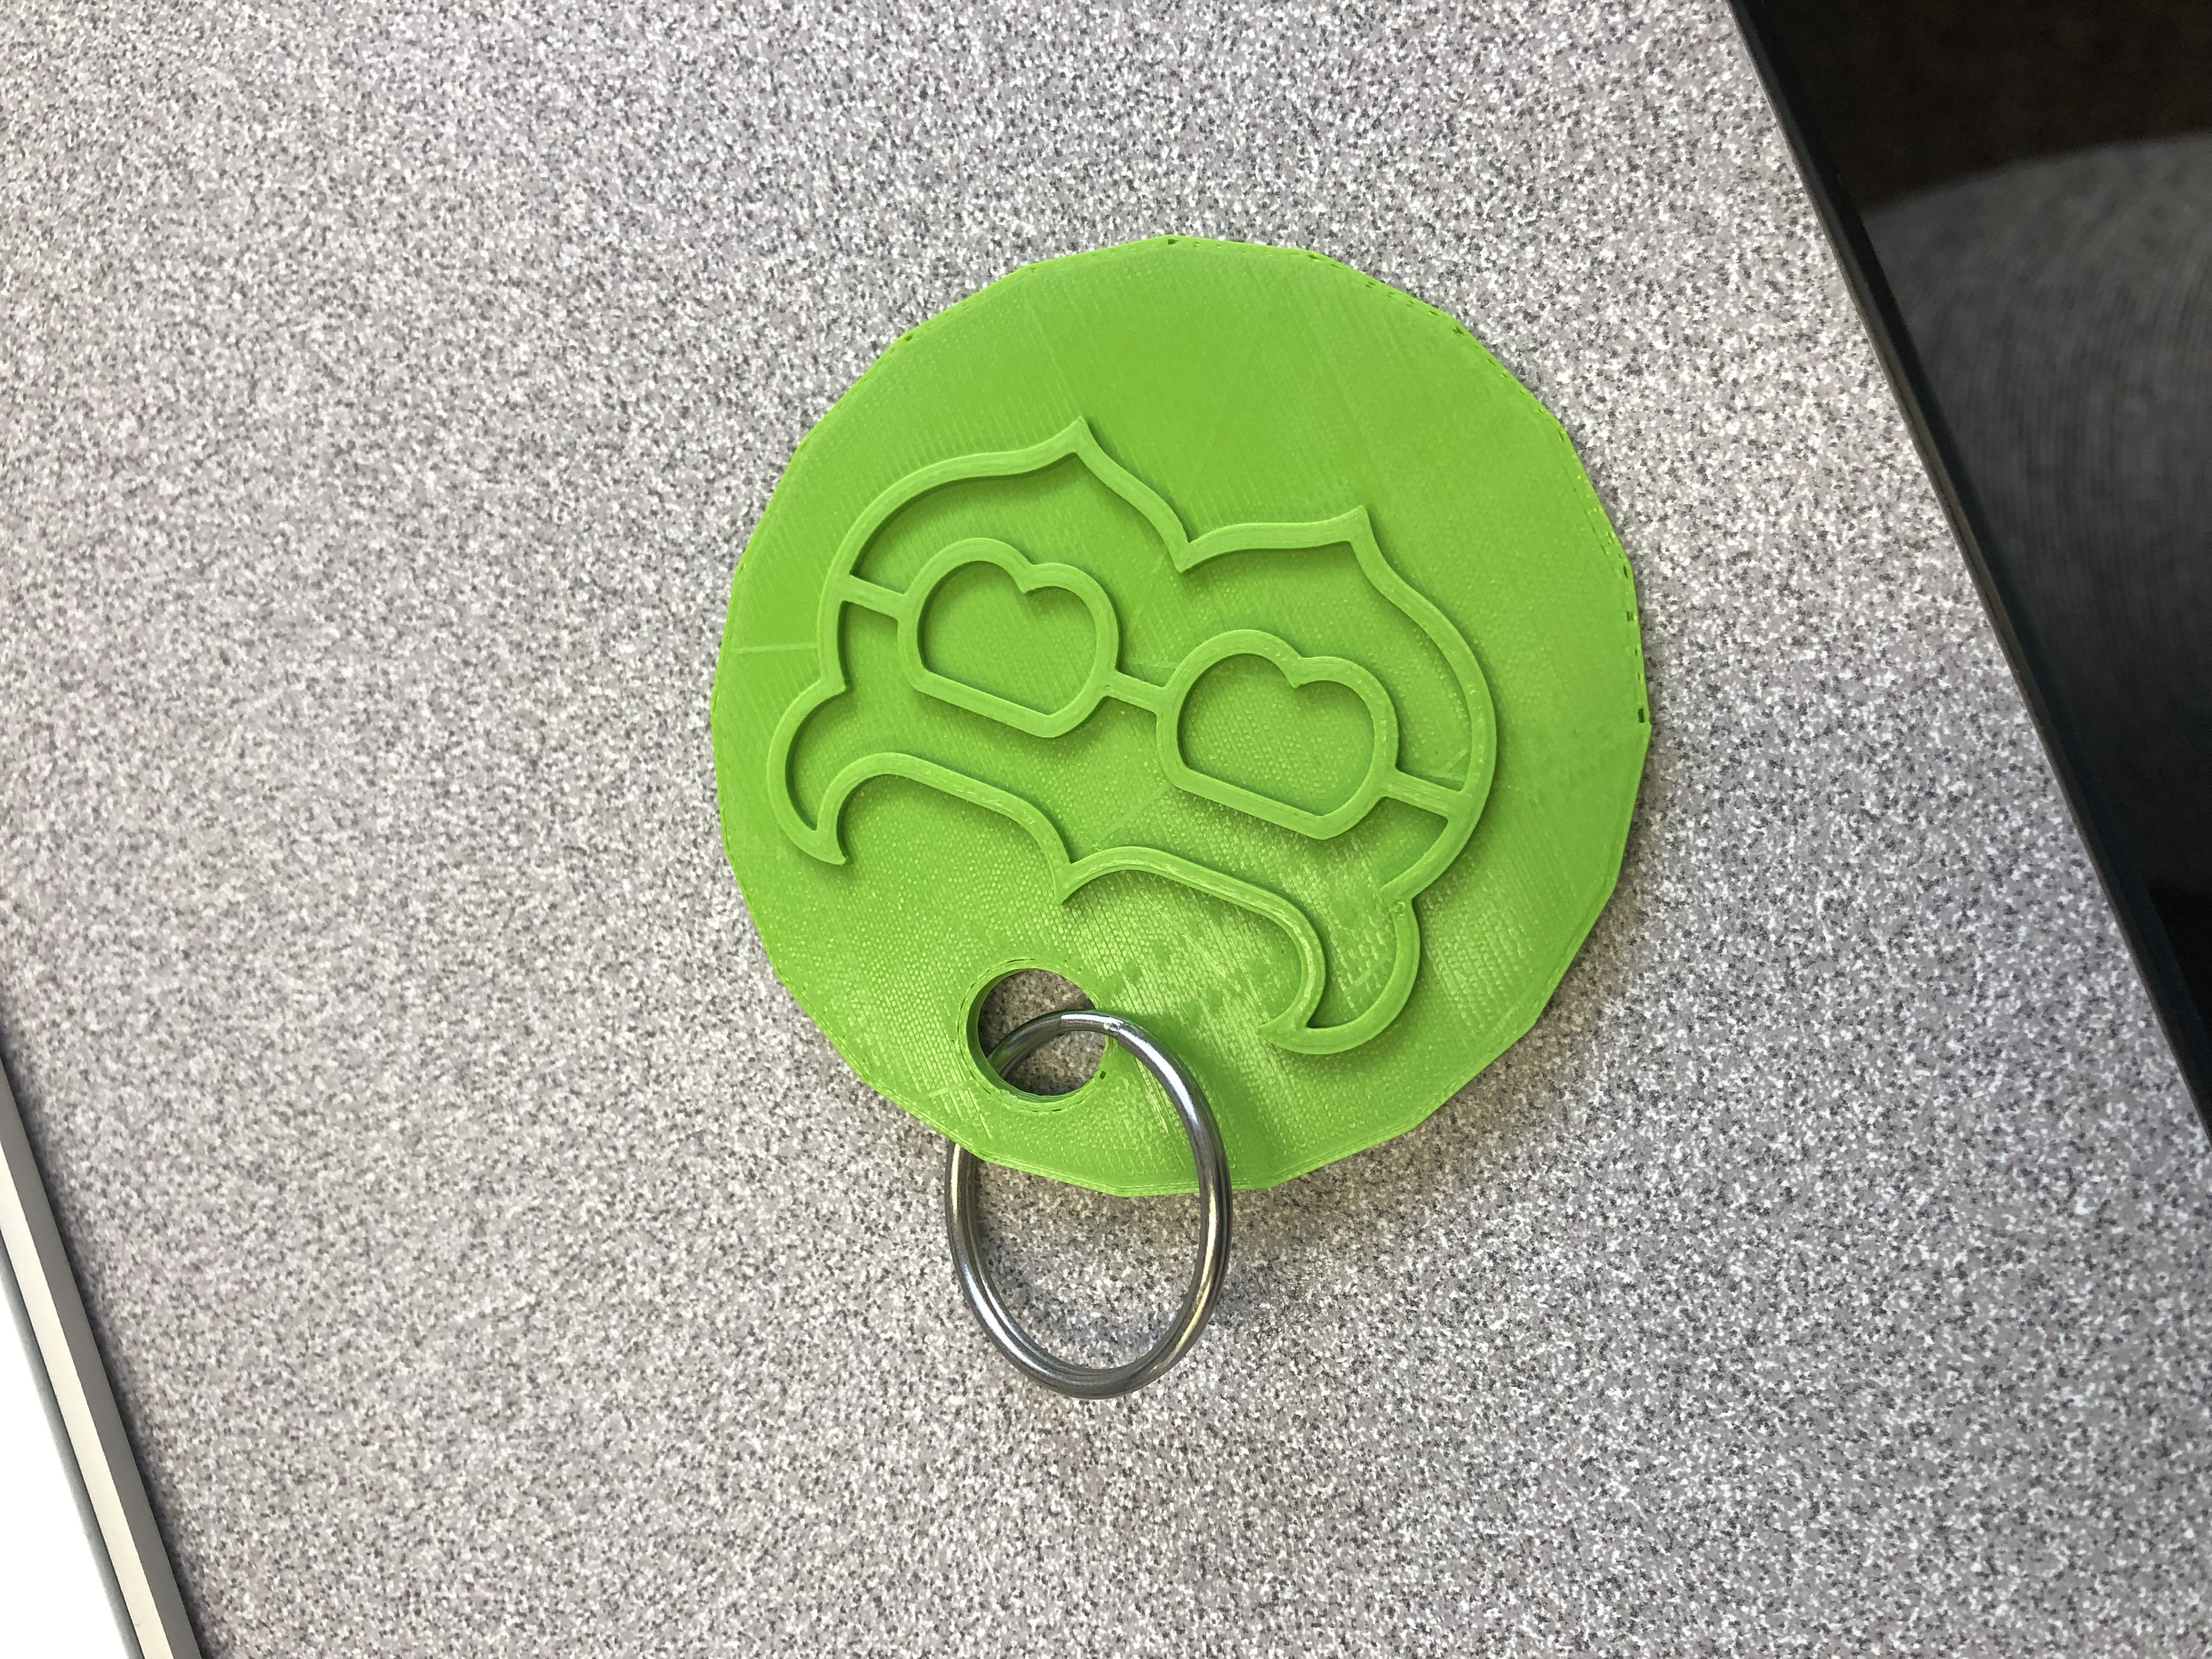 This print was definitely a success. It was very cool to see a model come to life right in front of me.
https://www.thingiverse.com/make:594013
20 Forms in Tinkercad


First screenshot:
For most of these designs I used the Basic Shapes file to create unique designs. In order to create the wave I used the scribble tool. In order to create the curved JMU I used the Featured tab under the Shape Generators file. I also used the hole tool when creating the pendent with an E cut out. These designs were more simple than the ones in my other screenshots because I was just starting to get used to Tinkercad.
Second screenshot:
For a few of these designs like the snowman, skeleton, and robot, used the group and align tools. The grouping tool made it easier to move the designs around on the work plane without messing them up. I would say that these designs were more creative and I just put down whatever first came to mind.
Third screenshot:
In order to create the swirl, star, and Ella I used the scribble tool. In this set of designs I also experimented a lot with stacking shapes on top of each other.
Tinkercad Print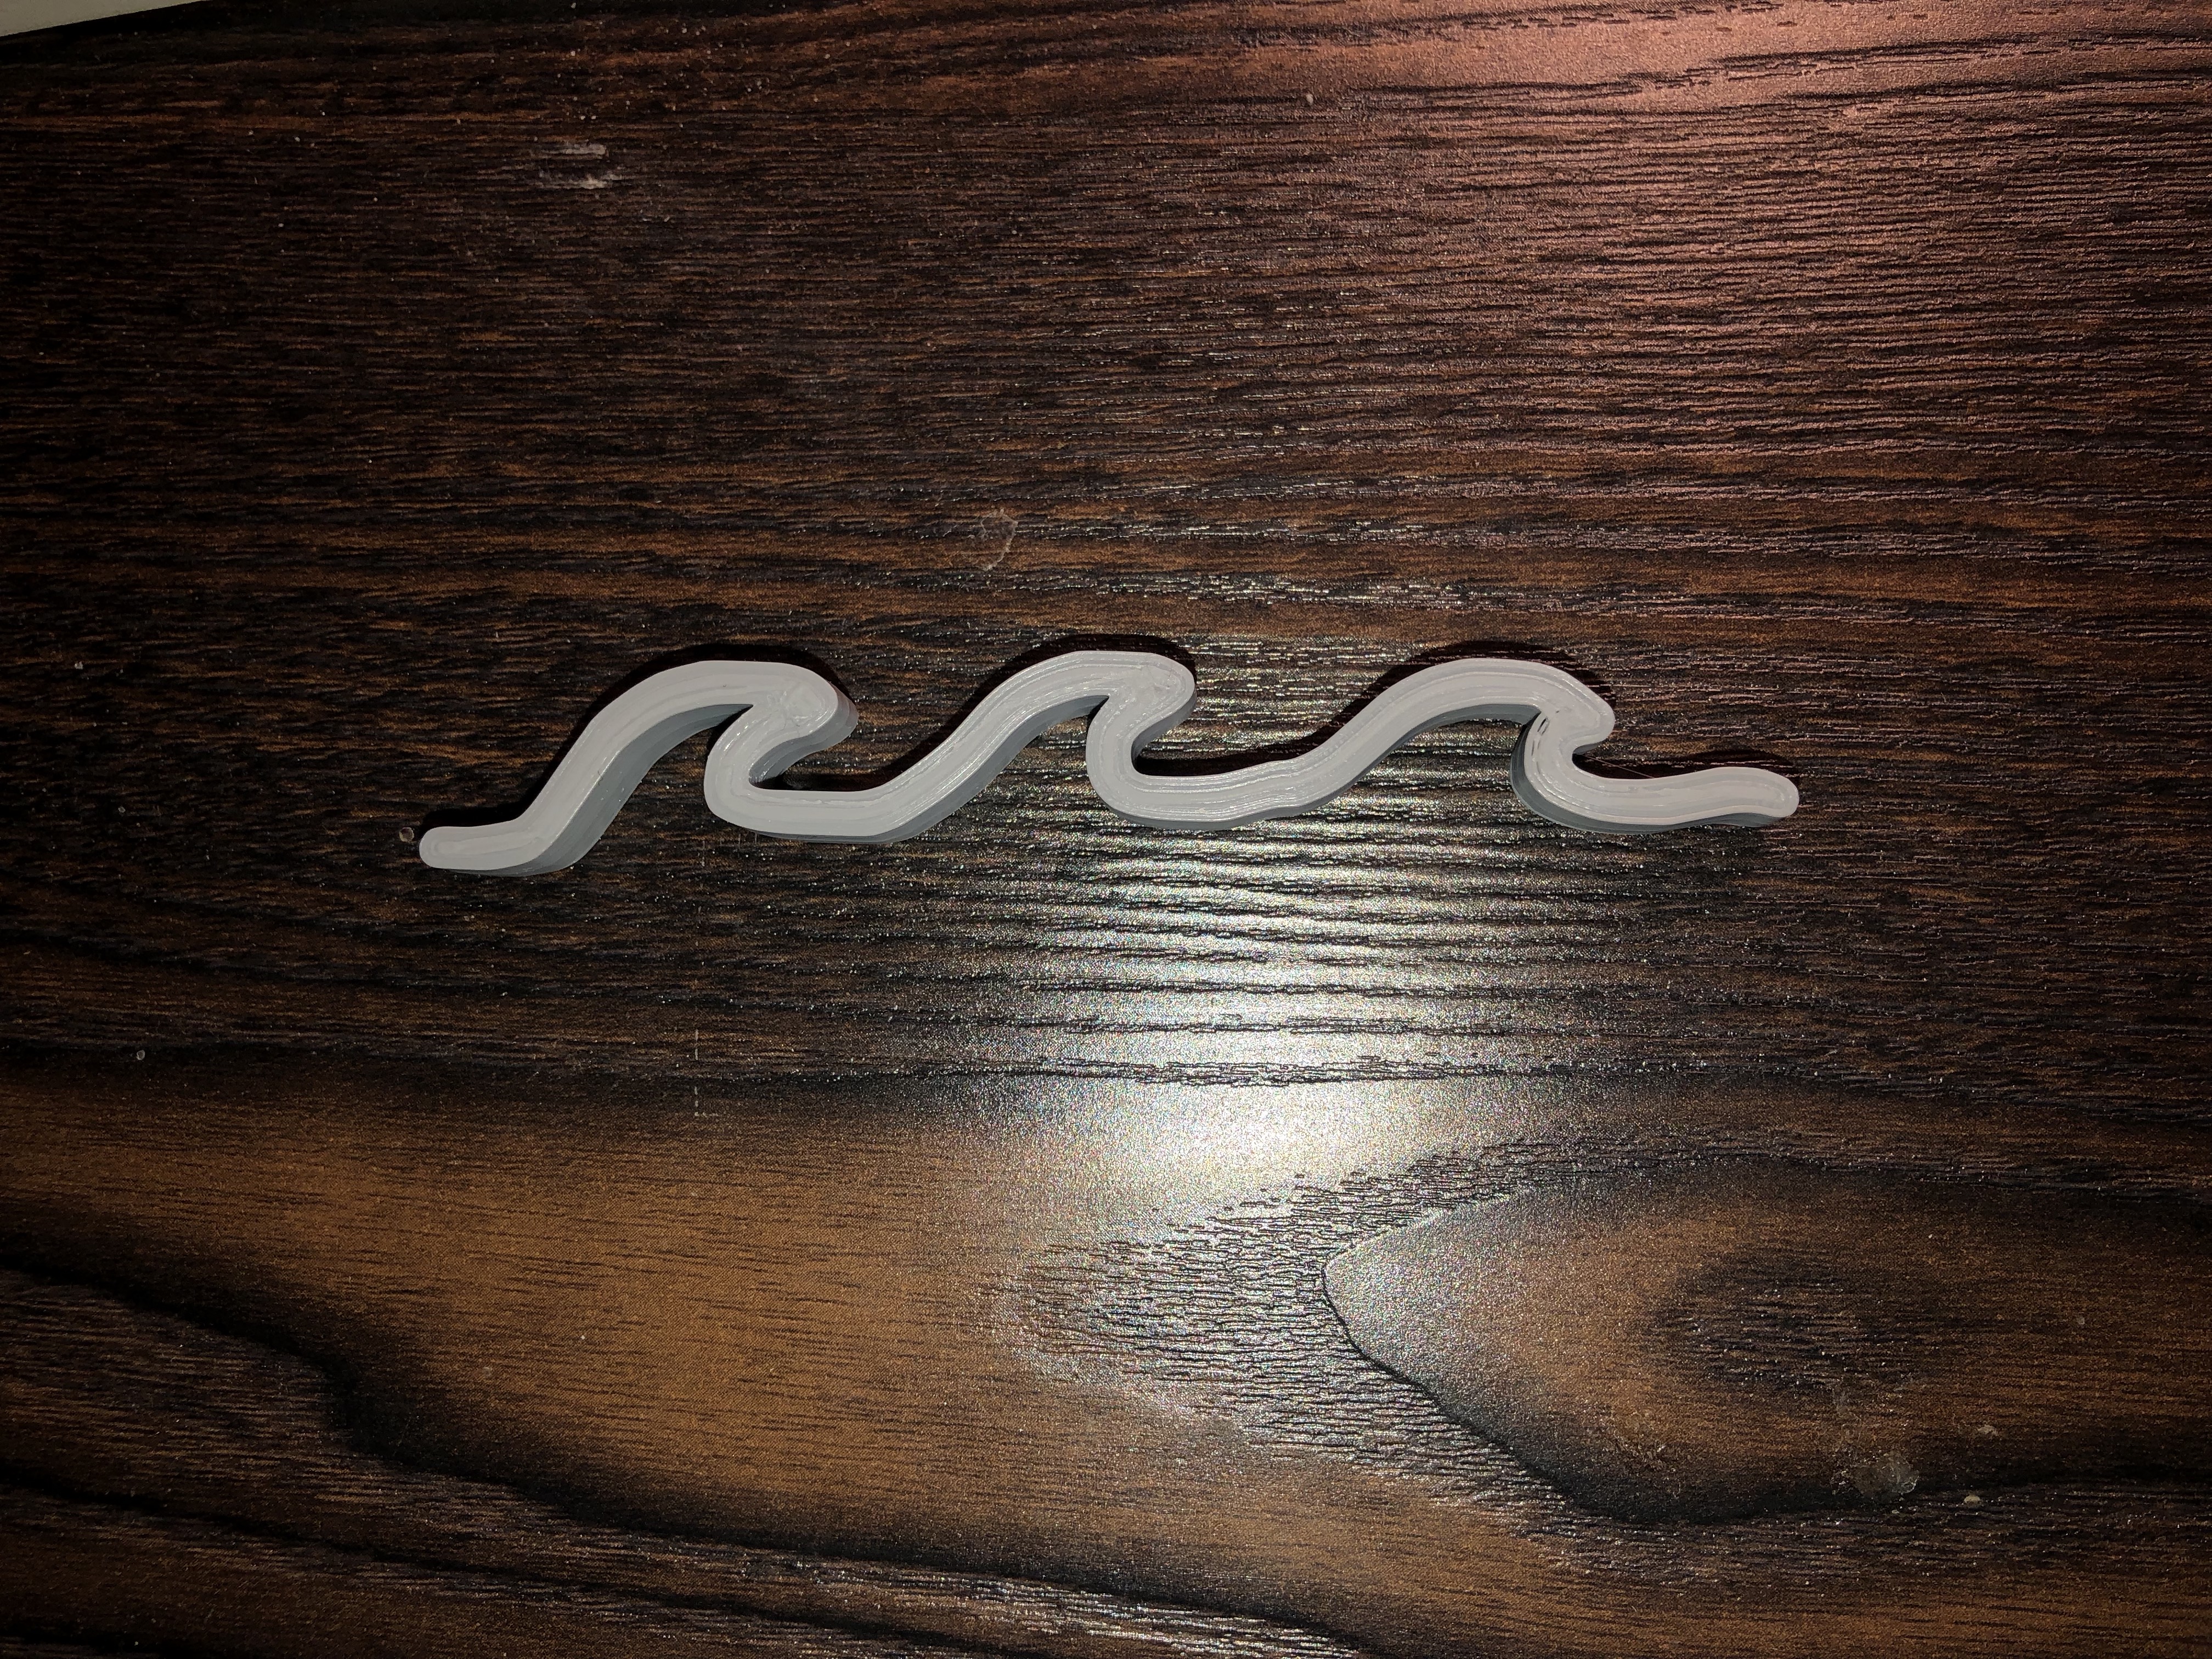
I believe this print was a success all-around. I wasn’t expecting to have any trouble printing this model because it was a very simple design and it only took 15 minutes to print. I chose to print this model because the beach has always been a huge part of my life and brings me a lot of joy, so I figured a mini wave would be a great decoration for my desk!
Summary of Group Tinkercad Project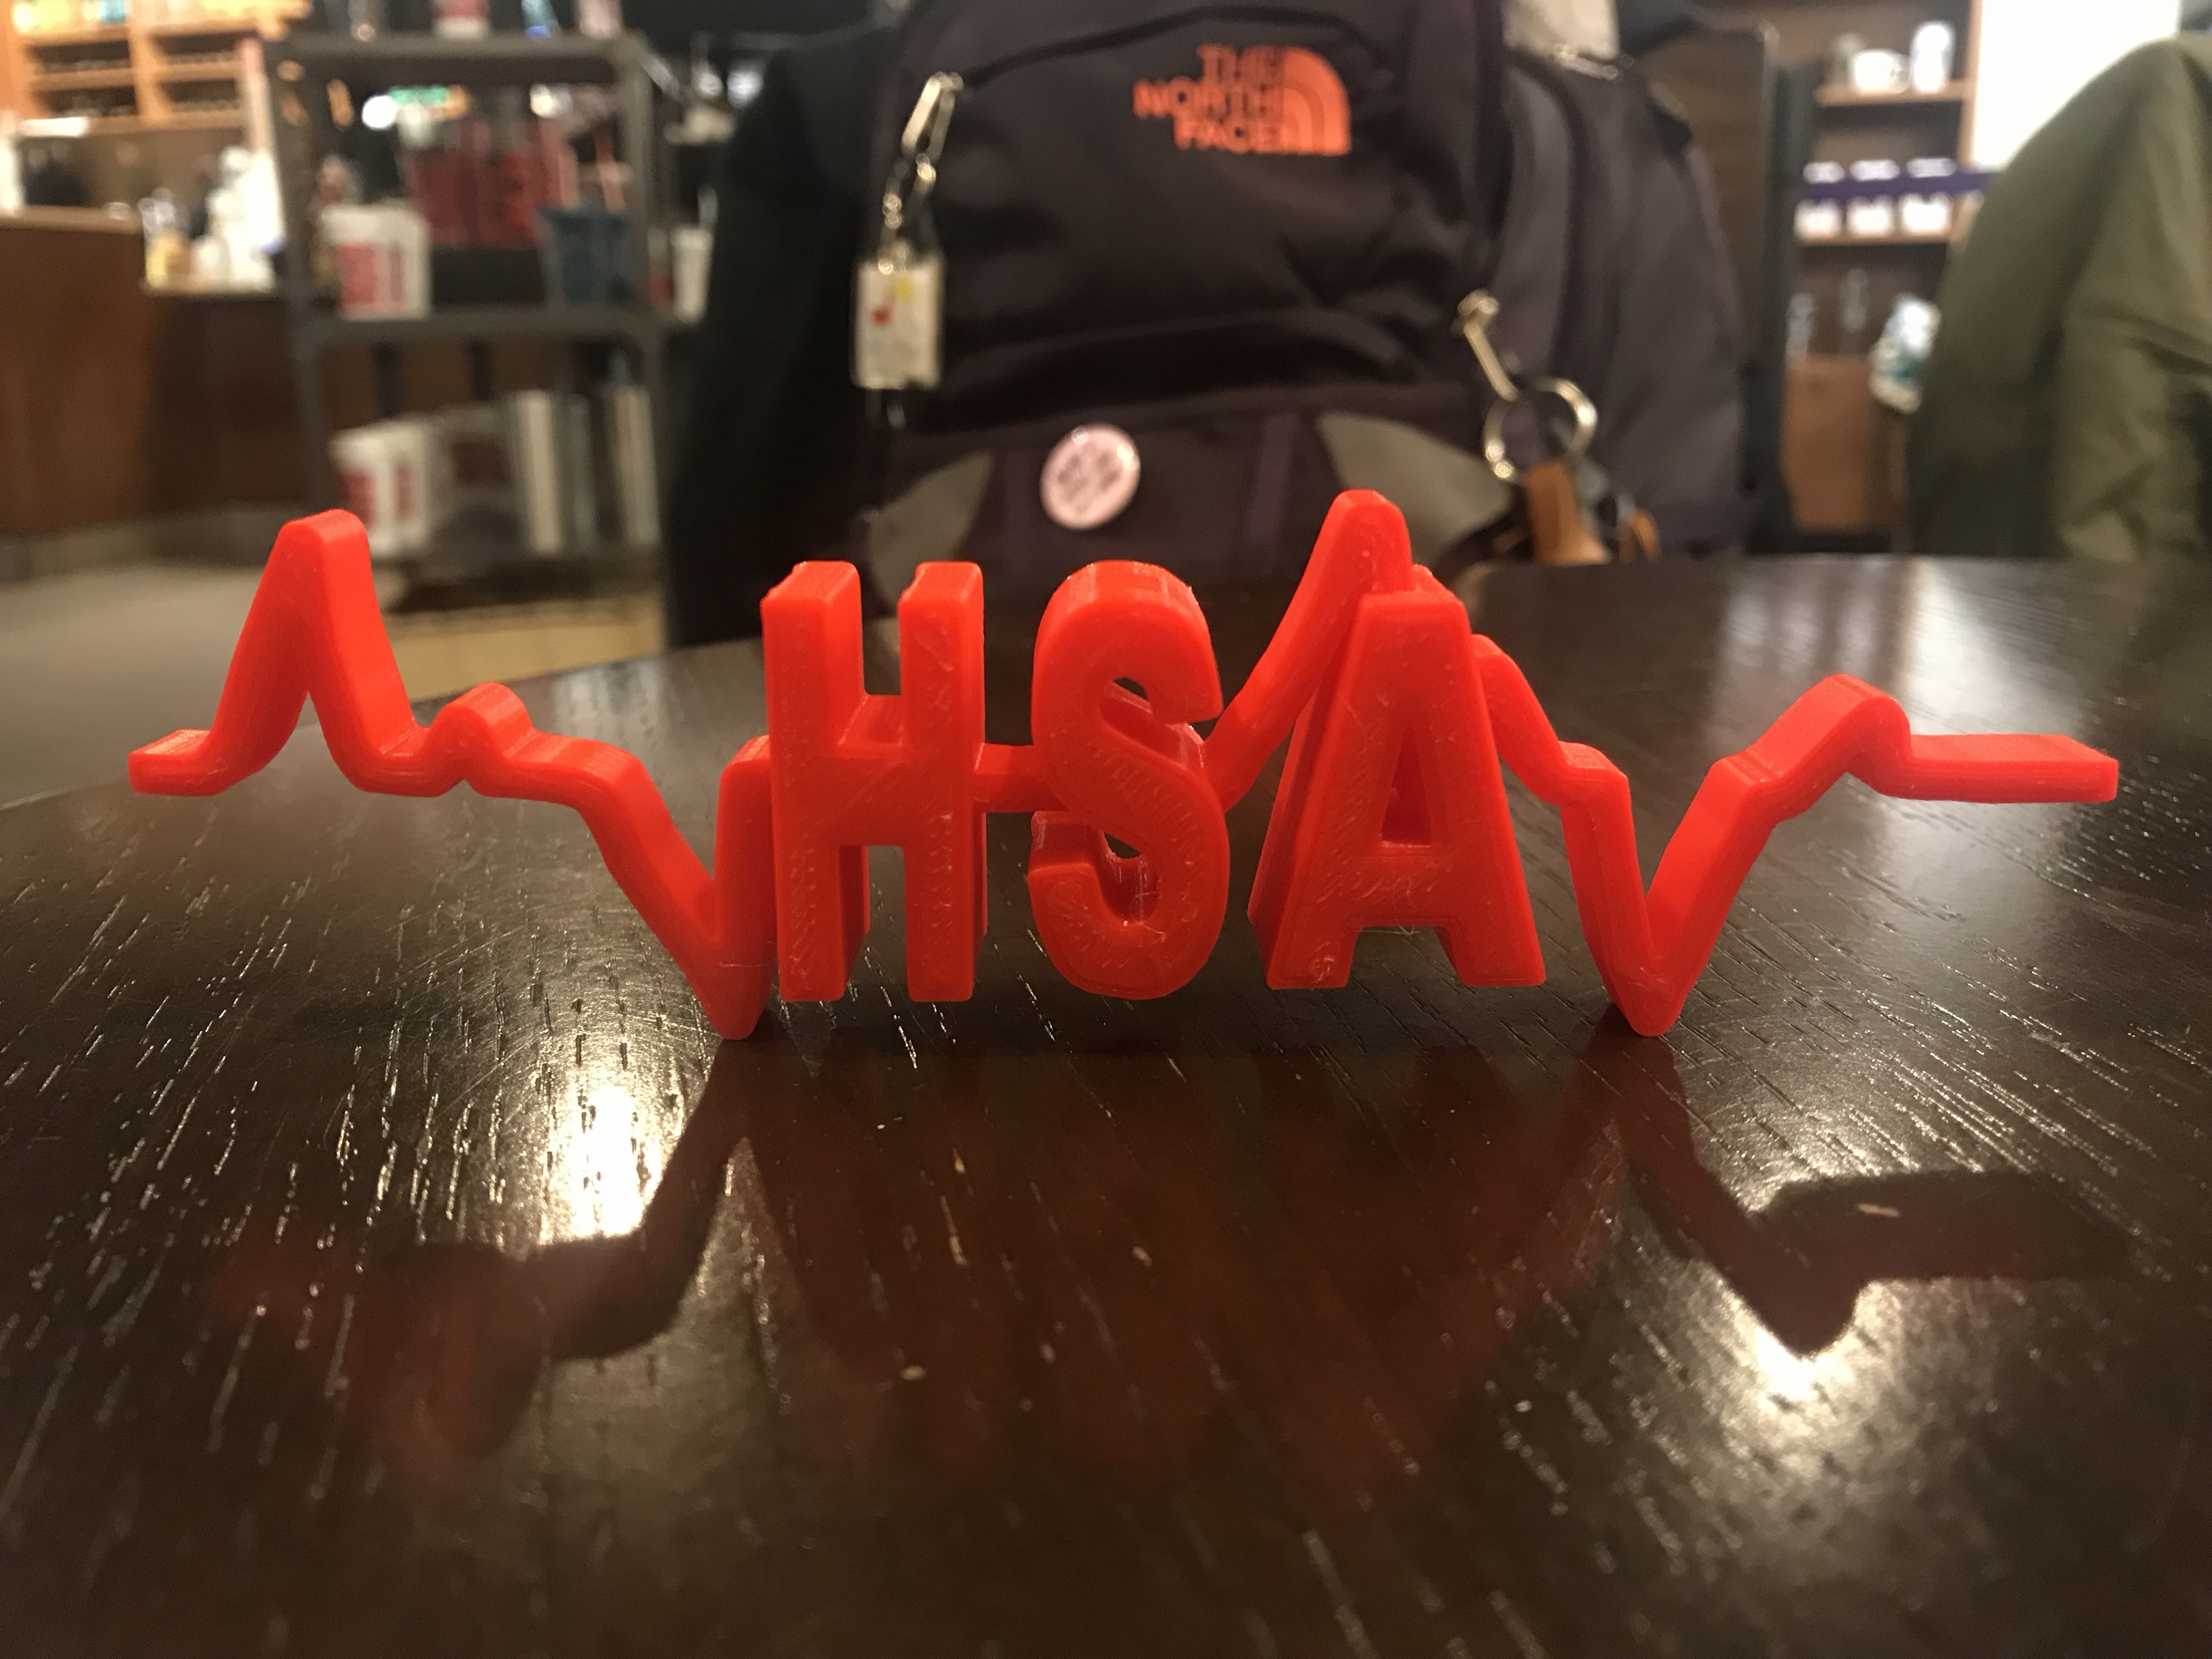
My project was an HSA logo and my partner was Chesley Hayward. I really enjoyed having the opportunity to be able to express my creativity through this project! The fact that my roommate and I are both HSA majors made this experience really awesome. I think that part of why our print turned out so well is because we both contributed great ideas and we found creative ways to improve our original print. I genuinely had a lot of fun with this project and I can’t wait to improve my design skills in the projects to come.
https://geekhaus.com/isci104_spring2019/2019/01/15/hsa-logo/
https://www.thingiverse.com/thing:3377251
20 Forms in Fusion 360
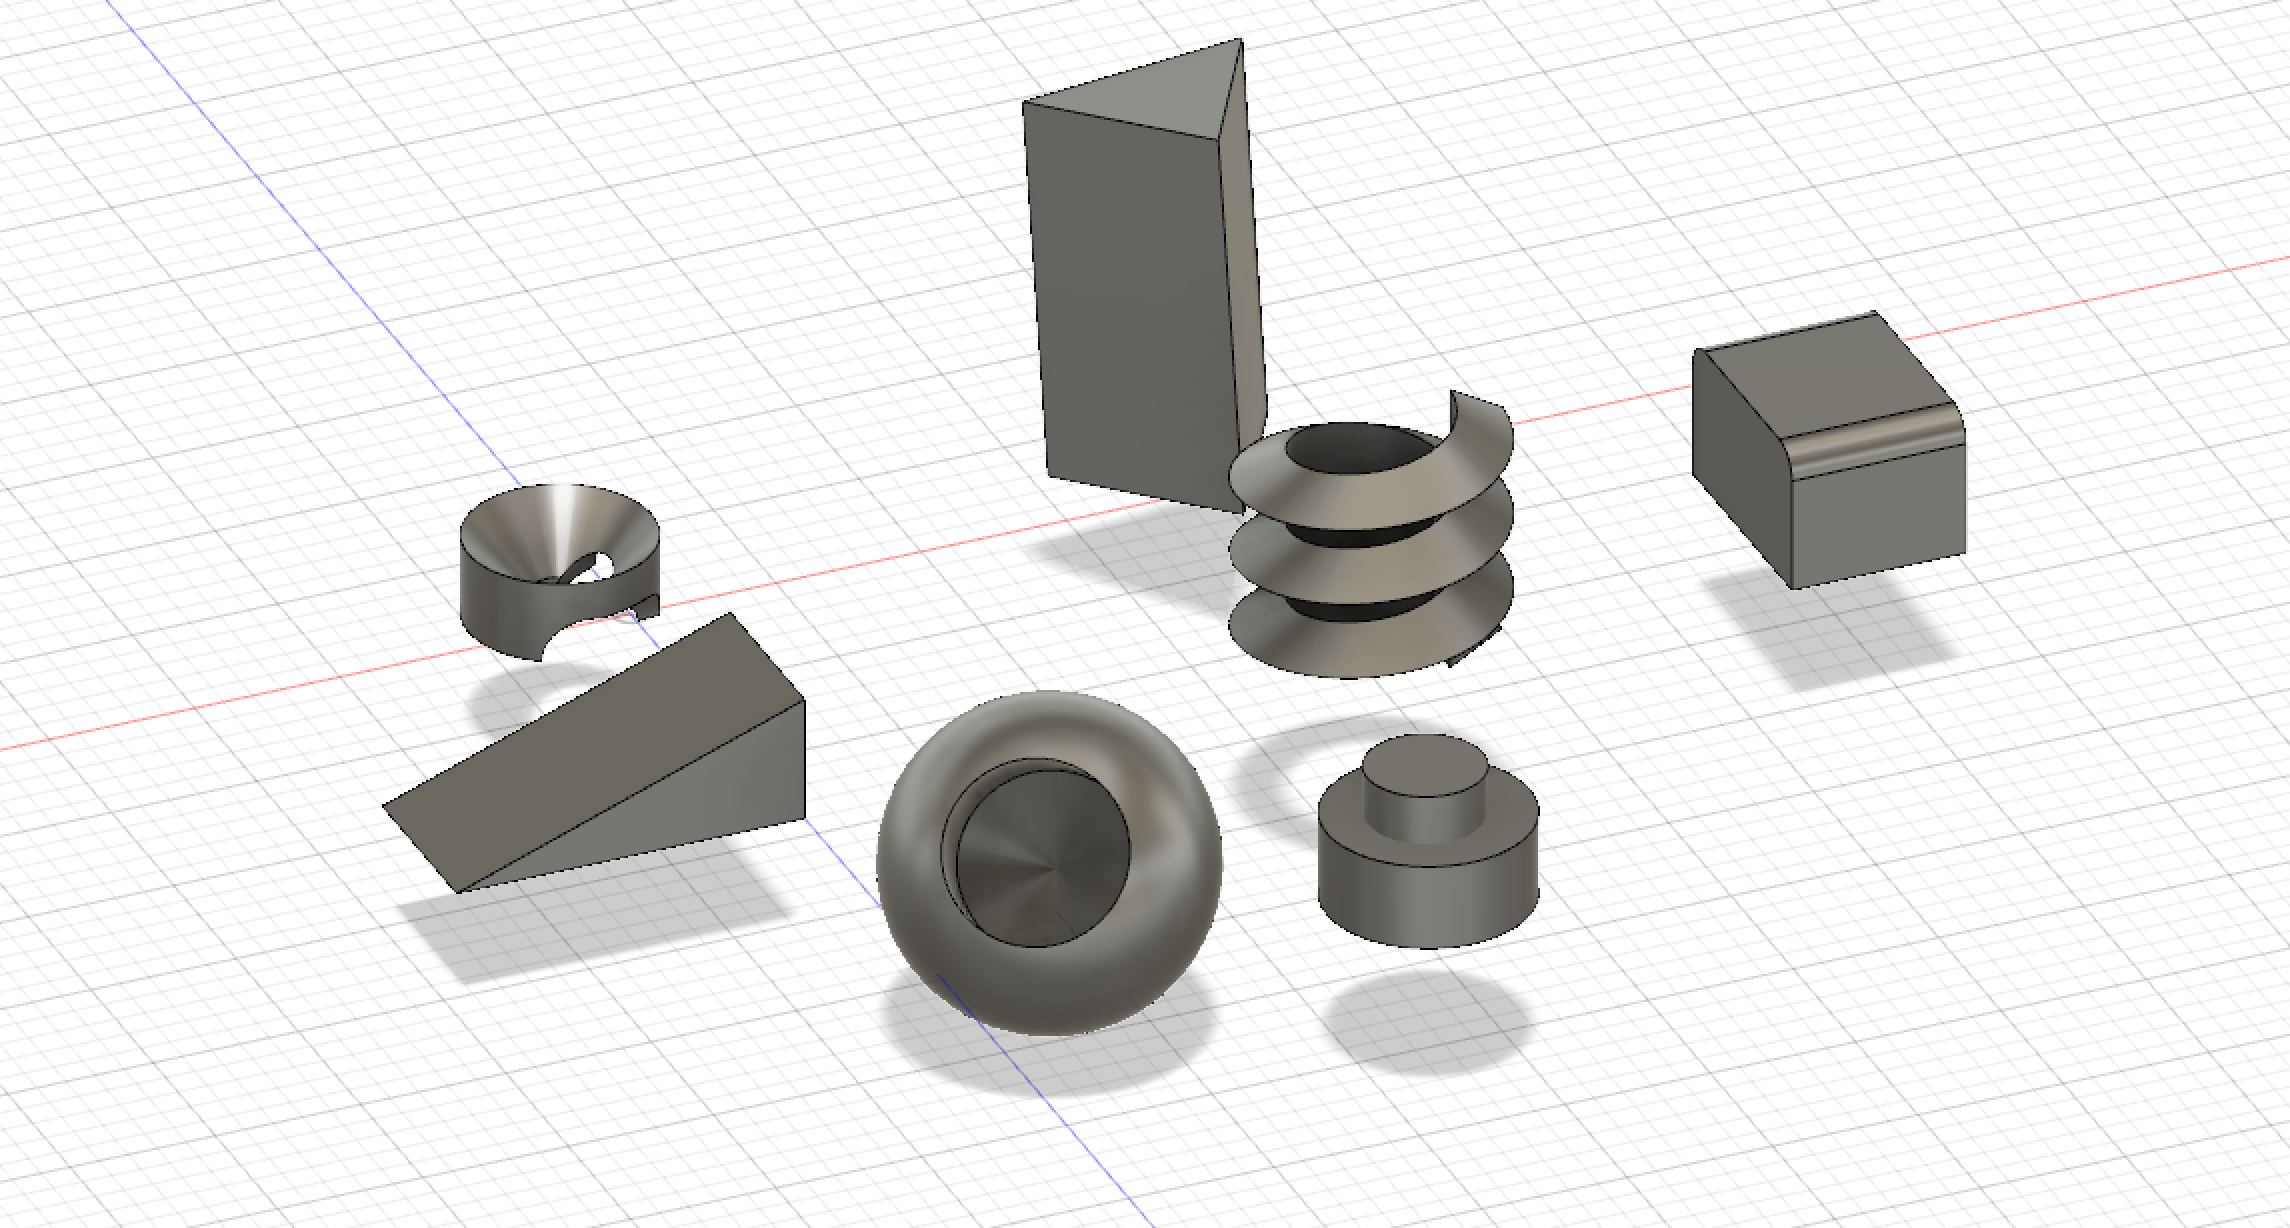
First screenshot:
In this set of designs I used a few different tools. I’m still trying to get the hang of Fusion 360 so these designs are relatively simple. In two of the designs I used the “hole” tool. With the ramp design I used the “draft” tool to create an incline. I used the “sketch” and “extrude” tool on the prism-looking design. I also used the “fillet” tool to create rounded edges on the cube design. I also played around with the “coil” tool by changing the height and width, as well as the shape of the coil itself.
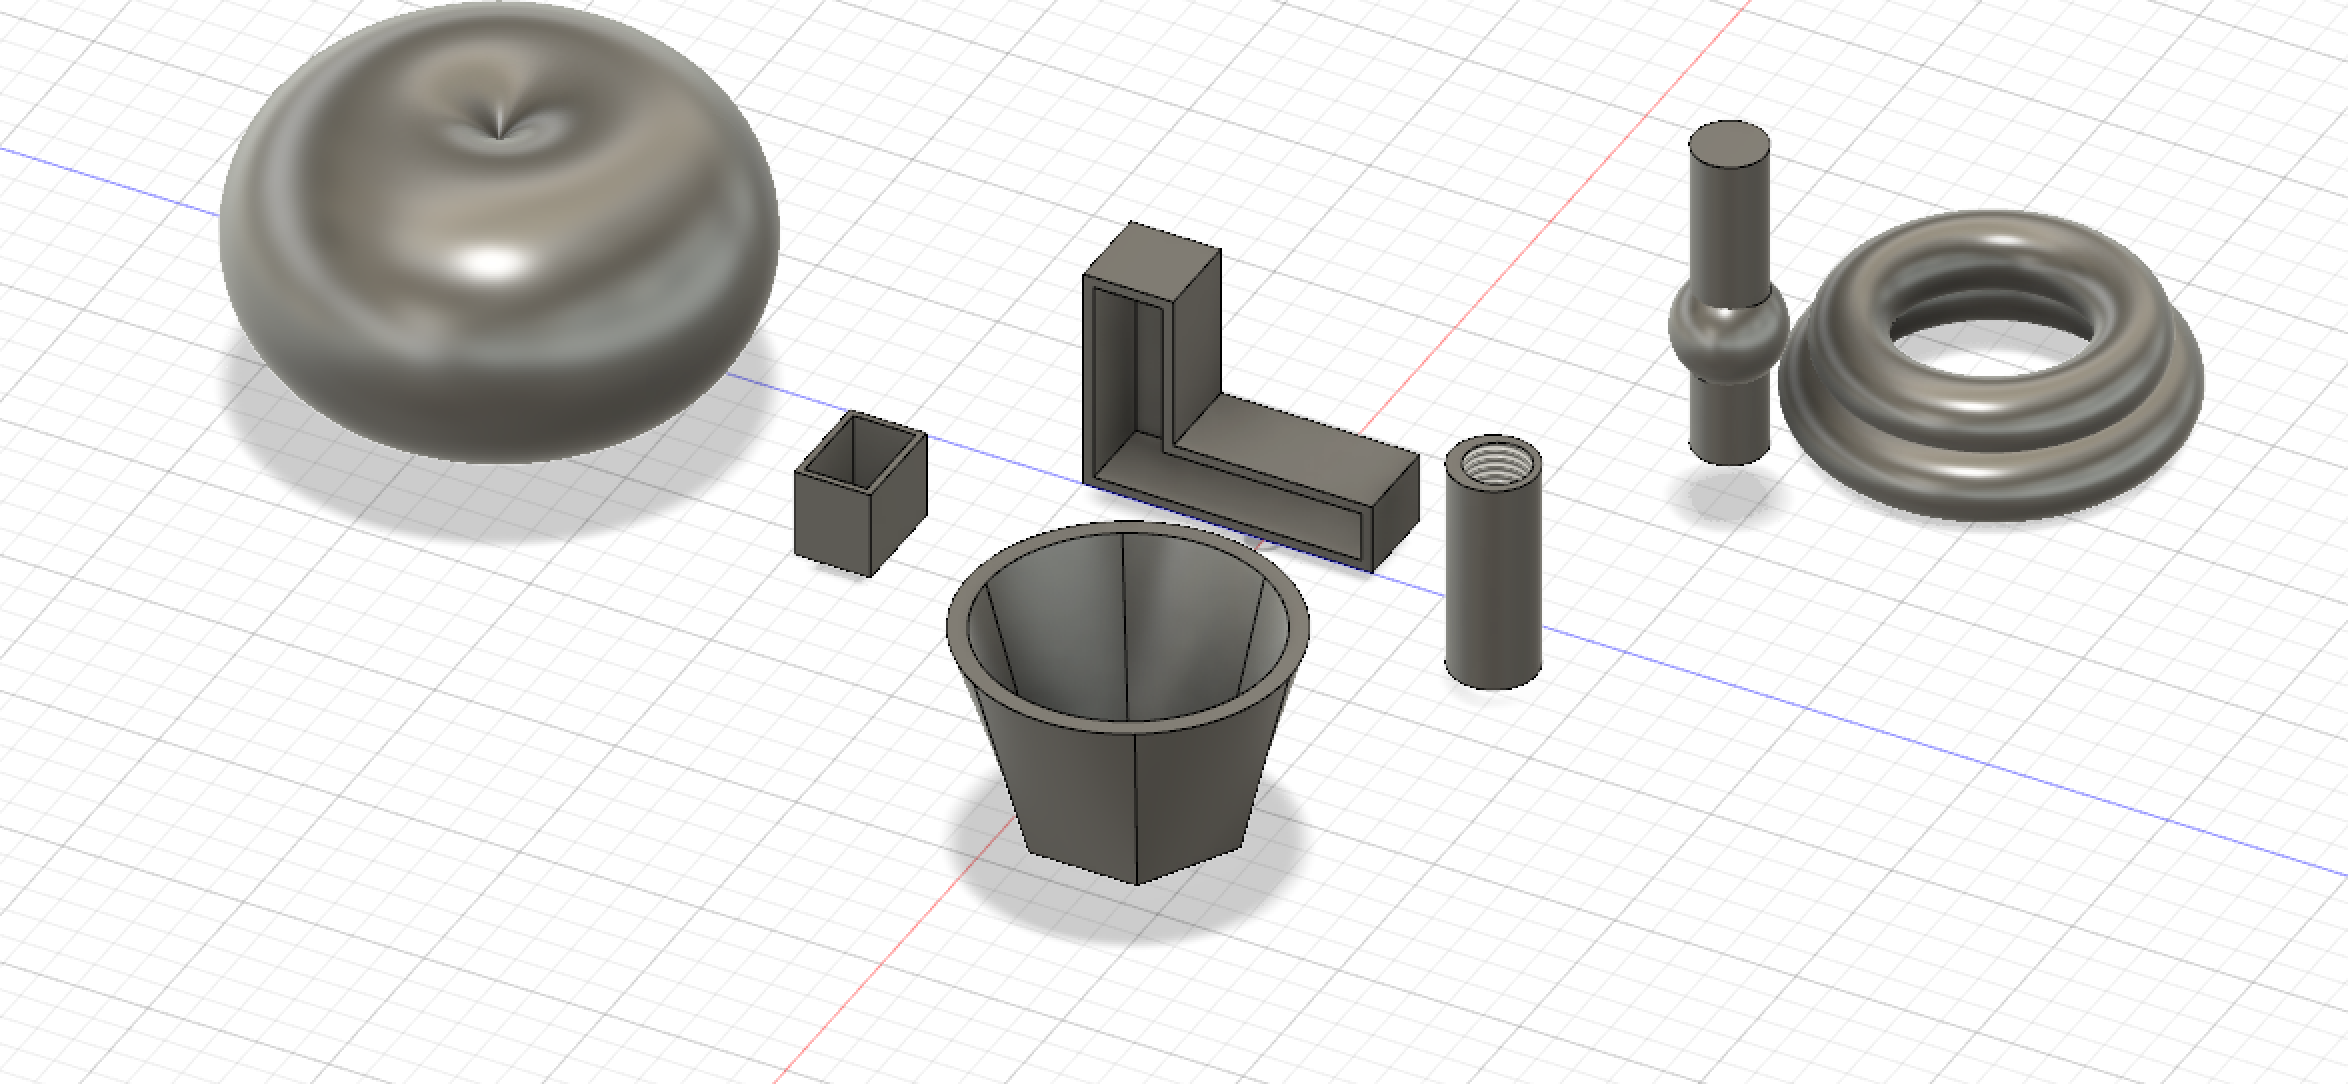
Second screenshot:
With these designs I tried some different tools. To make the hollowed out L I used the “shell” tool. When making the hollowed out cylinder I changed the hole to be ribbed on the inside. To make the cup-looking object I used the “loft” tool and then used the “hole” tool to hollow it out.
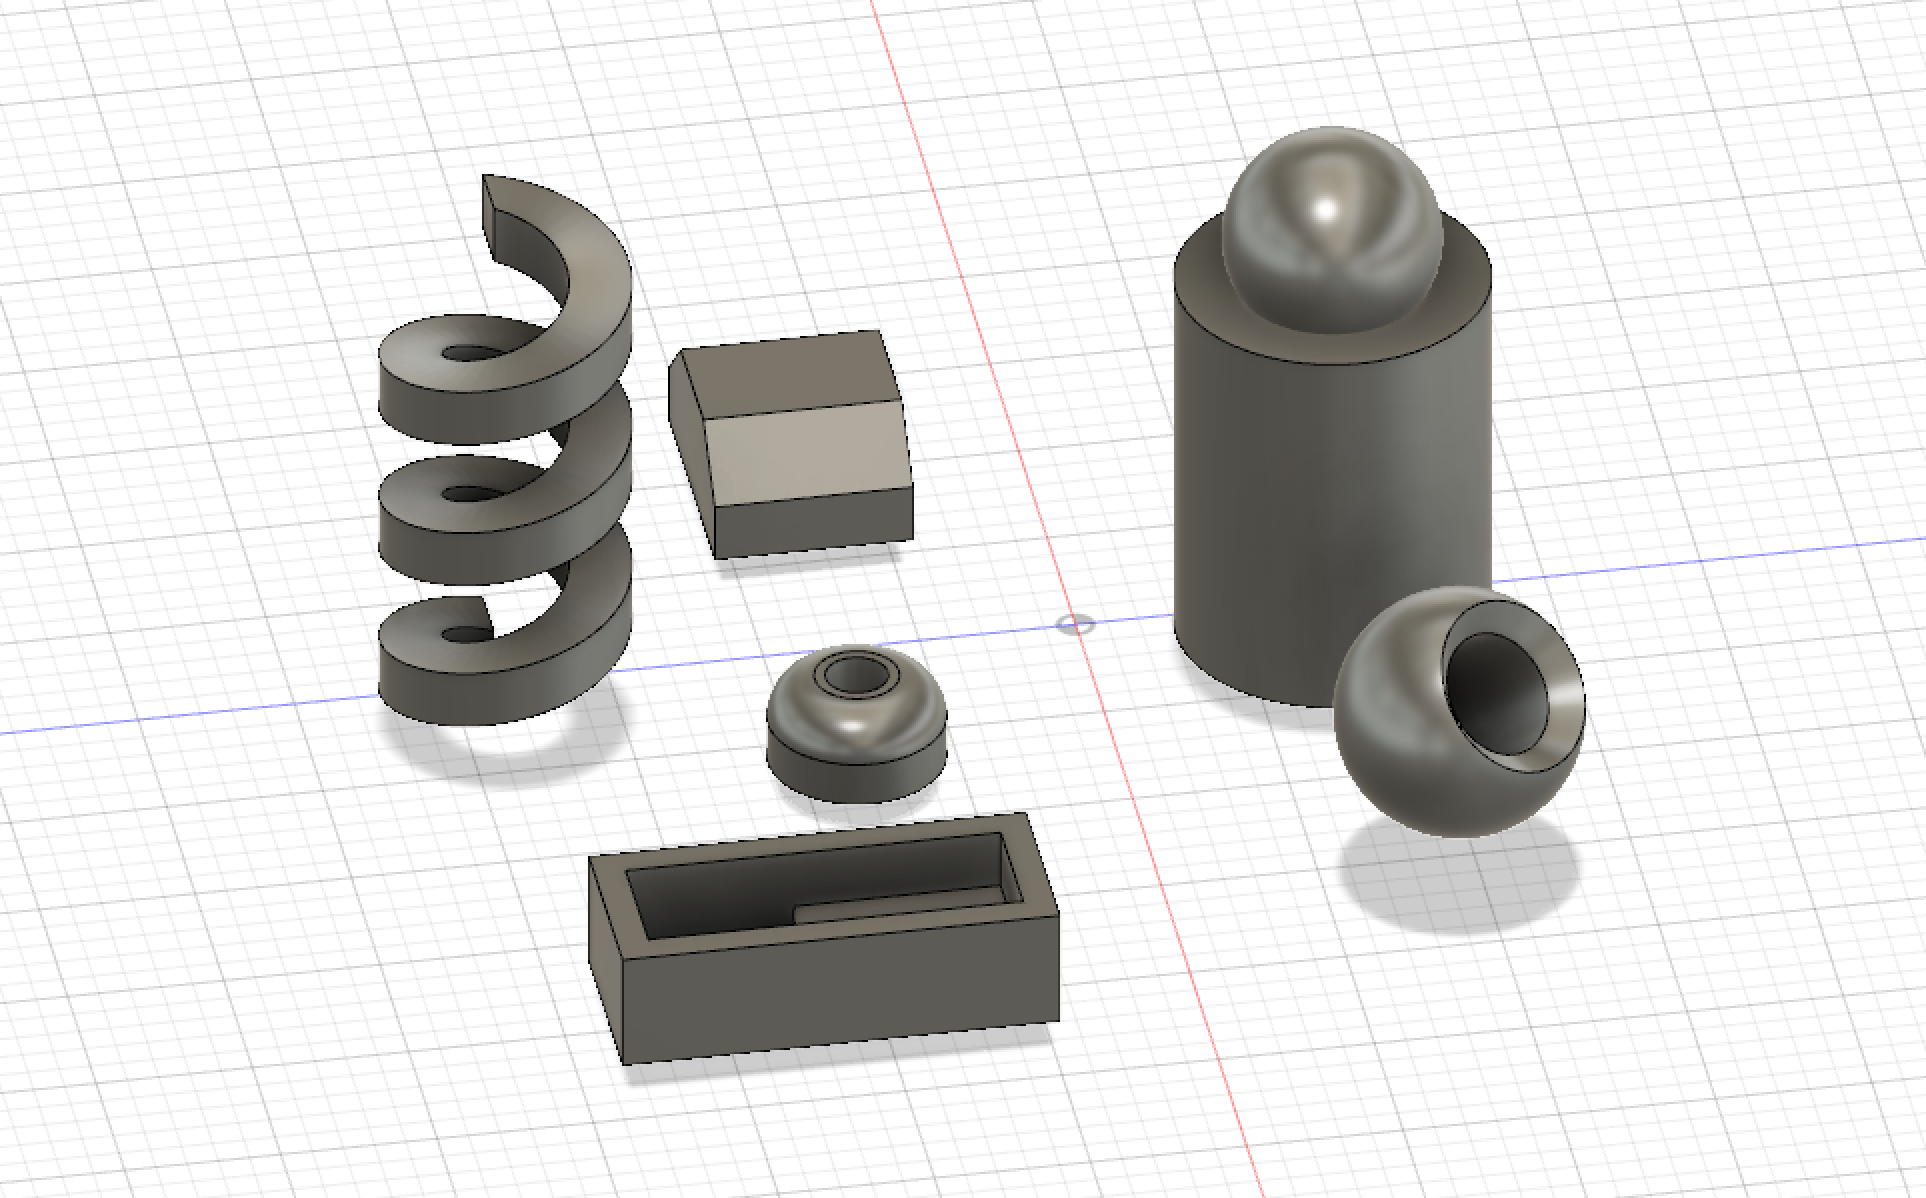
Third screenshot:
With this group of designs I experimented with the “rib” tool. Inside of the hollowed out rectangle there is a tiny part that is raised, which is supposed to be the rib. I also used the “fillet” and “hole” tool to created the object right behind the hollowed out rectangle.
Fusion 360 Print
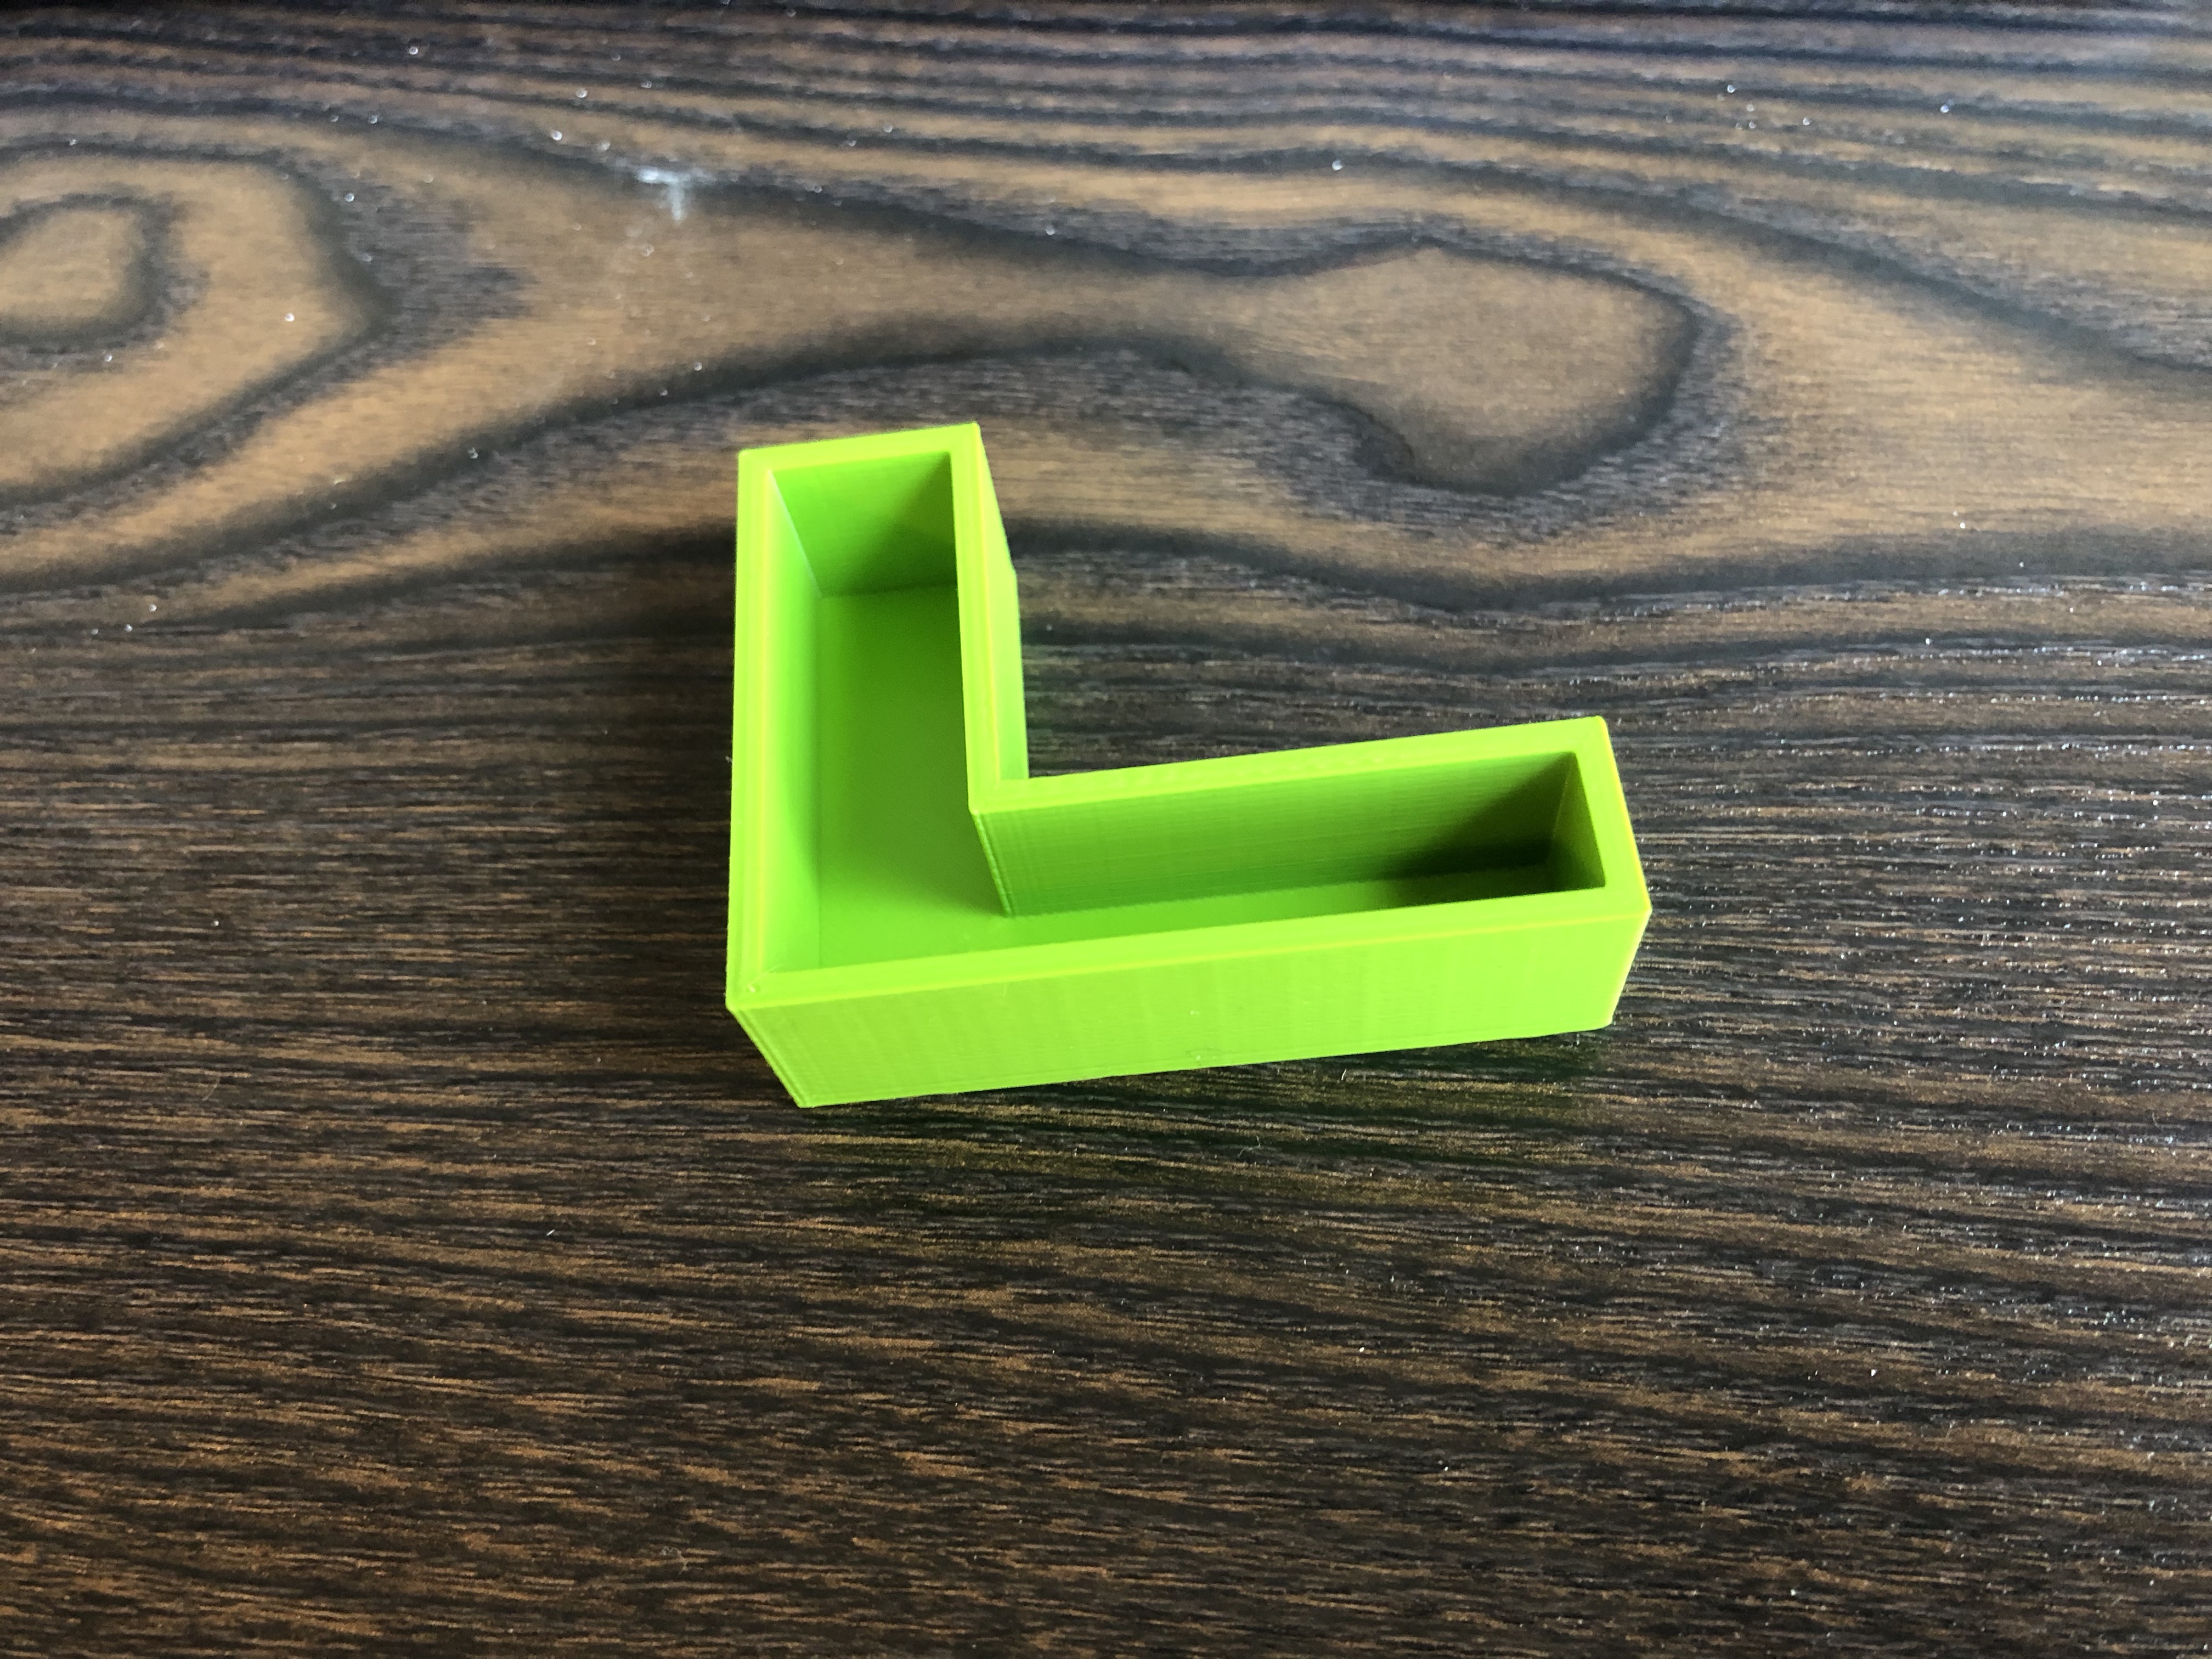
I thought this print was a success overall. It was a fairly simple print, but I think if it printed out on a larger scale it could be very useful in every day life. I think it could be used as a “catch-all” on my desk for pens and paper clips and such. In hindsight I wish I would have printed one of my more complicated designs to see how they would’ve turned out!
Fusion 360 Vase Design
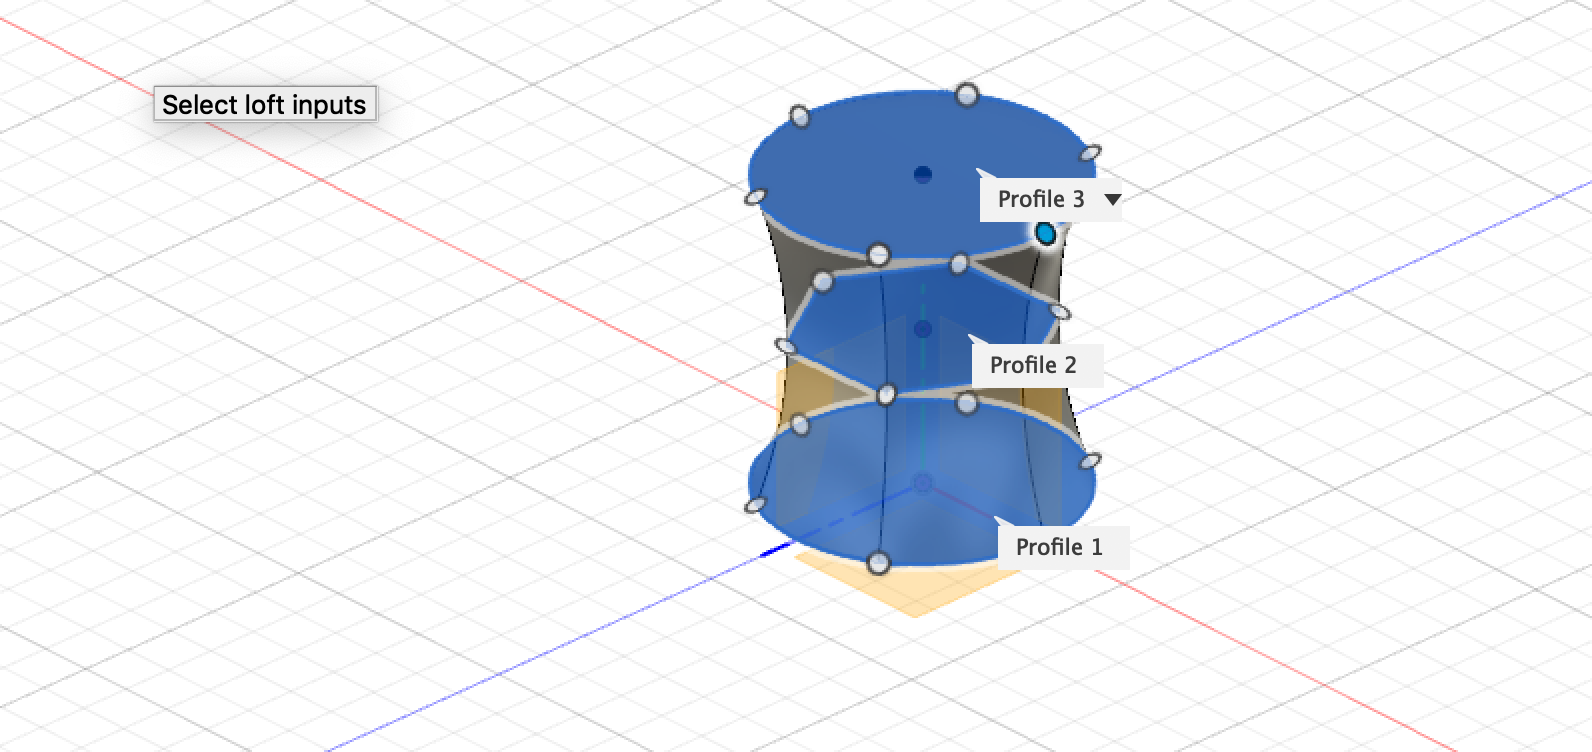
In order to design this vase I used the sketch and offset plane technique. I then lofted the sketches together to create the vase. After creating my first design I wasn’t too pleased with how it turned out because I thought I could do better. So I decided to scrap the first design and I created the one shown in the second screenshot. I decided to make the middle section bulge out more and made the rim of the vase more unique.
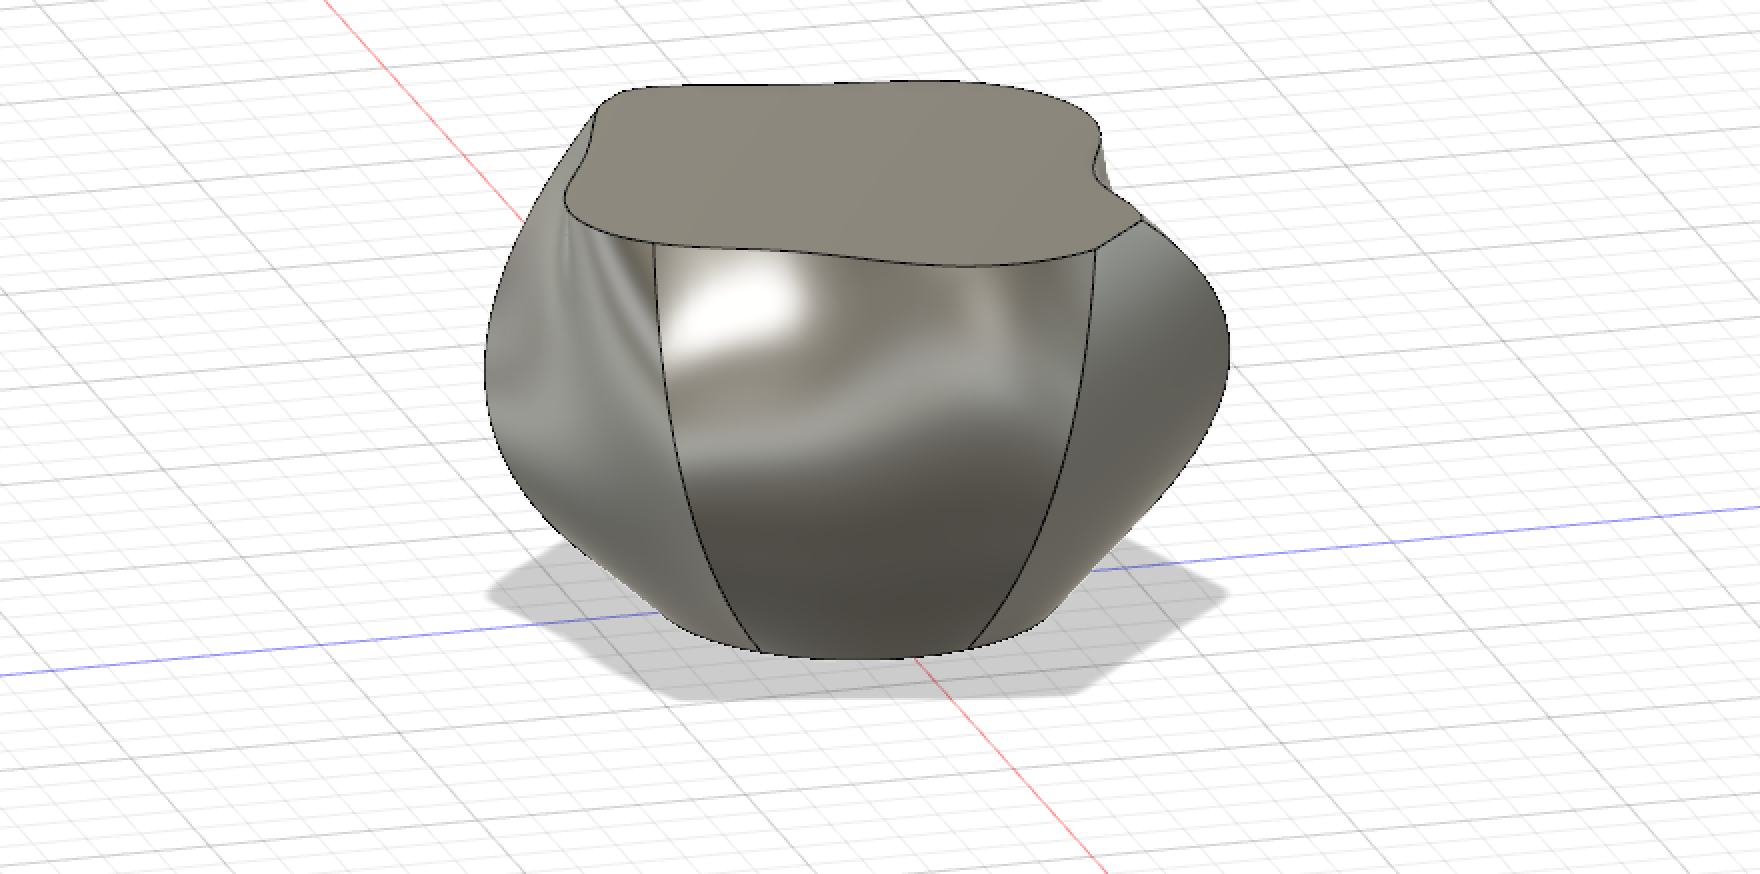
I think my final design goes beyond the basic design in the video because it’s a very unique design that would be difficult to find in a store somewhere. It may not look like a typical vase but I think it could have many different functions. The rim of the vase is different enough that it sets it apart from the design in the video. I used three different sketch shapes on the three separate planes in order to make the vase a distinctive shape.
Fusion 360 Vase Prints
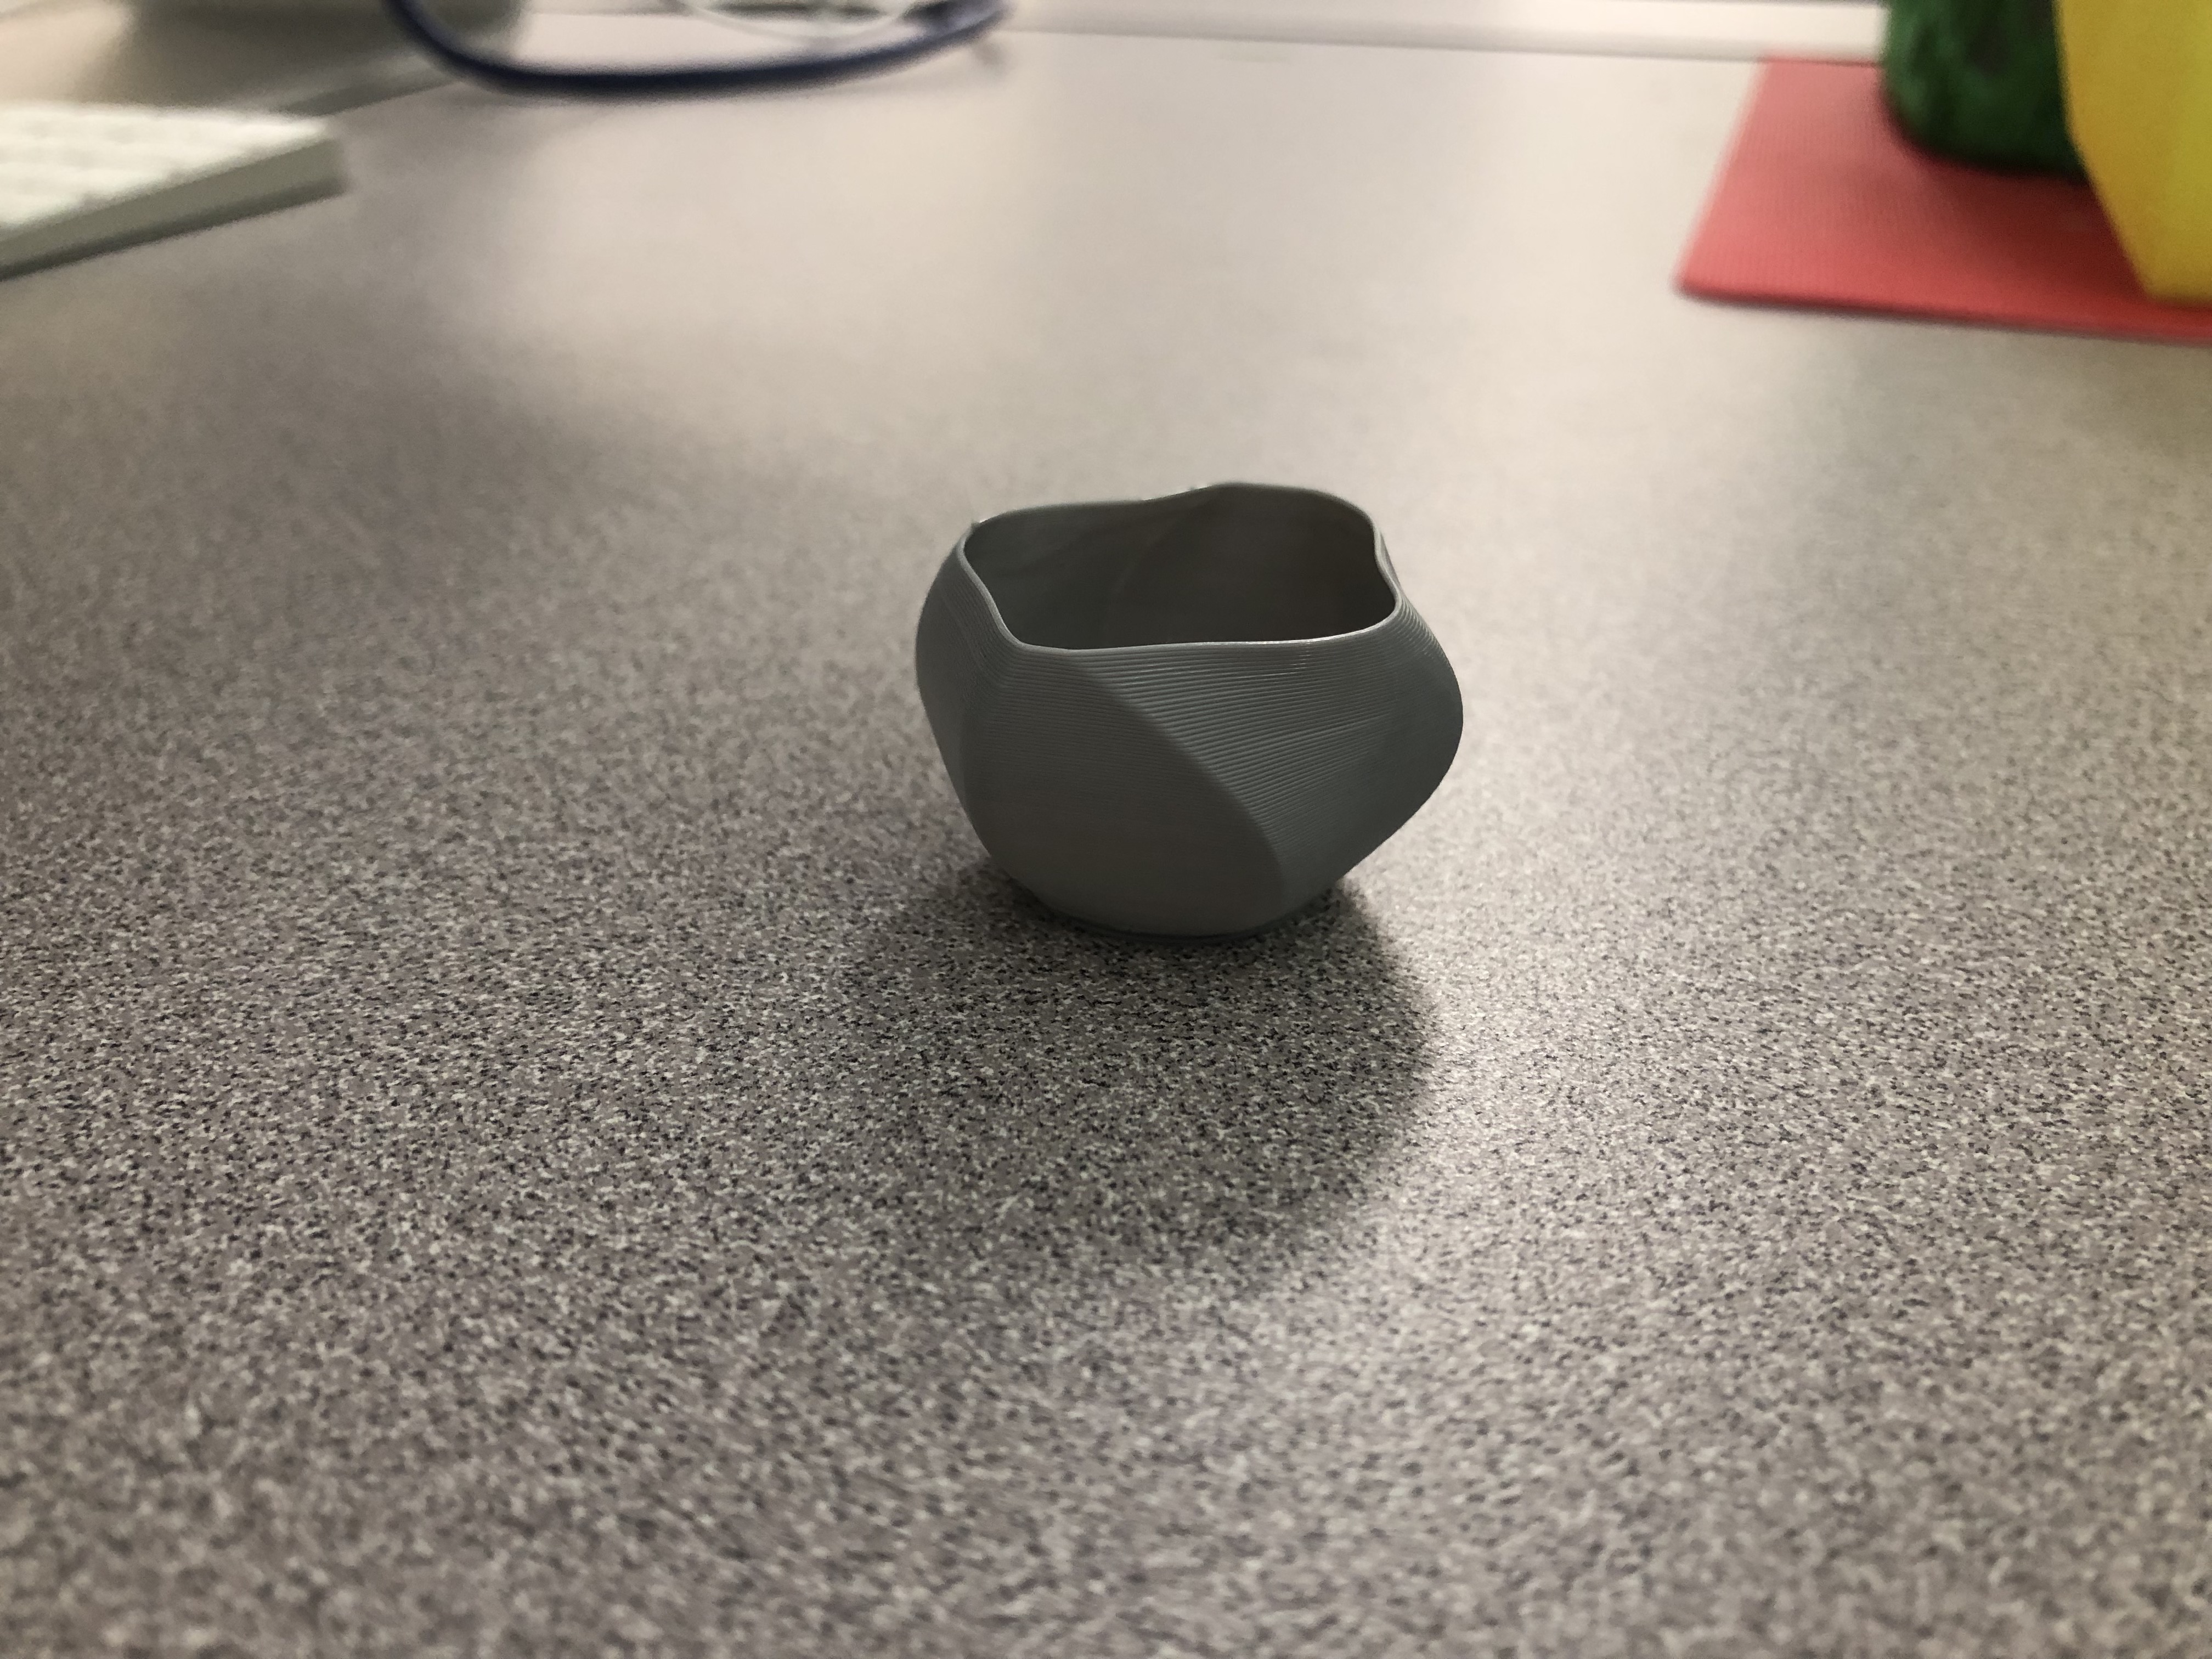

My final print was definitely a success! I went through a lot of trial and error when designing this vase but I’m very happy with how it turned out. Fusion 360 presented a lot of challenges at first, but once I got the hang of it I really enjoyed using the software. I love seeing my own design come to life and I think there are many ways I could make use of this vase. I’m excited to continue learning how to use other design softwares!
Thingiverse Link: https://www.thingiverse.com/thing:3409610
20 Forms in OpenSCAD
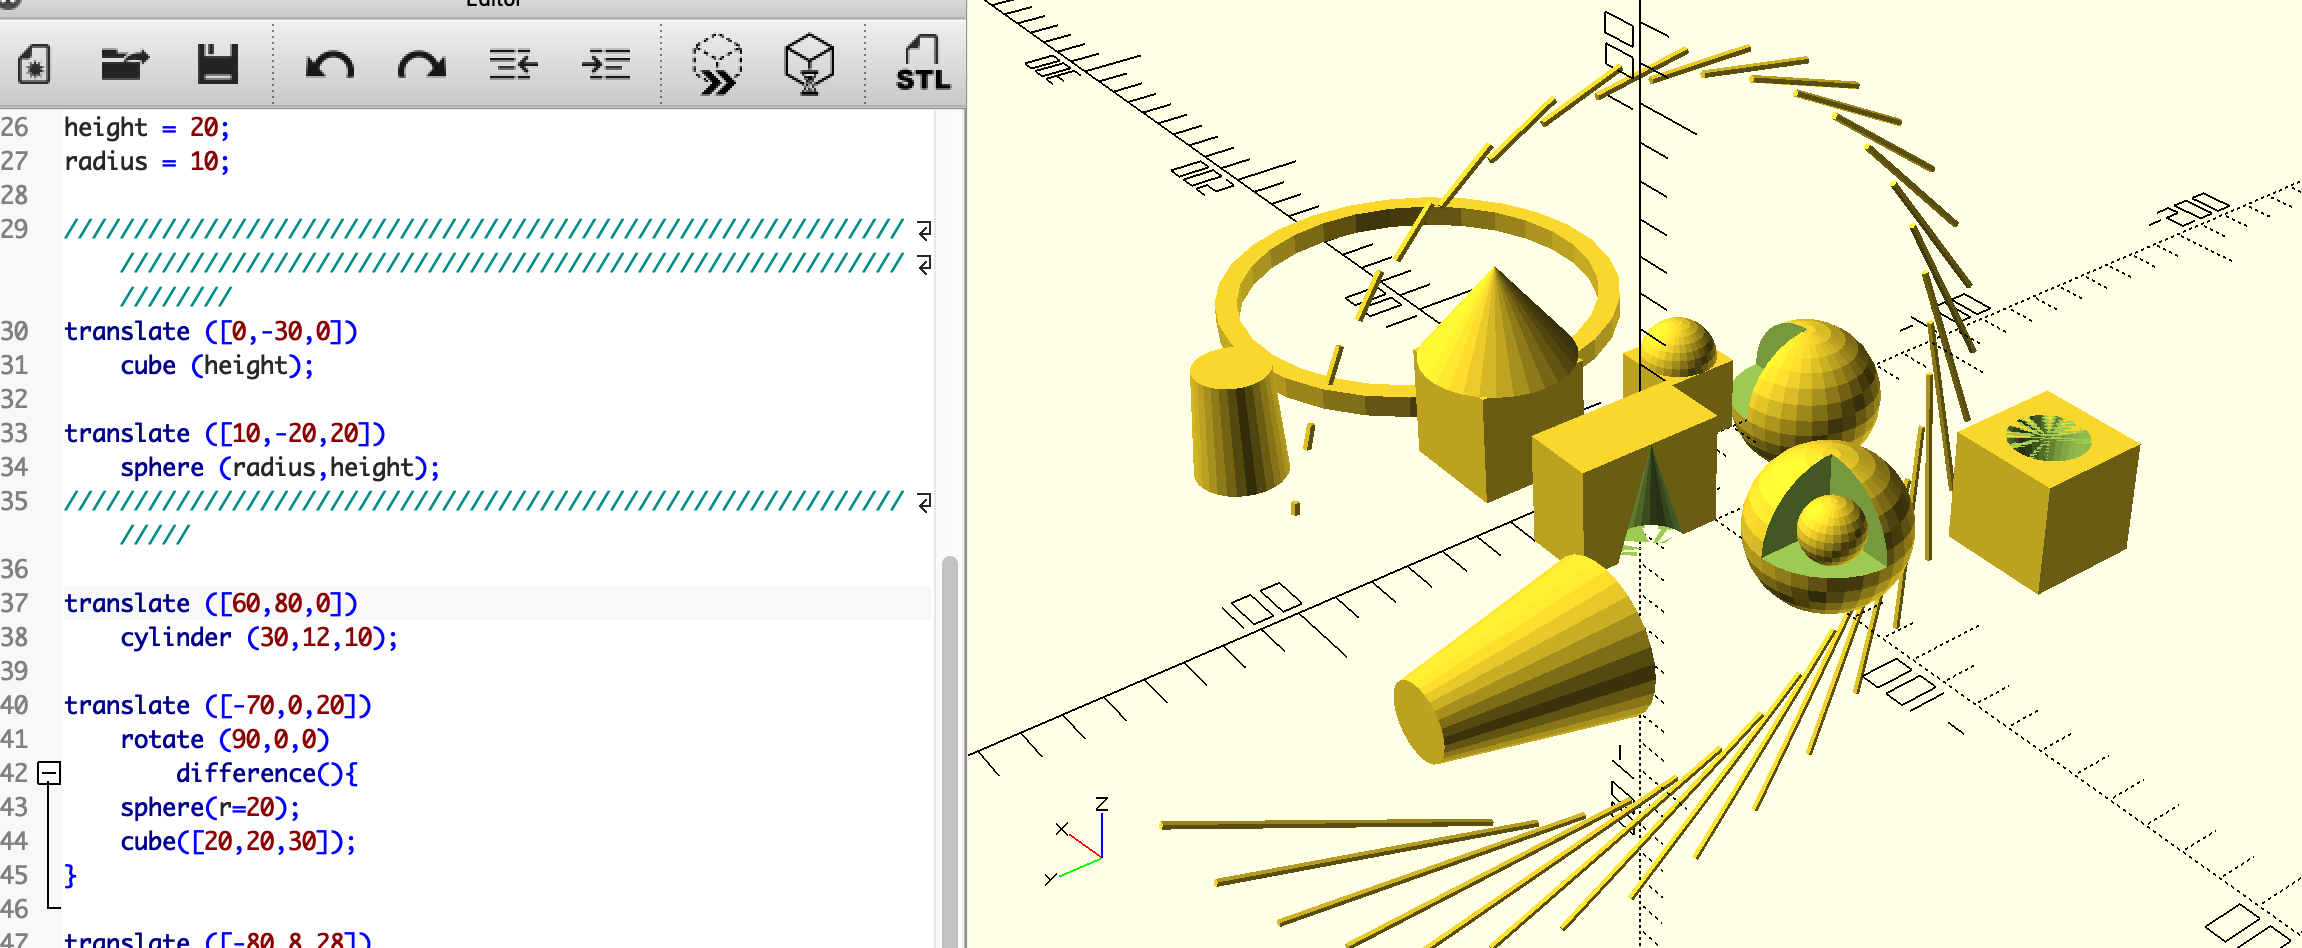
First screenshot:
In this screenshot I incorporated the “difference” function in a few of the designs. I also tried out the “for” function, which is how I made the halo cylinders. I also experimented a lot with the translate function, so I think I have that down pat now! In order to create most of my designs I relied heavily on youtube videos, which were very helpful. The design in this set of figures that I was most amazed by was the halo of cylinders. This design took a lot of experimentation and trial and error. I think the halo could be a really cool design for a wreath or some other kind of household decoration.

Second screenshot:
In this screenshot I incorporated the linear extrude and rotate extrude tools a few different times. That is how I made the spirals and different loops. With the rotate extrude I also experimented by making the spirals either a square or circle shape. I wonder with the spiral extrude tool, if I could make a kind of spiral staircase that leads to a platform. There are definitely endless possibilities with these tools, I just wish I understood how to use them more! Other than the extrude tools, I also used the hole function a couple of different times to stick cylinders through a sphere and a cube. After making these 20 things I definitely feel more comfortable with coding and I’m very please with how much I’ve already learned!
OpenSCAD Print
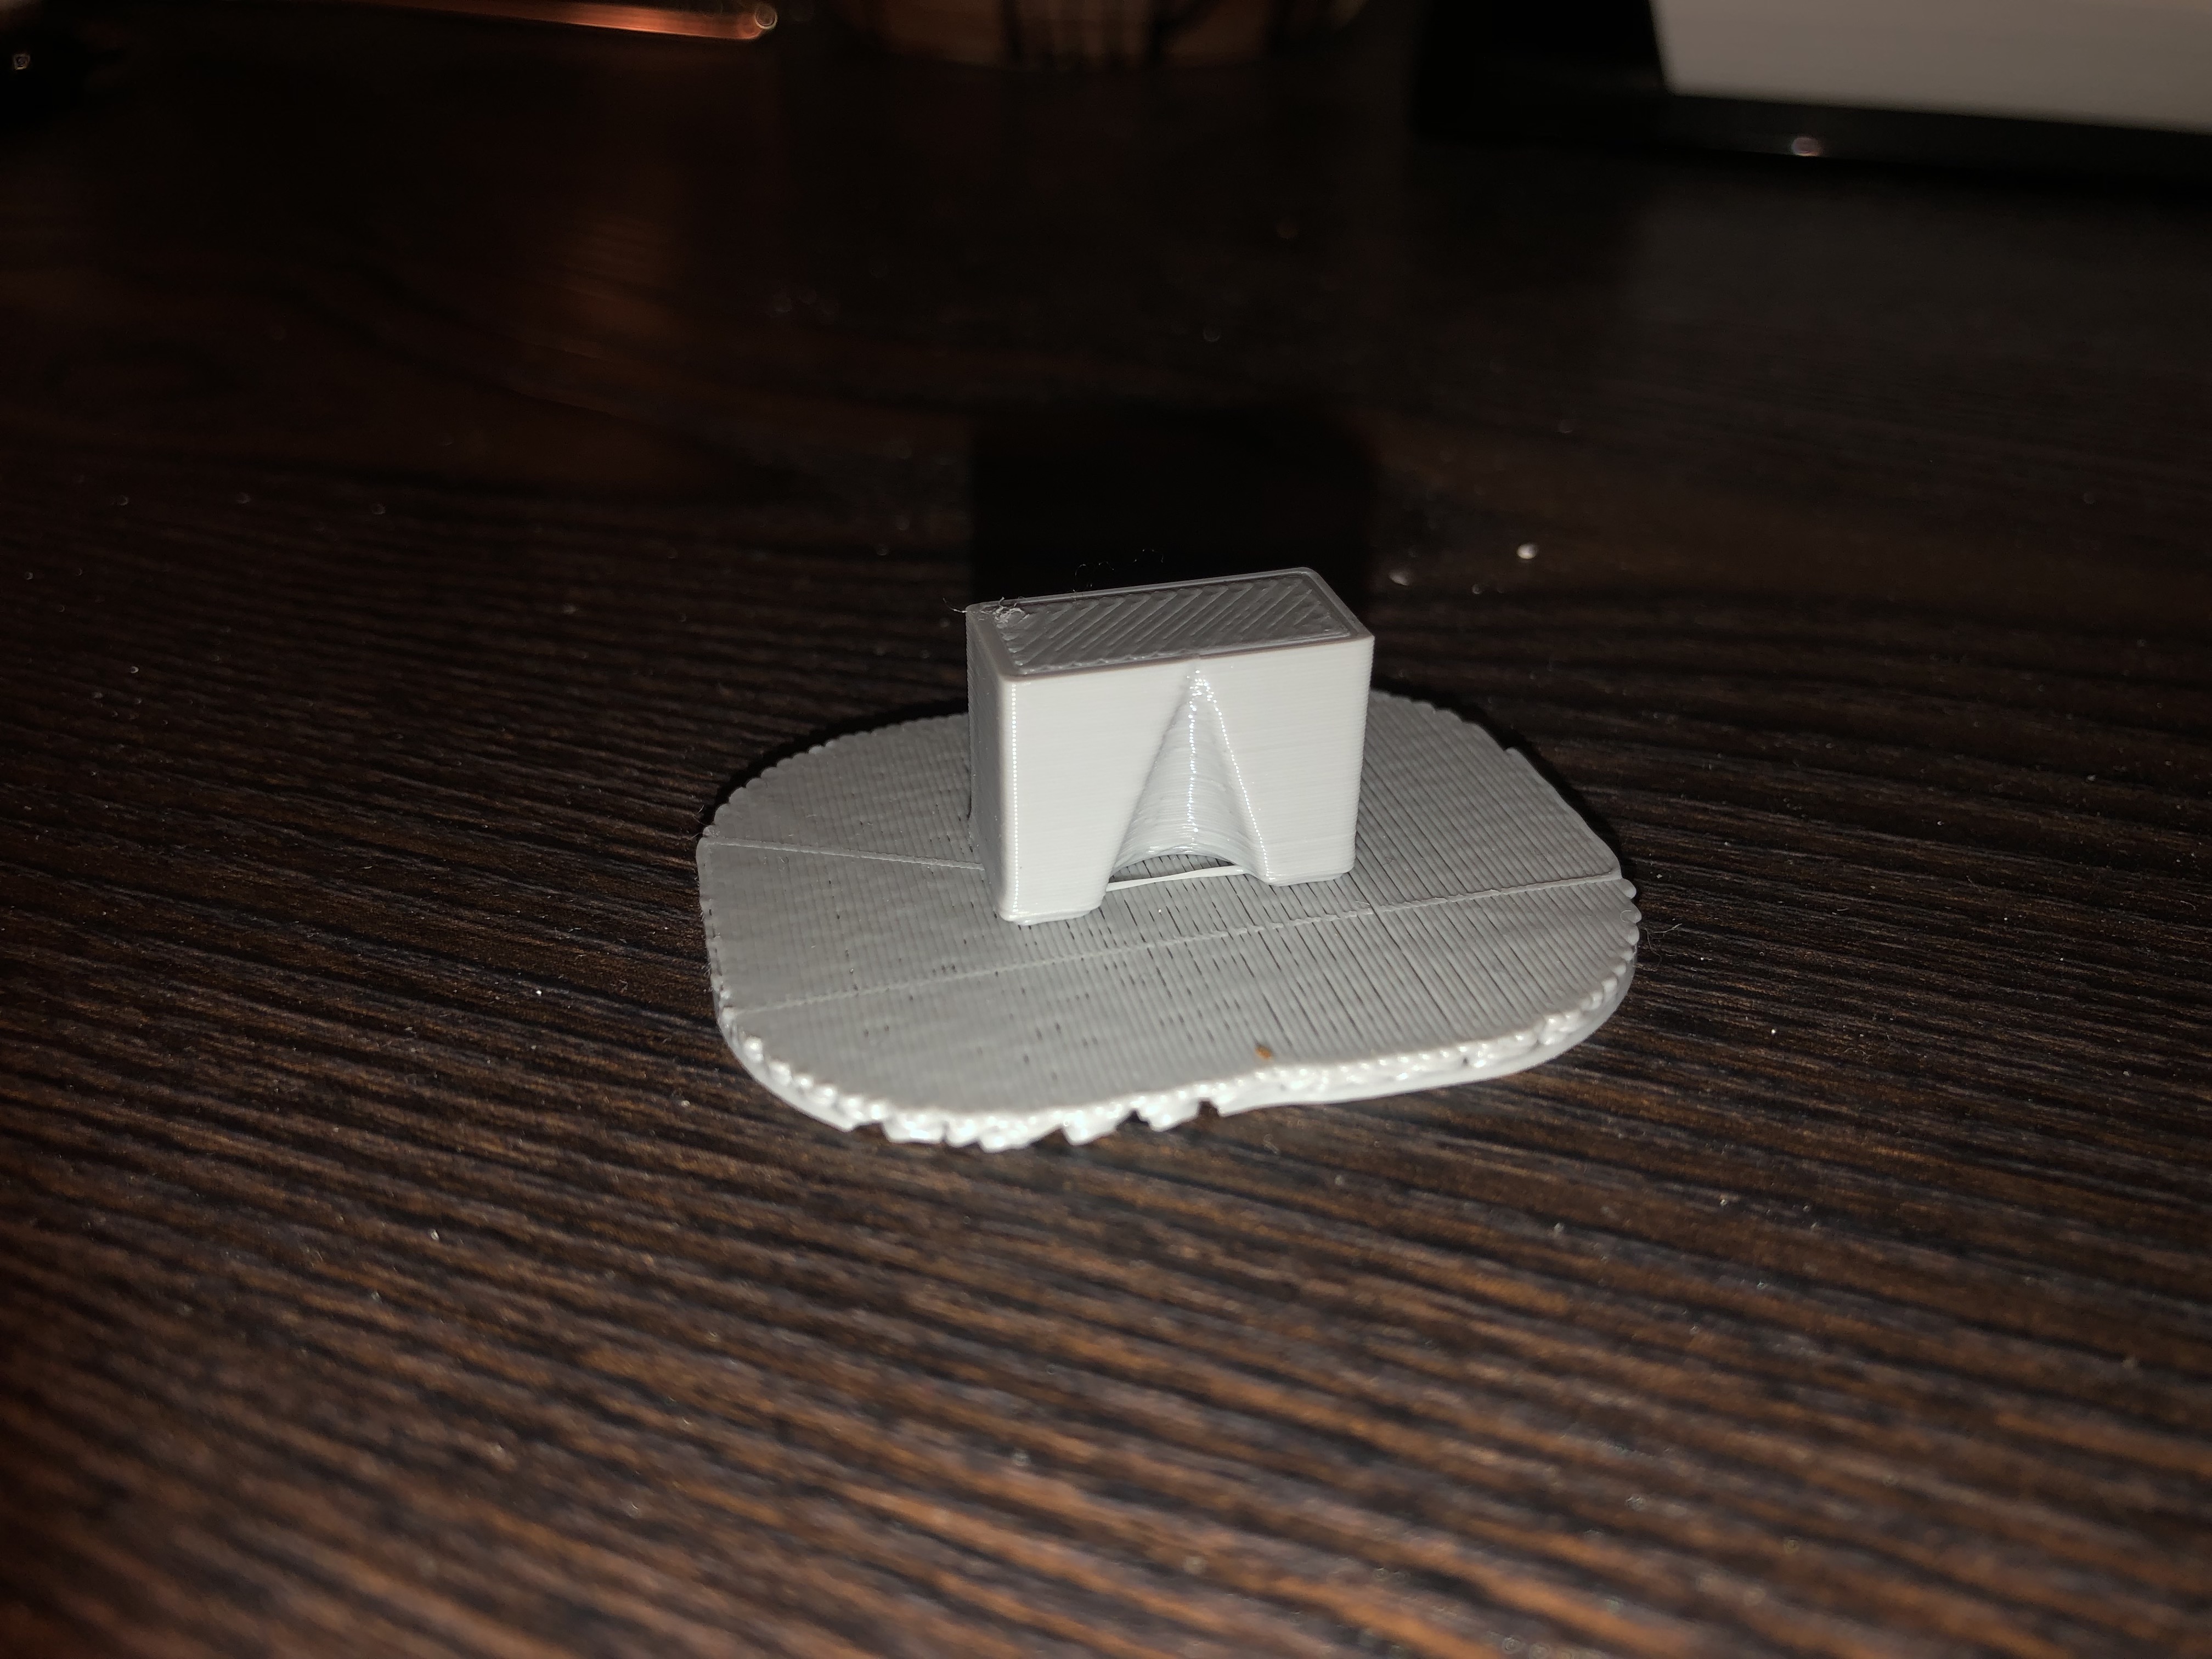
My first print from OpenSCAD was a success. It came out smaller than I would’ve wanted, but I didn’t have much time to print something bigger. I just coded a simple cube shape and used the different function to create the cone indent. If I printed this design a little larger, I think it could turn out to be a cool decoration for my desk. Overall, I’m happy with how it turned out!
Summary of Group OpenSCAD Project
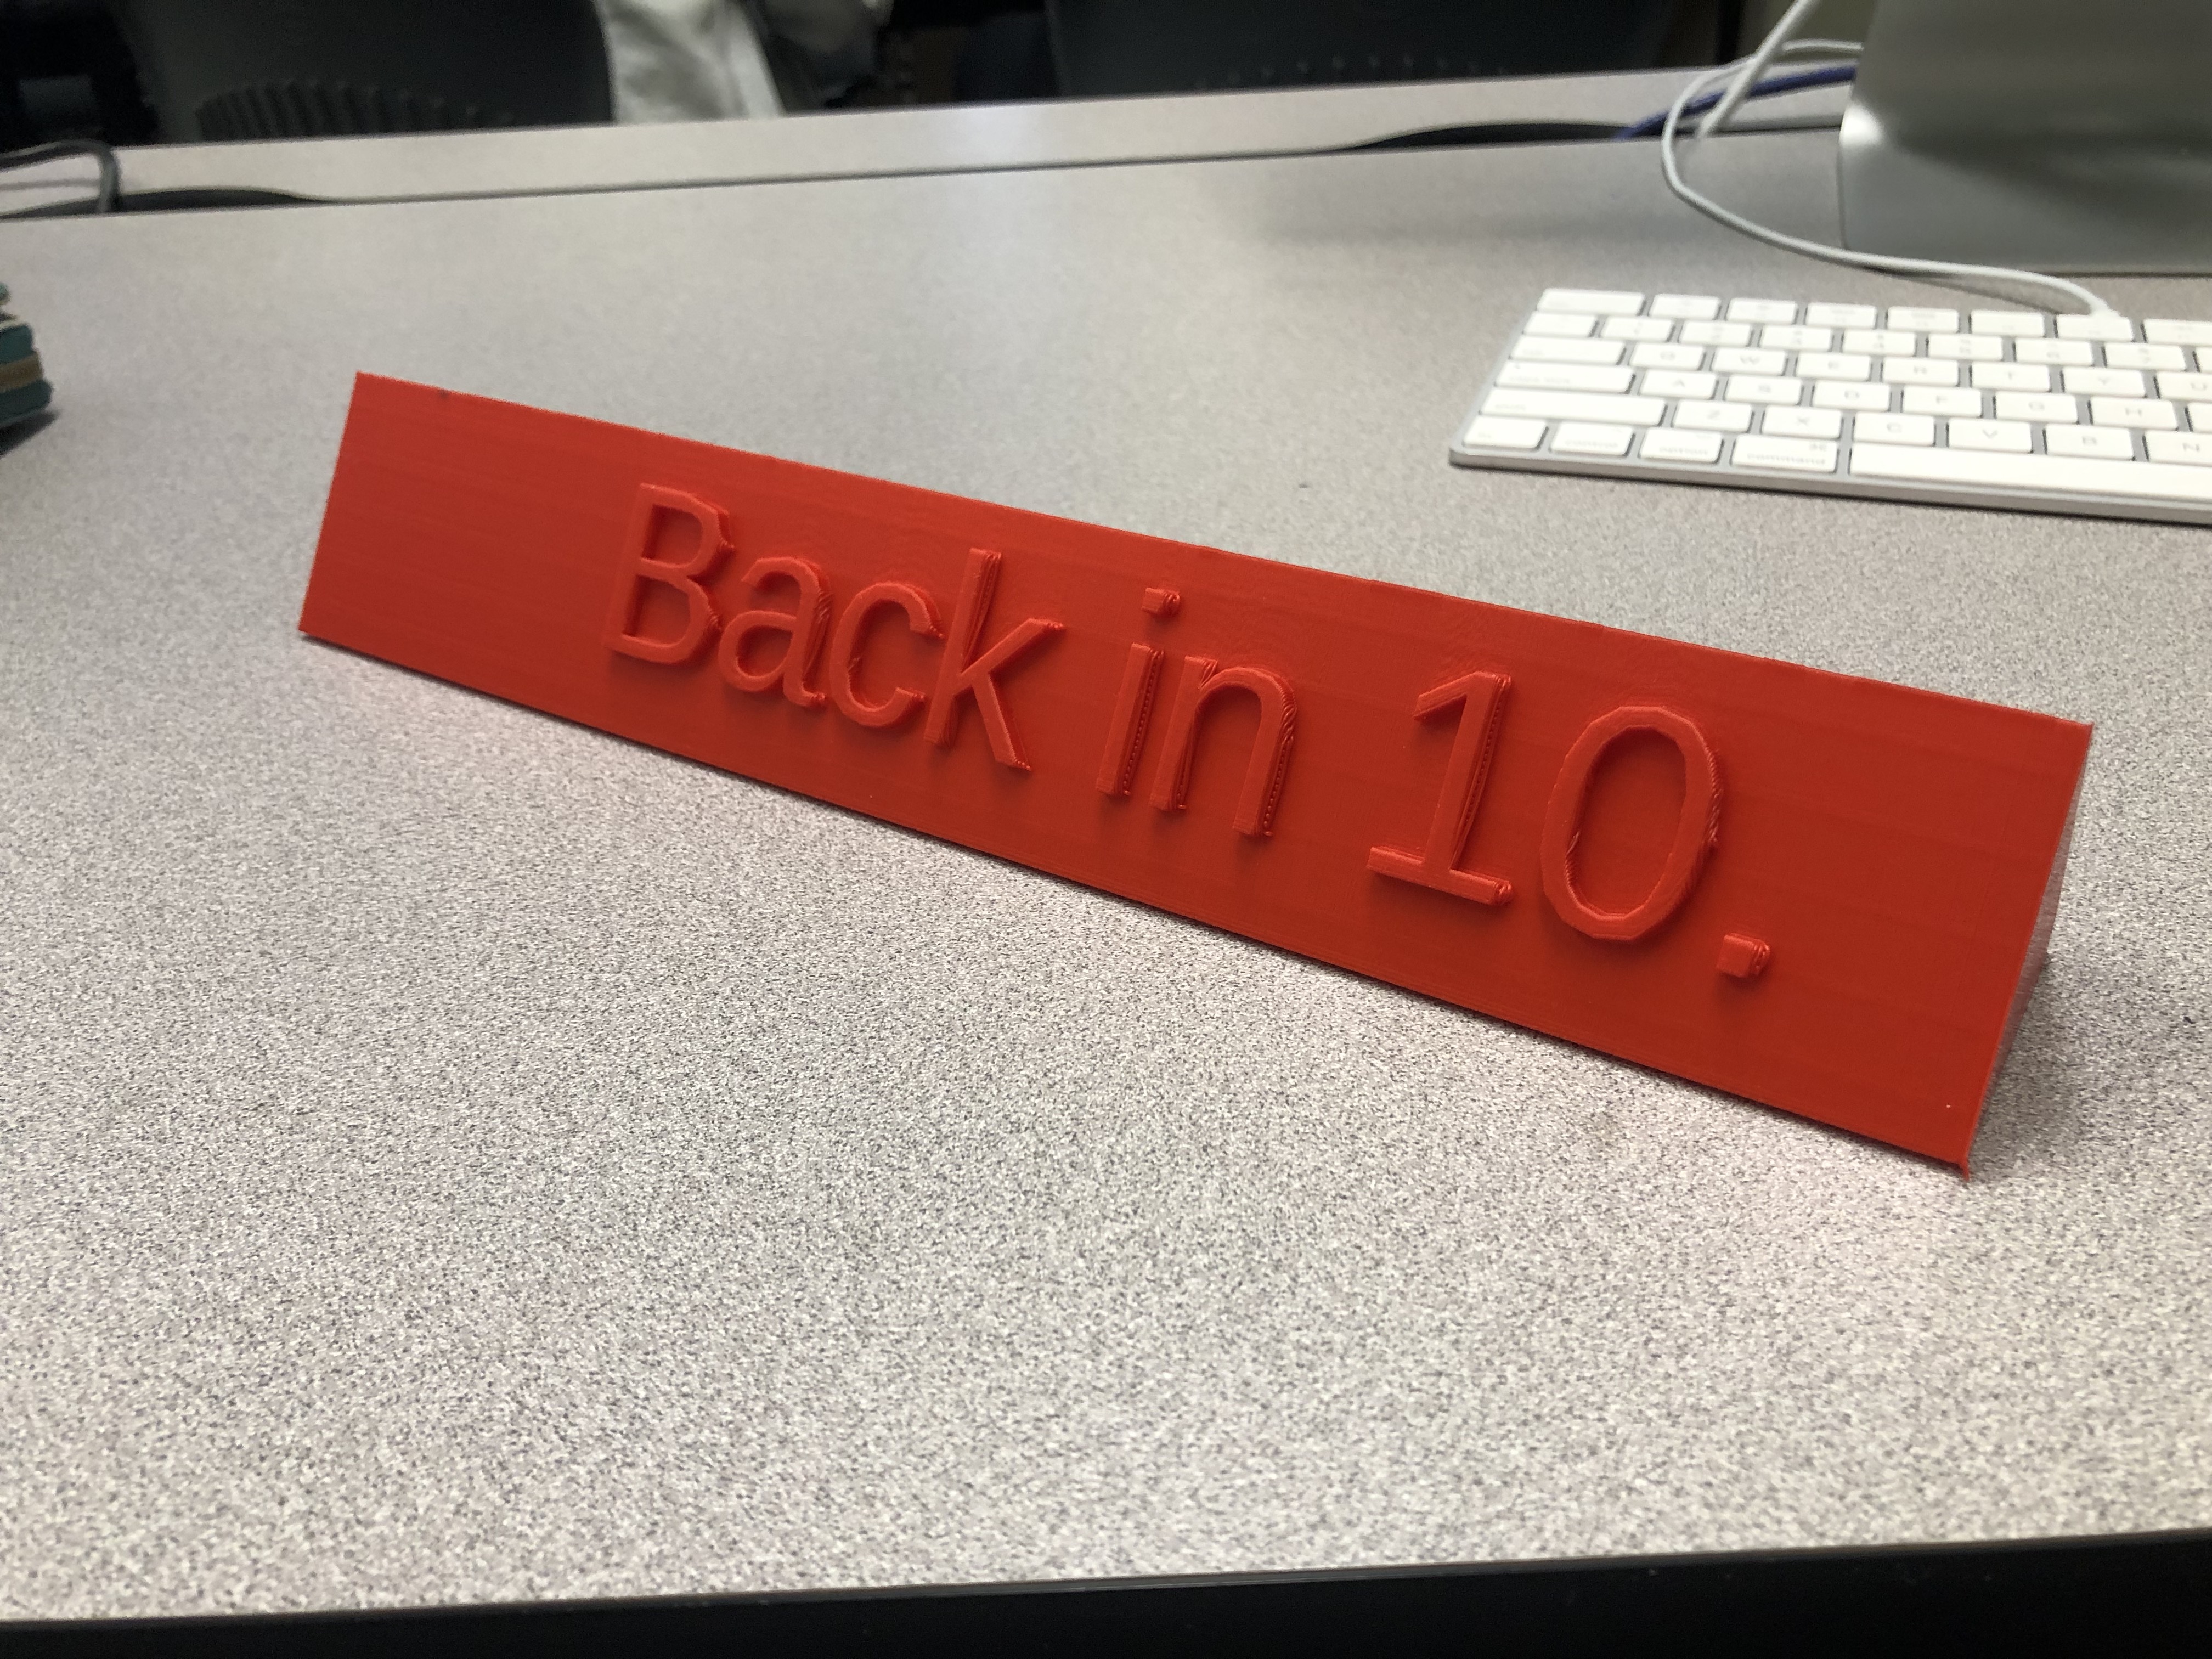
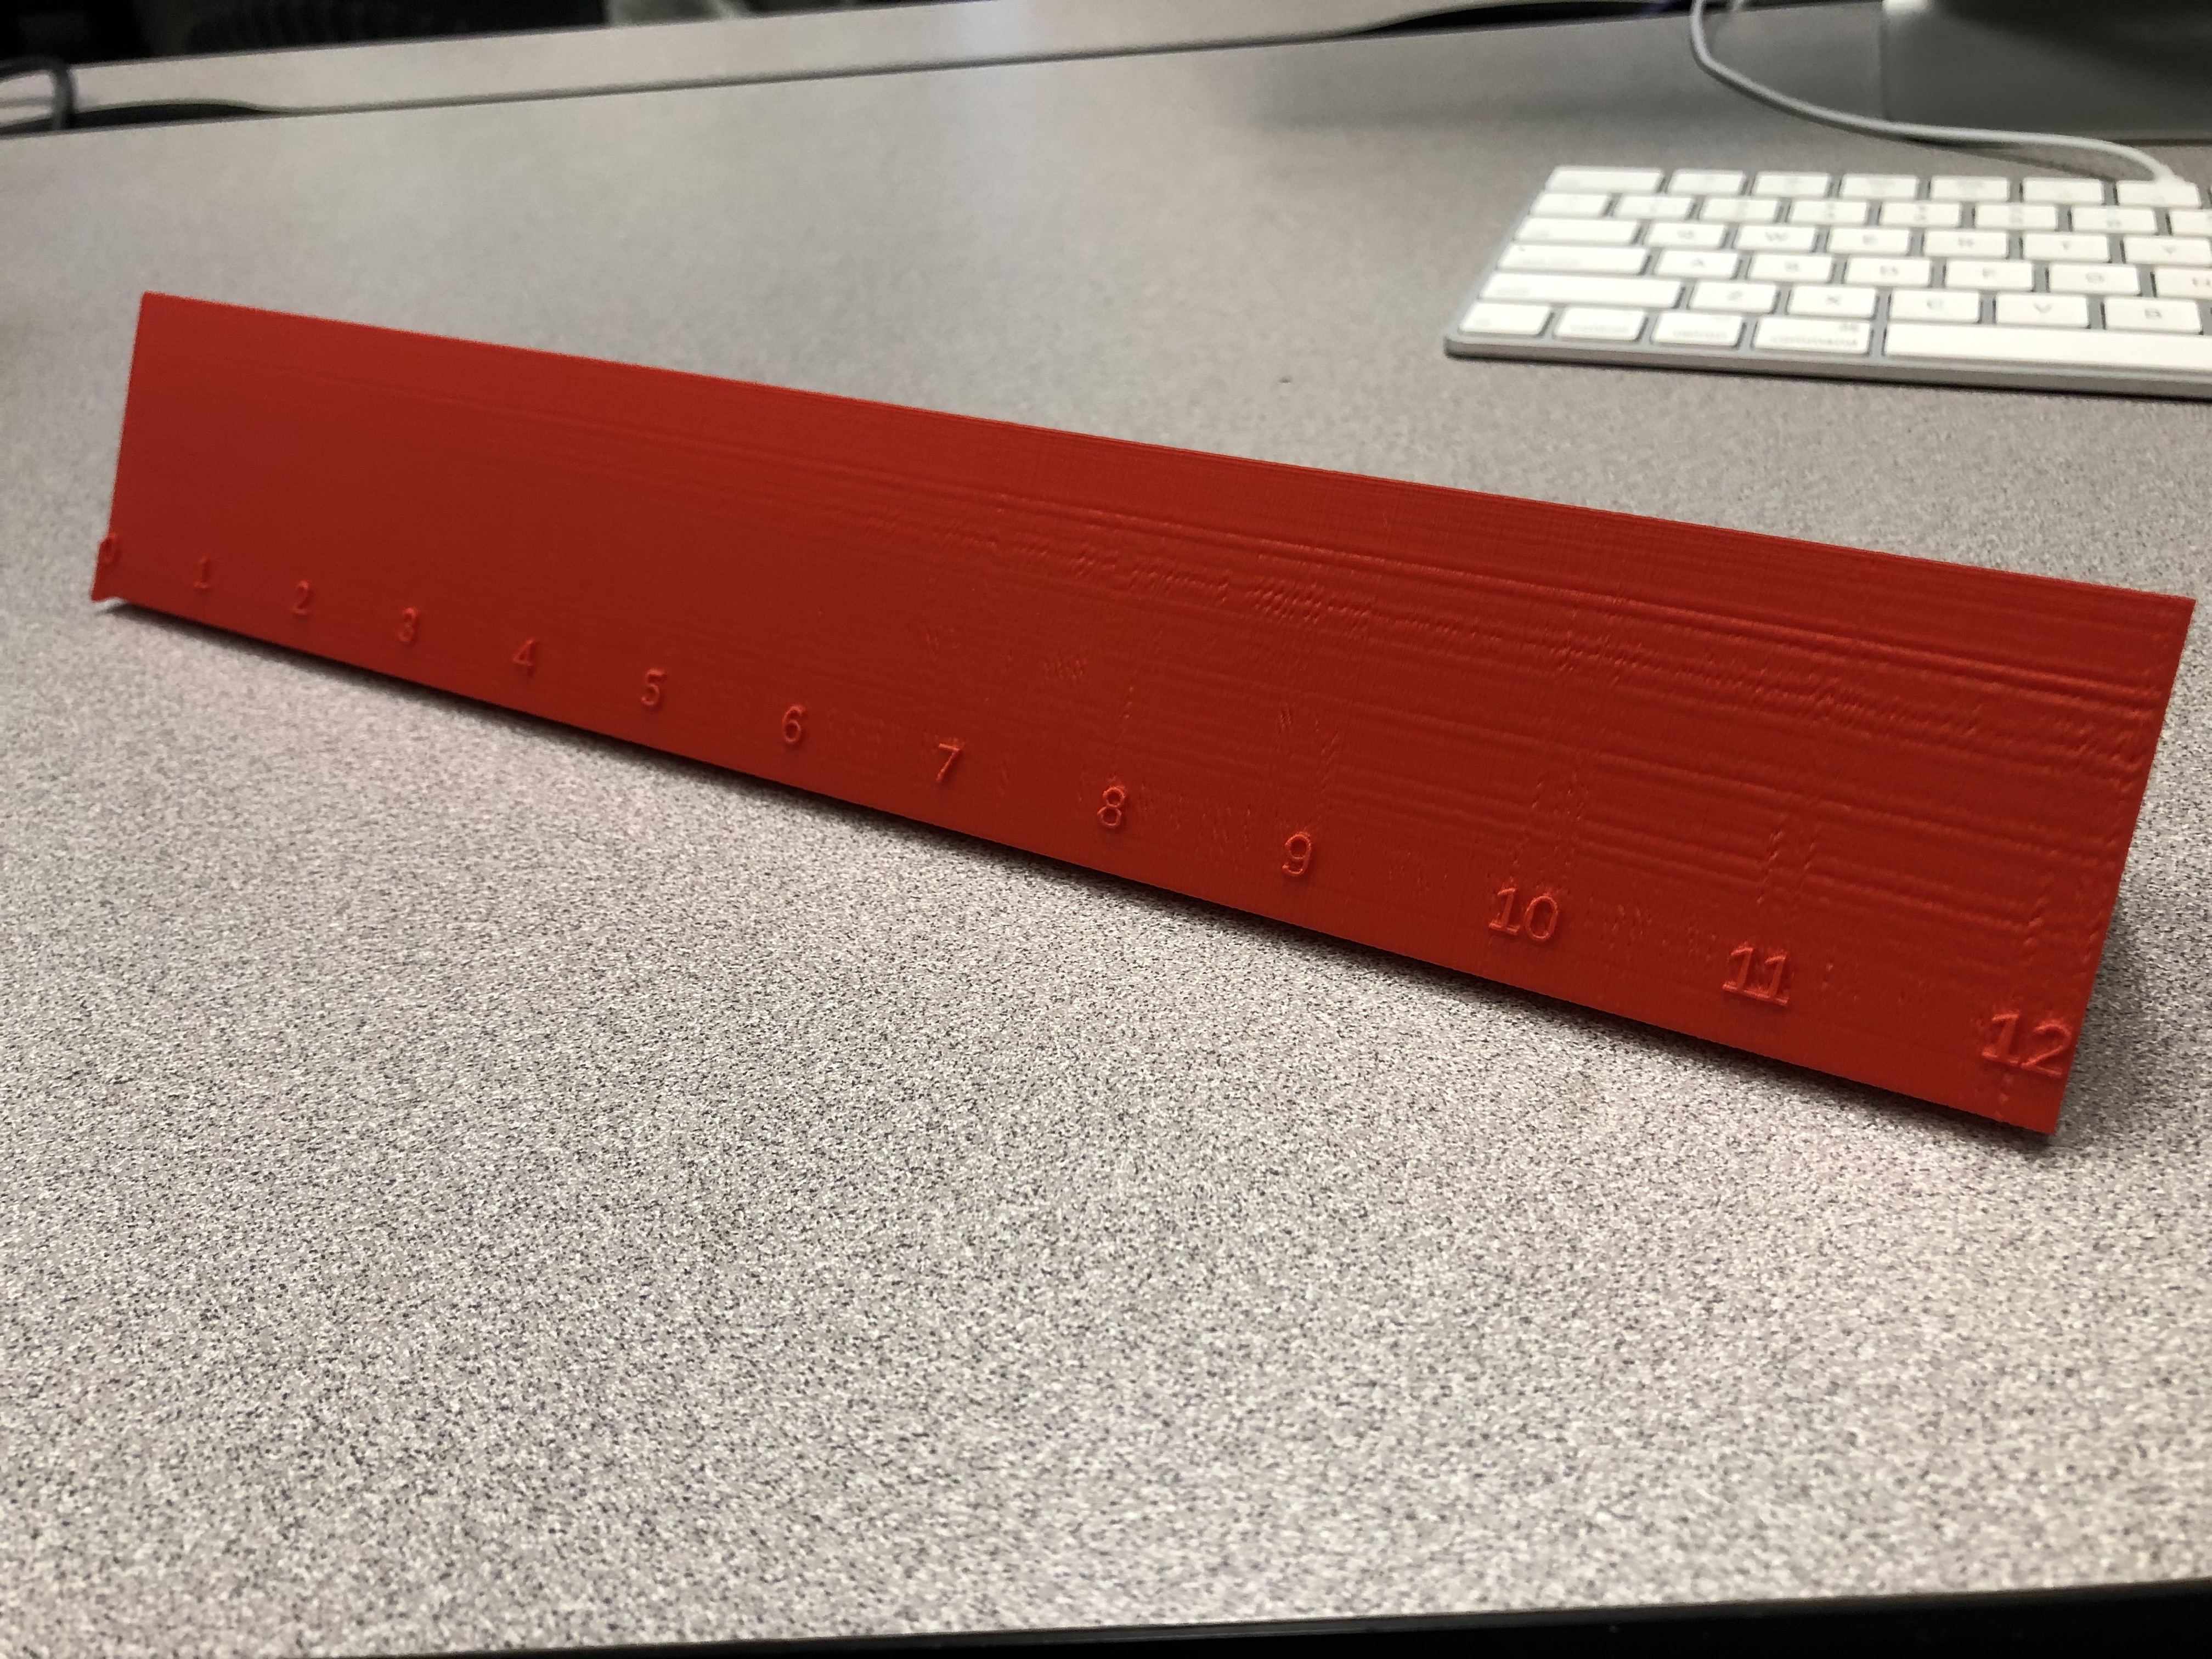
The name of Chesley and I’s final project is a Customizable Name Plate. We wanted to create a name plate that could functional. We designed a prism-shaped name plate where one side is a ruler, one side is a catchy phrase, and the last side is for your name. When we started this project I was very overwhelmed because I was still new to coding and wasn’t sure where to start. Now that we’ve completed what appeared to be a daunting task, I am very proud of what my partner and I accomplished.
Post on Thingiverse:
https://www.thingiverse.com/thing:3450850
Group Post:
https://geekhaus.com/isci104_spring2019/2019/02/12/chesley-and-ella-name-plate/
Reflections and Future Projects
I am overall very happy with, and proud of the work I completed this semester. 3D printing used to be a foreign concept to me, but now I would consider myself pretty knowledgeable. It’s hard to believe I started out just downloading an object from Thingiverse to print, to actually designing my own print on multiple different softwares. It was really cool seeing my skills progress so quickly over a short eight weeks. Even though I really enjoyed learning how to write code, I think my favorite design from this semester was the HSA logo because it’s more personal and I could really see myself using it.
In the future I would love to further develop my coding skills in order to create some more intricate prints. I would love to print some more functional pieces that could be used around my house like picture frames, bottle openers, etc. I also think a really cool project would be a mini wine rack for my apartment. I love the idea of making functional objects that are also unique, so you can’t just buy them at a store! Now that I have a basic understanding of coding, I would be able to really personalize these objects and get measurements exactly right for what I need. I truly had a blast in this class and I can’t wait to expand my knowledge!