Hello

Hi, my name is Gabrielle (Gabby) Dermody. I’m from a small town, Metuchen, New Jersey. I am a sophomore here at JMU, majoring in Graphic Design. A dream of mine would be to work in New York City creating advertisements. I just recently declared Graphic Design so this semester is full of art classes for me. I am happy that I was able to get into this class because I love creative things, such as this. I’ve never worked with 3D printing before but I am beyond excited to learn all about it (I’m also excited to learn how to do coding).
https://www.thingiverse.com/gabbydermody/about
Thingiverse Model
Title: Famous Paris buildings
Designer: LeFabShop
https://www.thingiverse.com/thing:311002

I chose this model because I love Paris. I traveled to France a few years ago and it is still my favorite and best experience which I have encountered. I thought this is small and simple enough to complete for this print. It will be the perfect size to put on my desk to have a reminder of my France trip.
Thingiverse Print
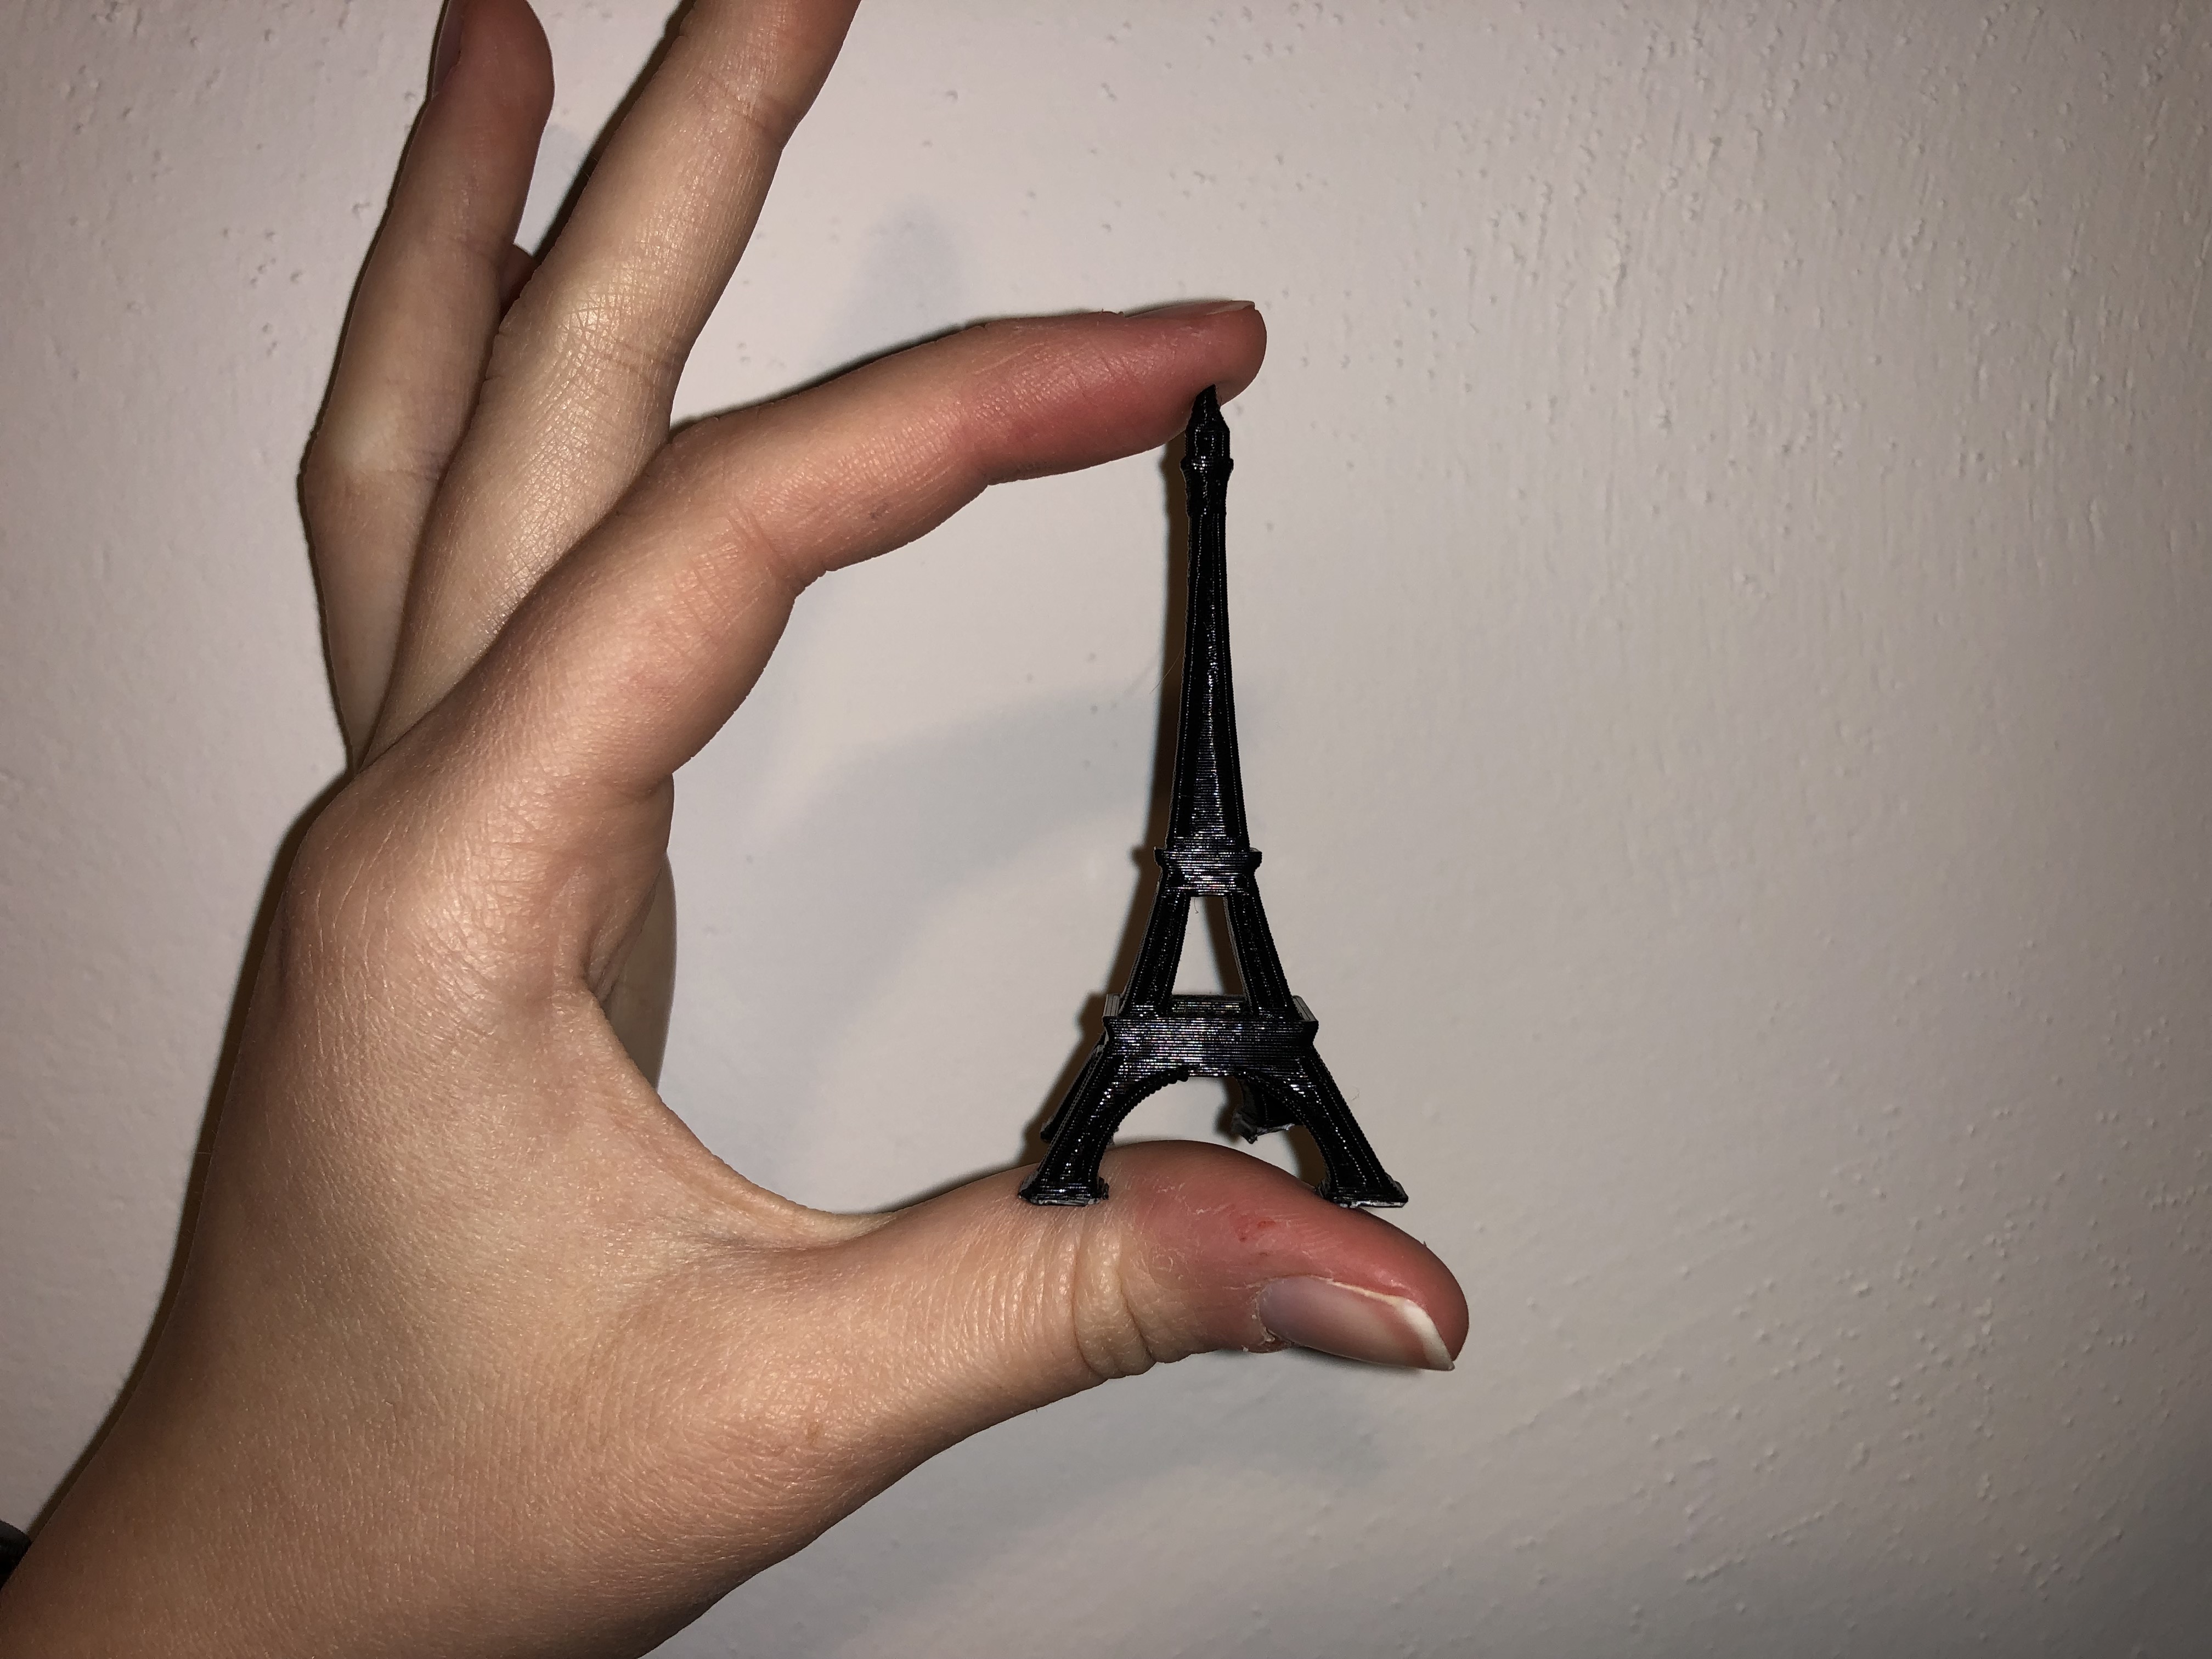
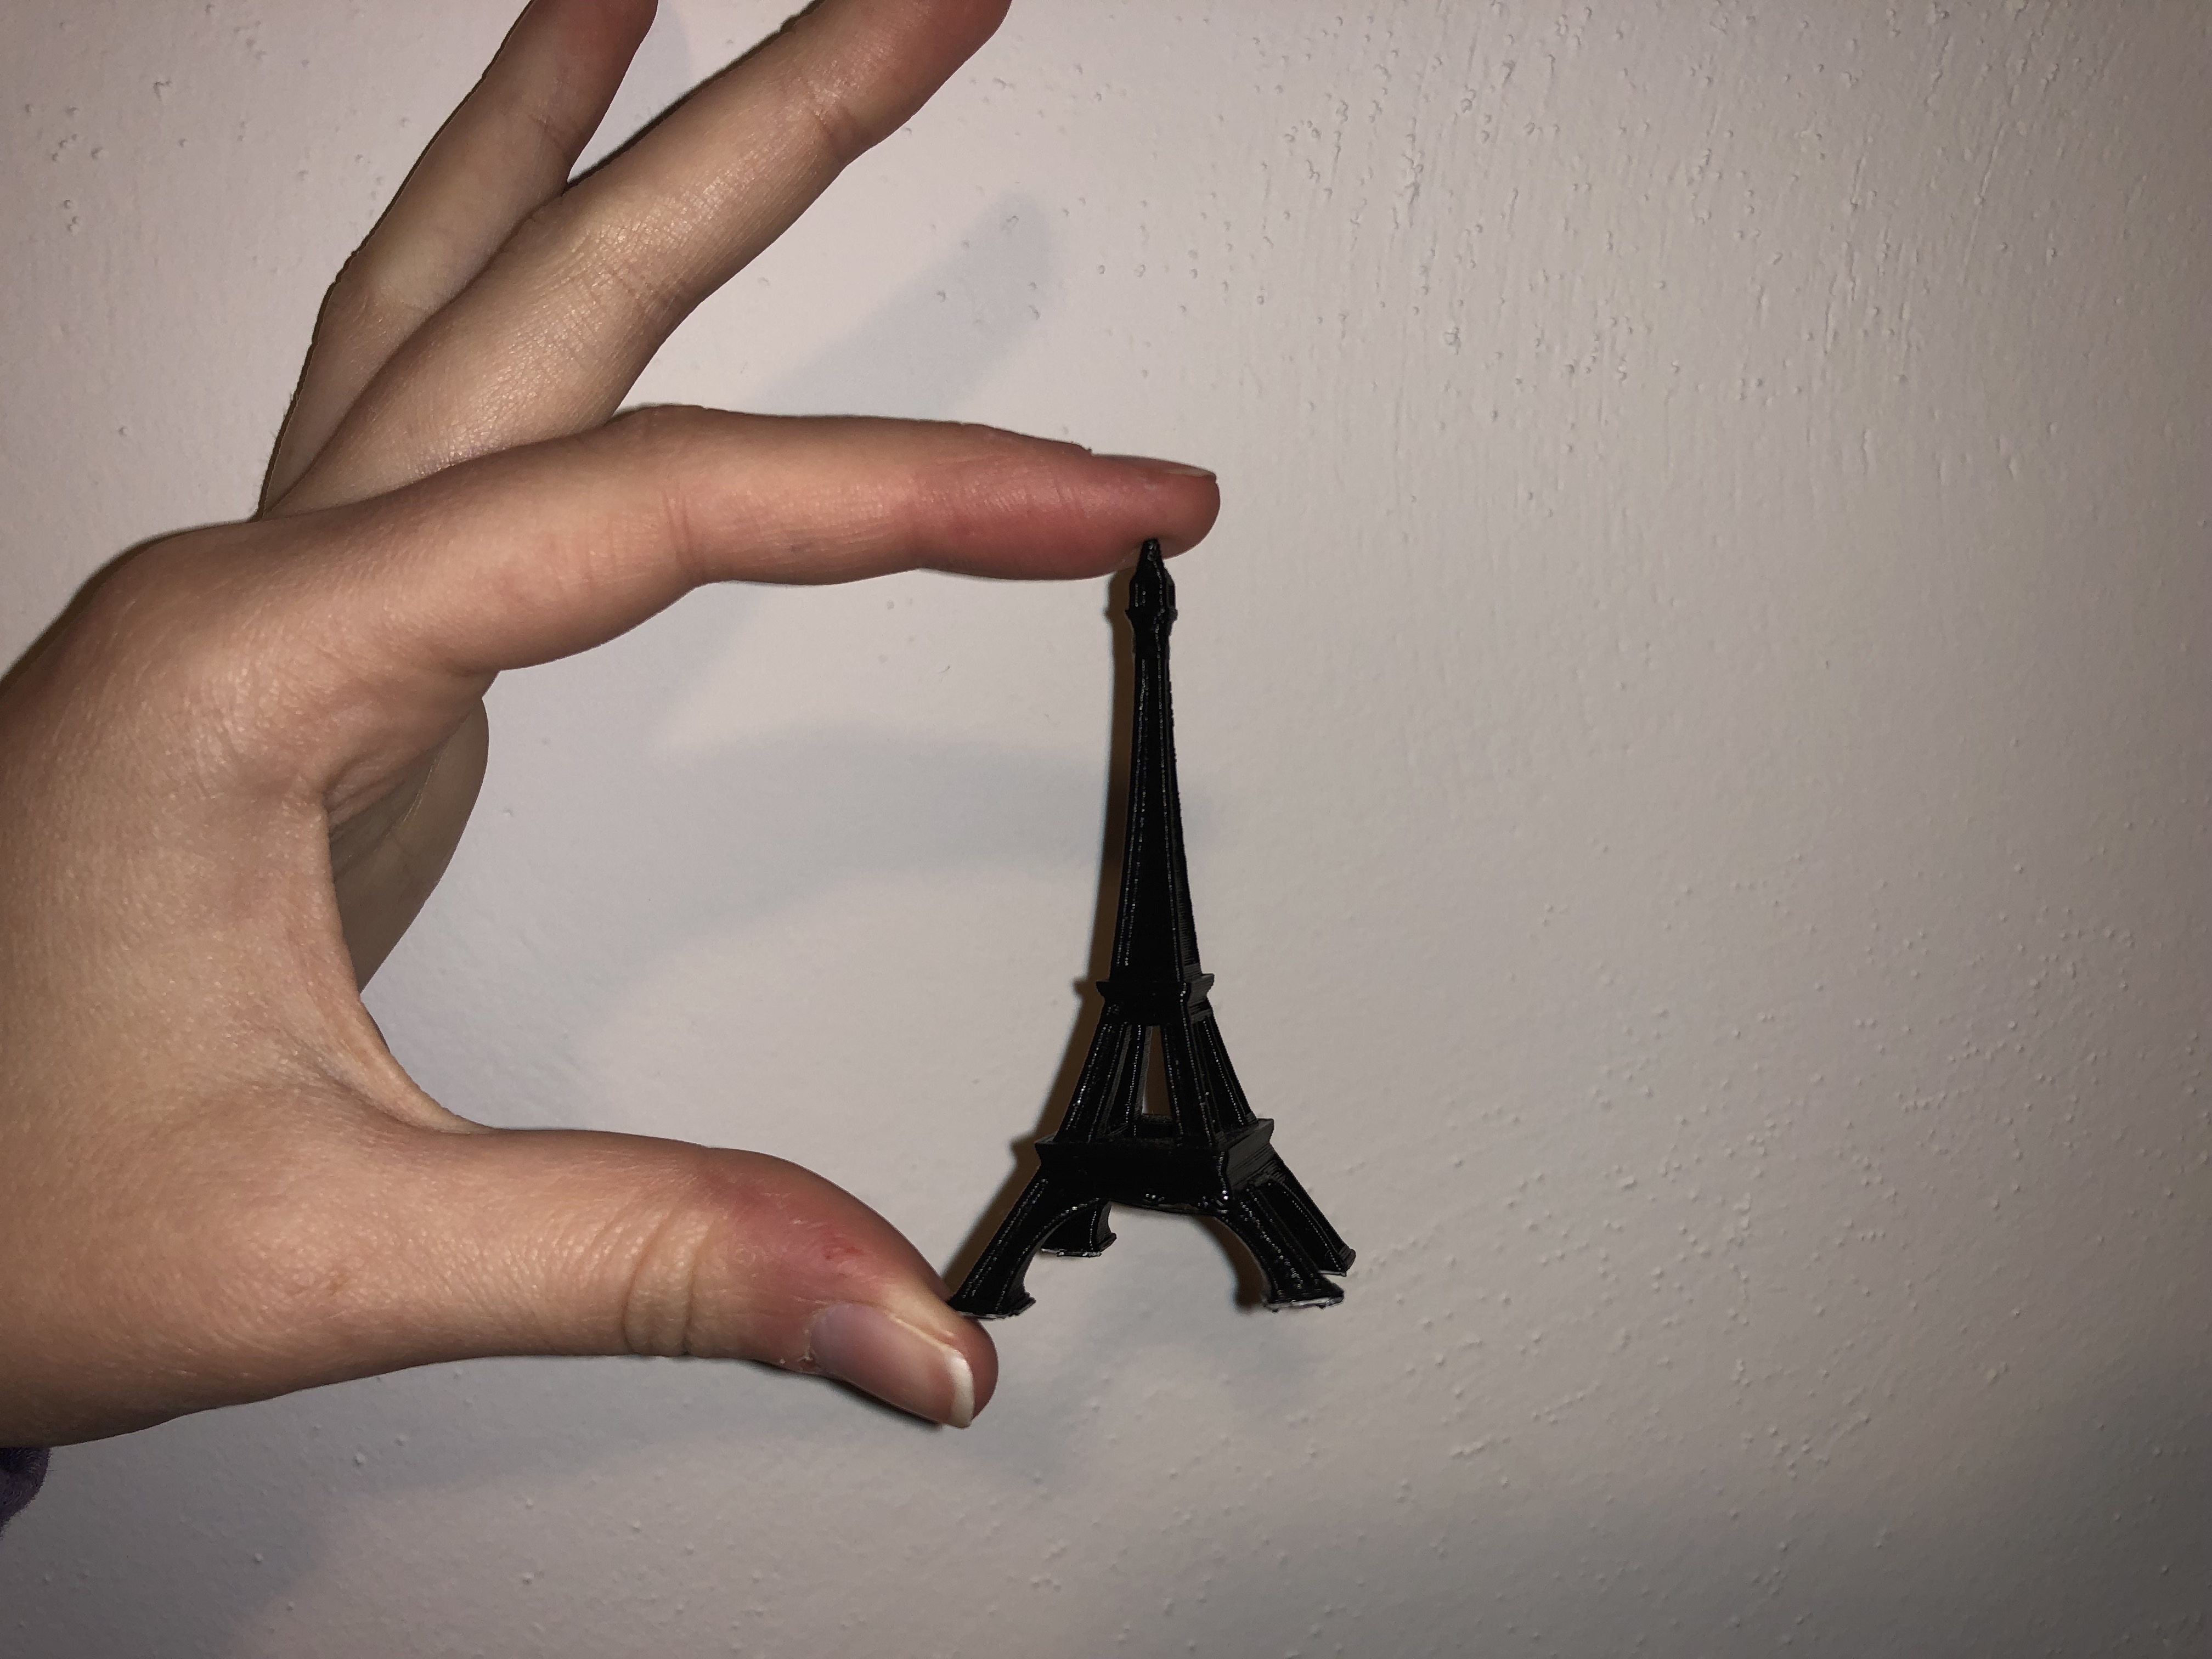
Although my model is for the most part a success, it wasn’t that simple making it there. The first print was too small and ended up being picked up by the printer. Adjustments had to be made to the printer settings and the model had to be made bigger in order for it to print. However, even though these adjustments were made, the one leg was still messed up in the process.
https://www.thingiverse.com/make:594703
20 Forms in Tinkercad
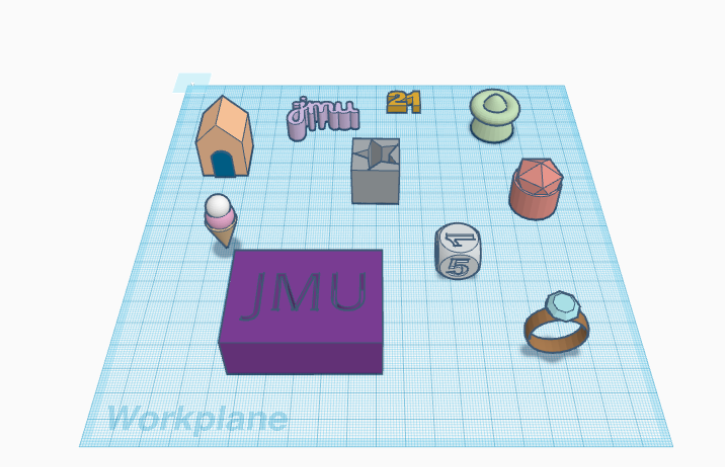

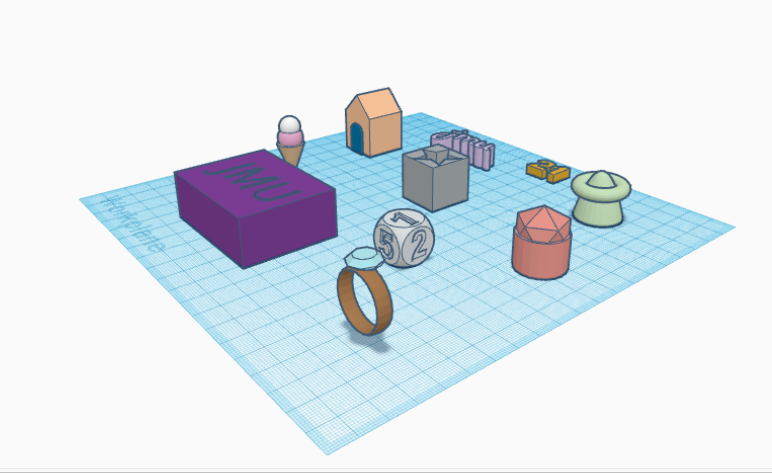
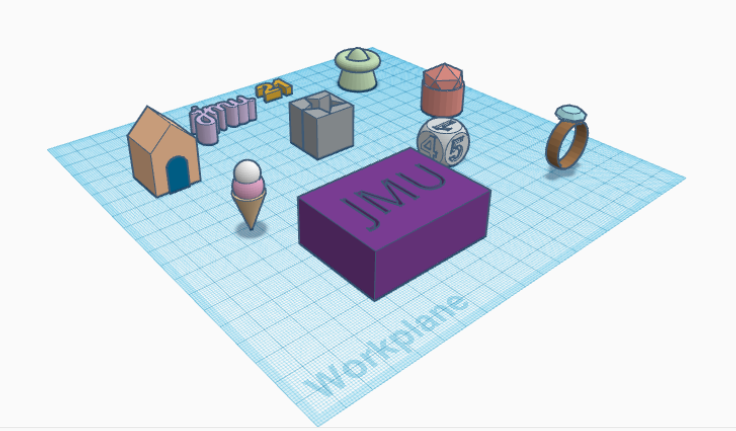

For this assignment, I was familiarizing myself with all of the tools involved in Tinkercad. What I found most difficult was correctly sizing up objects to match another one, in order to group the two objects. Many of my designs are grouped because I wanted to get the most practice in that area. I used many of the basic shapes and tried to turn them into unique objects while making them. My favorites are the jmu written in cursive which I drew using the mouse with the scribble tool. I also enjoy the ring which I made by taking basic shapes, sizing them, lining them up, and finally grouping them. I really like the dice that I made as well. I made that by combining the basic shape with each number. I made each number a hole, sized and lined them up correctly, then grouped them. Overall, my objects were created with the basic skills and are in general, basic. However, I am pleased with how each of them turned out. I spent a lot of time completing this assignment and familiarizing myself with the tools involved in Tinkercad which led me to now feel comfortable with them.
Tinkercad Print
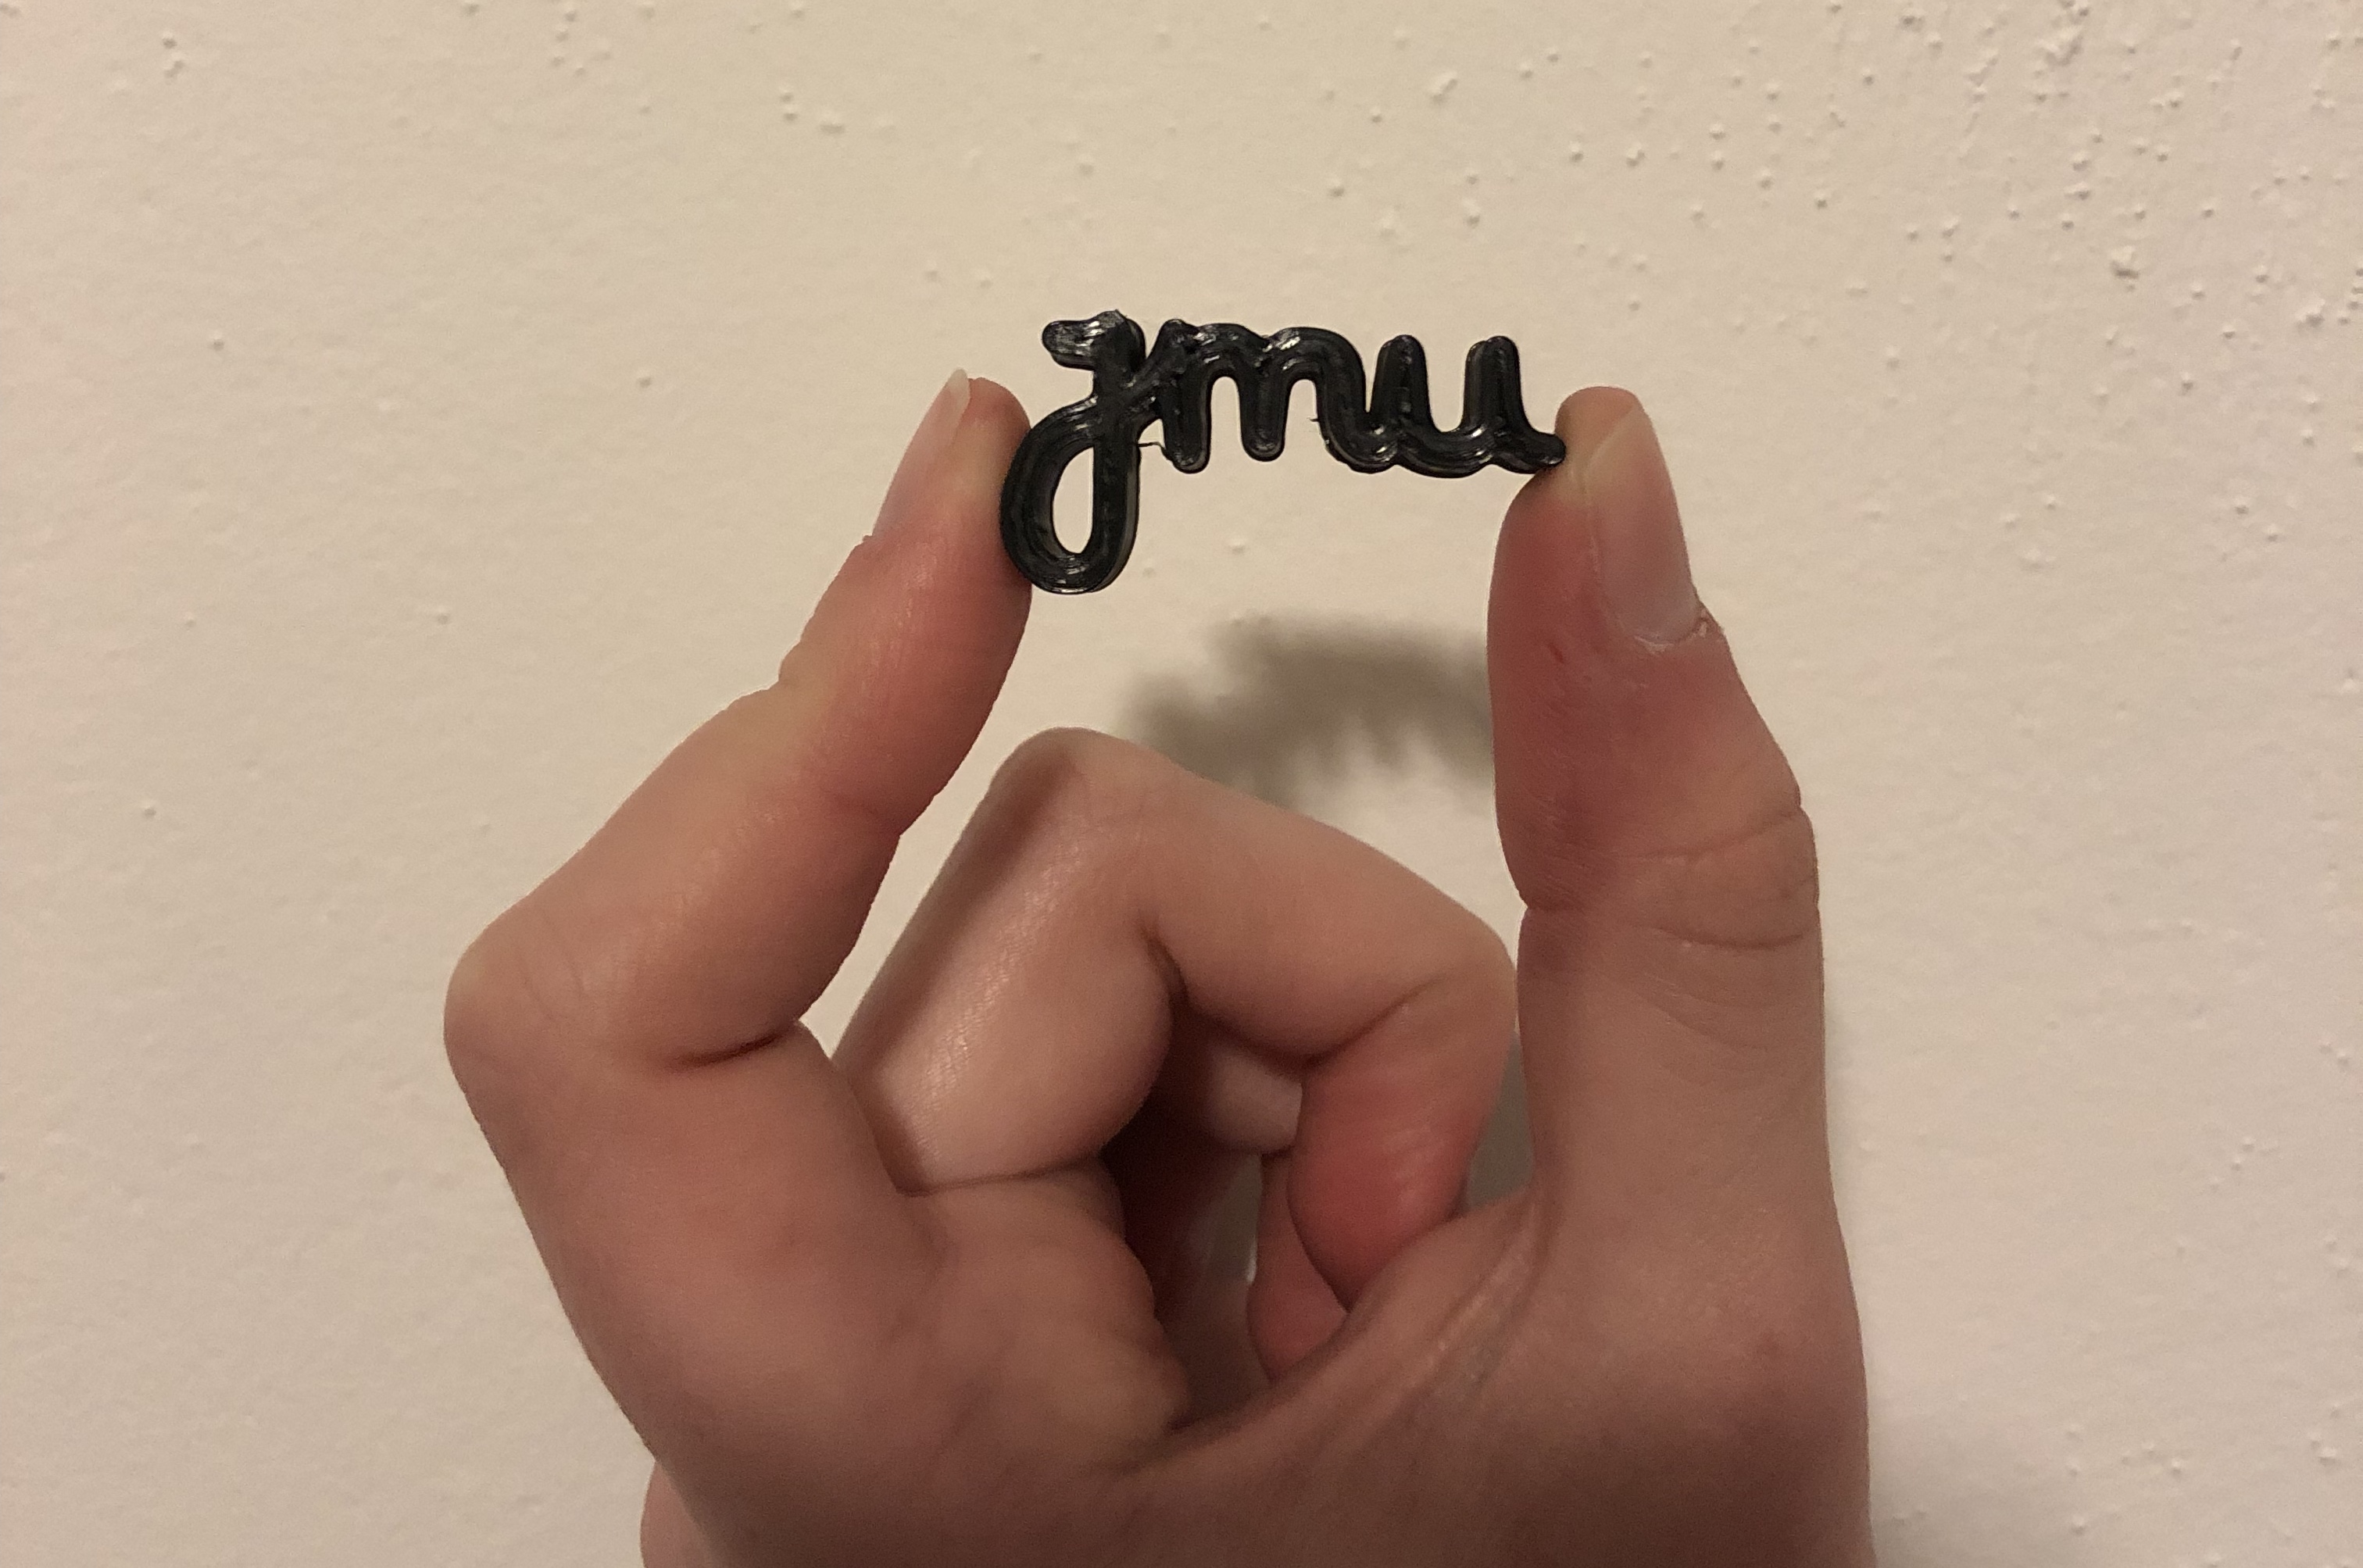
I chose to print the JMU logo which I drew with the computer mouse. Overall, it was a success. The only problem was that the “j” had the dot on top of it, which did print out attached to the form, however, was not secured on enough so it broke off. Besides for that, I am pleased with how this turned out. It is extremely cool that something I drew has now been successfully 3D printed.
Summary of Group Tinkercad Project
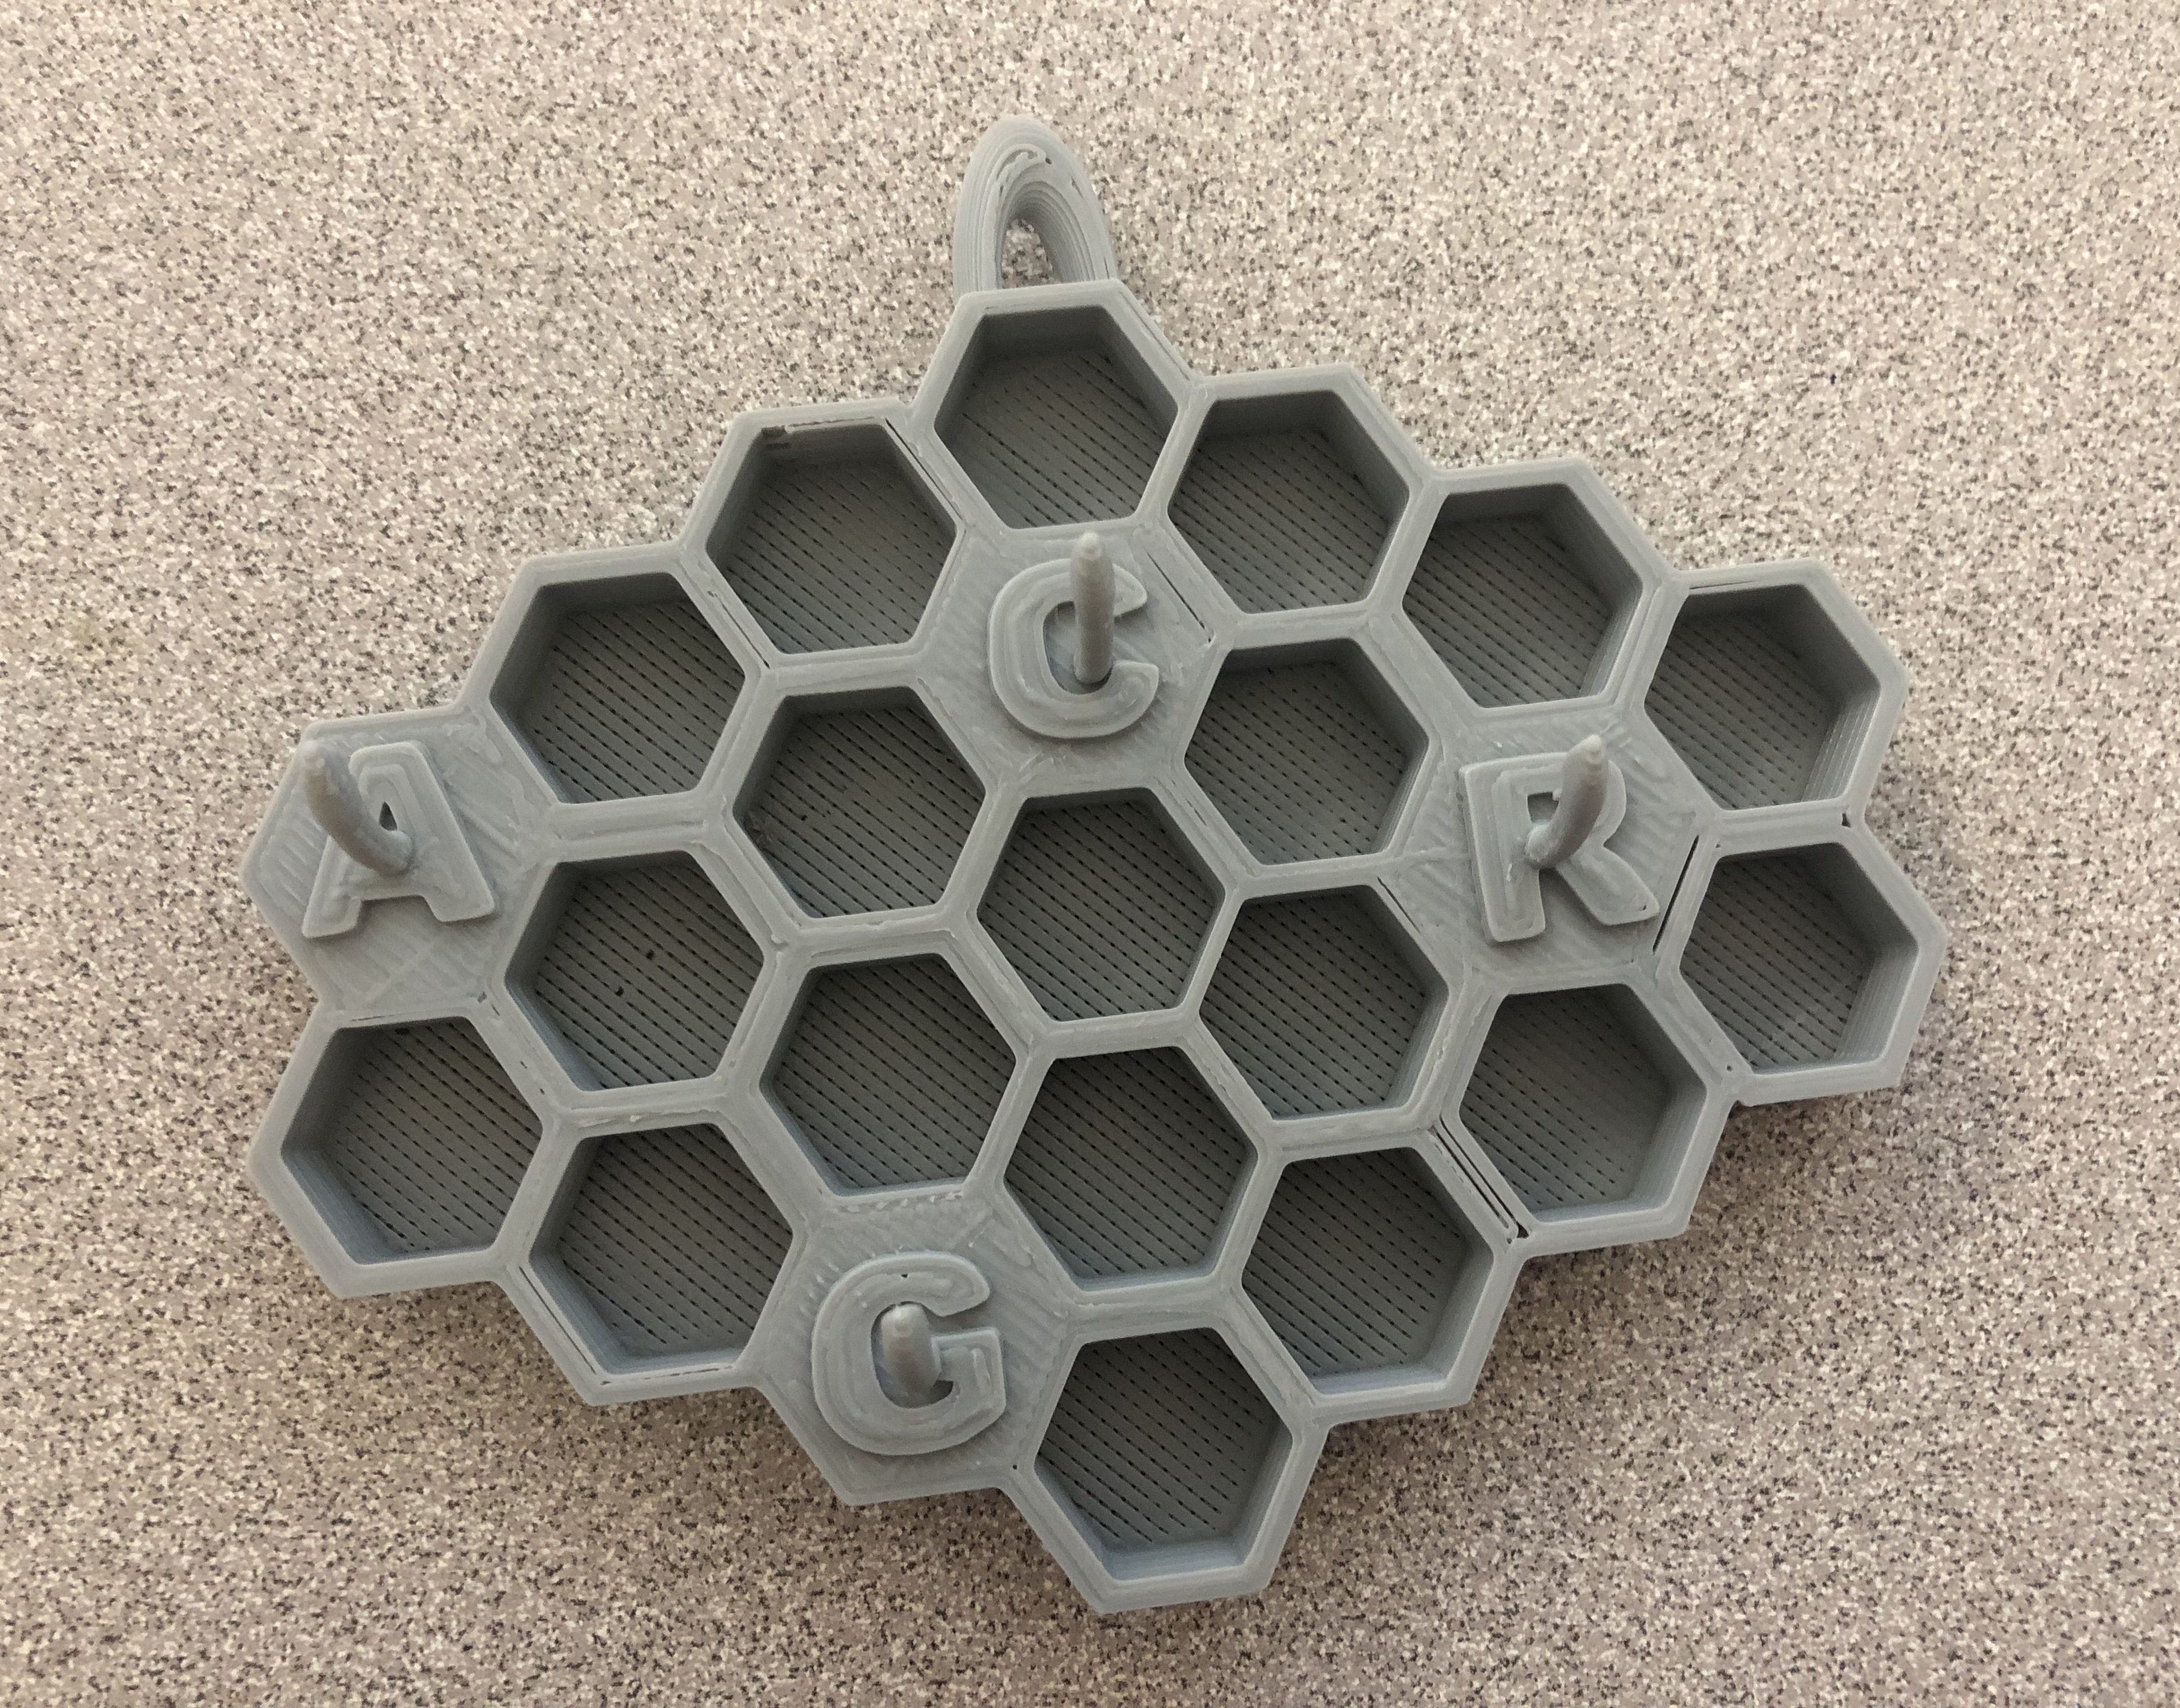
Honeycomb Personalized Key-holder
Group partner: Kelly Festa
https://geekhaus.com/isci104_spring2019/2019/01/15/honeycomb-personalized-keyholder/
https://www.thingiverse.com/thing:3377246
For this project, Kelly and I decided to make a key holder. We chose the design because we thought that it was both trendy and unique. It was difficult lining up all of the polygons, but for the most part we were able to manage. We chose to have 4 hooks, each personalized, mine including my own initial as well as my three other roommates. I am pleased with the outcome of our project and am excited to put it to use!
20 Forms in Fusion 360
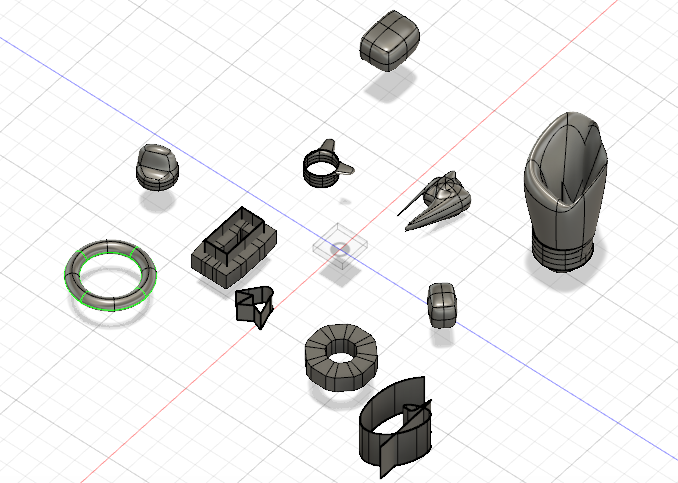
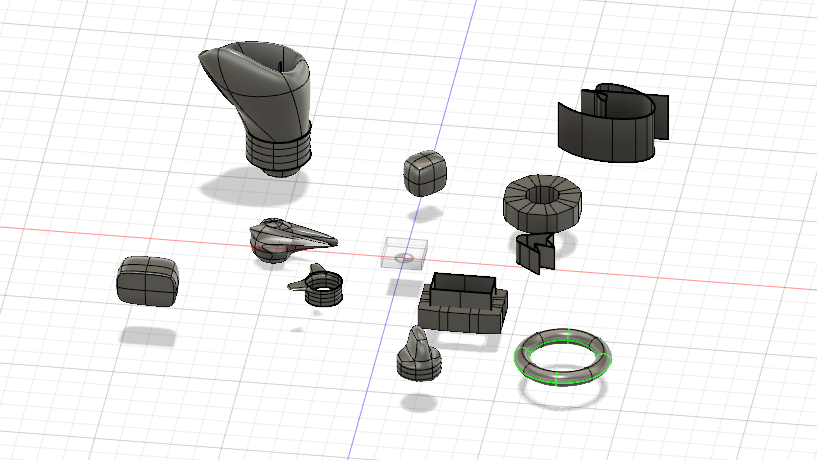
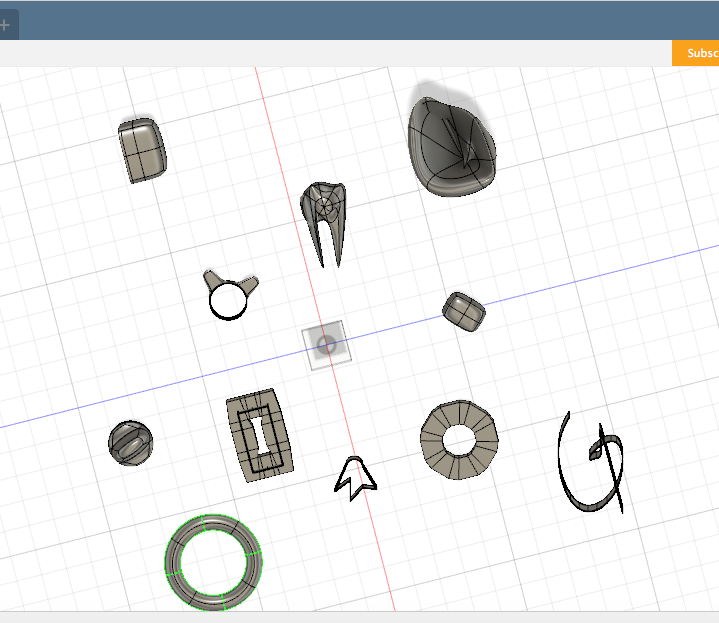


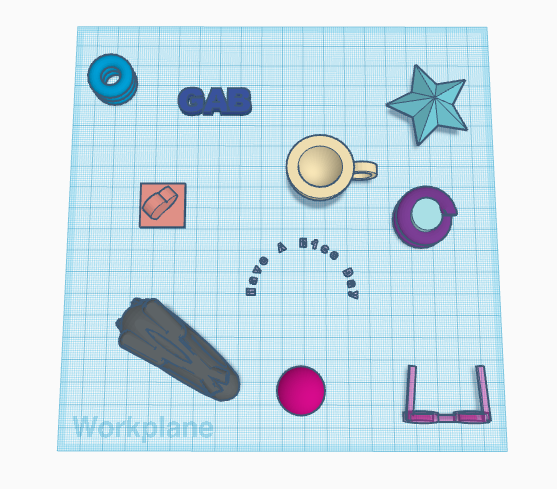
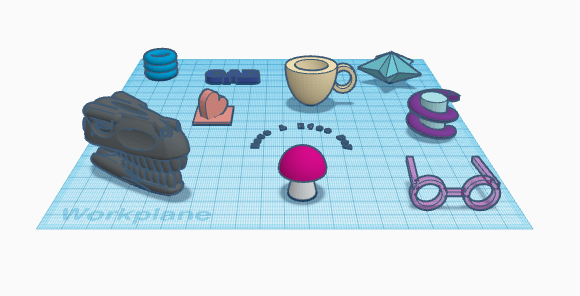
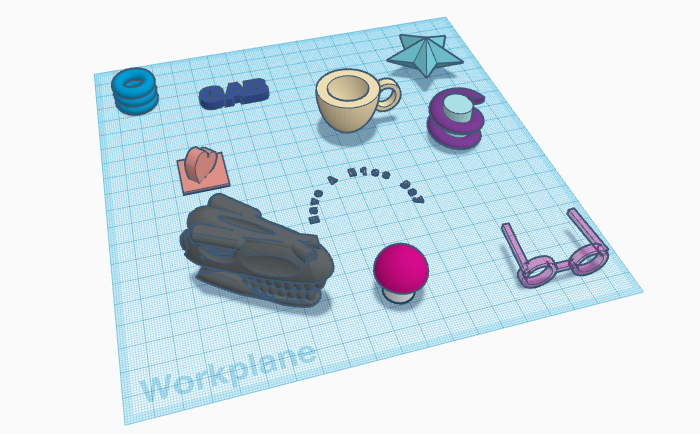
For this assignment, I had a very difficult time. I find Fusion360 to be an extremely confusing tool. However, as I kept playing around and creating objects I felt it becoming easier and easier. In order to create my 20 objects I chose to stay with the basic functions in order to master those. I am now familiar with a majority of the basic functions on Fusion. My favorite tool was “extrude” which is shown in many of my objects. Besides for extrude, I enjoyed the pipe tool. I also had fun with the sketching mode and the sculpting mode. I like using Fusion because it truly lets you create whatever you can imagine (as long as you can figure out which tools to use). I am glad that this assignment is required in order to familiarize oneself with Fusion.
Fusion 360 Print
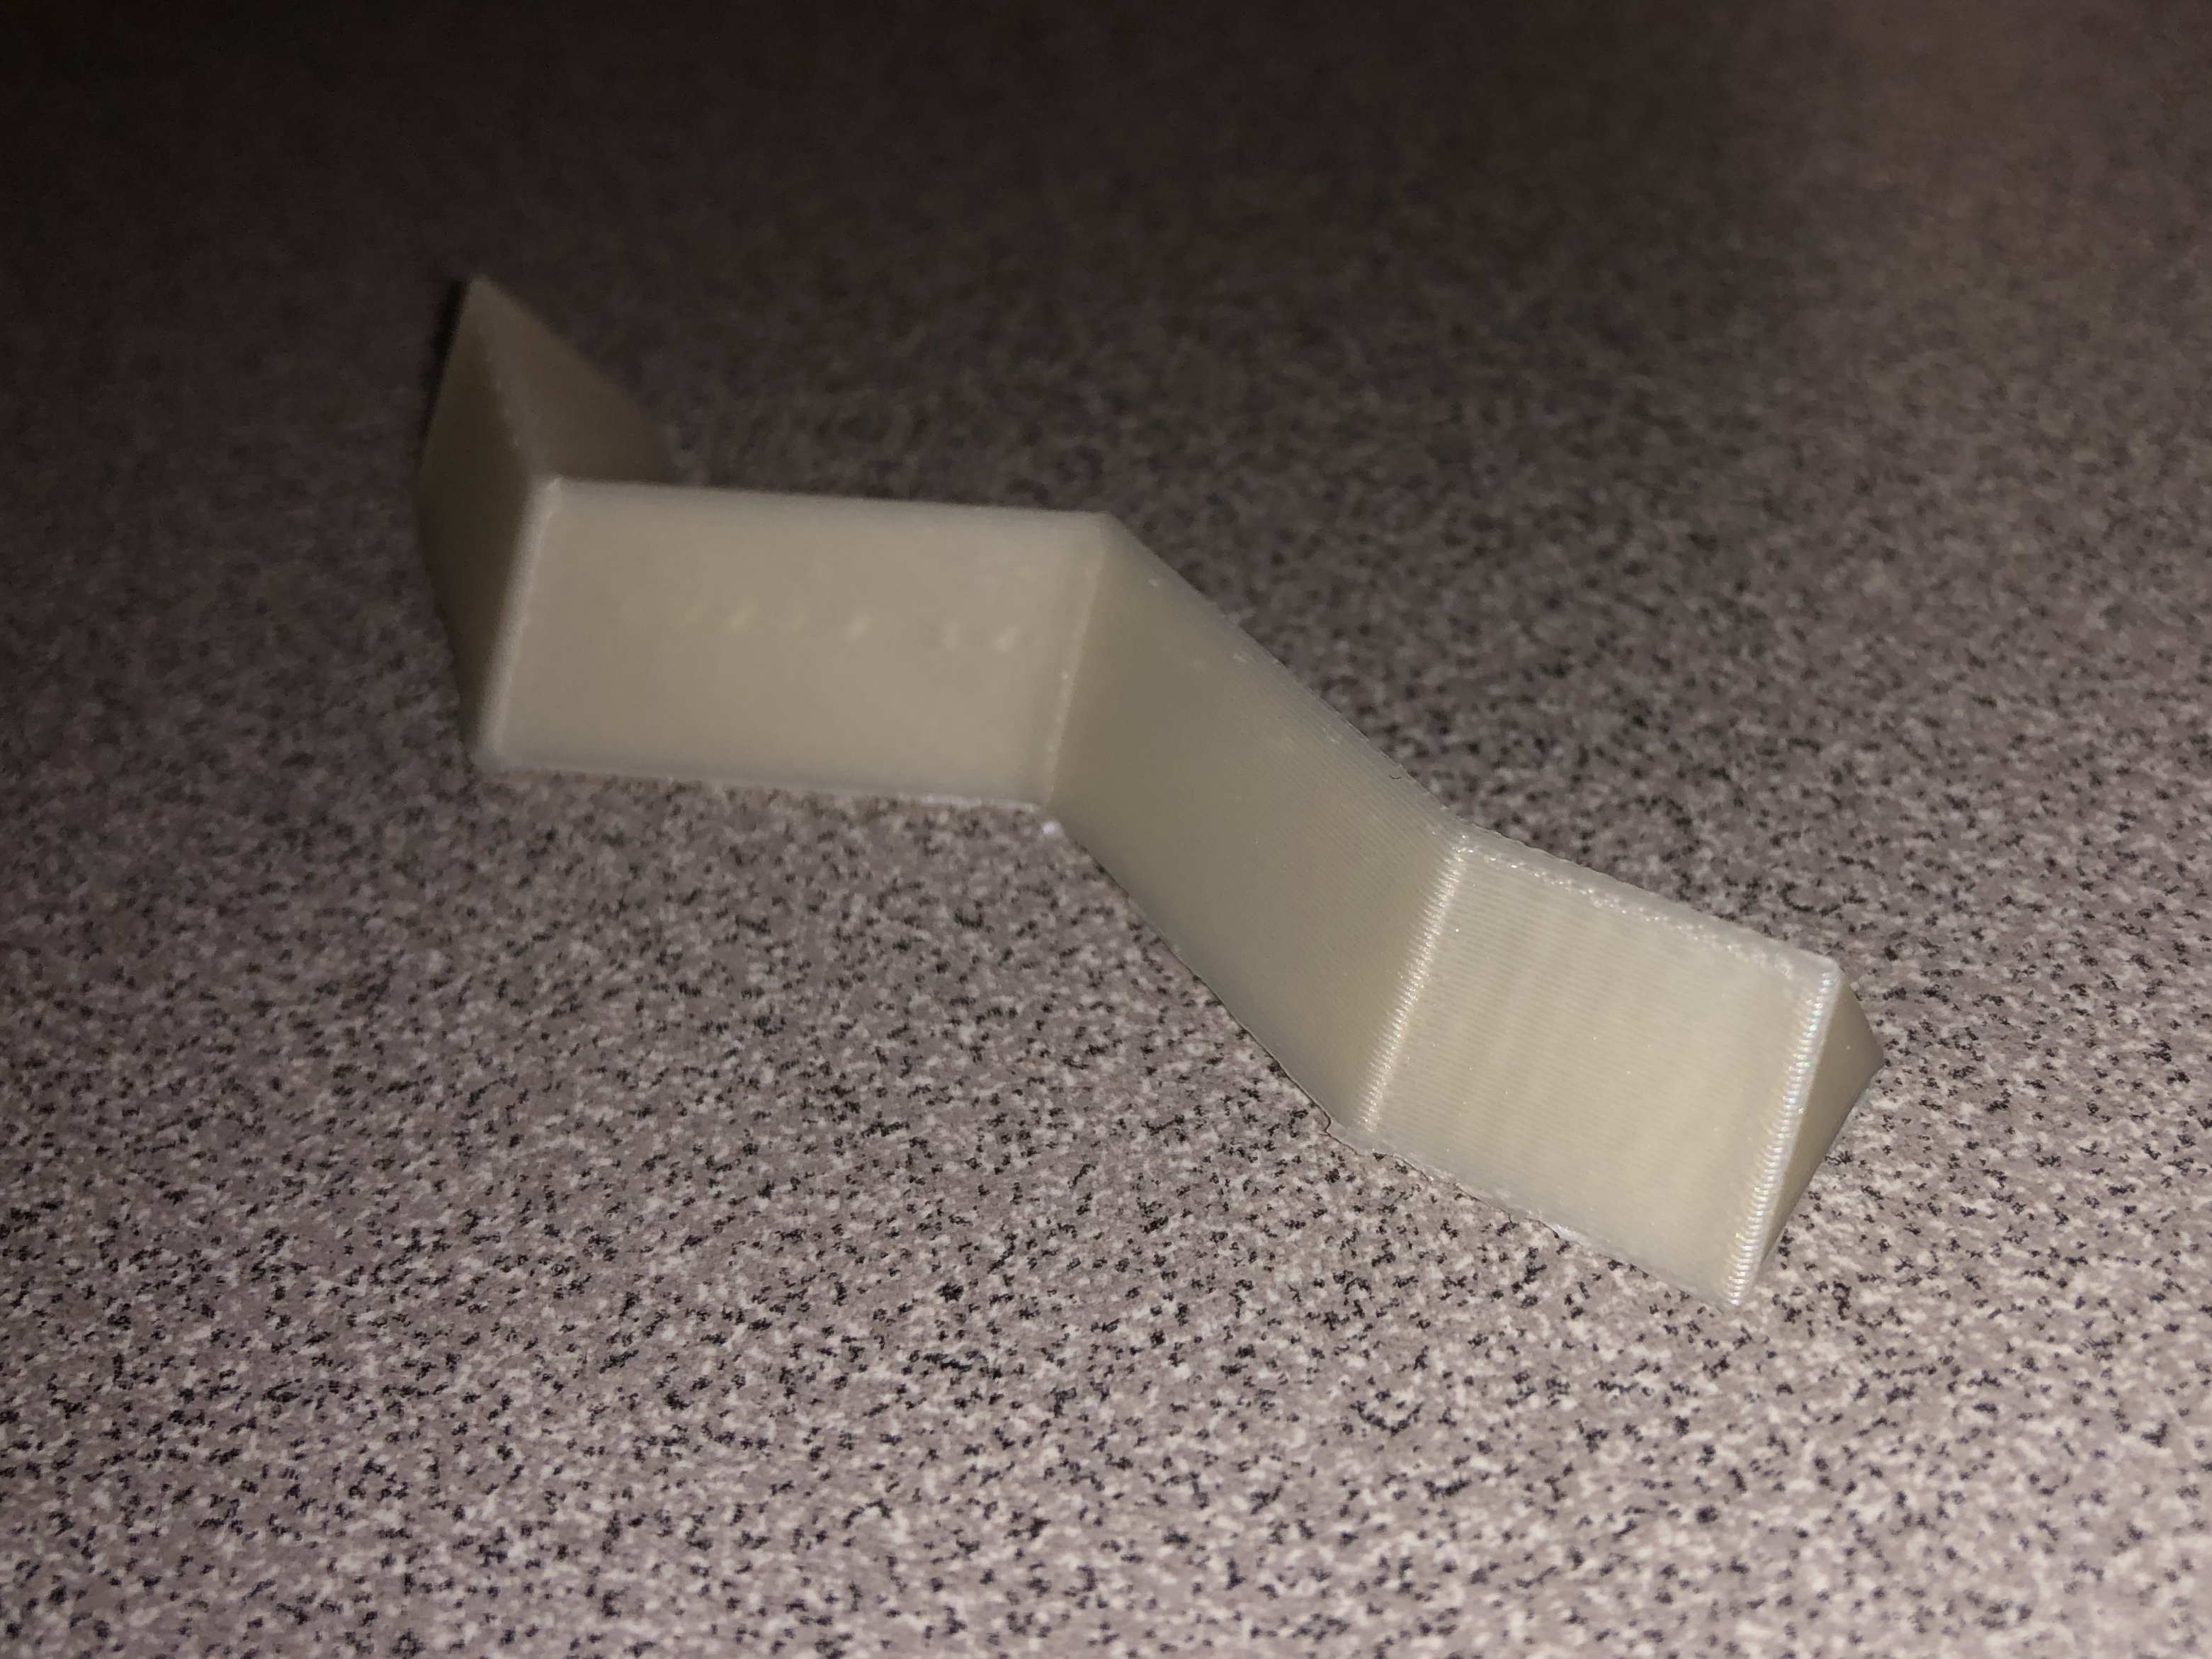
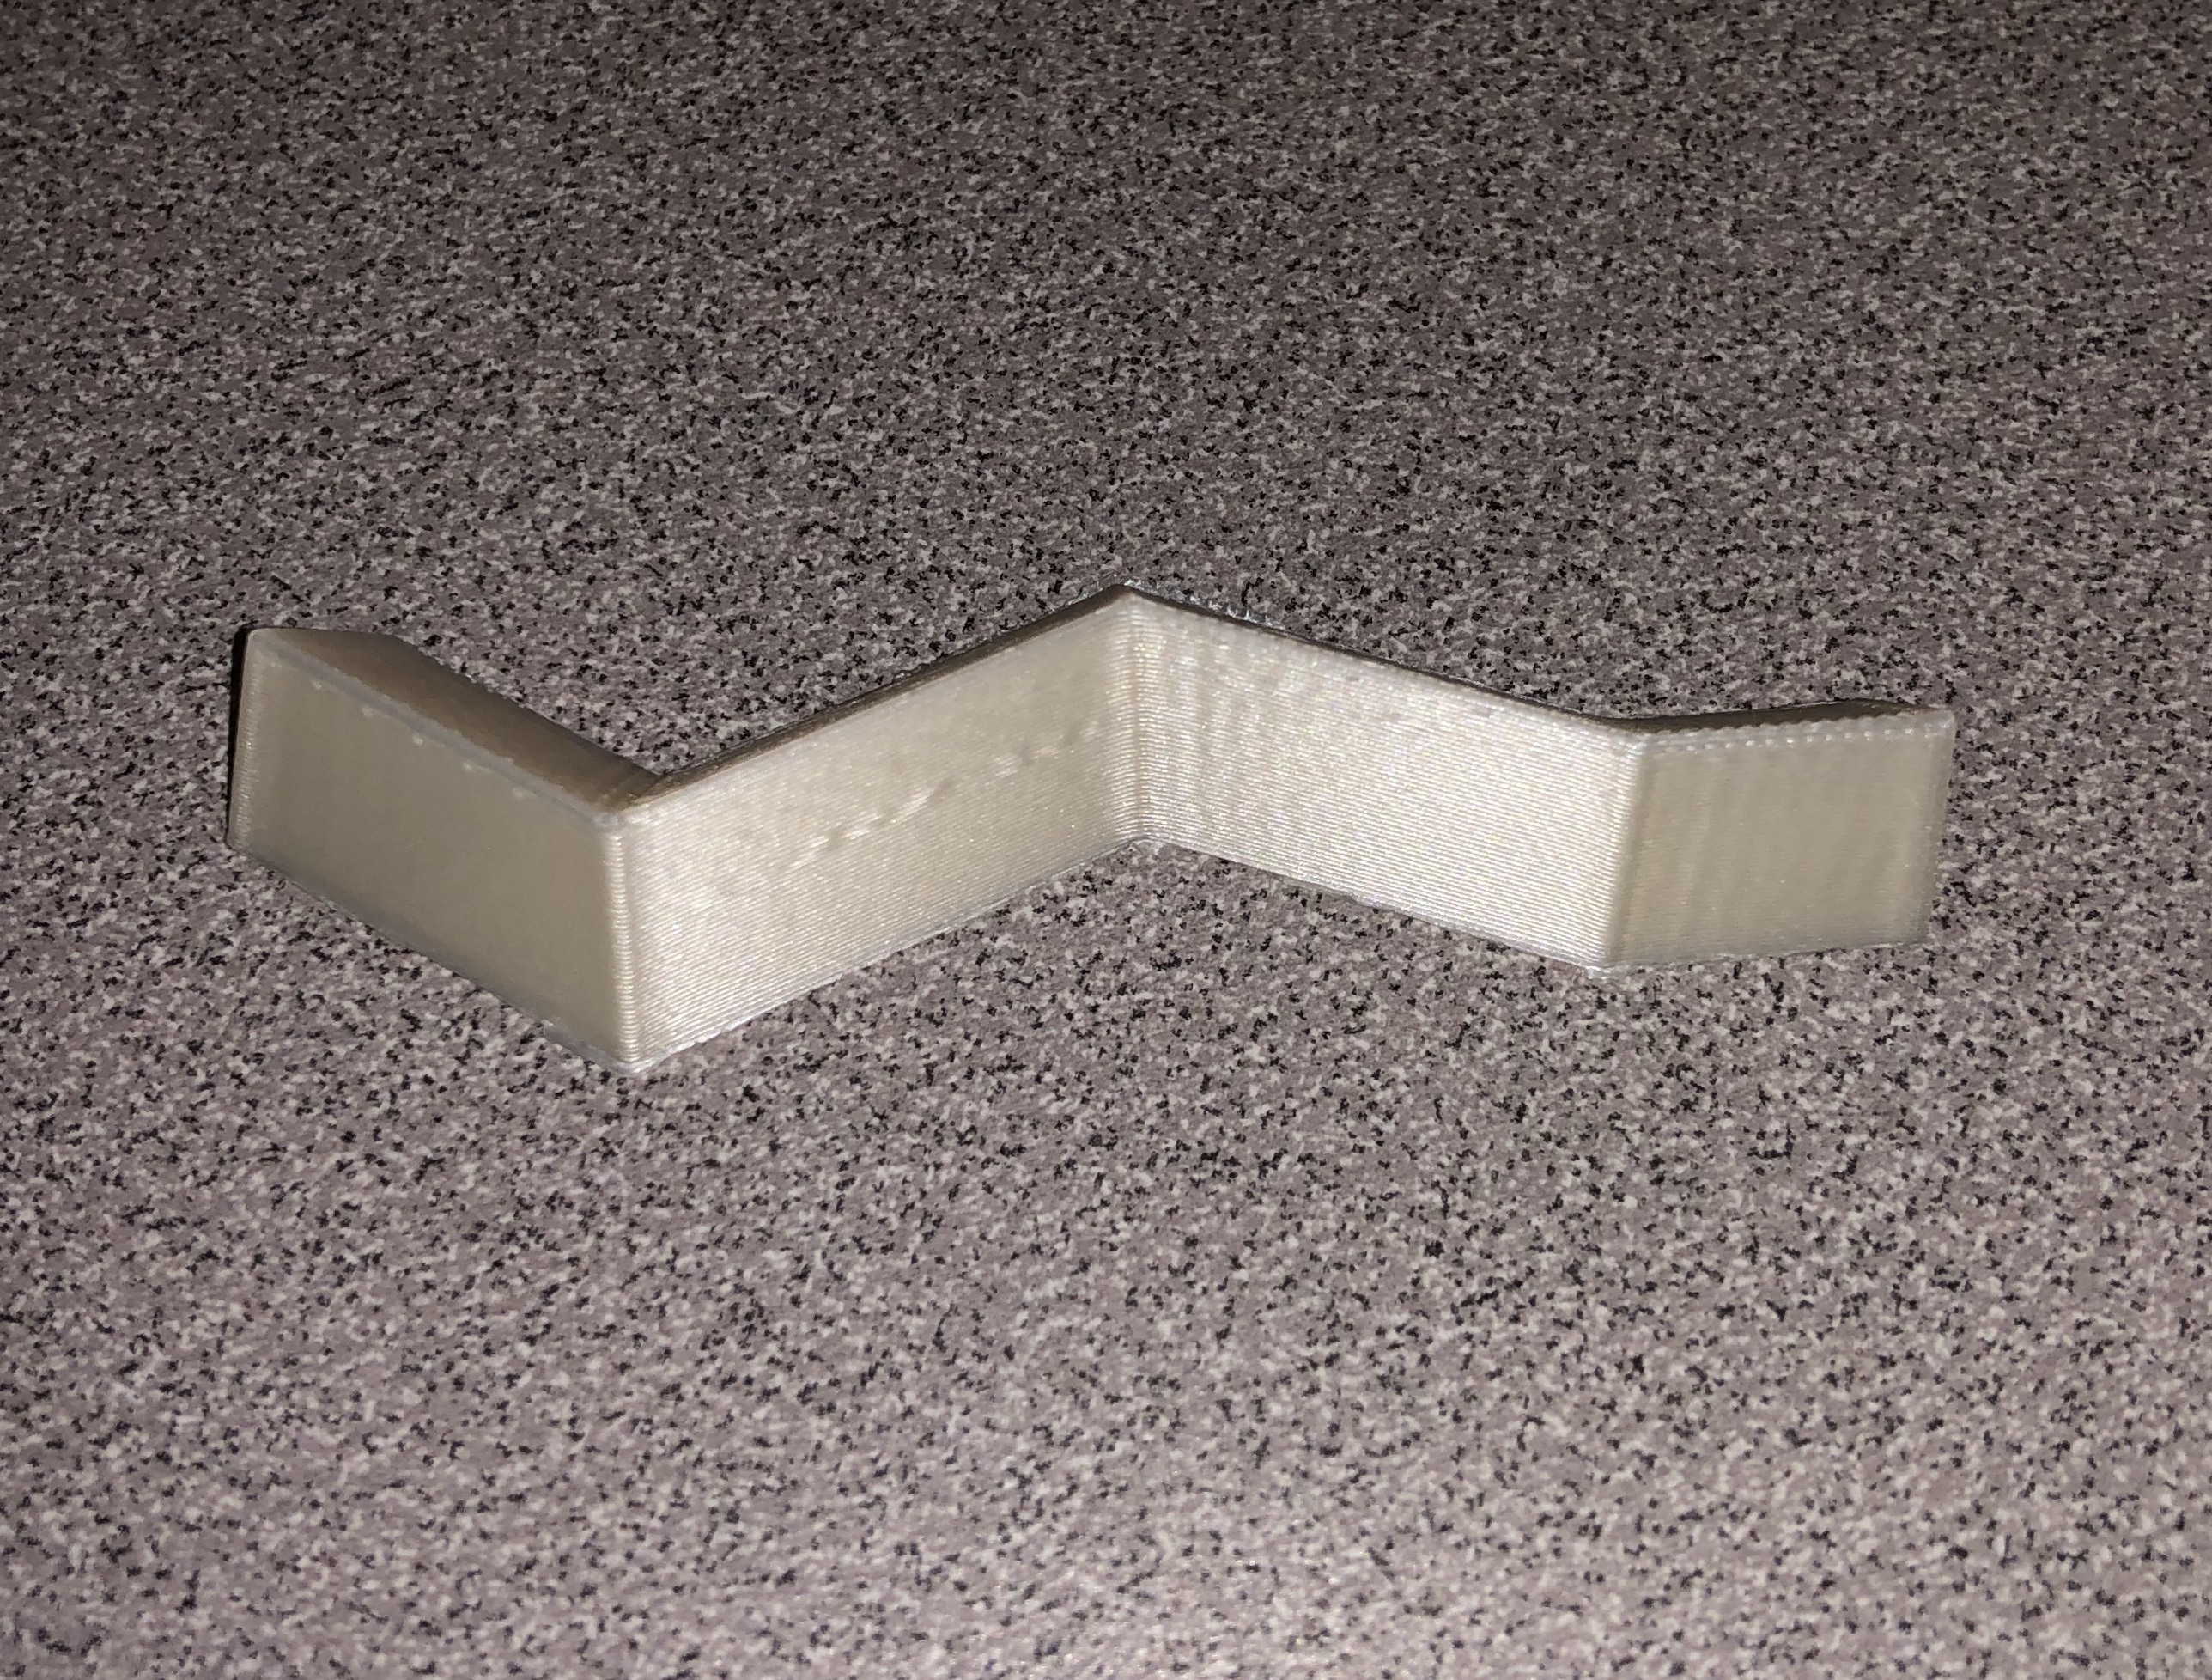
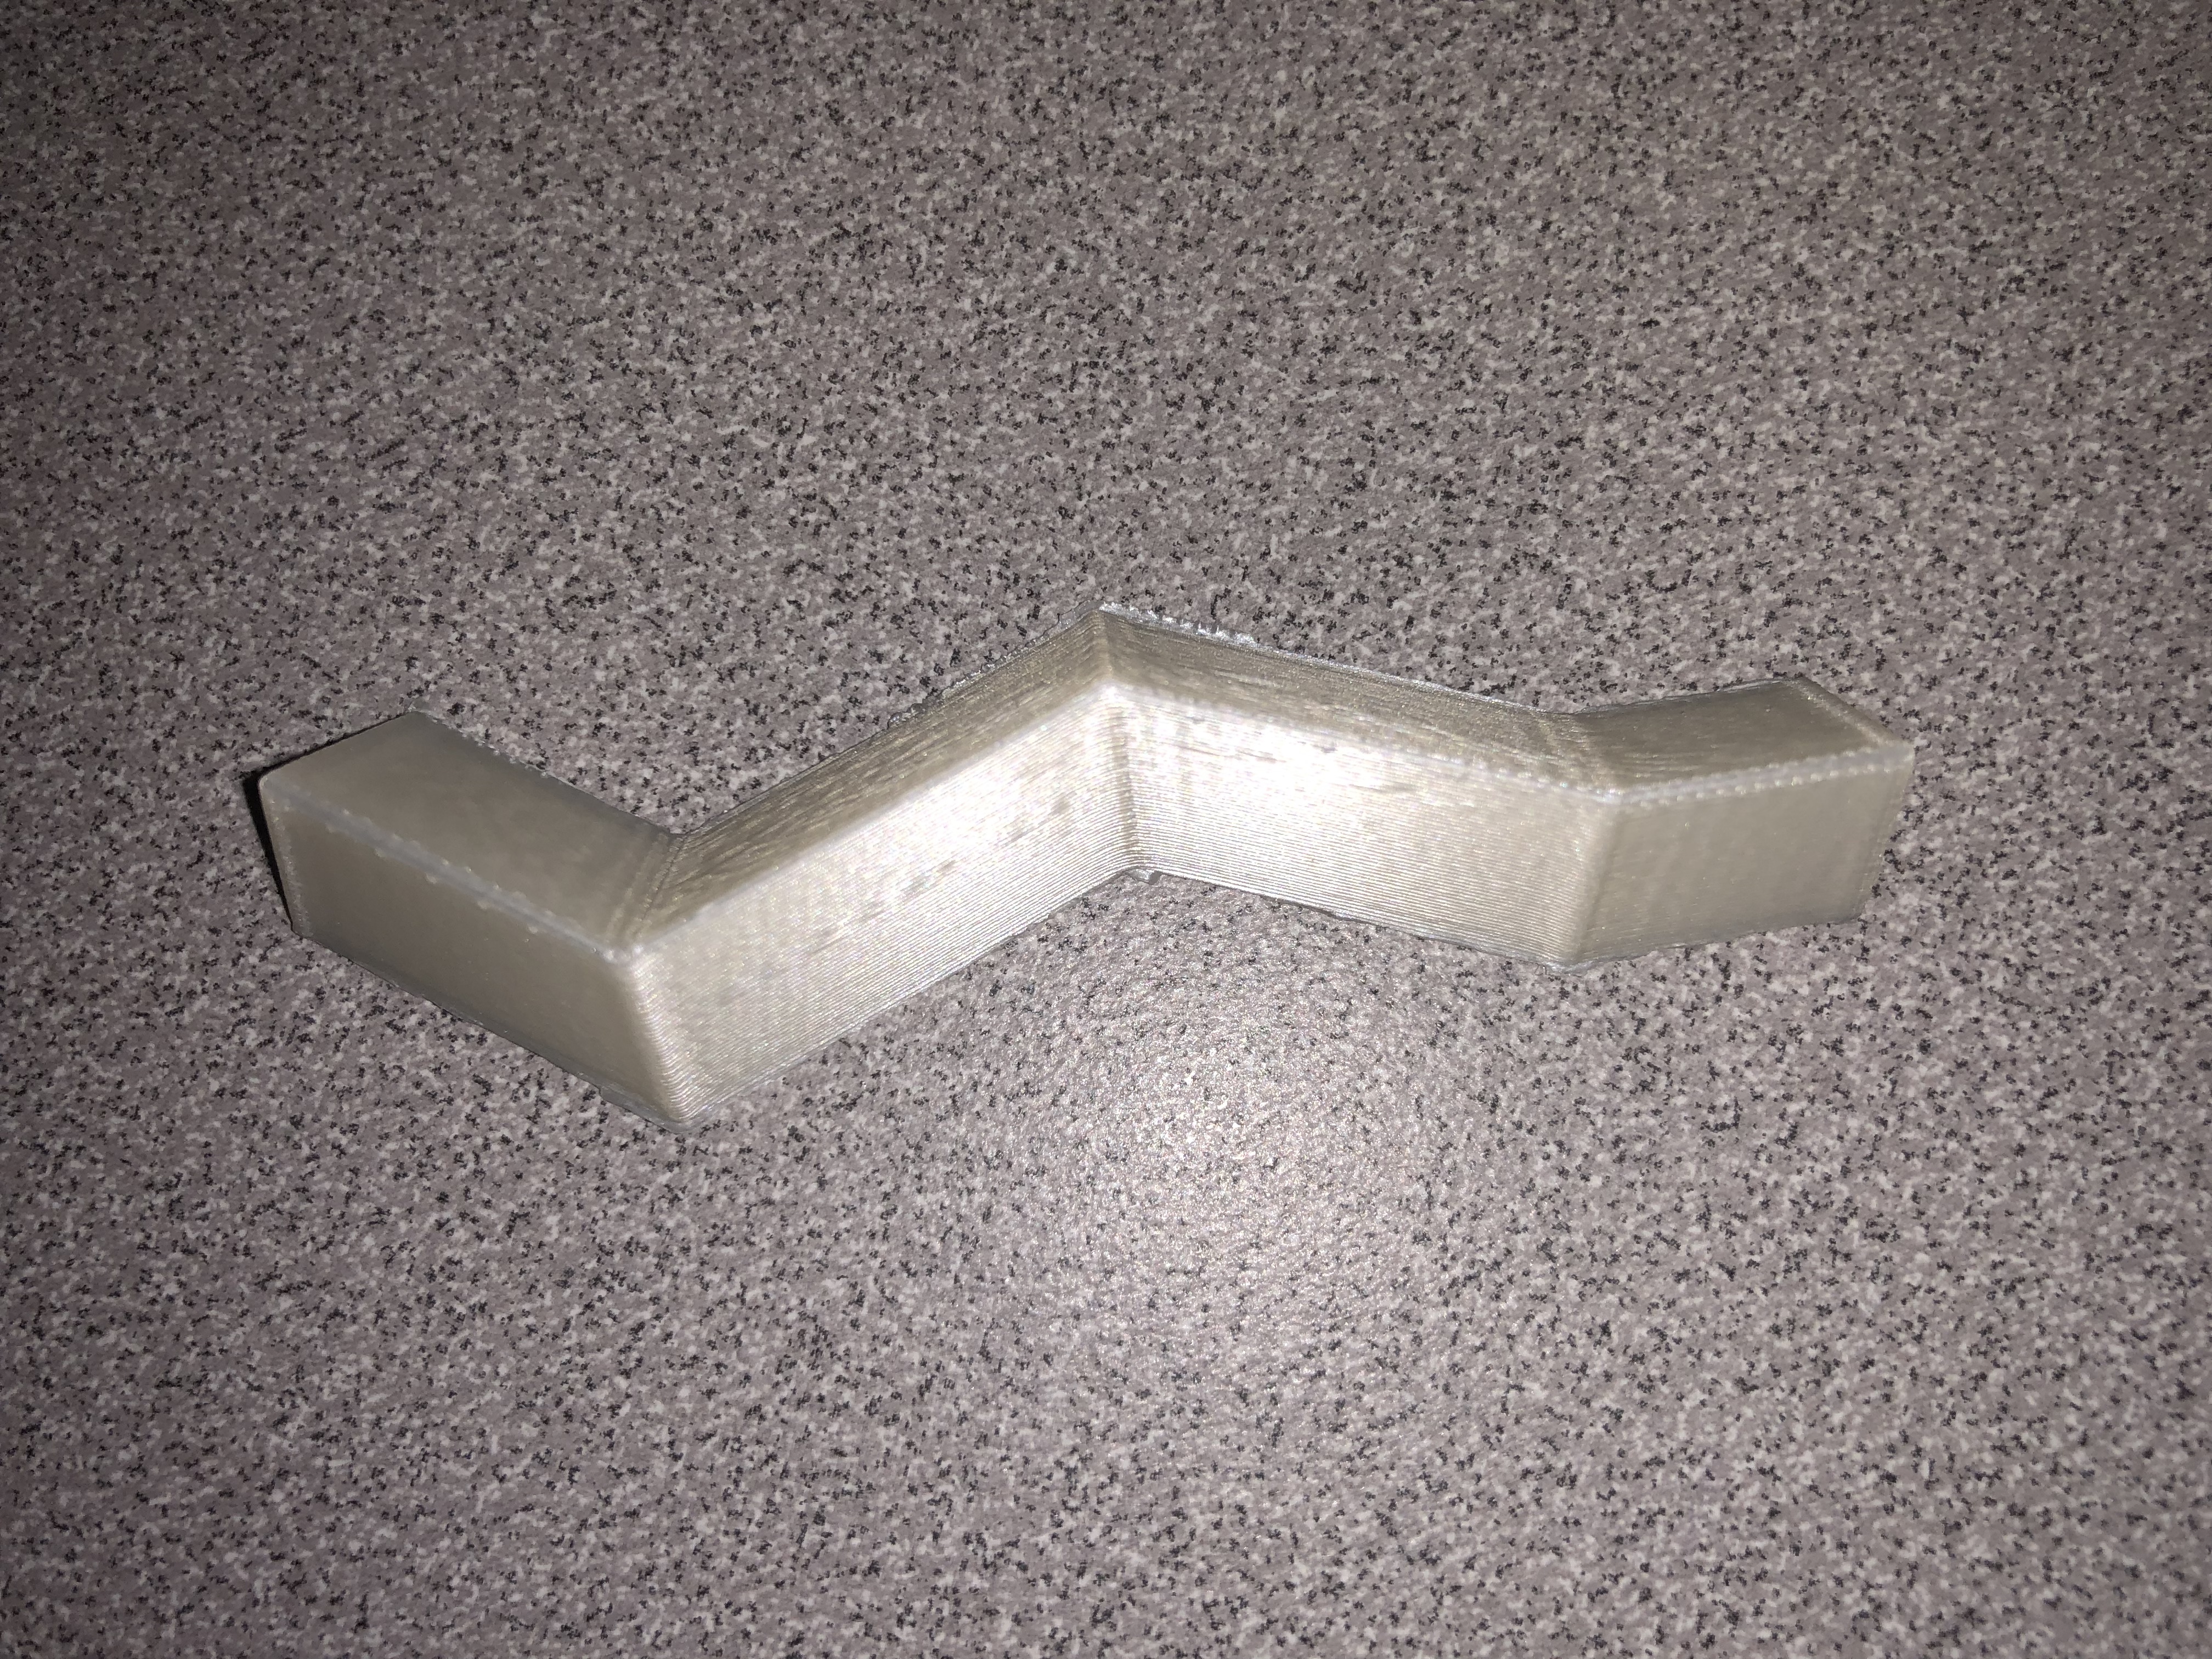
This printed successfully! I’m not quite sure what exactly it is (nor did I have an intention of making something specific while creating it), it was one of the forms which I created in my 20 objects with Fusion360 while getting to know the tools. However, I chose to print it because I wanted to see how the printer would handle a design like this (successfully) and it also has a fun design and shape to it. It was interesting to watch the printer go about printing an object like this.
Fusion 360 Vase Design
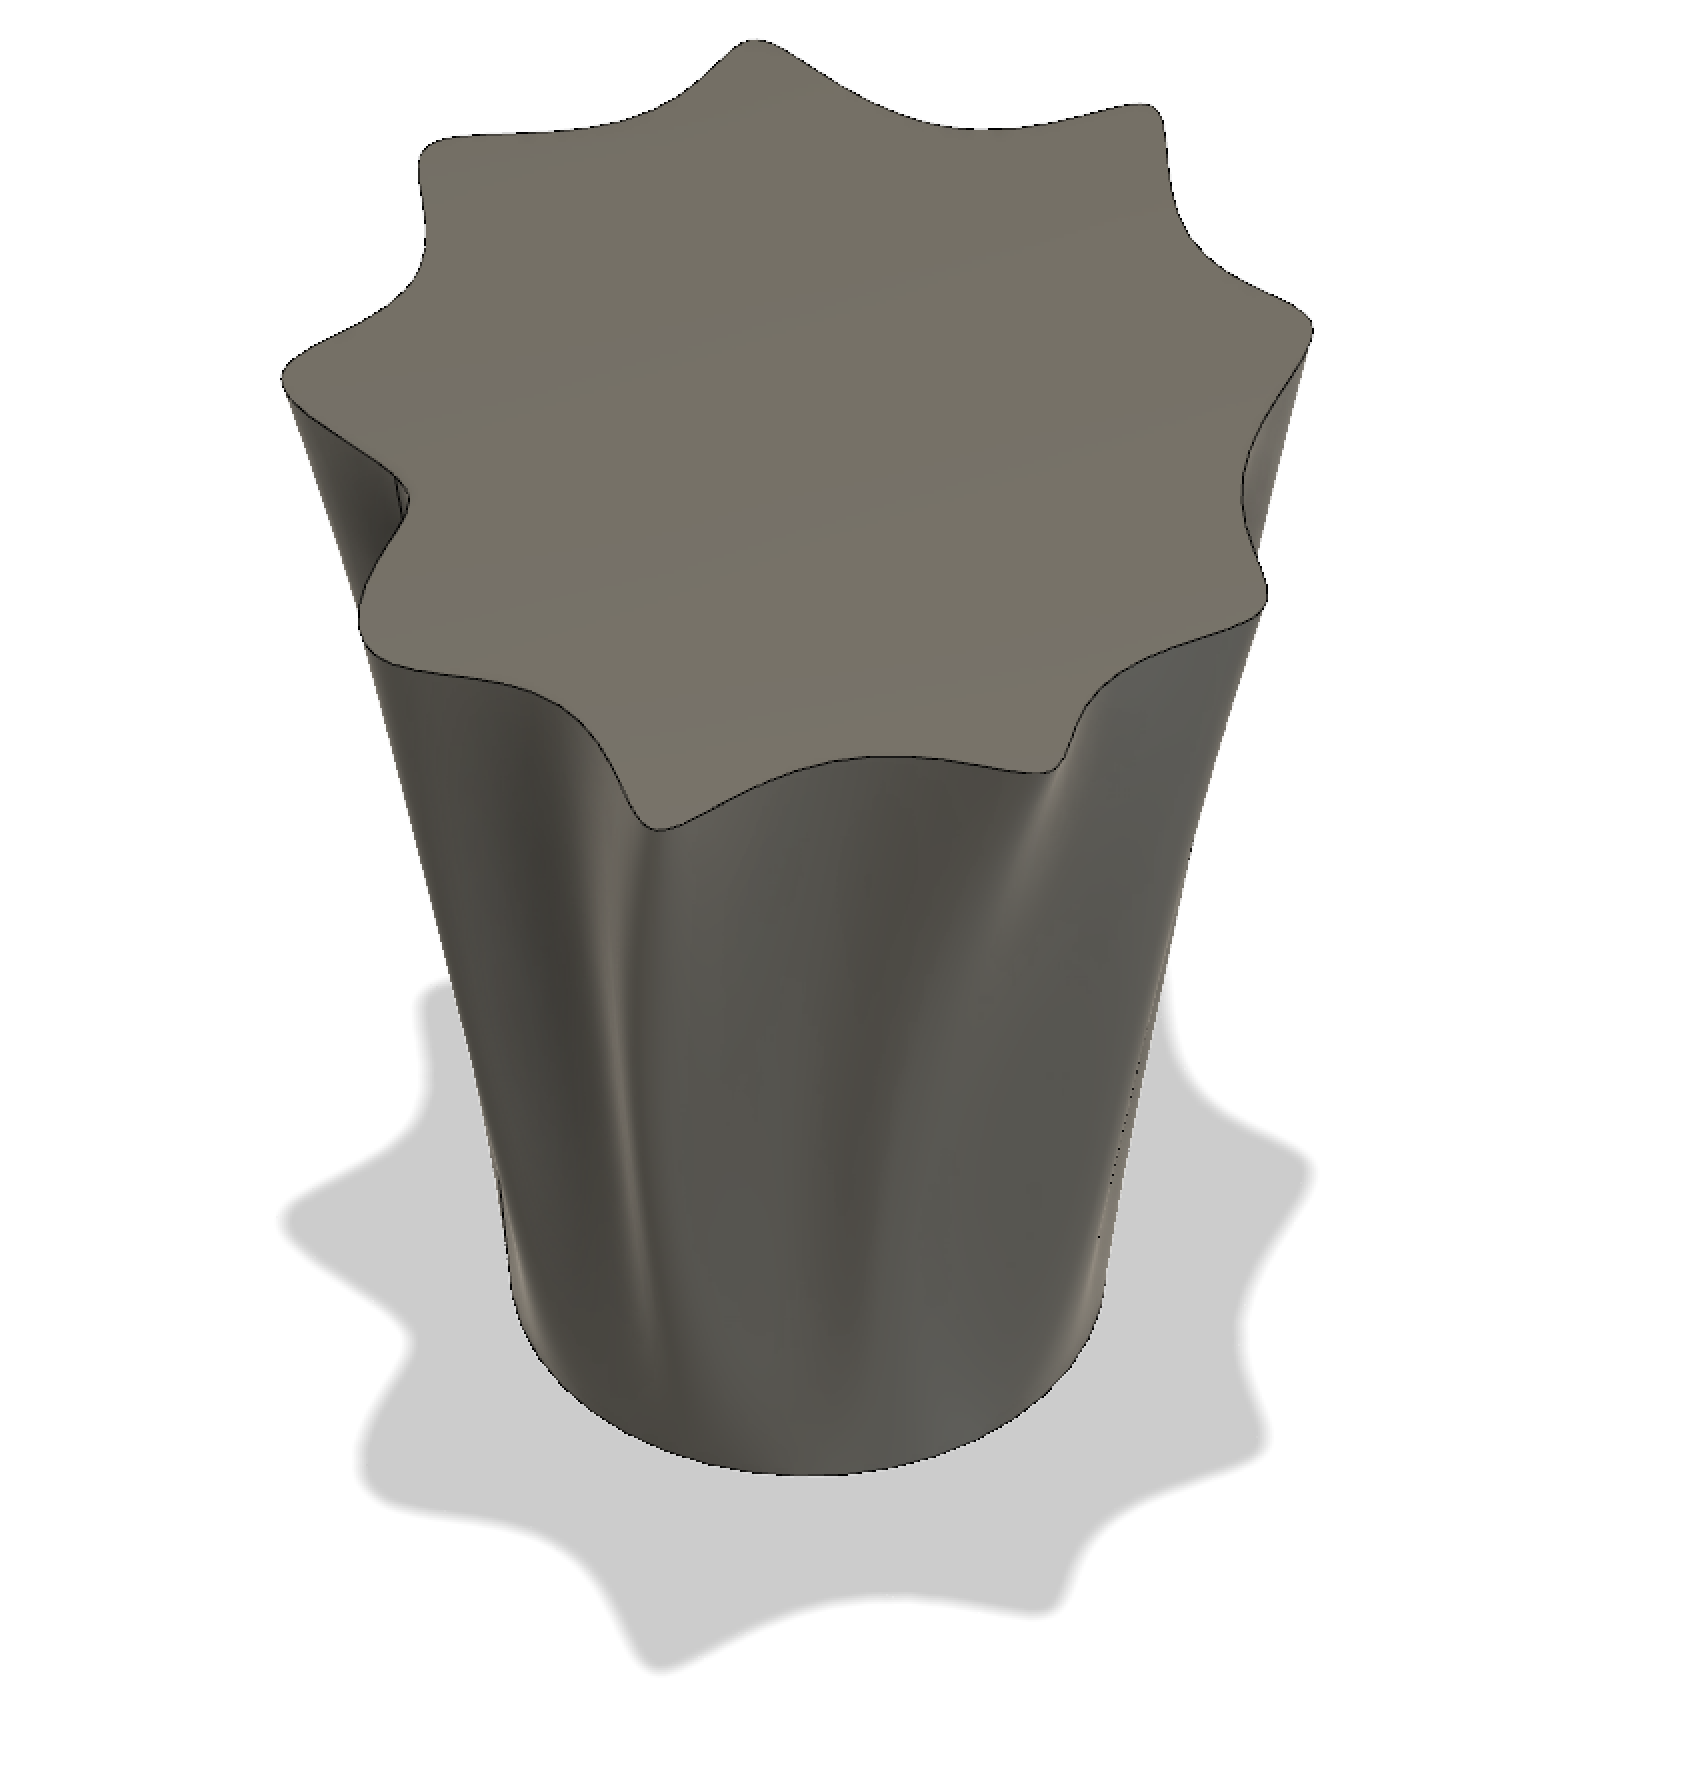

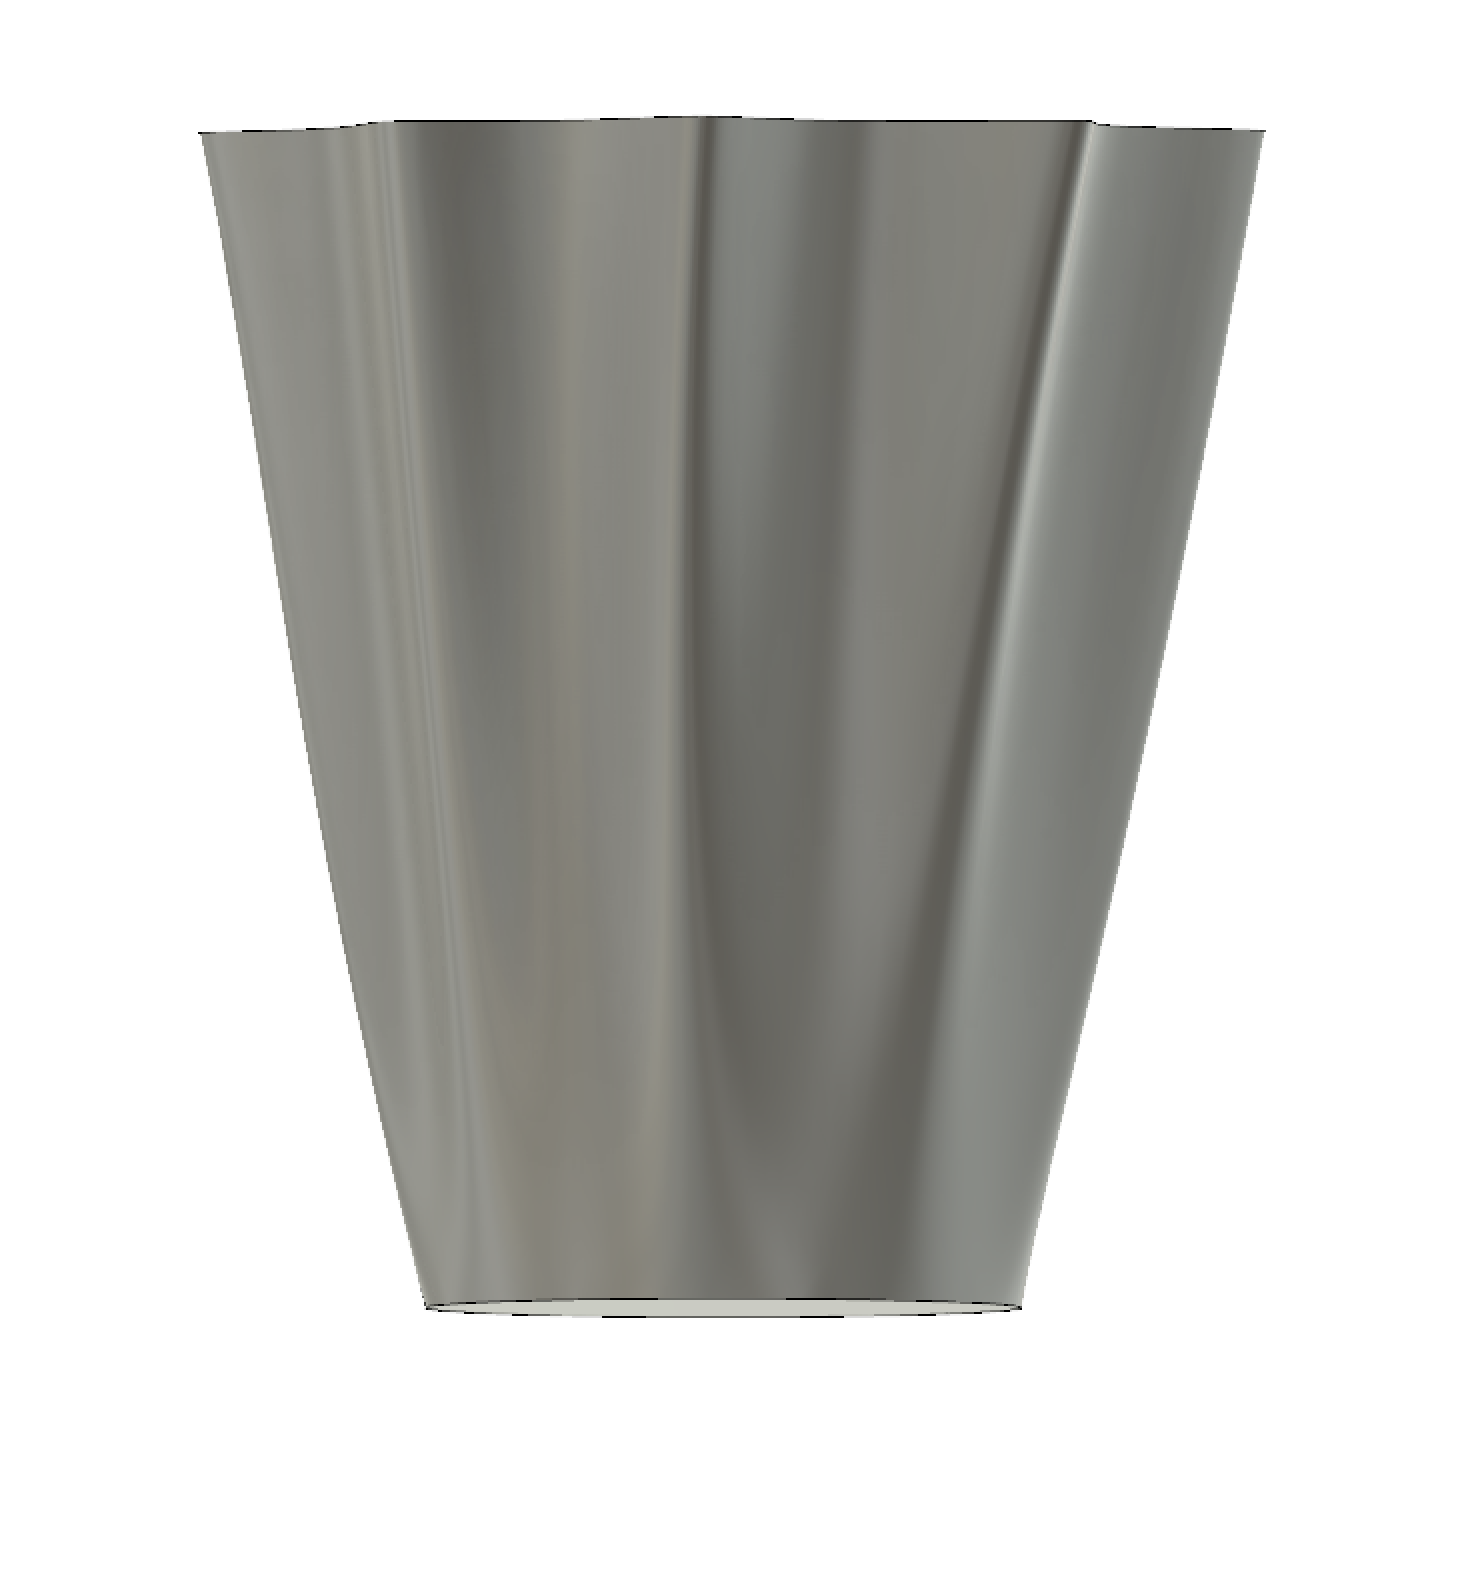
To complete this design, I first started out with a circle sketch at the base. I then created an ellipse sketch about halfway through the vase while using an offset plane. For the top portion I just created another offset plane. From there, I created a design with the spline tool in the sketch section. I sketched something with this at the top plane and the middle plane. This created the shape which my vase has. Finally, I lofted all three planes together which brought my entire vase shape together, creating the vase itself. Unfortunately, I was sick during this class period so I was unable to create this with the rest of the class. Due to this factor, I was slightly confused while creating this. I stuck to the instructions in the video so my vase is not very different. However, being that I created the spline sketches myself, my design is slightly different overall. I would say that my design is quite simple, yet sleek. I hope that it prints well so that I can actually put it to use!
Fusion 360 Vase Prints
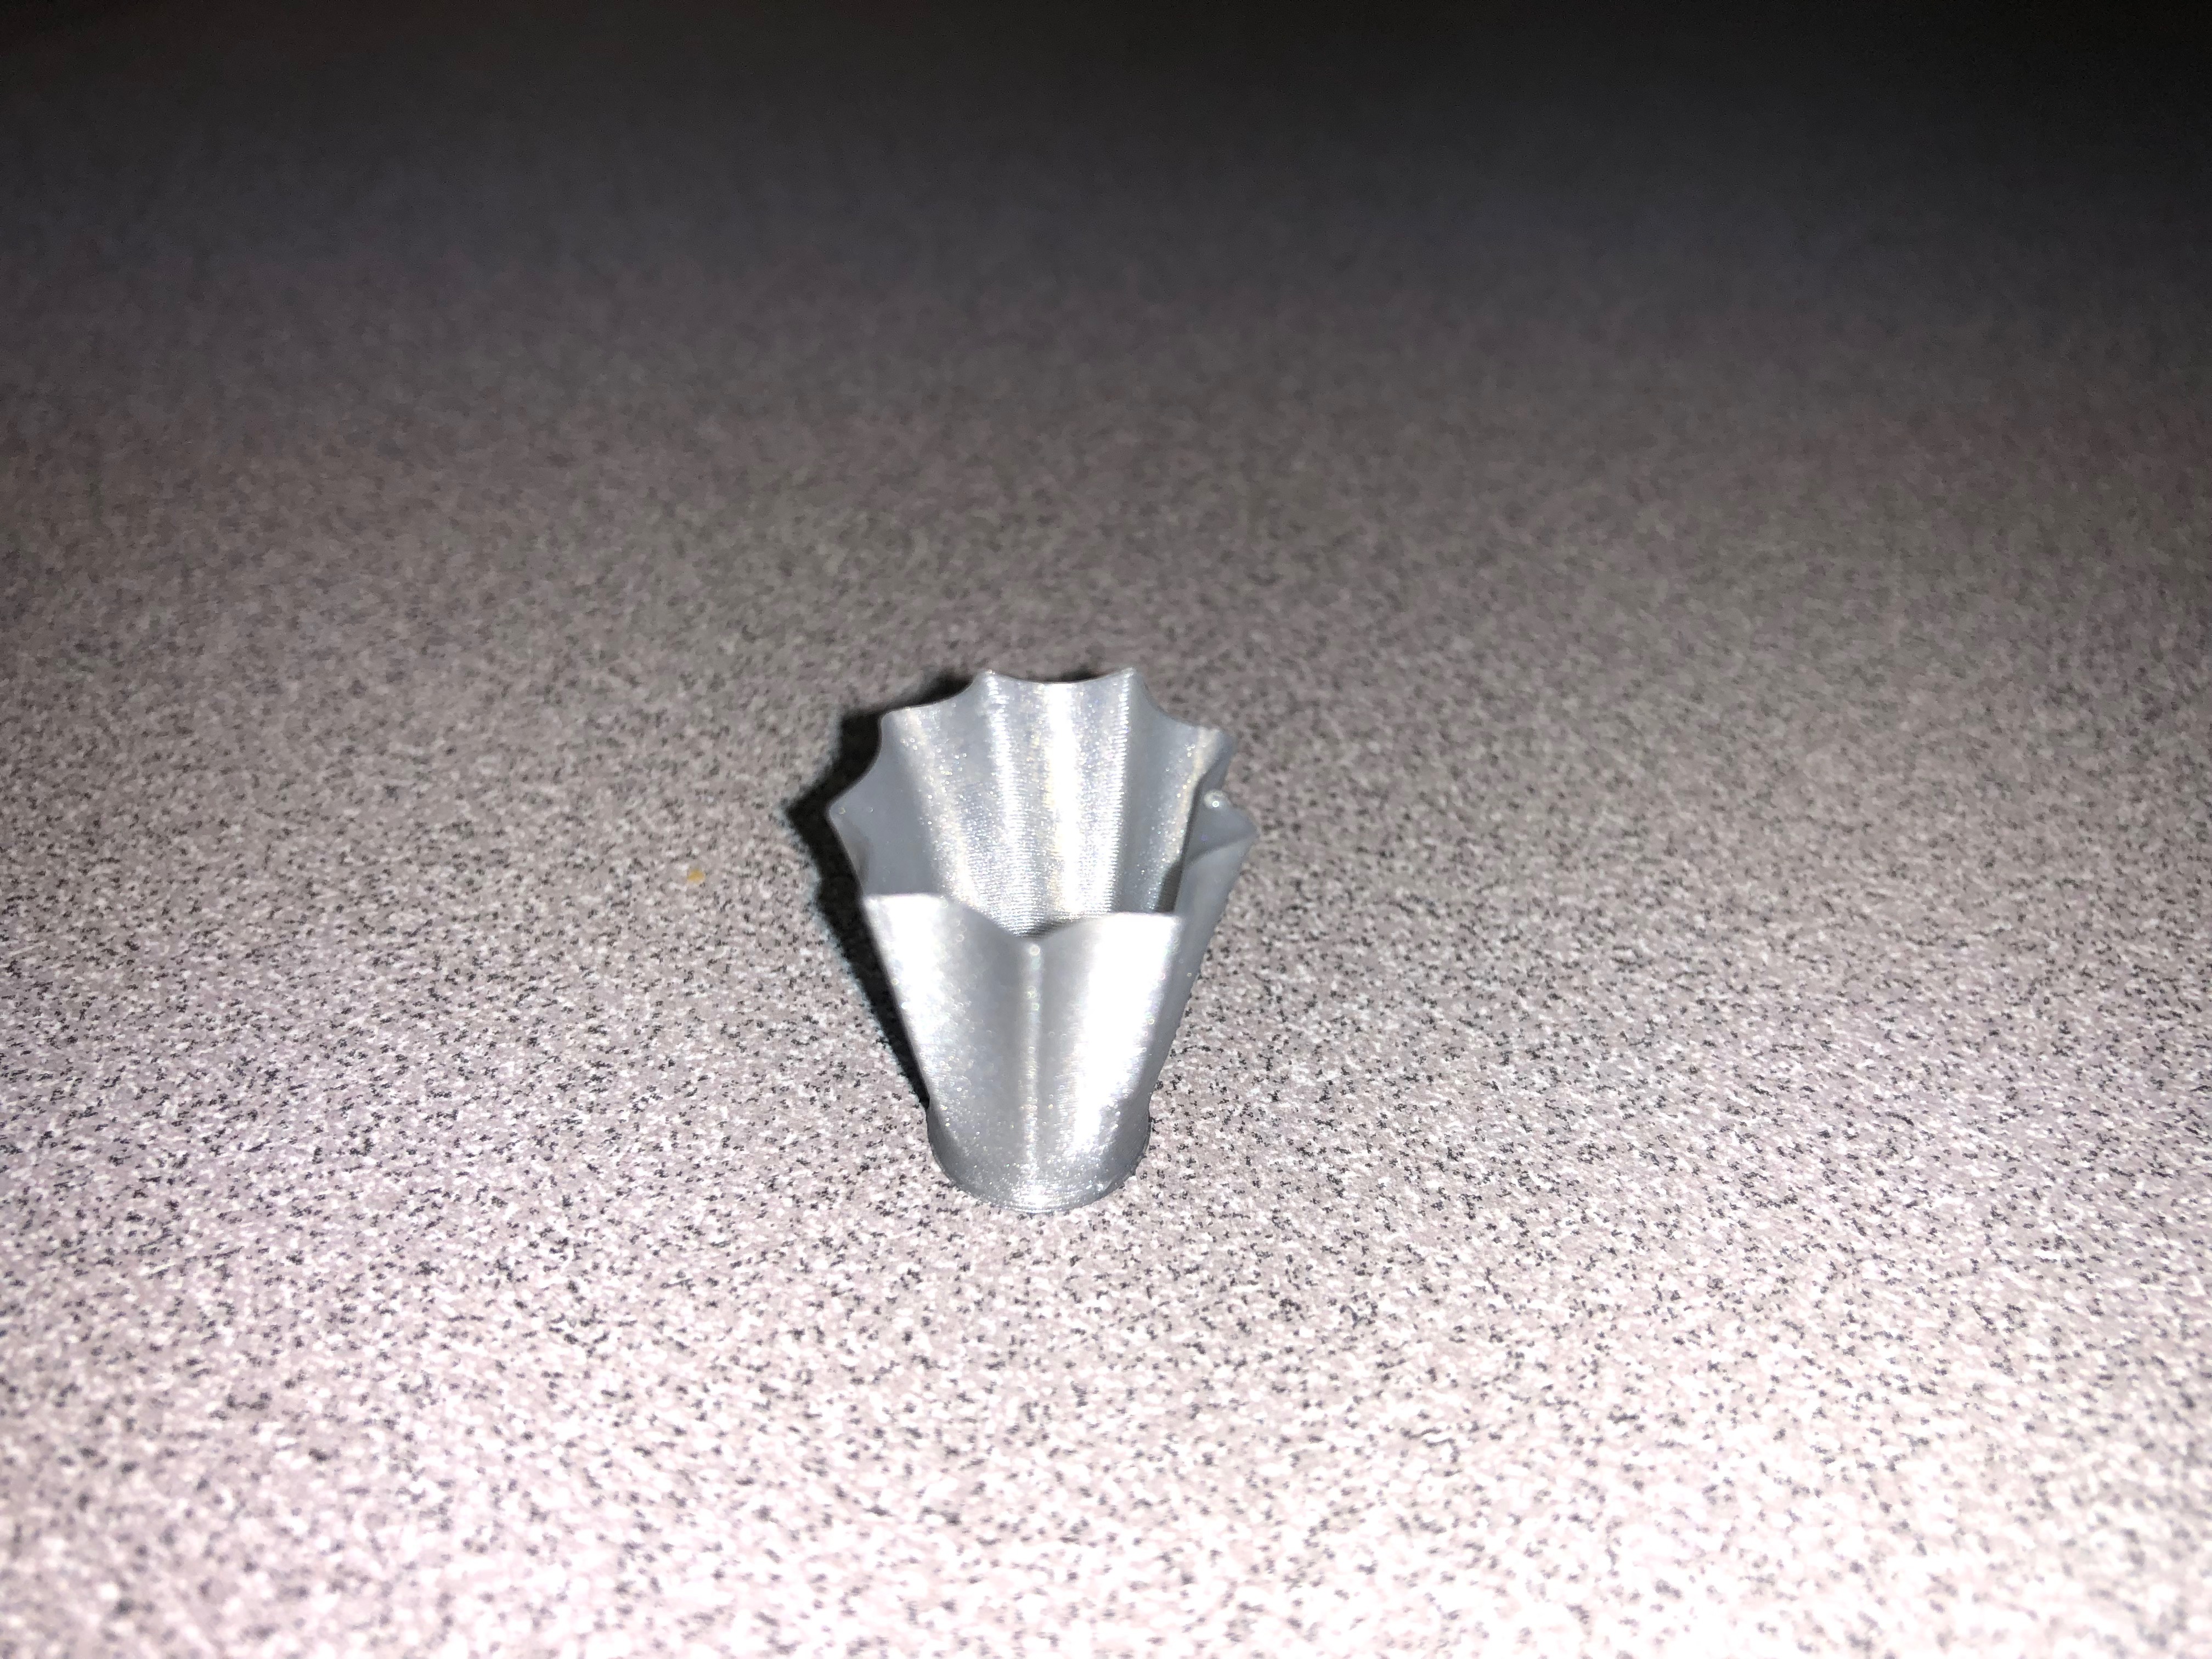
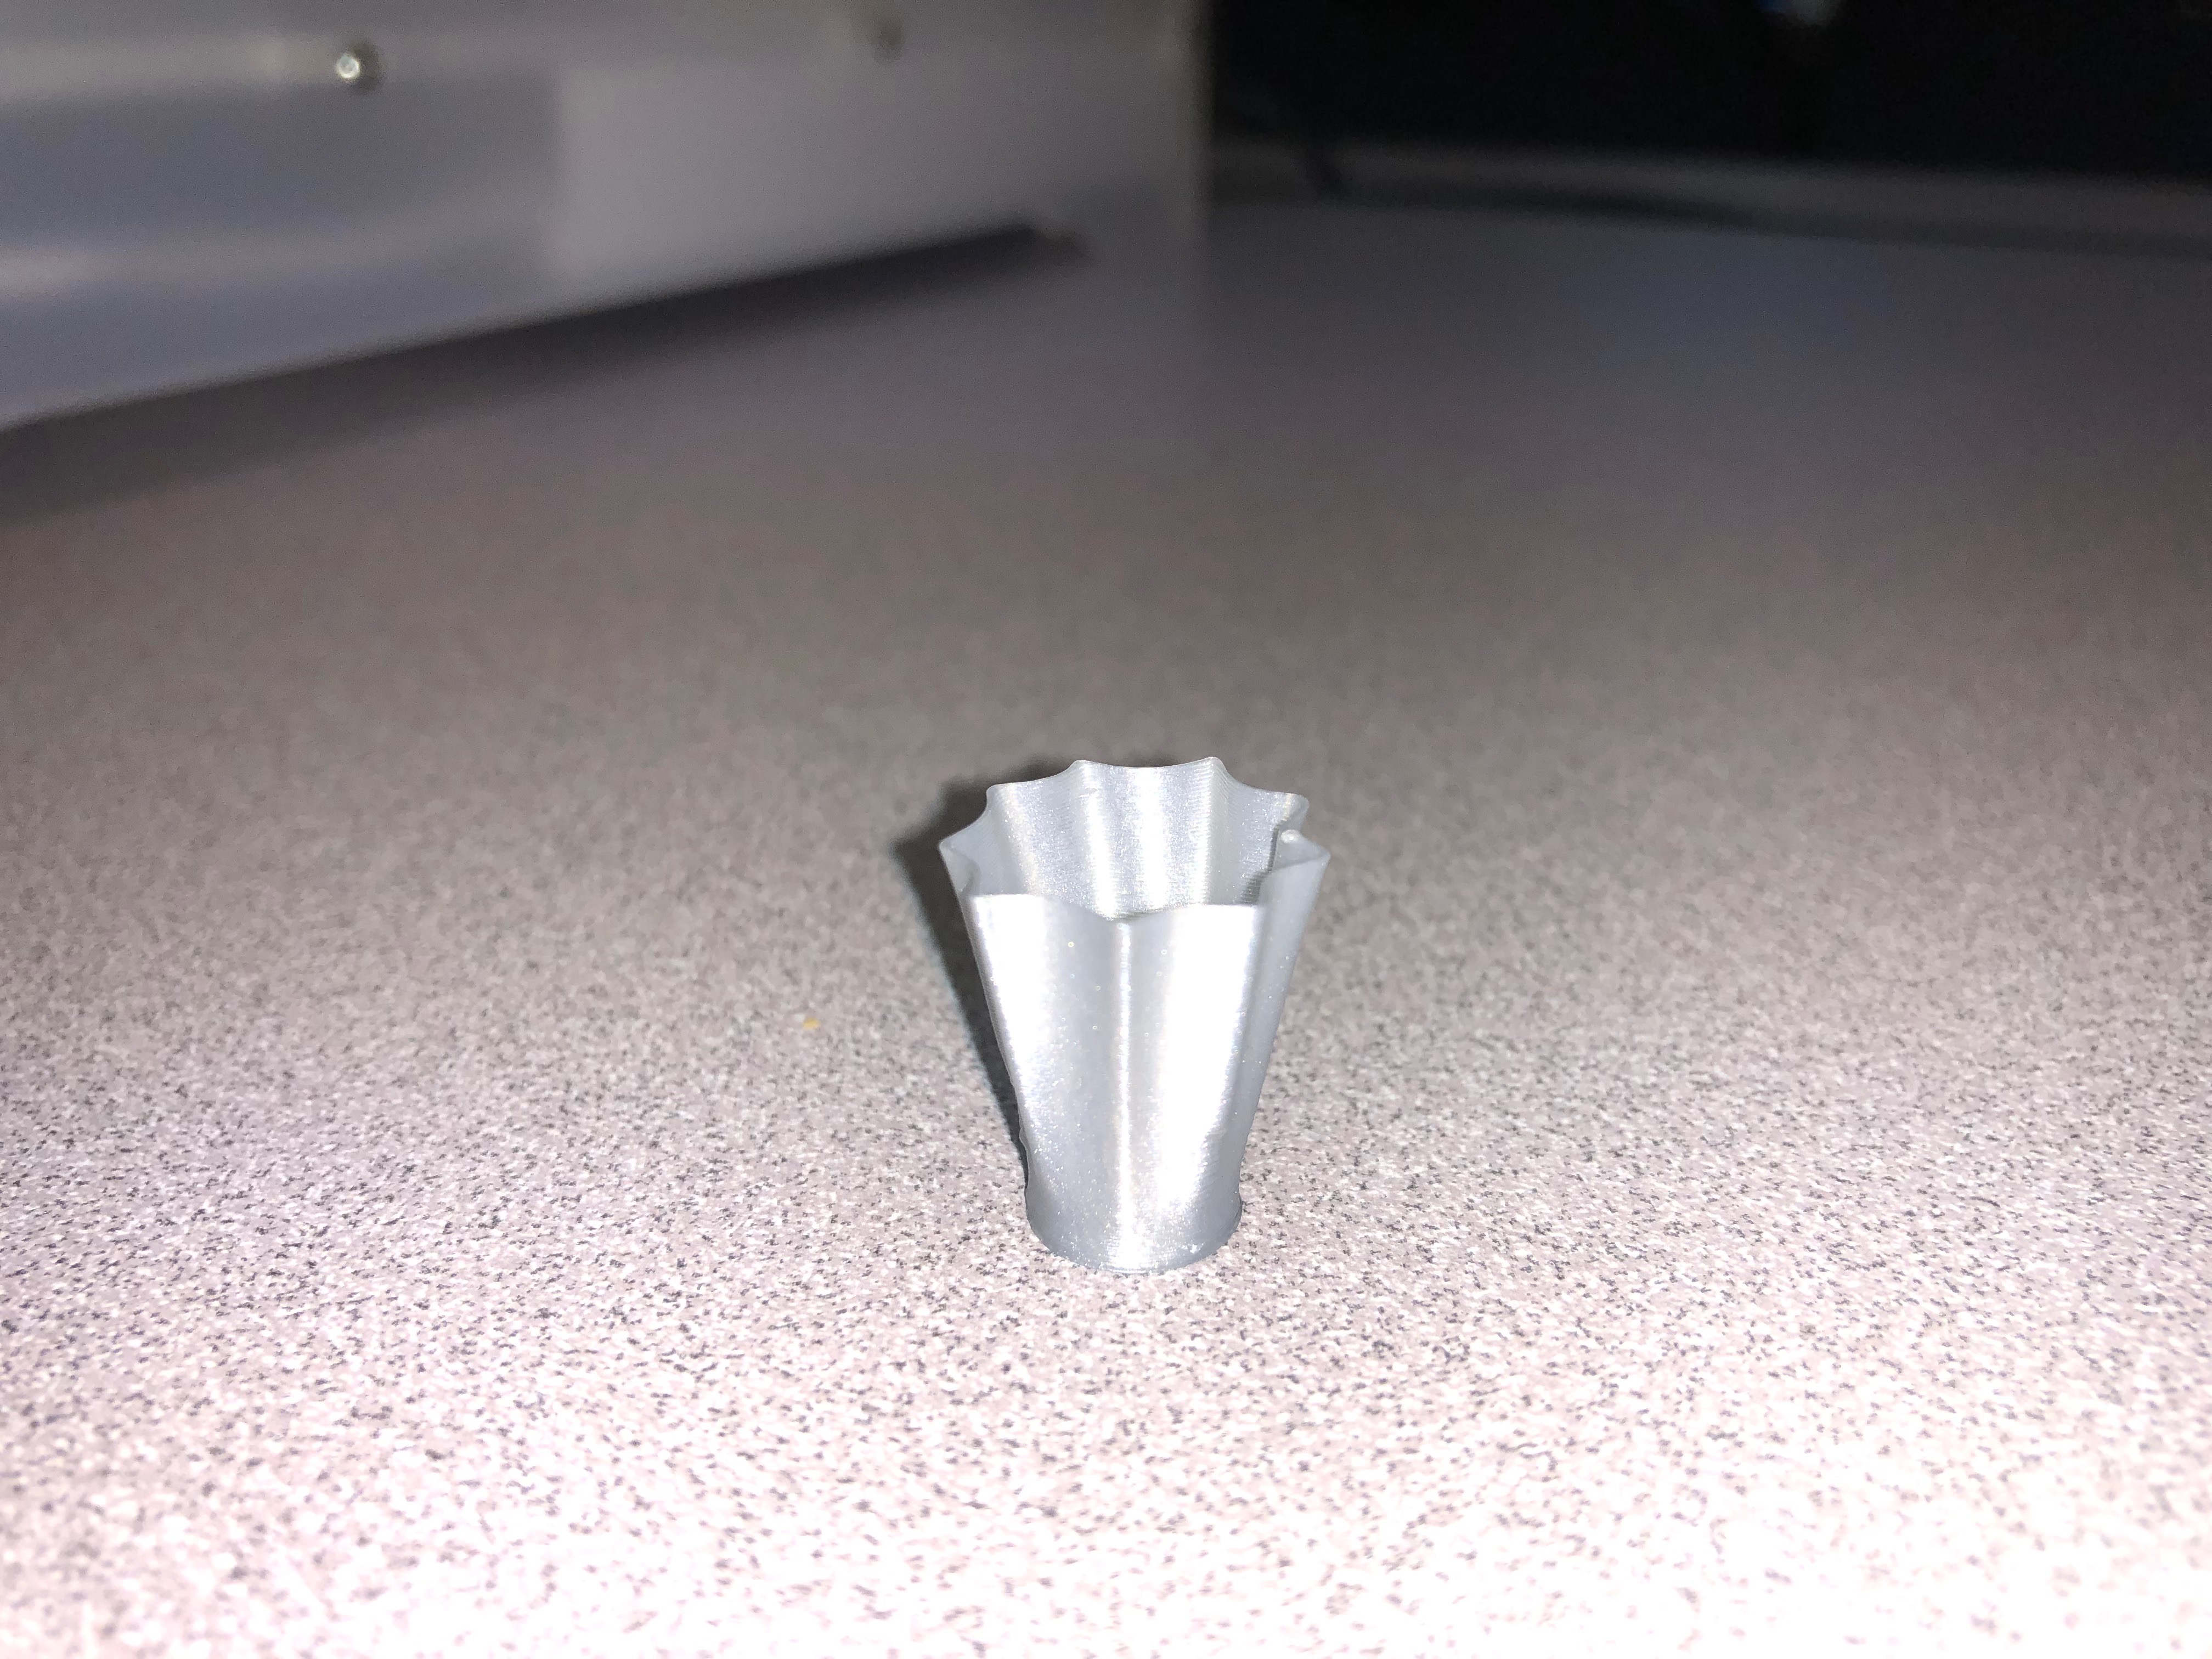


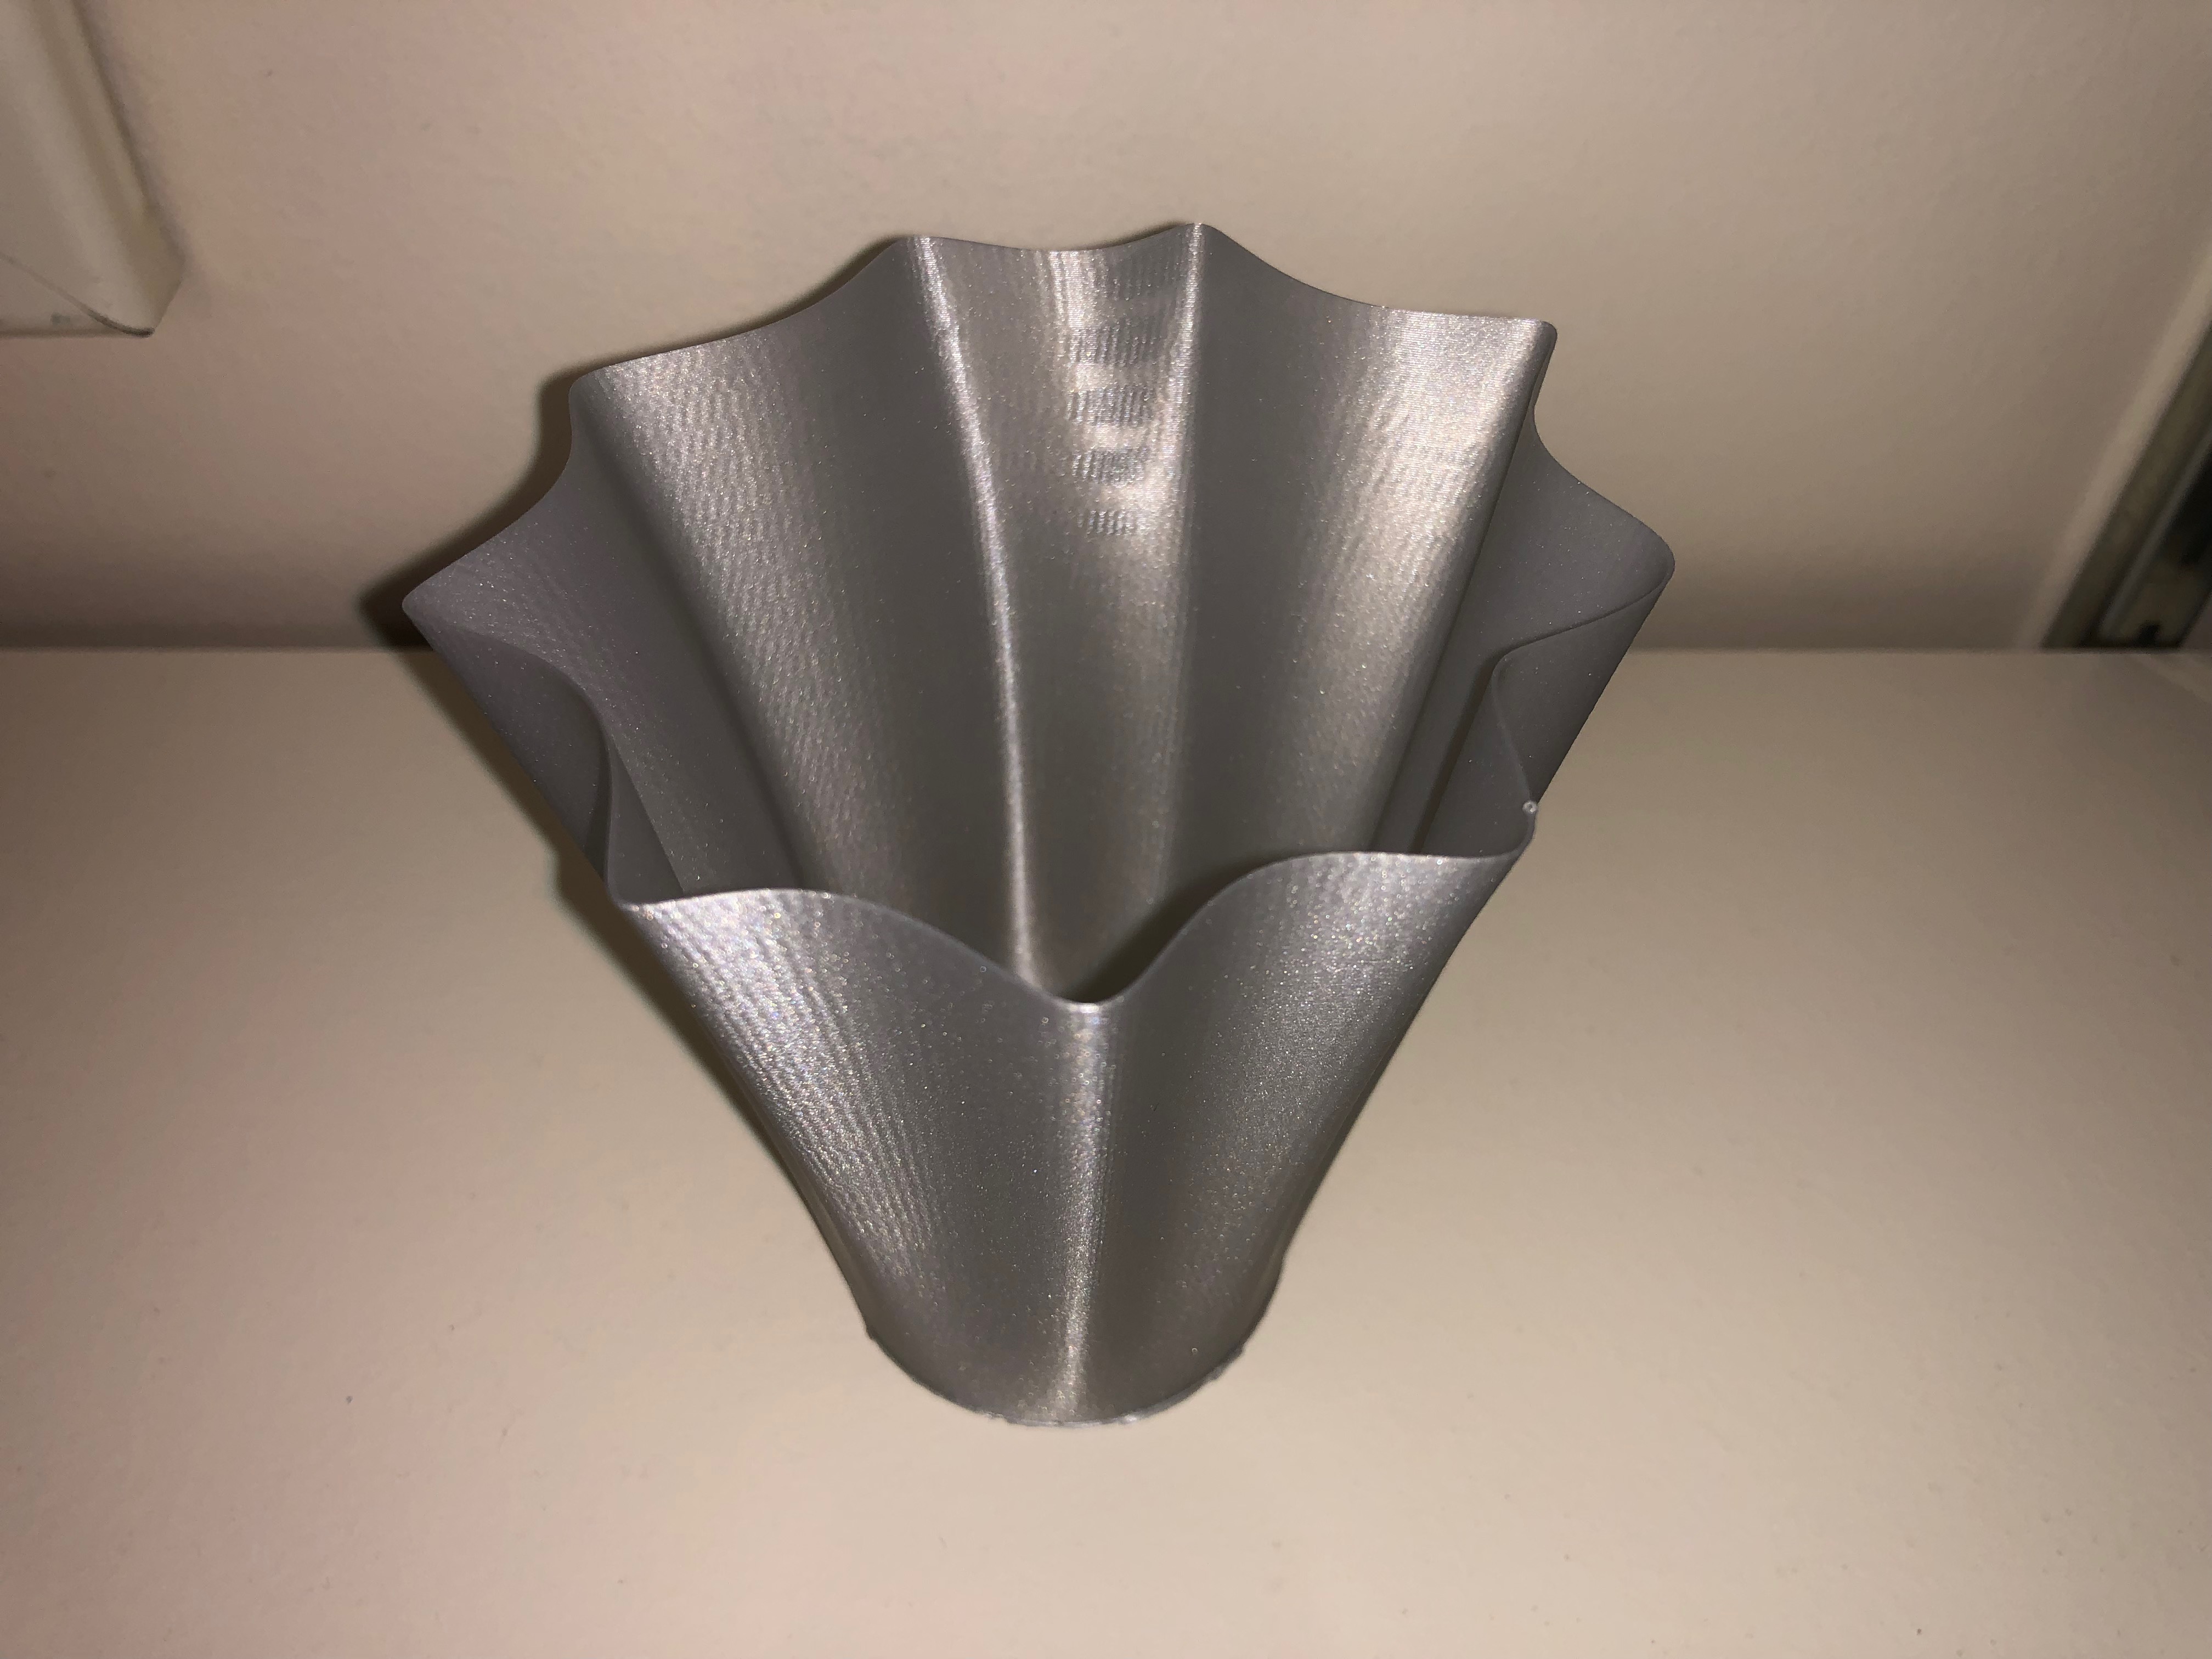
I am very pleased to say that this printed successfully! I am even more pleased with the design now that it is actually printed. It is a little taller than I had expected, but I can always go back in and change the height if I choose to reprint this. Overall, I am very happy with my results from this print. I can’t wait to use this, I feel that this is one of the more practical and useful objects which I have printed so far.
https://www.thingiverse.com/thing:3411278
20 Forms in OpenSCAD
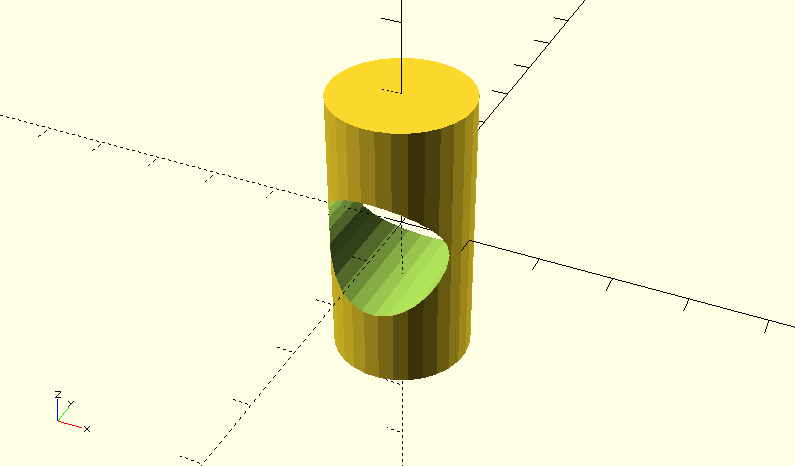
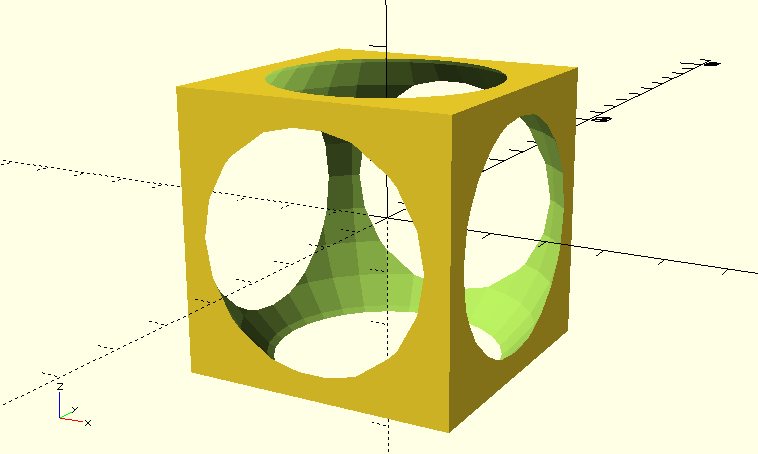

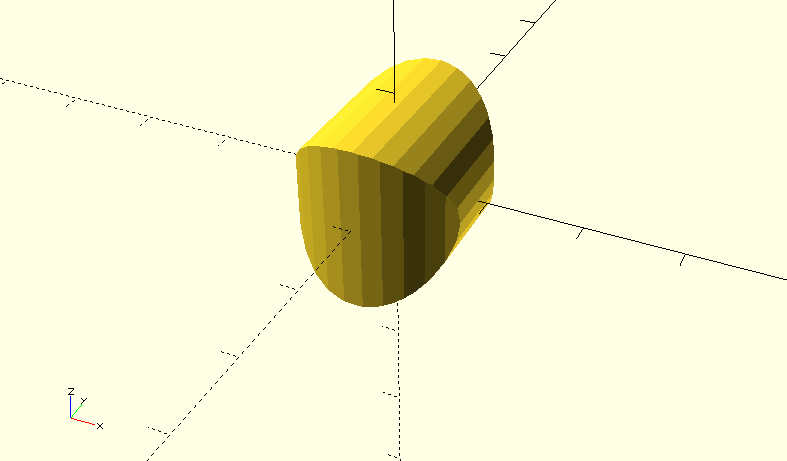
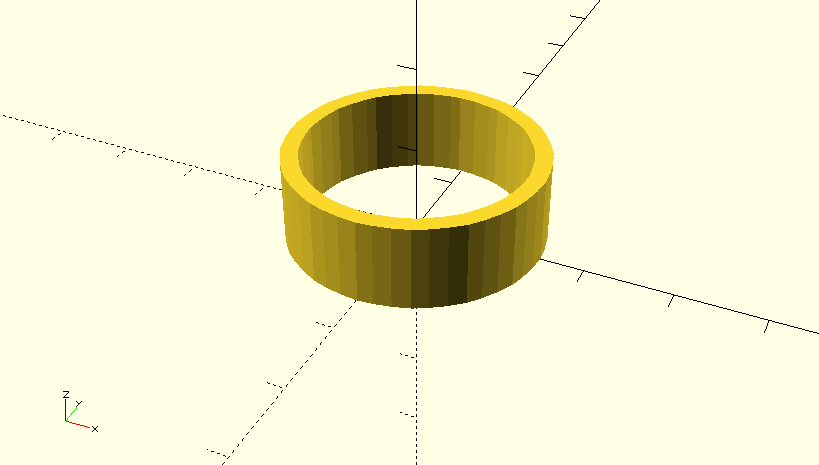
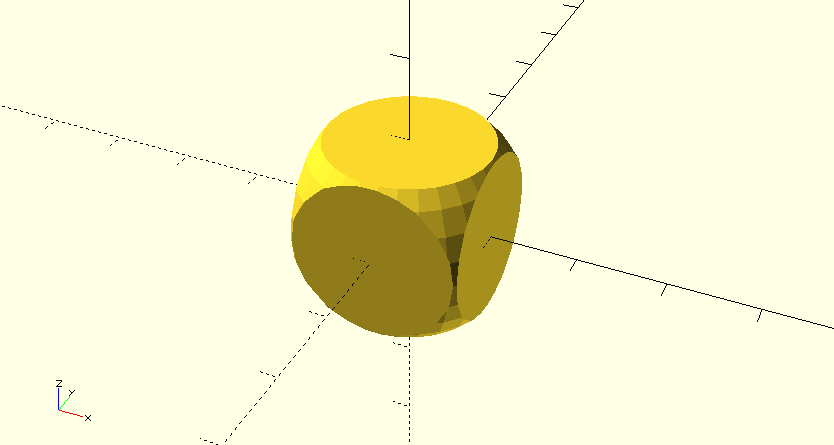
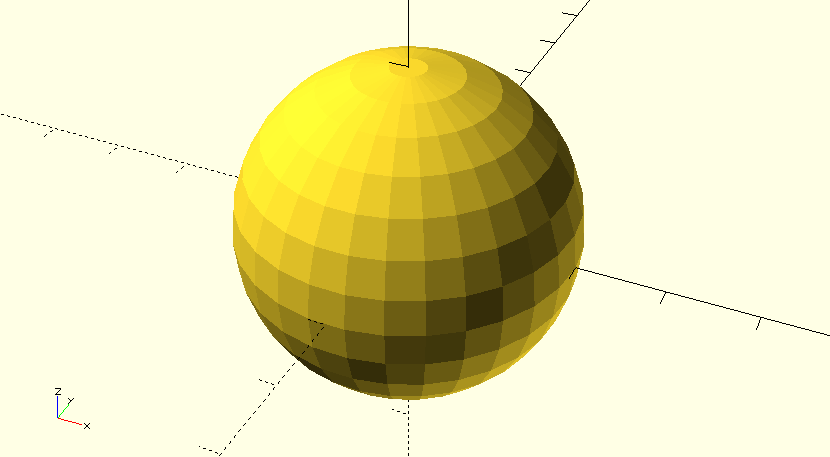
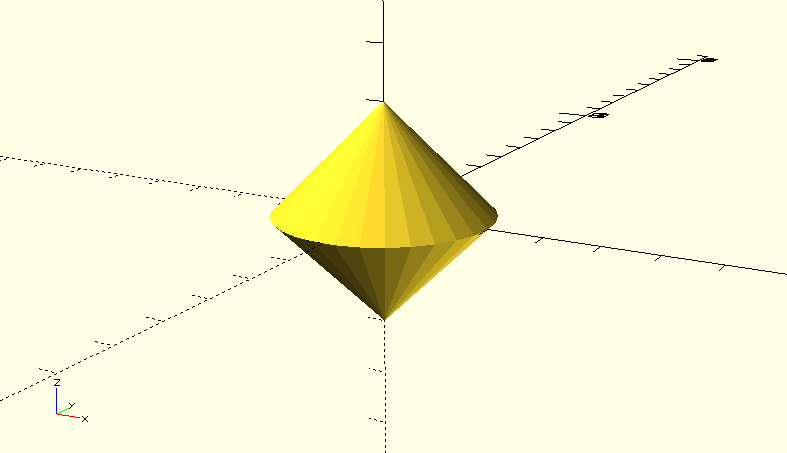
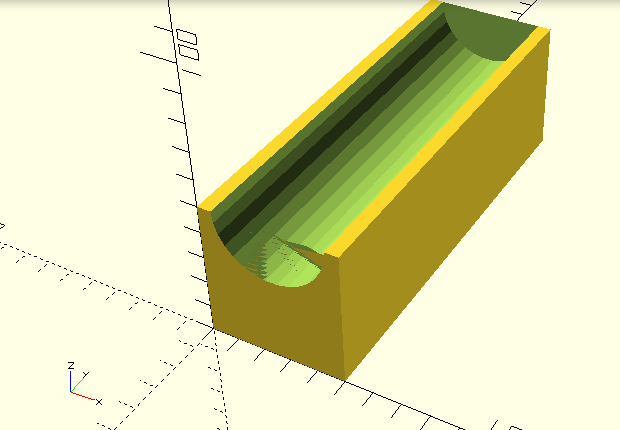
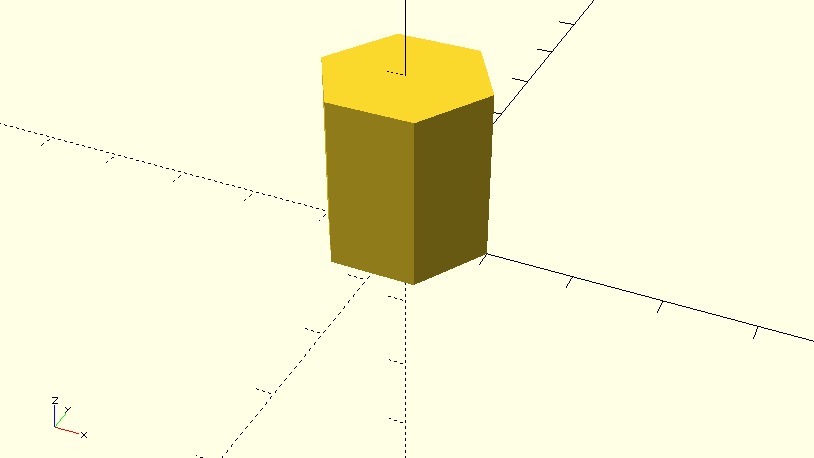
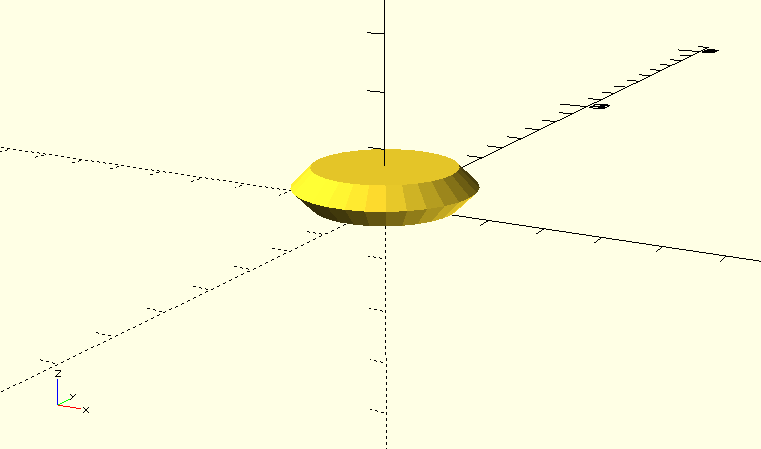
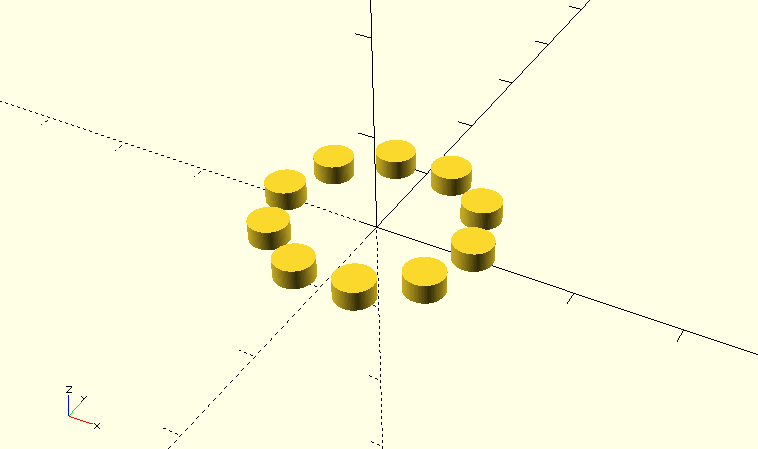
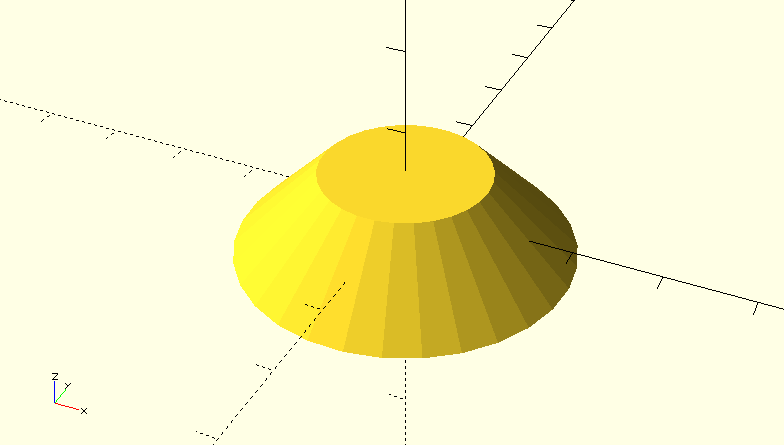
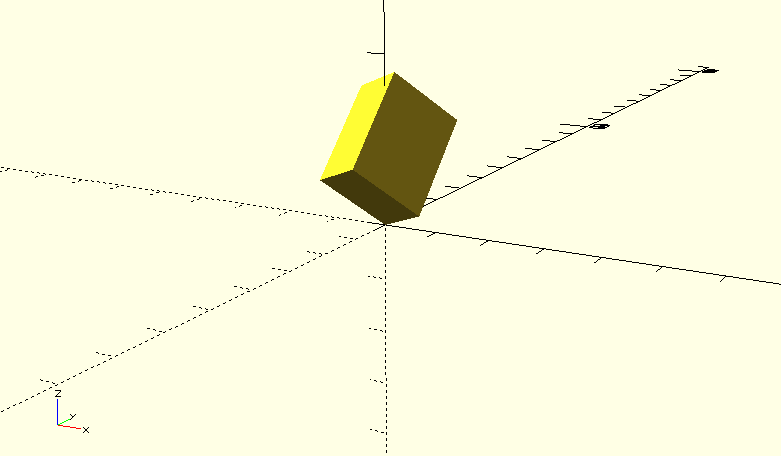
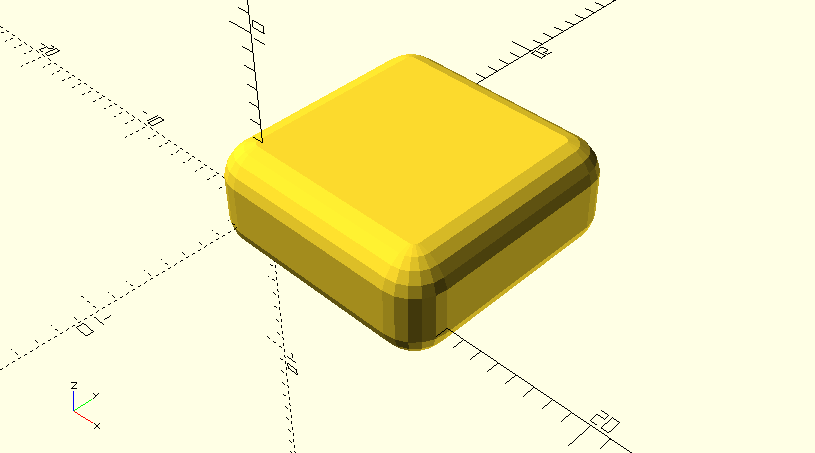
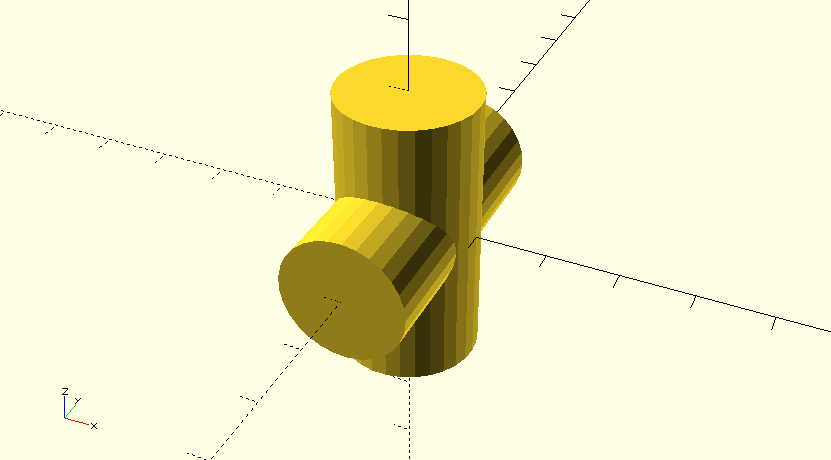
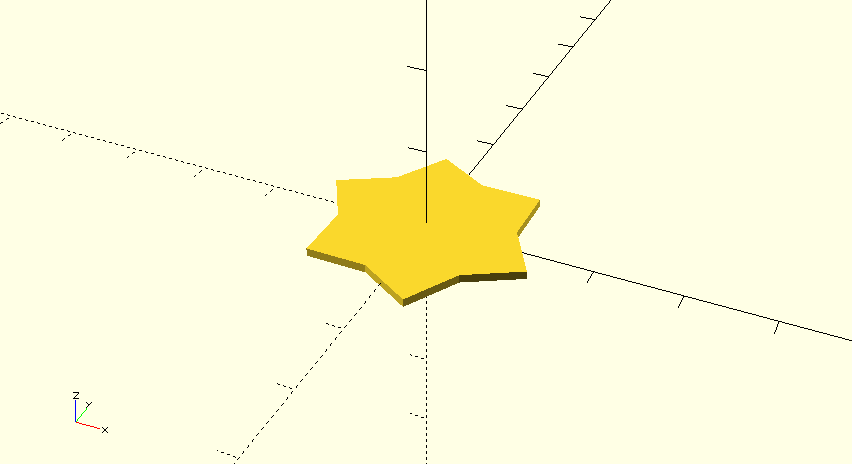
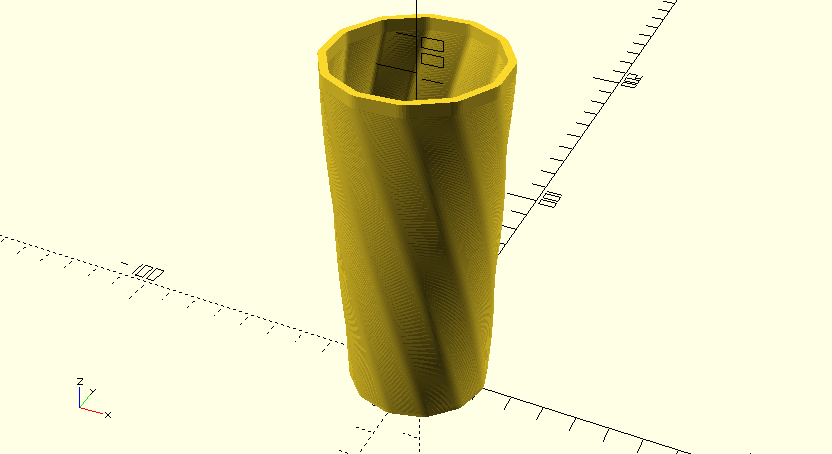

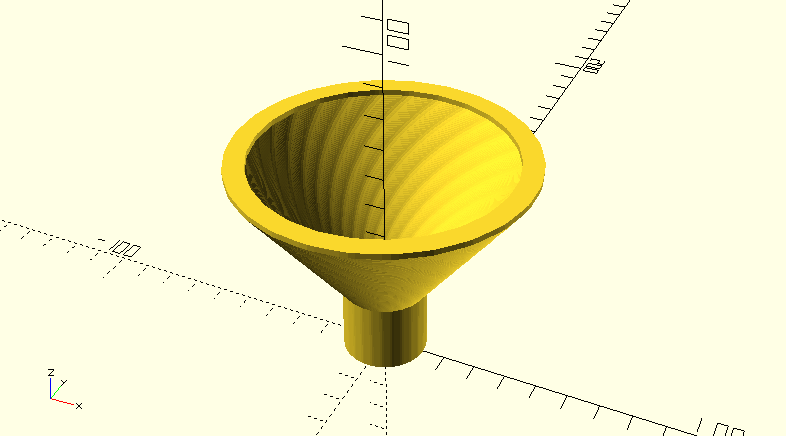
For this assignment, I did not create anything out of the ordinary. However, I felt that this was more beneficial to me. By going over the basic tools multiple times I feel that I was able to gain a better knowledge and understanding of these tools. There is no way to excel with something without knowing the base or basics of that topic. That is why I chose to stay simple with these 20 forms being I had no clue what I was doing and had an extremely difficult time completing these. I looked to the internet for tutorials and cheat sheets which also helped me greatly. Some of the basics which I learned were the basic shapes and transformations (such as transform, rotations, and mirroring). I also learned tools like difference, intersection, union, hull, and minkowski. I have never coded before so I found this assignment to be extremely difficult. Although, after completing these 20 forms, I feel a little better about it.
OpenSCAD Print


This print was successful. It was smaller than I imagined that it was going to be so if I feel that I could use something like this, I would probably make it larger for practical purposes. Overall, the print is what it was supposed to be. However, I did not expect to be able to see as many, if not all, of those lines which are shown. There have not been as prominent with my previous prints so I am curious as to why. I used a different printer for this print, which is the only theory I have as to why it was printed with that texture. Although simple, I was pleased t0 see that this design was a success.
Summary of Group OpenSCAD Project
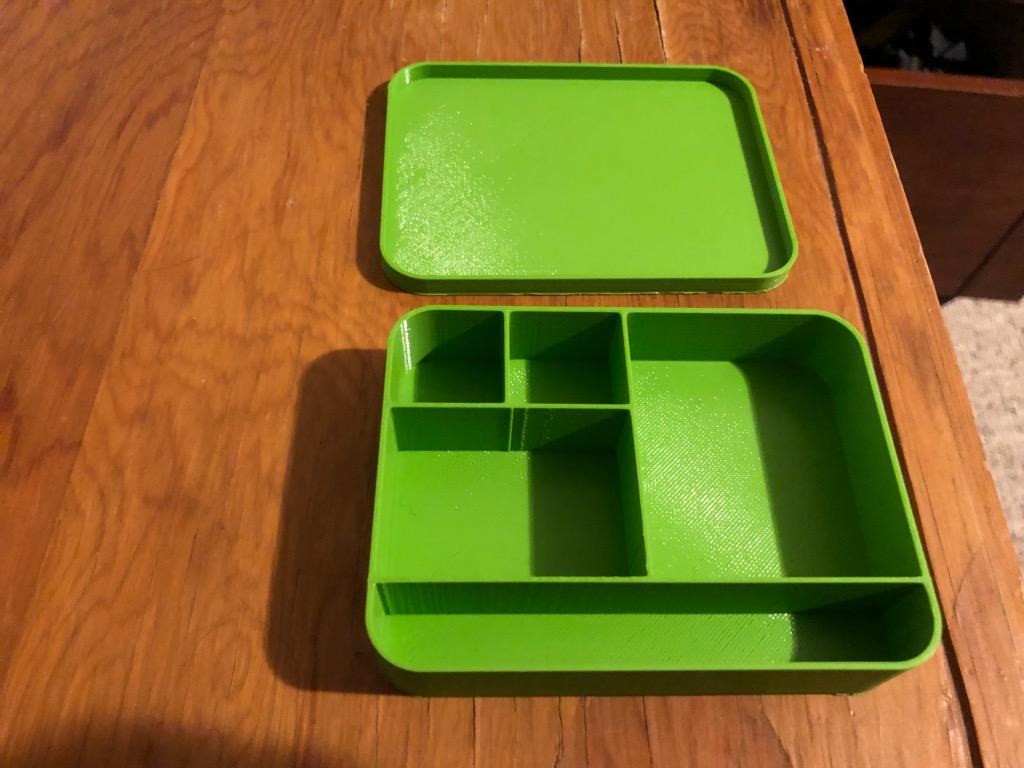
For this project, my partner and I created a ‘Customizable Jewelry Holder’. The name of my partner is Kelly Festa.
https://geekhaus.com/isci104_spring2019/2019/02/12/customizable-jewelry-box/
https://www.thingiverse.com/thing:3443676
Creating this customizable jewelry box was confusing, however, it was worth it in the end. It was very neat to create something that can be adjusted to whatever the person printing the model wants or needs it to be. Not only can this be customized, but it is also a practical print. A jewelry box is something which everyone could use whether it’s for jewelry or not. I am very pleased with how these prints ended up turning out and enjoyed seeing this project progress into something useful to everyone.
Reflections and Future Projects
Reflecting back on this course, I am realizing how much I was able to learn despite it being such a short amount of time. I came into this class knowing nothing about 3D printing or coding. I now know how to use not only one, but multiple different 3D printing websites/apps to create either simple or extremely detailed objects to print. Although I thought it was confusing at the time, I liked using Tinkercad the best. After I got the hang of it, it became easy to use and maneuver. I was able to create some of my best prints with this. I had a difficult time with the coding portion of the class, however, it did get easier as we progressed with our projects. Even though I am nowhere near a professional at coding, I am pleased to at least be familiar with it.
I am glad that I now have access to 3D print whenever I choose to. I do believe that I will be 3D printing again in the near future. I probably won’t be printing any ‘trinket’ type of objects unless I find something unique or want to print something for someone else. Rather, I will probably use the printers for more practical objects (such as containers or something along the lines of that). Either way, I am thankful to have the opportunity to not only understand 3D printing, but use it whenever I choose to do so.