Initial Design Idea
Shannon Stagliano and Skylar Simone
We decided to create a rose specifically dedicated to the show “The Bachelor” because we are both avid Bachelor watchers. We thought this design would be popular amongst devoted fans like ourselves as a wine decoration that sits in the glass to differentiate between peoples glasses. Lastly, Thingiverse does not have a model created for this specific purpose. We are first going to try and create the petals then create the stem and attach the two pieces.
We are both avid fans of the show and are determined to create something for fans like ourselves. We are going to try and replicate the rose they have displayed on their homepage.
We are going to have to figure out how to piece the items together, as well has how to bend the melted petals to make them layered and more realistic. We are also going to try and use two different colored plastics, one for the petals and one for the stem so we will need to figure out the best way to put them together without it breaking.
Design Iteration
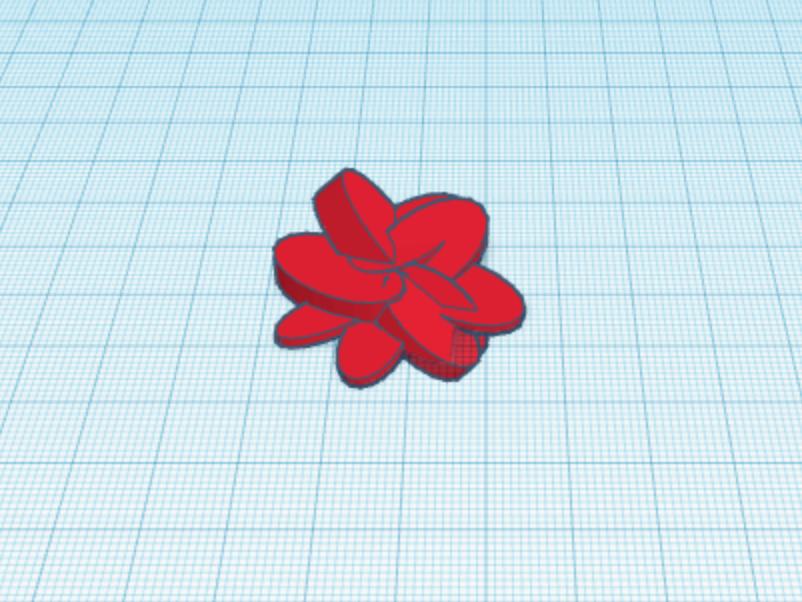
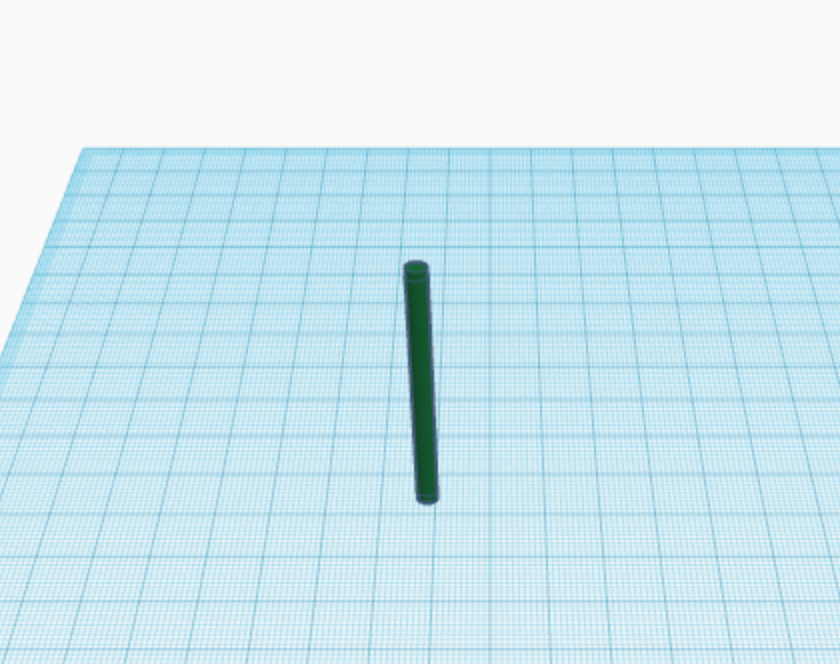
During the design process we had to play around with the layering of the petals. We took multiple cylinder shapes and played around with the dimensions until we found the right size. We then worked on the stem portion. Originally we made thorns attached to the stem but they were too thin and would not lay correctly so we took them off. We wanted the flower to be two colors so we printed the objects on two different printers and attached them together for the completed rose.
First Draft Print
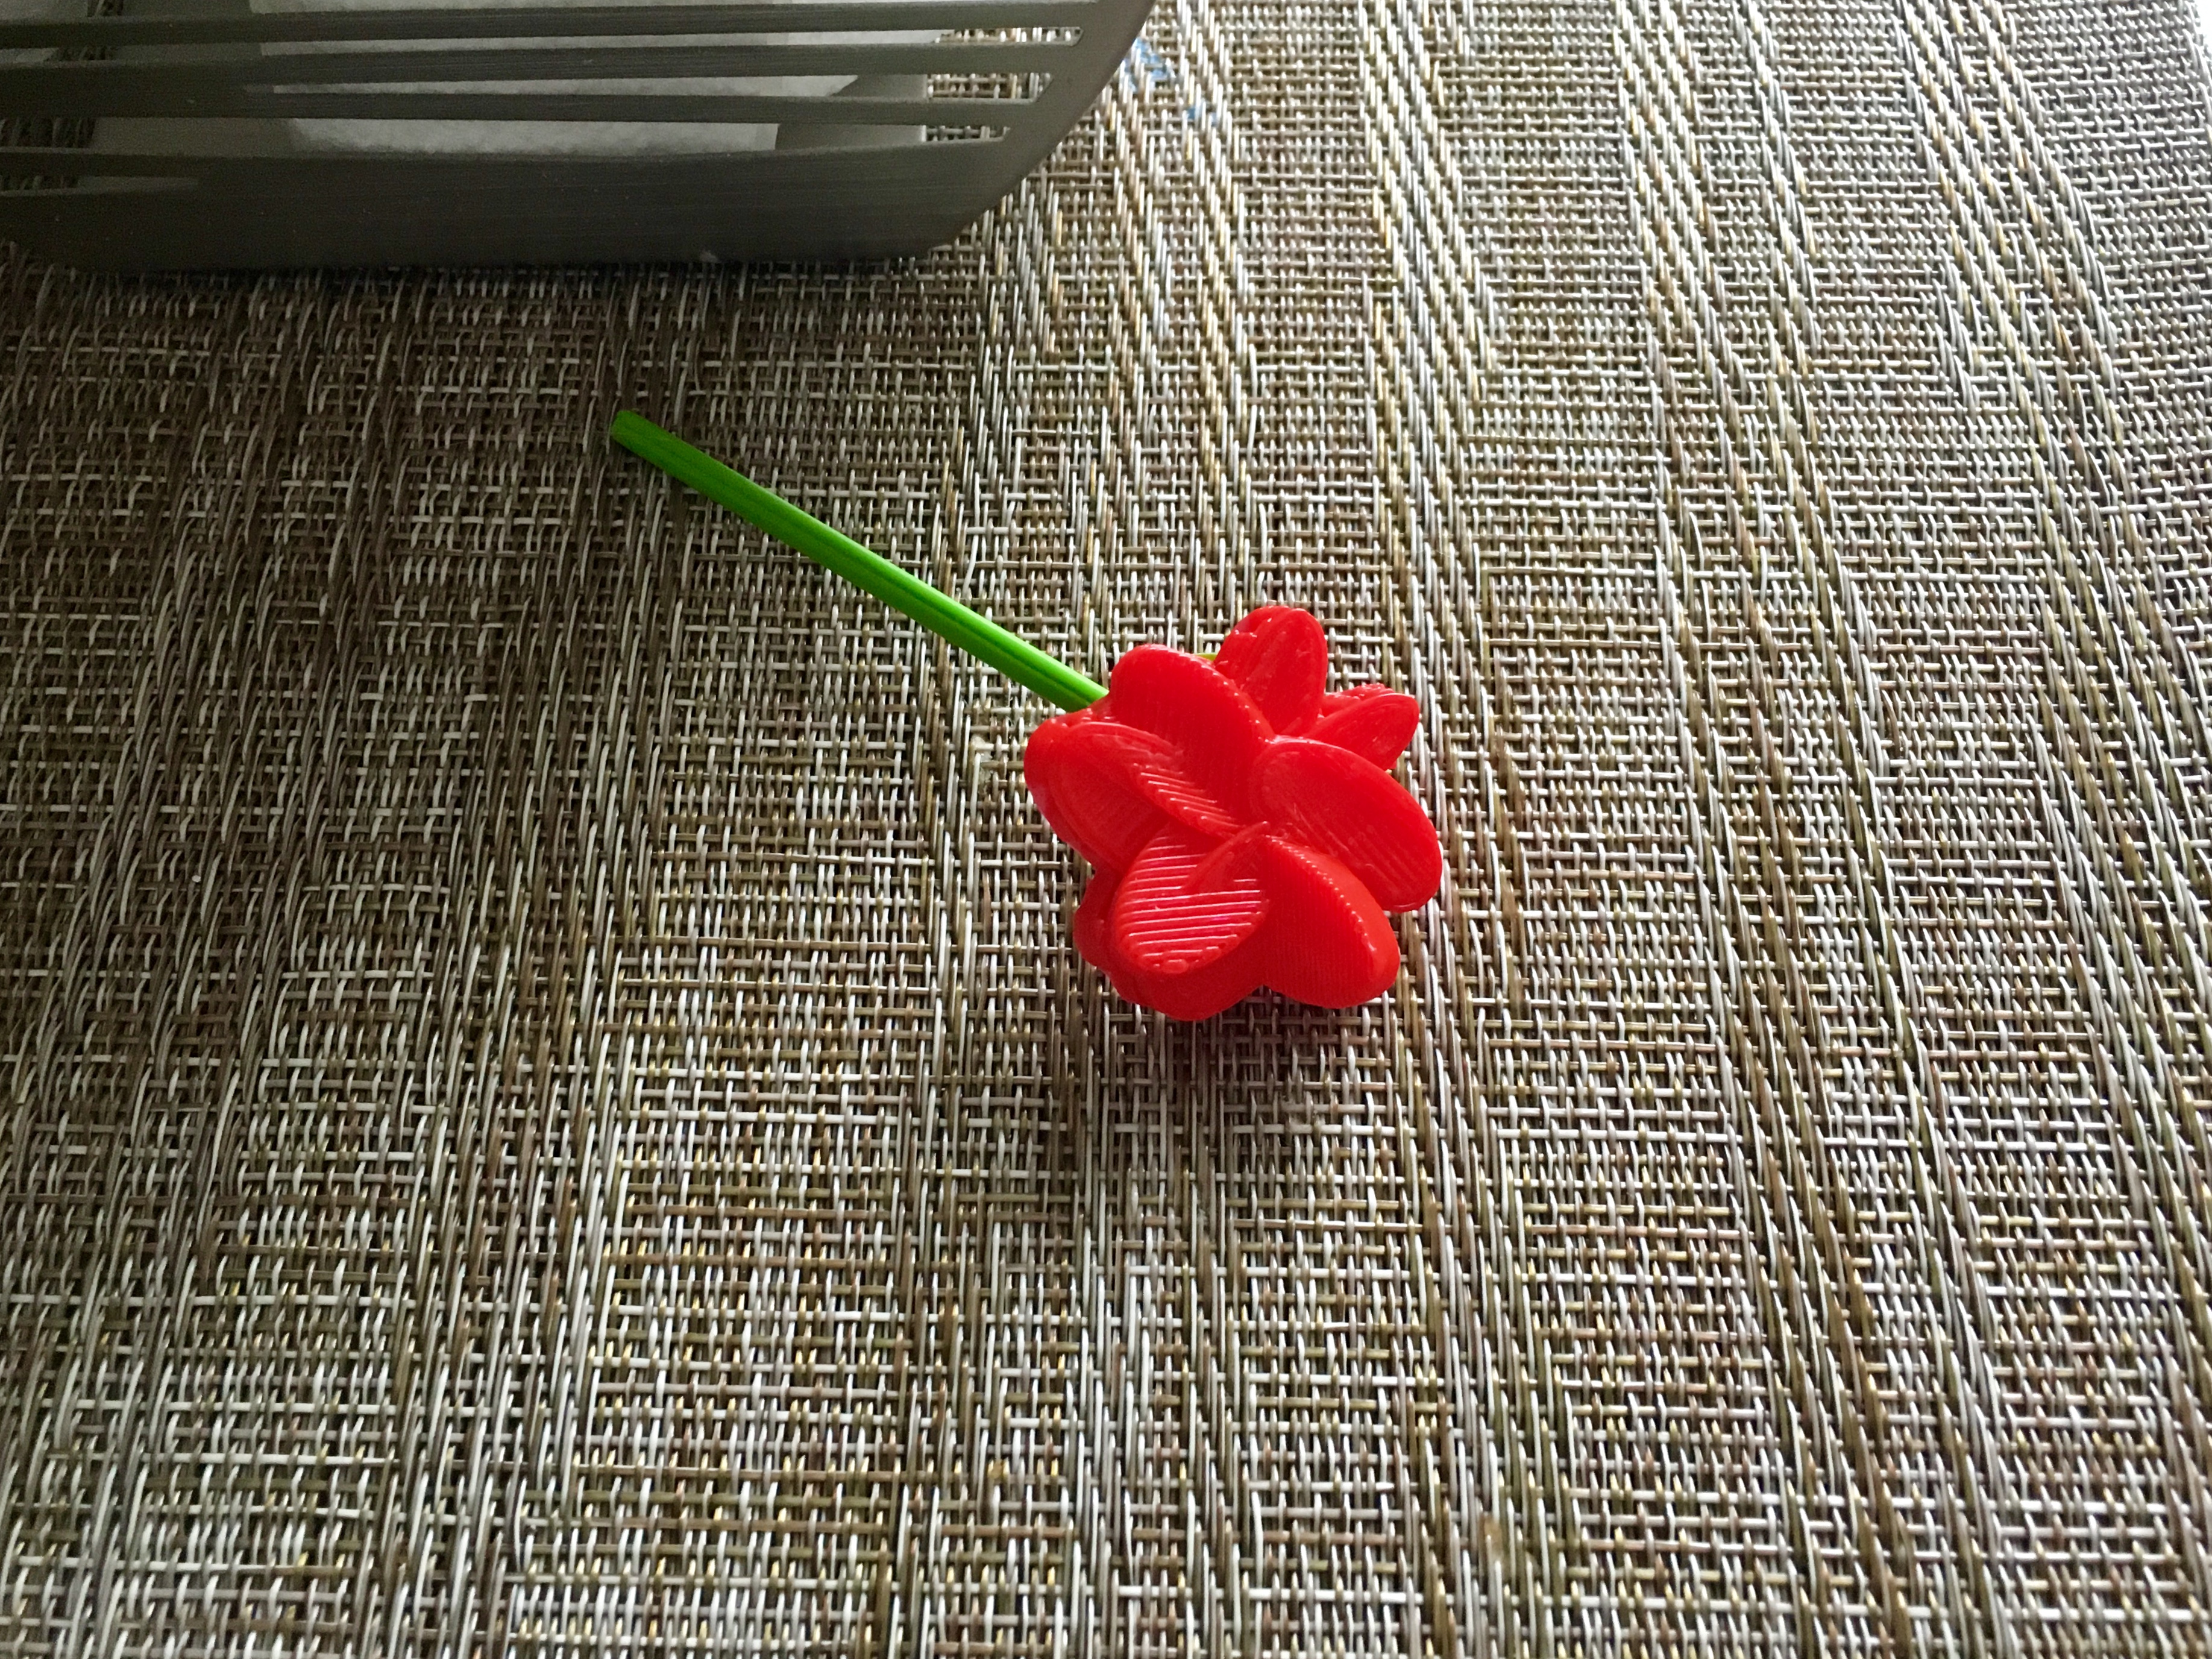
Our first draft print was a success besides a few holes on the bottom layer of the flower. We learned how to layer shapes properly on Tinkercad to create the flower shape. I think next time we print that we should make the dimensions of the stem larger so that it is not as fragile. Lastly, if we were to replicate this design we would print the roses in all different colors so that everyone could differentiate between their wine glasses with their specific color.
Additional Design Iteration
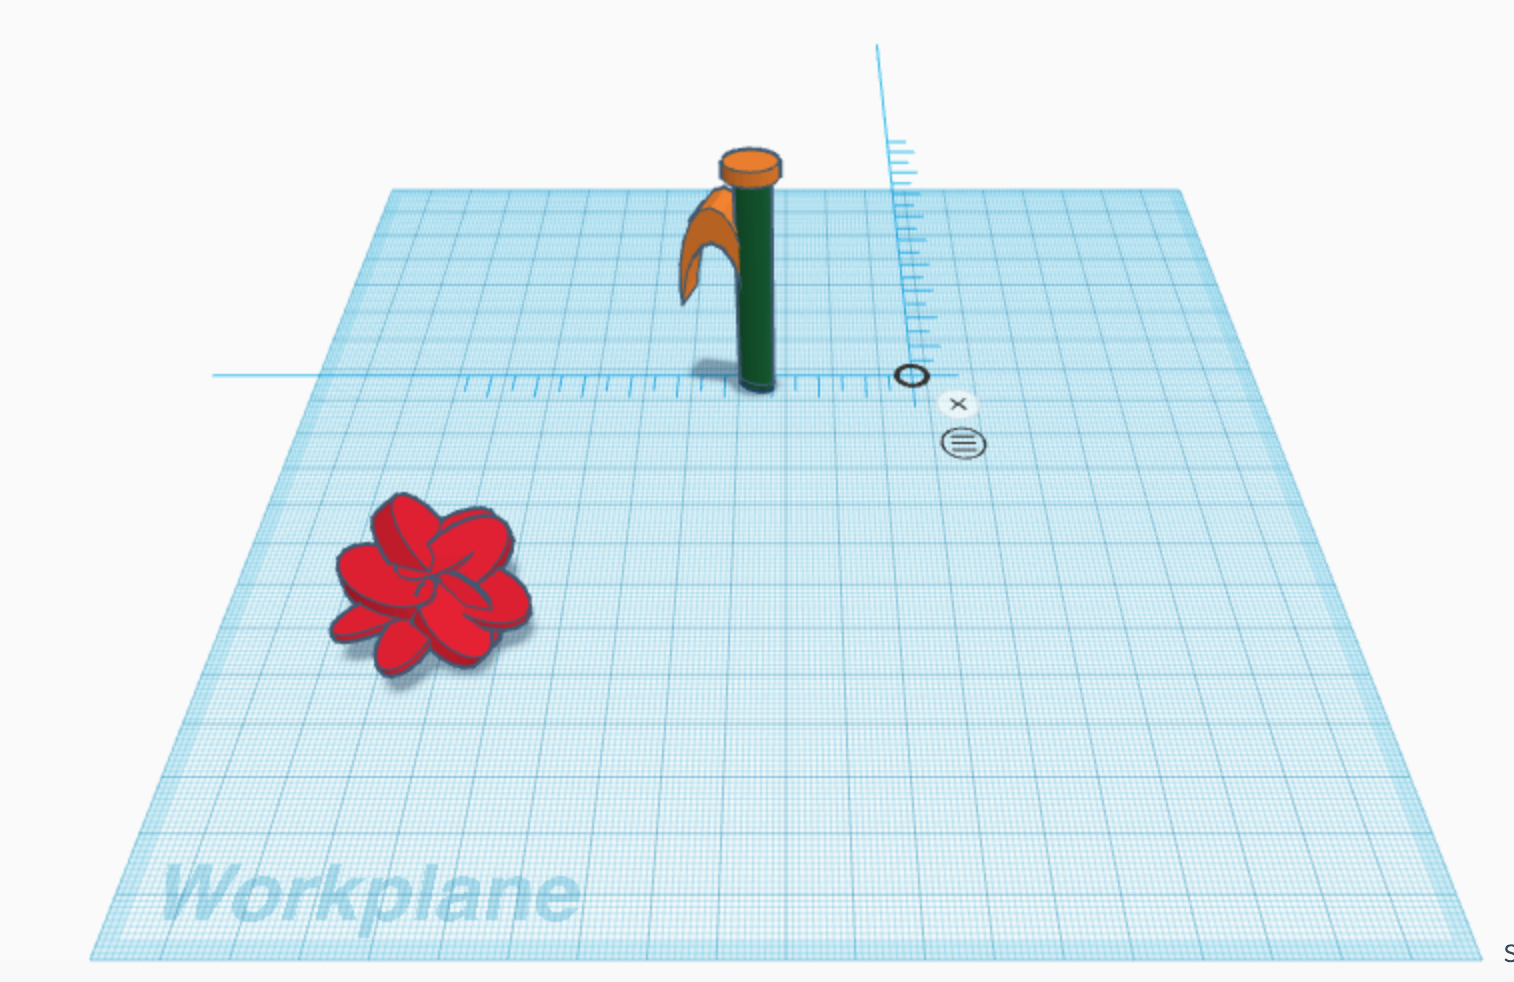
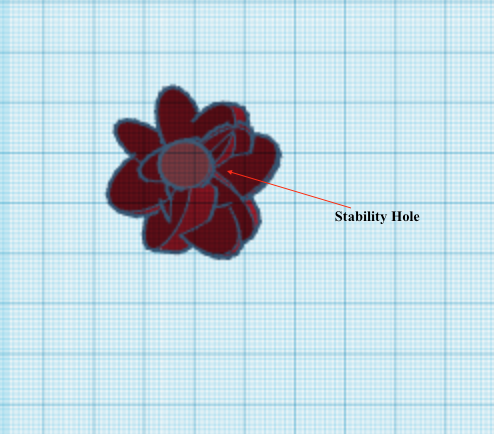
When we discovered the plastic would not be safe to place inside of the wine glasses, we had to play around with how to attach the rose another way. We decided to add a clip to the side of the stem so that the rose could clip on the edge of the glass. We also thickened the stem of the rose so that it would not be as fragile. Lastly, we made a platform on the top of the stem and a hole on the bottom of the rose so that we could easily attach the two pieces to ensure stability.
Final Print

We originally printed our Bachelor flowers on Wednesday but when we checked on them two hours later all the parts from each printer had all been thrown in the trash. The rose petals turned out very nice but the stems were half done. Early Thursday morning we came back to reprint our stems so we would be able to guard them but Tinkercad had locked us out of our account. Thankfully, we were able to still find the download on our SD card! As the stems were printing, half way it starts to fall apart and the handle that was supposed to grip the cup had no stability. We had no choice but to pause it and make do with what we had since we weren’t able to log back in to Tinkercad to retrieve our design that was perfectly custom to fit the rose petals. Because the stem wasn’t able to finish, we weren’t able to use the top of the stems custom made hole that we were planning to easily fit into the flower petals.