Alexis Bieltz and Kara Norman
Initial Design Idea
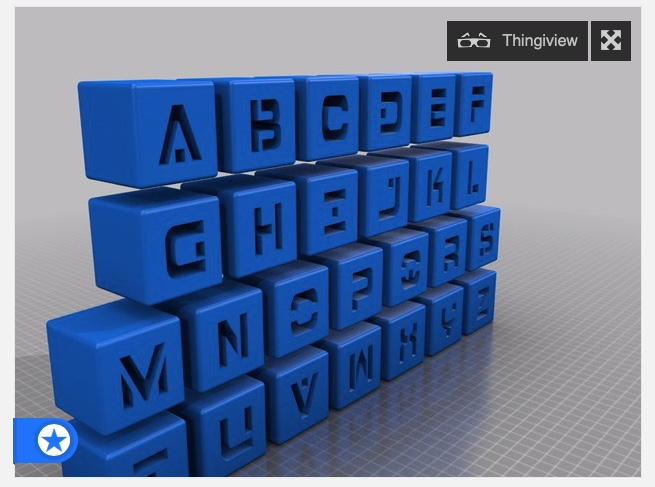
 (example of acrostic image)
The 3d model we want to create is an acrostic word that is intended to be a decoration for a desk of a therapist or psychologist’s office. We want to use the word “PSYC” standing upright with the letters connected. We want the horizontal words to embody what each letter of PSYC means to us since we are both psychology majors.
Both members of our team are creative and determined to make a decoration for a psychology office since we both have a passion for the field. We know the field and what words represent it.
Our team will have to learn how to support the structure so it doesn’t fall over. We will also have to learn how to imprint letters and code the design to print. We will learn how to do this by exploring Tinkercad in greater depth, coming to class and asking questions when we need it, and using other online sources to fill in the gaps (such as Youtube).
Design Iteration
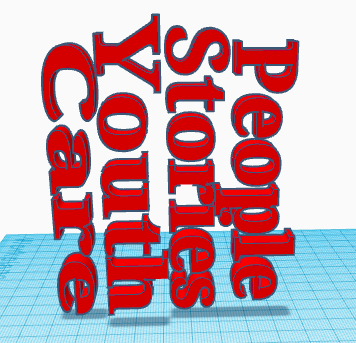
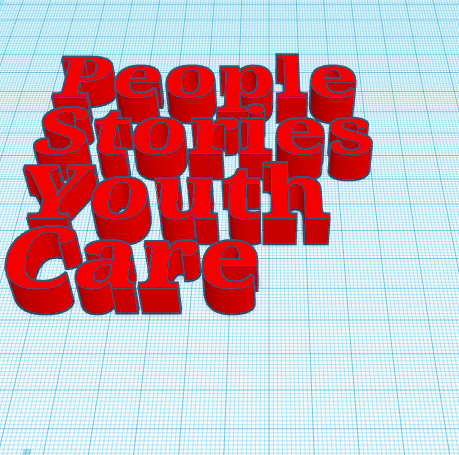
We really struggled trying to design this acrostic puzzle on Tinkercad. We made two different designs shown above and ran two different trials to see which would print better. The second design was used to see how the words and font turned out (which didn’t turn out right). We had to change the height for all letters to match evenly and also had to rotate the design on its side in order for it to print standing up. We had to change the alignment and size a lot to make sure the letters matched up.
First Draft Print

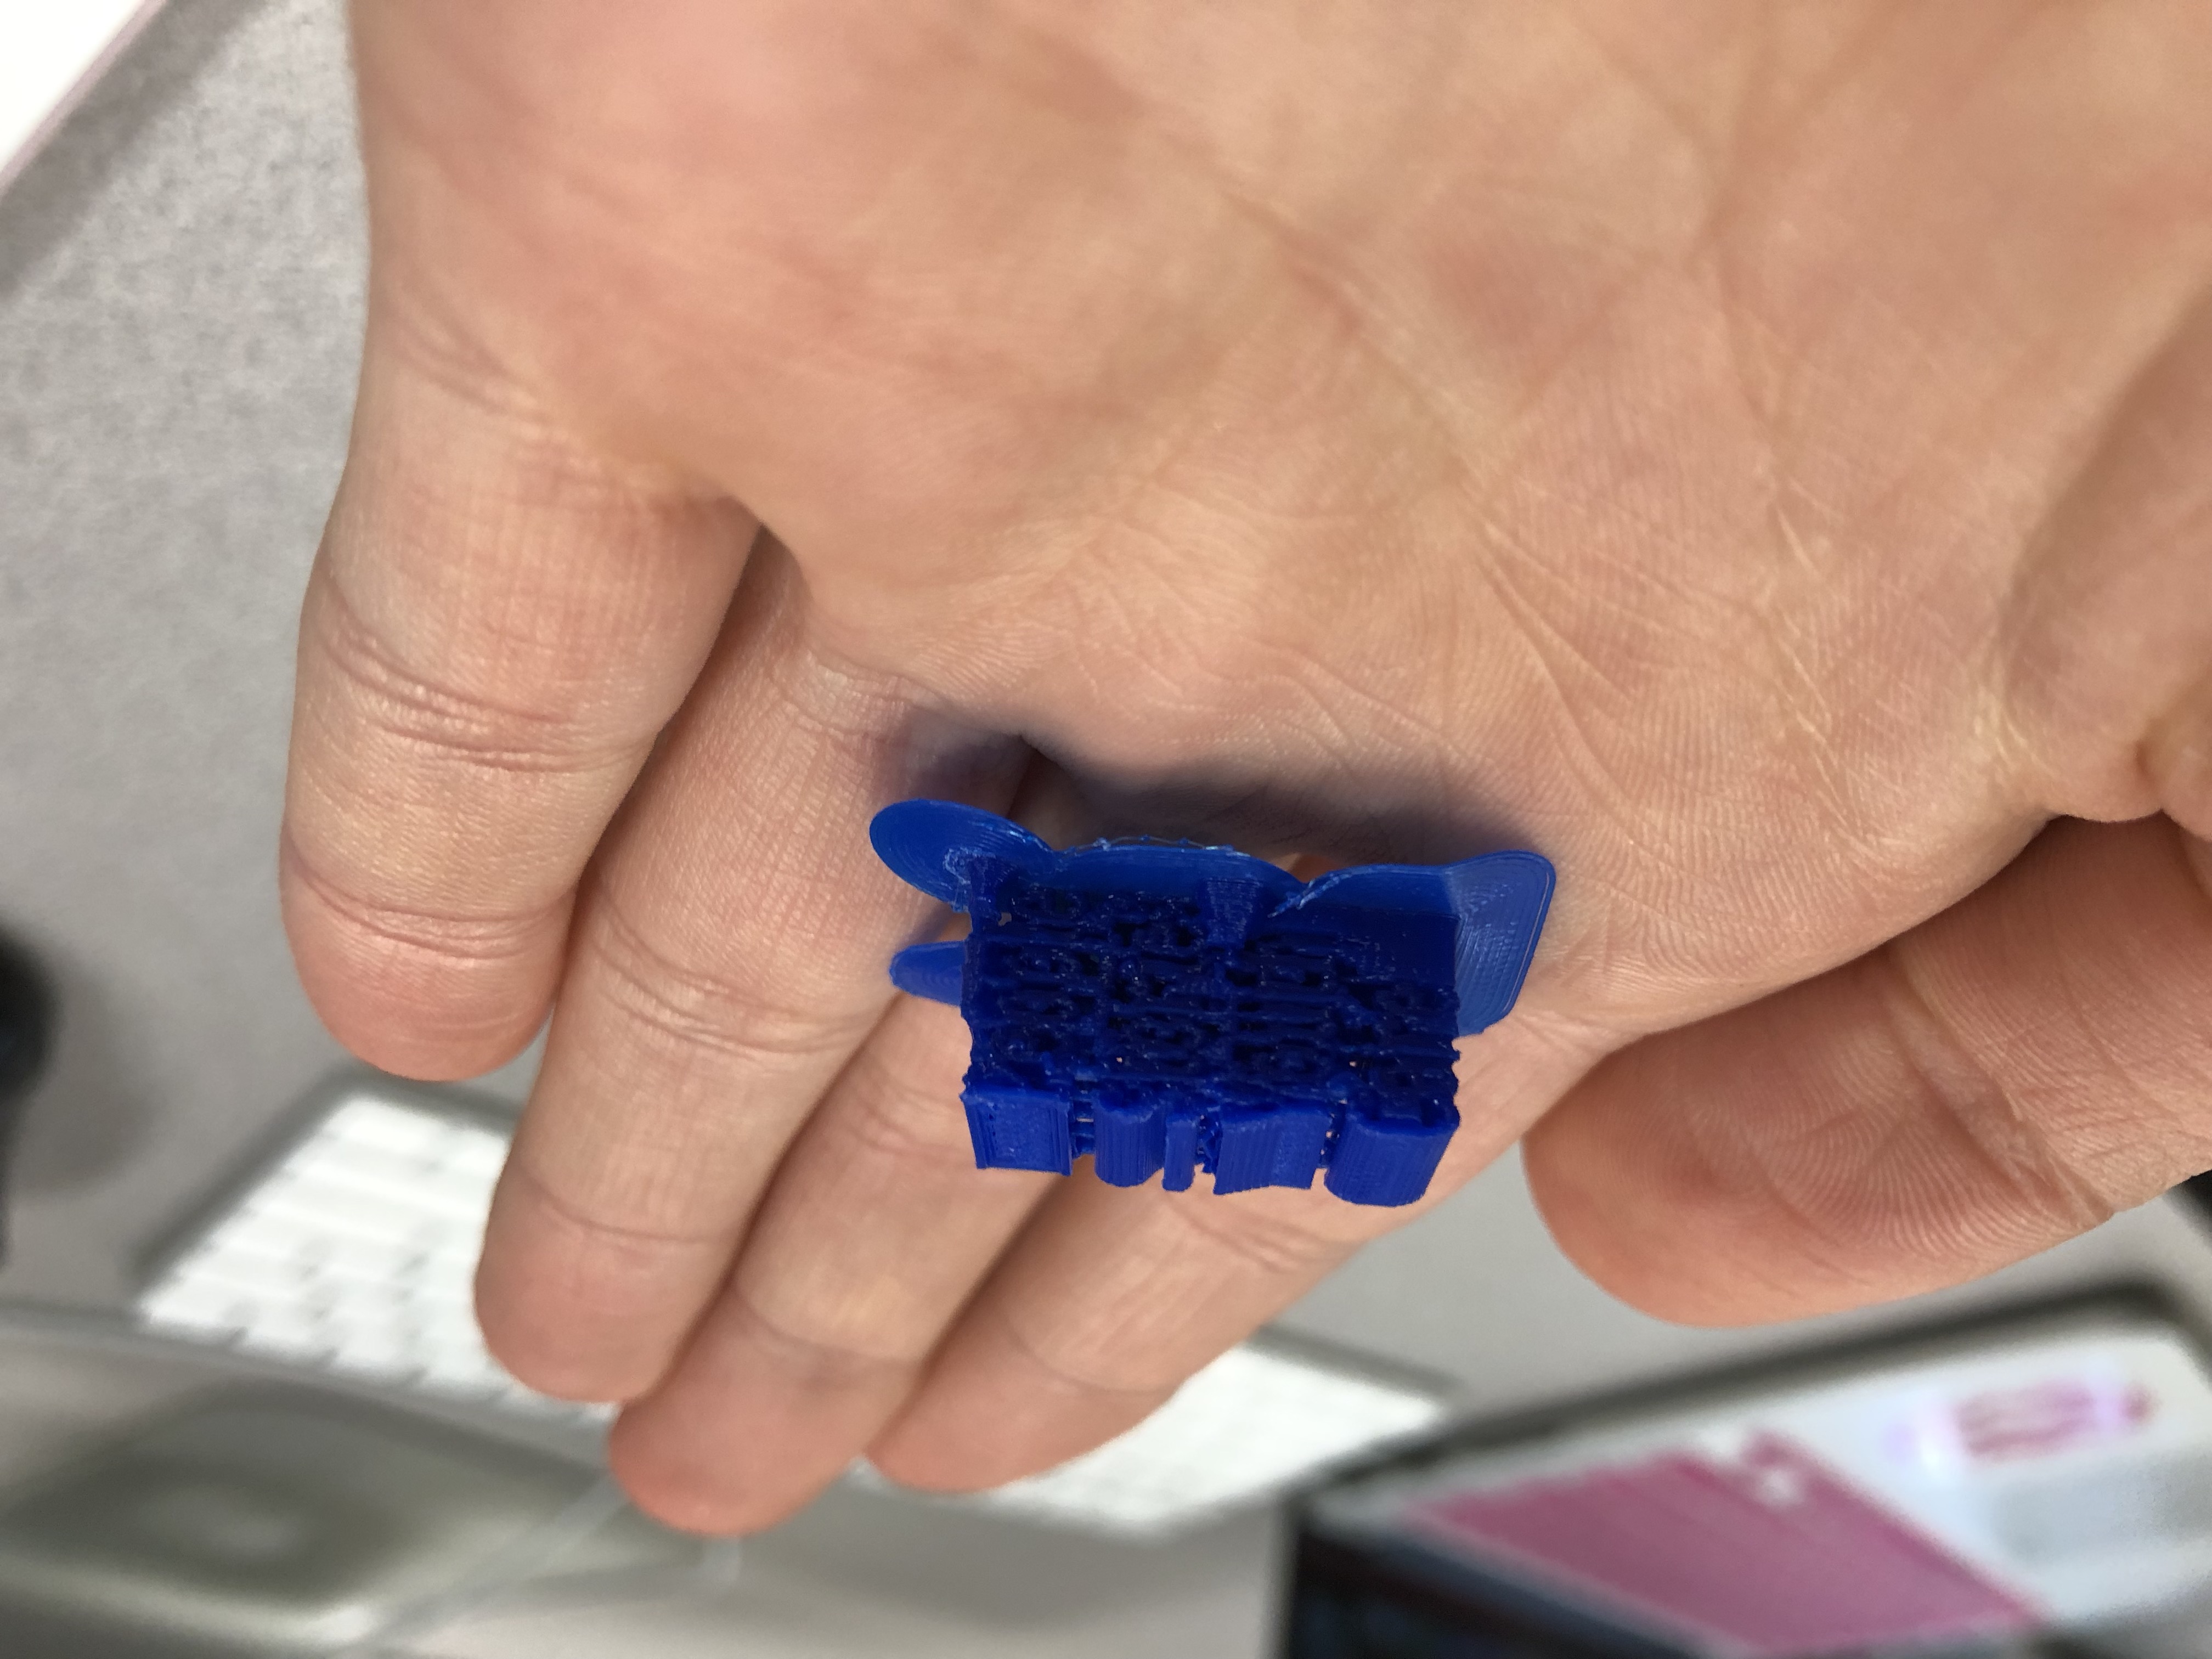
Both of these trials for the two different designs were epic fails. There are many things that went completely wrong during the process. We learned that the print is going to take a lot longer than we thought to print successfully. The first trial we printed it to see what the words were going to look like but it didn’t go as planned. We tried adding support to our standing design but it turned out extremely short and didn’t print the words properly. We need to make sure the words are supported and make sure it is standing successfully on the Workplane. We also want the words to be connected so we will need to learn how to change that completely. It was very frustrating in Carrier trying to print and alter our designs for almost 2 hours, but we know that we might need to start from scratch and learn some new things to make the design successful. We think we want to make the design standing so it will be more challenging and used for decoration
Additional Design Iteration
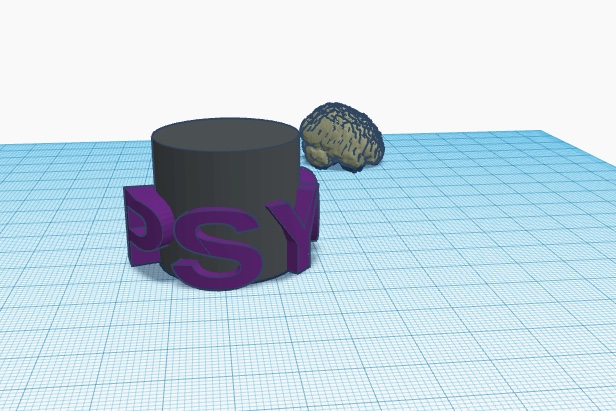
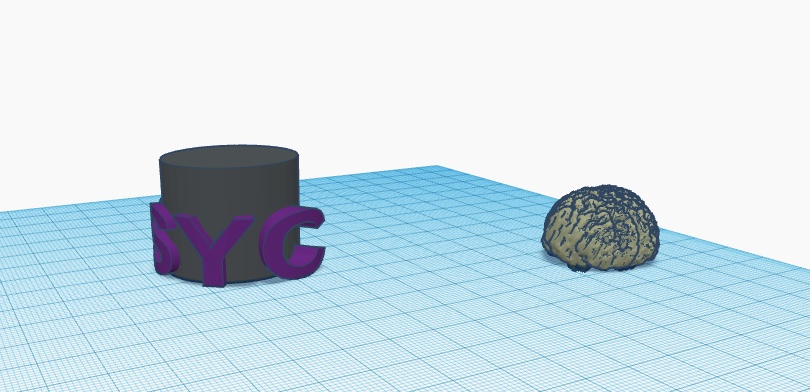
We had to completely change our whole entire project. The letters for our design were not printing right, and the letters standing were not printing properly. We started the process over completely. We still wanted to include our major into our project. We decided to make a platform with the letters Psyc wrapping around it, and we imported a brain from thingiverse into the workplace to print separately and attach to the platform. It took a long time to get the letters around the platform the way we wanted, and we also had to change the type of brain we wanted to import several times.
Final Print

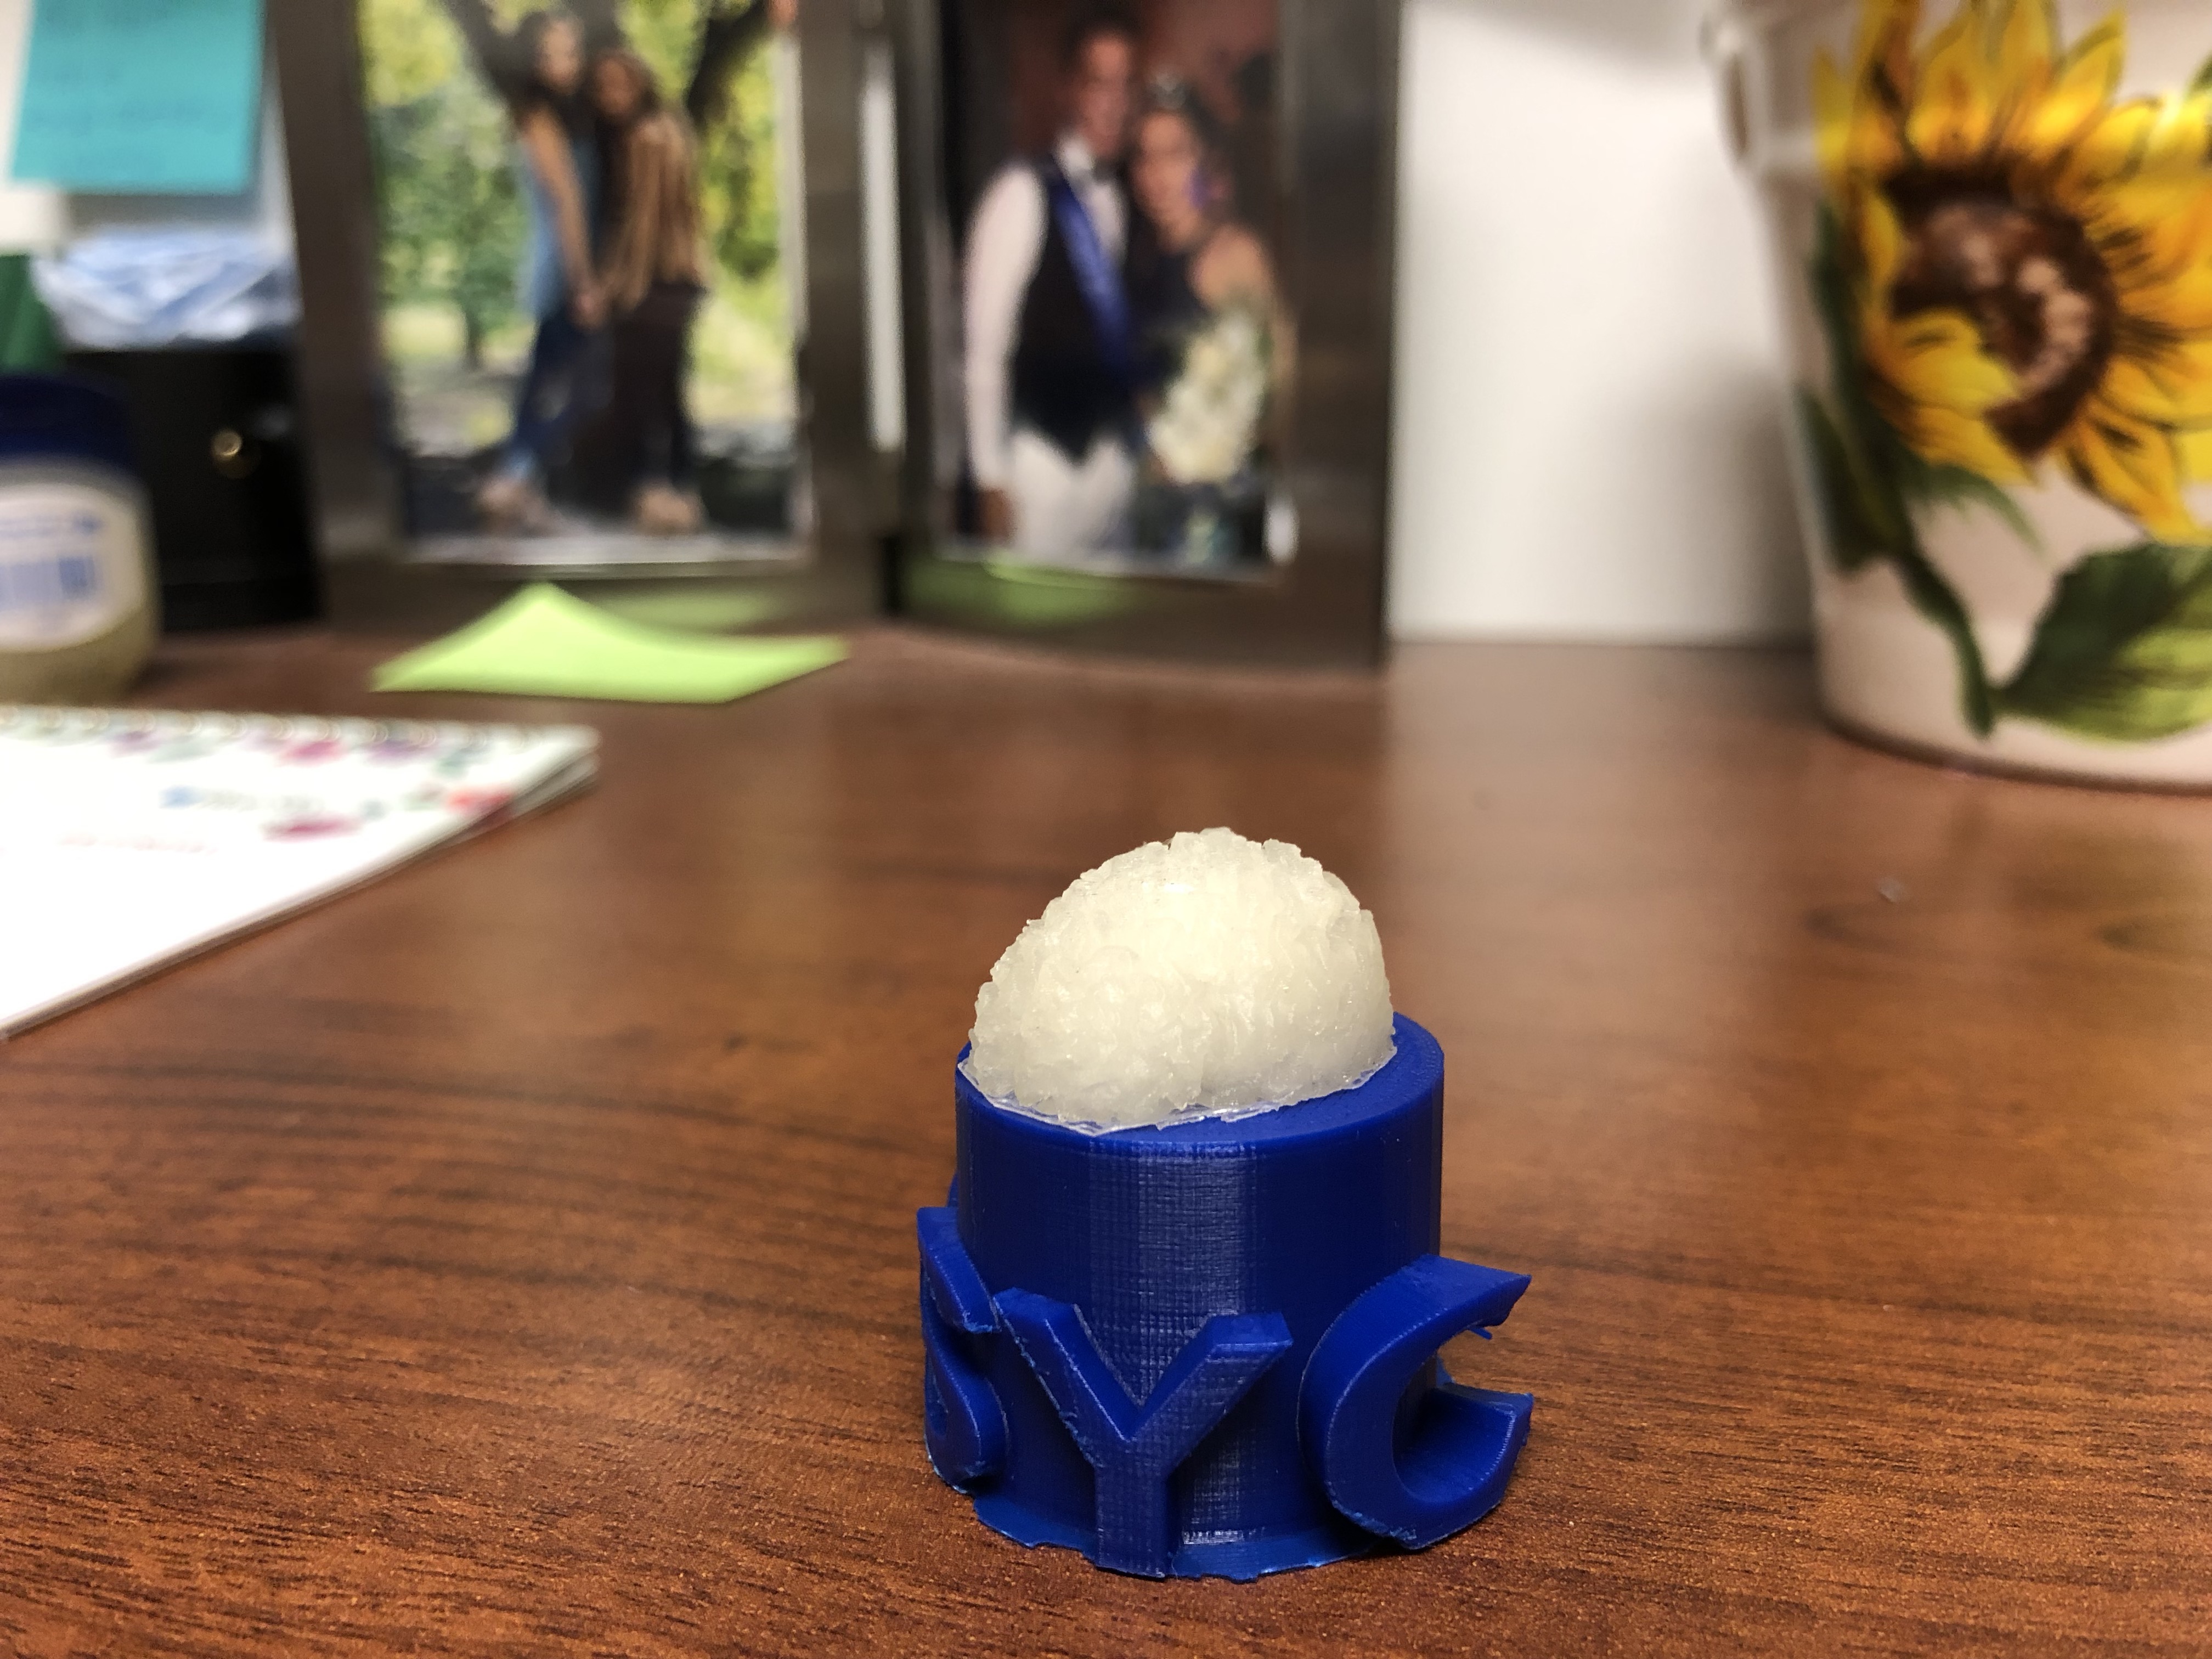
We were really pleased with how our new design turned out (especially after the disaster we had before). Our strengths include the brain image printing out with really precise details and we thought our platform was strong and the letters printed out clearly with it. Some of our weaknesses we think is that the design turned out a lot smaller than we thought. The design took a few hours to print but still printed out really tiny. We think if this would have been our original design it could have played around with the dimensions more. We had a pretty frustrating process and had to change a lot of things and start completely over, however, it was worth it! We loved how our decor turned out and how it reminds us of our major.