Hello
My name is Ariana Freeman and I am currently a sophomore Business Management student with a minor in Health Communications. I am from Northern VA so JMU isn’t too far away from home. I have a twin brother that also goes to JMU and is also a Business Management major. Along with my parents and my brother, I also have a cat and a horse back home. Horses are a big part of my life as I’ve been riding for 17 years and I plan do continue training horses and teach others how to ride when I graduate.
I have never been in a 3d printing class or know how to 3d print, but I do have a close friend that loves to 3d print and was in this lab last semester. She gave me a few things that she printed and I hope I can give her some in return this semester. I am taking this class since it does seem fun and interesting, and it will complete my GenEd lab requirement.
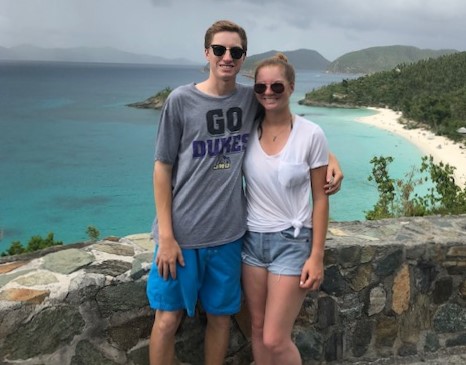
I recently broke my phone and am in the process of getting all my pictures back, so I only have a picture with my brother from Spring break, sorry!
You can check out my Thingiverse account at: https://www.thingiverse.com/arianafreeman/collection
Thingiverse Model
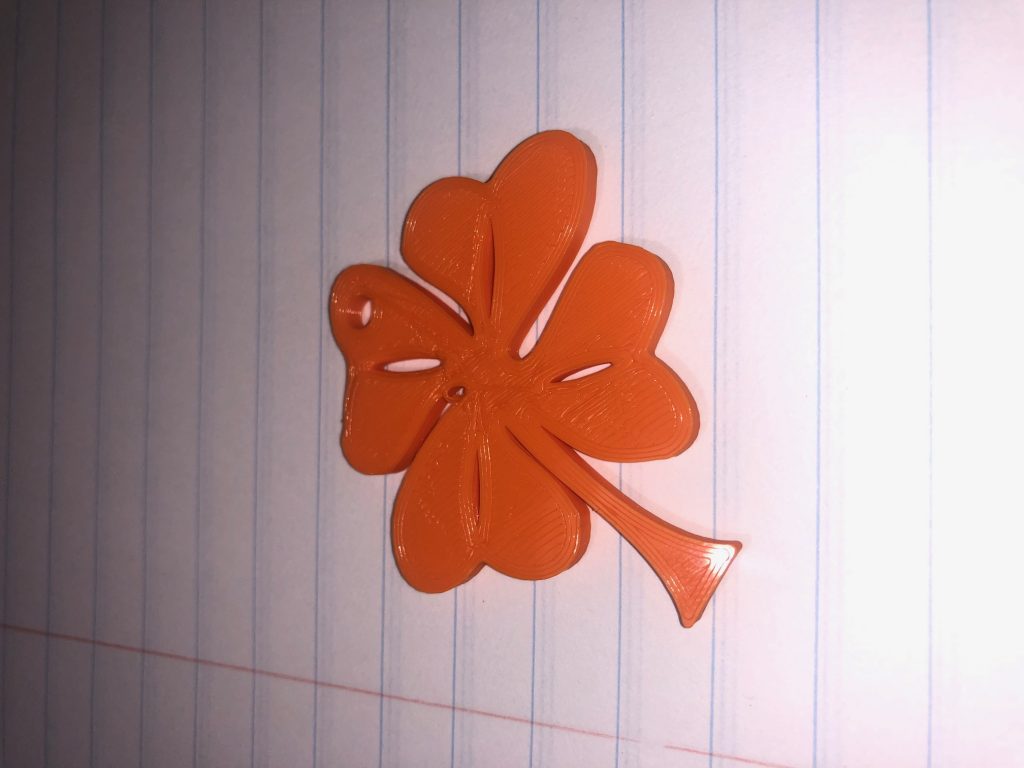
I chose to print a shamrock since St. Patrick’s day is coming up soon and I could use some good luck. St. Patrick’s day is one of my favorite holidays since I am part Irish and I love to try to find four leaf clovers on this day. I like how St. Patrick’s day is a seemingly random holiday, but so many people love to celebrate it! This 3d print is called the “8-bit Shamrock Pendant” and was made by Adam Holz of New Jersey.
The link is: https://www.thingiverse.com/thing:60693
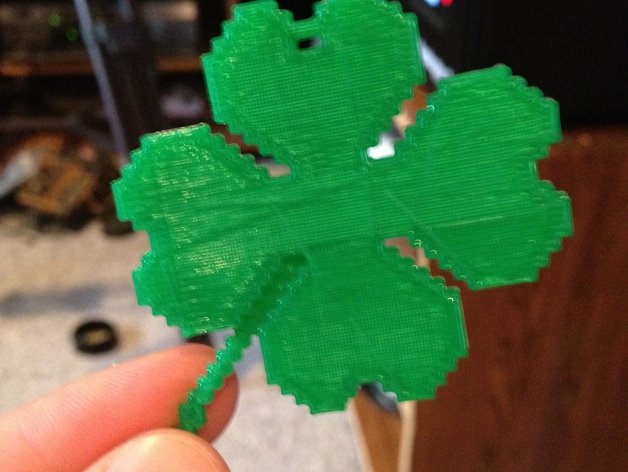
Thingiverse Print
The shamrock key chain design that I chose to print was a success! I thought that it turned out great for my first personal print. I found it very interesting that the machine printed a outline around the sap before starting the main object.
Link to make: https://www.thingiverse.com/make:628405
20 Forms in Tinkercad

In the first screenshot, I added the heart shape and engraved Cocoa into it as a pet tag. I also inserted an ice cream shape and added a hand holding the cone. Next, I added a skull and aligned glasses on it’s head. I then drew the pizza shape and added red holes on the top as toppings. I then added the ring shape and put a diamond on top on the ring. I had a hard time drawing the carrot out at first, but I managed to use the ruler to align everything up. The “N” logo is the business that my mom runs. She asked if I could try to print her logo, so I thought I would give it a shot. Next, I imported a picture to make the horse and the sail boat. Lastly, I added the star.
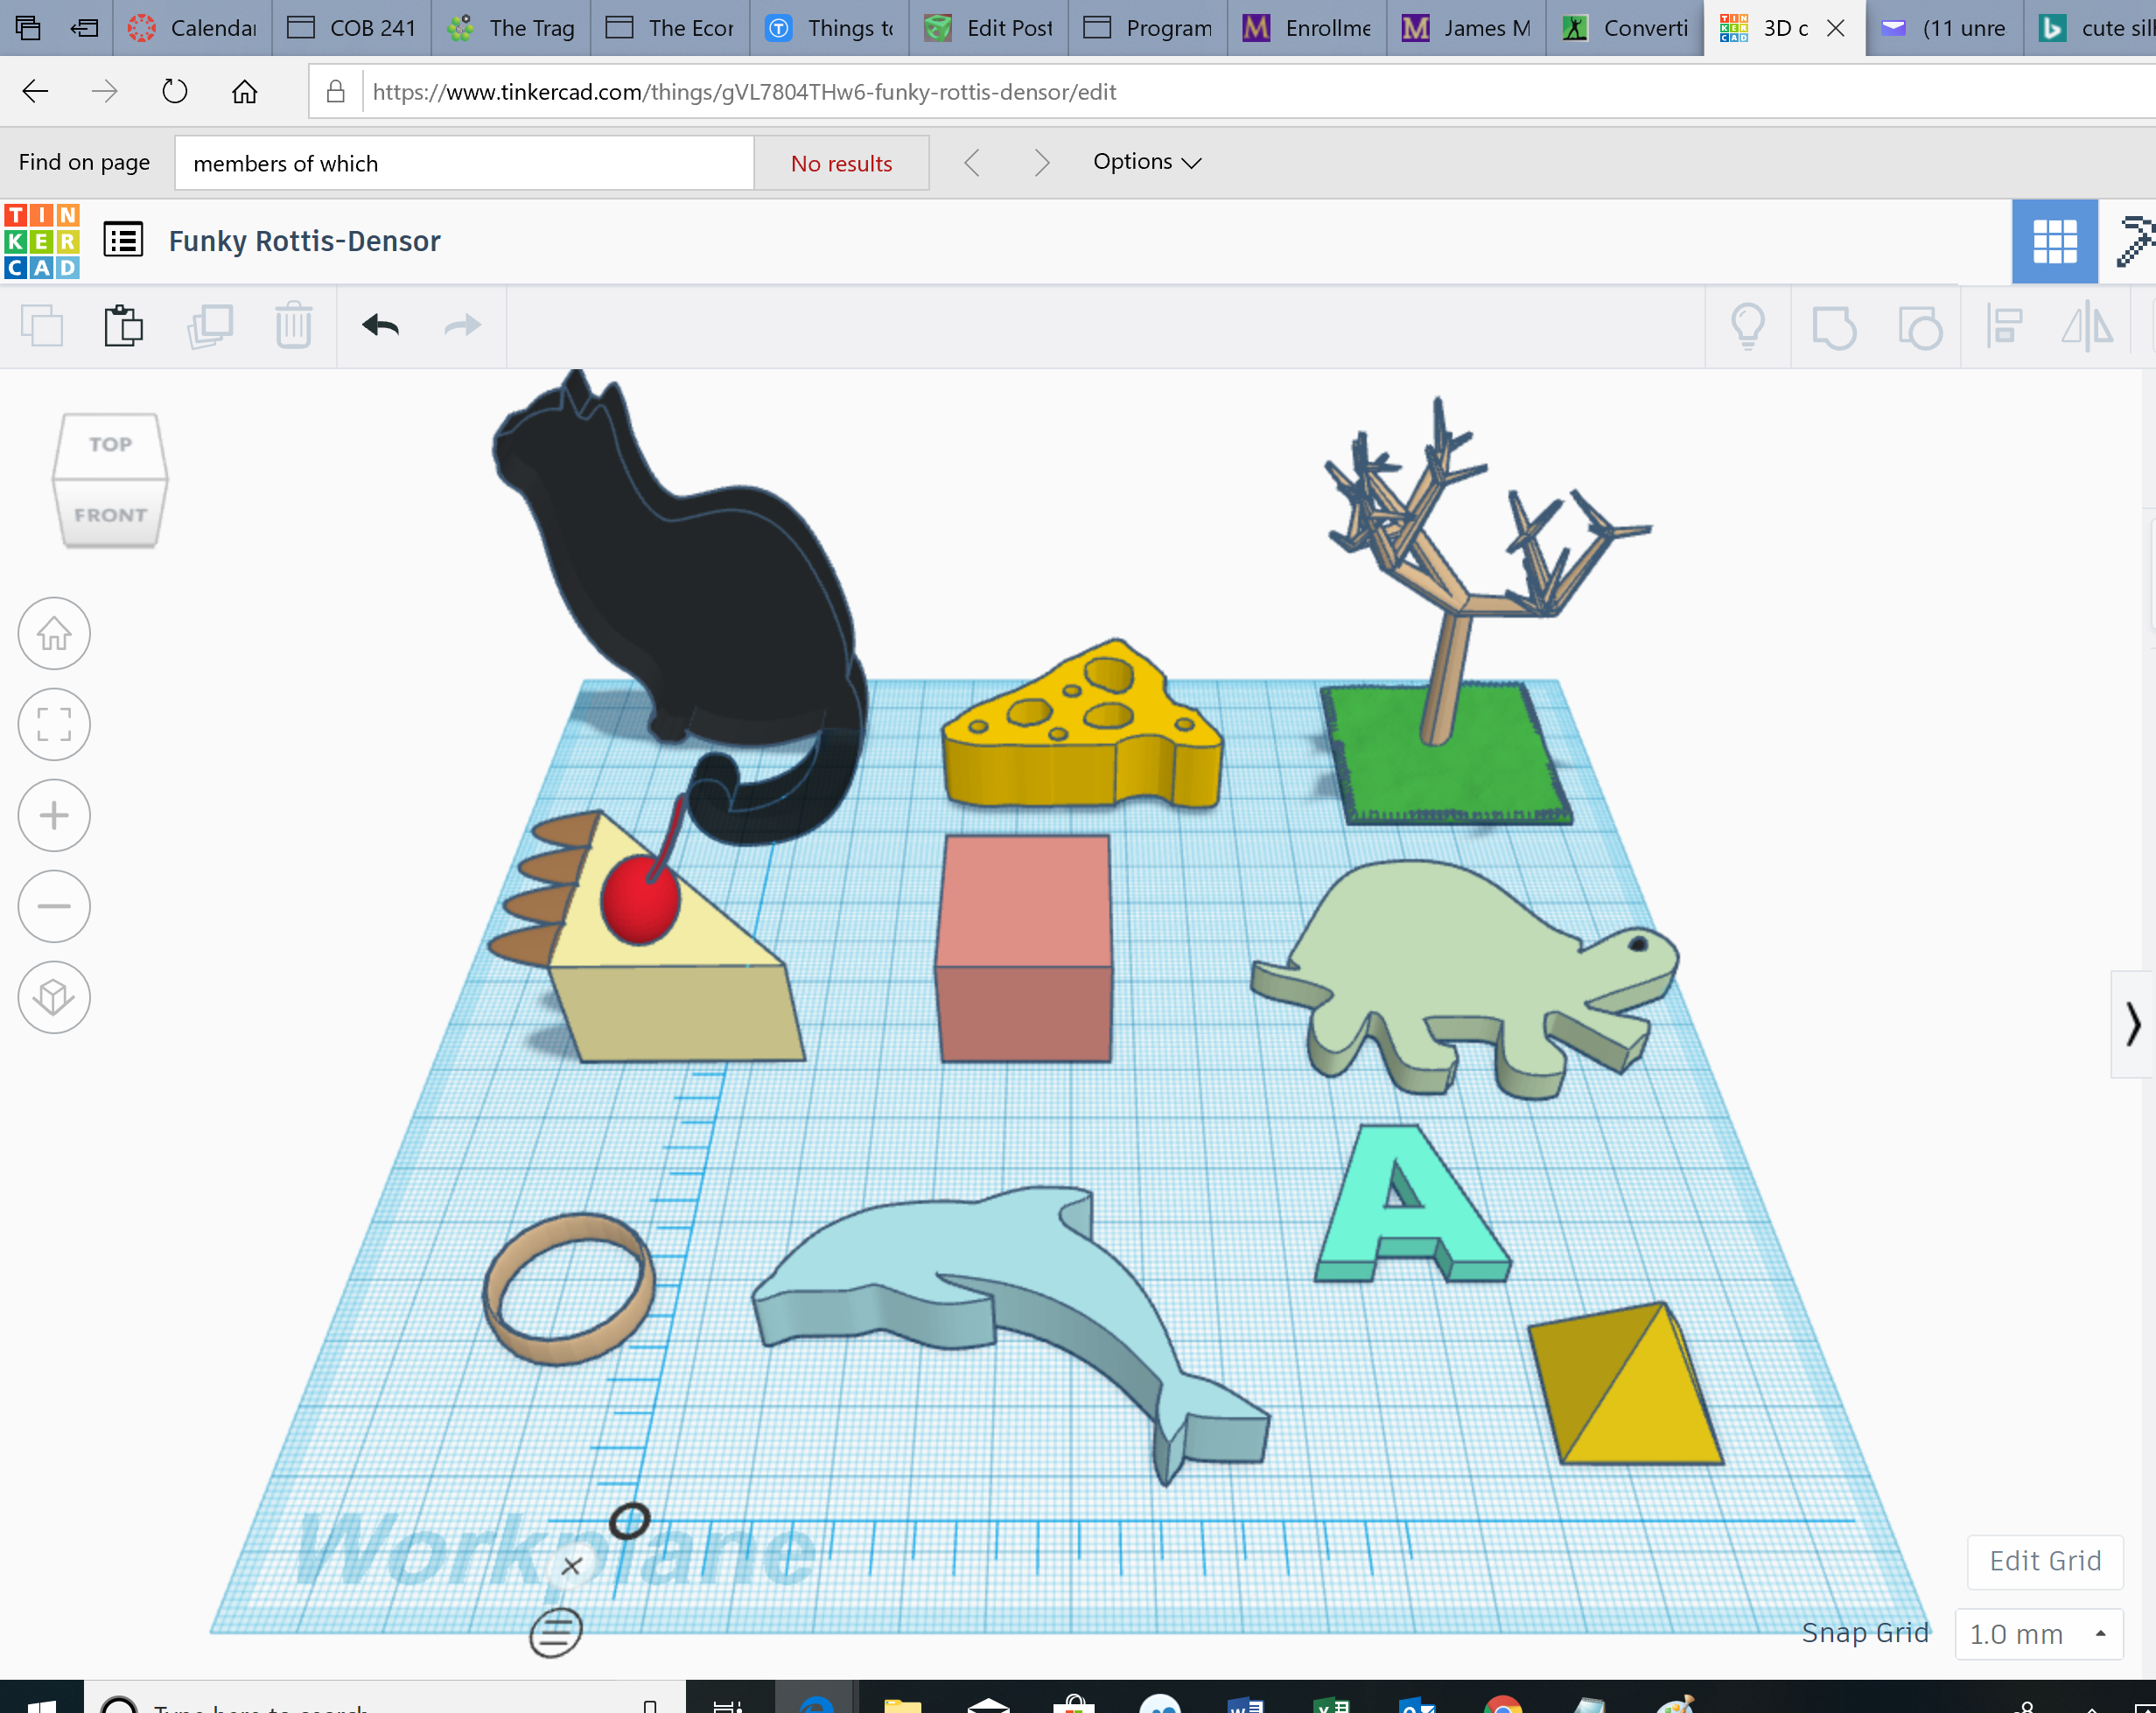
On the next panel, I started out by importing a picture of a cat, a dolphin and a turtle. The cat was tricky to align upright but the align tool helped straighten it out. I added multiple shapes together to make the cheesecake and I used the scribble tool to draw the picture of the swiss cheese. I added a grass platform with a tree on top of it as well. To end, I simply inserted the ring shpae, the pyramid, and a pink box.
For most of the photo imports I used the STL file.
Tinkercad Print
![]()
I printed my Mom’s work logo and it turned out really well! I did not expect the lettering to come out as well as it did and it also did not take as long as I thought it would to print so I would definitely say it was a success!
Summary of Group Tinkercad Project
The title of our project was “Mansion” and my partner was Christina Lorenc. I really enjoyed this project as it gave me a chance to be creative and design whatever we wanted to make. I loved watching this print, the detail that it put into the car and the house was very rewarding to see. I feel as if I am very well-rounded in Tinkercad now and would love to print some other things as well. Overall, this project was the most fun I have had in a class in a while!
Link to group post: https://geekhaus.com/isci104_spring2019/2019/03/19/tinkercad-project-outline-2/
20 Forms in Fusion 360
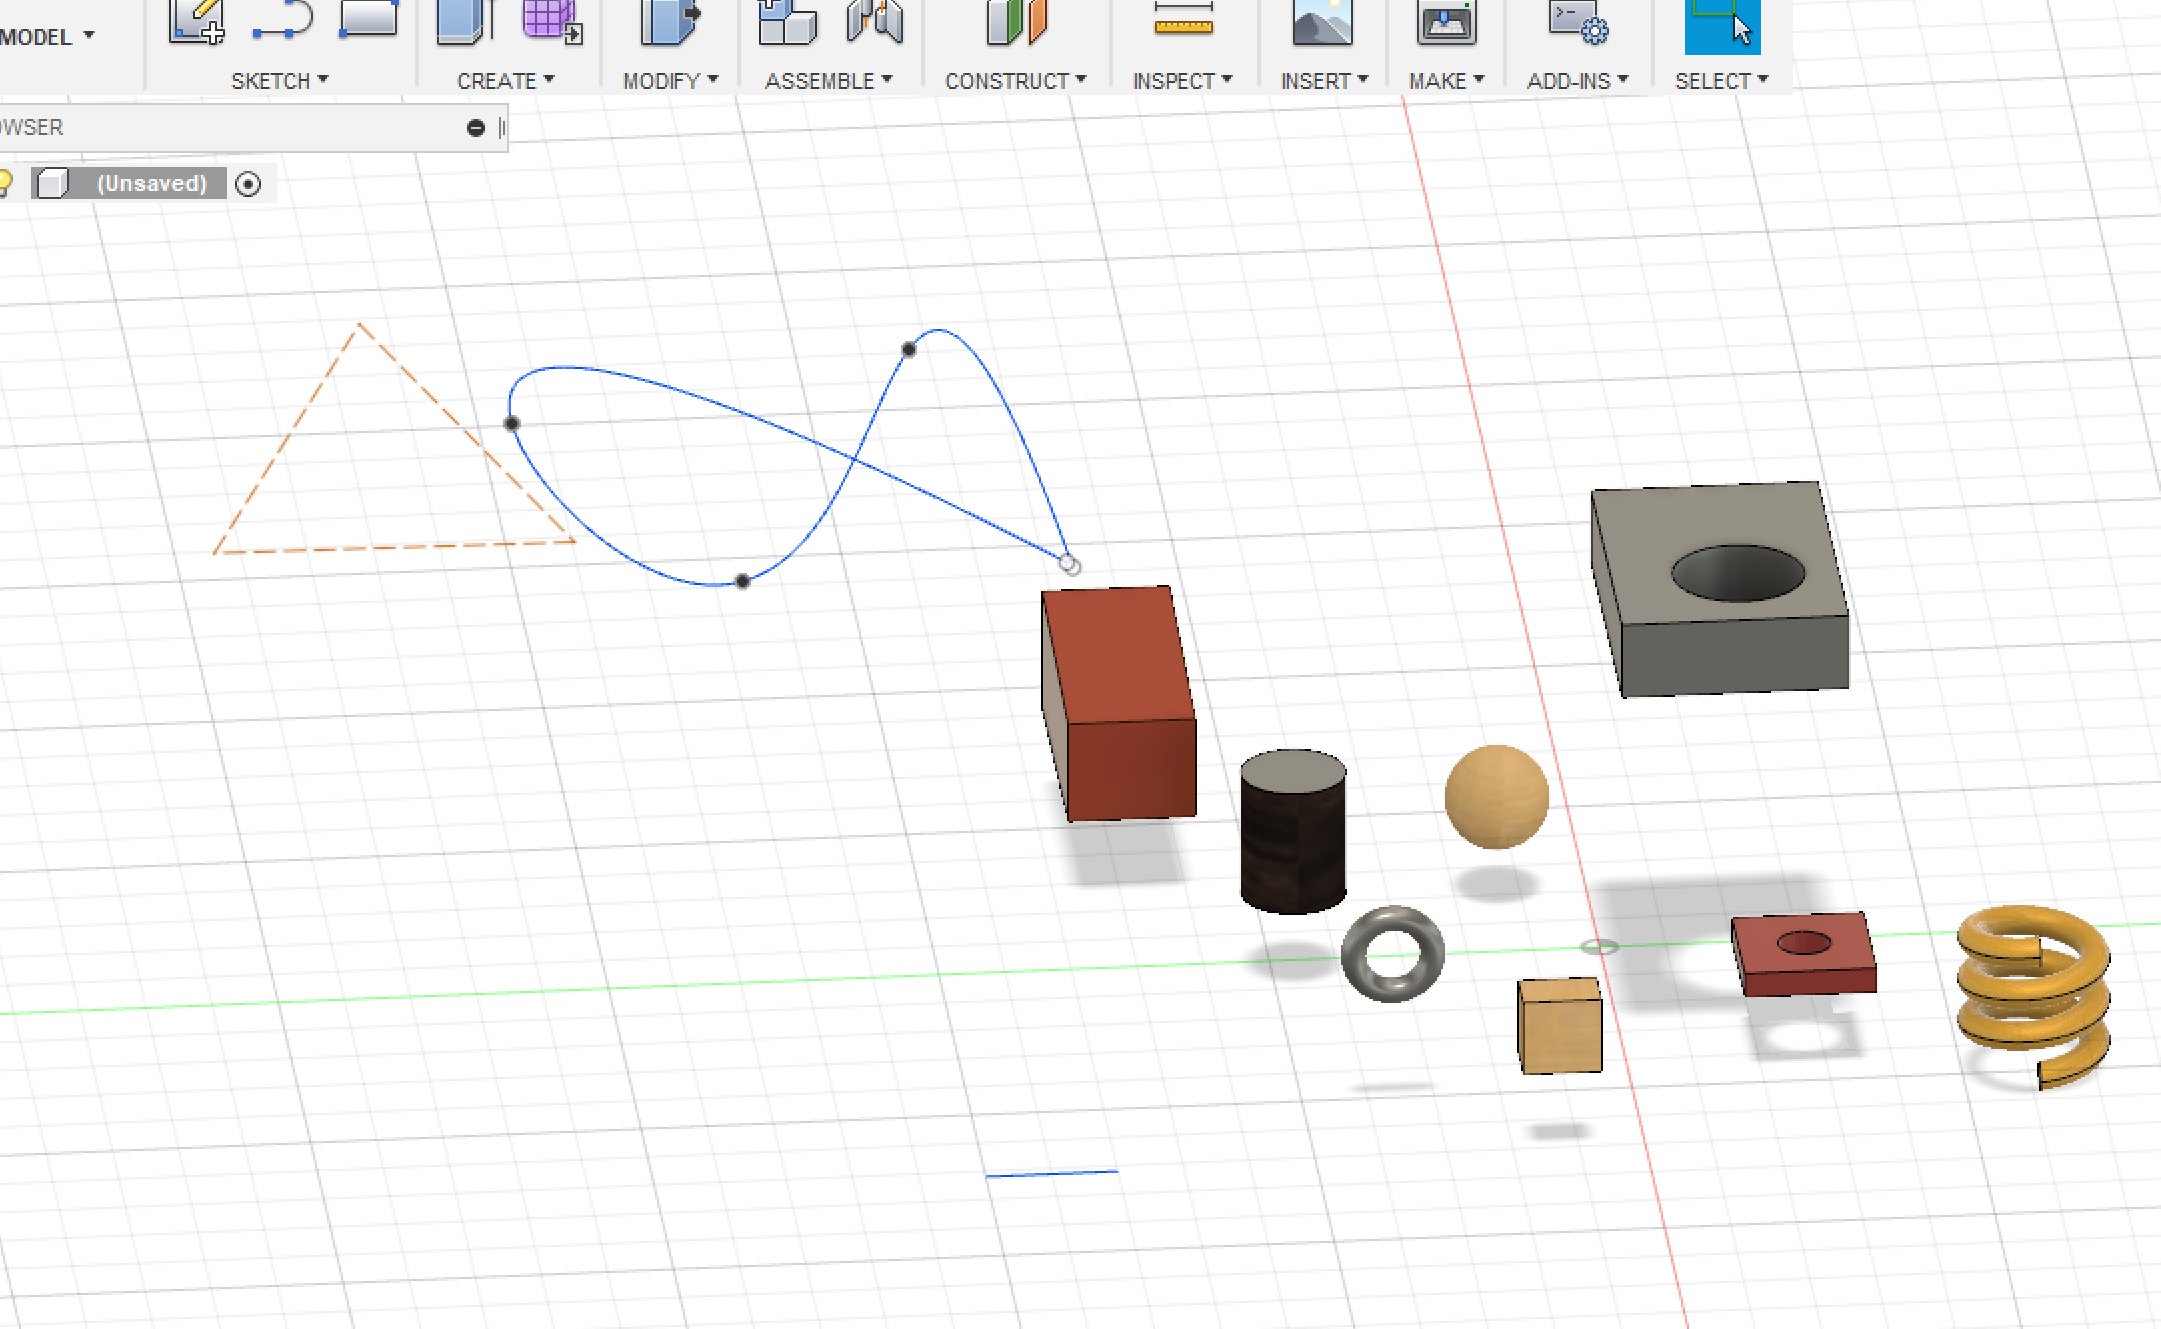
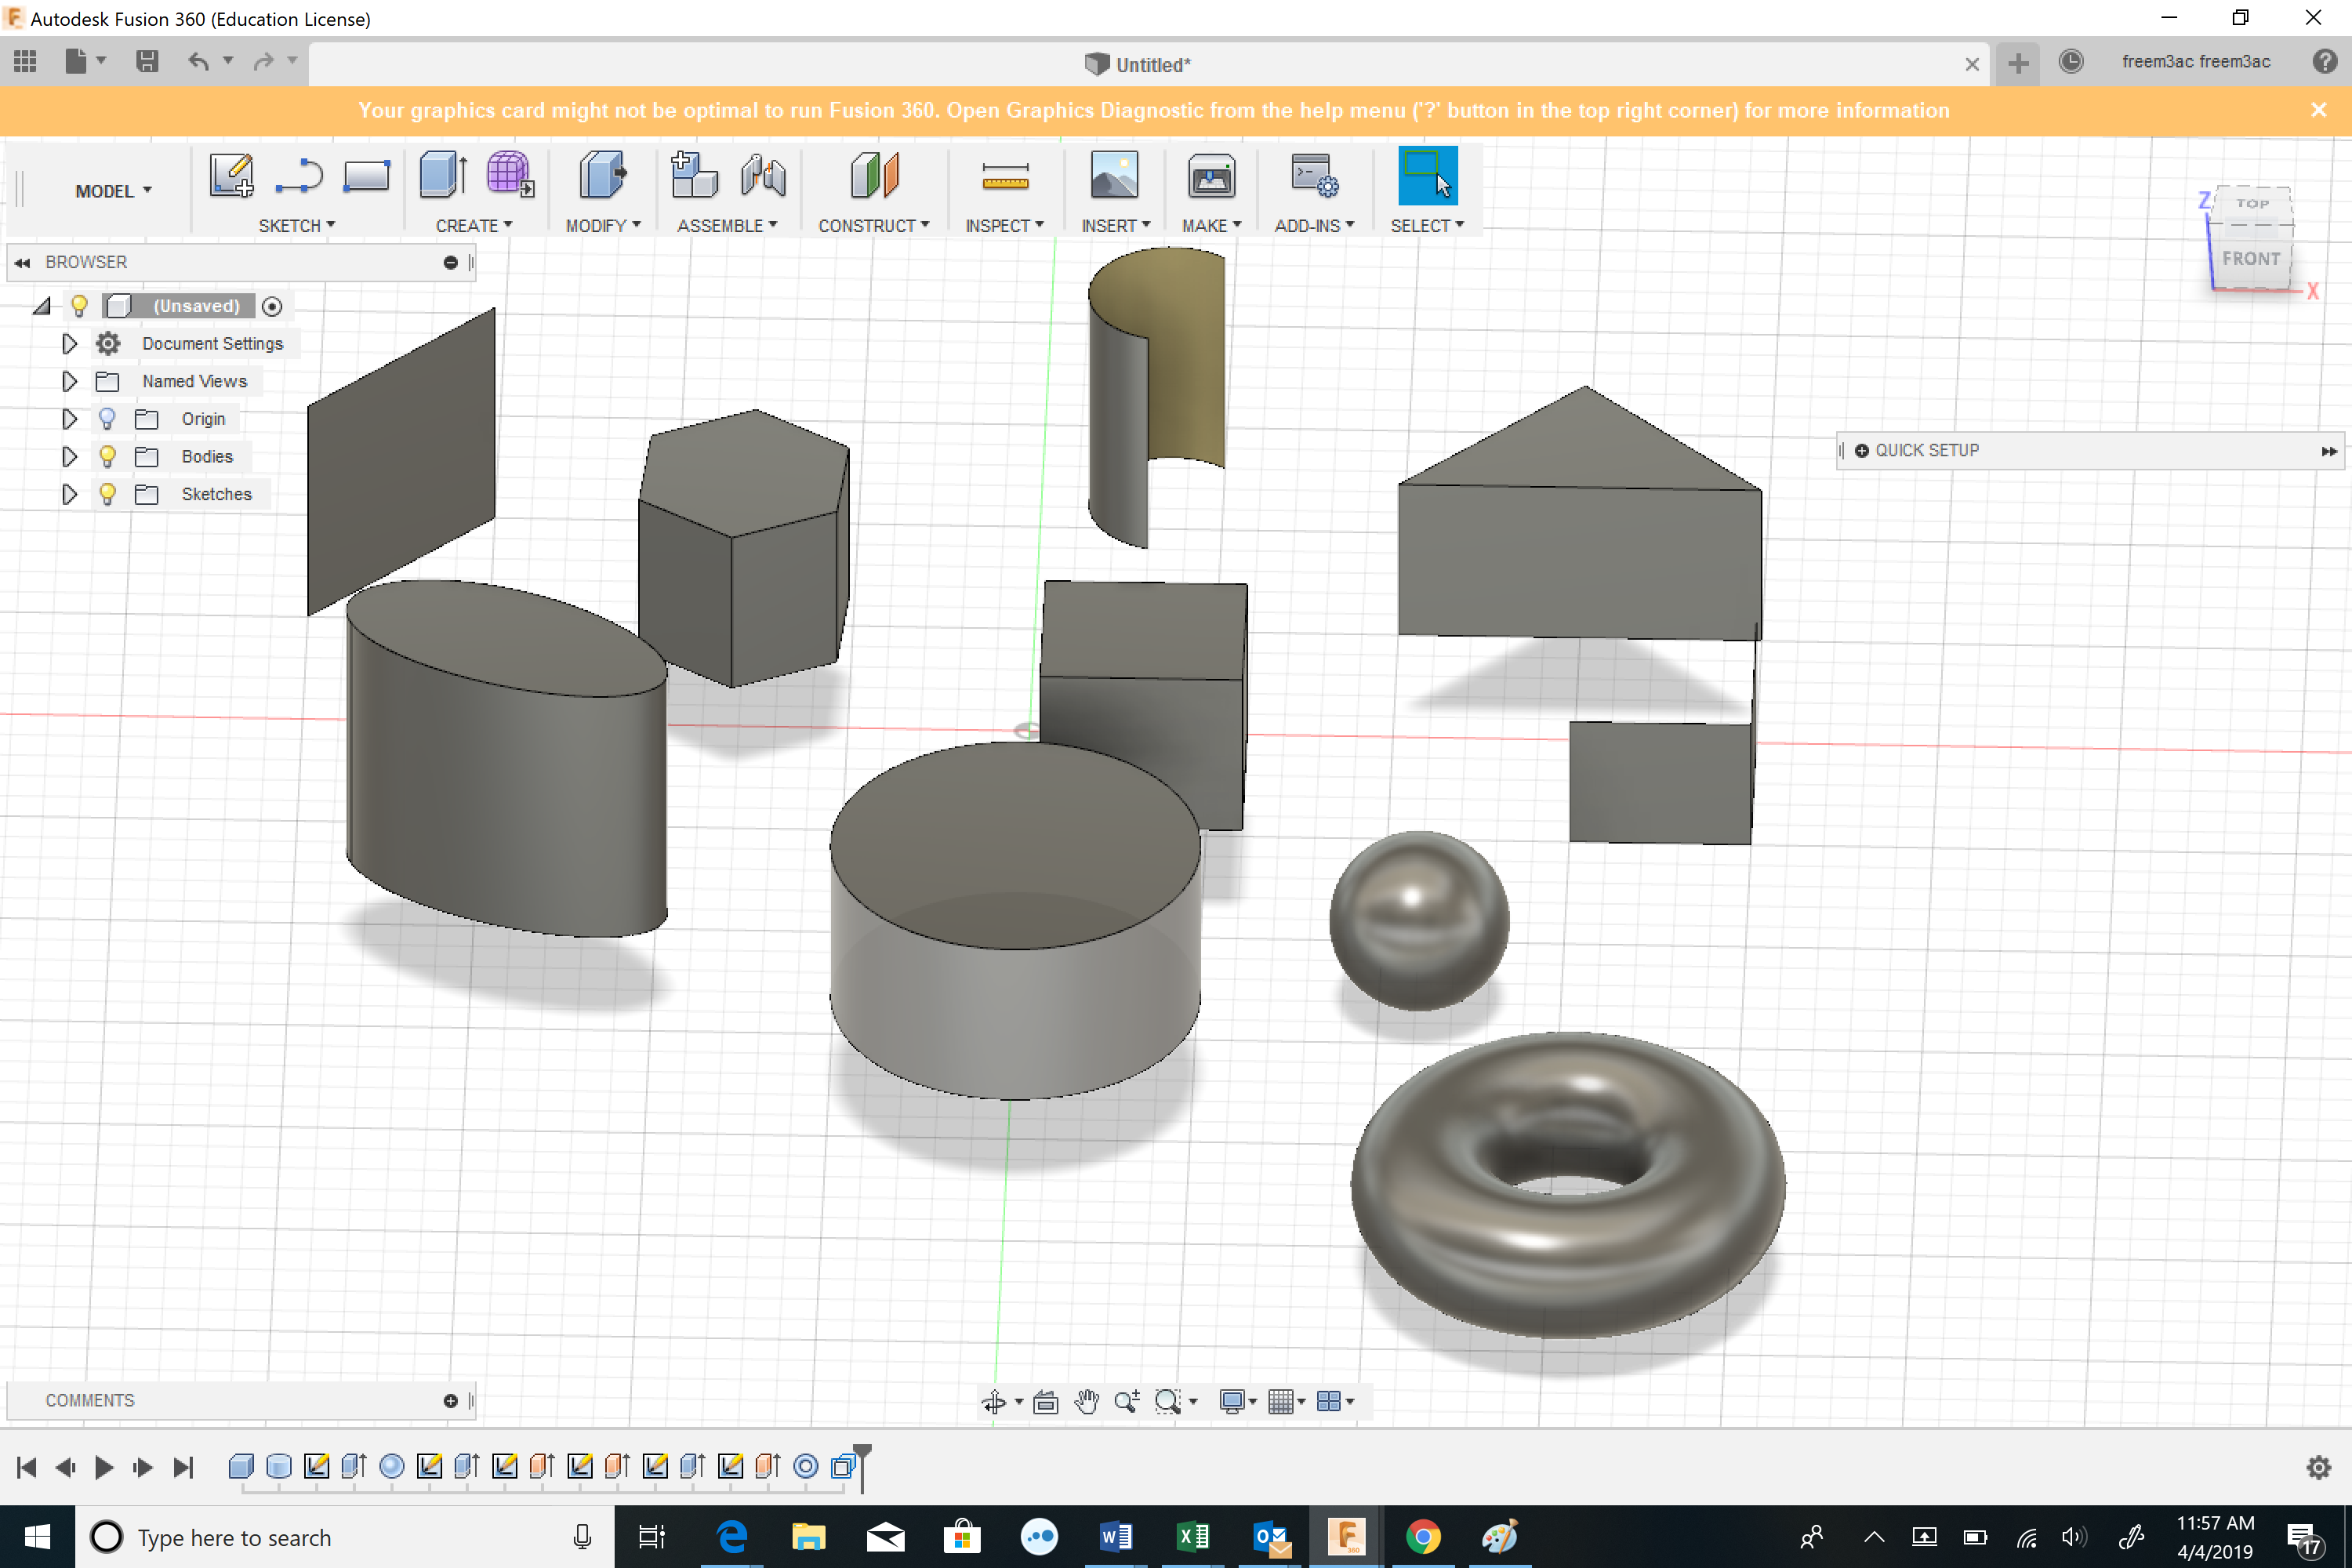
Fusion 360 turned out to be quite a challenge on my laptop. I was only able to make basic shapes using the sketch too, extrude tool, loft, and a few others. I mostly just played around with inserting shapes and trying to move them around as well as change there appearance. Some shapes have a wood color to them, while others have a glassy base. I attempted to draw a triangle and an infinity sign, but that did not go to well for me. In the next picture, I worked on extruding the shapes and drawing some new designs. Overall, I need some more practice using this software!
Fusion 360 Print
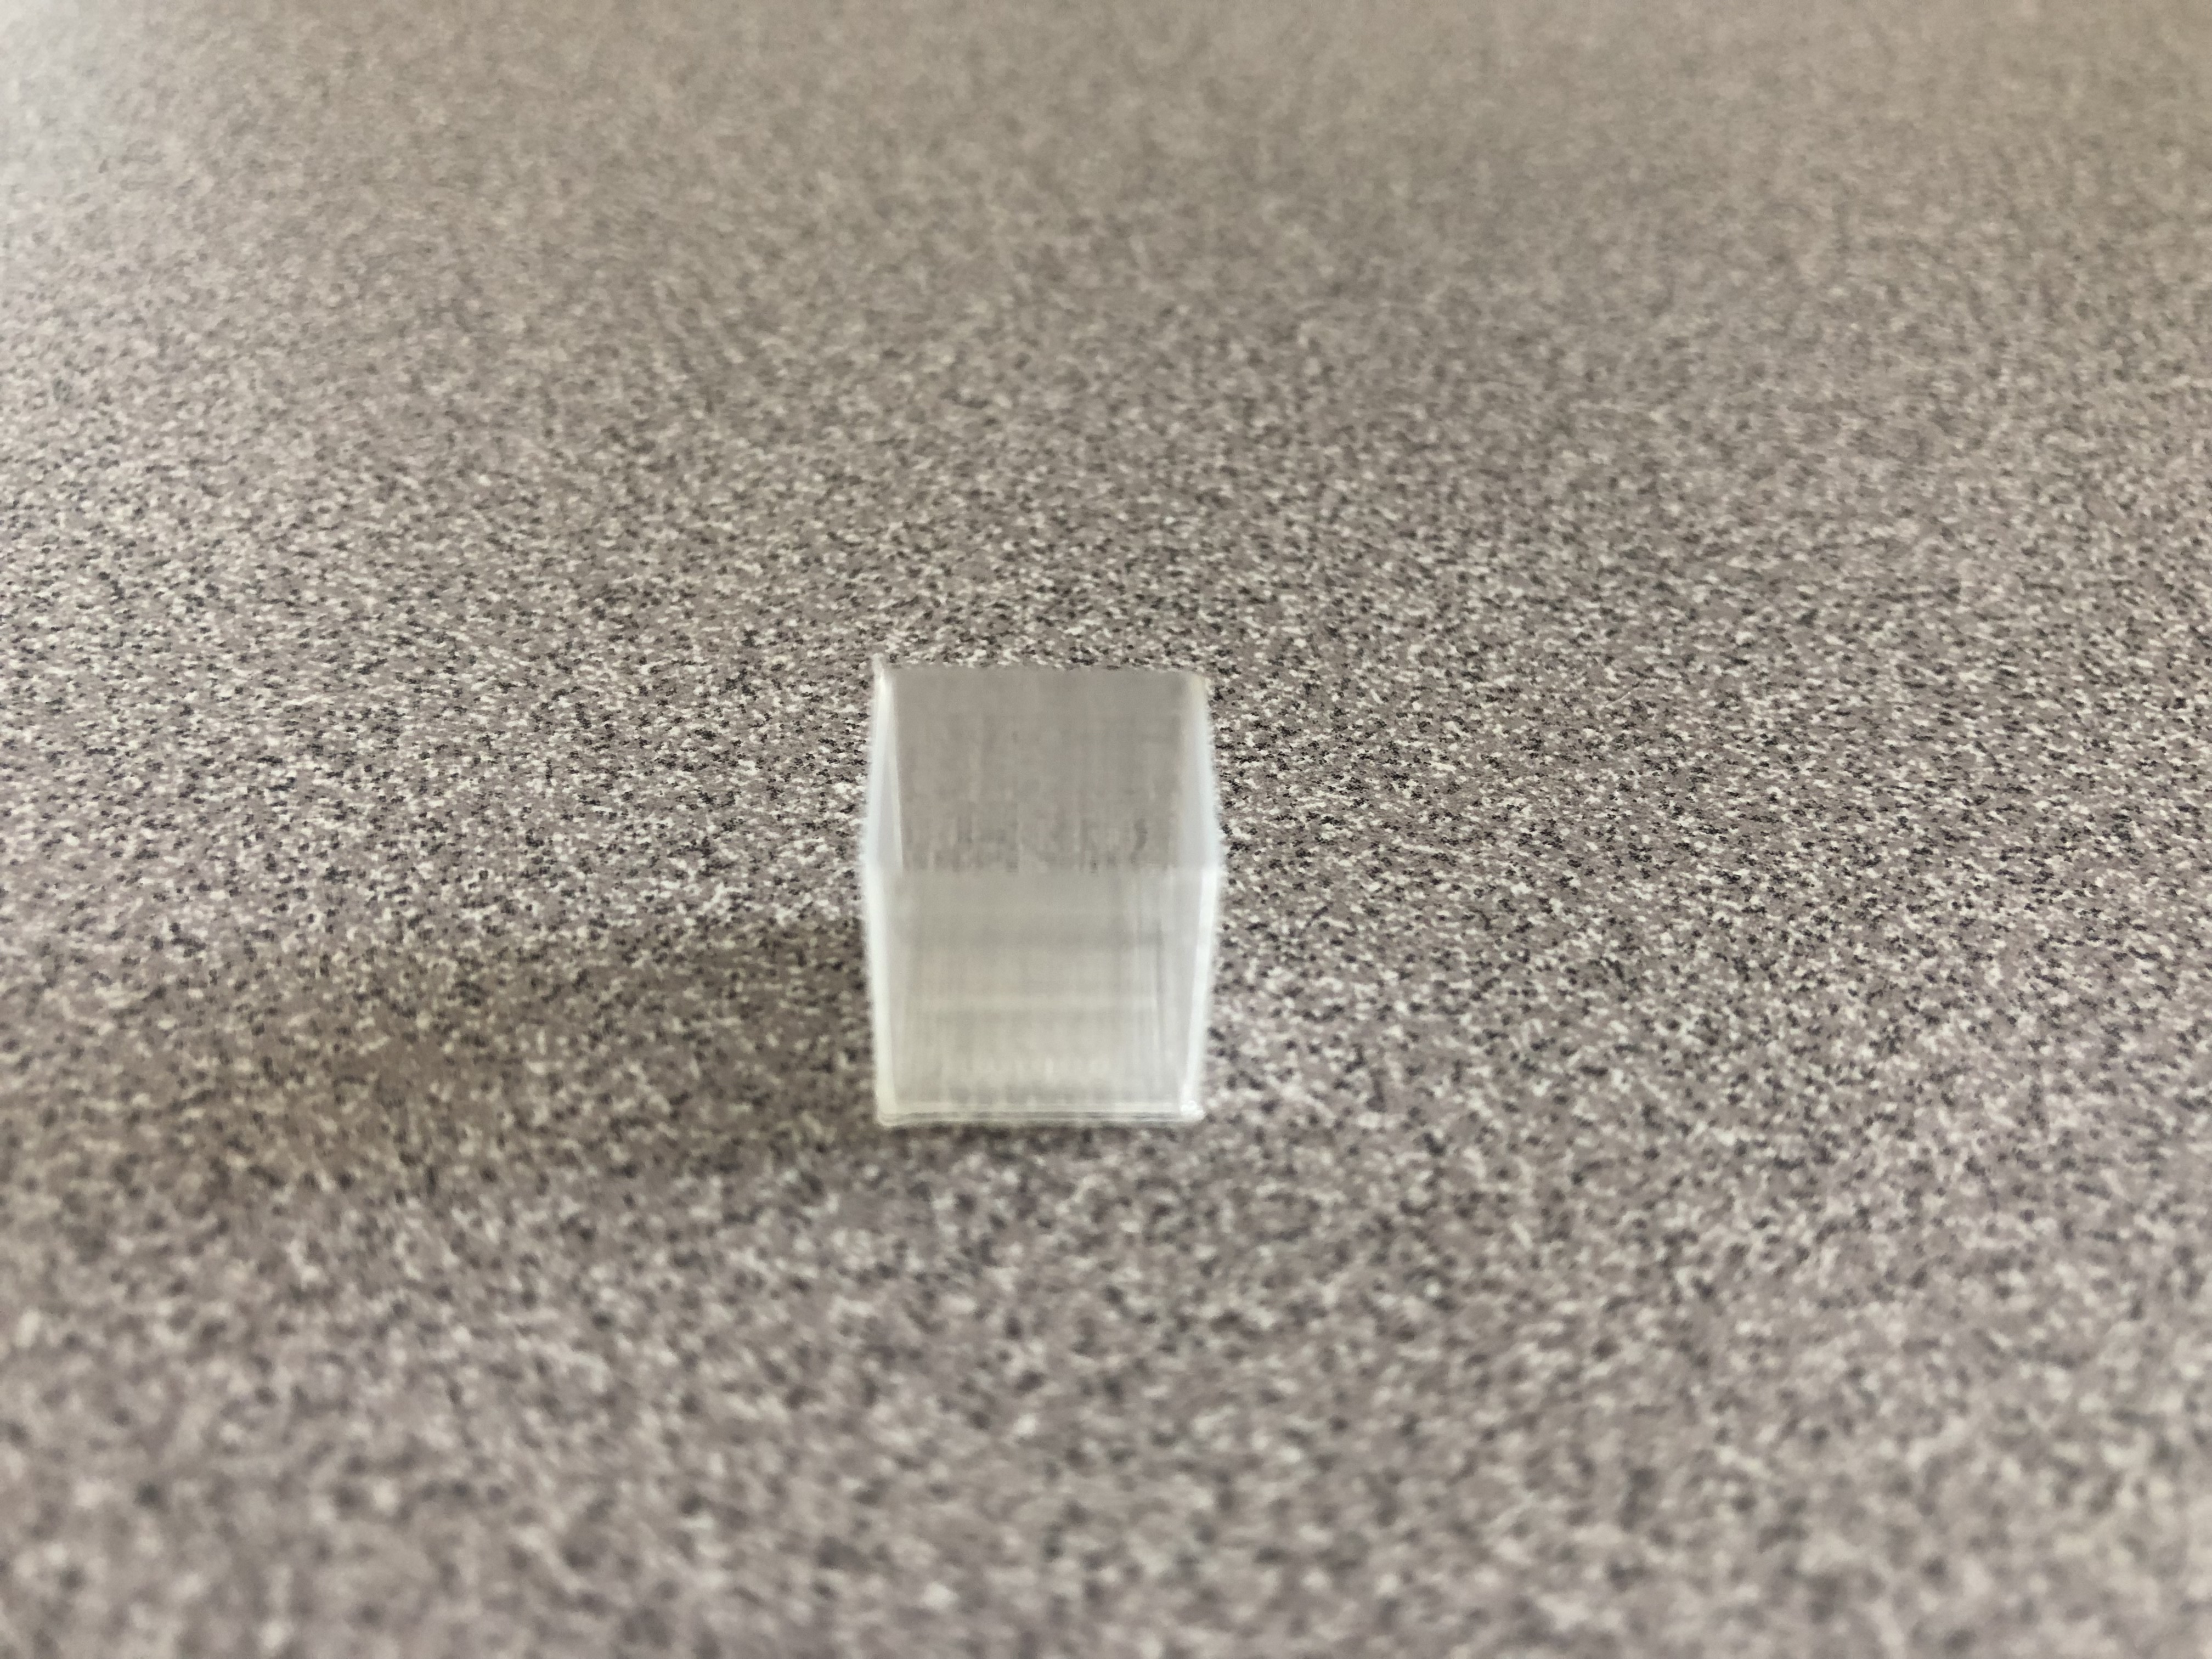
I decided to just print a simple hollow box. I know it is quite basic, but I think the box will be useful in real life as opposed to some of my other designs. I was also confident that this would print effectively and with out a problem, so I opted for the safer approach. Overall, the design and print were both successful!
Fusion 360 Vase Design
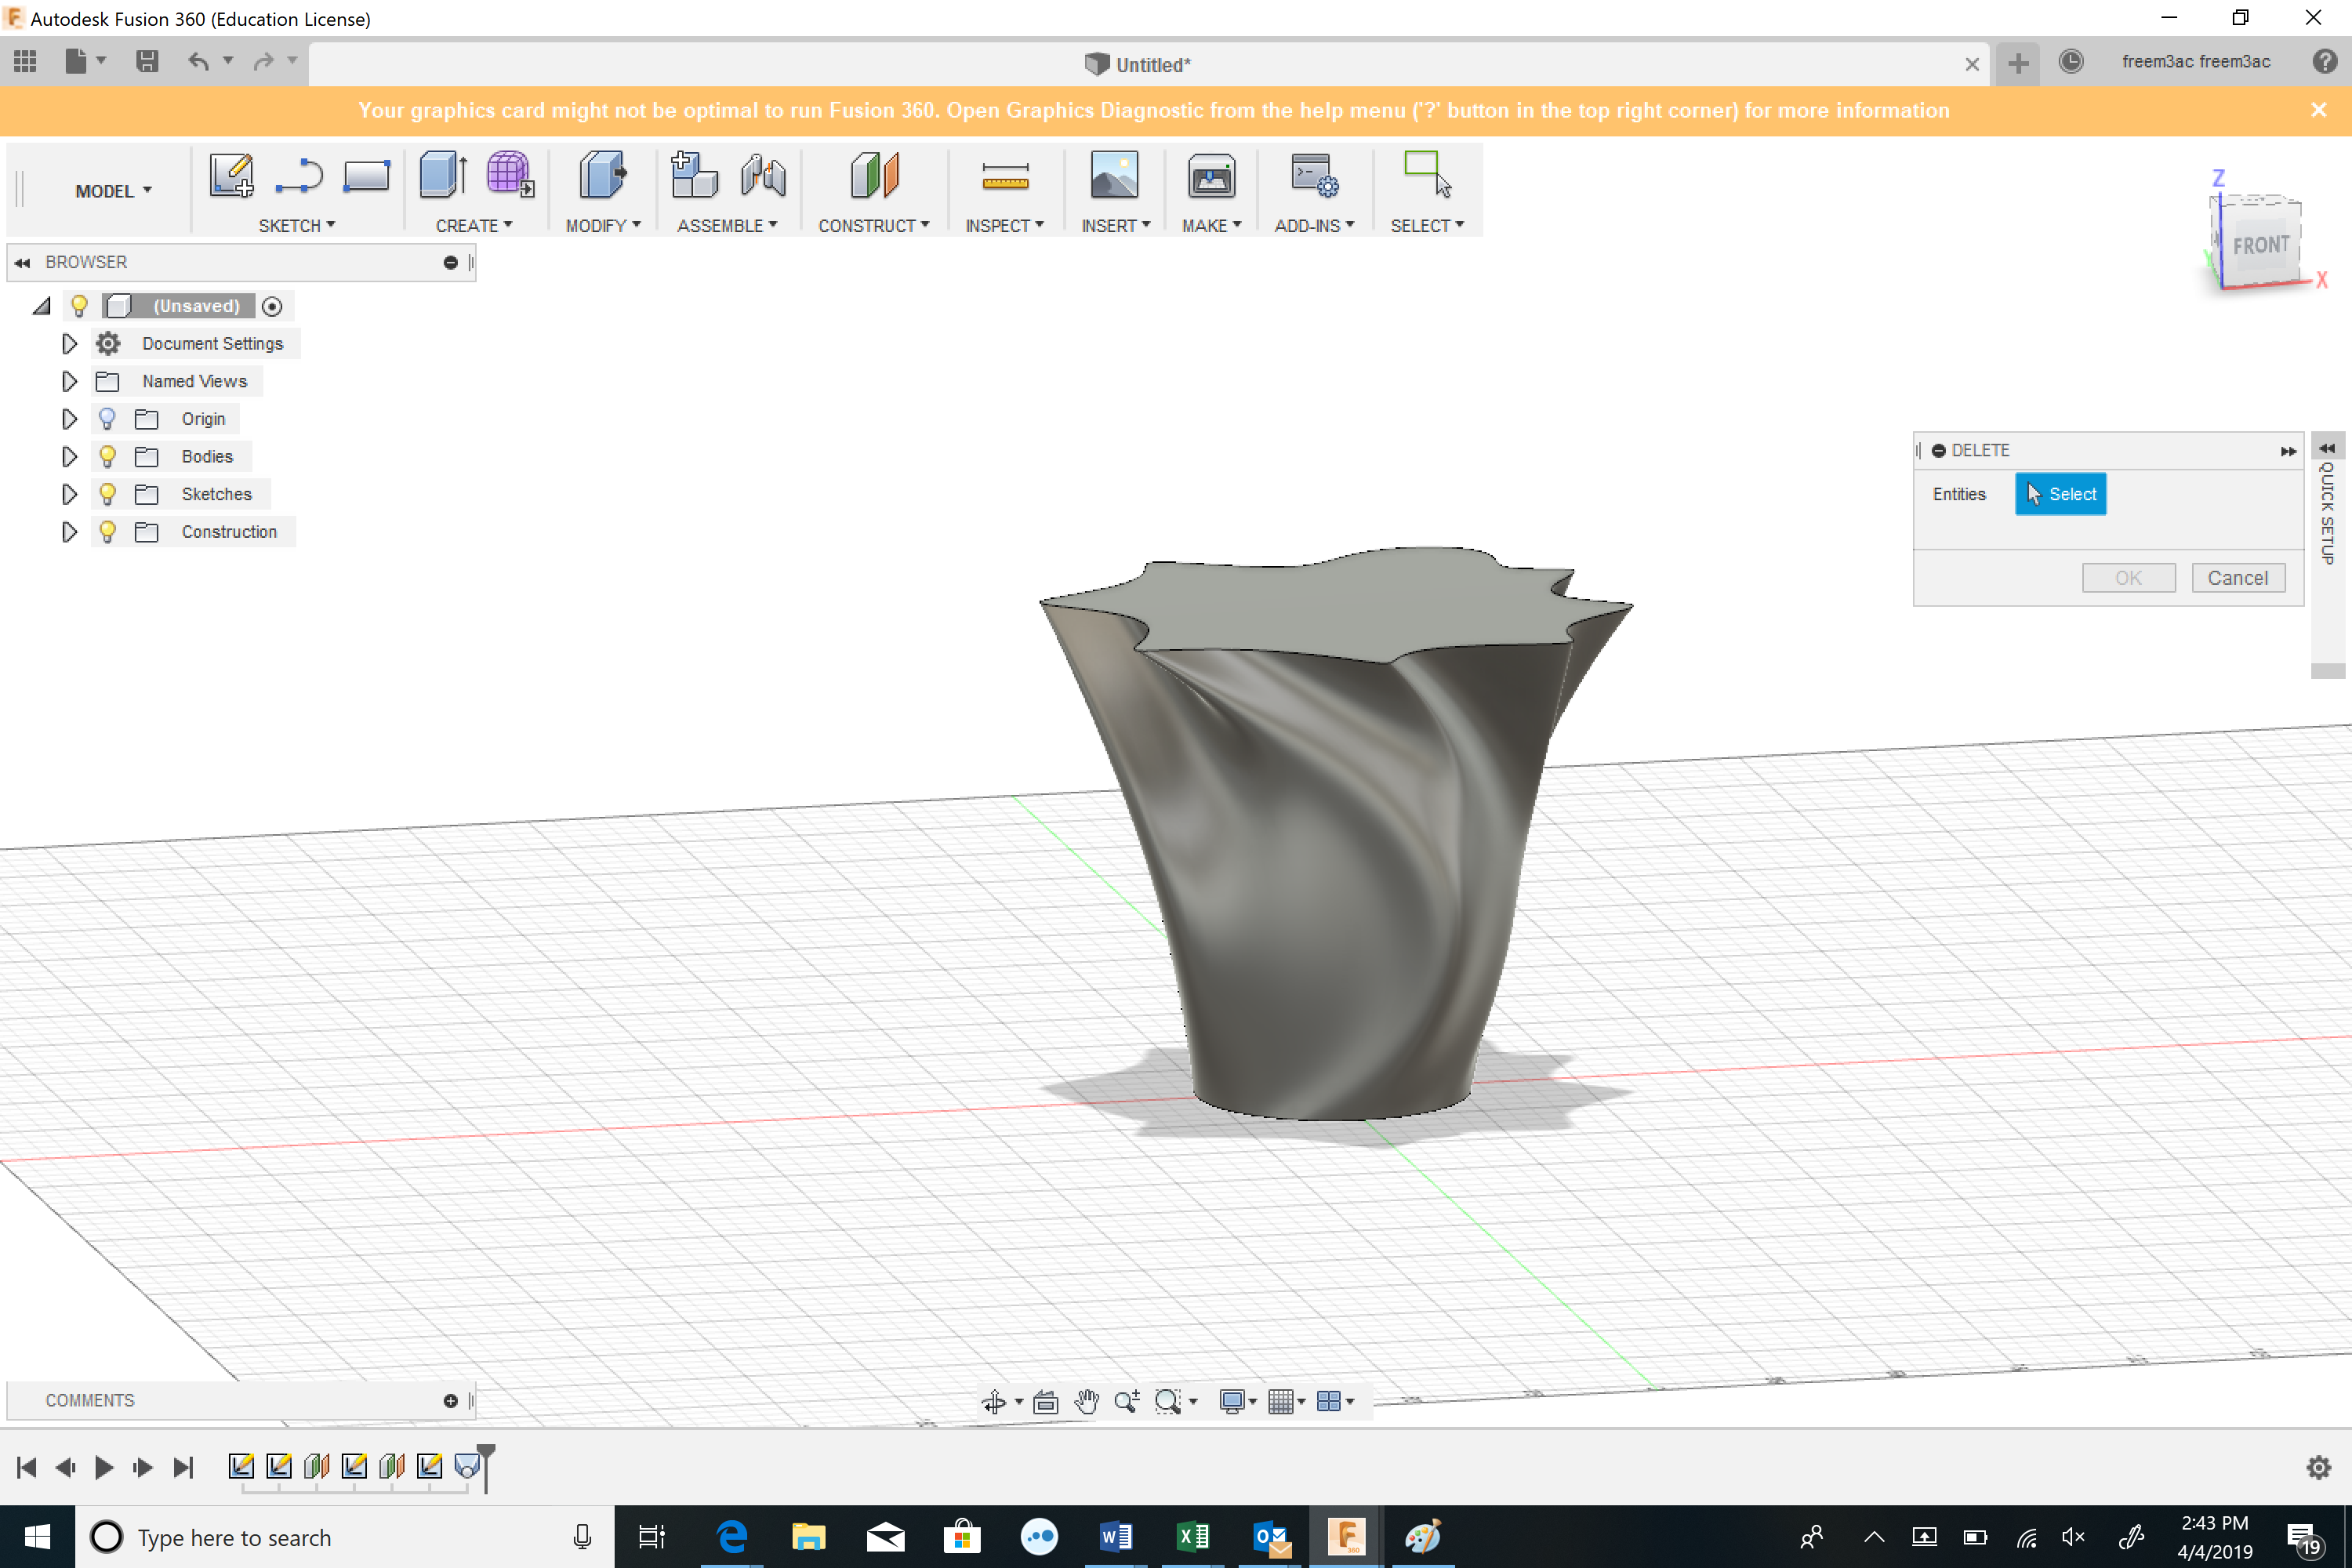

To make my vase I used the circle tool, offset plane tool, and the loft function. I added two off set planes, both with splines around them to make a more interesting shape. I also twisted the vase to add a more dramatic effect. It took me a few tries to build this, but I am confident that it will come out with a strong base and shape. I decided not to make it super twisty at the bottom and just rotate the top as well as make my spline points more curvy to get an interesting shape. Overall, I am happy with this vase that I created!
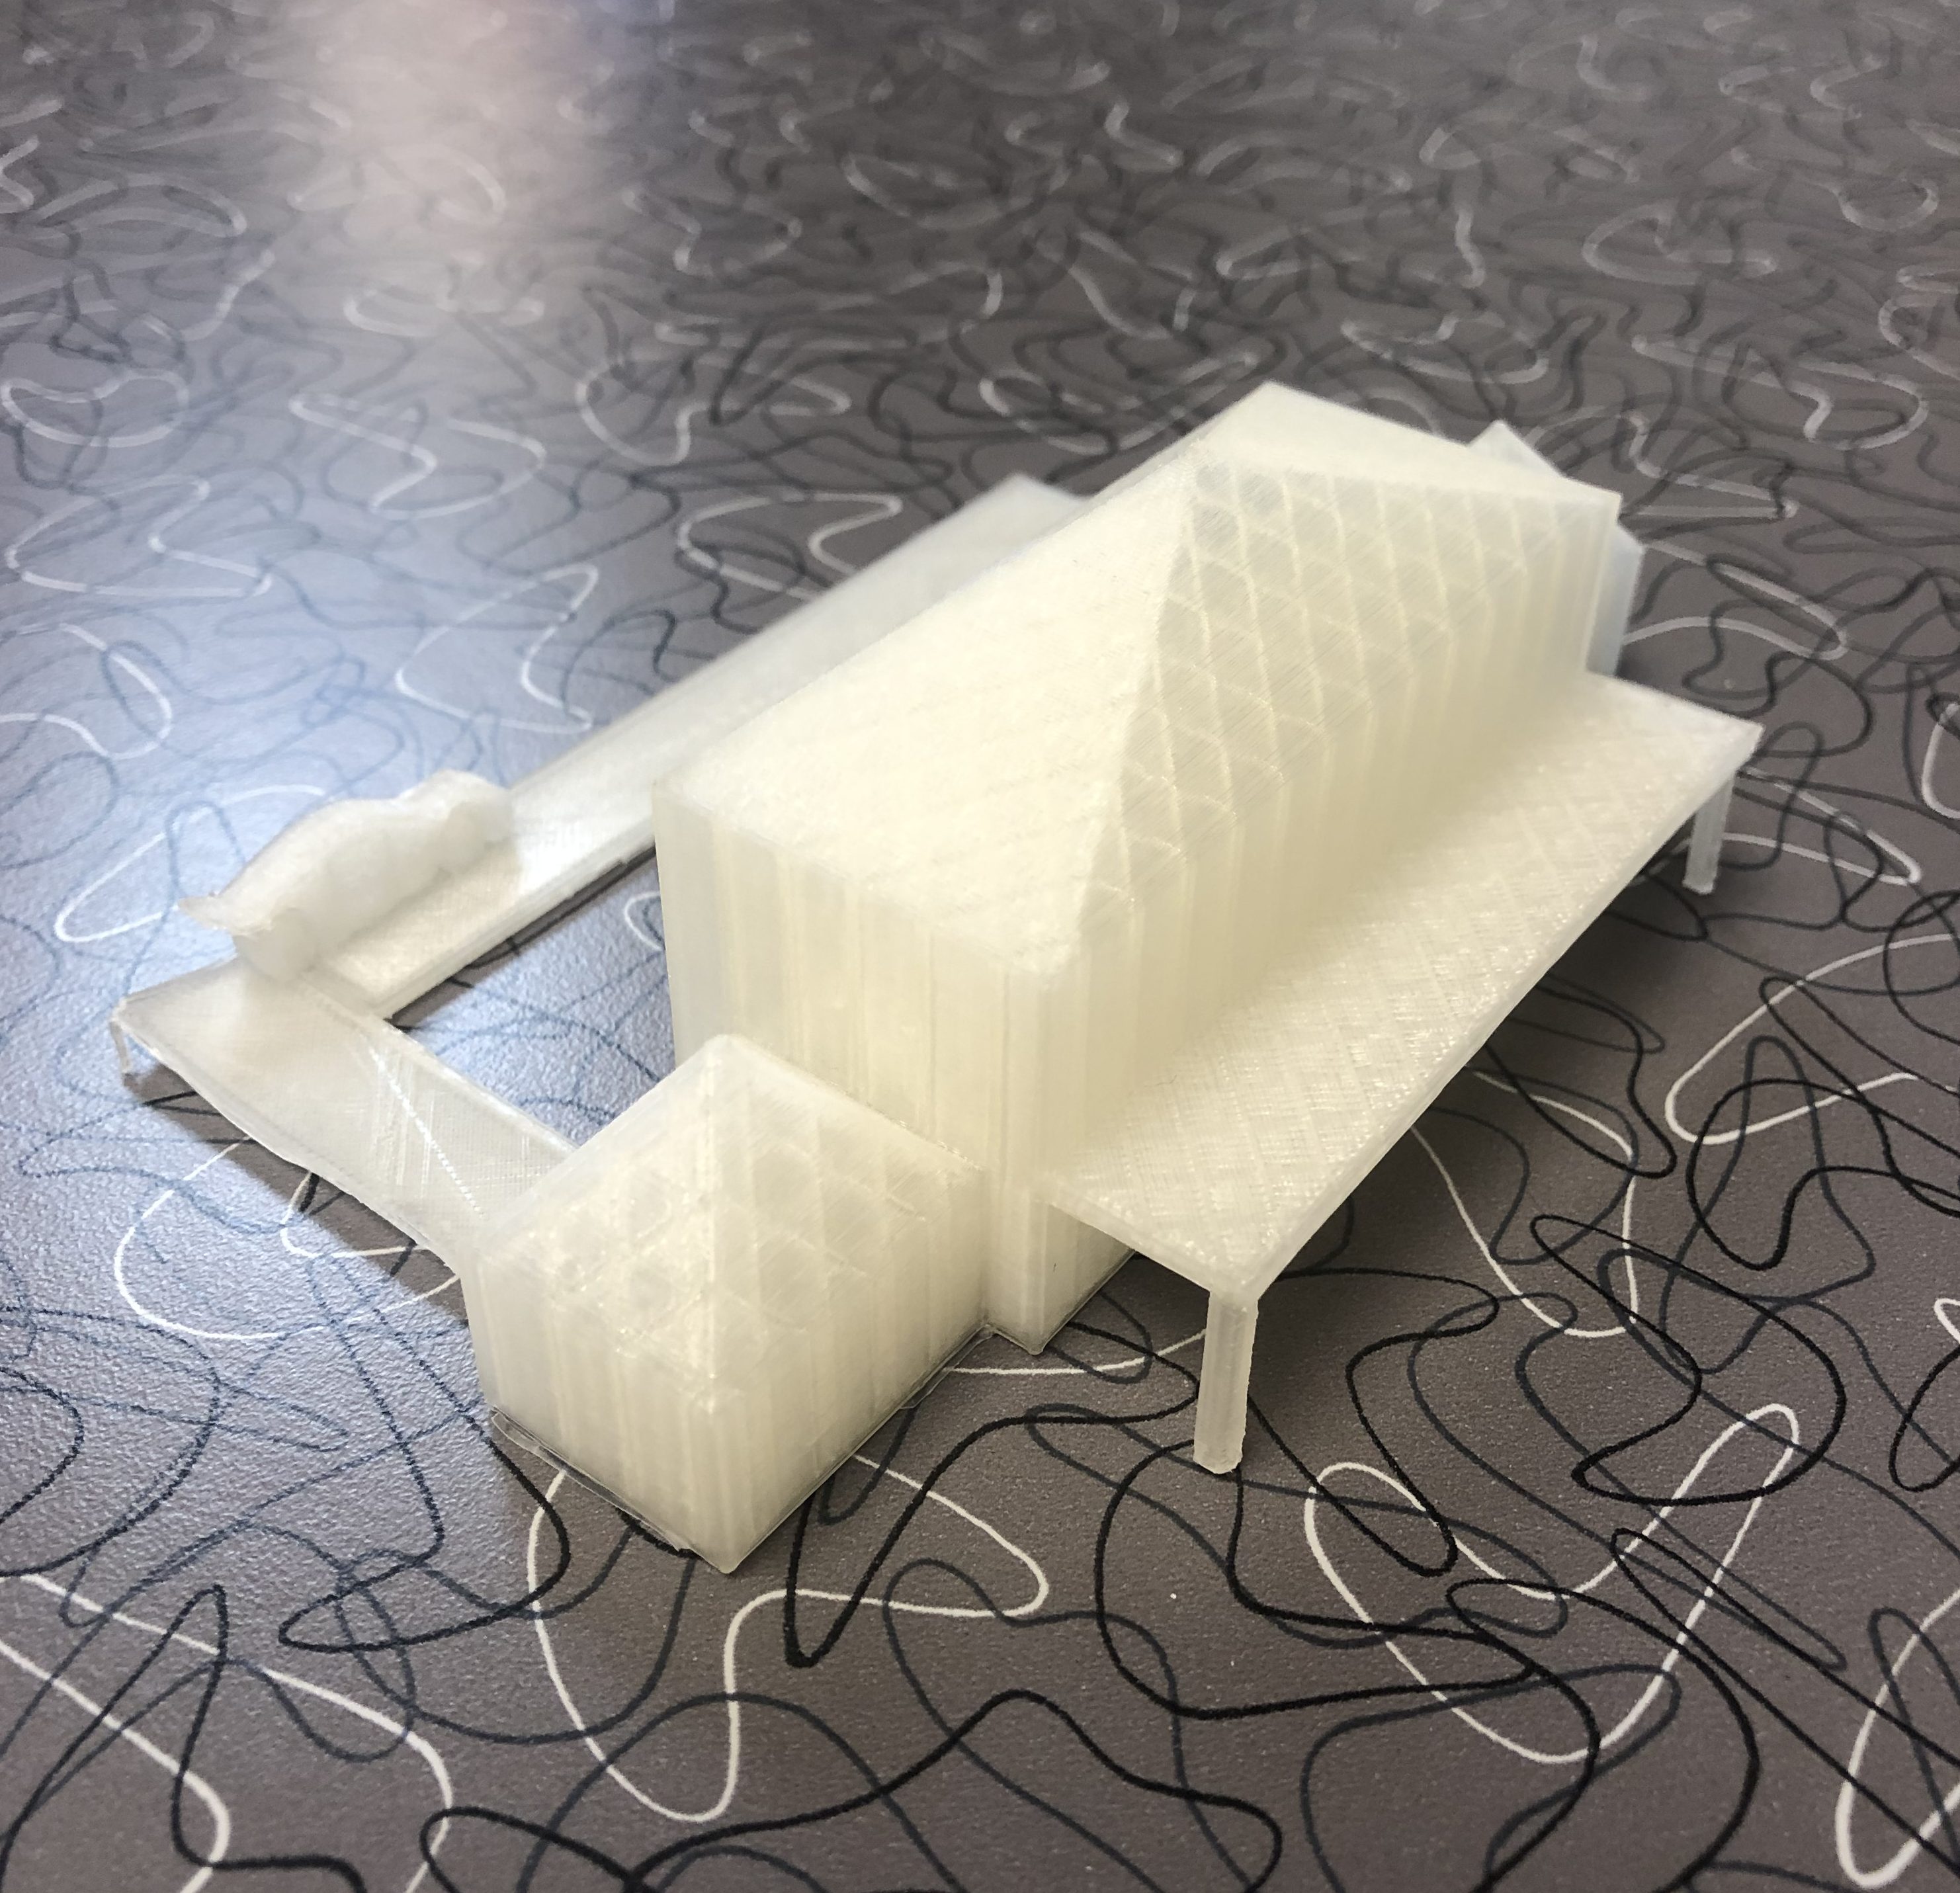
Fusion 360 Vase Prints

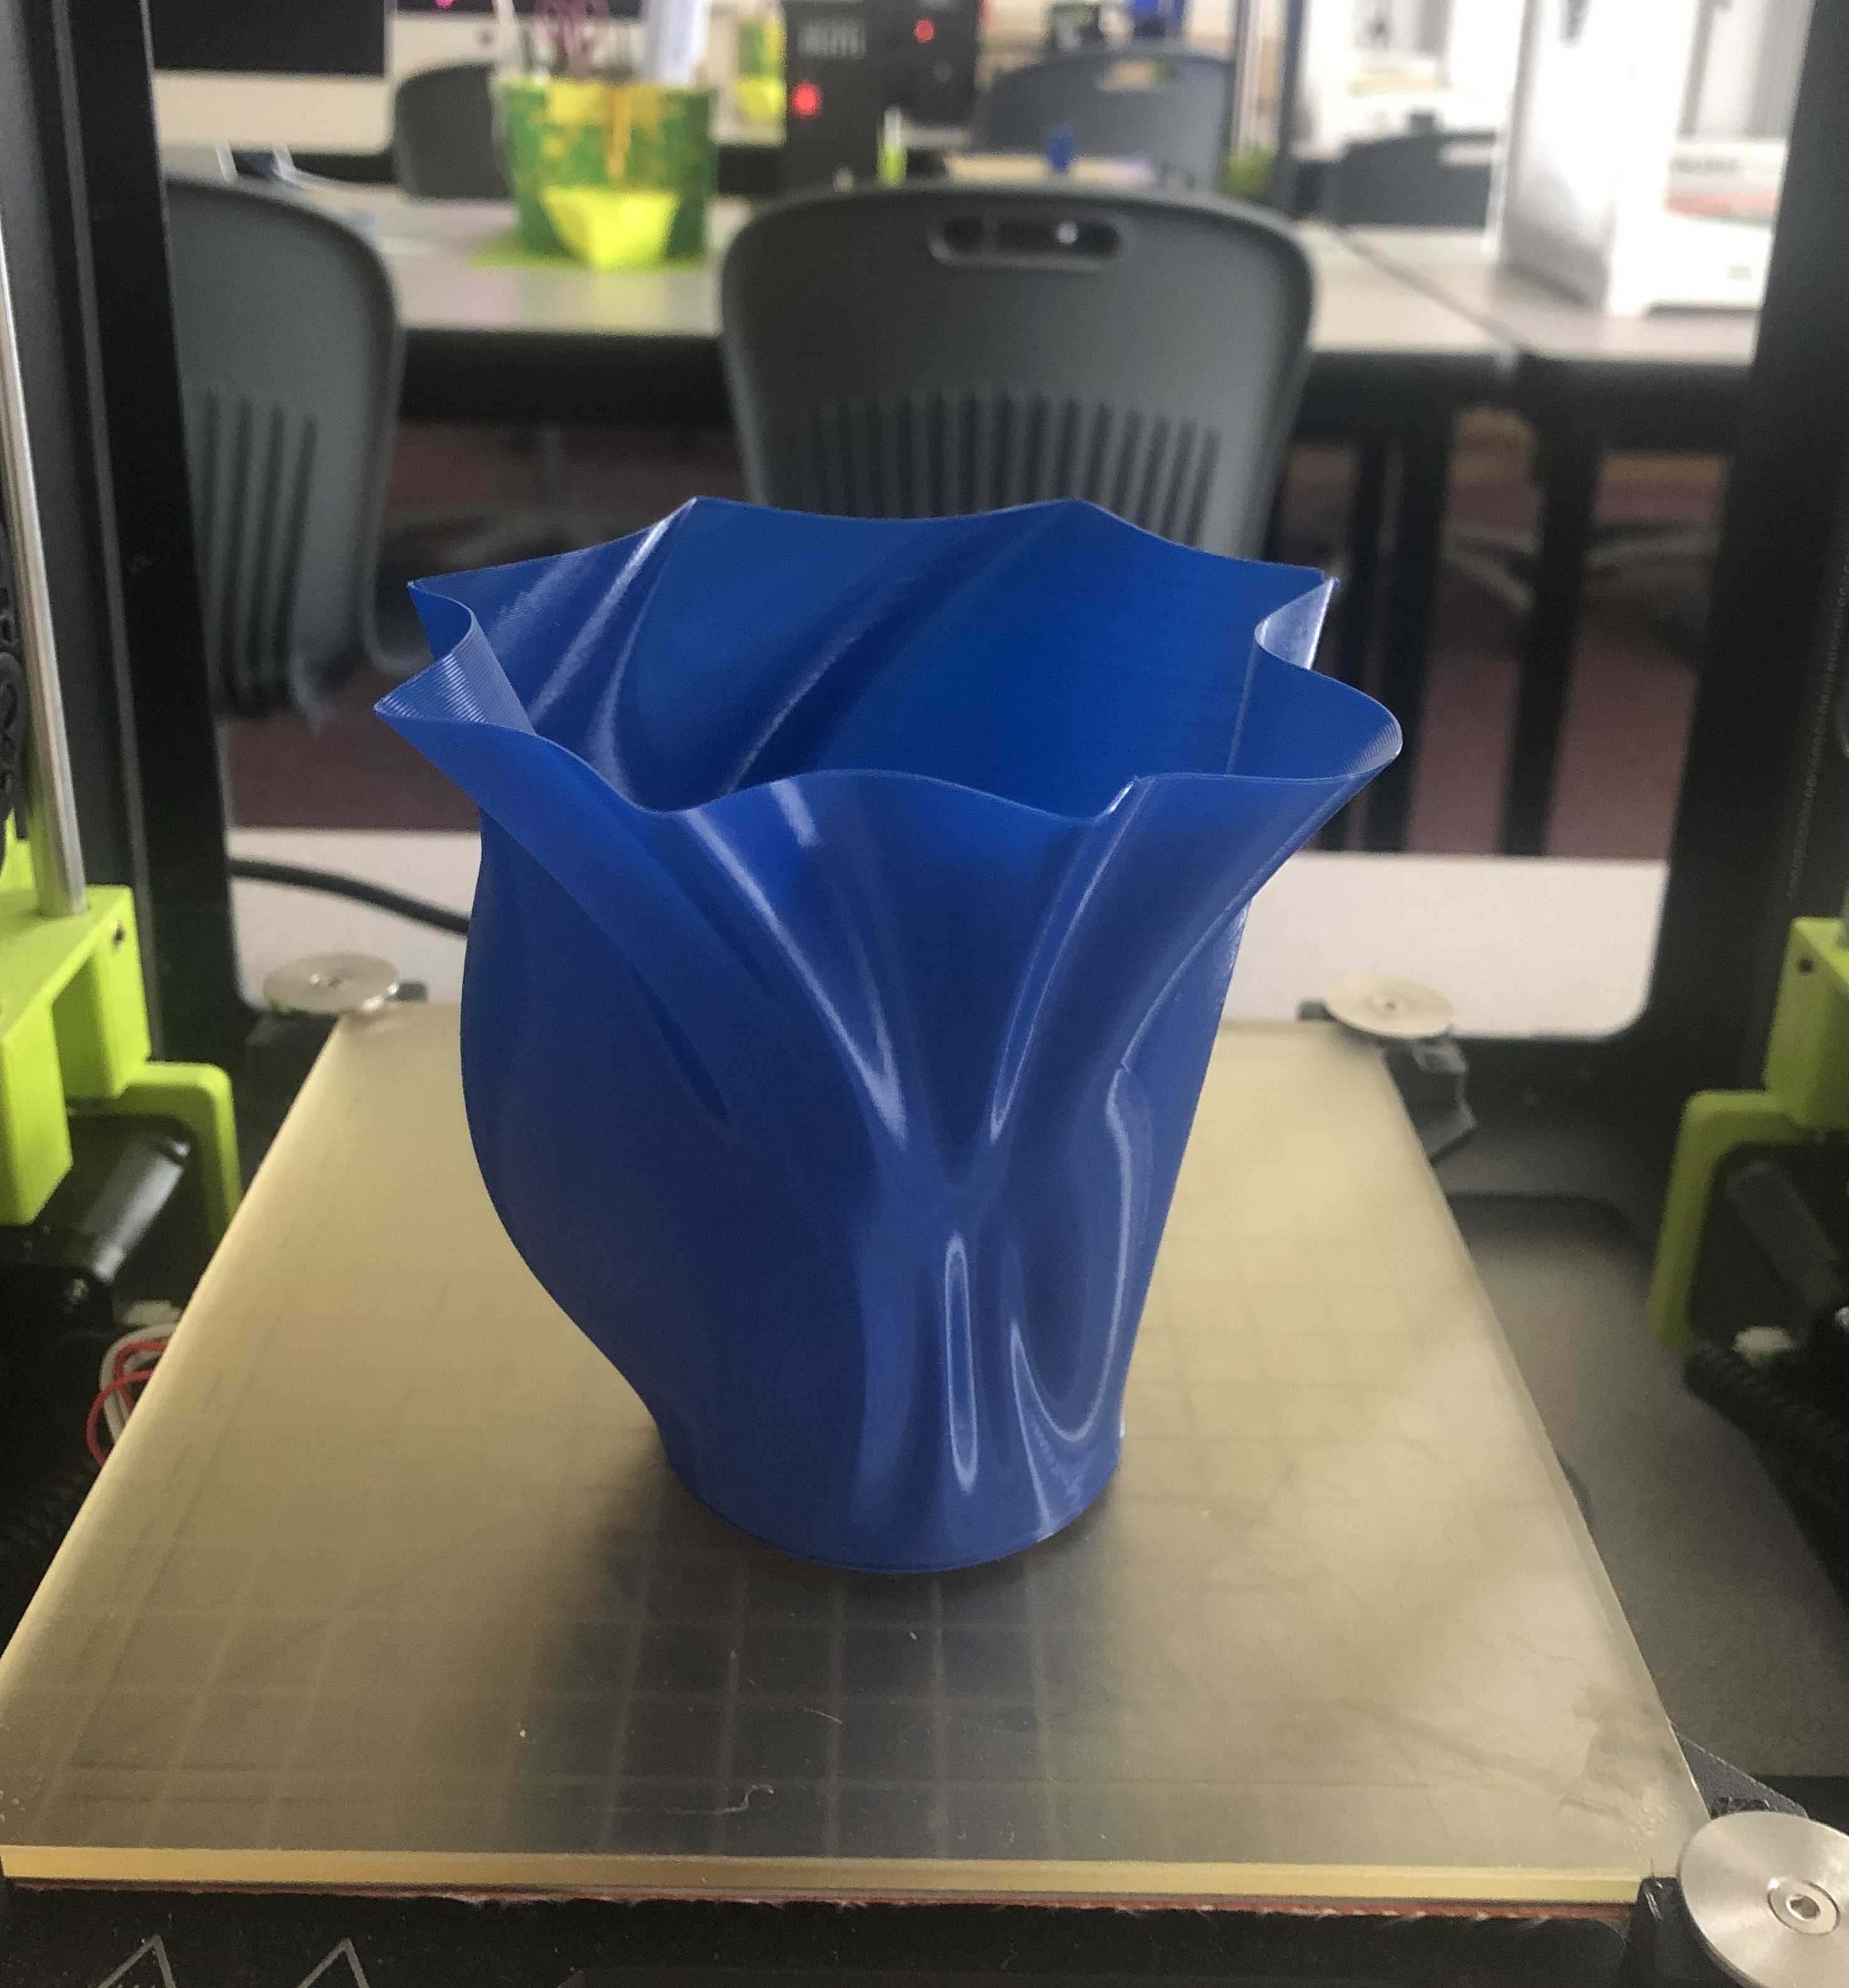
The first thing I printed was the mini vase design. I was very happy with how it came out! I was not sure if my vase would be too twisty for the printer’s liking but it did a fantastic job. I was pleasantly surprised! I then printed the bigger vase. I made the dimensions fairly large to get a bigger shape and it printed it very well. Overall, I was very happy with my vase and my new found experience in Fusion 360.
Thingiverse link: https://www.thingiverse.com/thing:3551989
20 Forms in OpenSCAD
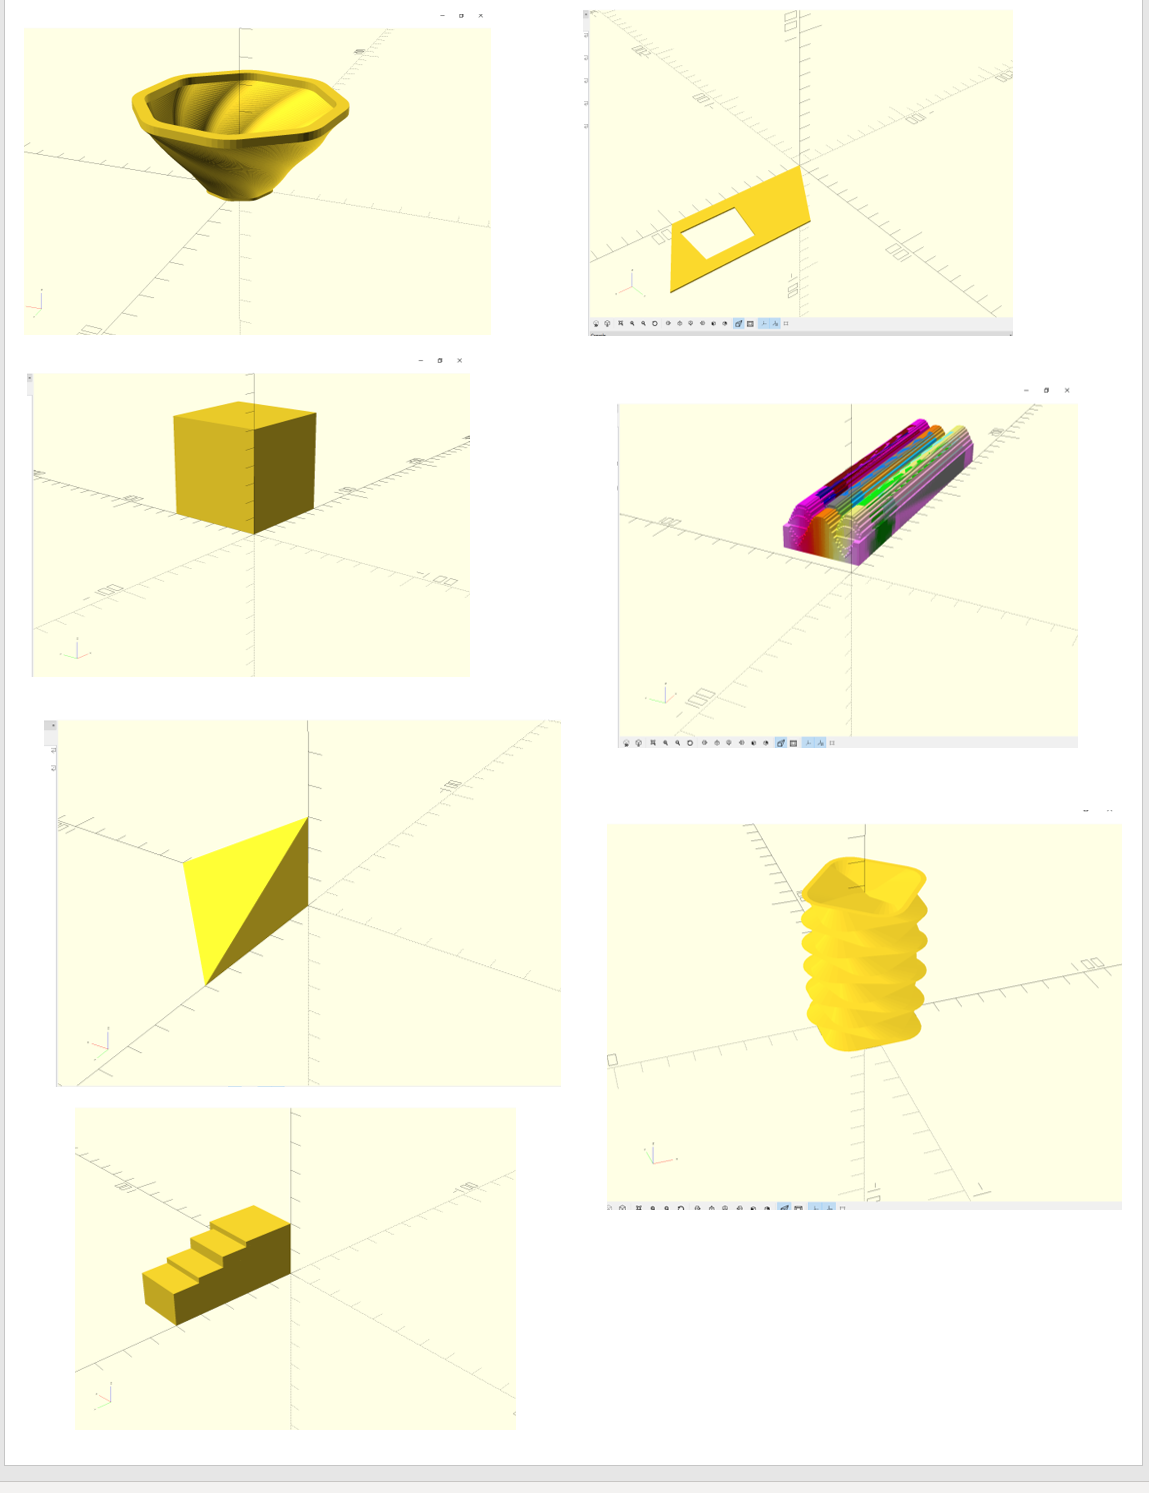
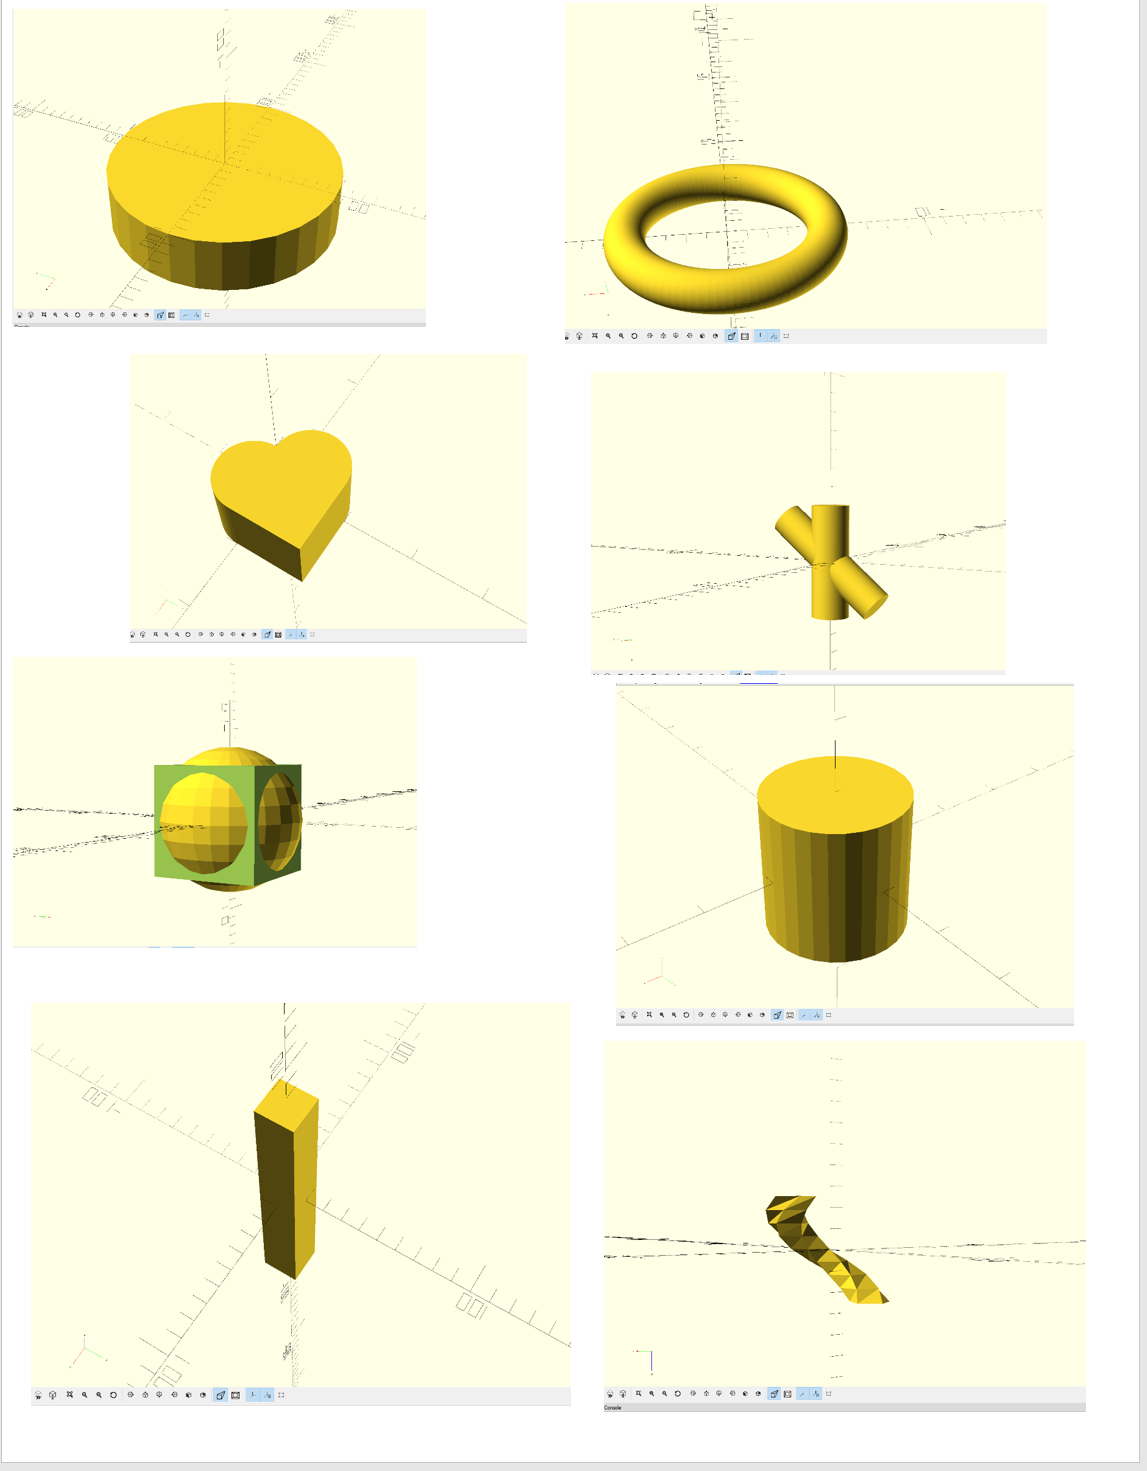
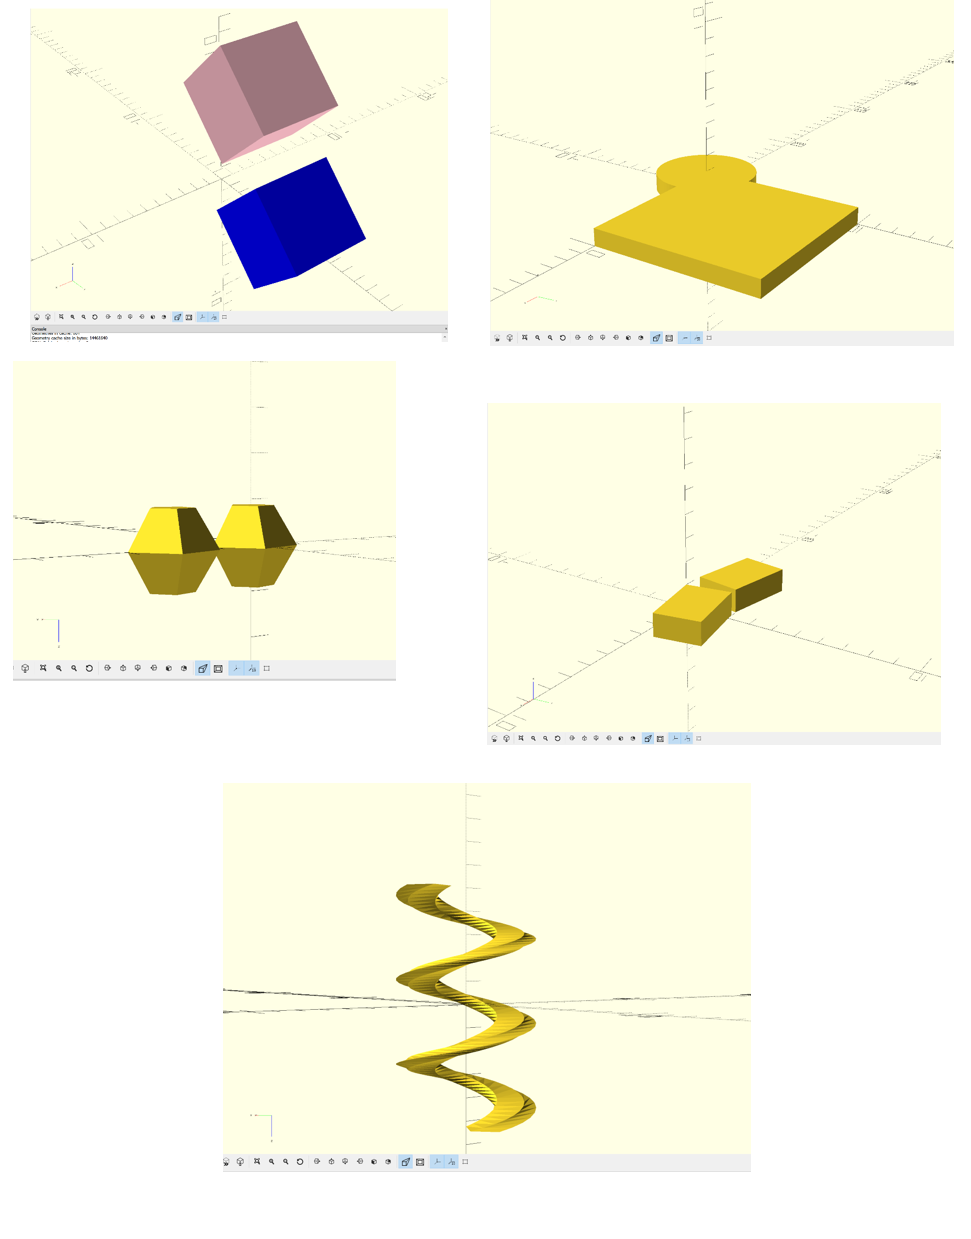
For each object, I looked up different codes to use and modified them to get the desired shape and color that I wanted. I used the Open SCAD “Cheat Sheet” to find the basic formulas, before adding some other code to each one. I made the stairs using the extrude and box codes. I made the twisty sphere by using the rotate and cylinder functions. The sound wave was made using the multimatrix code. The original polybowl was made using our professors code, but it is modified for the shape that I wanted. The box, Triangle, and flat box shape were made using the basic shape codes. The hole in the middle of the one shape was added using a the true or false method. I then found some more shapes on the cheat sheet and started to use the intersection code and rotate extrude. I also played with changing colors and duplicating objects, as well as putting other objects inside each other.
OpenSCAD Print

Overall, This print was a success! I printed and corkscrew shape and it printing a very interesting texture. I added a raft to this object so it would be able to stand up with out falling over. This shape took a little while to make in Open SCAD and I thought it would be cool to print so that is why I chose this object.
Summary of Group OpenSCAD Project
The title of our project was “Maze” and my partner was Christina Lorenc.
Link to group project: https://geekhaus.com/isci104_spring2019/2019/04/11/group-open-scad-project-ariana-christina/
Link to Thingiverse: https://www.thingiverse.com/thing:3574586
Overall, I really enjoyed working on this project. Writing code was very new to me, but it was very rewarding when the whole code came together for the final project. I learned how to use Open SCAD and how to make my own customizable designs with this program. I was very happy with the final product and I think it turned out very well.


Reflections and Future Projects
I thoroughly enjoyed the work we did in this course. I have never done any 3D printing and now I feel confident that I can print anything that I would like to in the future. I learned how to use Open SCAD, Fusion 360, Thingiverse, Tinkercad and two different 3D printing machines. I also learned how to customize prints in Thingiverse. I loved being able to be creative in this course and to make whatever I wanted to. I really enjoyed learning how to use Open SCAD as it was a challenge for me, but it was very rewarding when I was able to figure out how to use the code. Fusion 360 was the most challenging program for me to learn how to use, but it was still very interesting to learn how to use. Overall, this was one of my favorite classes that I have taken at JMU and I hope to continue 3D printing in the future!
I have already printed a few extra things in this class that I will give to my parents. One is a logo of the place that my mom works and the other is a corvette logo since my dad is an avid car racer. In the future, I may want to print a jewelry stand or a ring holder as I really liked the ring holder that someone else in our class printed. I also wanted to try to print a rose for my roommate since she loves roses. I may want to print another vase or a cup to store things in in the future as well!