Hello
Hi, I’m Emma Feimer, I am 19 years old and from Long Island, New York. I am Currently a sophomore communications major with a concentration in public relations. I am the youngest of three, and my older brothers are twins, and I have two pet cats. In my free time, I enjoy hanging out with my friends and family and binge-watching Netflix. Next semester I will be studying abroad in London and can not wait to travel Europe. As for my 3D printing experience, I do not have any prior experience. I am excited to learn how to use 3D printers and how to create different objects.

https://www.thingiverse.com/emmaf180/about
Thingiverse Model
Cat Phone Holder, by Alajaz
https://www.thingiverse.com/thing:1886363
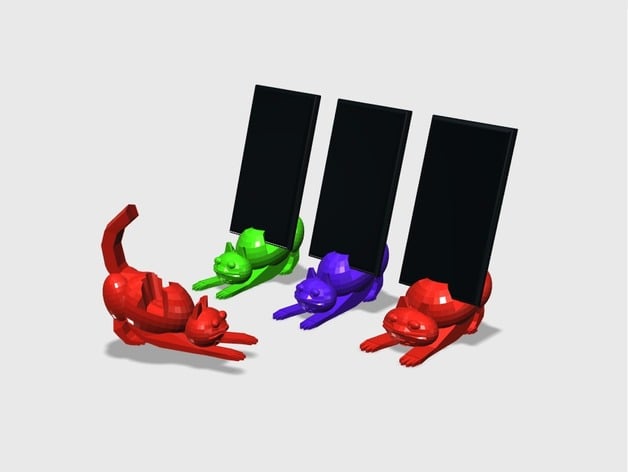
I chose this model becuase it is something I will actually use for my phone. I also love cats so I thought that it would be fitting to something I love and can use everyday.
Thingiverse Print

I was originally going to make the cat phone stand, however, ran into troubles with the printers. I then changed to this elephant phone stand. With this print, I did not run into any problems. It also took about an hour and a half to print.
https://www.thingiverse.com/thing:3502833
20 Forms in Tinkercad

- I used the cylinder basic shape and palaborgia on top to practice placing objects on top of each other.
- I started learning how to use the character shapes and put together some character aspects with basic shapes
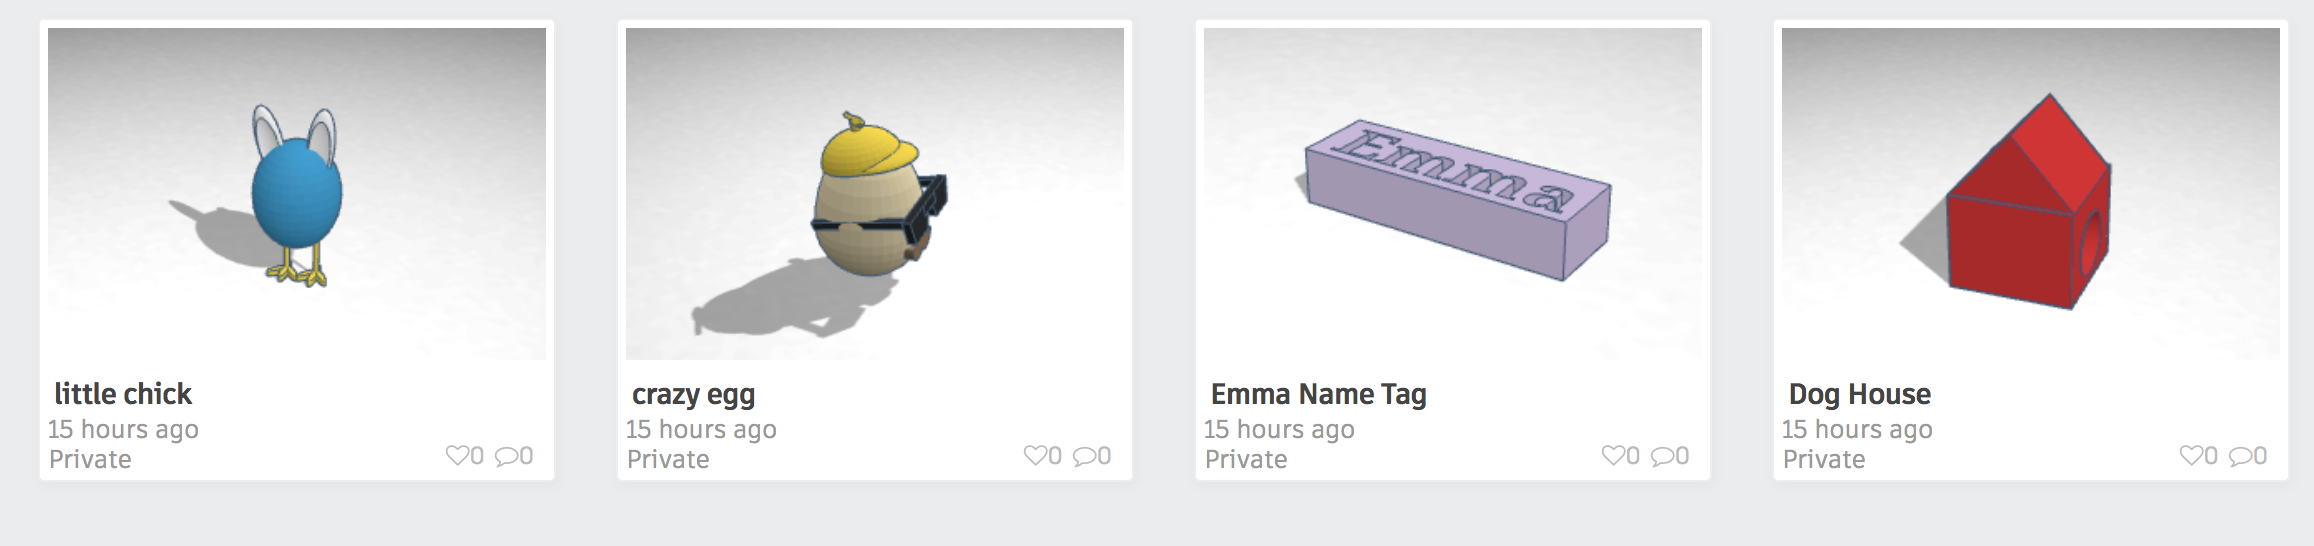
- Using the letters I did and E for Emma and then put star holes in it to practice placing holes in objects
- I made a face using the cylinder shape and then placing holes in it with other basic shapes
- Again practicing placing holes in objects and made another face with different shapes
- Here I placed multiple basic shapes on each other to try and make a castle like object
- I took a character and just placed glasses on to try and make a figure
- I made another face by placing holes in the heart shape
- I used a basic shape to make a body and then character traits to try and make a little figure
- Here I used all character shapes to try and make a character egg
- I made a name tag for my name by placing text into a basic shape
- I placed a roof on top of a box and placed a hole in the middle to make a house structure
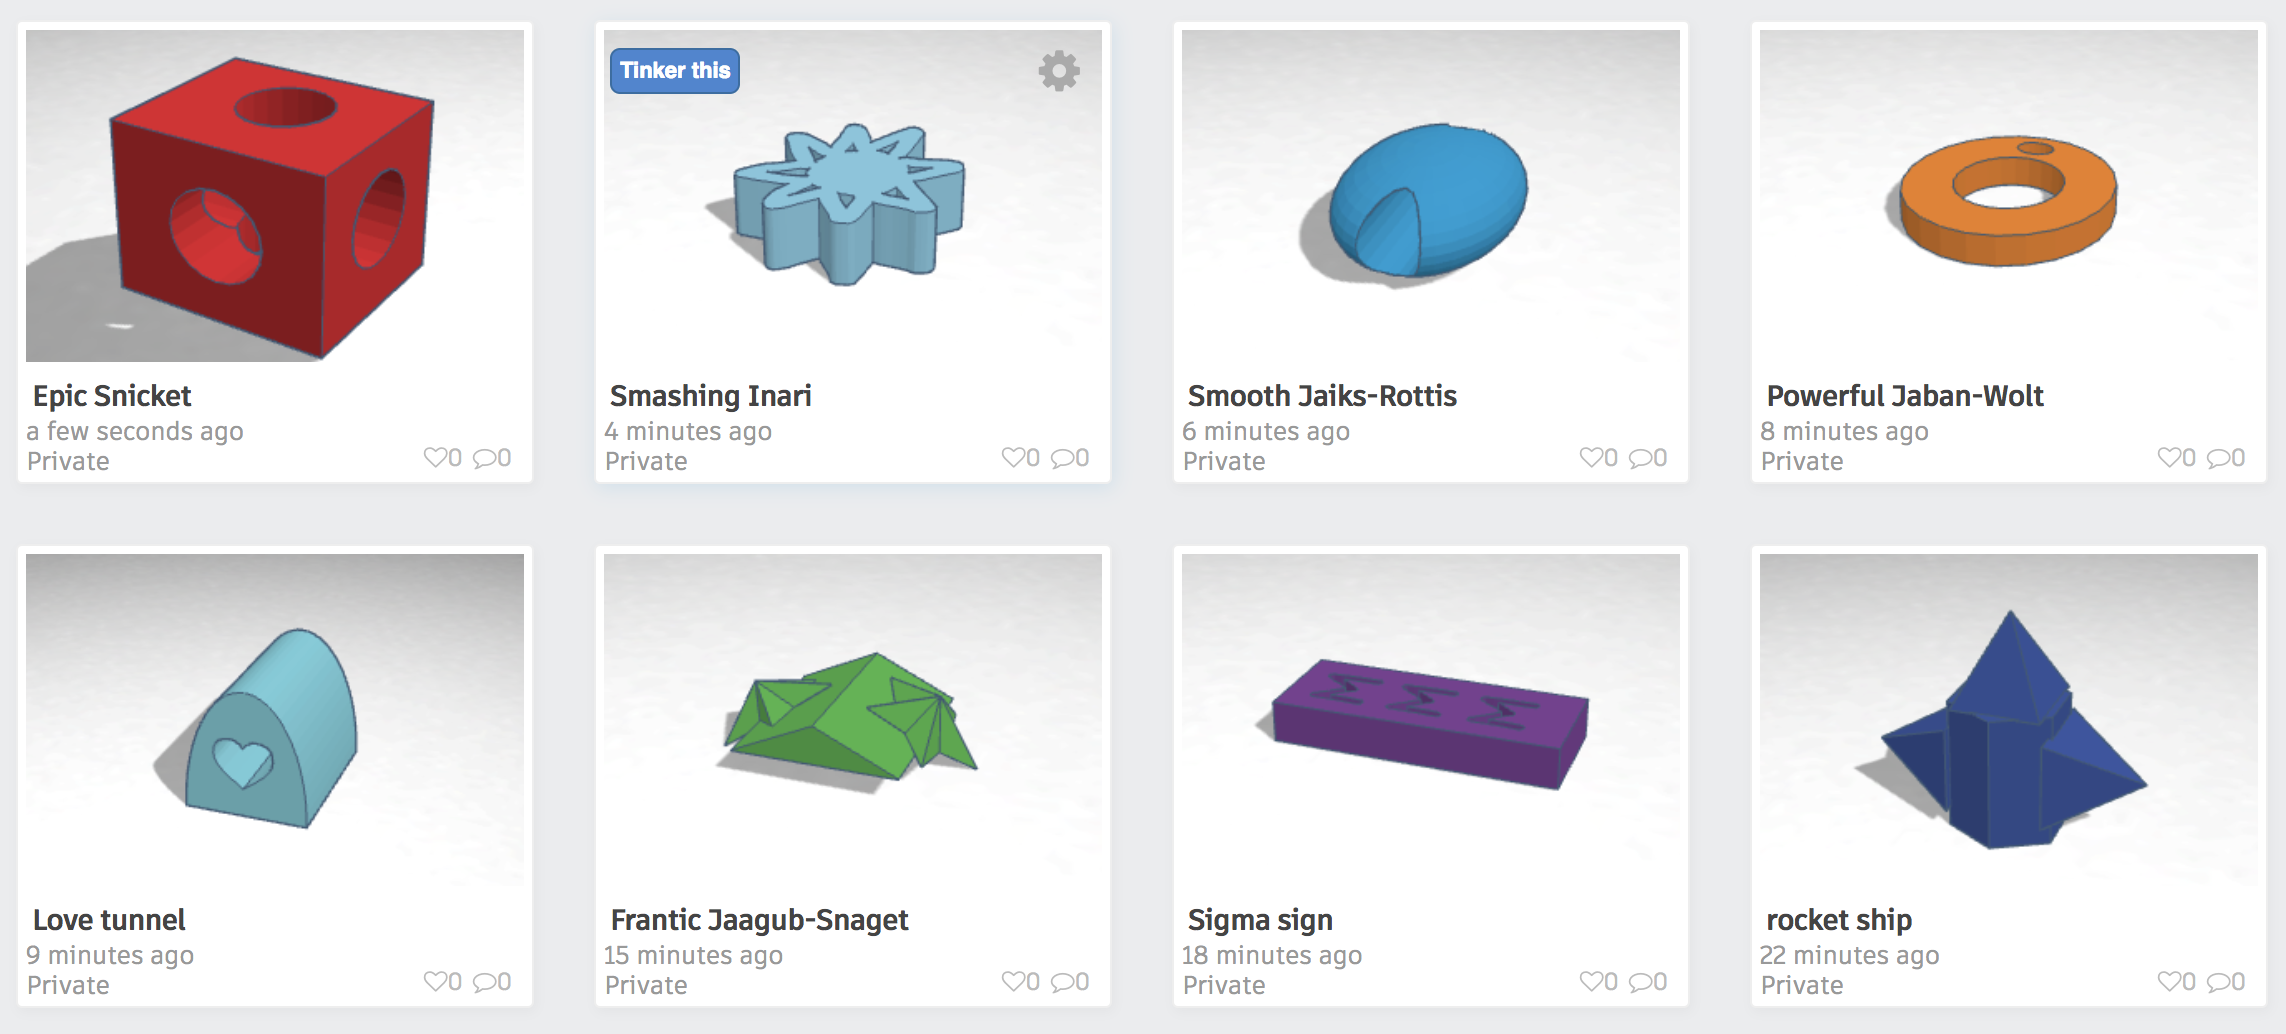
- I placed holes in every side of a box
- Here I used the scribble tool to make an object
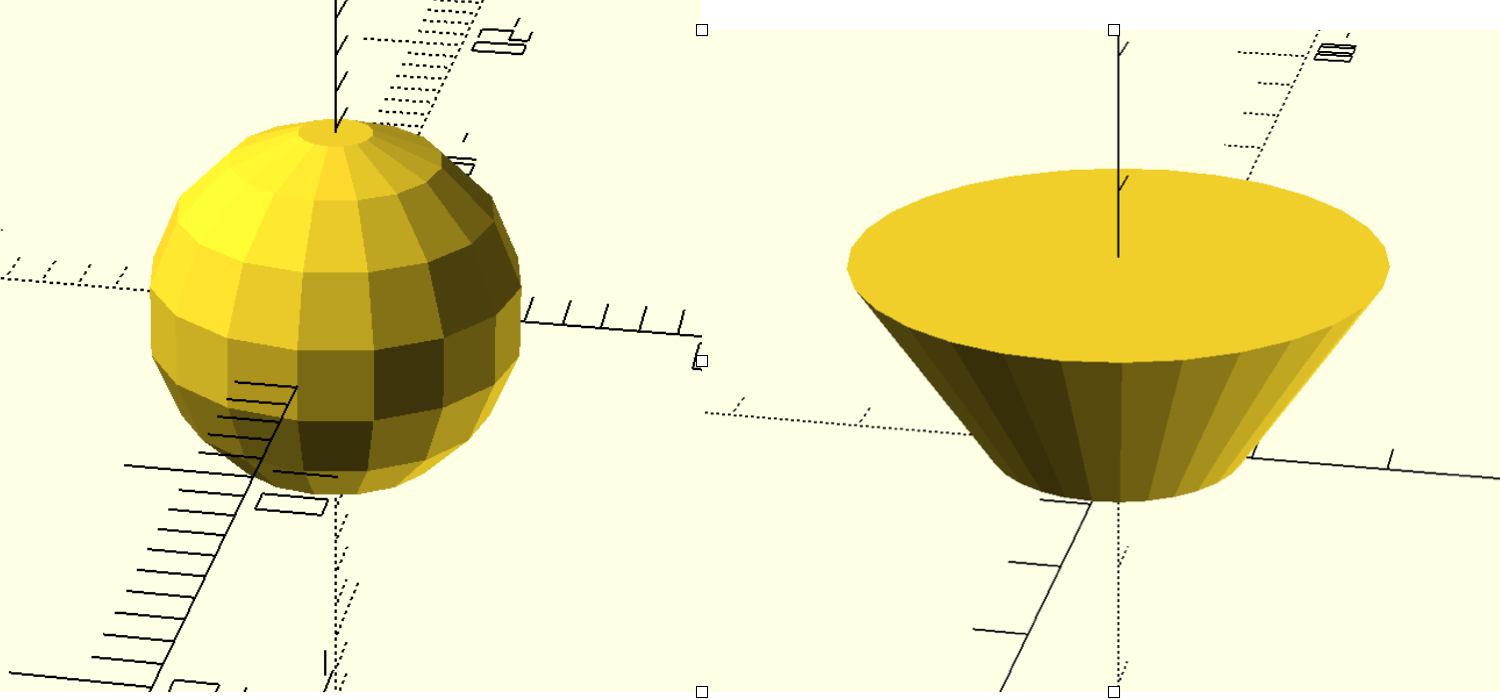
- I used the sphere shape and resized it then placed a cylinder hole through the middle
- I used the ring and placed a smalled ring as a whole inside the wall
- Here placed a heart wall through a round roof
- I took a roof shape and practiced rotating two stars on both sides of the roof
- I used a basic shape and the scribble took to make a sigma sigma sigma sign
- I used the polygon as the base and placed pyramids on both sides and the top to make a rocket ship figure
Tinkercad Print

I believe my tinkercad print was a success. I am really happy with the way that it came out and how the letters as holes look.
Summary of Group Tinkercad Project
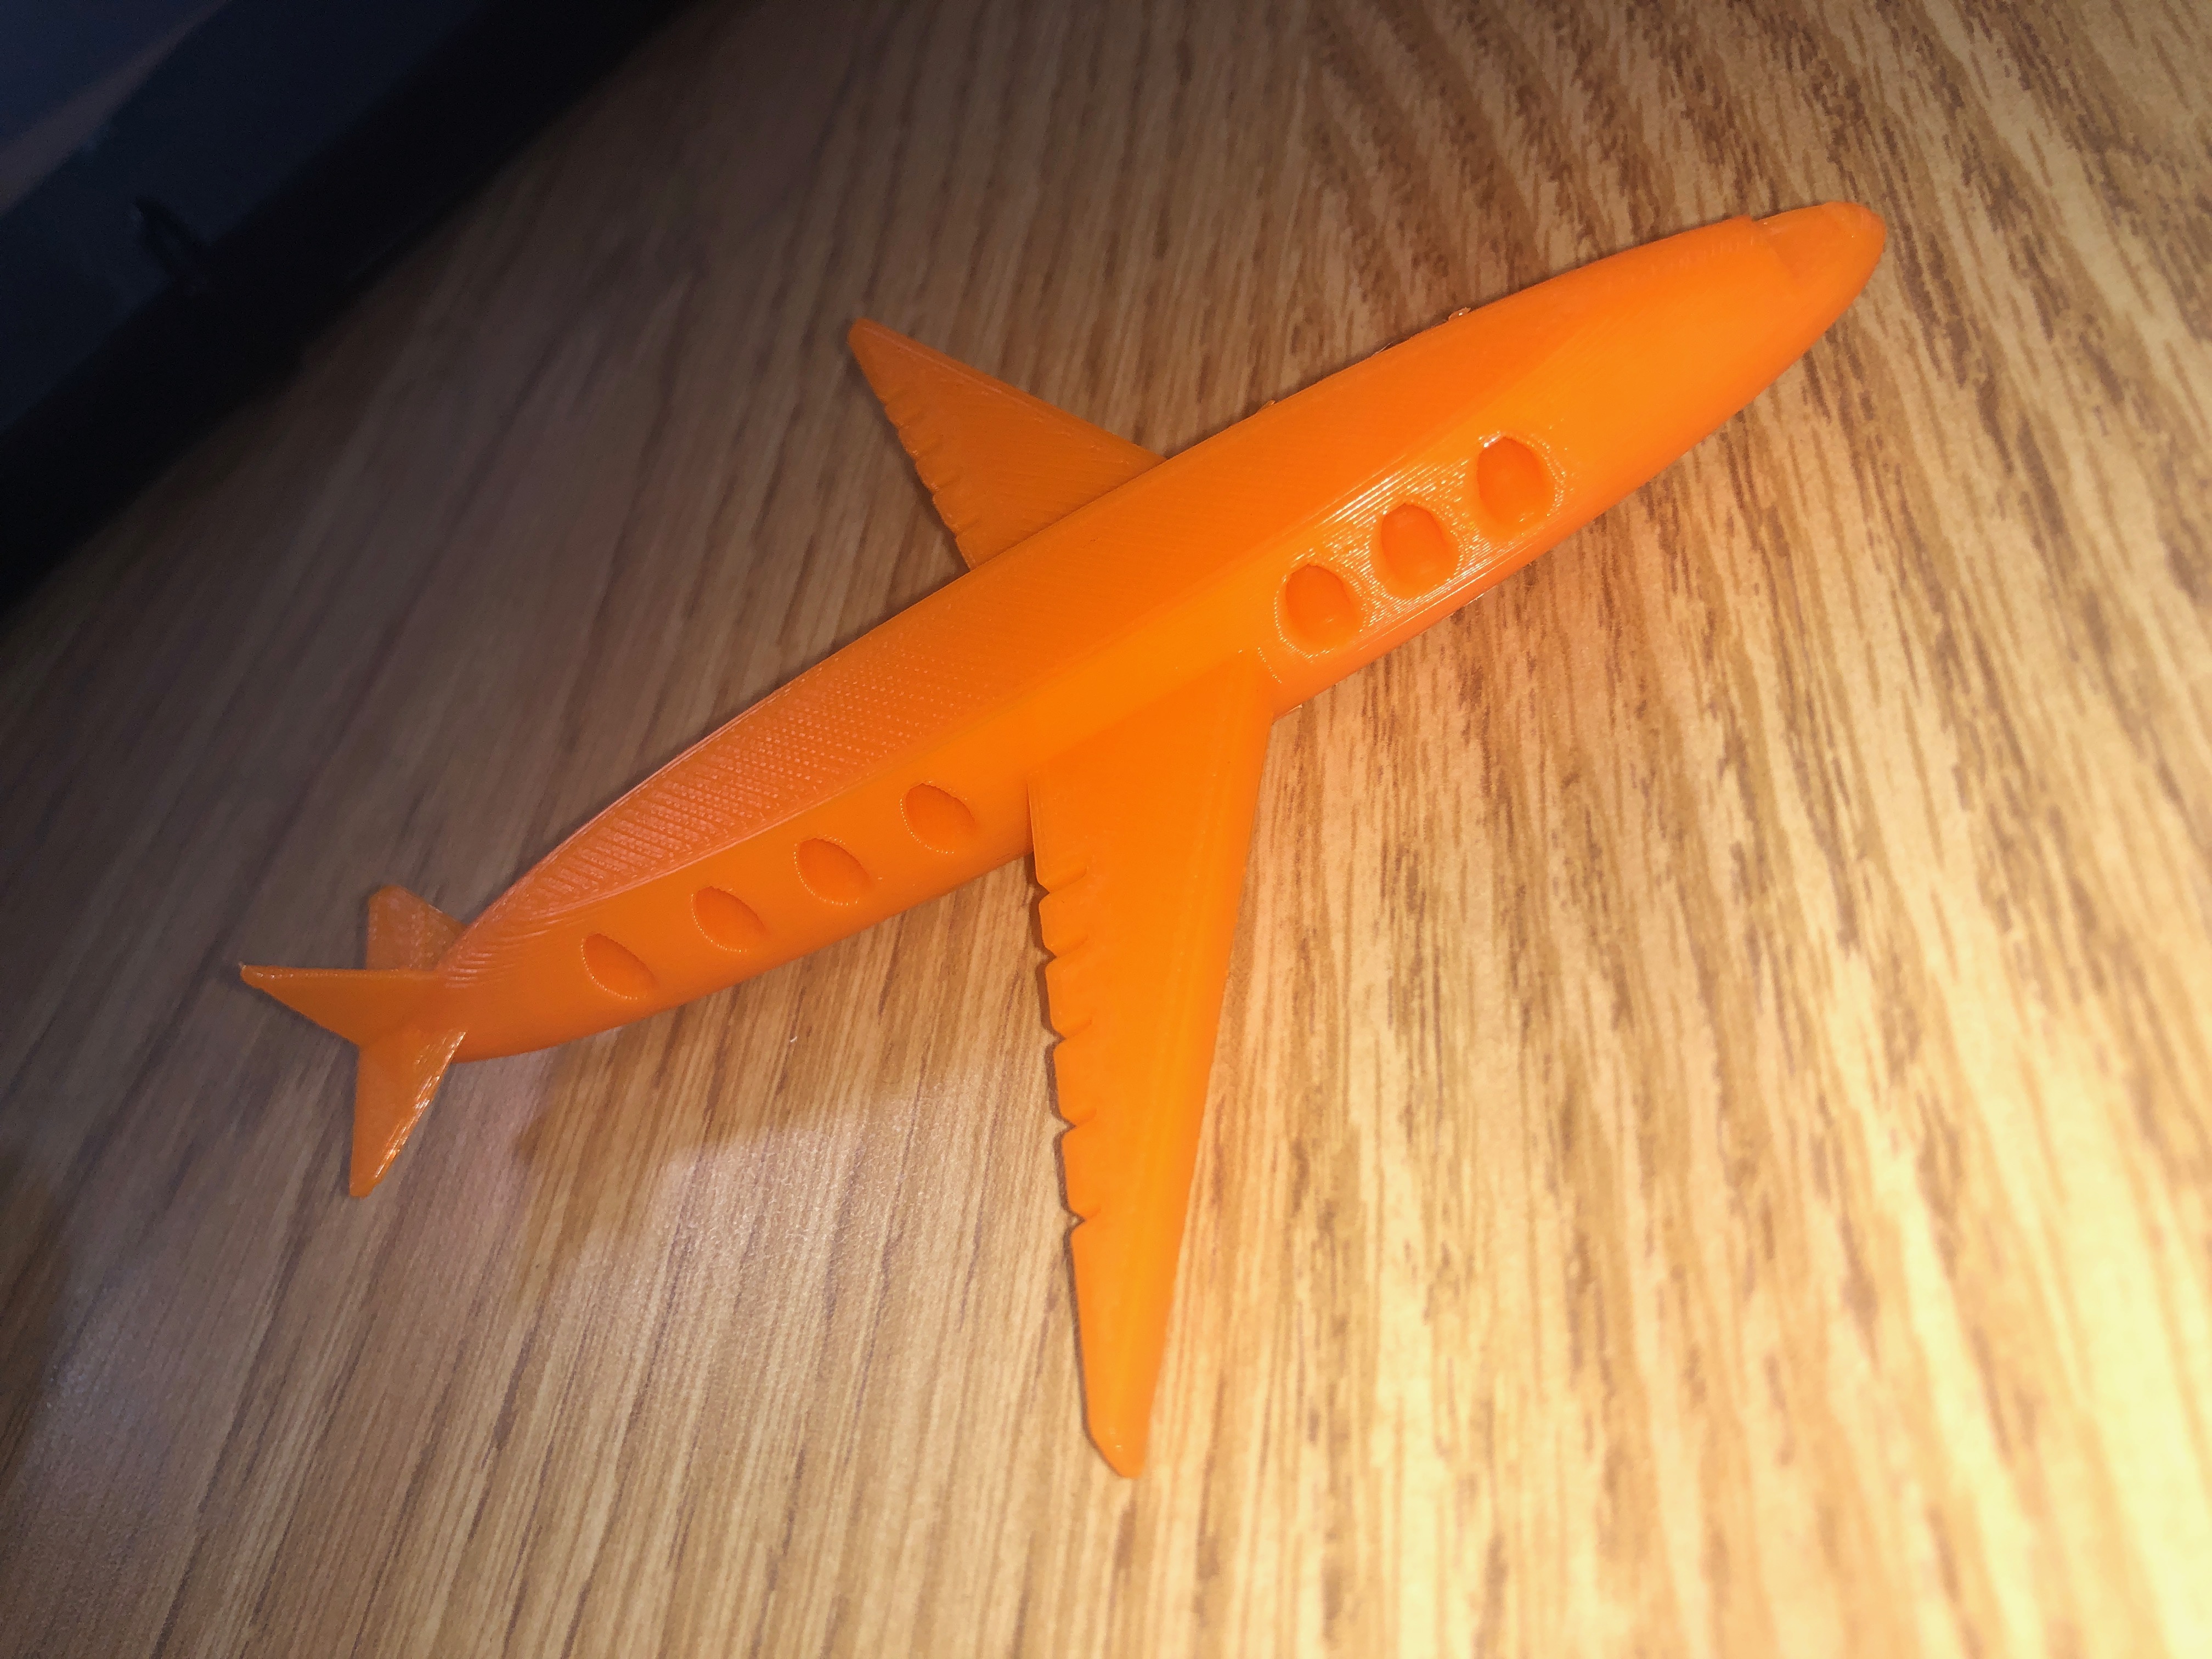
3D Airways
Brooke and I really enjoyed working on this project. It was challenging but we were still able to complete it. We had some problems that we faced in the first draft but were able to go back onto tinkercad and fix what needed to be fixed. We worked well together and I think that the plane came out very nicely and looks realistic.
https://www.thingiverse.com/thing:3508694
20 Forms in Fusion 360
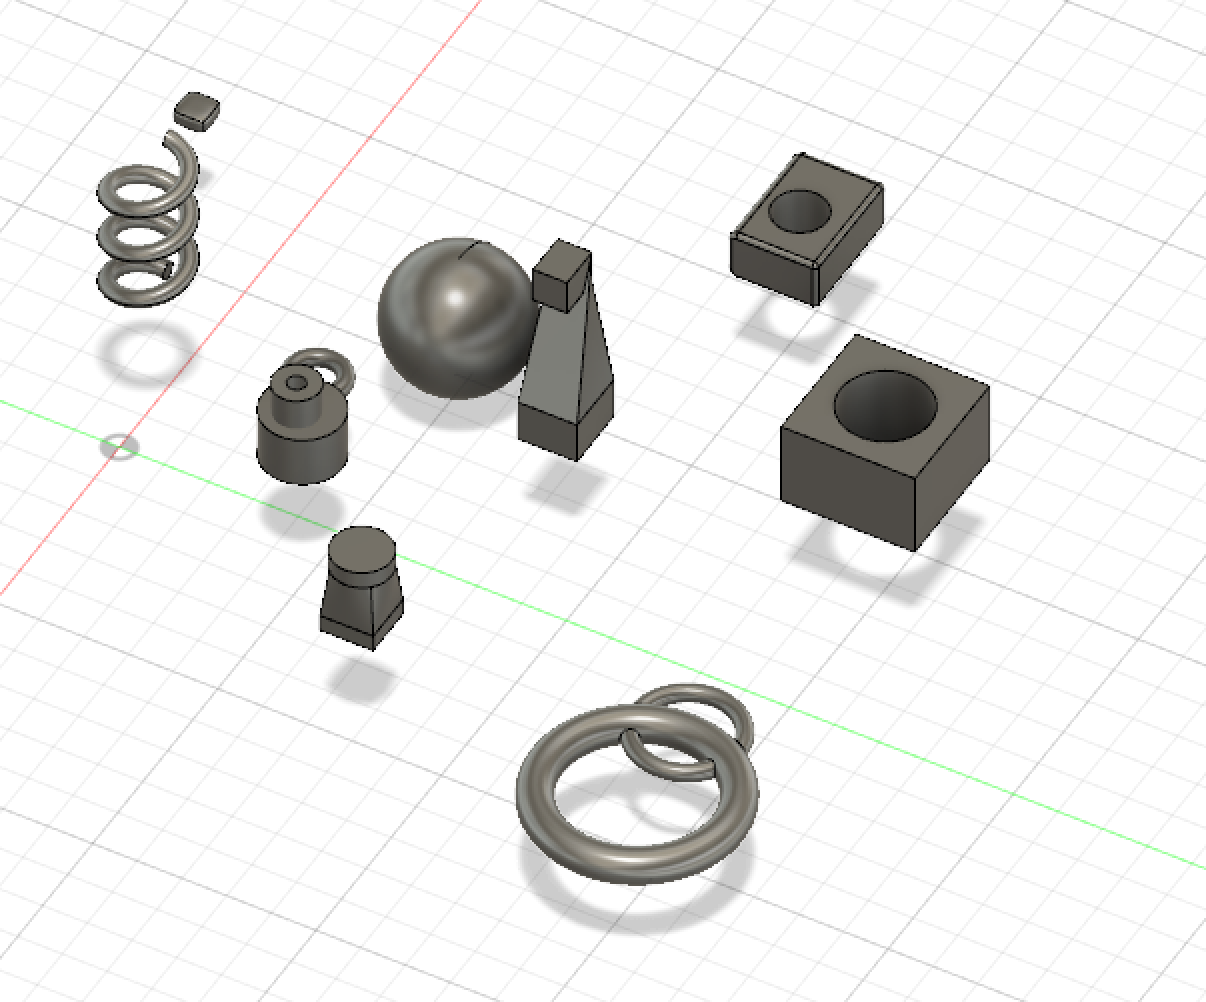

- I used the coil to create a basic coil shape
- I used the sphere tool to create a basic sphere
- I created a basic torus
- I created a cylinder and then created a smaller cylinder on top of it and then put a hole in the smaller one.
- I created a box and placed a cylinder above it and then lofted them together
- I made to boxes, a bigger one on the bottom and smaller one above and then lofted those also but only to on side of the box to give it the triangular shape
- I created a box and placed a hole in the center of it
- I created a box and placed a hole in it and then filamented all of the sides of the box
- I created two torus’ and joint them together
- I attempted to create a form and it was a box and then I flattened it
- I created a sphere and then placed holes all around it
- I created two cylinders and lofted them and then only filamented the top and bottem to give it almost a UFO shape
- Made a cylinder and then placed three holes in the middle of it
- Made a coil and tried to make holes in it, it just separated the pieces
- I created a sketch and then was able to make it into a pipe and follow the sketch outline
- I made a small torus and then placed a bigger torus around it and jointed them so one went through the other like a ring
- In create a form, I created a cylinder and then modified it to merge two edges to close the top of it
- Also in create a form, I made a box and then used the mirror tool to duplicate it and then tried to form tips but I had trouble and it just changed the lines in the form.
- Here I created a cylinder and used the shell tool to hollow it out
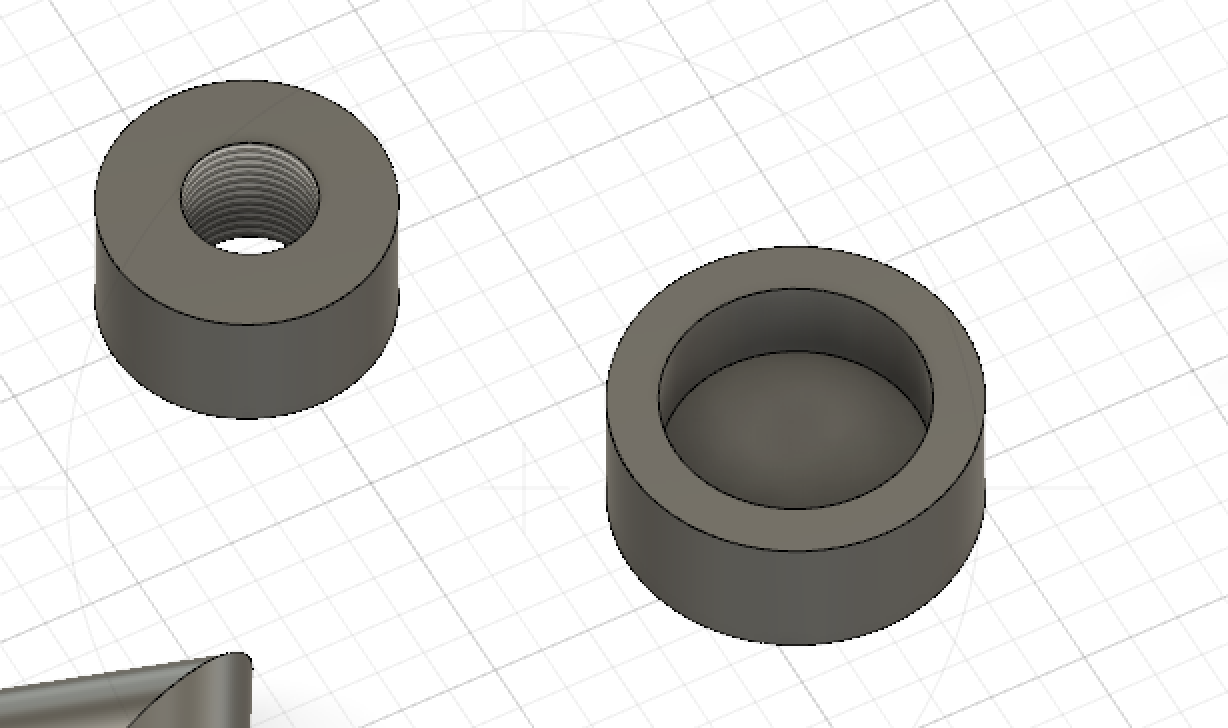
- Lastly, I created a cylinder again but this time used the thread tool to create the detail in the hole in the center.
Fusion 360 Print

I think that this 360 fusion print was a success. It is two torus’ put together and they were able to print well as a single object. I am very happy with the way that this came out.
Fusion 360 Vase Design
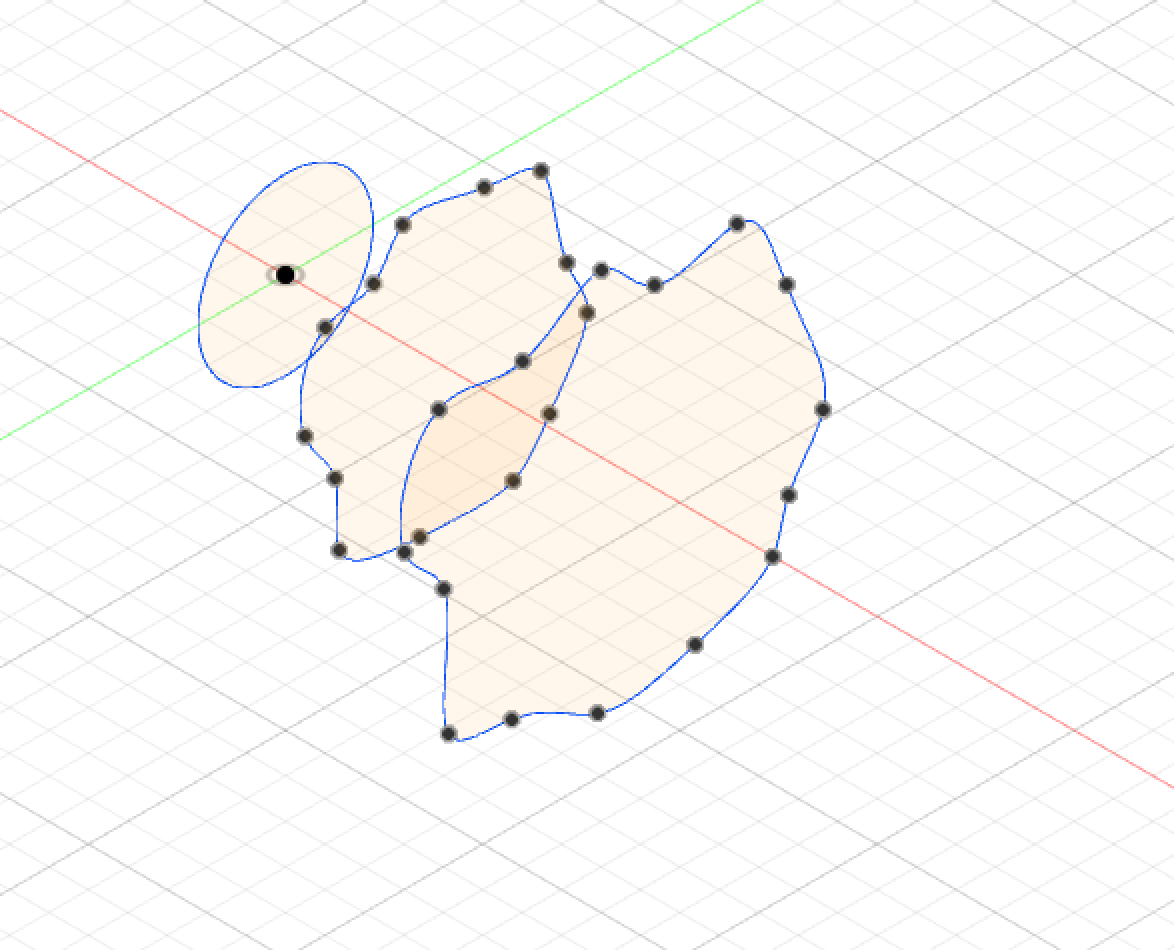 For this design, I had to use the sketch tool to create a circle base, and then offset plane to make the second level where I then also used sketch but this time with spline to make it a design, and then had to offset plane again to make the third level where I also used sketch with spline to make that level a curvy design as well. This design goes beyond the video in that I made my curvy design and when printing it twisted it.
Fusion 360 Vase Prints


I think that my vase came out well. I did not have any problems printing it. I was nervous that it would not stand well all the way up since the sides are so thin but despite that it came out well. I also did not need to use a raft or support.
20 Forms in OpenSCAD
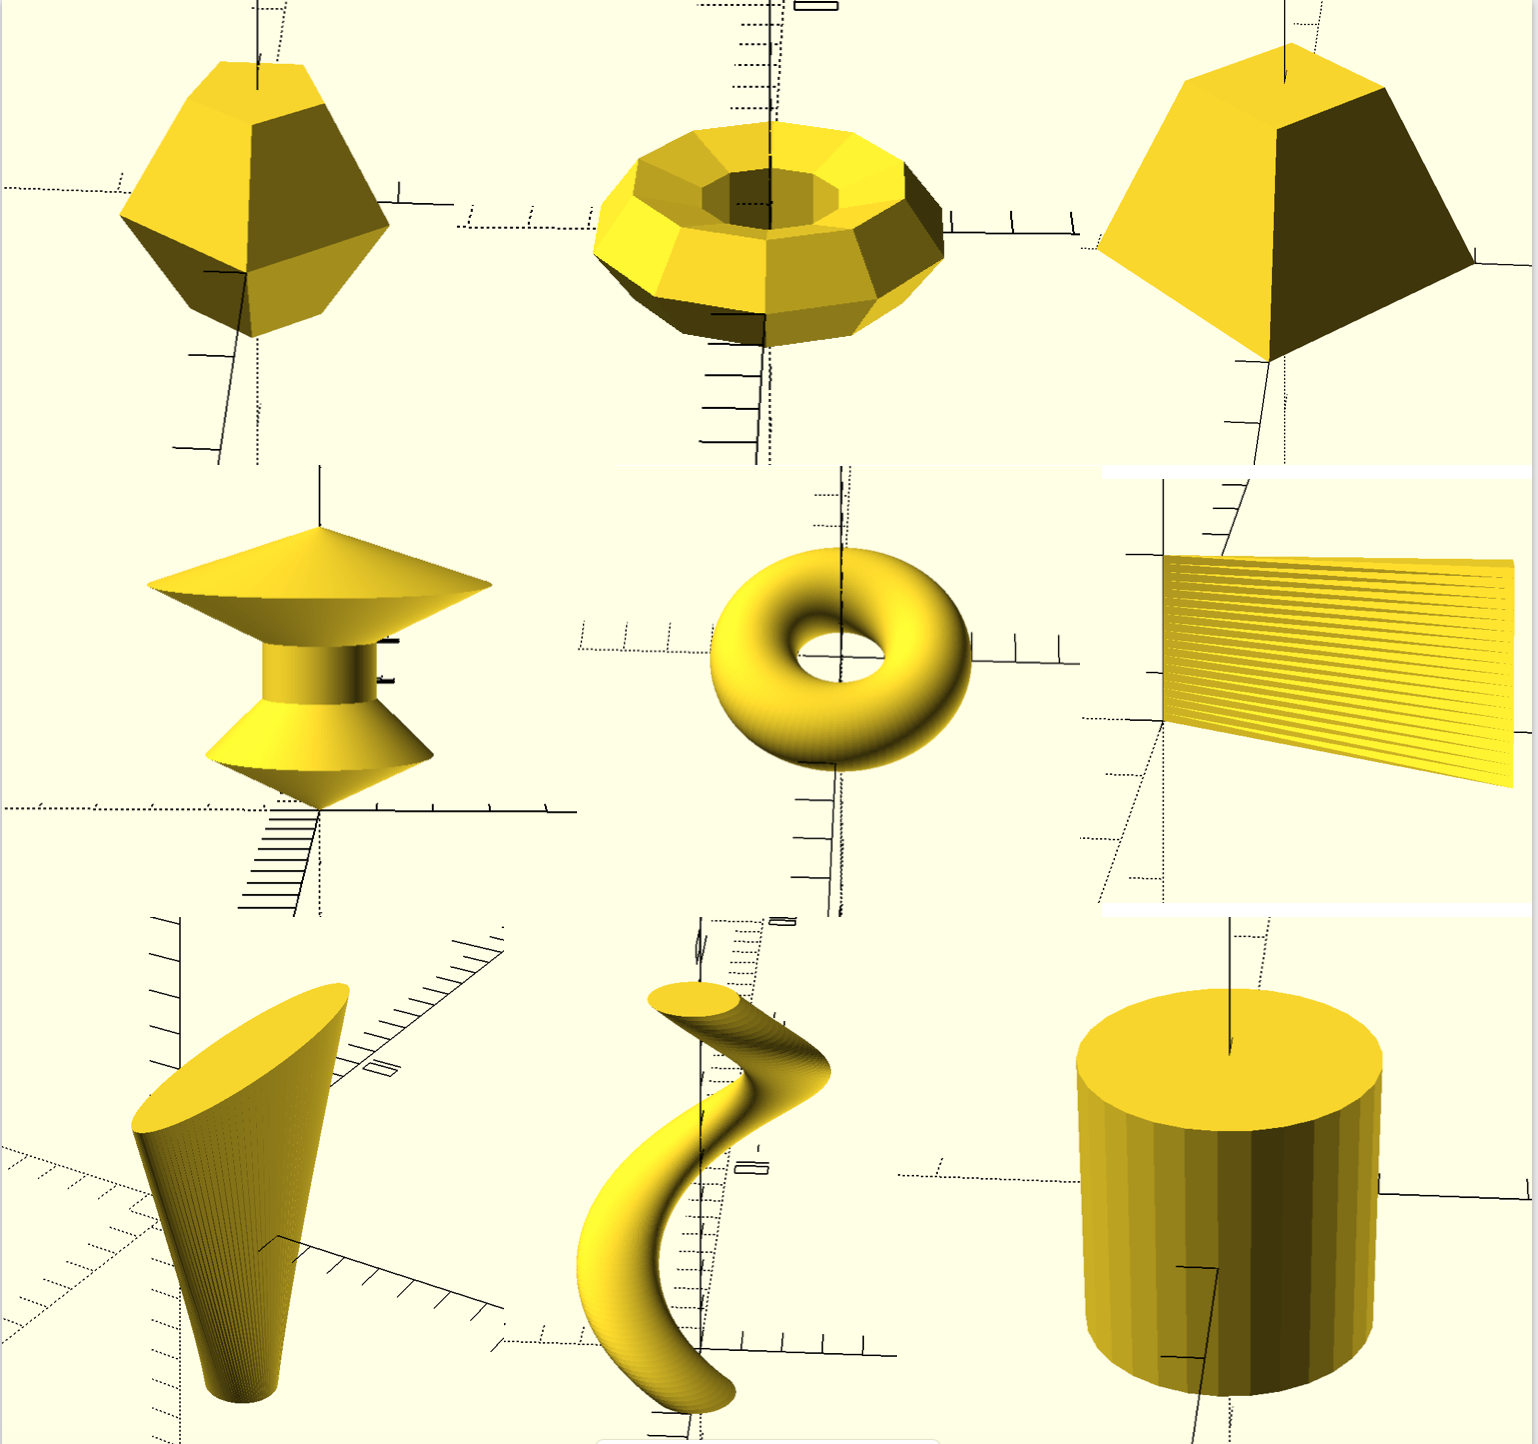

OpenSCAD Print

This print was a success. I had to make sure to add an adhesive plate to the bottom becuase with out the print would not stick. After adding that the print came out with no problems.
Summary of Group OpenSCAD Project
Emma and Brooke’s Jewelry Stand
https://www.thingiverse.com/thing:3581602
For our project, we decided to make a jewelry stand because we both love jewelry and know how cluttered it can become. For our jewelry stand, you can choose if you want 3,2, or 1 bar to hold jewelry on. I think our project was very successful. We had no problems with printing, which we thought there would be problems with the bars but used support when printing and they came out strong. The divets on the bars also came out very nice giving spaces for the jewelry to hang. Overall I think this print came out very well and we did not face problems with it printing. 
Reflections and Future Projects
I really enjoyed the work that we did in this class. I am also very happy with the things that I have printed. Sometimes I did face challenges that were frustrating with certain prints, but it helped me be more patient and helped me improve my problem-solving skills. This class improved my problem-solving skills because we had to do a lot on our own, so when prints would fail or I could not figure out one of the programs I had to relax and just keep trying to make it work.
Now that I know the basics of 3D printing there are some things I would like to print in the future. One of those things would be a phone case. I feel like this project could be very challenging in needing to use exact measurements in order for it to fit my phone. Another thing I might like to print in the future would be a storage bin or box. I would like to print this because it could be very useful and then I wouldn’t have to go out and buy one, it would be cool to make my own.