Initial Design Idea
We want to make a customizable LEGO set that allows you to create the size, shape, color, number, and placement of LEGO pieces in openscad. The openscad code would allow users to also customize their dimensions of each LEGO piece so that they could decide to be printed separately and connect together or not. They can also adjust the translate and rotate codes to move and connect their LEGO pieces directly to the platform included in the code. We thought this was a really fun idea because we wanted to make something that was both customizable and could possibly be altered again after it is printed. By choosing this LEGO set design we are trying to create something that can be moved around and played with once it is printed in addition to having a stationary print option as well. Going into this project we already found a LEGO openscad code that created a 3D single LEGO block design. We first figured out how to alter the single LEGO code by inputing different dimensions to change the shape of the piece. The next thing we have to learn for this project is to replicate the code to make more pieces in the same openscad file. We are going to have to incorporate rotate and translate codes, as well as the loop tool in our openscad code. We also plan on allowing the code to change different colors to help identify the different LEGO pieces. These things we will learn by watching youtube tutorials, experimenting, and using the openscad cheat sheet.
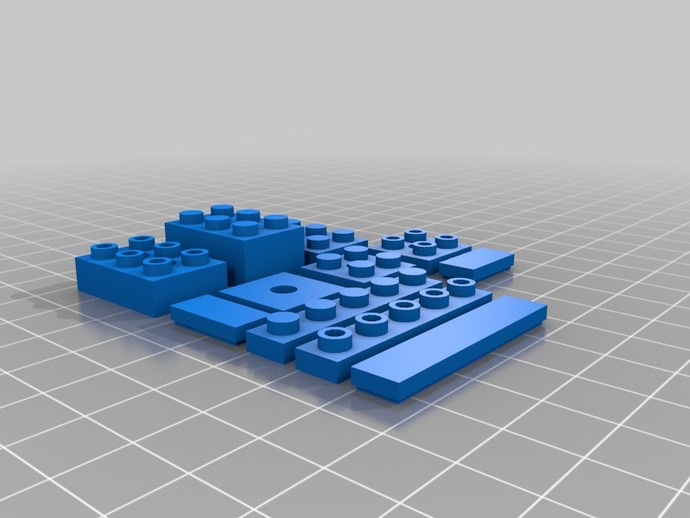
Design Iteration
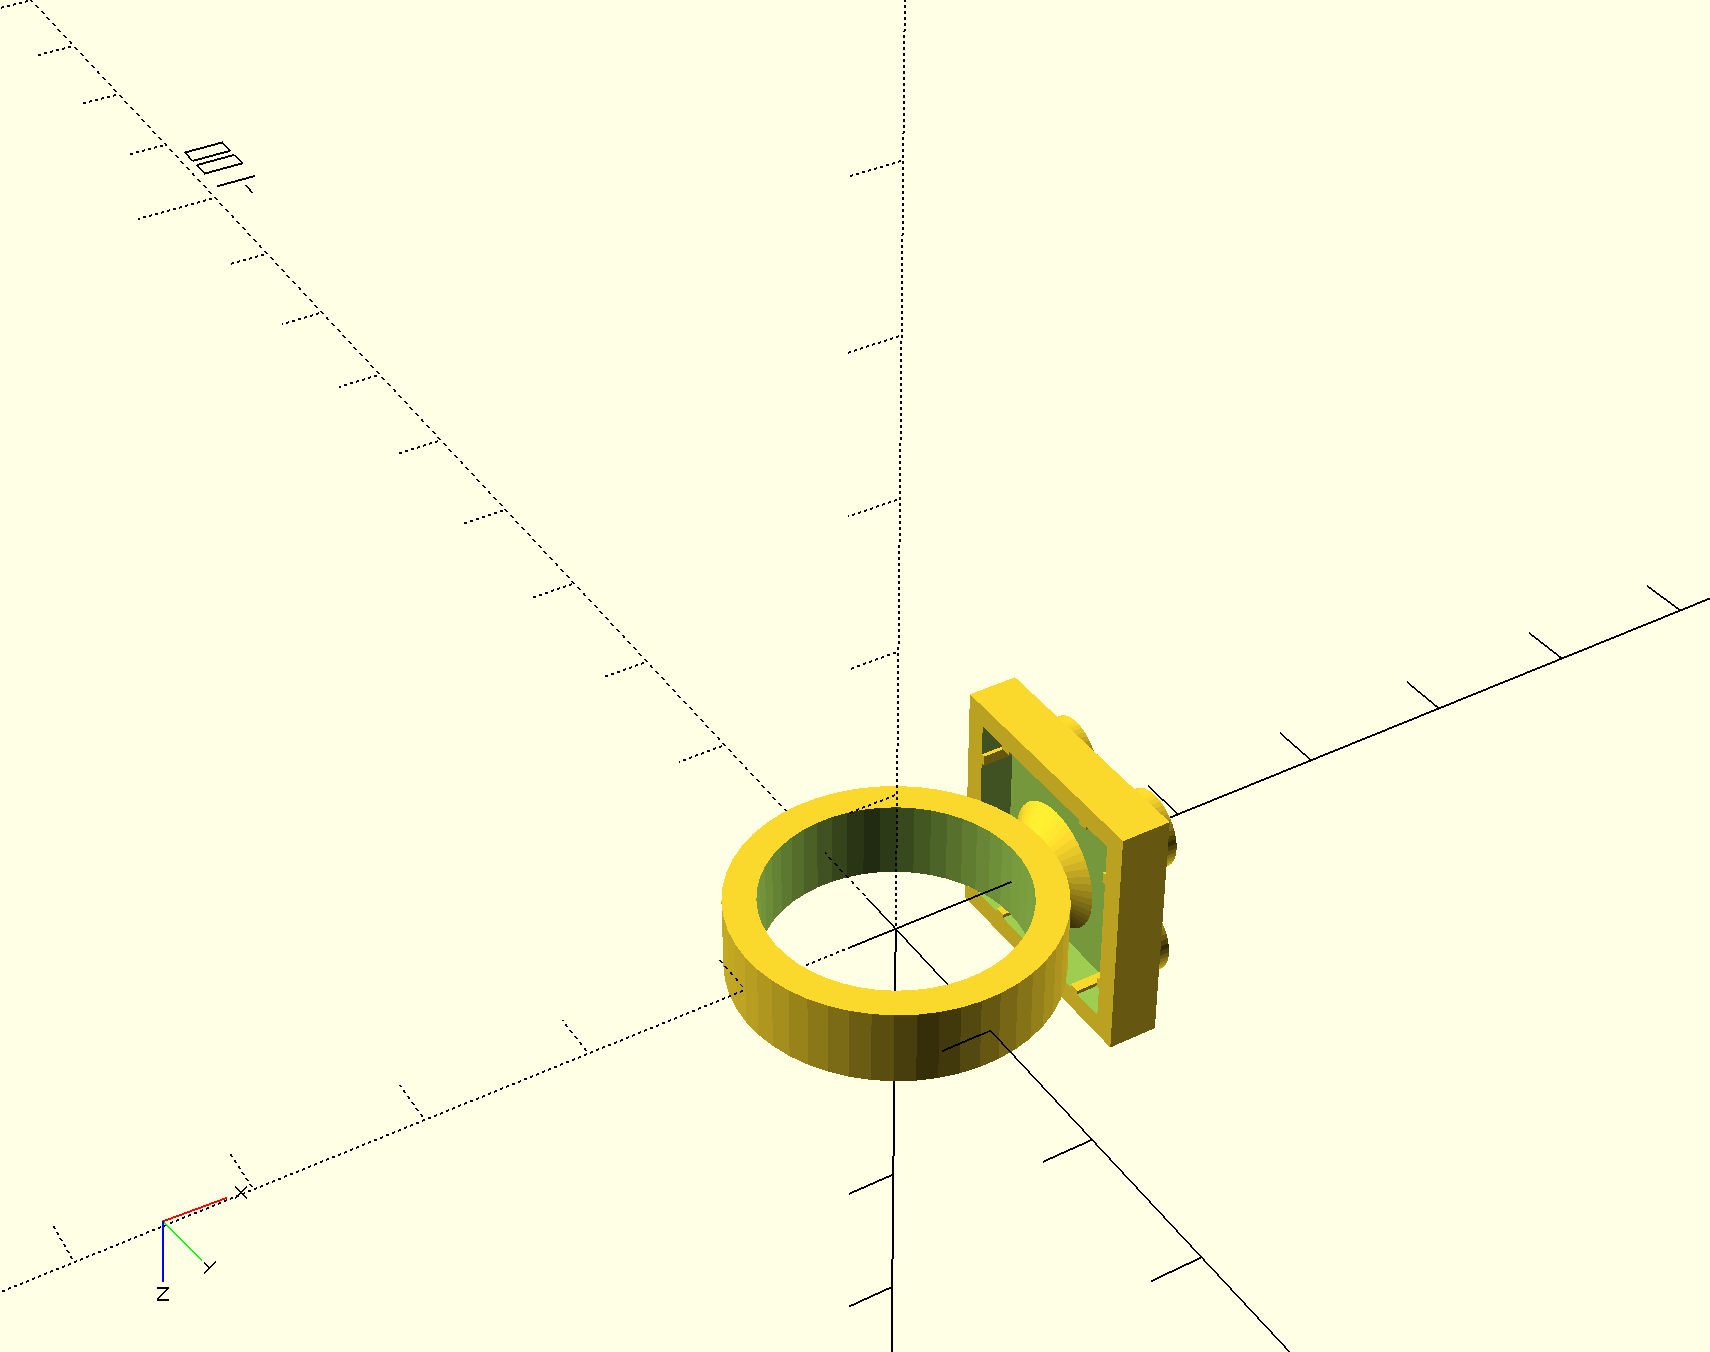
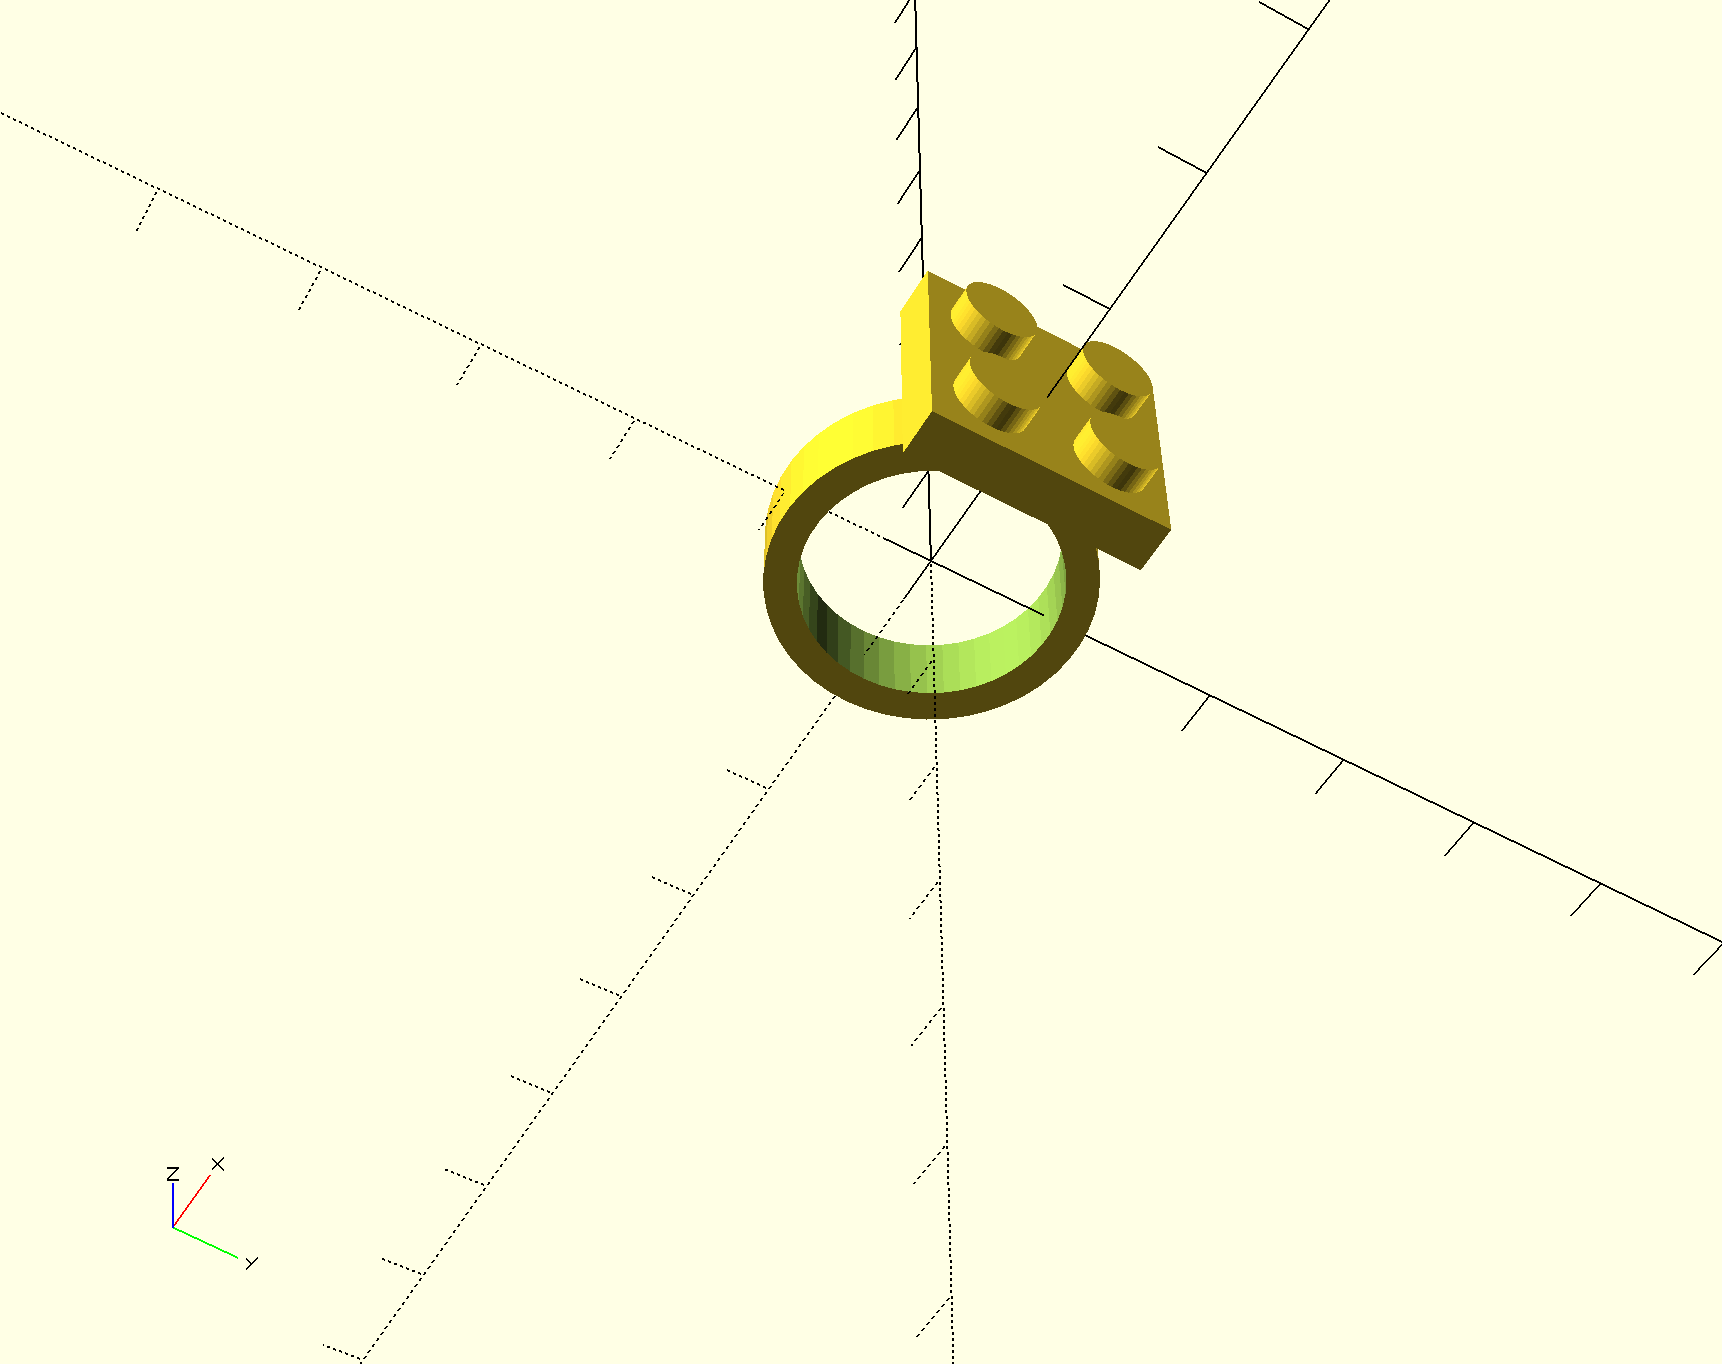
Here is a picture of the model in progress. In the first picture you can see the base we added for support to connect the block and the ring.
Also, we are hoping to print a block using the other persons code that will be able to connect to our ring, making it even more customizable.
First Draft Print
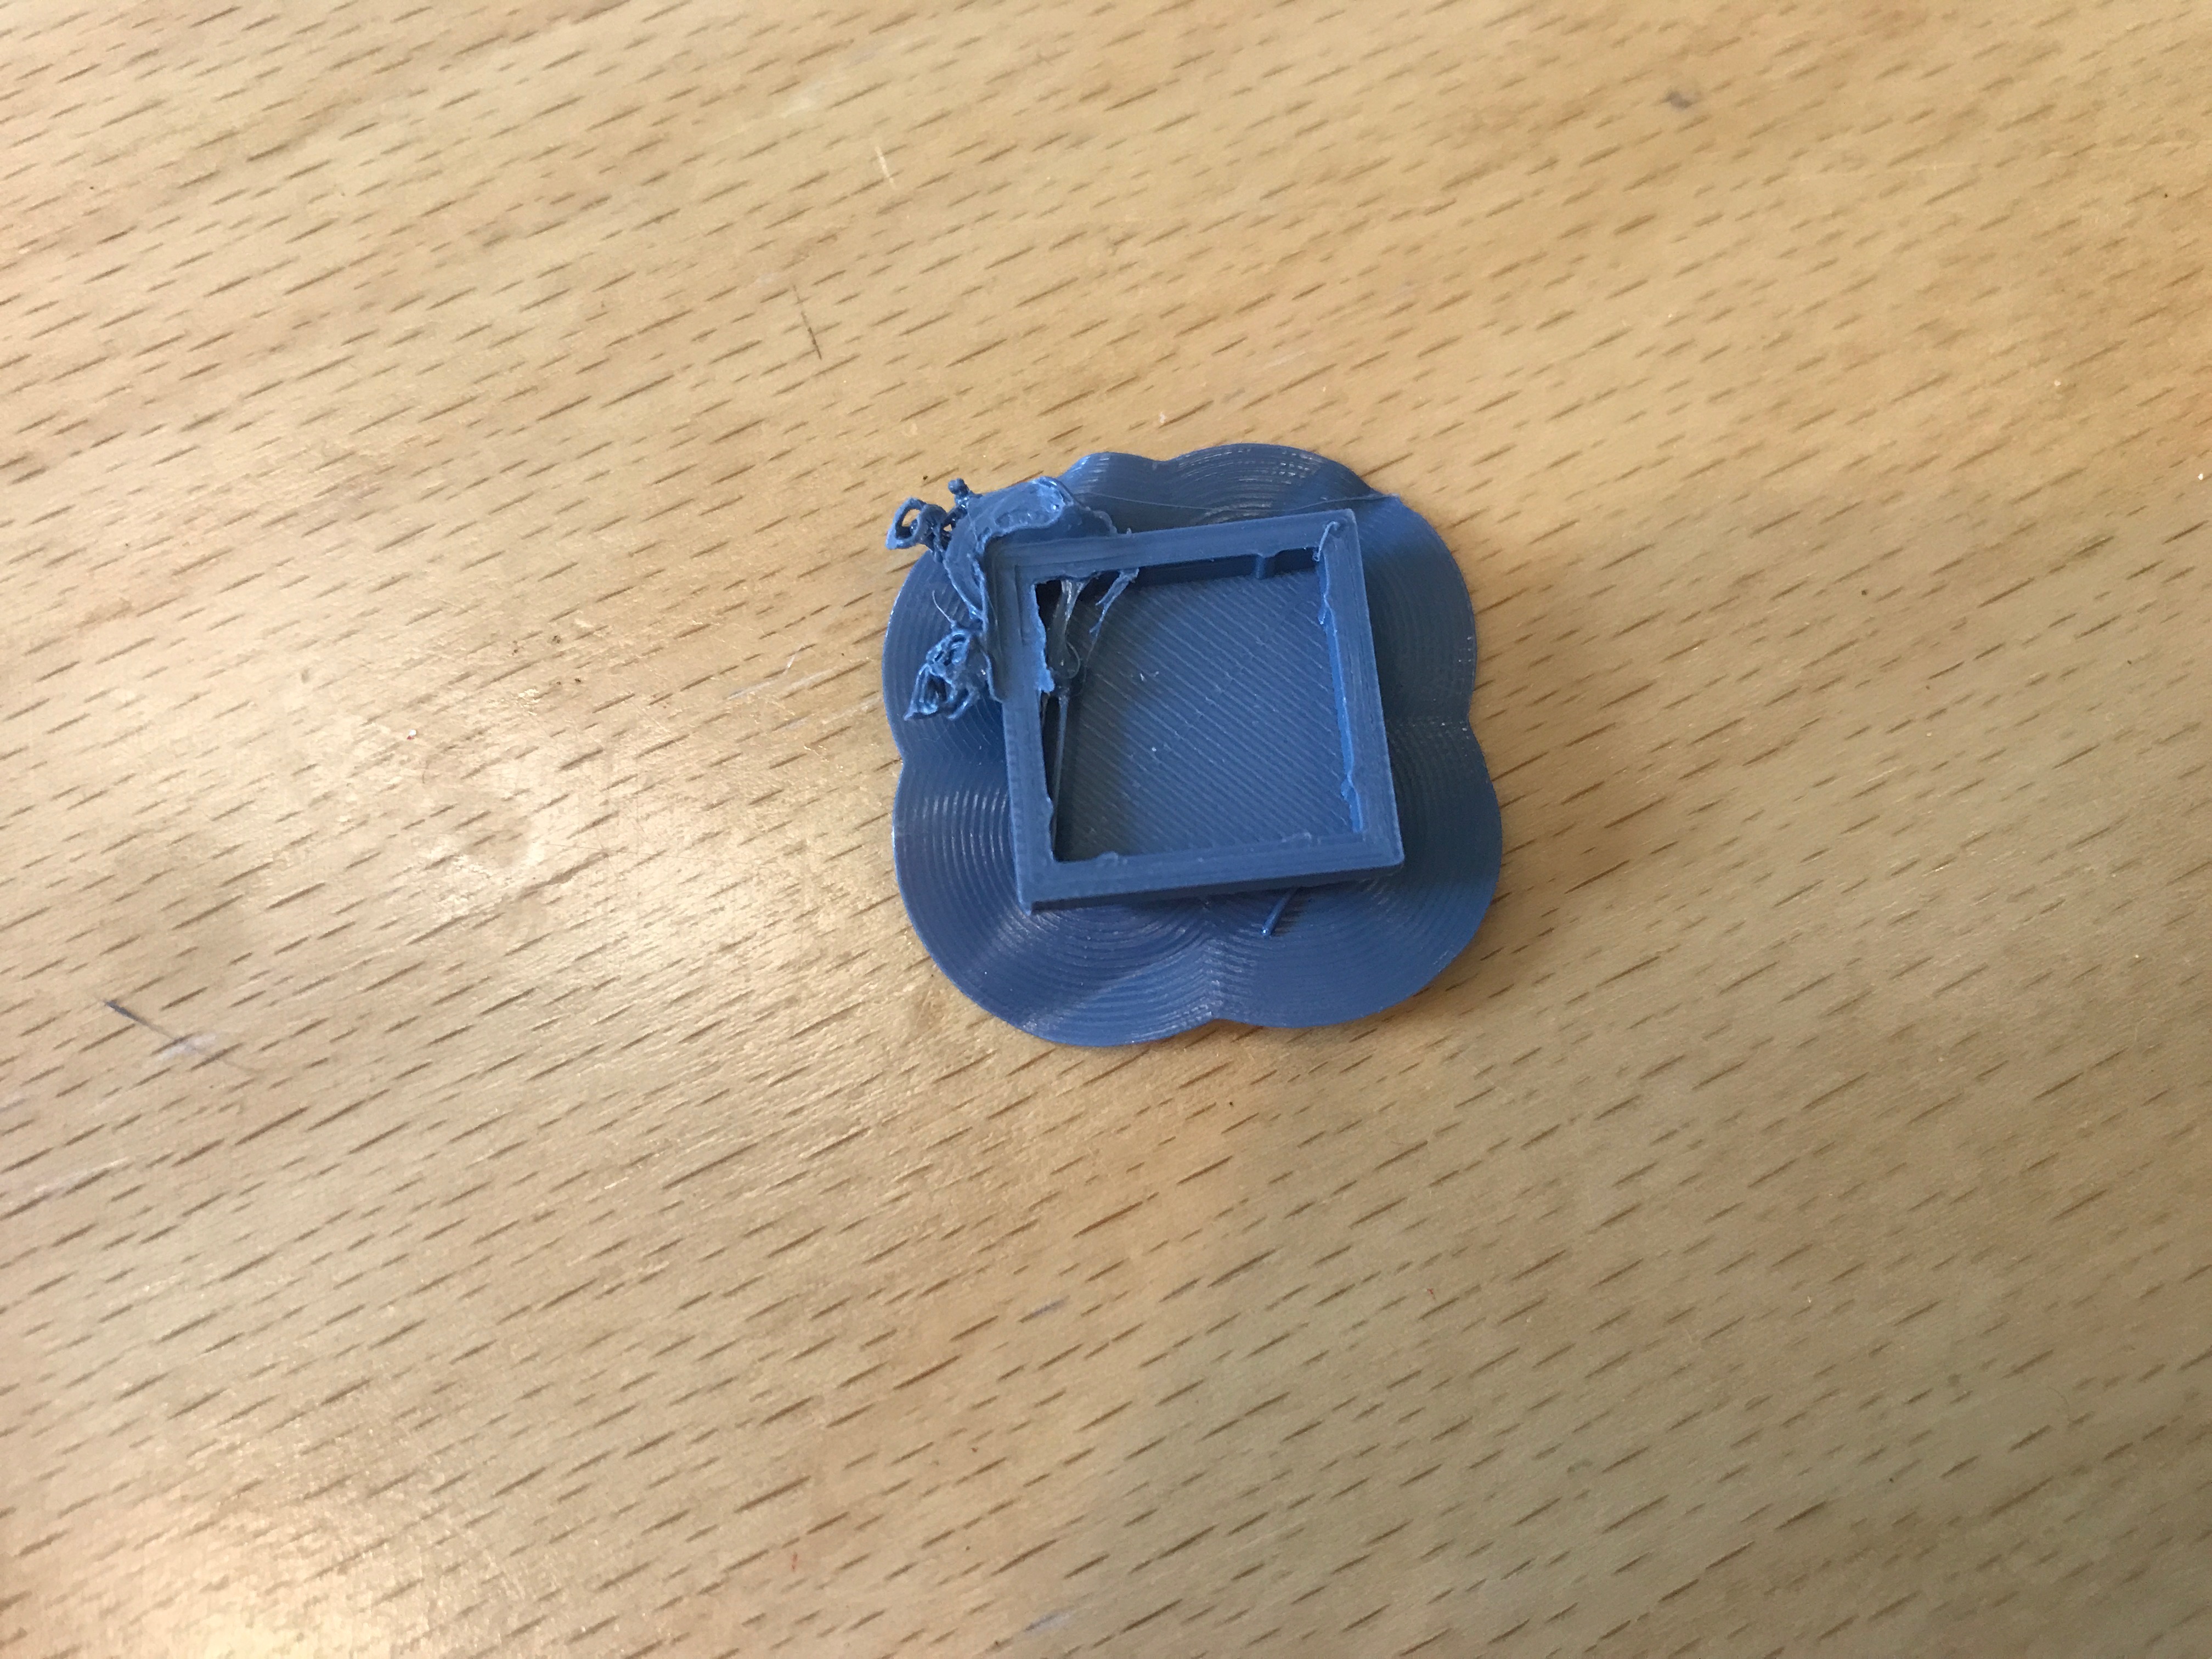
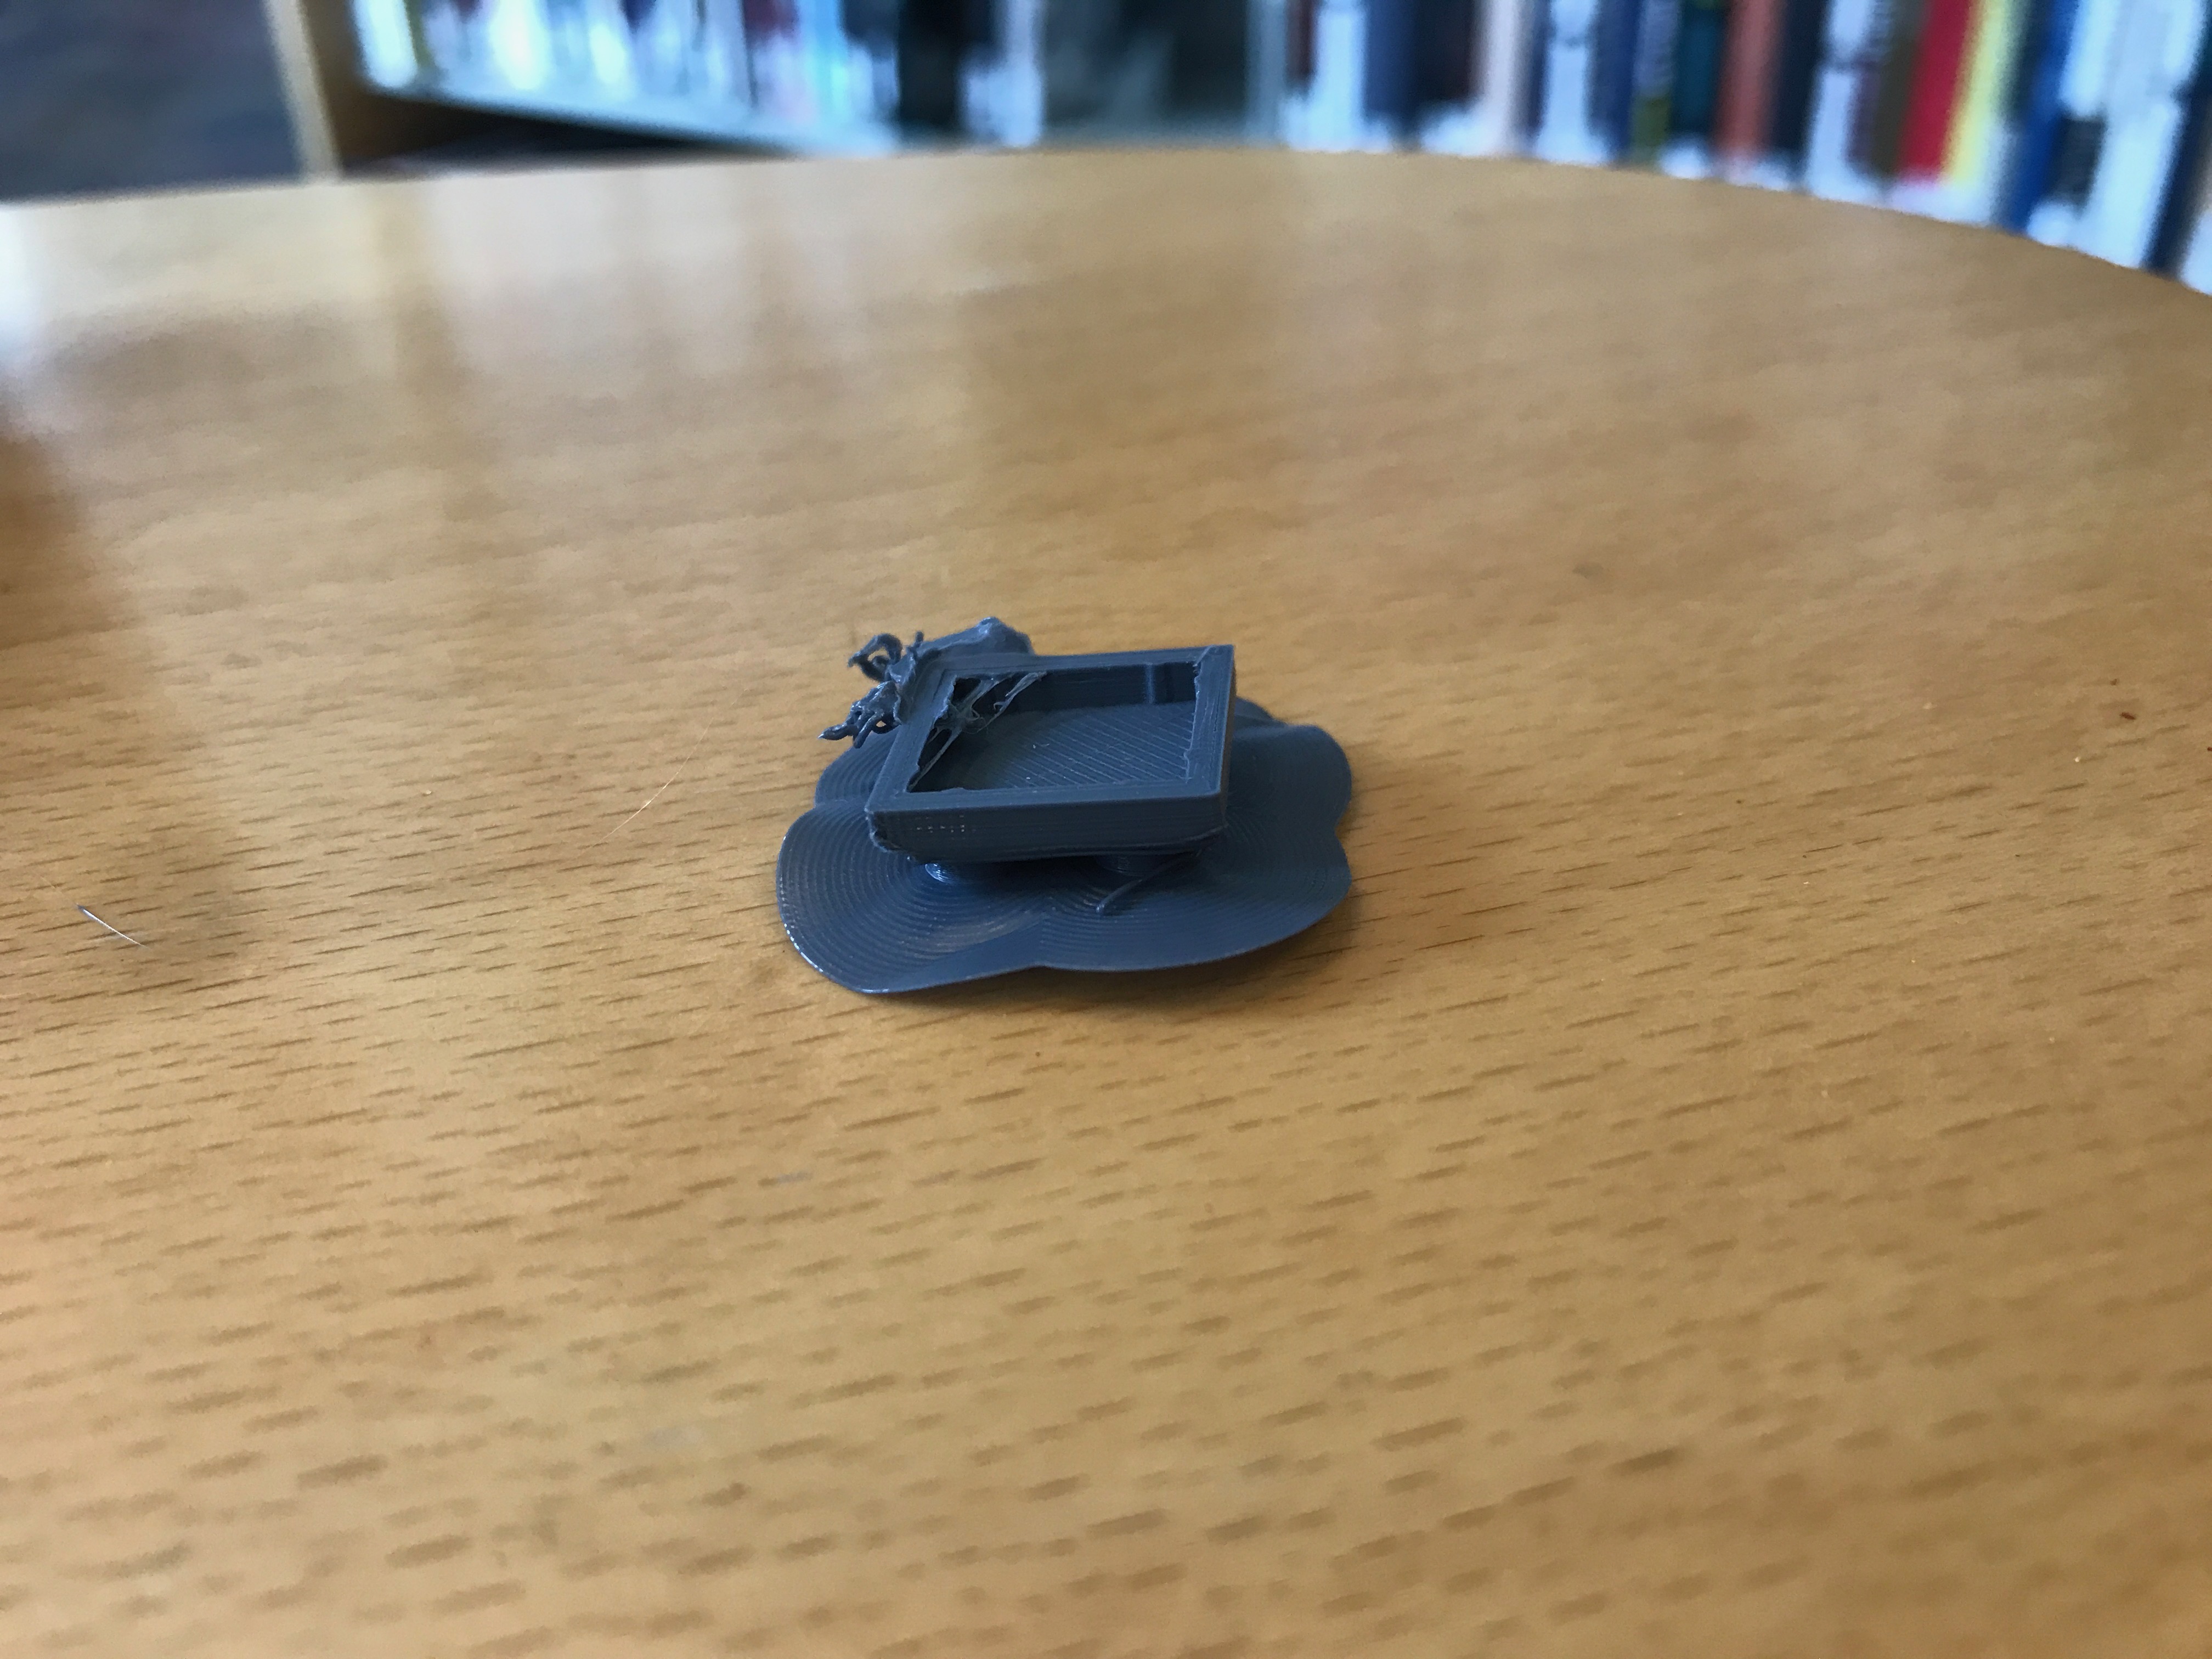
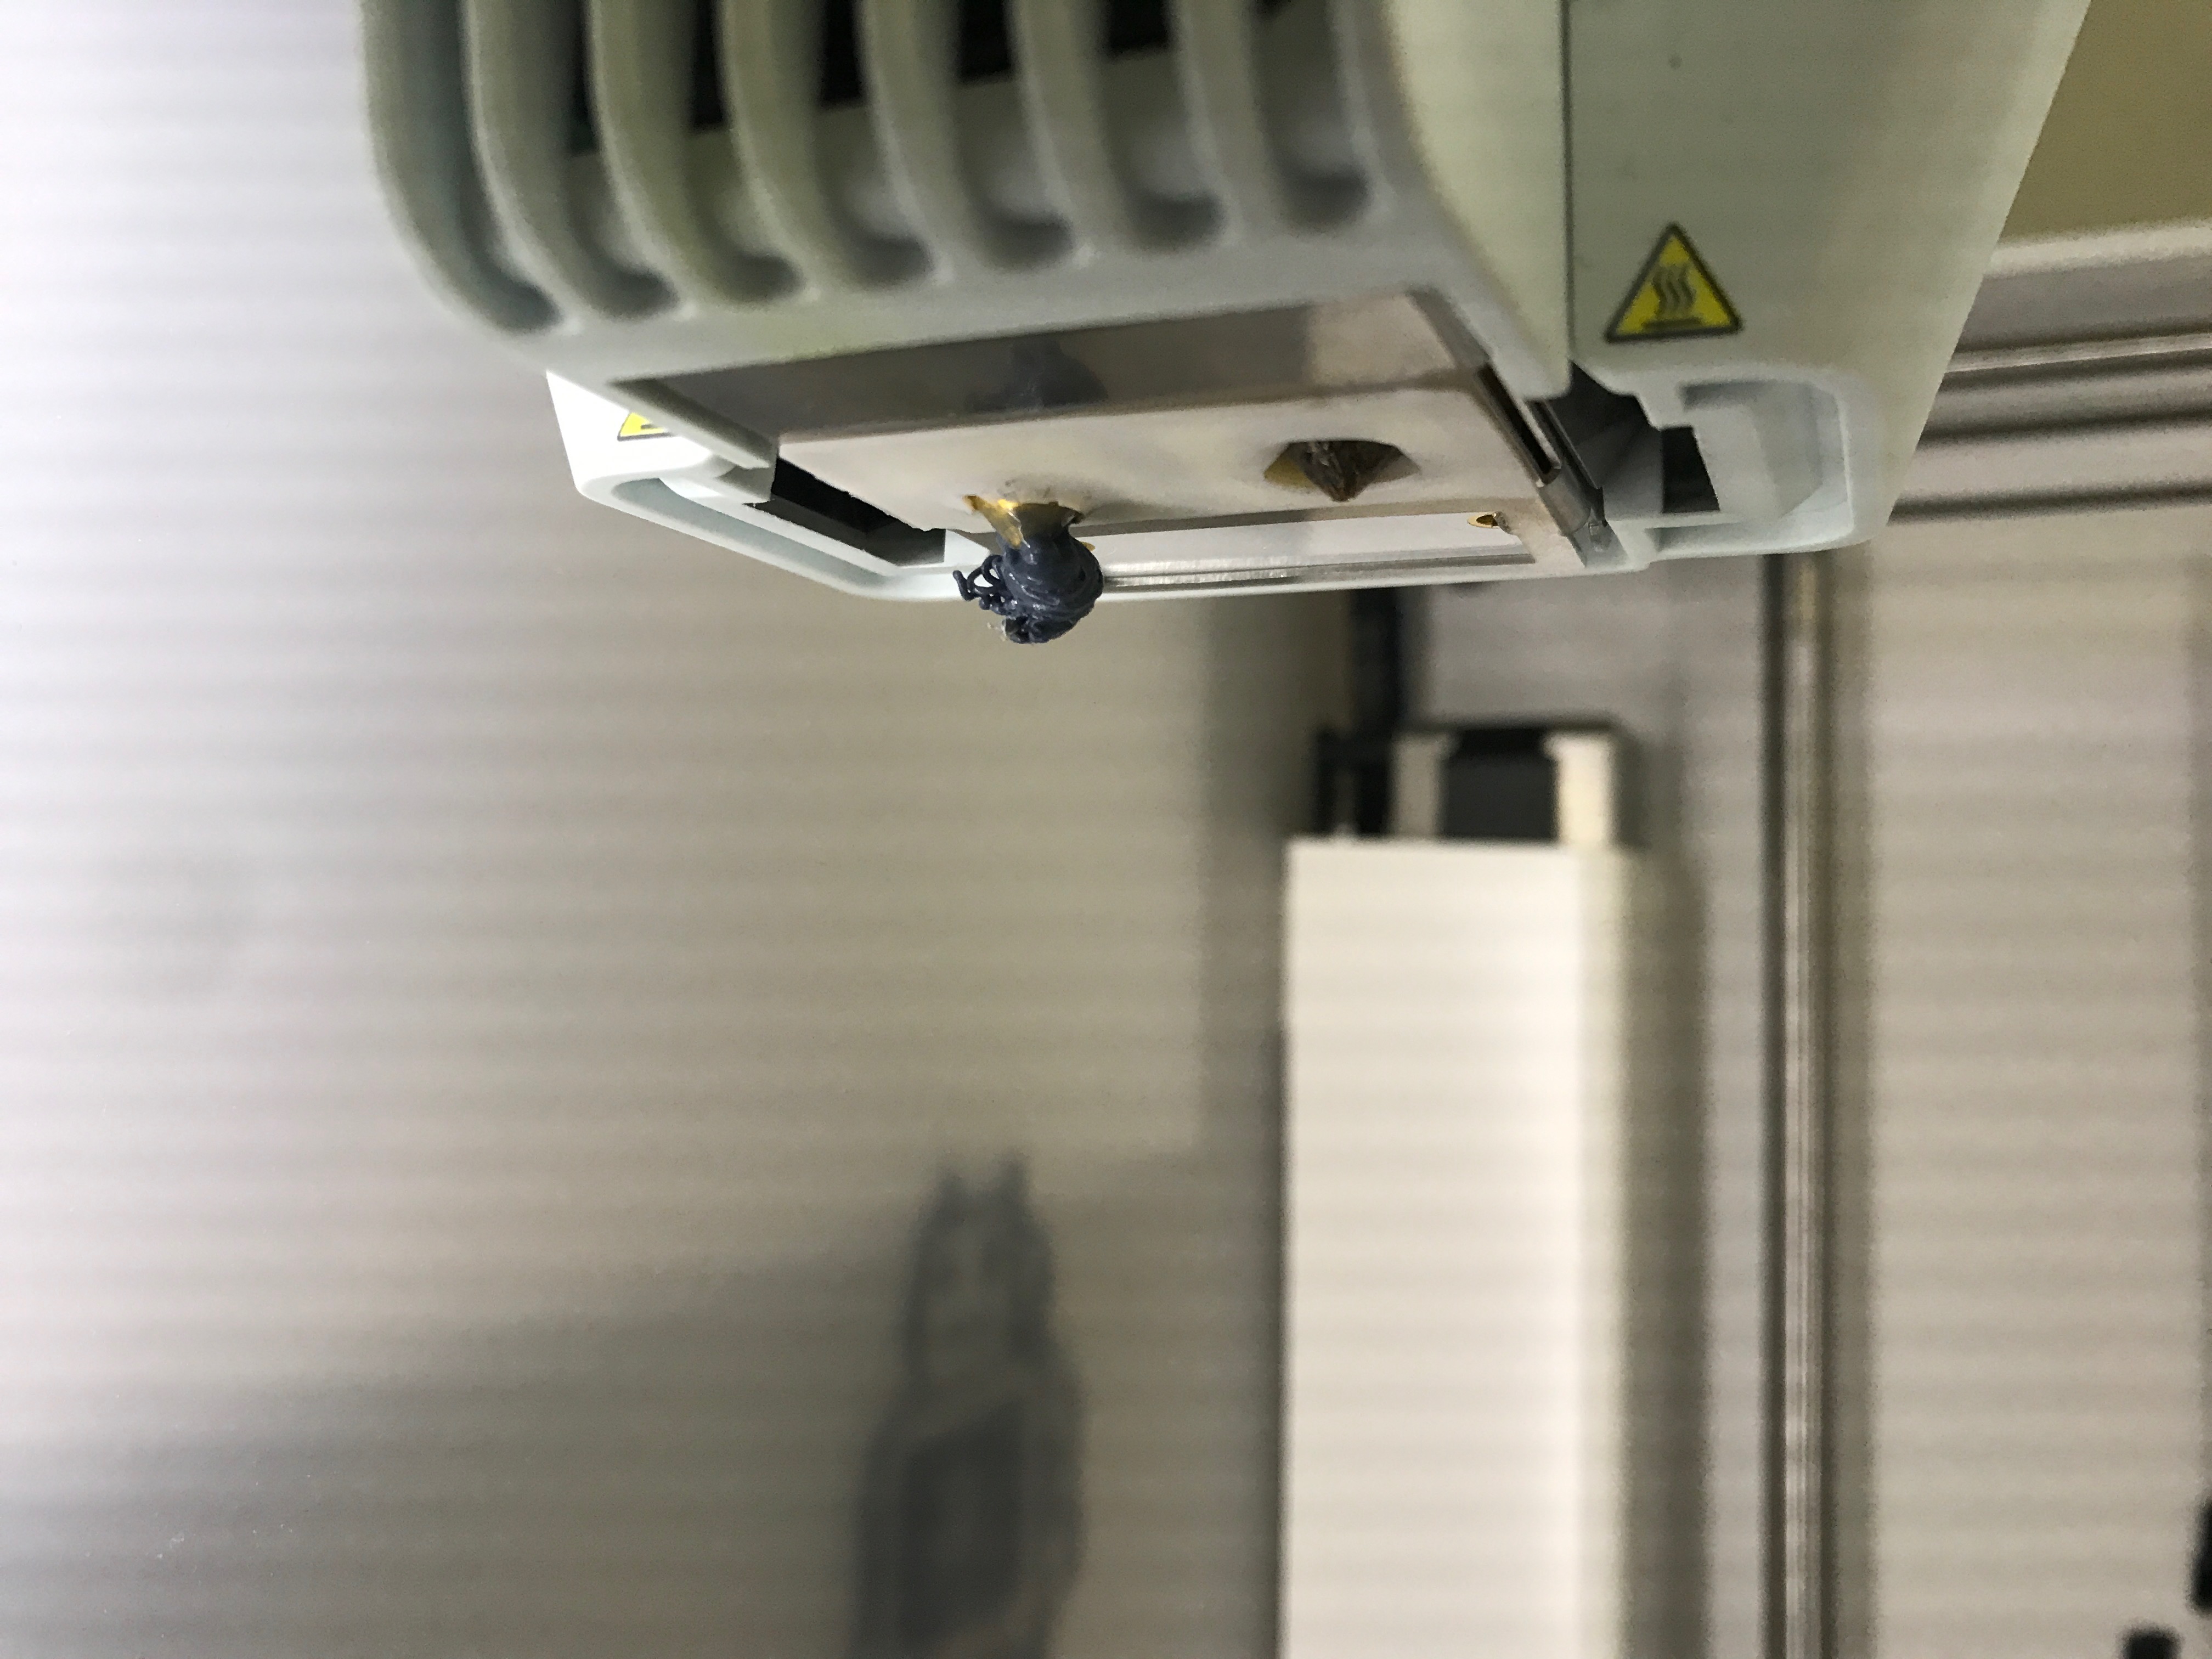
Our first draft print failed. At first we could not figure out why it was failing and tried different ways of printing. Finally we saw that our base to the ring and the block were not completely attached so the printer was trying to print in mid air which was messing it up. In the picture above you can see what was happening and why it was causing the plastic to build up and not actually print to the model. To fix this we re translated the location we wanted our base and block parts of the ring to fully connect everything. Also we figured out that we will not need a plate adhesion base, as it was impossible to tear off. We should print it with skirt instead to just go around the outer edge.
Thingiverse Customizer
Below is part of our code that customizes our lego block ring. We wanted people to be able to change their ring size, because everyone has different finger sizes. For this code if you want a bigger or smaller ring size, you can change “outer_size” to a smaller or larger number depending on what you want. Also you can change the thickness of the ring by changing “outer_thickness” which will either make the ring base thicker or thinner.
Another part of our code that is customizable is the size of the lego block on the ring. This part of the code is not our own and we have given credit to who wrote it below as well. However, we did figure out how to customize it. By changing “block_width” and “block_length” you can either make the lego piece bigger or smaller.
The parameters that people will be altering with ranges are
- outer_size with the range of (9-12)
- outer_thickness with the range of (1-5)
- block_width with the range of (1-4)
- block_length with the range of (1-4)
All other aspects are not customizable and will need to stay the same in order to print a ring that functions.
//Ring module
 $fn=50;
// customisable ring size
outer_size = 10; outer_thickness= 5; size = 8; thickness = 5;
//customisable lego dimensions
//Code Credit// Christopher Finke @cfinke on GitHub
block_width = 2;
block_length = 2;
difference ()
{ cylinder(r=outer_size, h=outer_thickness, center=true);
     cylinder(r=size, h=thickness, center=true); }
translate([10,0,0]) rotate([0,-90,0])
cylinder(h=2, r1=4, r2=1, center=true);
Thingiverse Link: https://www.thingiverse.com/thing:3583229
Final Prints

We used our openSCAD code to customize the size and thickness of each ring as well as the width and height parameters of the attached LEGO piece. In the first print (top middle ring), we customized the size of the ring to be: “outer_size =10, outer_thickness =7, size =8 , thickness =5”. Then we customized the LEGO parameters to be: “block_width= 1, block_length= 1”. This made the ring size pretty average and could fit someone with normal sized fingers. The first print actually had a single knot on the top that was too big for the other free standing LEGO pieces we printed to fit. Next time we would print this LEGO ring at a 90% scale or print another LEGO piece to fit.
In the second print (shown on bottom left), we printed a ring using the parameters: “outer_size =9.5, outer_thickness =7.5, size =7, thickness =5 ” to make both a thinner and smaller ring size that could fit people with skinnier more delicate sized fingers. Then we adjusted the LEGO parameters to be: “block_width= 2, block_length= 2″. This made the LEGO on the ring square shaped. These parameters were the most successful because all the separate LEGO pieces we printed fit this ring really well and snapped on tight and easy.
In the third print we customized the ring parameters to be:”outer_size =12, outer_thickness =7, size =9 , thickness =5”. Then we customized the LEGO parameters to be: “block_width= 3, block_length= 2”. This made both the outer and inner radius of the ring size a lot bigger for people with thicker fingers who needed a larger size. This was also the largest LEGO block we printed on the ring and it turned out pretty cool. We were able to successfully snap on smaller separate LEGO pieces to this ring, so we recommend printing smaller LEGO pieces to add to this ring.