Initial Design Idea
The design we decided to create is a jewelry hand where we can hang our rings off of. We decided to do this because it is a popular stand which holds your jewelry and neither of us have one. The knowledge our team brings from the start is the fact that we were able to play and mess around with OpenSCAD before the project so we kind of knew how to get our design the way we wanted it to look like. The biggest thing we are going to be learning from this is how to get two objects to combine and how to insert writing on our object, we both don’t know how to do this so we are going to have to research it in order to figure it out.

Design Iteration
-
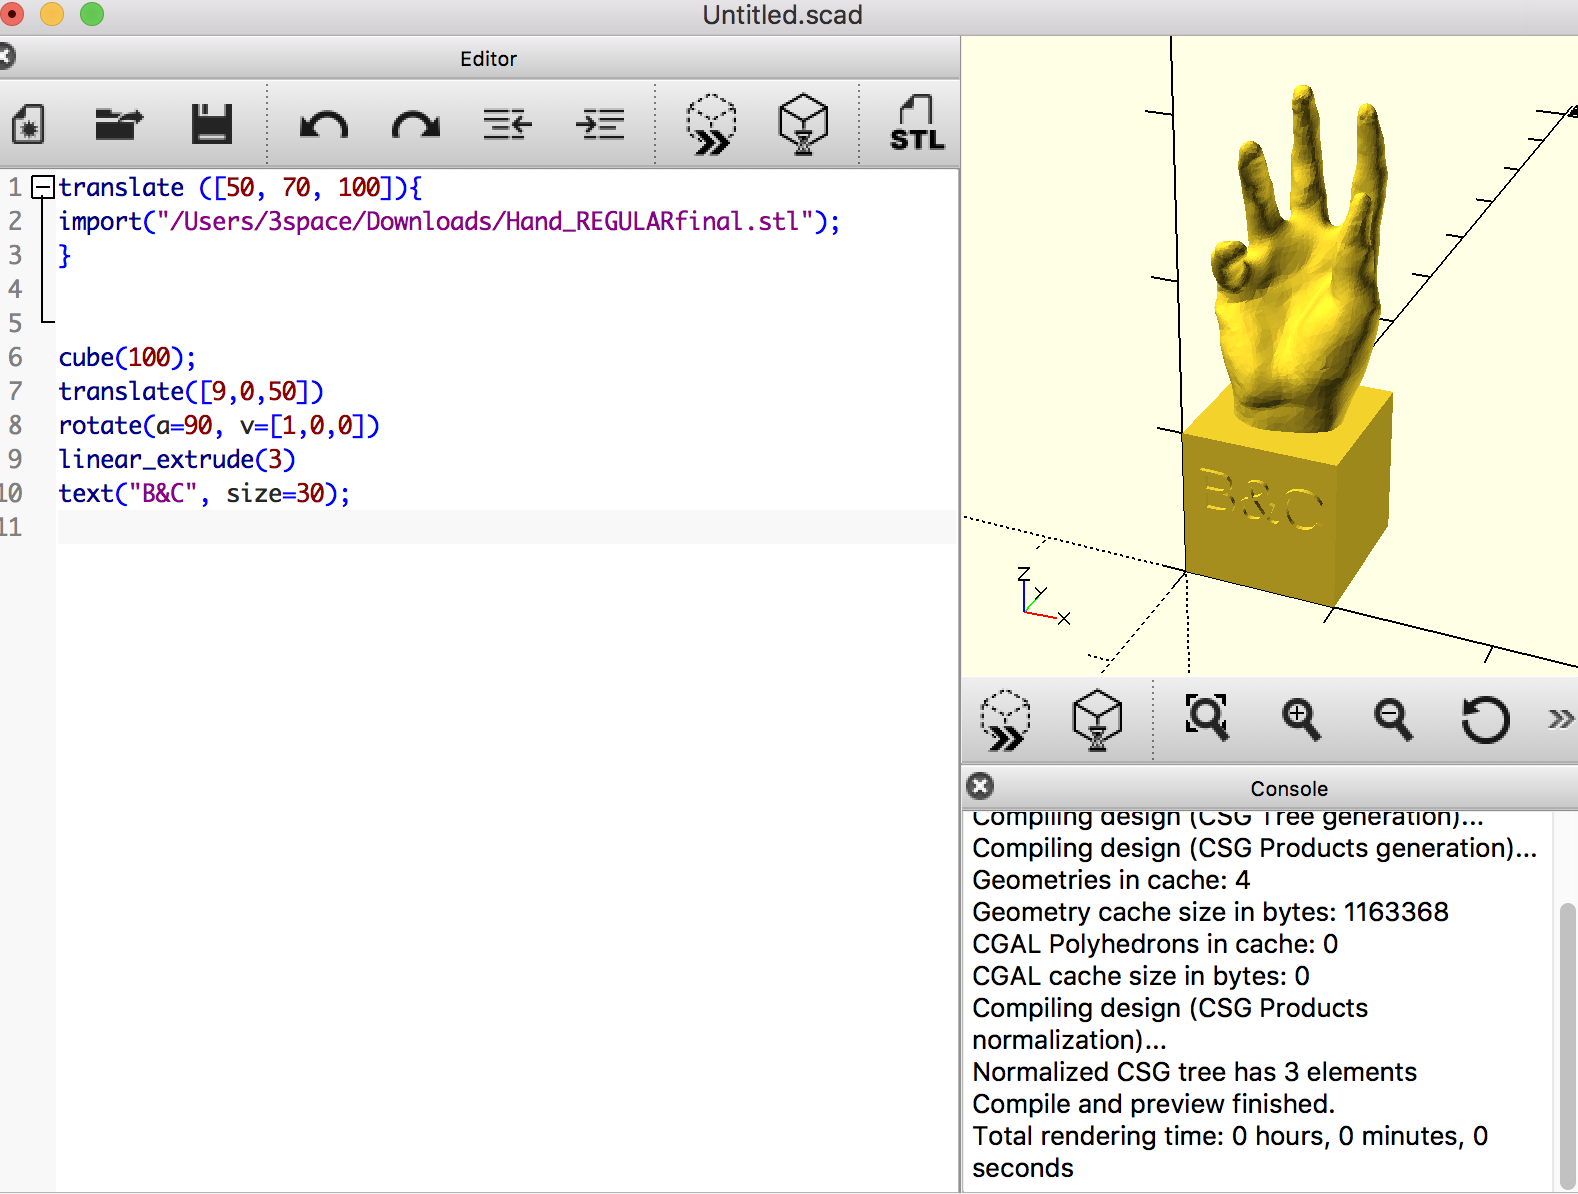
translate ([50,70,100]){import(“/Users/3space/Downloads/Hand_SUPERfinal (1).stl”);}cube(100);translate([9,0,50])rotate(a=90, v=[1,0,0])linear_extrude(3)text(“B&C”,size = 30);
This is our code for our project. We imported the hand from thingiverse so that is why it says import(….). The translate is how big the hand had to be. Then for the cube(100) we had to match the size of the cube with the hand so thats why its at 100. Then the next 4 lines are ways to get letters on our cube. We had to rotate the letters so they would be upright on the cube. Thats why a=90 so its at a 90 degree angle. We had to make the text 3D instead of 2D, so we put a 3 in the linear_extrude command. then finally we have our text command which just shows what we want to be the text and what the size is.
- We imported the image from thingiverse so we had to add our own stuff to it. We added the cube on the bottom on the hand so it could have a stand to it. We then wanted to customize it so we added our letters to our first name B&C. We are living together this year and next year so we can share this print.
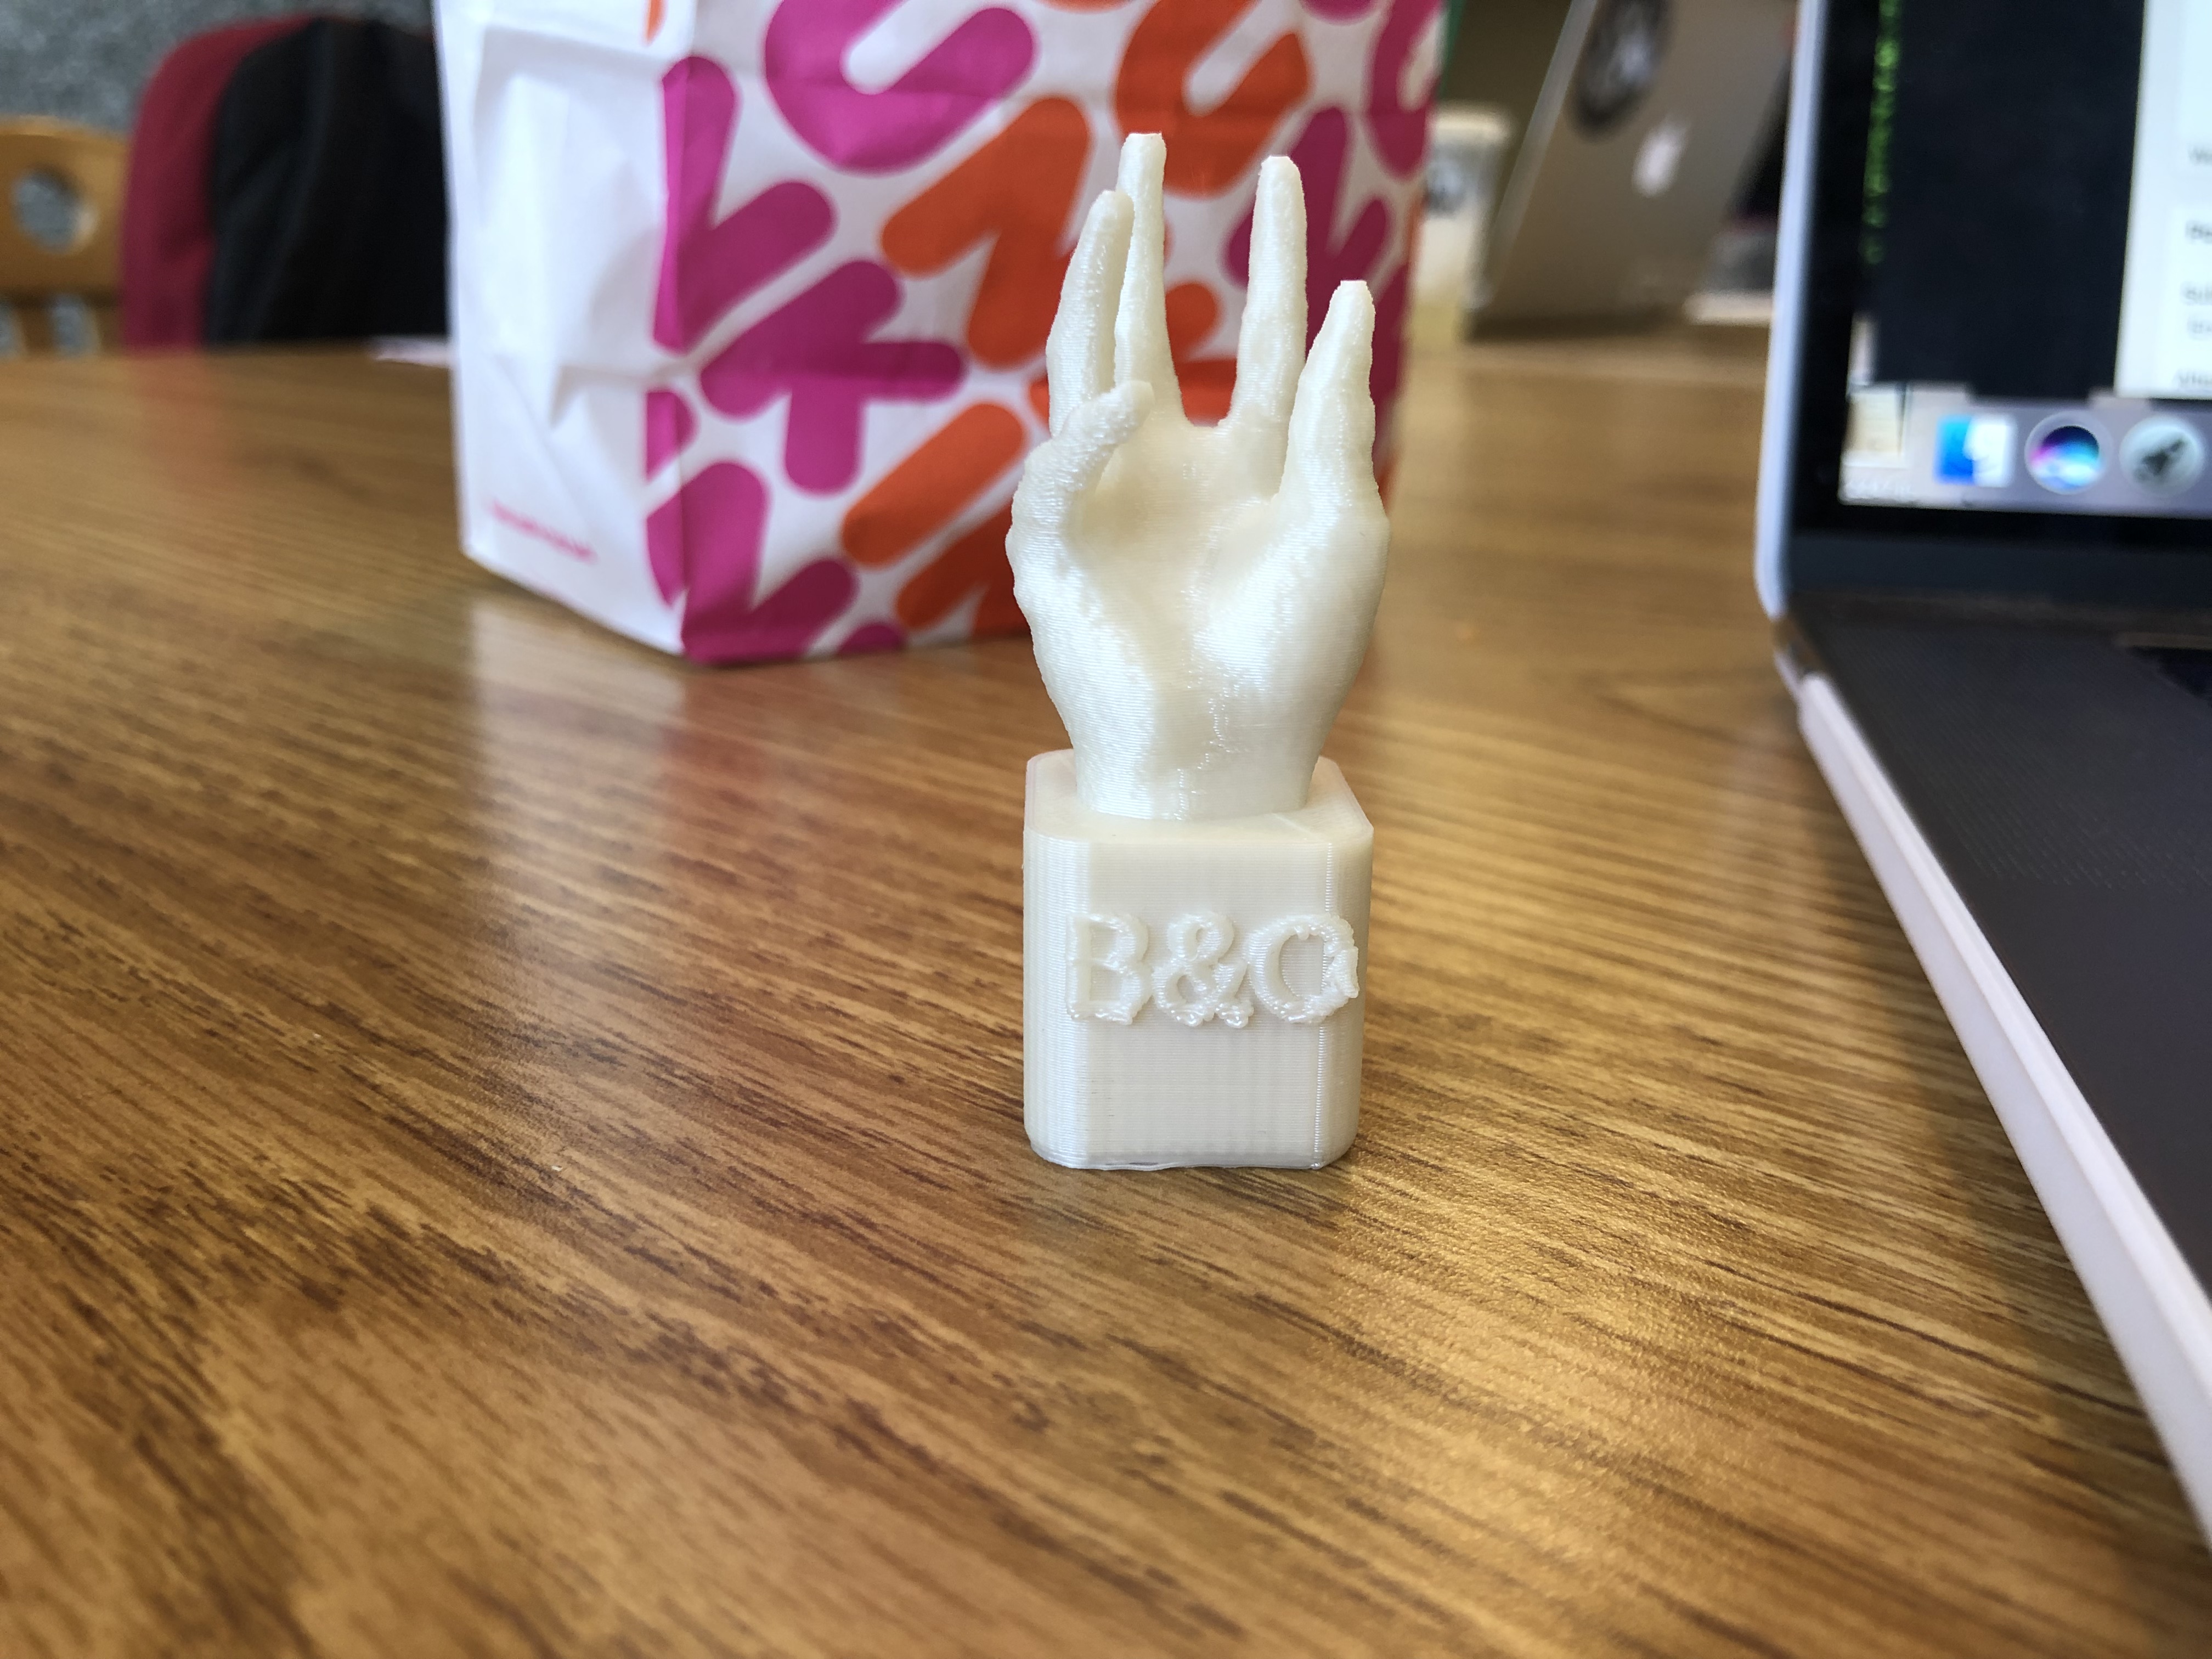
First Draft Print
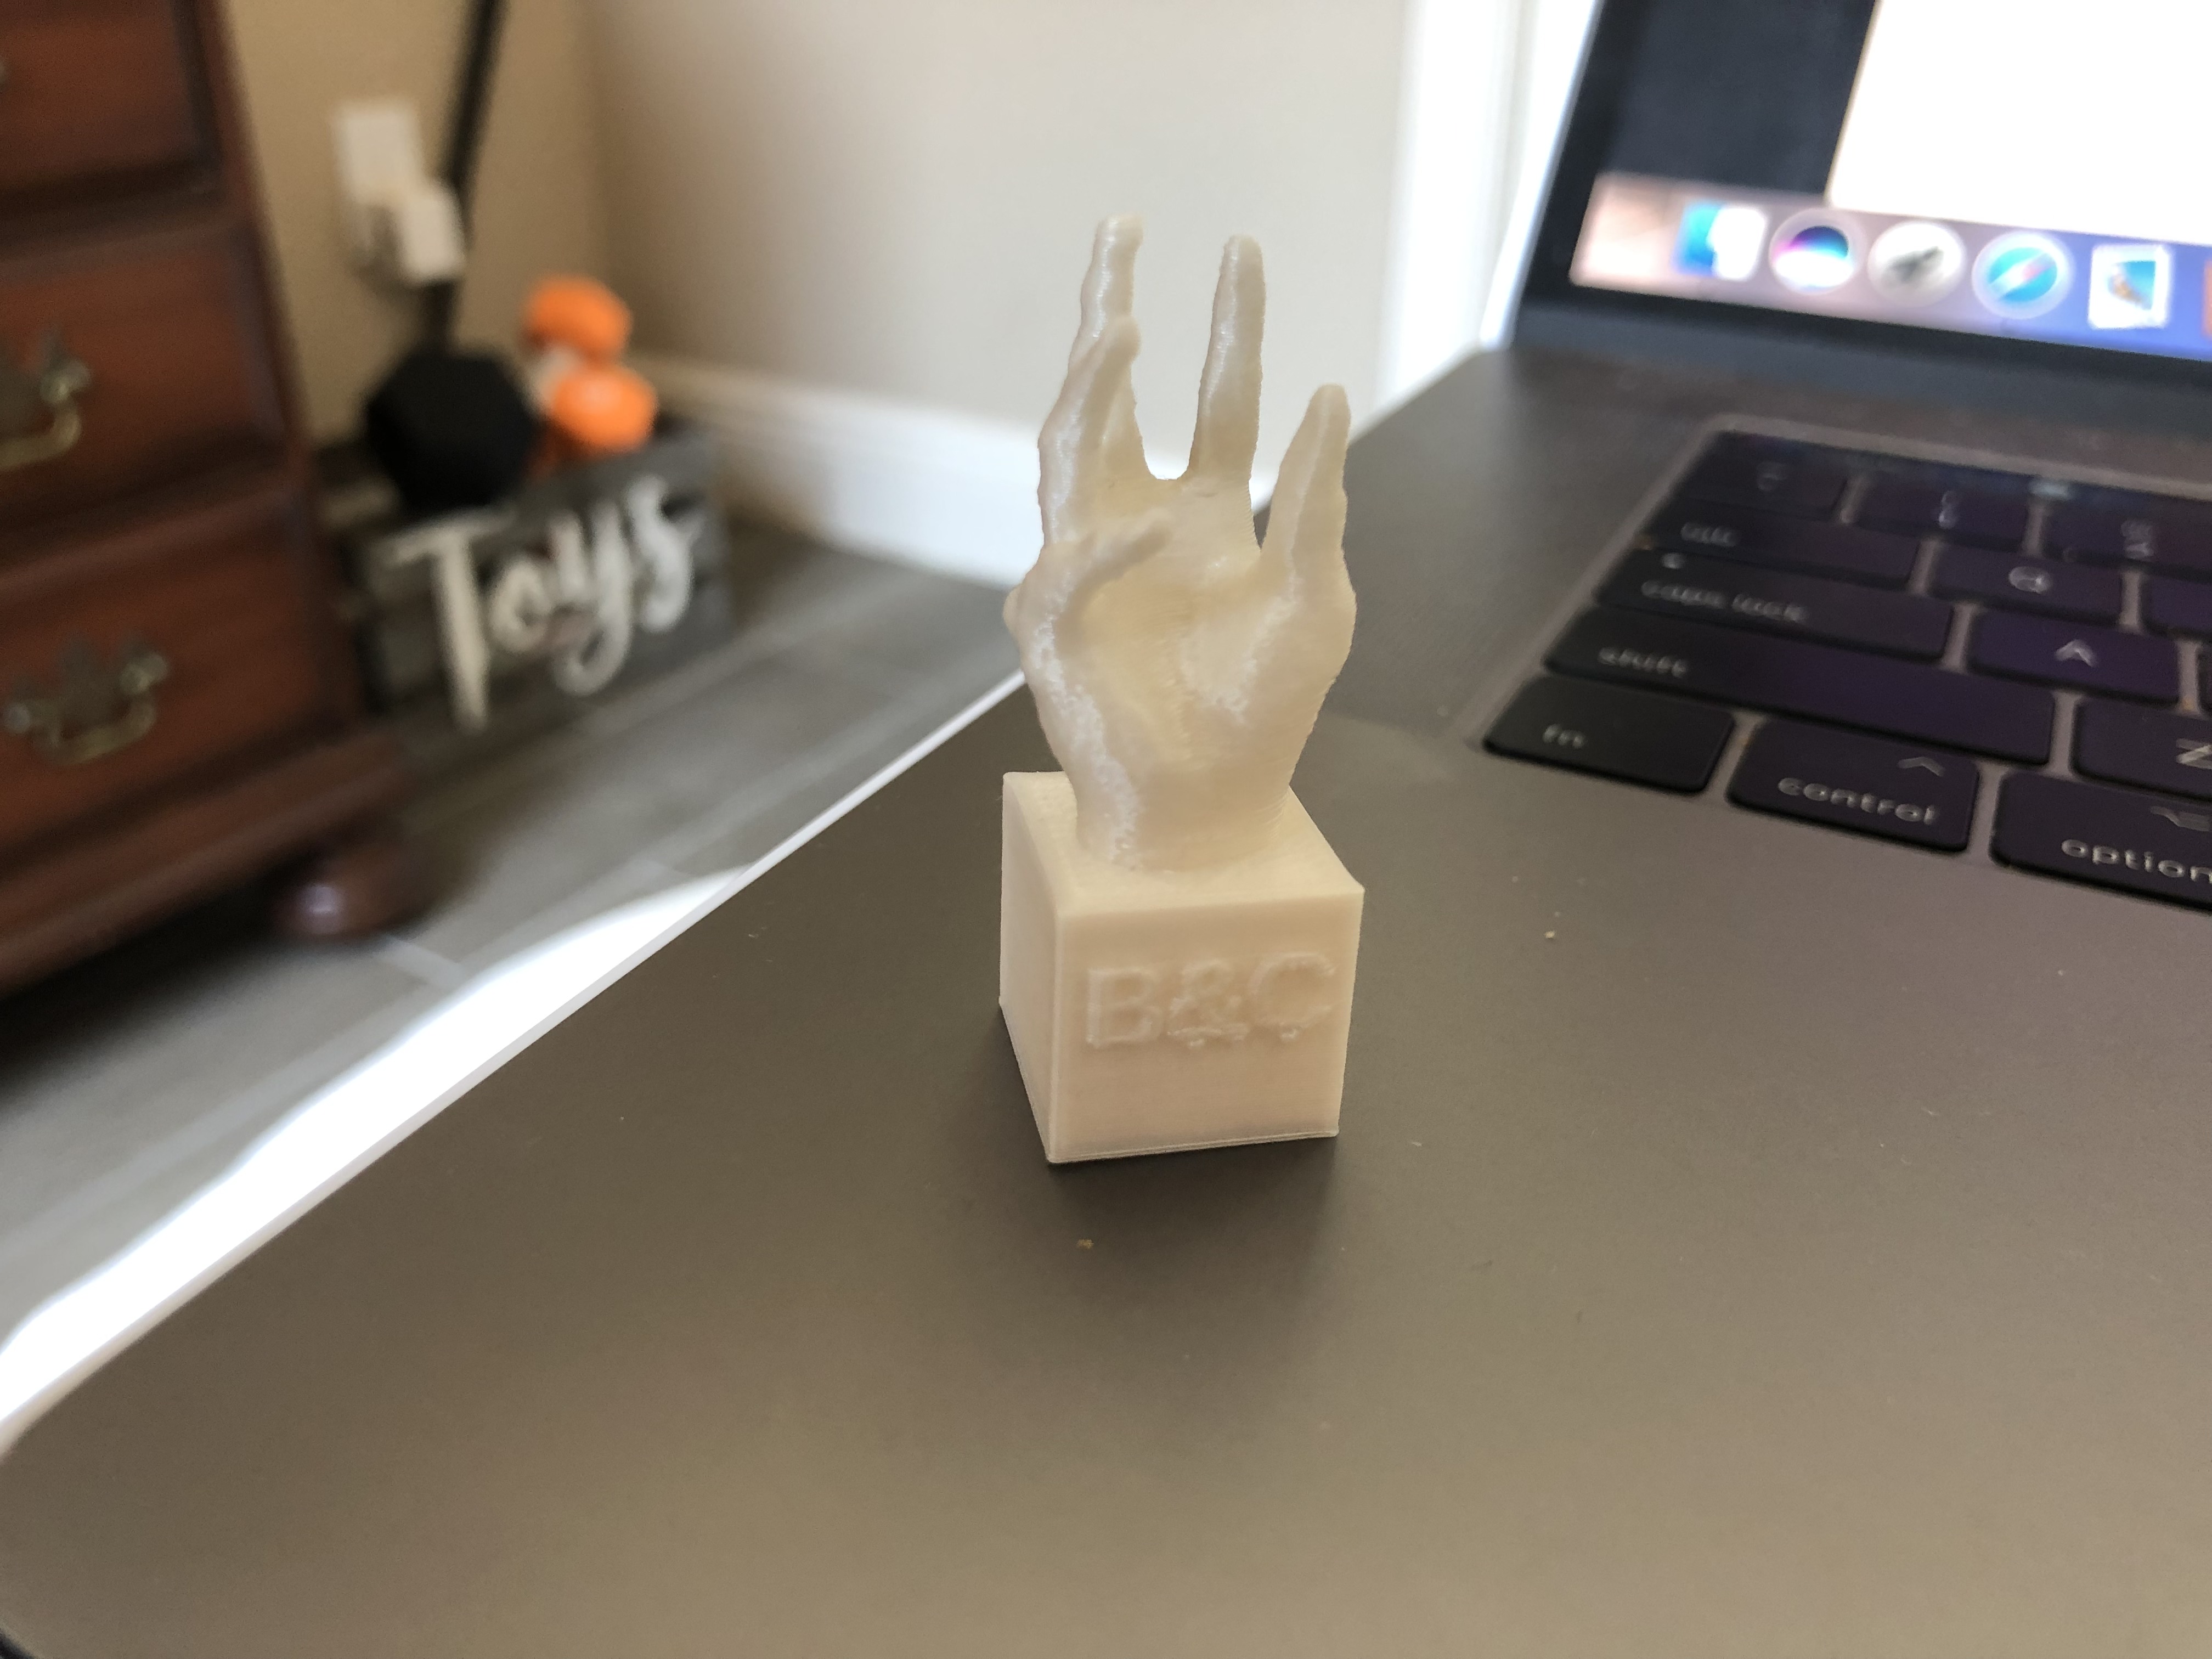
- Our print succeeded! We learned how to use coding to make objects. This was challenging for us we were trying all different codes and it wasn’t working. It was frustrating not being able to get the right coding but it all worked out. We made this small to see how if it would come out good. We need to make it bigger for the final draft.
Thingiverse Customizer
https://www.thingiverse.com/thing:3583826
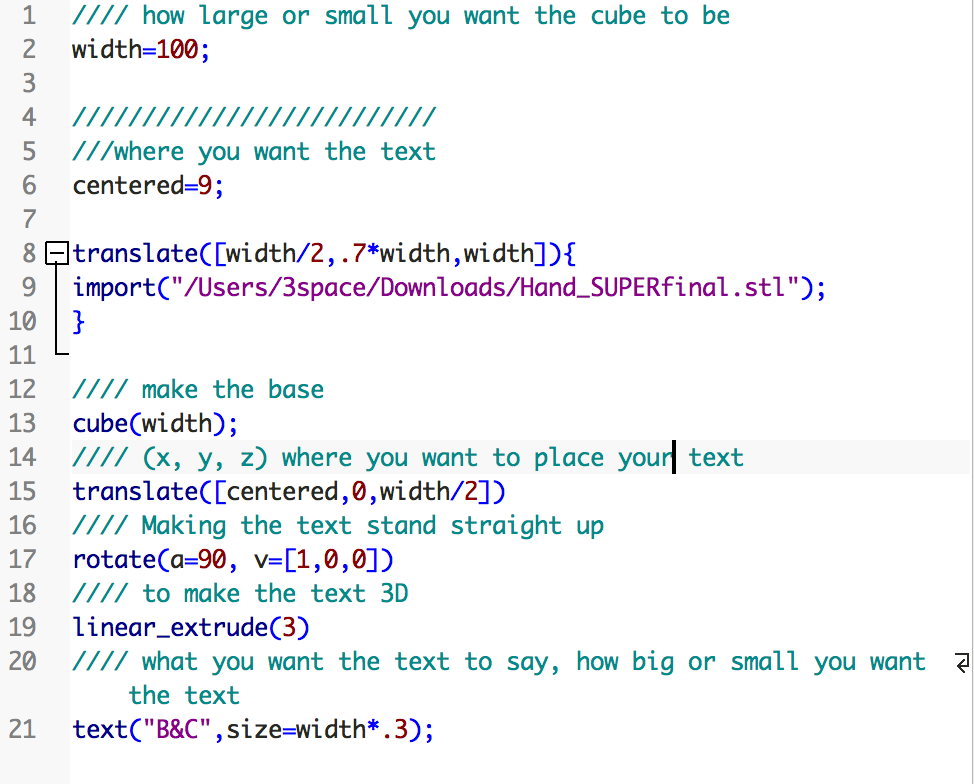
- The width, centered, and text are all customizable.
Final Prints

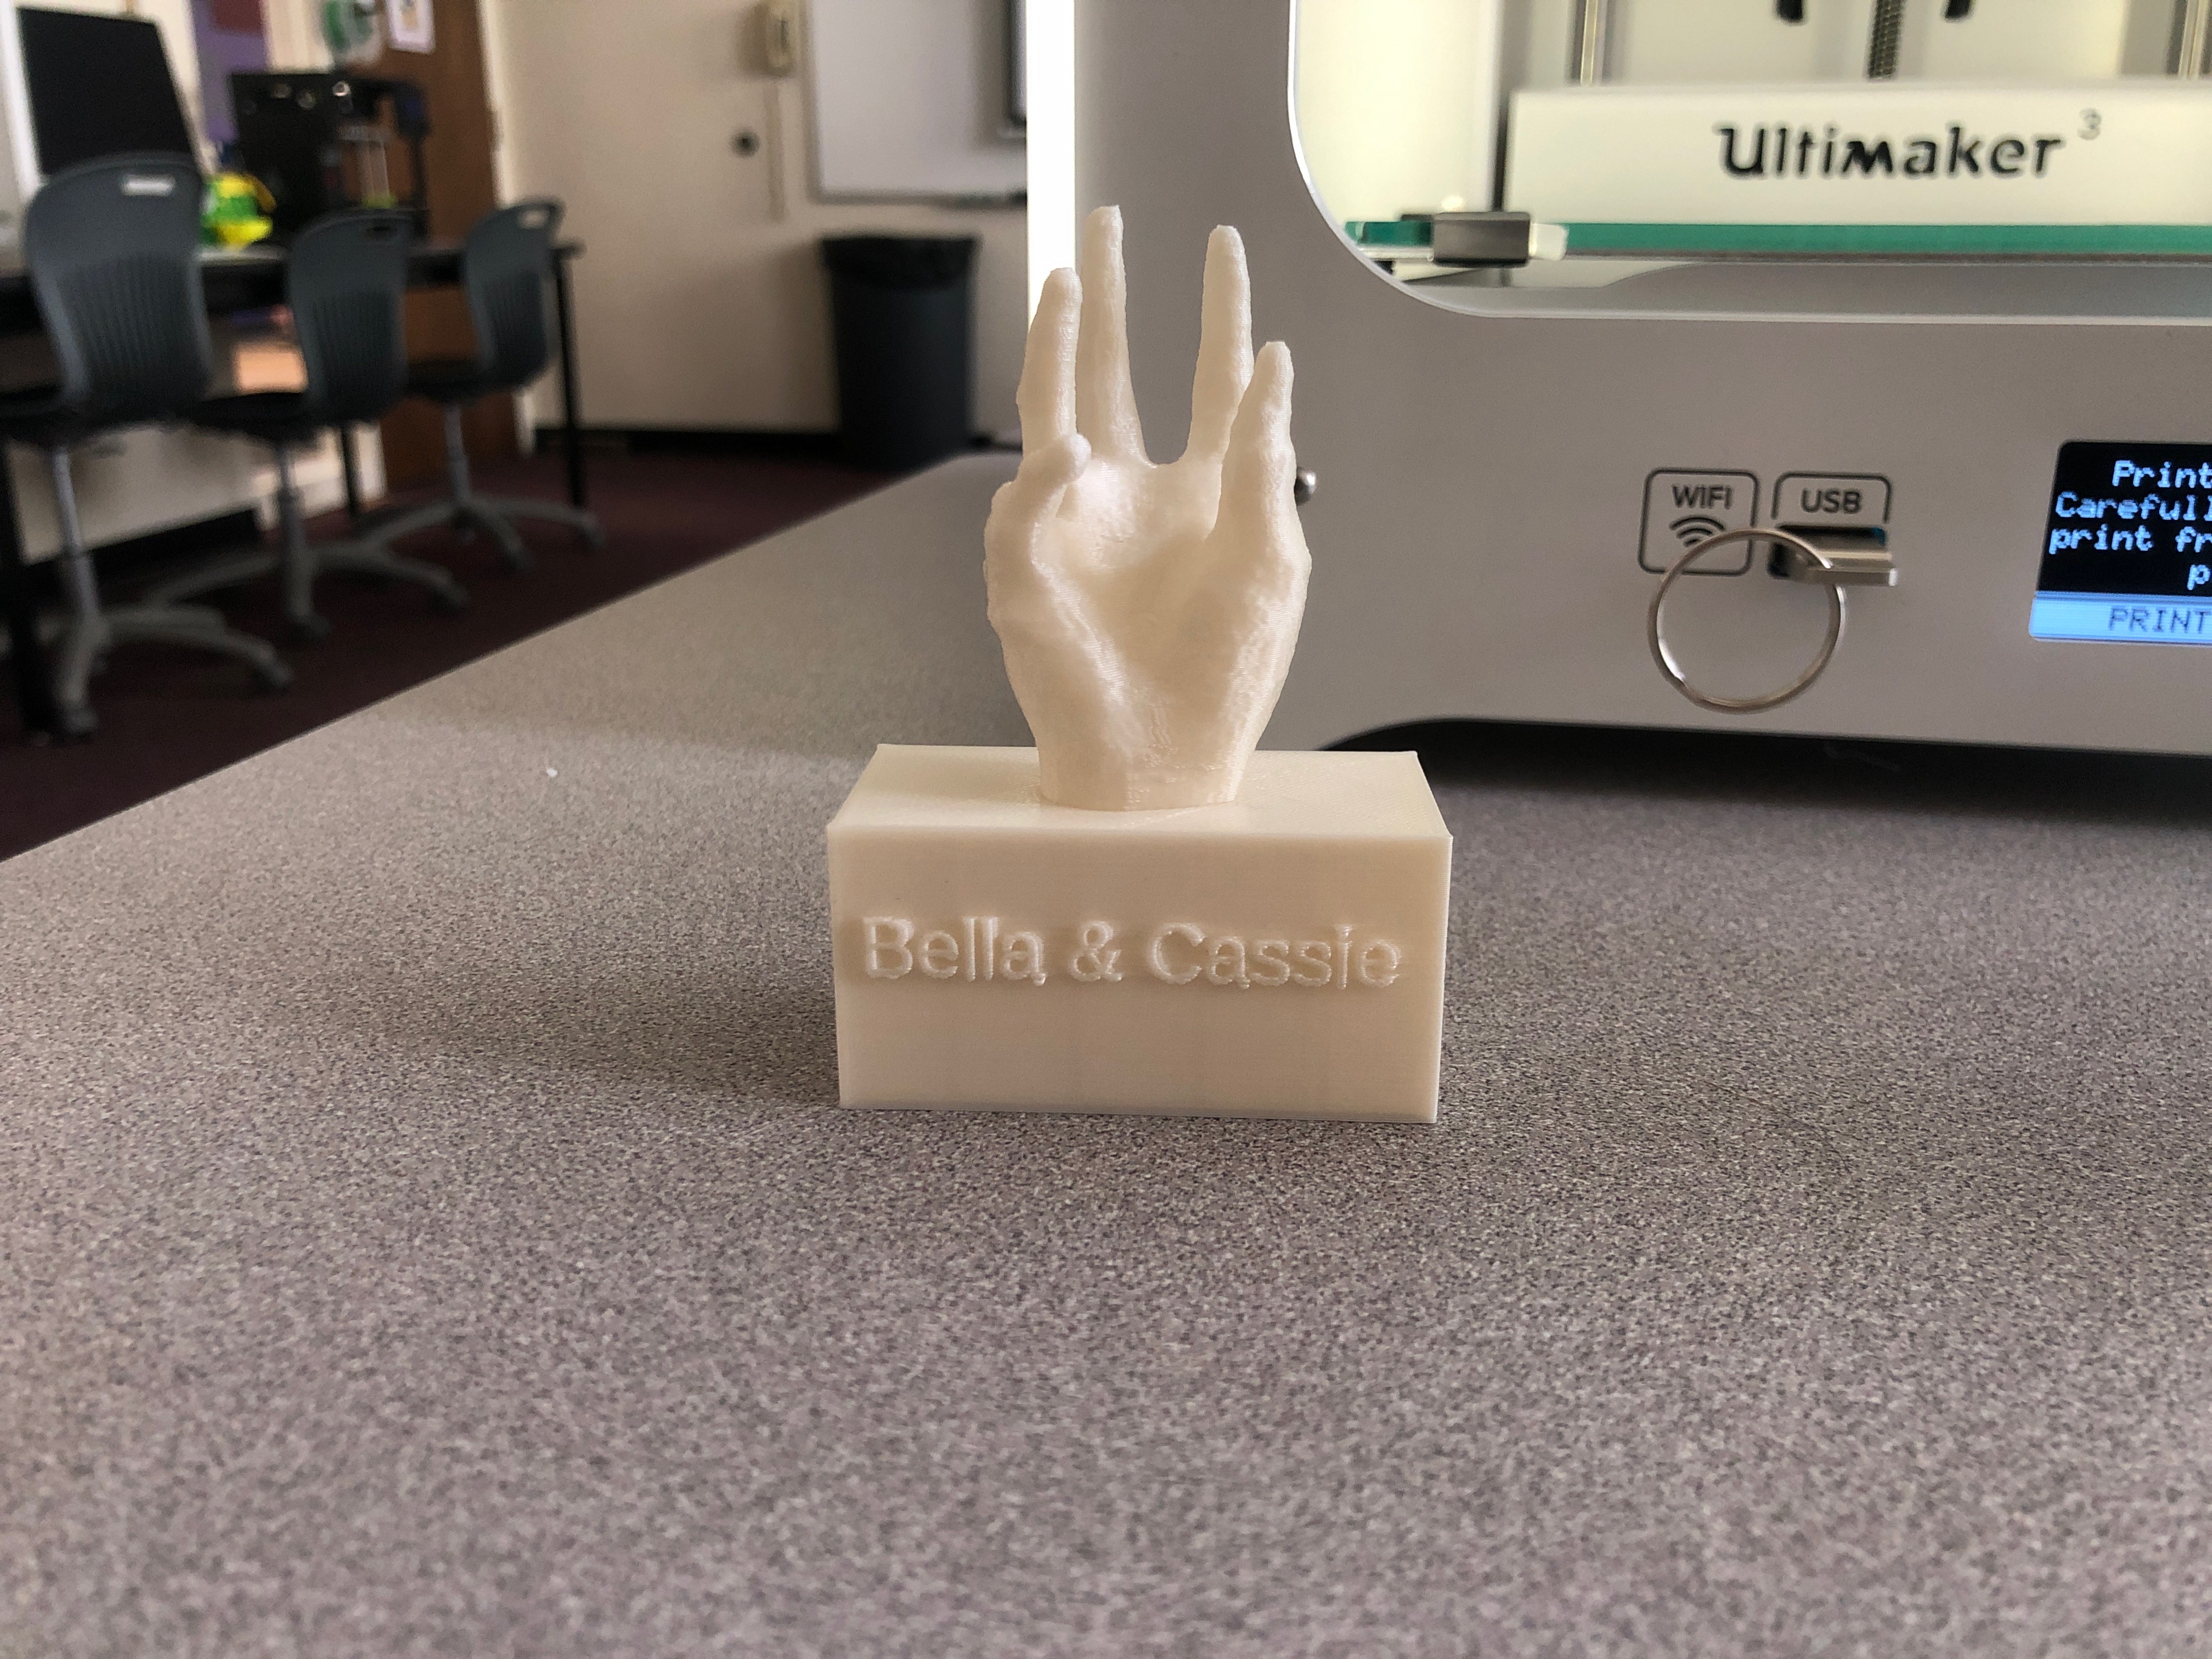
- The first print is our final print. It was made with our original code but just made larger in the ultimaker. The second print we put dimensions in the cube part of the code. By adding dimensions we made the cube into a rectangle. Now that the base of the hand was larger we can make our text on it larger as well. We decided to write out our full names instead. The third print has rounded edges instead of sharp ones. For this we changed our cube into cylinders and added a hull(). The hull() made the four cylinders connect and round out the edges. All of these prints have no weaknesses. This print is very sturdy and can hold all of our rings and necklaces we have. We will be using this print in our apartment next year together, its a cute accessory to have.