Initial Design Idea
We plan to create a jewelry stand that is both cosmetically pleasing as a decorative piece for a room as well as having the purpose of keeping your jewelry from getting tangled and disorganized. We chose to create a jewelry stand because we both own lots of jewelry and find it a hassle when they get mixed up and have to untangle them. The knowledge that we bring coming into this project is being able to create basic shapes through coding on openSCAD. What we will be learning through this project is how to combine basic shapes and create more realistic and detailed objects. The goal is for us to learn how to create on object that holds a purpose.
Design Iteration
linear_extrude(height = 120)
circle(r = 6);

linear_extrude(height = 10)
square(size = [80, 120], center = true);

hull() {
translate([0, -50,120]) sphere(5);
translate([0,50,120]) sphere(5);
}
hull() {
translate([0,-50,95]) sphere(5);
translate([0,50,95]) sphere(5);
}
hull() {
translate([0,-50,70]) sphere(5);
translate([0,50,70]) sphere(5);
}
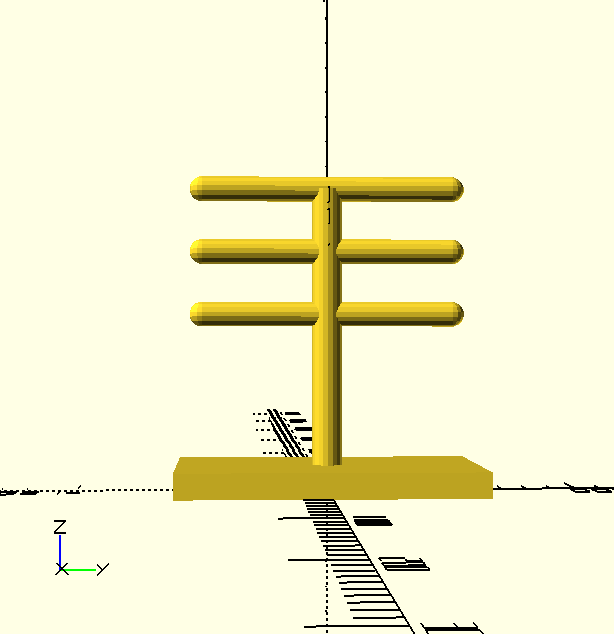
For our initial code for drafting up the jewelry stand, we created the first two lines of the code to make the base, standing center pole, as well as the three perpendicular poles that lay across the center pole. In order to get the three perpendicular lines, we used the transformation of hull to attach a a 3D spherical line between two spheres at different heights. One thing that we had to change about the design was to make all the poles thinner because it was unrealistic to keep the thickness of the poles larger. It was unrealistic because there was not enough room on the vertical center pole to add more than one perpendicular pole. Another thing we changed was the height of the base because we believed it was unnecessary to keep the base too thick. We thought it was unnecessary to keep it too thick because it would simply just take up more time to print.
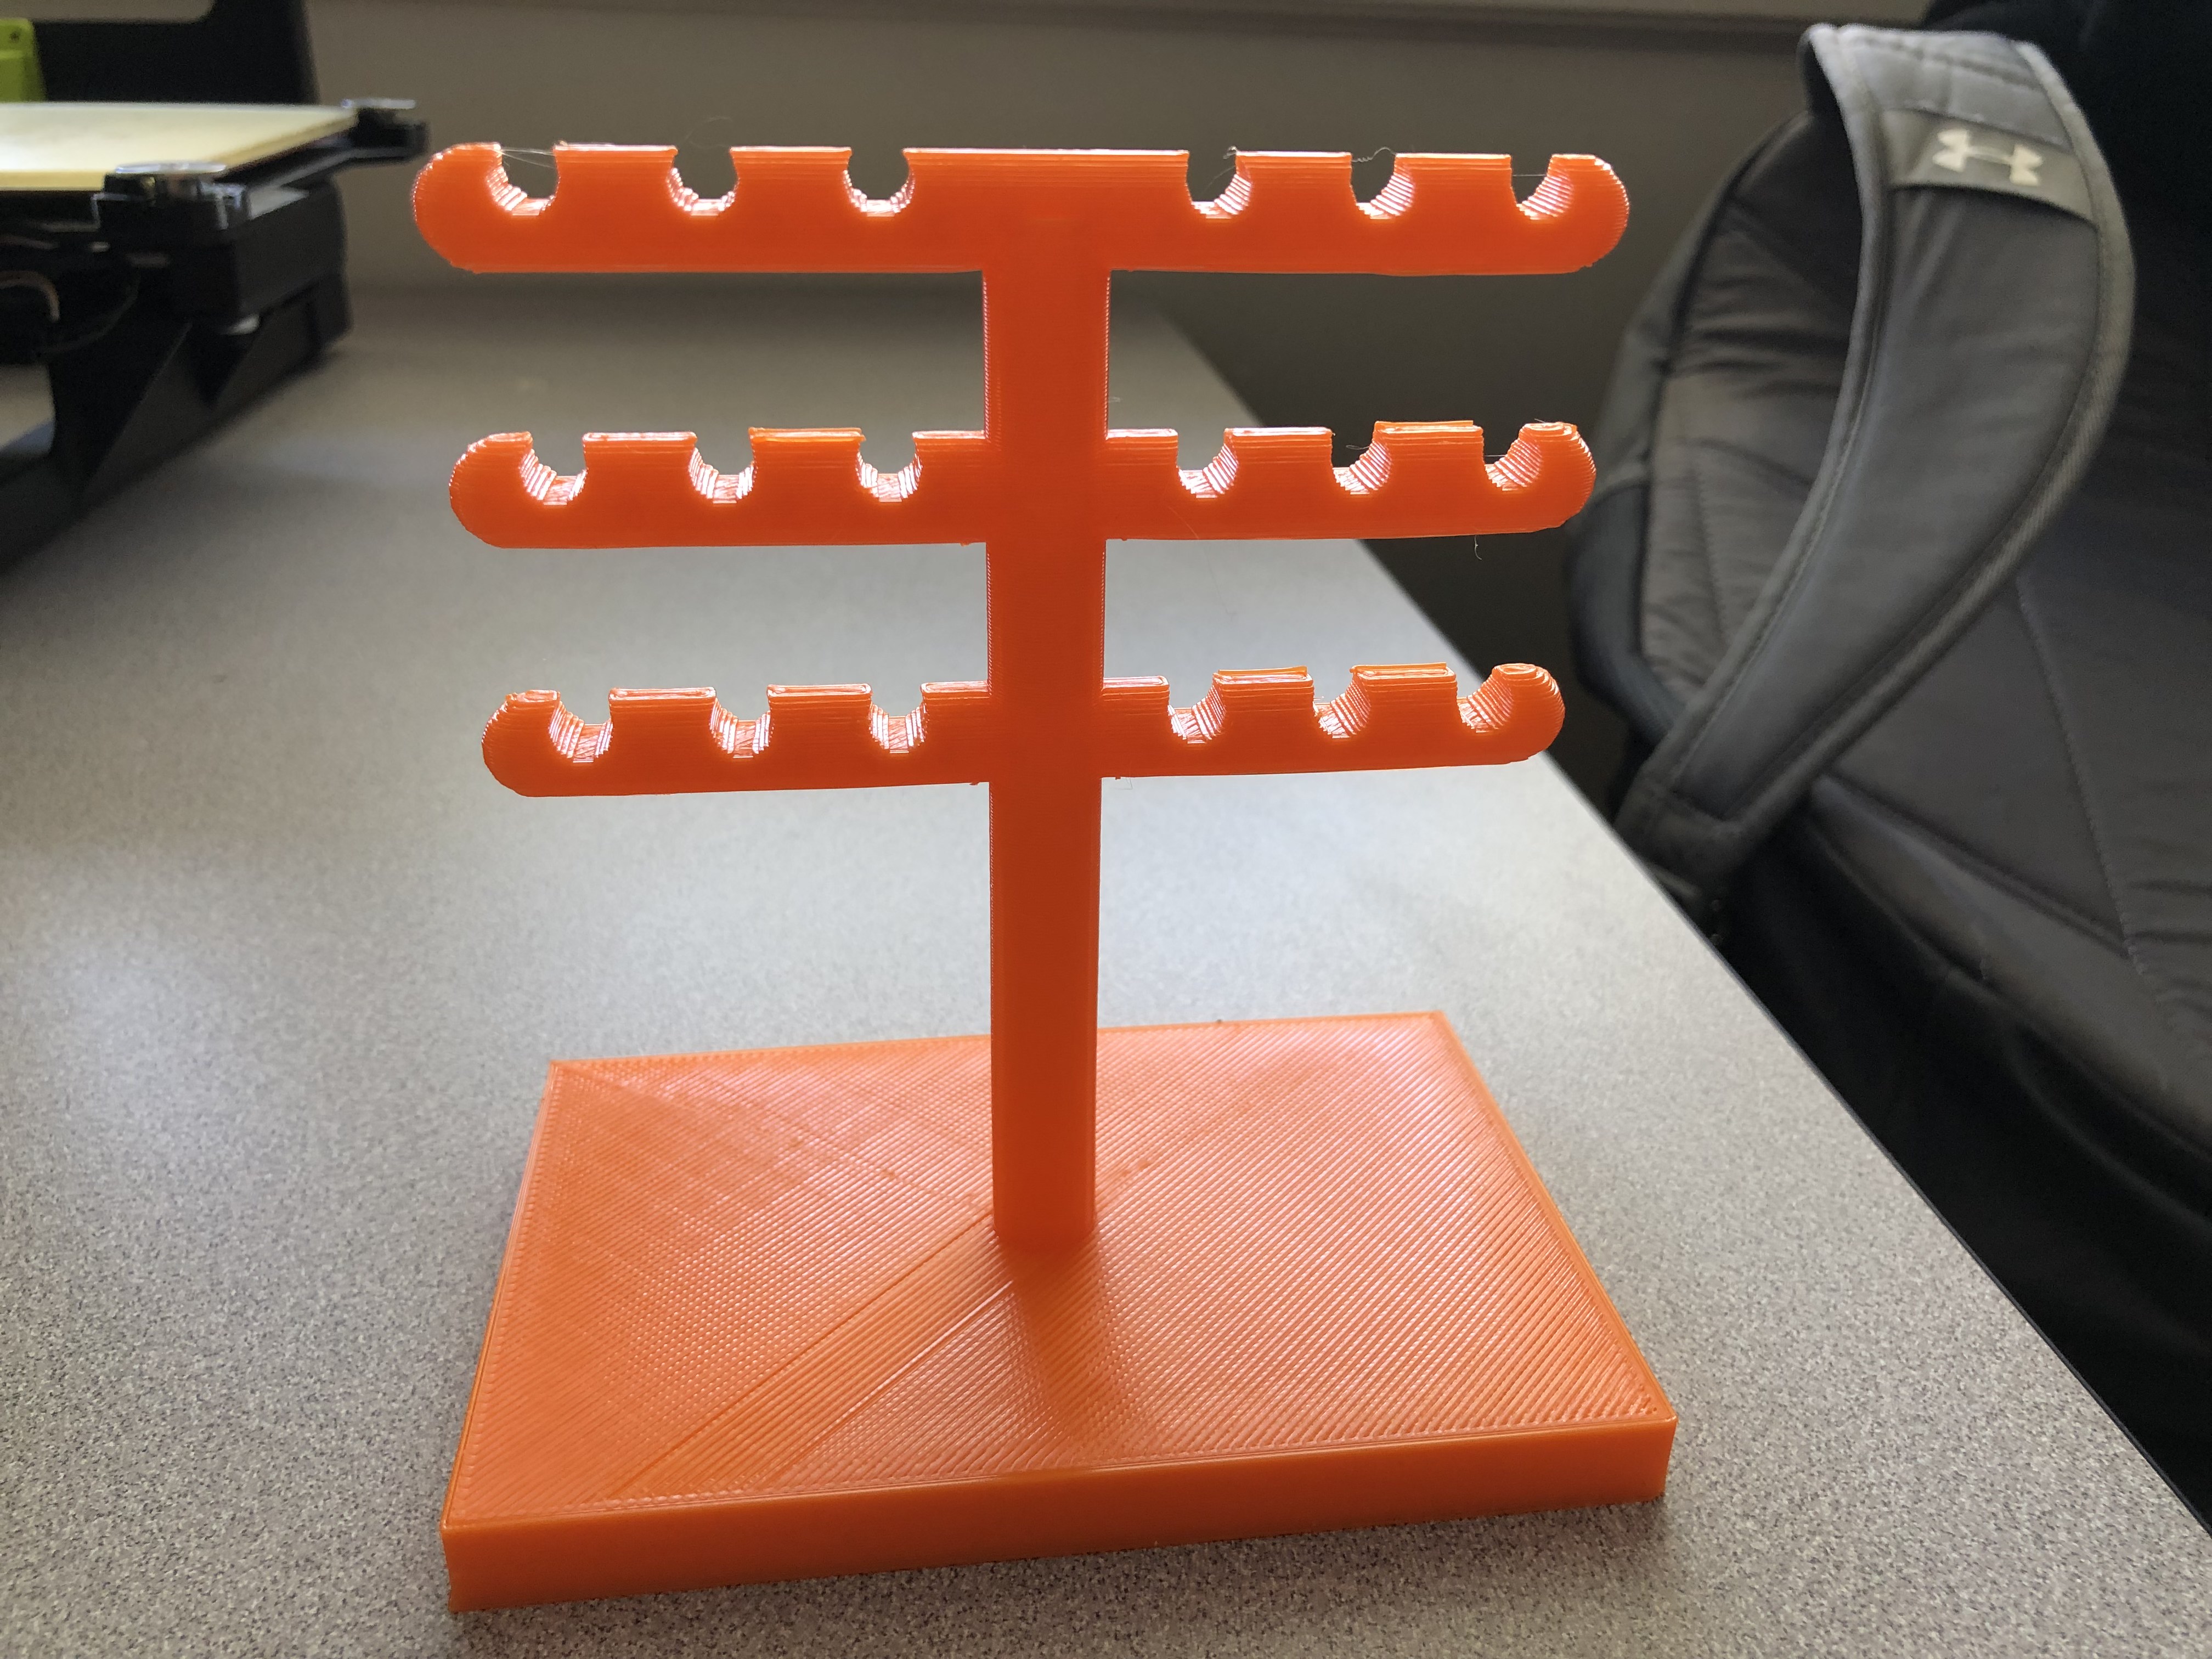
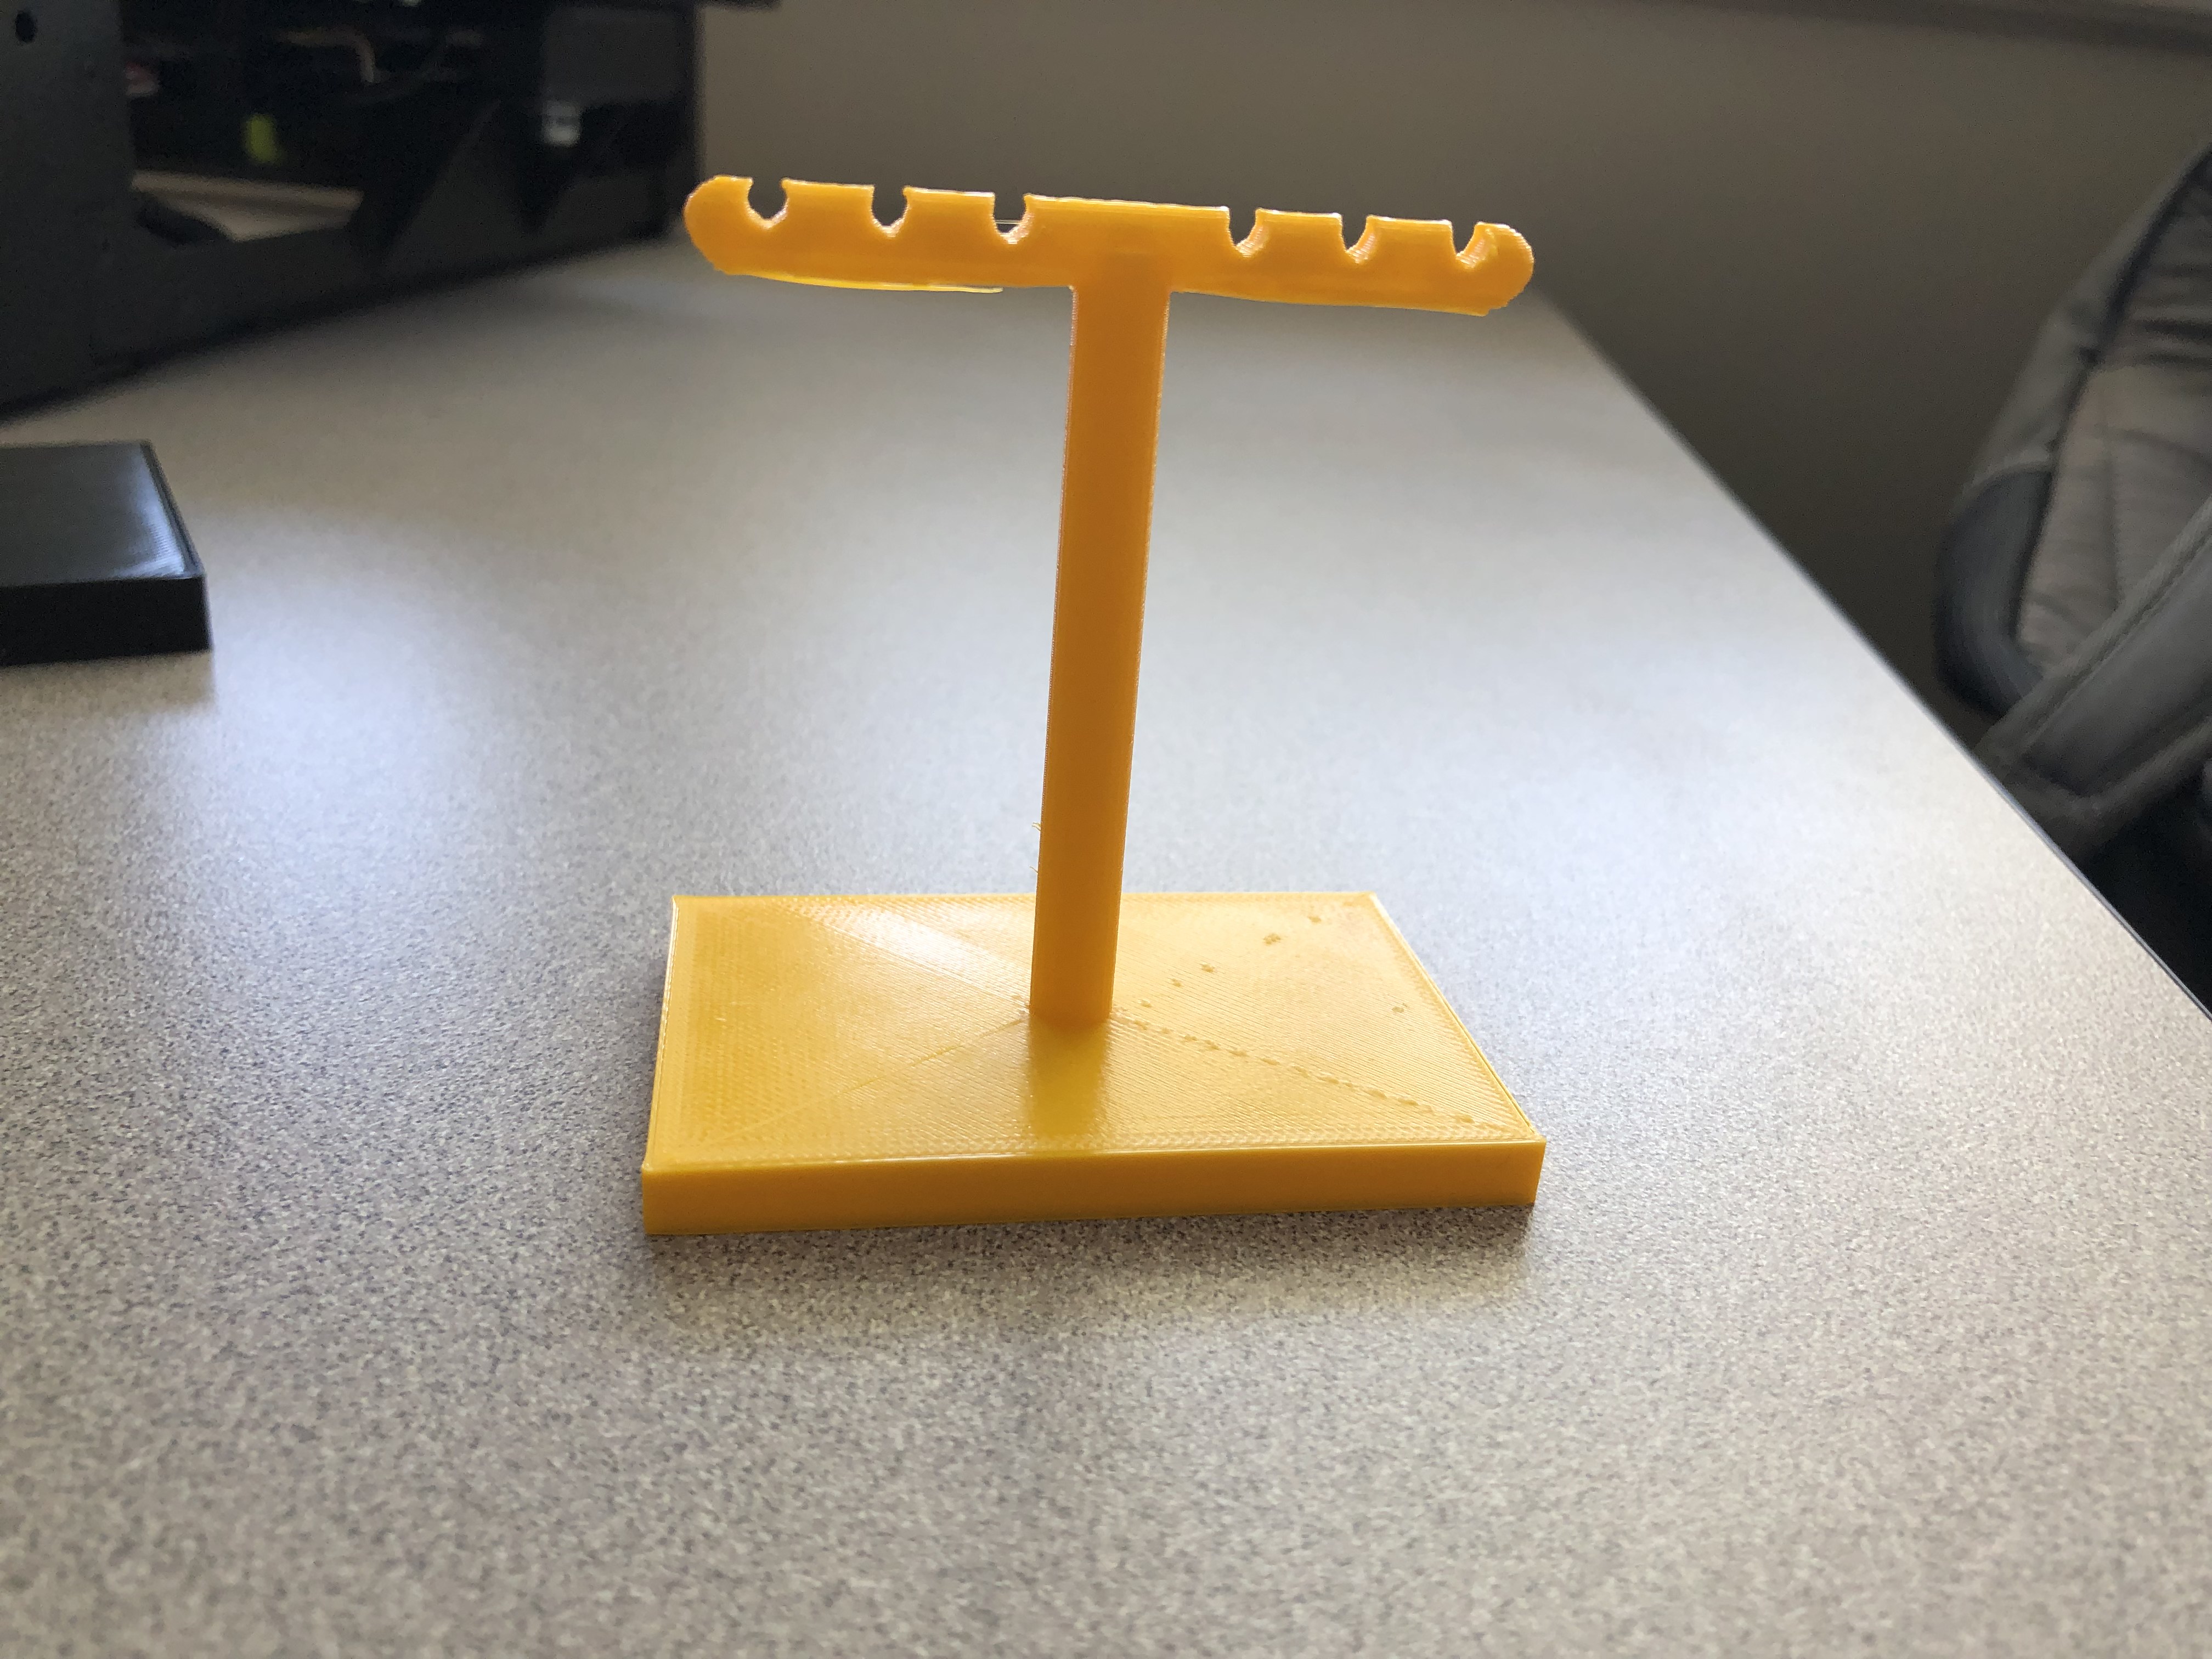
First Draft Print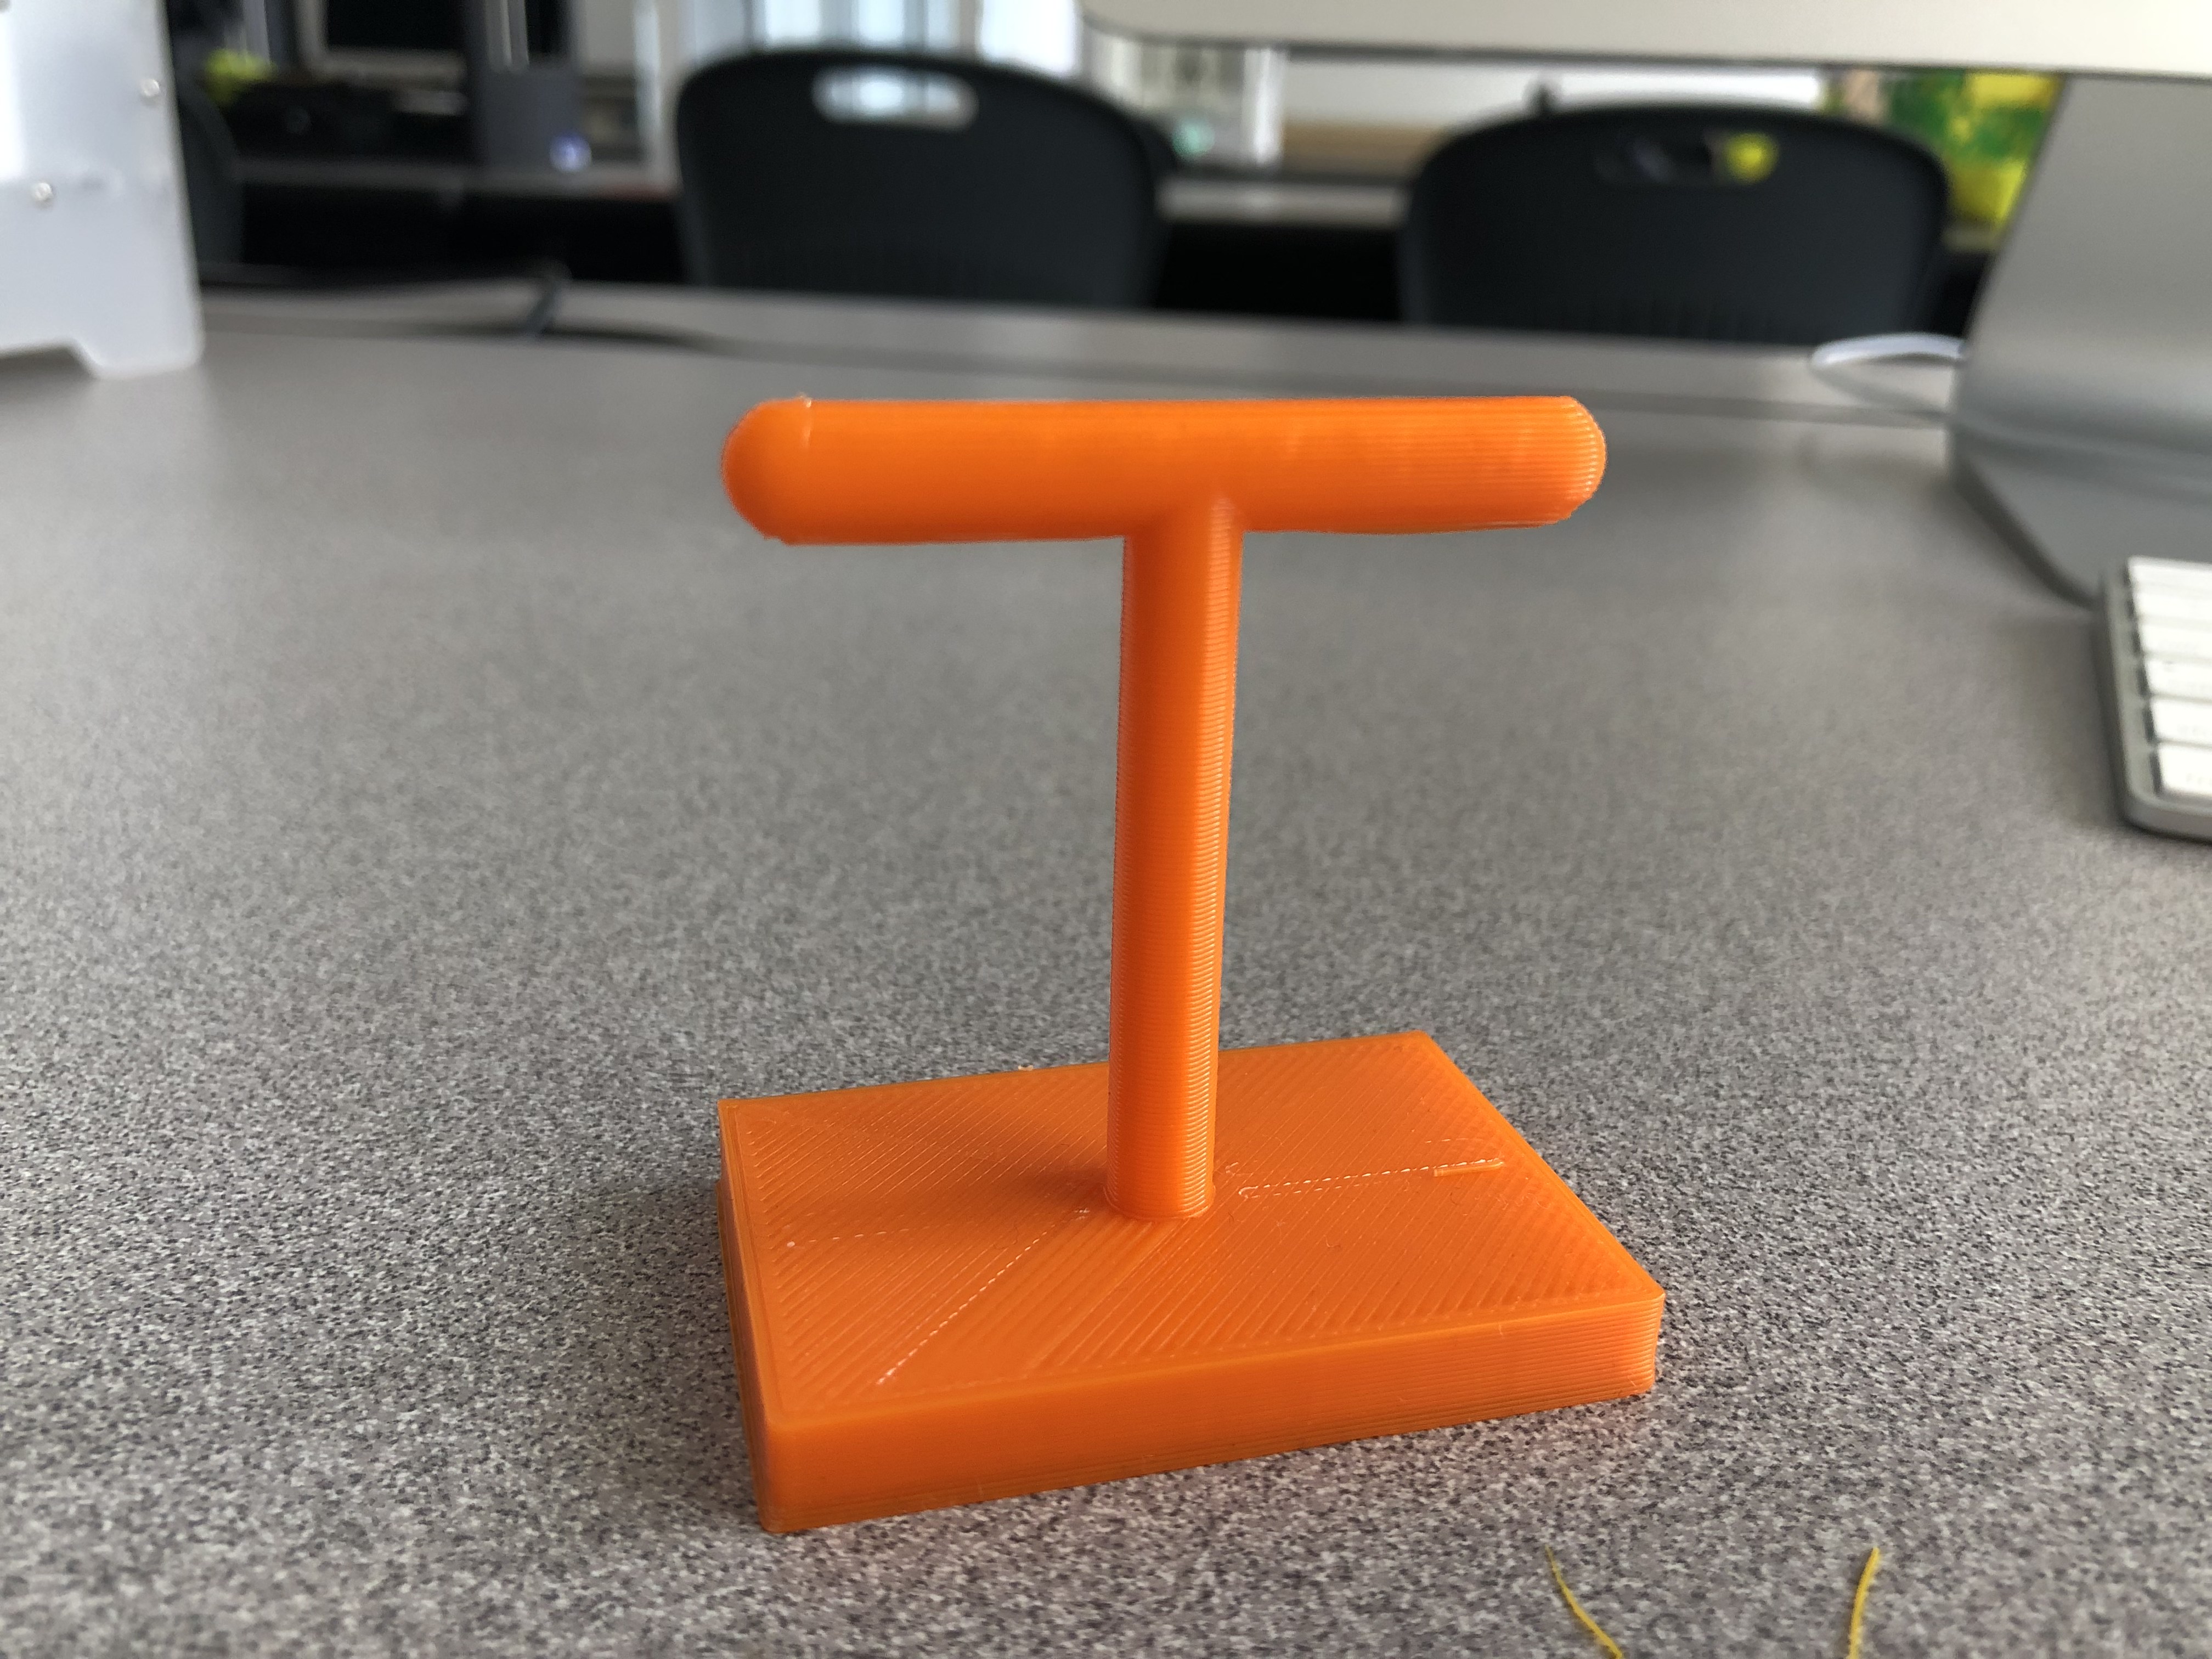
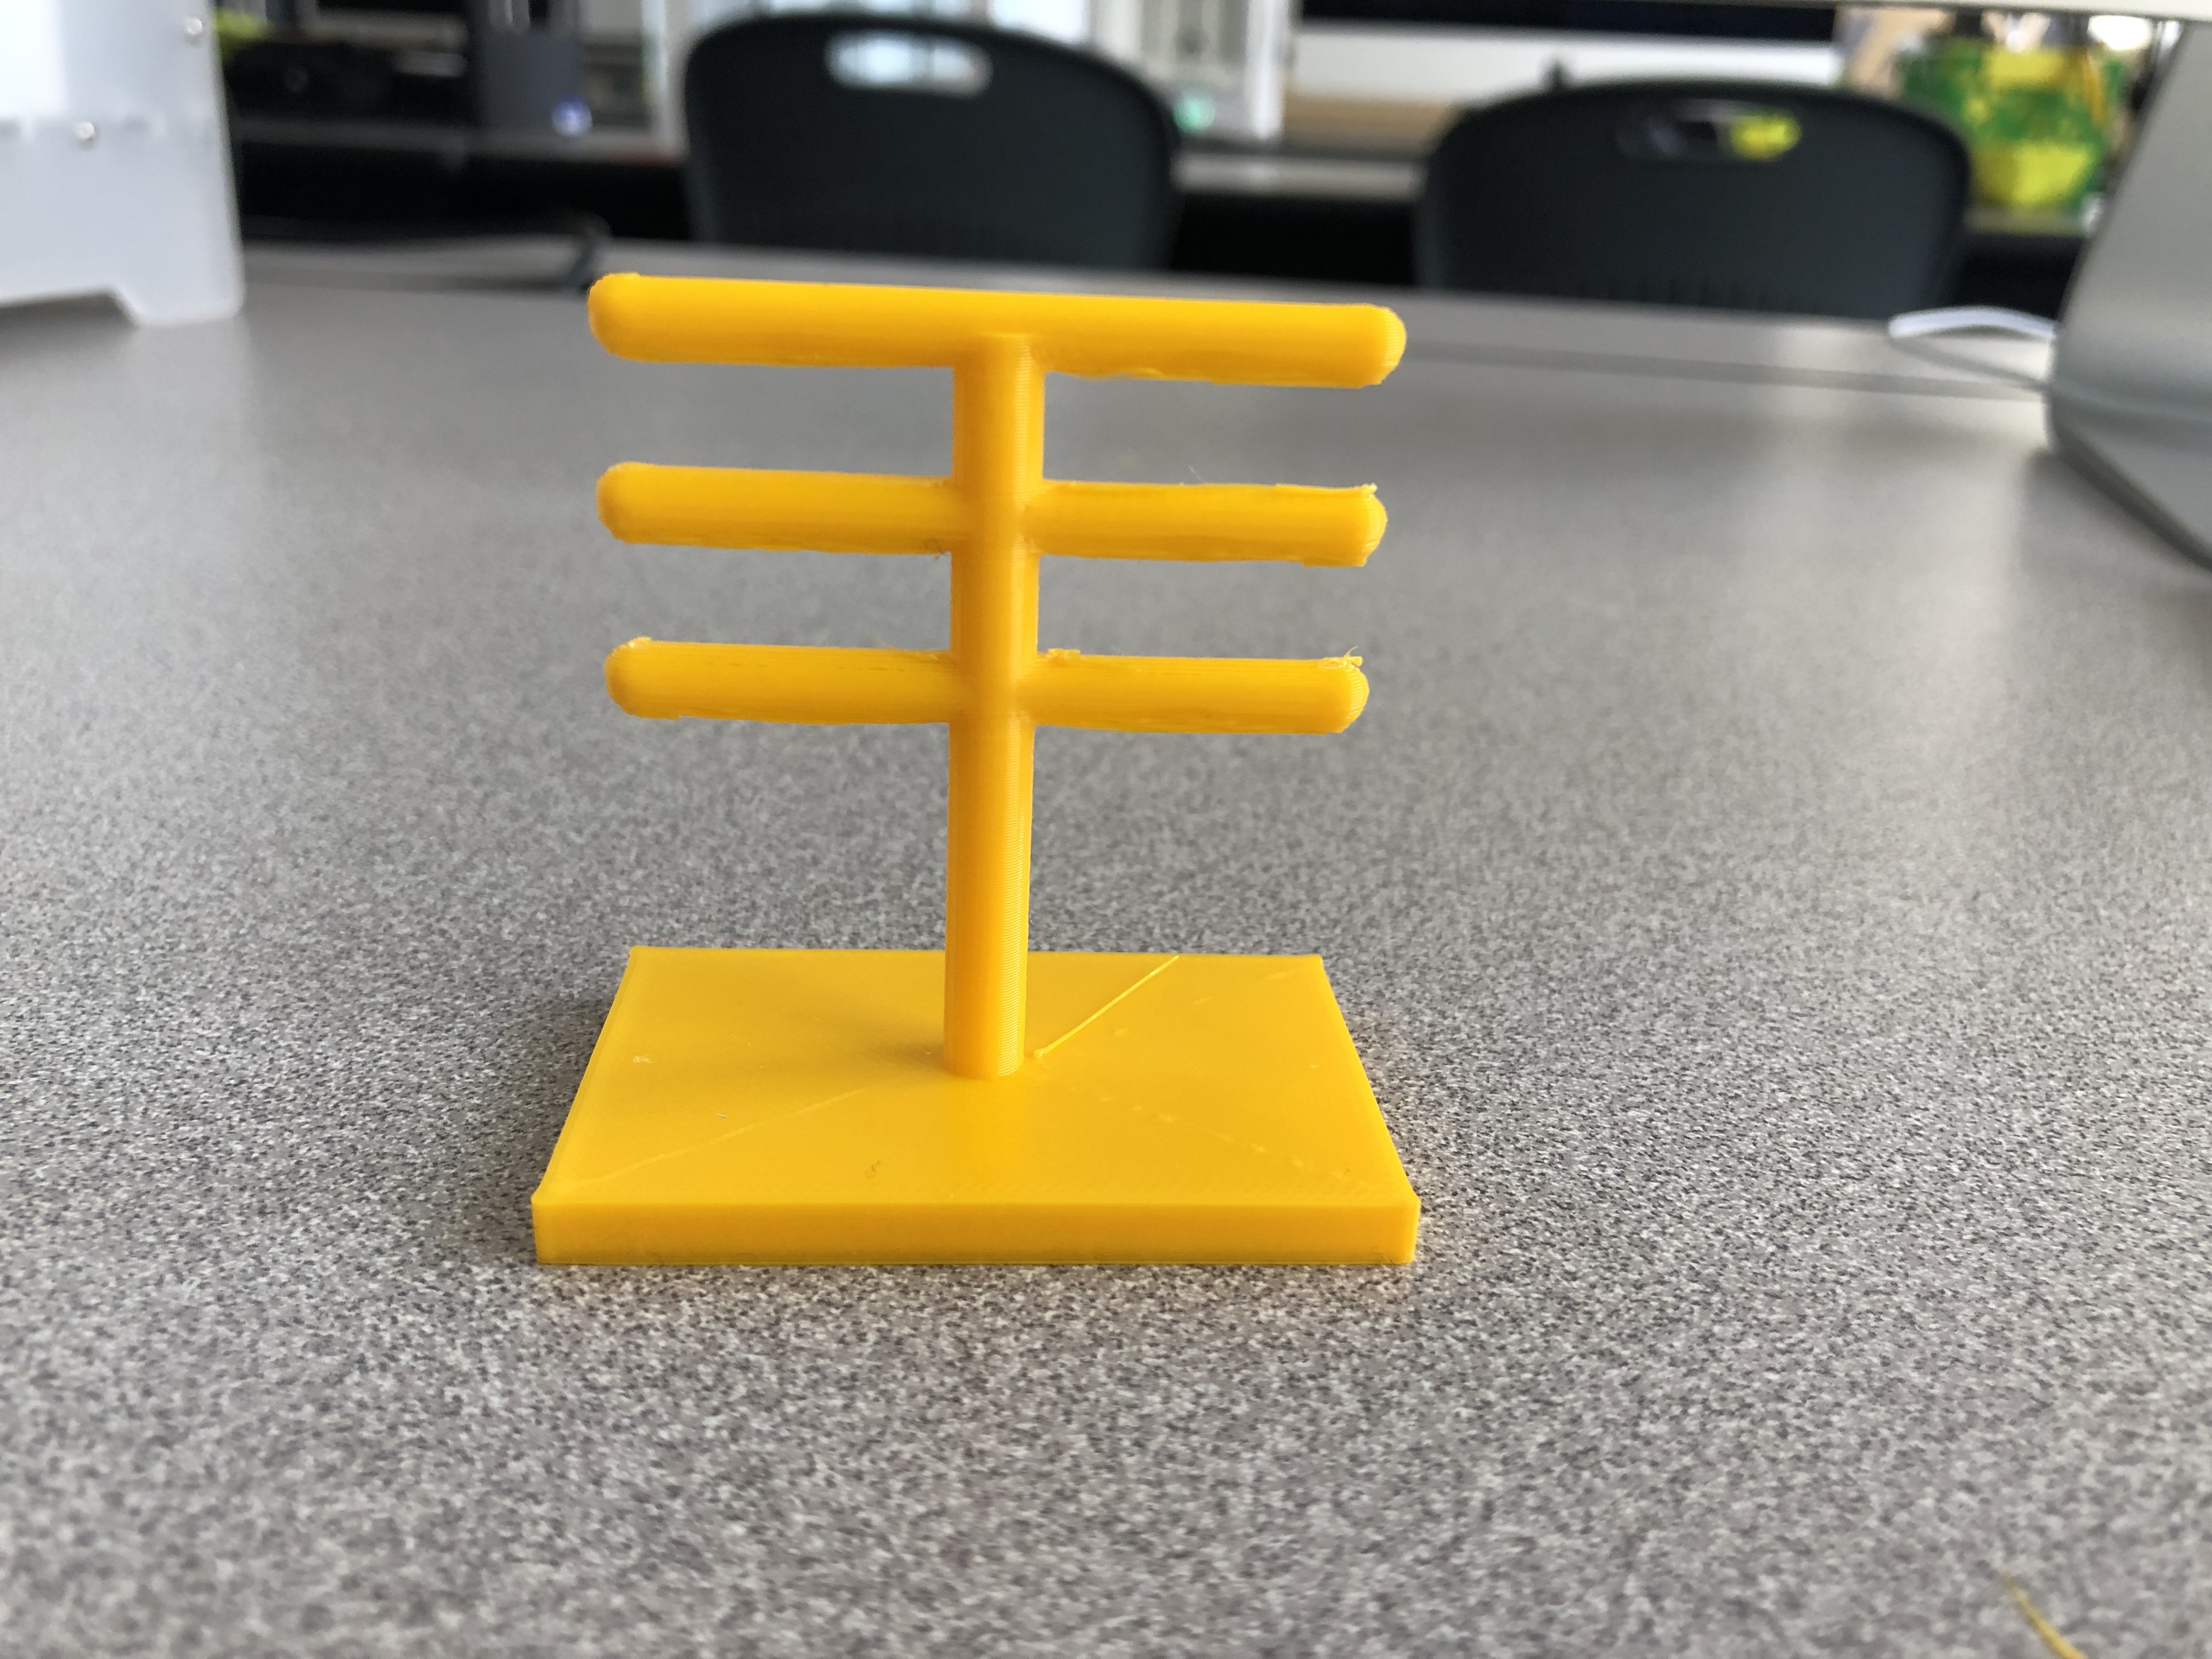
We decided to print two mini versions of what we envision our final draft to look like. What we observed from these first draft prints were that for the orange print, the single perpendicular pole came out more clean and sharp than the yellow print with the three perpendicular poles. The orange print we would say came out as a success because even with the support it was printed with, after we removed the support the print stayed clean with no damages and fraying pieces. We would also say that the yellow print was fairly successful however, we have come to realize we may need to make some modifications to prevent frayed pieces after removing the support for this print once we add more perpendicular poles. What we learned from the draft prints is how to “hull” object on OpenSCAD. originally we were finding it difficult to figure out how to get poles to intersect the single vertical pole, but then we figured out how to use the tool called hull which is where we attached two spheres together. We learned that we could attach these two spheres across to intersect with the single vertical pole to make a sort of “T” shape. We then learned how to repeat this technique and change it’s height so we were able to add more poles across the single vertical pole. We also learned the importance of spacing and how to make things symmetrical. We were having trouble figuring out how to keep the poles straight and not diagonal or crooked however, eventually we figured out we needed to be more aware of the “x,y,z” coordinates and the use of the number line in order to keep things the same height and distance from each other. We don’t really think we need to change much about the print other than to add some unique touches that way it isn’t too boring. We were thinking that perhaps we can add small indents or divots along the perpendicular poles that way there are actual spaces someone can rest there jewelry on. Adding this can also make the print more useful and realistic because if we keep the simple poles, we feel the jewelry can get tangled or easily slide off the sides.
Thingiverse Customizer
bars = 1;
// for 3 hulls
if(bars == 3) {

difference()  {
    union()  {
        linear_extrude(height = 120)
        circle(r = 6);

        linear_extrude(height = 10)
        square(size = [80, 120], center = true);

        hull()  {
            translate([0, -50,120]) sphere(5);
            translate([0,50,120]) sphere(5);
        }
        hull()  {
            translate([0,-50,95]) sphere(5);
            translate([0,50,95]) sphere(5);
        }
        hull()  {
            translate([0,-50,70]) sphere(5);
            translate([0,50,70]) sphere(5);
        }
    }

    hull()  {
        translate([-50,15,123]) sphere(3);
        translate([50,15,123]) sphere(3);
    }
    hull()  {
        translate([-50,15,123]) sphere(3);
        translate([50,15,123]) sphere(3);
    }
    hull()  {
        translate([-50,30,123]) sphere(3);
        translate([50,30,123]) sphere(3);
    }
    hull()  {
        translate([-50,45,123]) sphere(3);
        translate([50,45,123]) sphere(3);
    }
    hull()  {
        translate([-50,-15,123]) sphere(3);
        translate([50,-15,123]) sphere(3);
    }
    hull()  {
        translate([-50,-30,123]) sphere(3);
        translate([50,-30,123]) sphere(3);
    }
    hull()  {
        translate([-50,-45,123]) sphere(3);
        translate([50,-45,123]) sphere(3);
    }
   hull()  {
        translate([-50,-45,98]) sphere(3);
        translate([50,-45,98]) sphere(3);
    }
    hull()  {
        translate([-50,-30,98]) sphere(3);
        translate([50,-30,98]) sphere(3);
    }
    hull()  {
        translate([-50,-15,98]) sphere(3);
        translate([50,-15,98]) sphere(3);
    }
    hull()  {
        translate([-50,45,98]) sphere(3);
        translate([50,45,98]) sphere(3);
    }
    hull()  {
        translate([-50,30,98]) sphere(3);
        translate([50,30,98]) sphere(3);
    }
    hull()  {
        translate([-50,15,98]) sphere(3);
        translate([50,15,98]) sphere(3);
    }
    hull()  {
        translate([-50,-45,73]) sphere(3);
        translate([50,-45,73]) sphere(3);
    }
    hull()  {
        translate([-50,-30,73]) sphere(3);
        translate([50,-30,73]) sphere(3);
    }
    hull()  {
        translate([-50,-15,73]) sphere(3);
        translate([50,-15,73]) sphere(3);
    }
    hull()  {
        translate([-50,45,73]) sphere(3);
        translate([50,45,73]) sphere(3);
    }
    hull()  {
        translate([-50,30,73]) sphere(3);
        translate([50,30,73]) sphere(3);
    }
    hull()  {
        translate([-50,15,73]) sphere(3);
        translate([50,15,73]) sphere(3);
    }
}
}
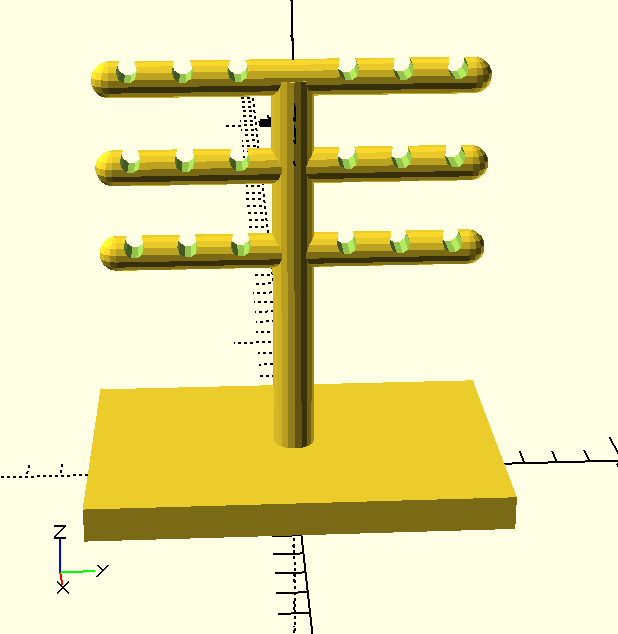
The way in which we are letting users modify this code is that we are allowing them to pick how many bars they want to have perpendicular to the single vertical bar. We chose to have this because we figured that everyone has different amounts of jewelry and if they want to add more bars with more divots in them then that would be more practical and useful. We have the code set so that you can add up to three bars and they will all be equal distances from each other but far enough apart so that your jewelry wont get tangled. The way you can change the amount of bars you want to have is located at the top of the code where it says “bars=3”. If you want two bars, change it to “bars=2”, and if you want just one bar, you can change it to “bars=1”. When you do this the code will automatically change how many bars are printed. We chose to keep the length of everything the same because we thought that giving the user too much control over the dimensions of the bars could cause some complications for when it is bring printed and that the design may end up looking disproportional. If you look in the code, you can see that the length of the bars are all set on the coordinates of “50” and “-50”, therefore keeping them all identical lengths to each other.

https://www.thingiverse.com/thing:3581602
Final Prints

 Since we decided to allow users to change the number of bars on the jewelry stand, the parameters for each design are the same other than when you can change “bars=#”. By this we mean that the thickness, length and height of all the bars will always remain the same as well as the distances between the bars will remain the same. We believe that our prints were successful! We printed each design using support, and while we were worried that the support would hinder the design it actually came out fairly well. Each print came out sturdy and clean cut with one, two, and three bars. We don’t feel that there were any visible weaknesses and are very happy with the way the prints came out.