Hello
My name is Rachel Christie. I am originally from Woodbridge, Virginia but have lived in Harrisonburg off and on for five years. I am a senior in the Hospitality Management program and wish to pursue a career in Human Resources. I currently work as a bartender at a craft brewery in Downtown. When I’m not in class or at work, you can find me in the kitchen. I love to eat and cook for others.
I do not have any previous experience in 3D printing or designing puzzles, but I am excited about the challenge. I am most excited about learning how puzzles are developed. I like to do puzzles and find them intriguing, so I hope to design and develop puzzles that are challenging and fun.

Initial Puzzle Research
I researched dissection puzzles and puzzle boxes.
I researched dissection puzzles because I am somewhat familiar with them. Dissection puzzles are characterized by cutting an object in a way that it can be reassembled into another object. One of the most popular dissection puzzles is called the tangram. The tangram puzzle is made up of seven flat pieces with straight sides that can be arranged into many different shapes, although there are only thirteen convex configurations. There is something fascinating about the simplicity of the tangram. The very few pieces are simple shapes everyone is used to, but the possibilities are seemingly endless. 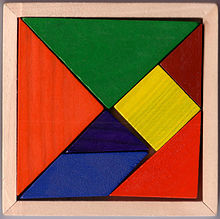
I also looked into puzzle boxes during my research. I think puzzle boxes are a fun and challenging way to keep something hidden. Puzzle boxes are believed to have been developed in Japan during the 1800s. The boxes were intended to keep the tools of workers safe. As time has gone on, puzzle boxes have become more elaborate in solving and in decoration. I would love to do more research into this puzzle style for my project during this semester. I think it is really satisfying to have a project that does not appear to be a puzzle from the outside but holds a secret within.
References:
Thingiverse Puzzle Print
I chose to print the WildRoseBuilds Puzzle Cube. I decided to go with this print because it seemed simple and did not require any additional supports during the print. I did not want to attempt to print something that was more complex as I am very inexperienced in 3D printing. The Puzzle Cube is made of three identical pieces. The file provided by WildRoseBuilds only has one piece, so I decided to copy the item and print all three pieces at once. On the first print, I reduced the print to 40% of the original size. I thought I was going to save myself some time, but instead, I was left with pieces that did not quite fit together. I managed to force the puzzle together, but the pieces are now stuck
On my second attempt, I increased the size from 40% to 60%, again to save time. I was much happier with this print! I decided to go home and sand any rough edges or imperfections with 220 grit sandpaper. I am able to put this puzzle cube together and take it apart.
Here is a link to my make on Thingiverse

 Tinkercad Cube Puzzle
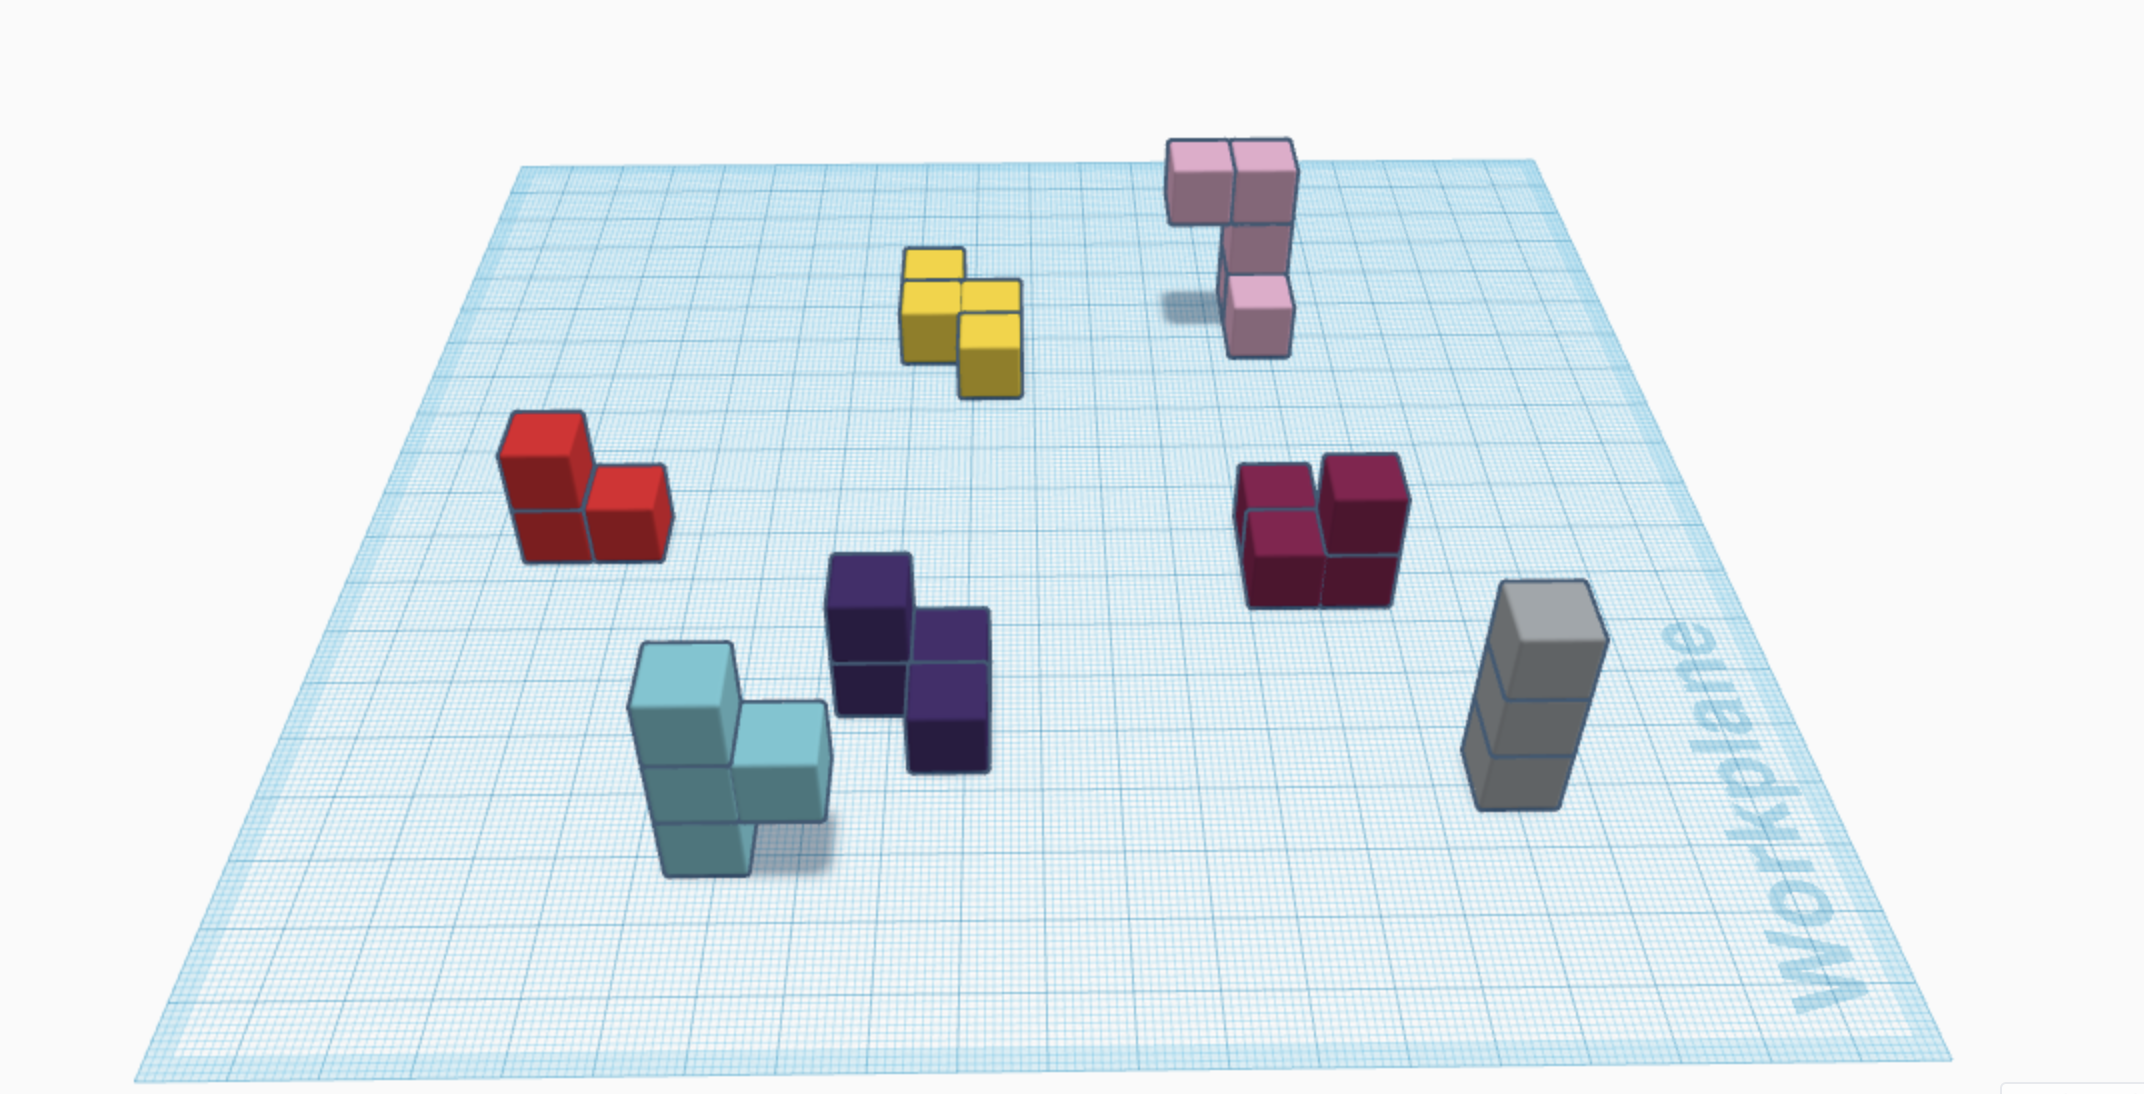
I decided to make a simple 3x3x3 cube puzzle. This was the first puzzle I have ever designed and I did not want to get too over my head on this assignment. I ended up with 7 separate pieces with 3 or 4 cubes per piece. In Tinkercad, I started by placing 27 cubes in a 3x3x3 cube. I made each cube have a radius of 1 to make the edges a bit more rounded. I had originally had the individual cubes be 20mm³. I reduced each to be 10mm³ in order to have a faster print.
I started designing each piece by selecting 3-4 adjacent cubes and changing the color. Once I was happy with the piece, I moved the newly colored cubes outside of the original and grouped them together. By doing this, I was able to ensure that the puzzle would fit together in the end. After each completed piece, I was left with fewer and fewer pieces to work with, which ultimately made the process incredibly smooth. I did run into some difficulty where I was left with one rogue piece and had to work it into another completed piece. After some trial and error, I ended up with seven (mostly) different pieces.
The biggest issue I had during this print was not knowing that my pieces were not touching enough. In Tinkercad, the cubes looked like they had full contact with each other. Once it was printed, I ended up having to glue 4-5 cubes together just to ensure that they would not fall apart. I sanded down any rough edges with 200 grit sandpaper while trying to take care not to alter any shapes.
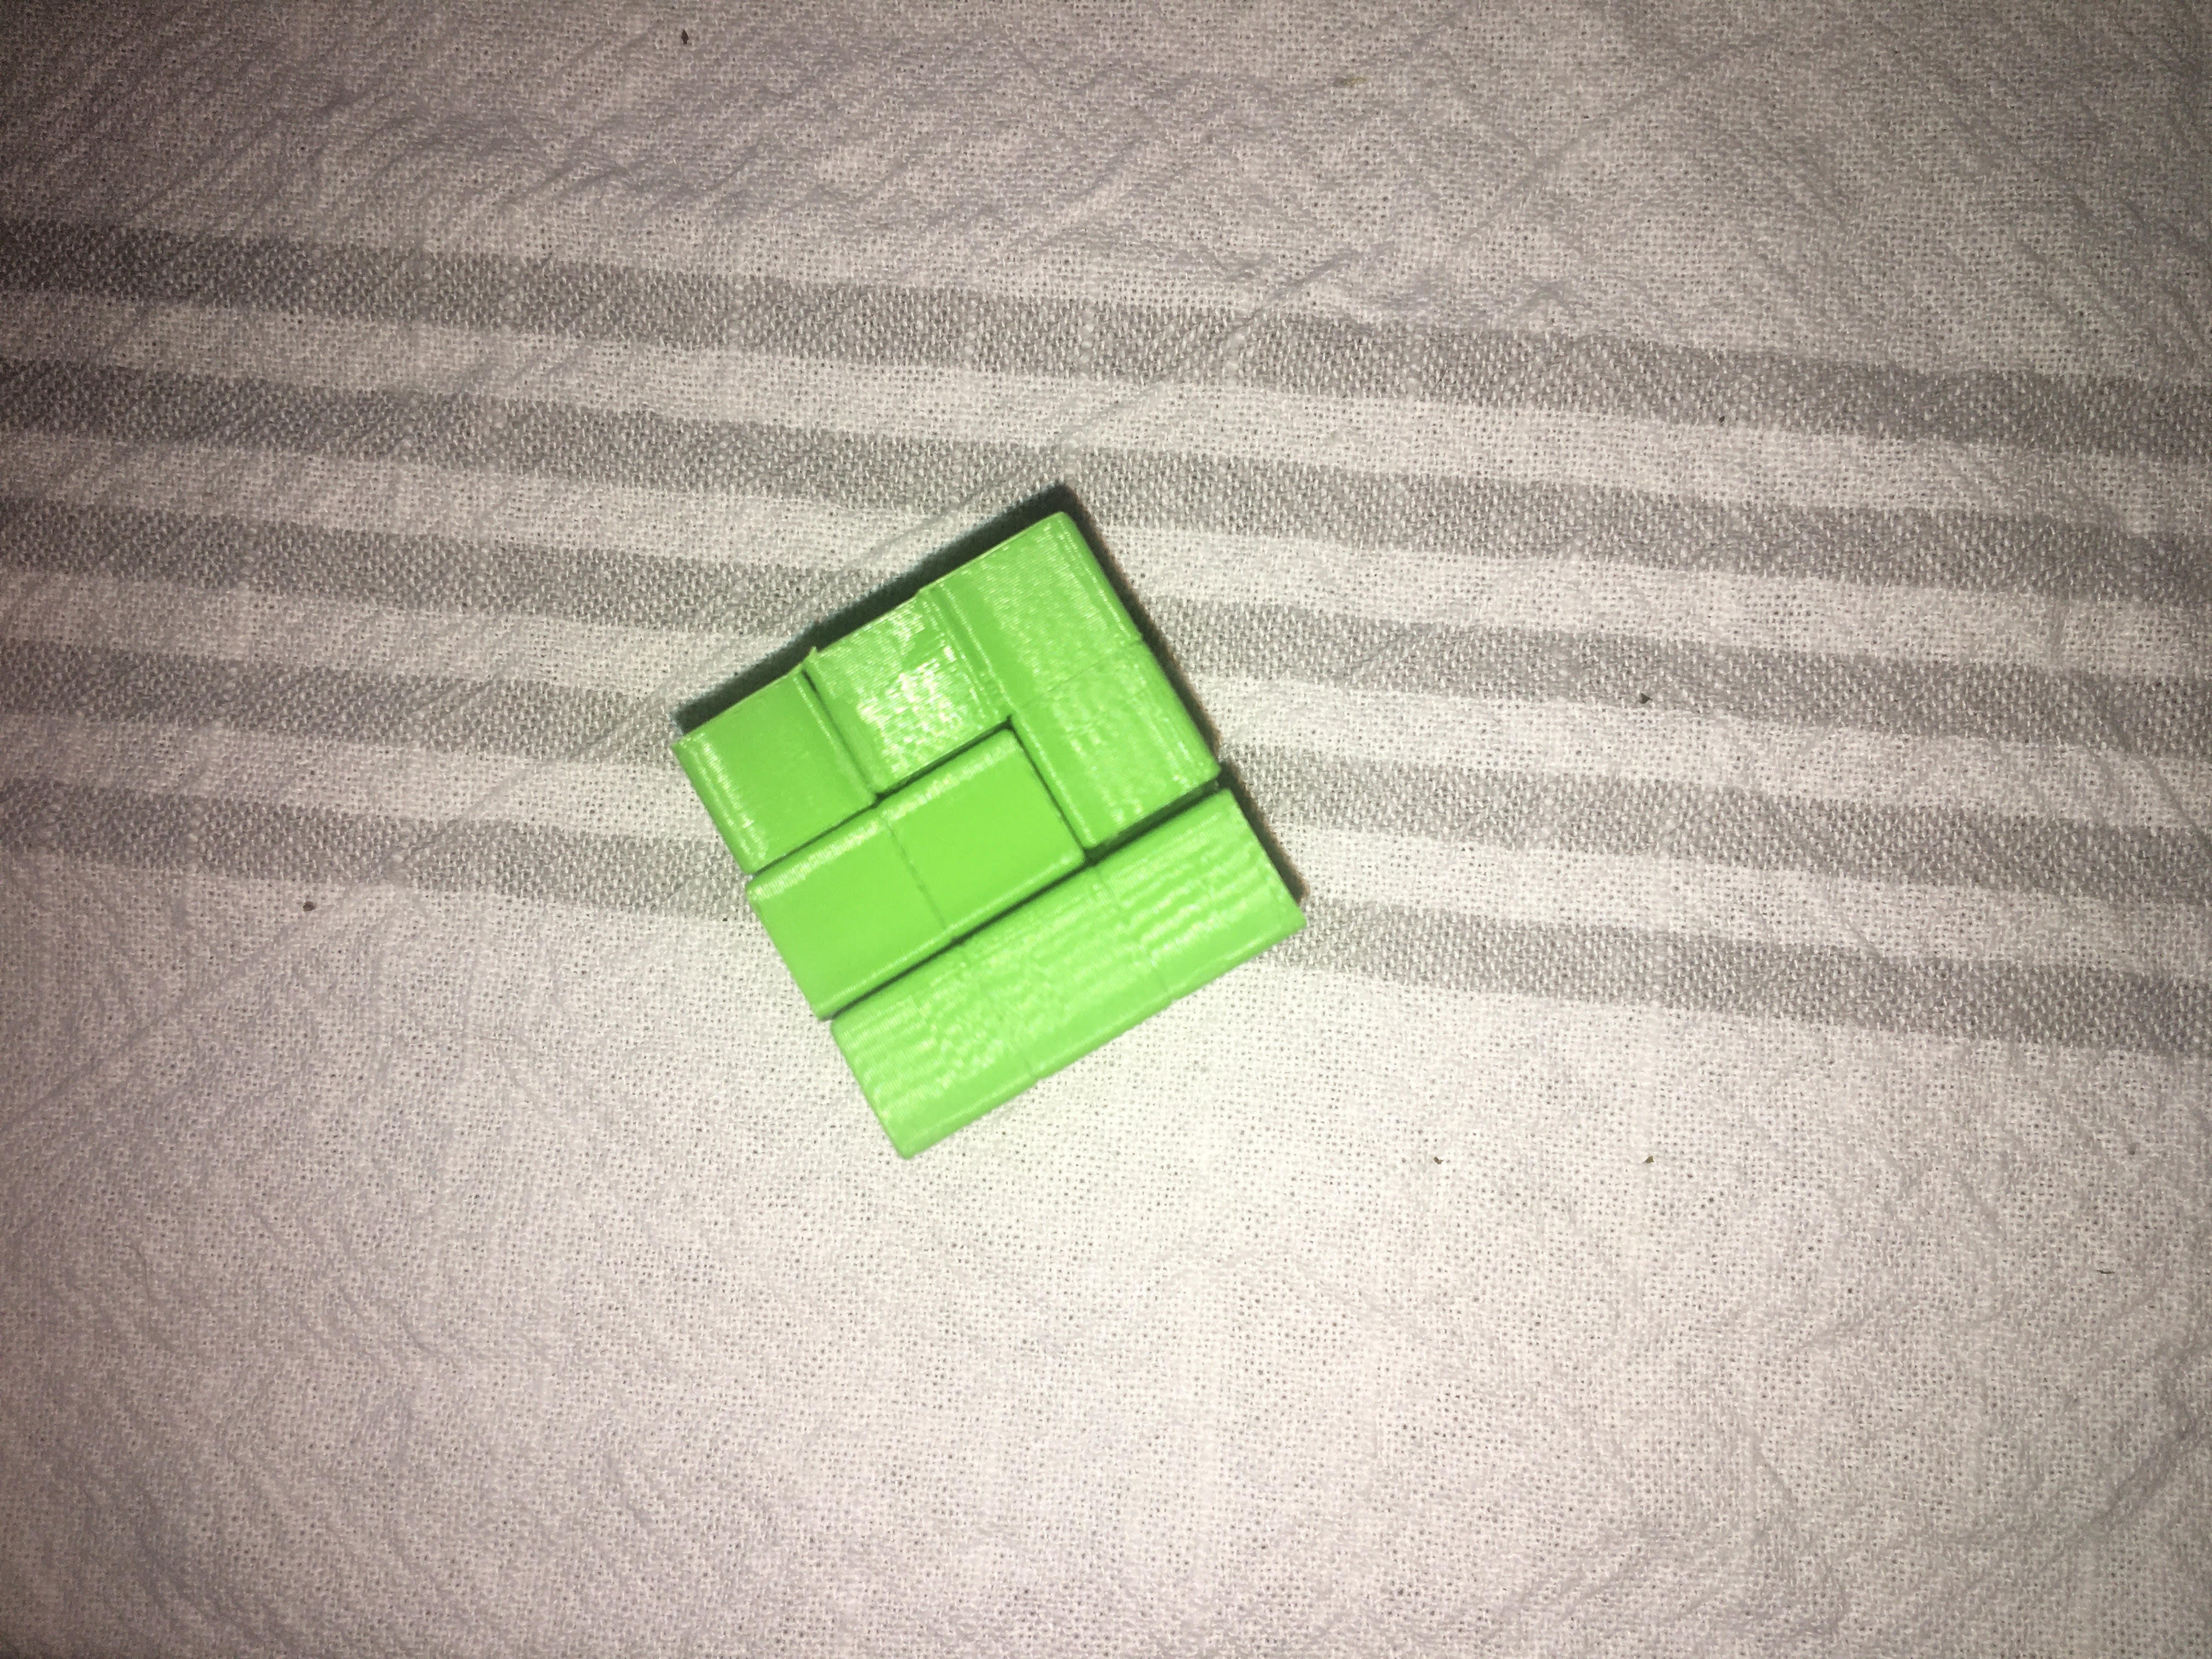
I’m rather upset with myself that I did not create a case or box for my finished puzzle. It makes storing the puzzle a pain and I am afraid that I will lose pieces. I also do not think my pieces fit together well and the entire completed puzzle feels very fragile and sloppy. This is probably my own fault for having to glue pieces together and sanding it down. In a future build, I think I would go back and keep the size of the pieces at 20mm³, increase the radius slightly for a better feel in the hand, and ensure that each cube has full contact with any adjacent tiles. I would also include a box or carrying case for storage.

 Cube Puzzle Iteration
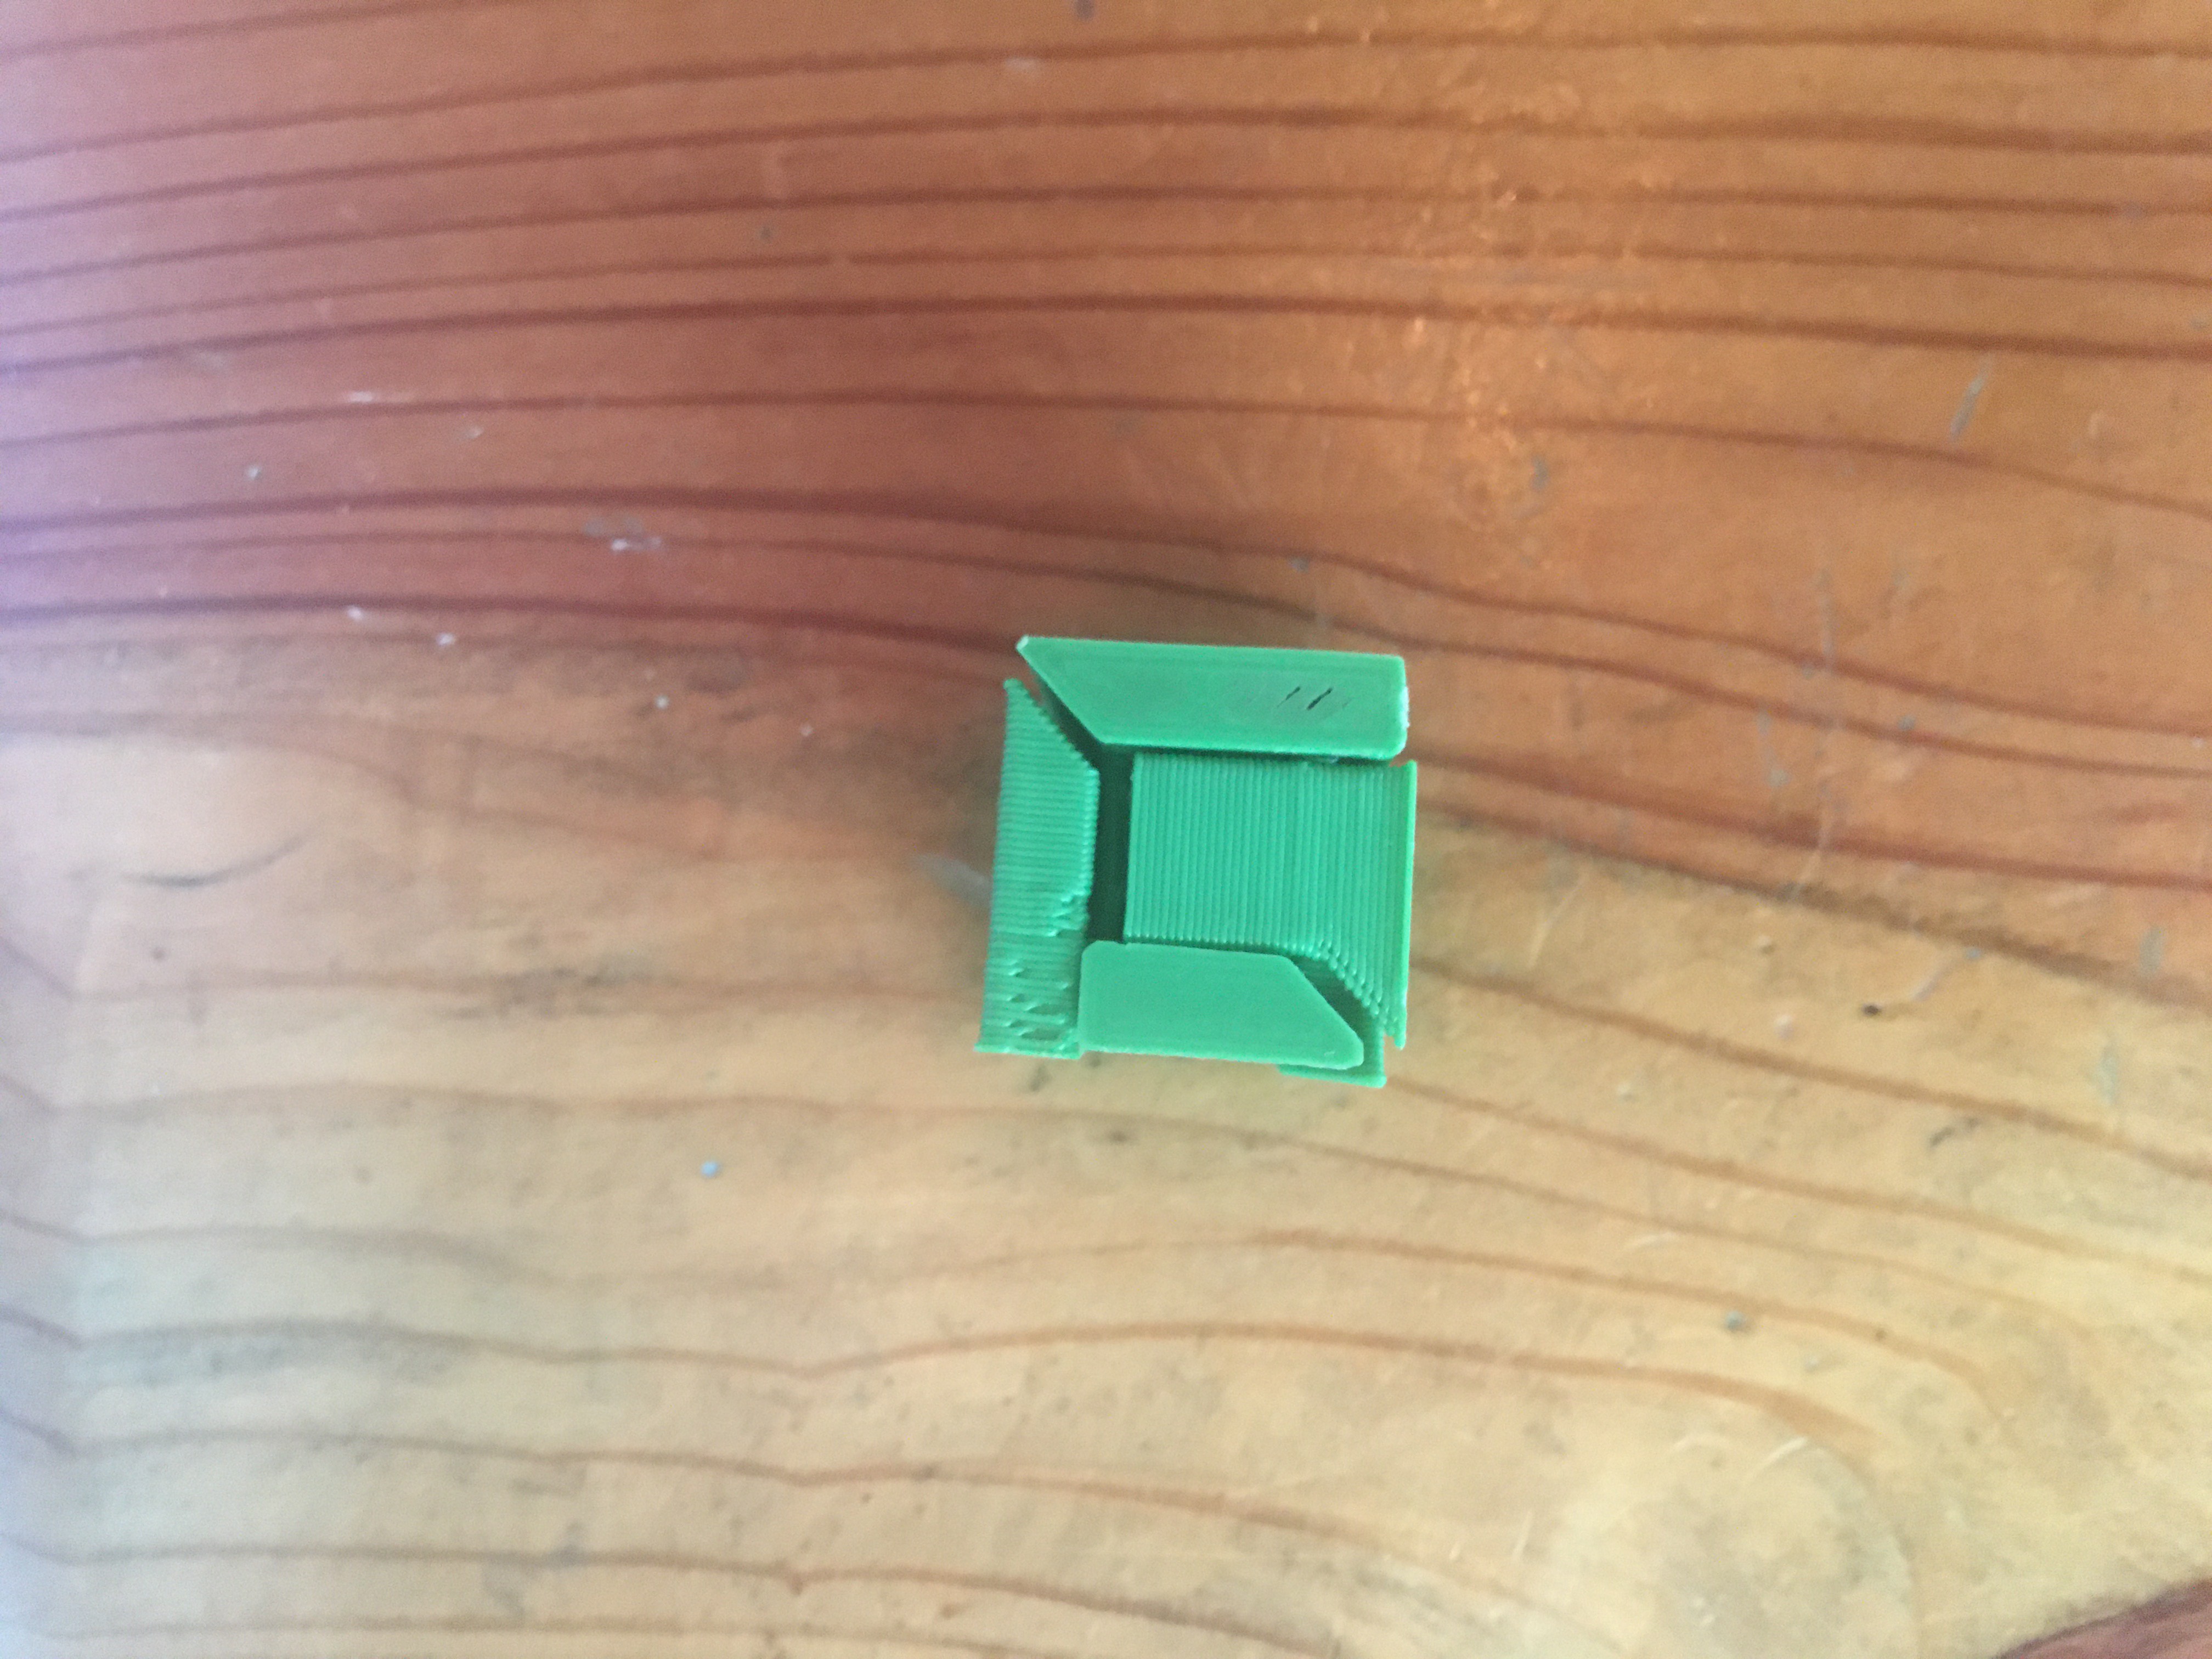
For this iteration, I decided to design a housing for my puzzle as well as grouping the individual pieces in a way so that there is no need to glue anything together.
I disliked my puzzle’s first iteration because it was difficult to move the pieces together and keep the finished puzzle complete. I designed a hollowed-out cube to hold the final pieces together. I decided to make two walls slightly higher than the completed puzzle and the two shorter walls roughly one third the height of the final puzzle. If I could go back, I think that I would make one of the short walls double in height so that the final cube is even more secure. Overall, I am happy with this added design. 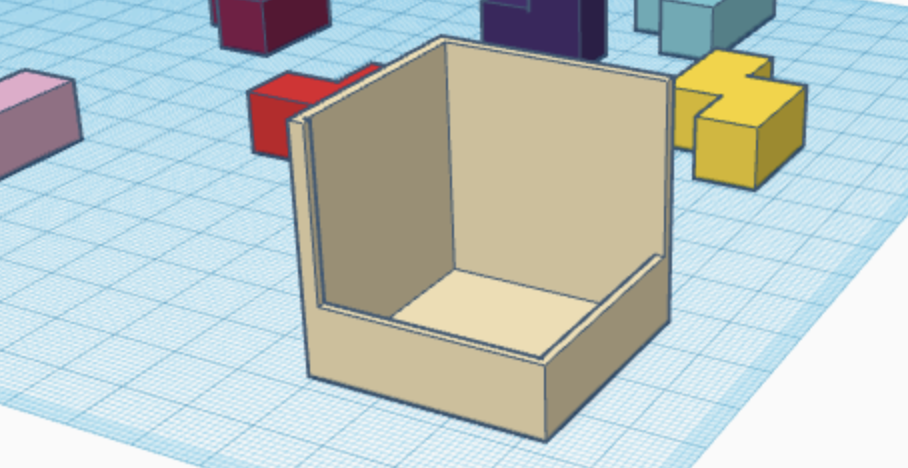
As far as the individual pieces go, I went back into Tinkercad and separated all of the individual cubes. After looking at my original design, I realized that I did not have enough contact with each piece. I removed the rounded corners from each piece, learned how to use the align tool, and made sure there was no overlap. Then I used the grouping tool to attach all of the individual cubes. There are no divots or lines in each piece! I am really happy with how the individual pieces look now. They look much more finalized and professional. 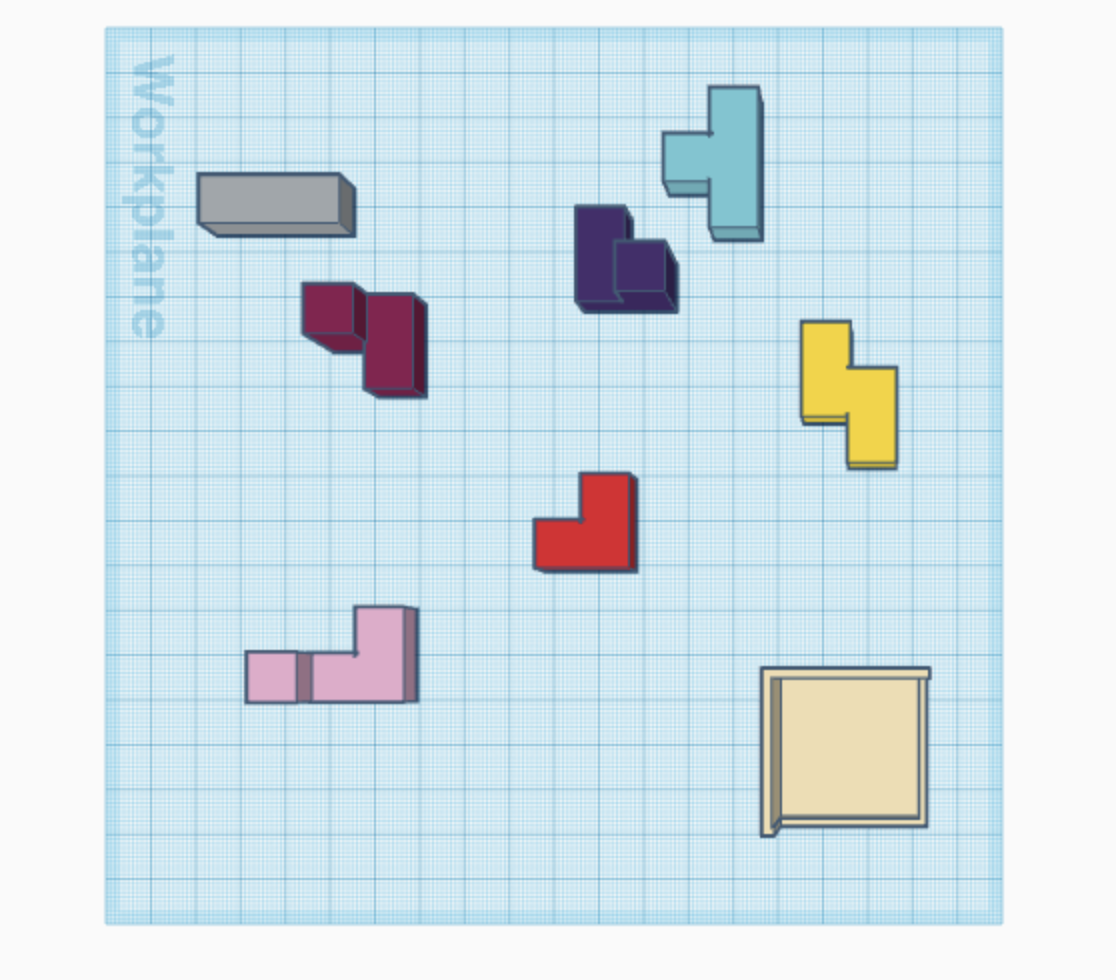
This may be because I am still new to Tinkercad, but I cannot figure out how to increase the radius on a grouped piece. I looked around online and could not find any help and I even tried to remake the pieces by using the hole feature. Even though I could not figure that out, I am still happy with the overall puzzle.
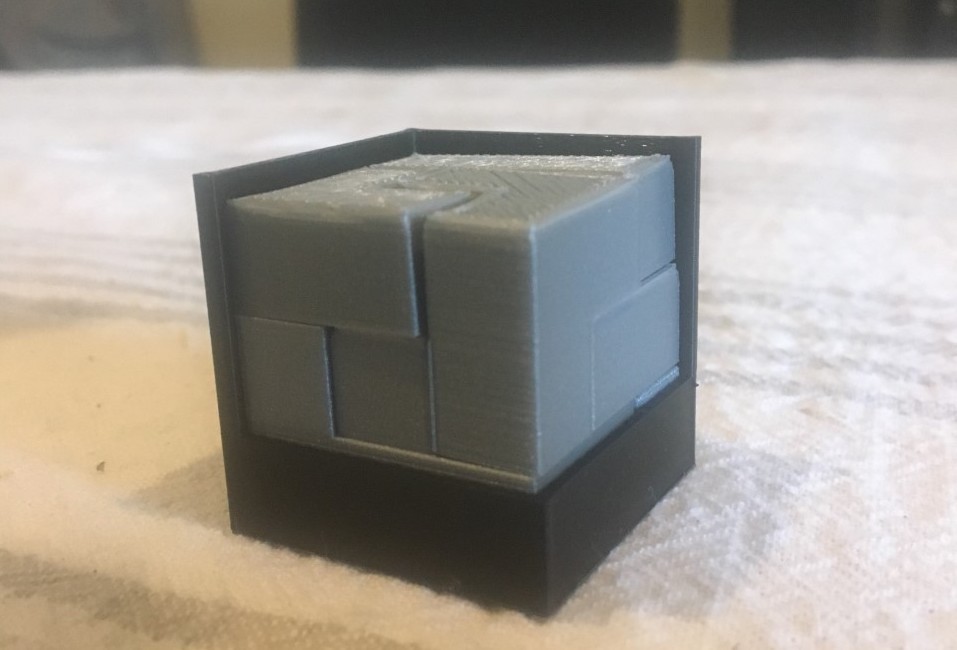
My suggestion to anyone using my thingiverse is to export the housing and print it separately. I decided to print the housing in a different color to provide contrast. The pieces themselves take approximately 5 hours to print on their own.

 Cube Puzzle Wrap-Up
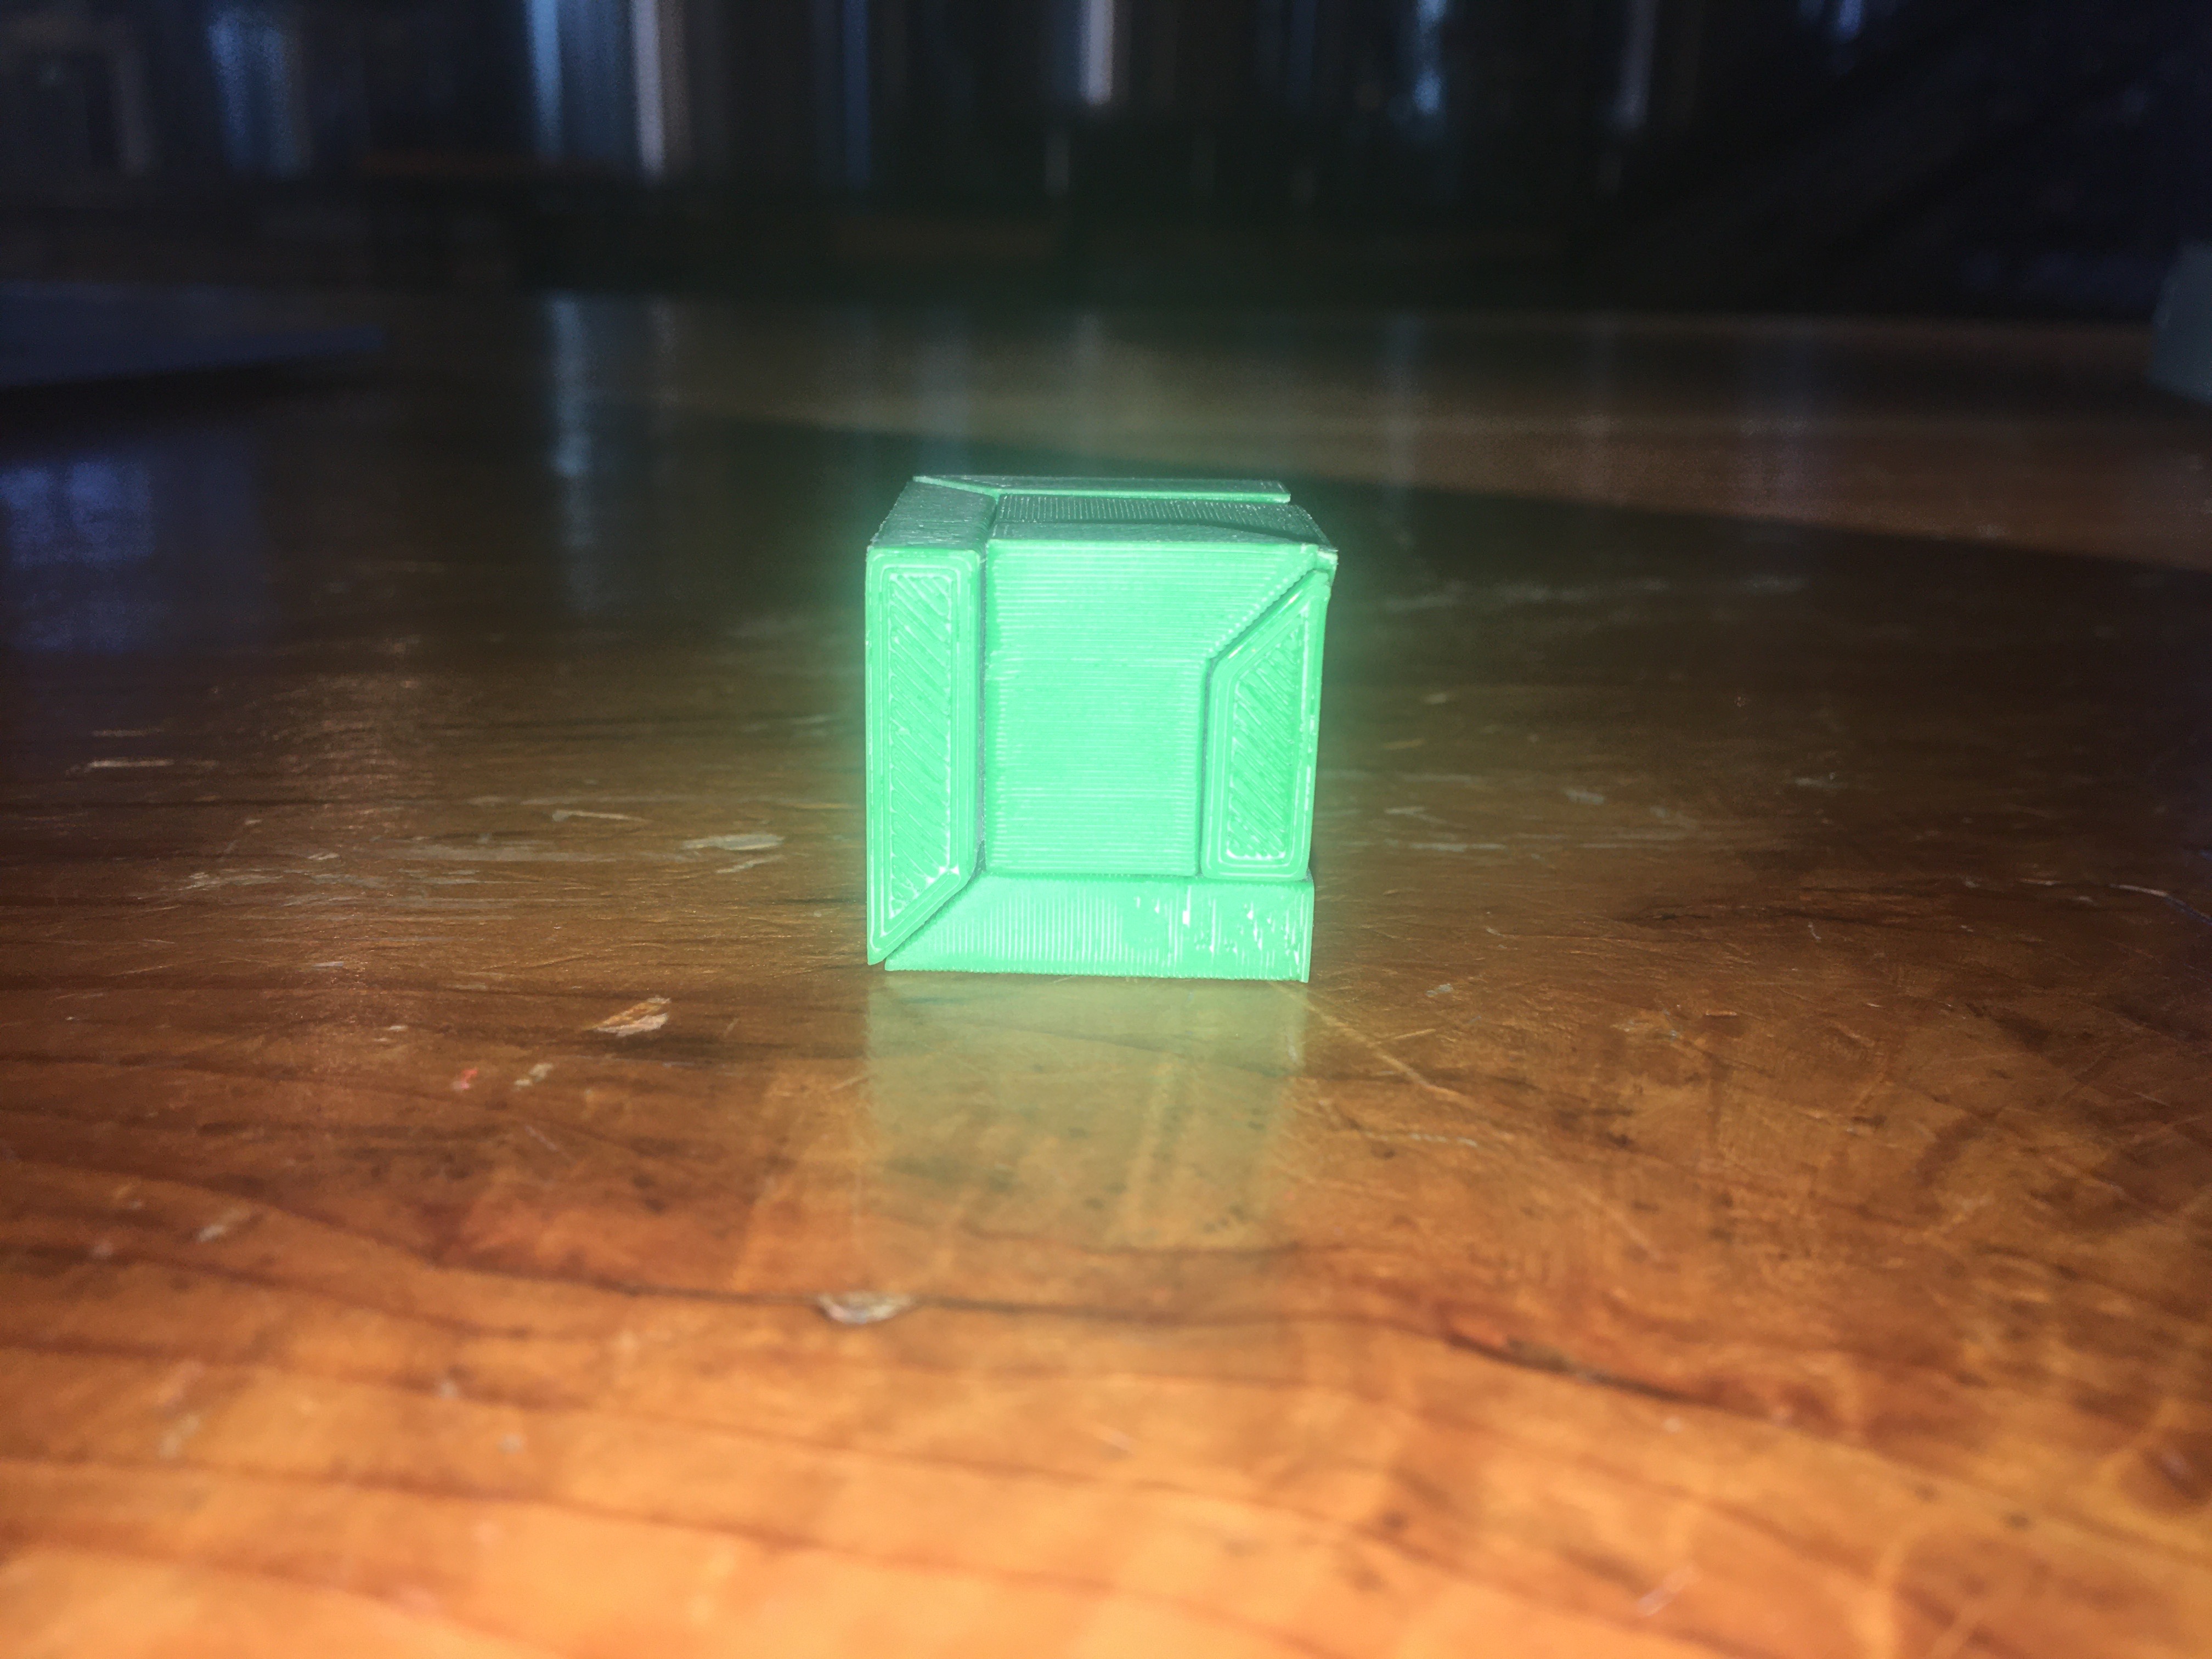
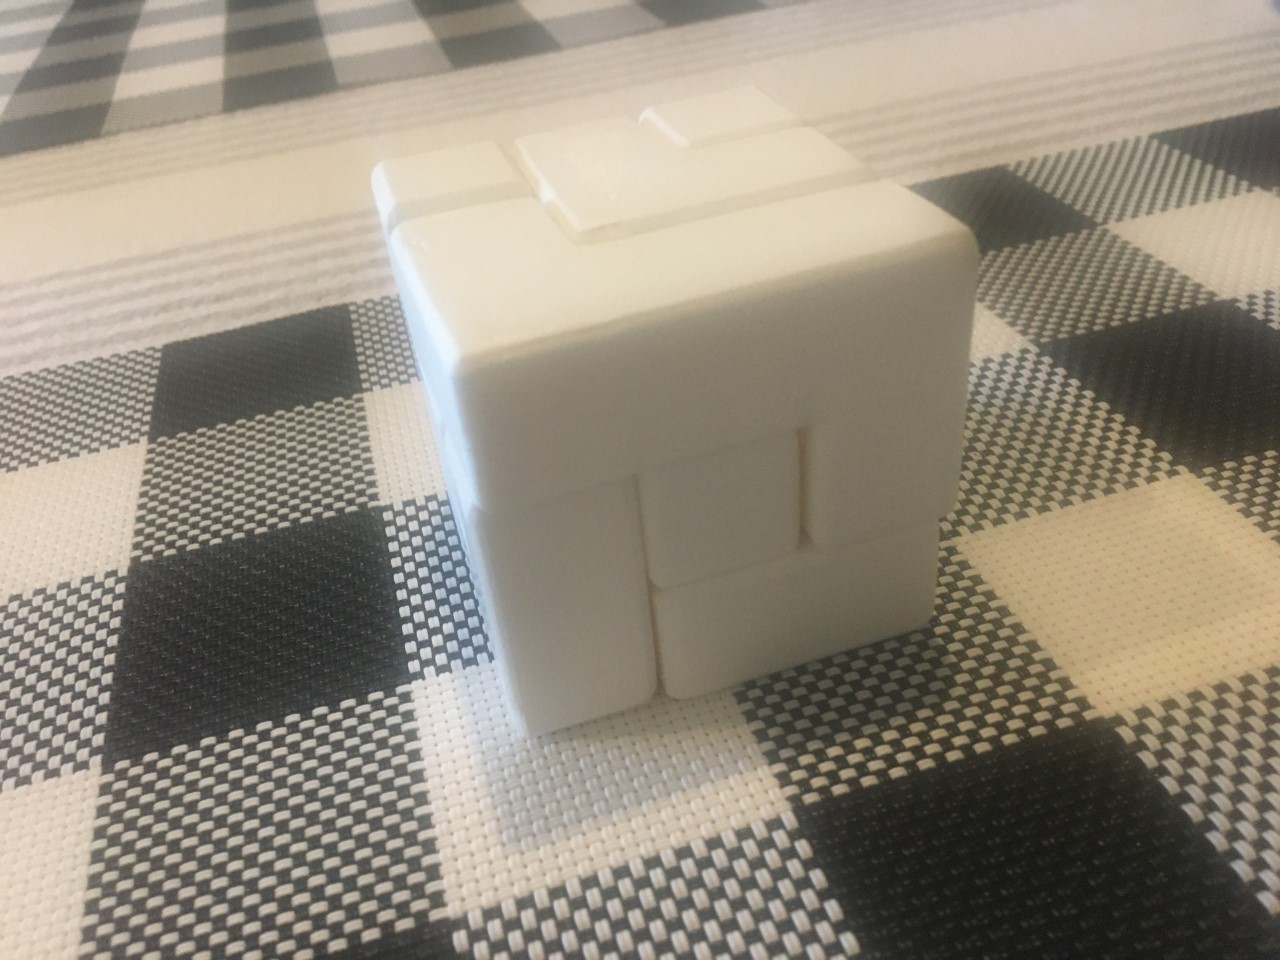
Overall, I am really happy how my final cube puzzle came out. I redid the shapes by overlapping the individual cubes in tinkercad. This allowed me to increase the radius on each piece to make the corners more rounded and gave a better feel to the user. I also increased the size of each individual piece so that the overall completed puzzle fits perfectly in one hand. I also redesigned the housing for the puzzle by having three different sized walls to hold all of the pieces in place.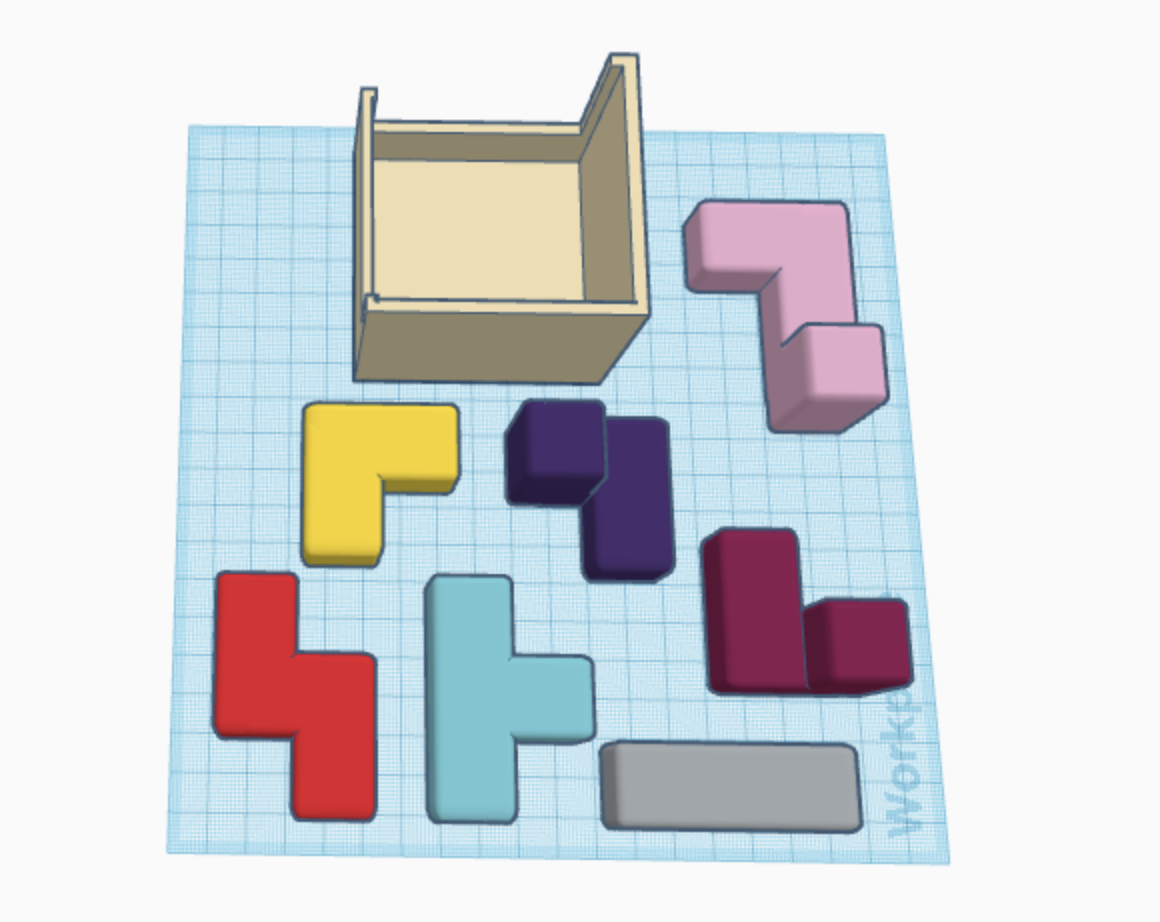
I am really glad that I learned how to overlap individual squares before grouping in tinkercad. This made a world of difference and I do not have to worry about triple checking to ensure that there is enough contact within each piece.
Through this exercise, I learned a lot about the different software available to us and creating puzzles. It is much harder than I originally anticipated to make a puzzle that is both challenging and satisfying. It is just as important to focus on the satisfaction of the puzzle as the puzzle design itself. This is something I will absolutely take with me when designing my final puzzle.
Personal Project Pitch

For my personal project, I am designing a box modeled after the Japanese puzzle box style. In order to flesh out my idea, I tried to sketch out my idea on paper.

My thought is to have a 2 layered box with the first layer holding a key to unlock the second layer. I am planning to use french cleats in my design in order to have the pieces move independently. The goal is to design a short side (side A) with french cleats that will move in a maze formation that will allow a top panel to move and expose the key. The keyhole will be hidden behind panels that will be able to move vertically once a bottom panel is moved which will release the false top and expose the final cavity.
While I do not have much experience in designing puzzles, I do have an extensive crafting background. I am more familiar with working with wood or other materials that I can carve out by hand. I think it will be an interesting challenge for me to transfer my knowledge into 3D printing and trusting the machine to do the work.
The initial puzzle cube exercise really helped me understand how to work with Cura and Tinkercad. I know that I will have to spend a lot of time figuring out the individual pieces of the design, but I will also have to devote time to ensuring the puzzle feels good and is satisfying to complete.
I have no idea how to design a maze type puzzle (labeled “key” pattern in the image) that pieces will unlock the top panel. I also do not know how I will design a locking mechanism that will work with a key. I have never had to really think about how a lock works. I think my biggest challenge will be clearances between the pieces. Because of my experience working with wood, I could usually just sand each piece down enough to make sure they will fit together without catching. I know that is not the goal of this project and I will definitely have to do a series of tests to work on factoring in space for clearance.
10 Things in OpenSCAD
I tried my best not to use anyone else’s code while doing this assignment, even though I really have no idea what I am doing when it comes to coding. I used the OpenSCAD cheat sheets and any links provided on their documentation page.
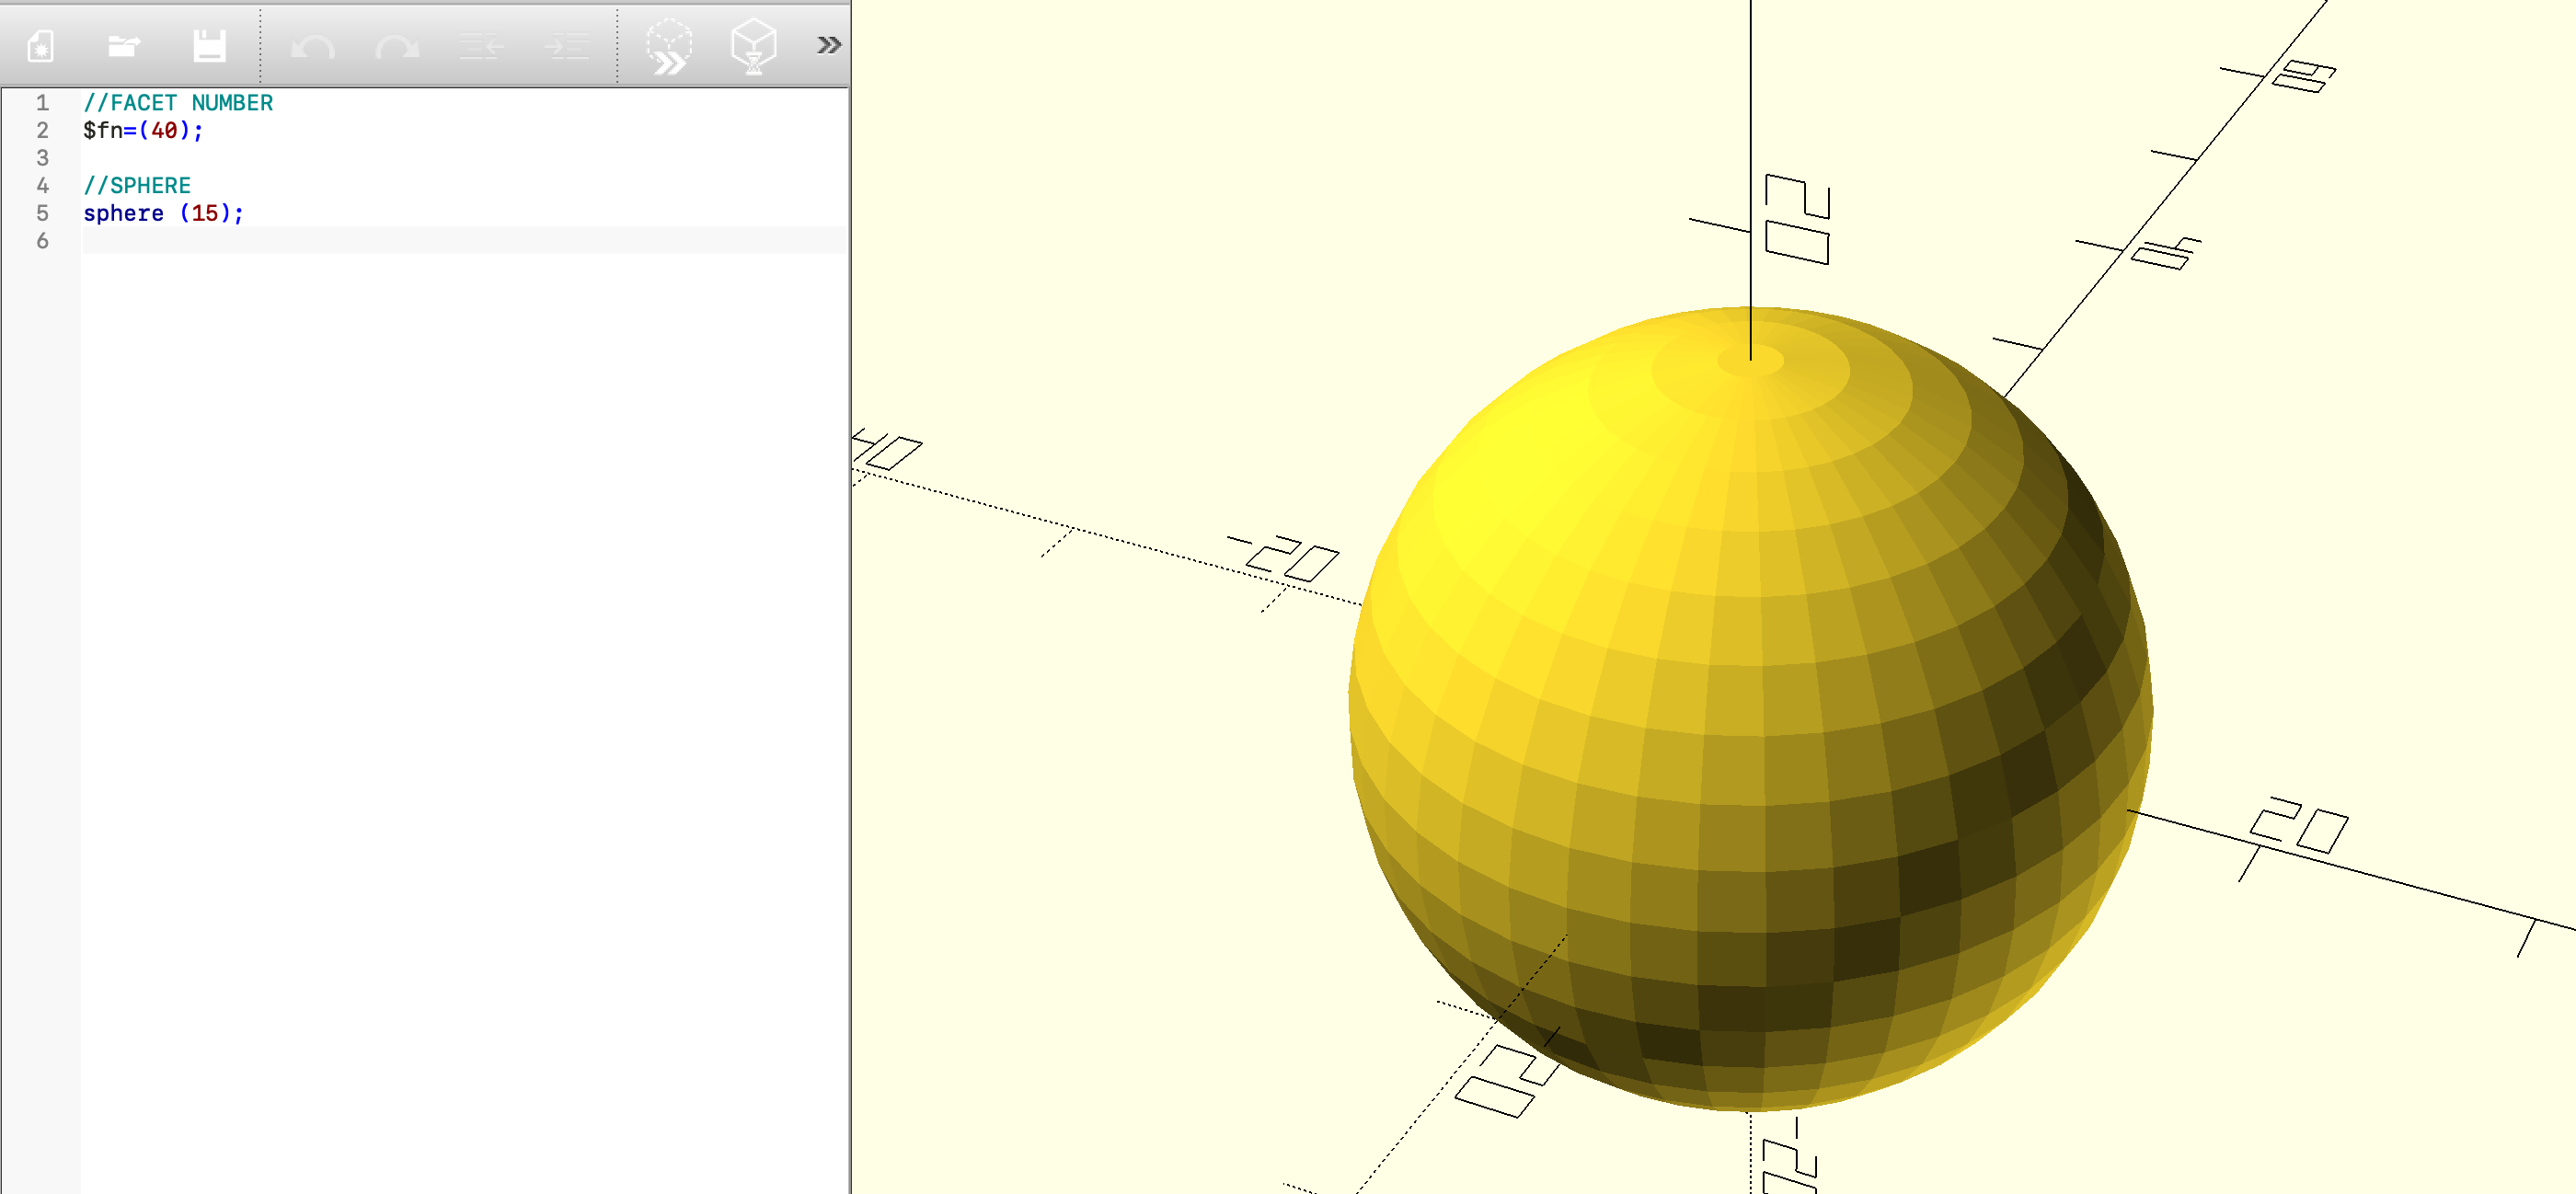
I tried doing this before but had several issues, but I managed to figure it out. My first thing was just a simple sphere that I changed the number of facets.
My second thing is just a simple cylinder. I increased the facets to 200 in order to have a very smooth surface.

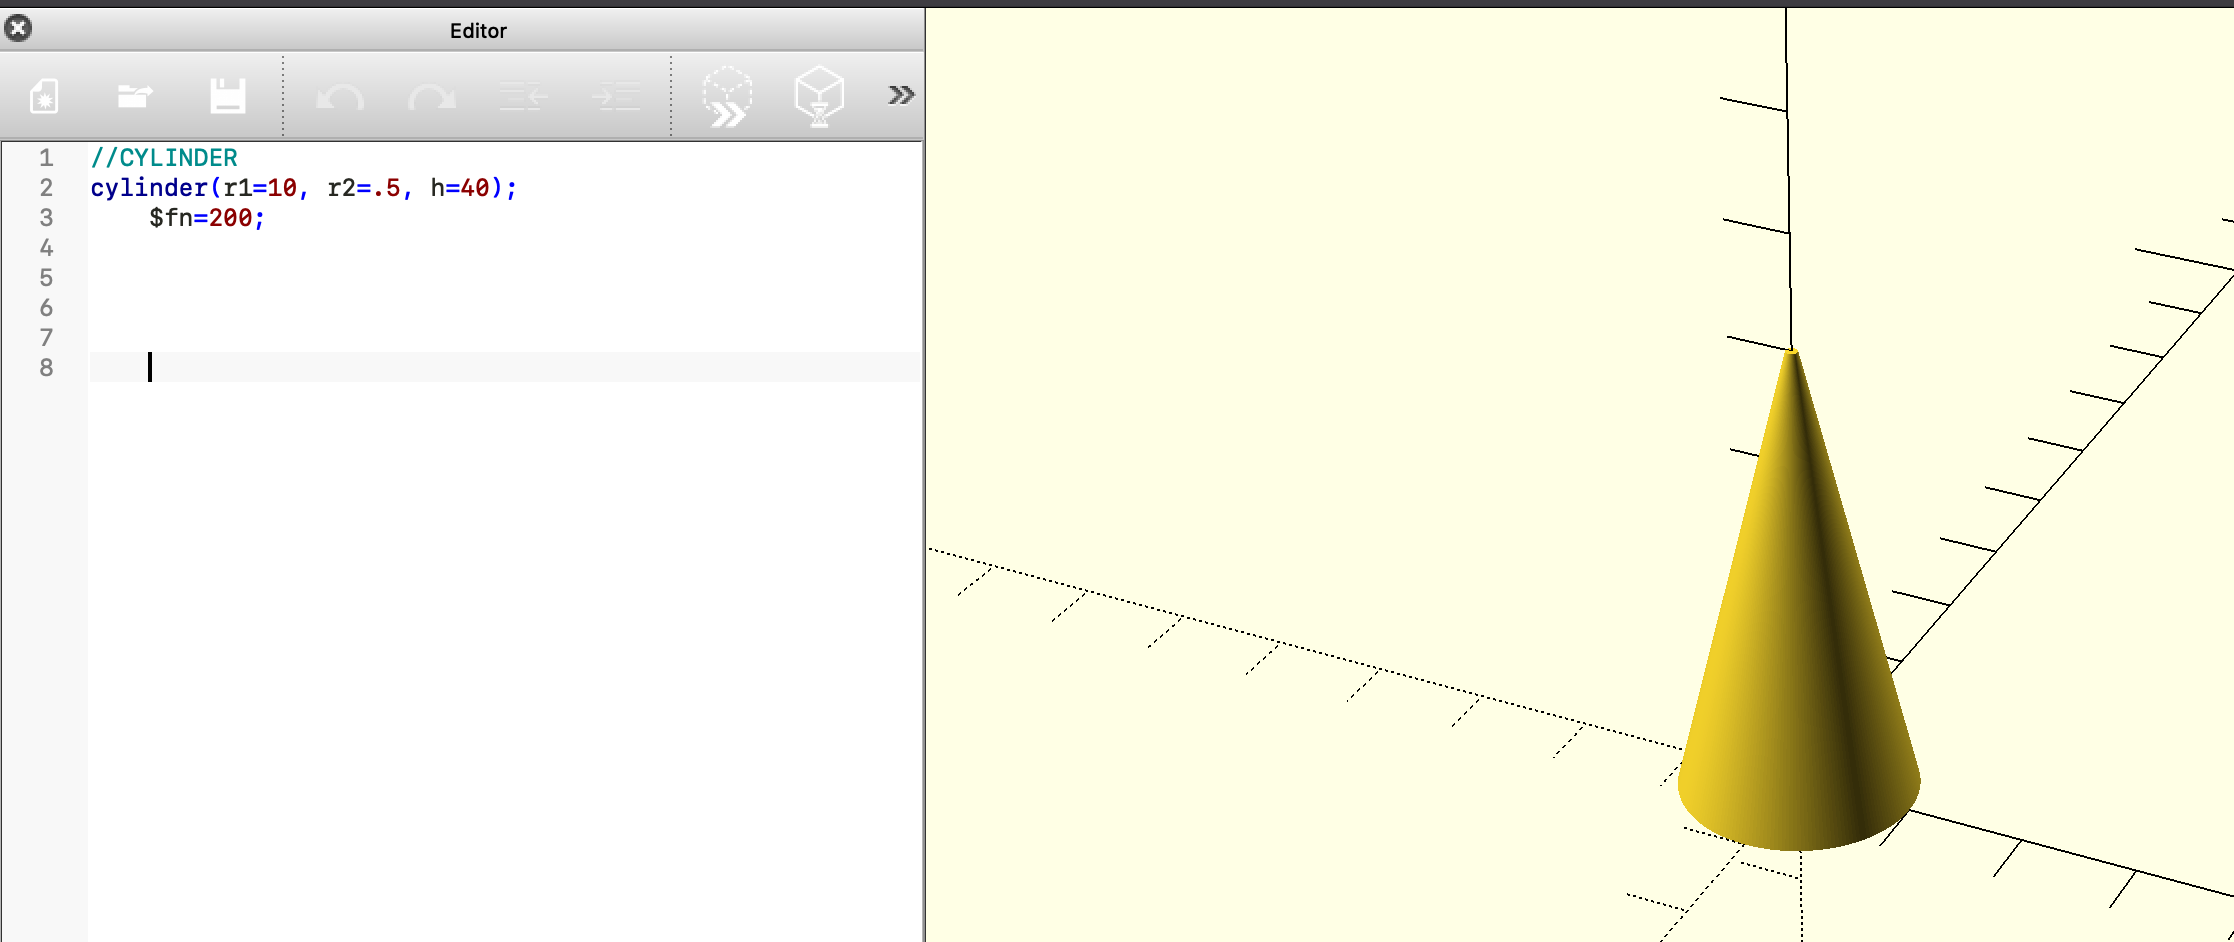
For my third thing, I took the second object and changed the top radius to make a cone-ish shape.
I decided to move on from that basic shape and created a cube that I centered across the planes and added a cone-like shape to the top of the cube, like a party hat.

Then, I decided to make a cone hole in the cube using the difference function.

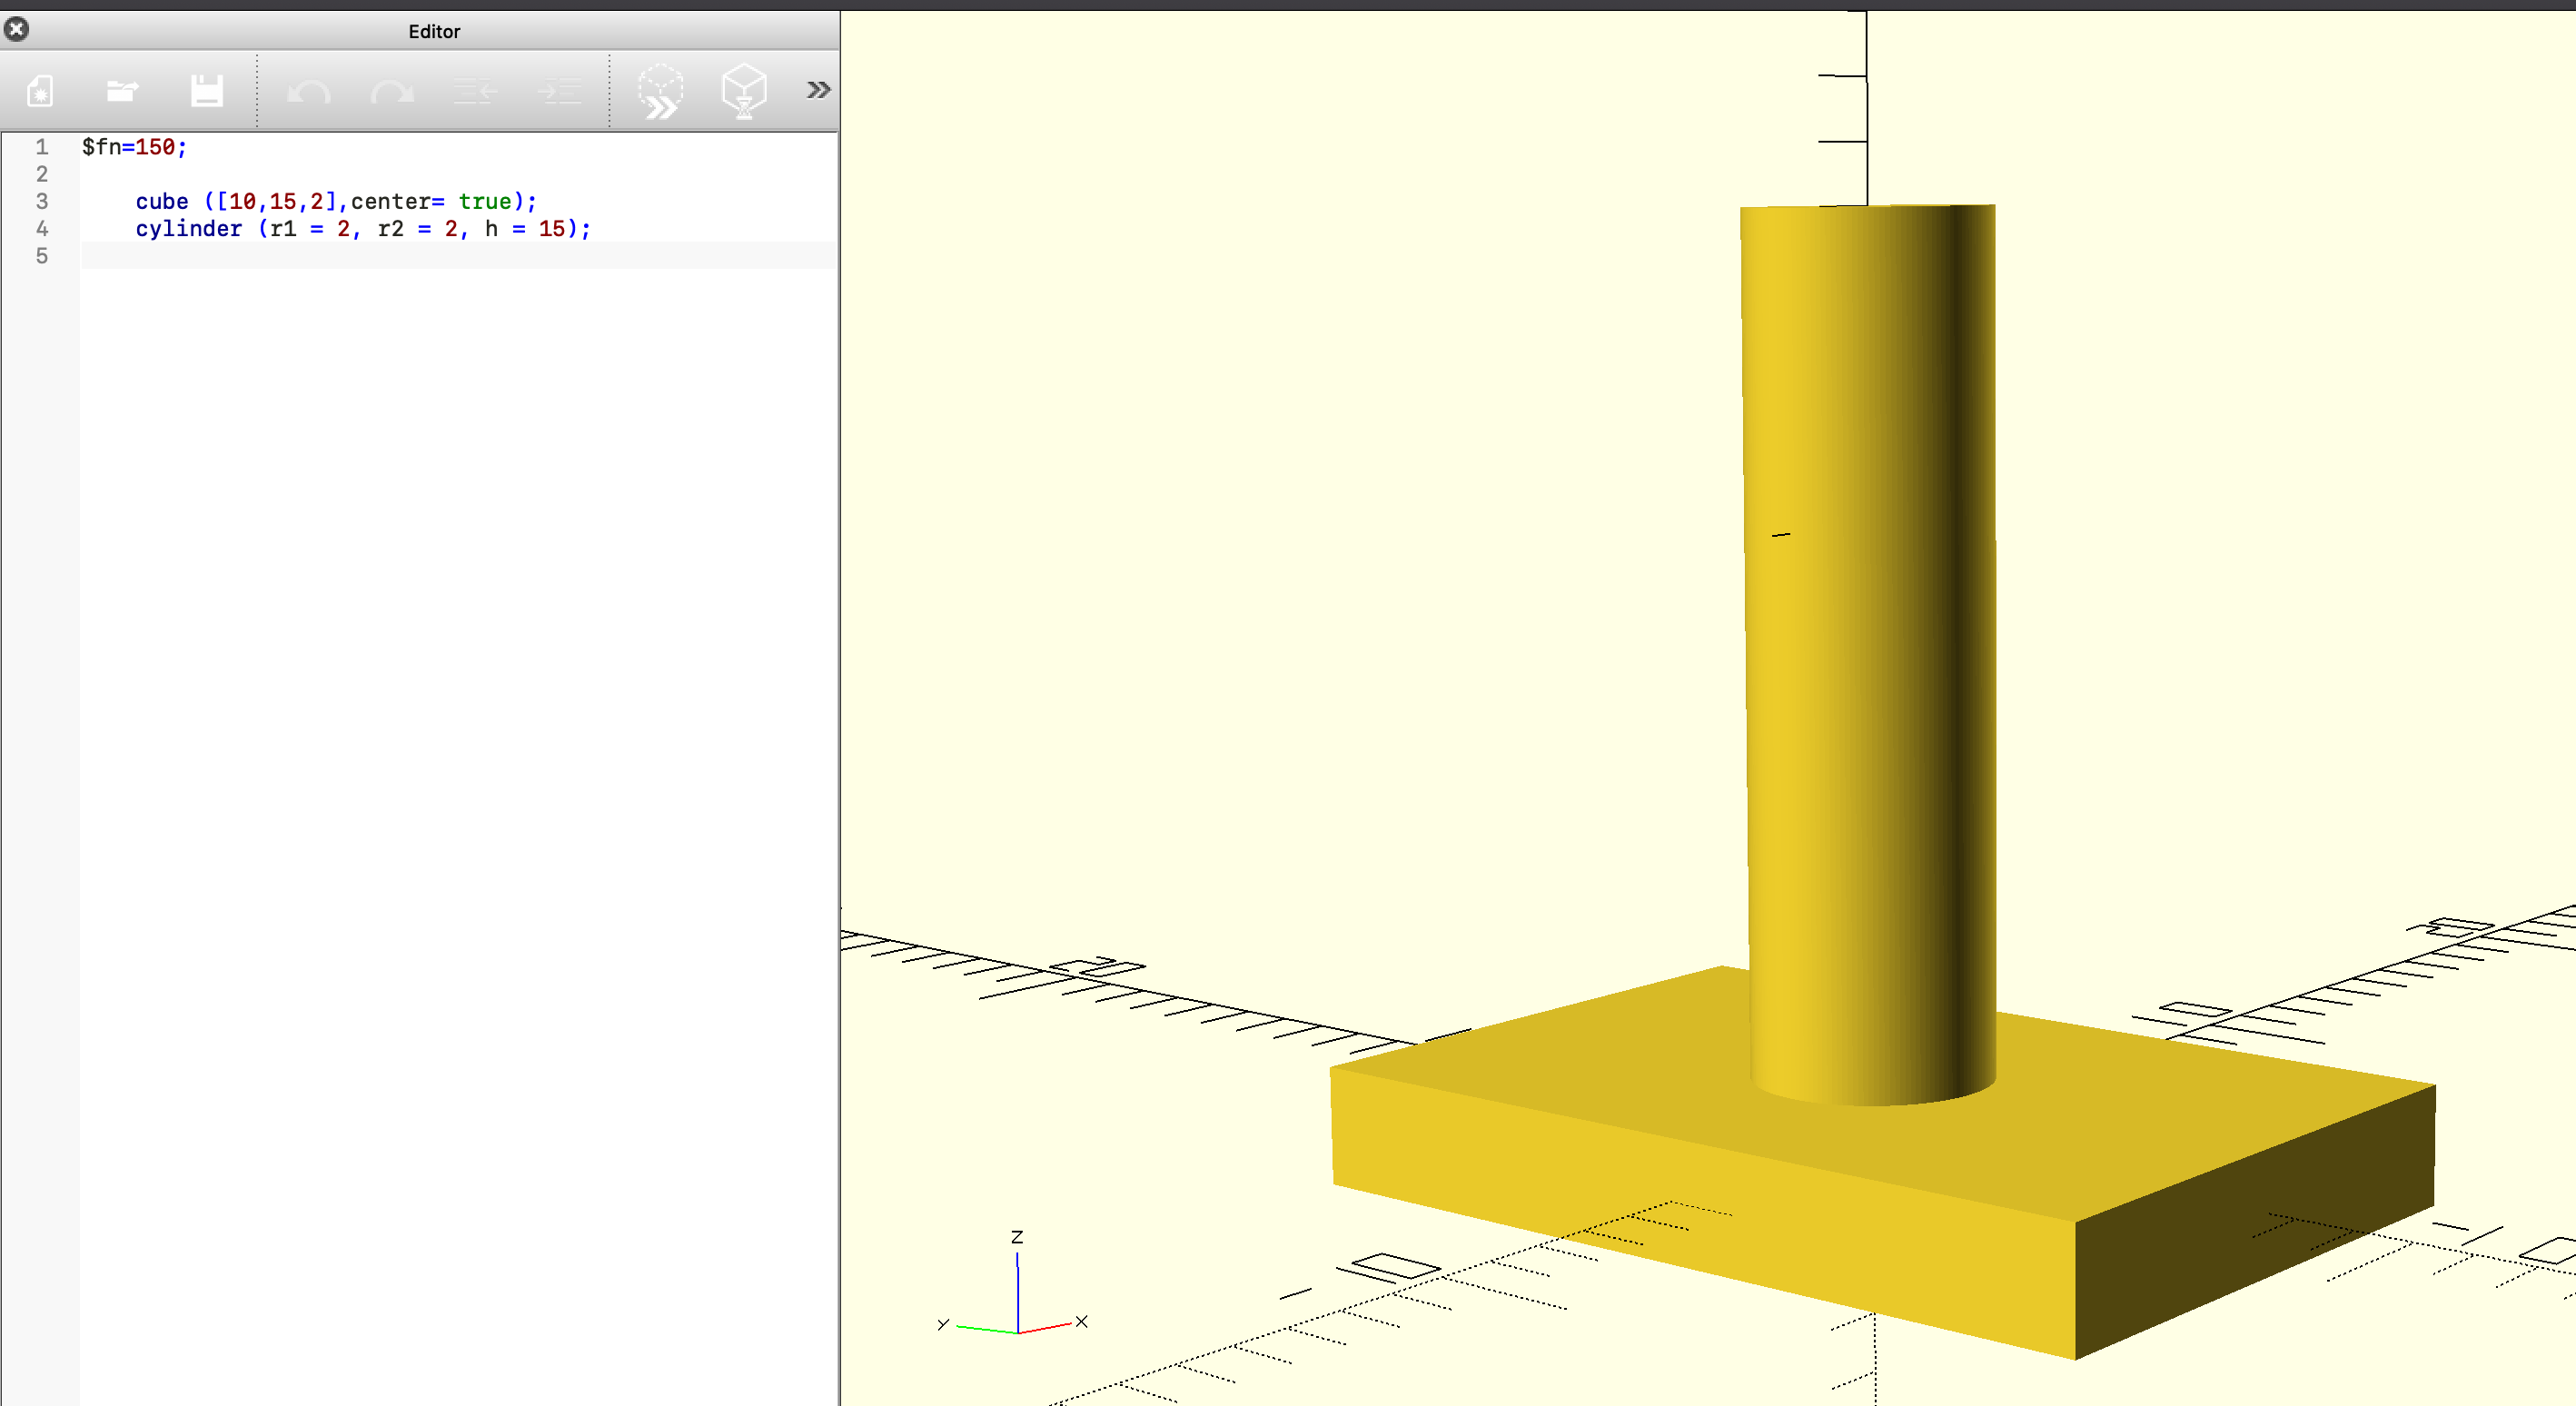
I created a centered, rectangular platform for my sixth object. On top of the platform, I added another cylinder.
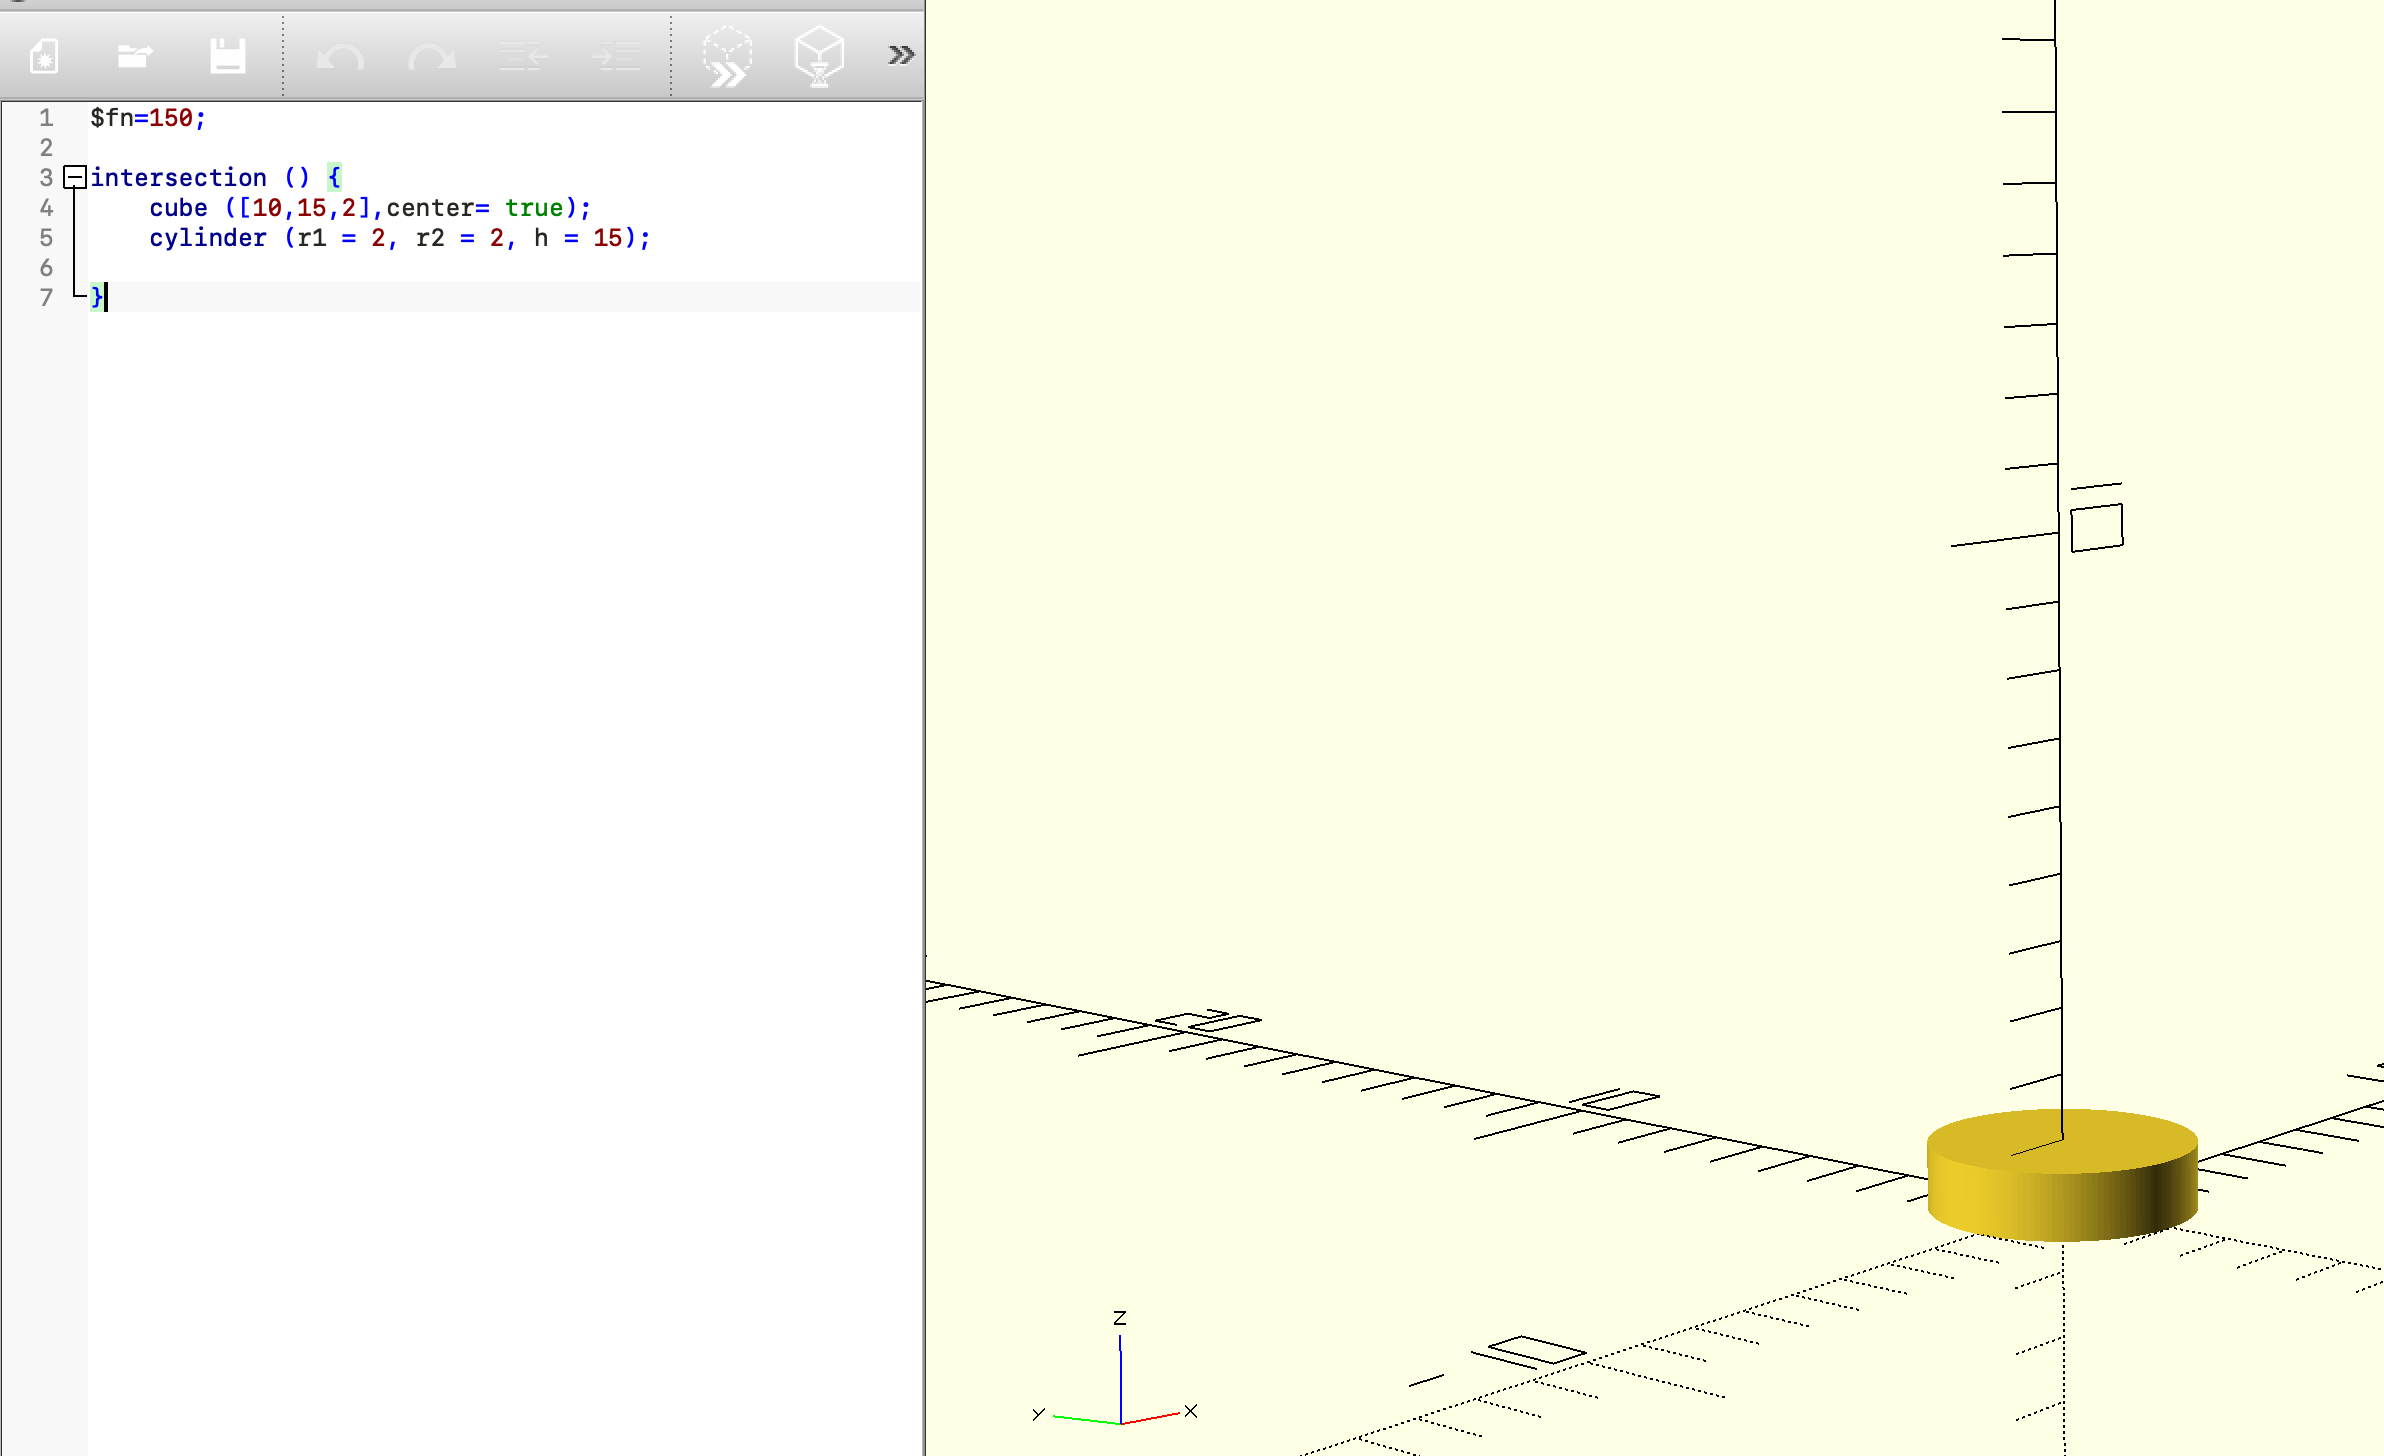
For the next object, I wanted to take object 6 and have the cylinder going through the body of the platform. I thought that the intersection would accomplish this for me, but instead it just shows the point where the cylinder intersected with the platform.
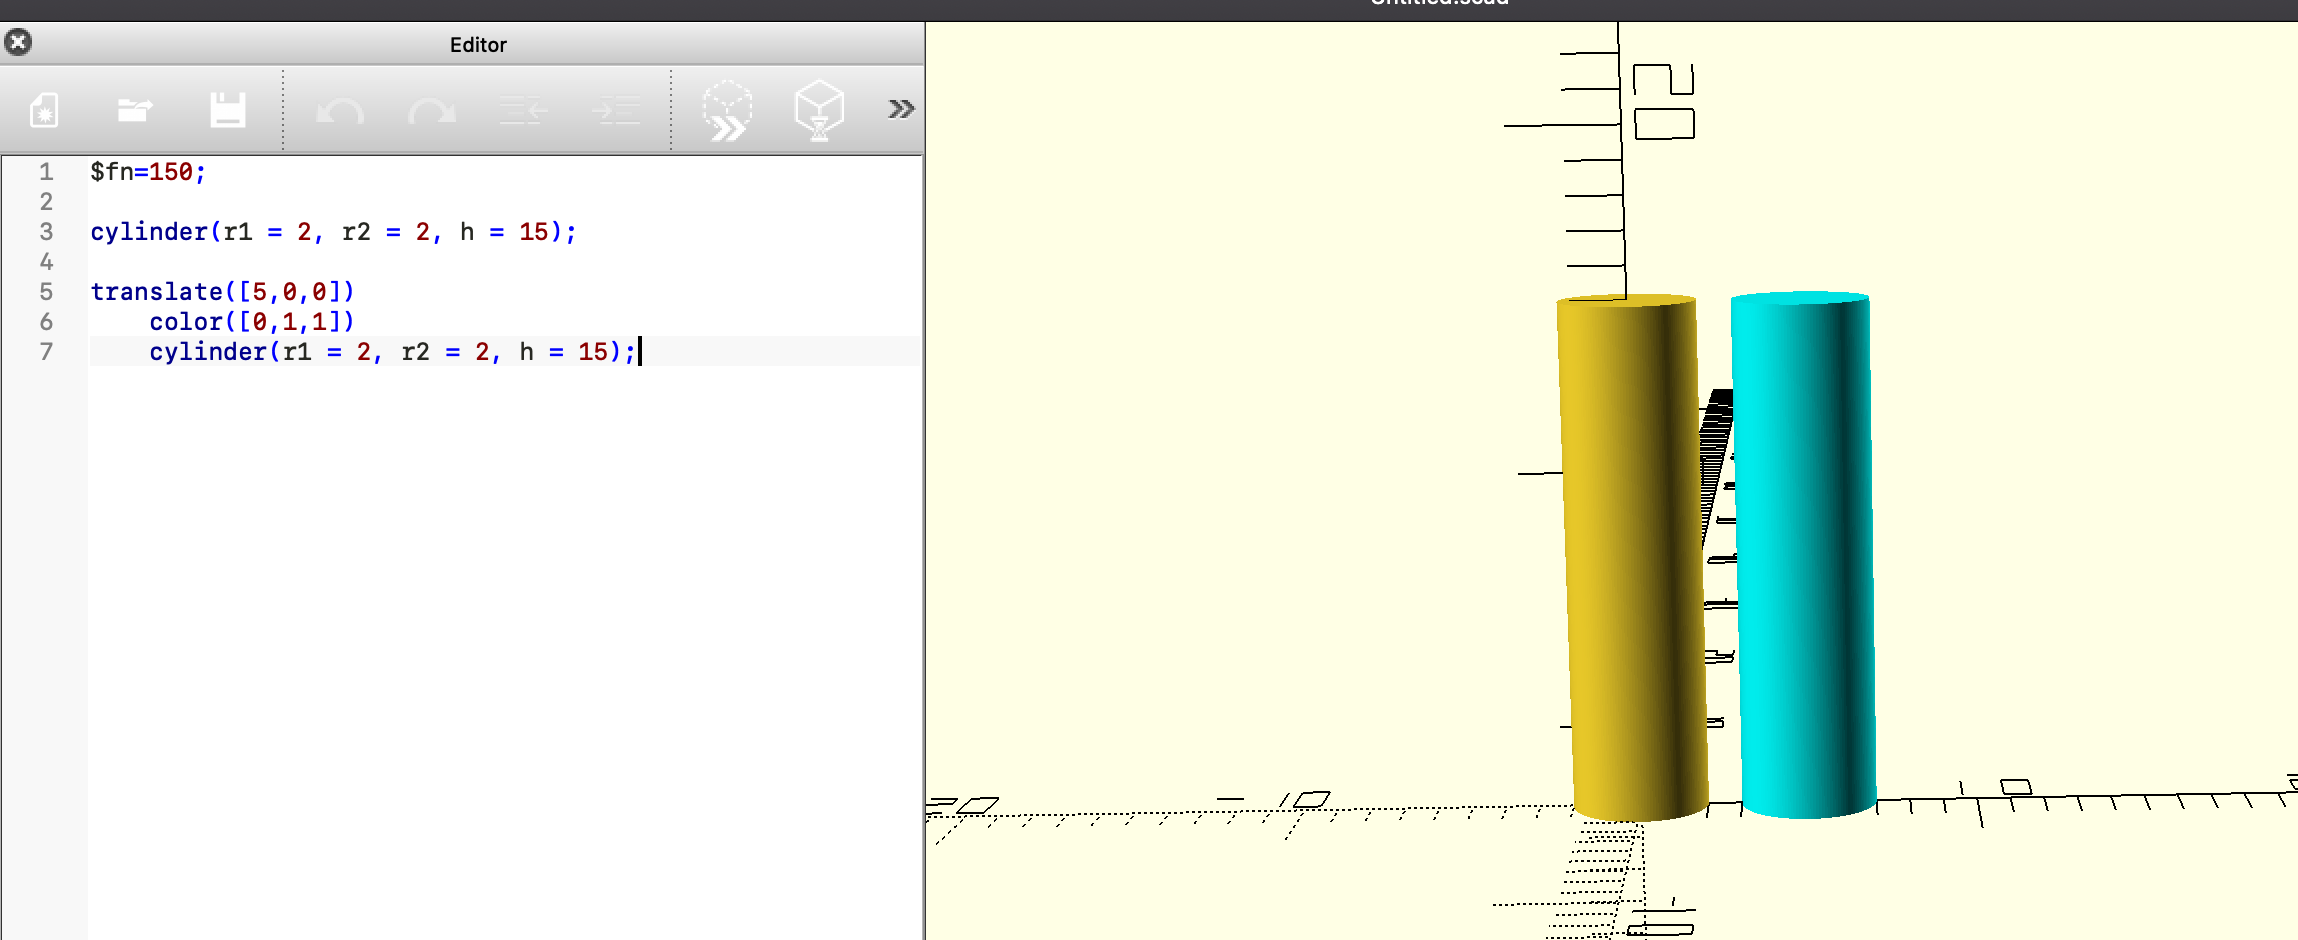
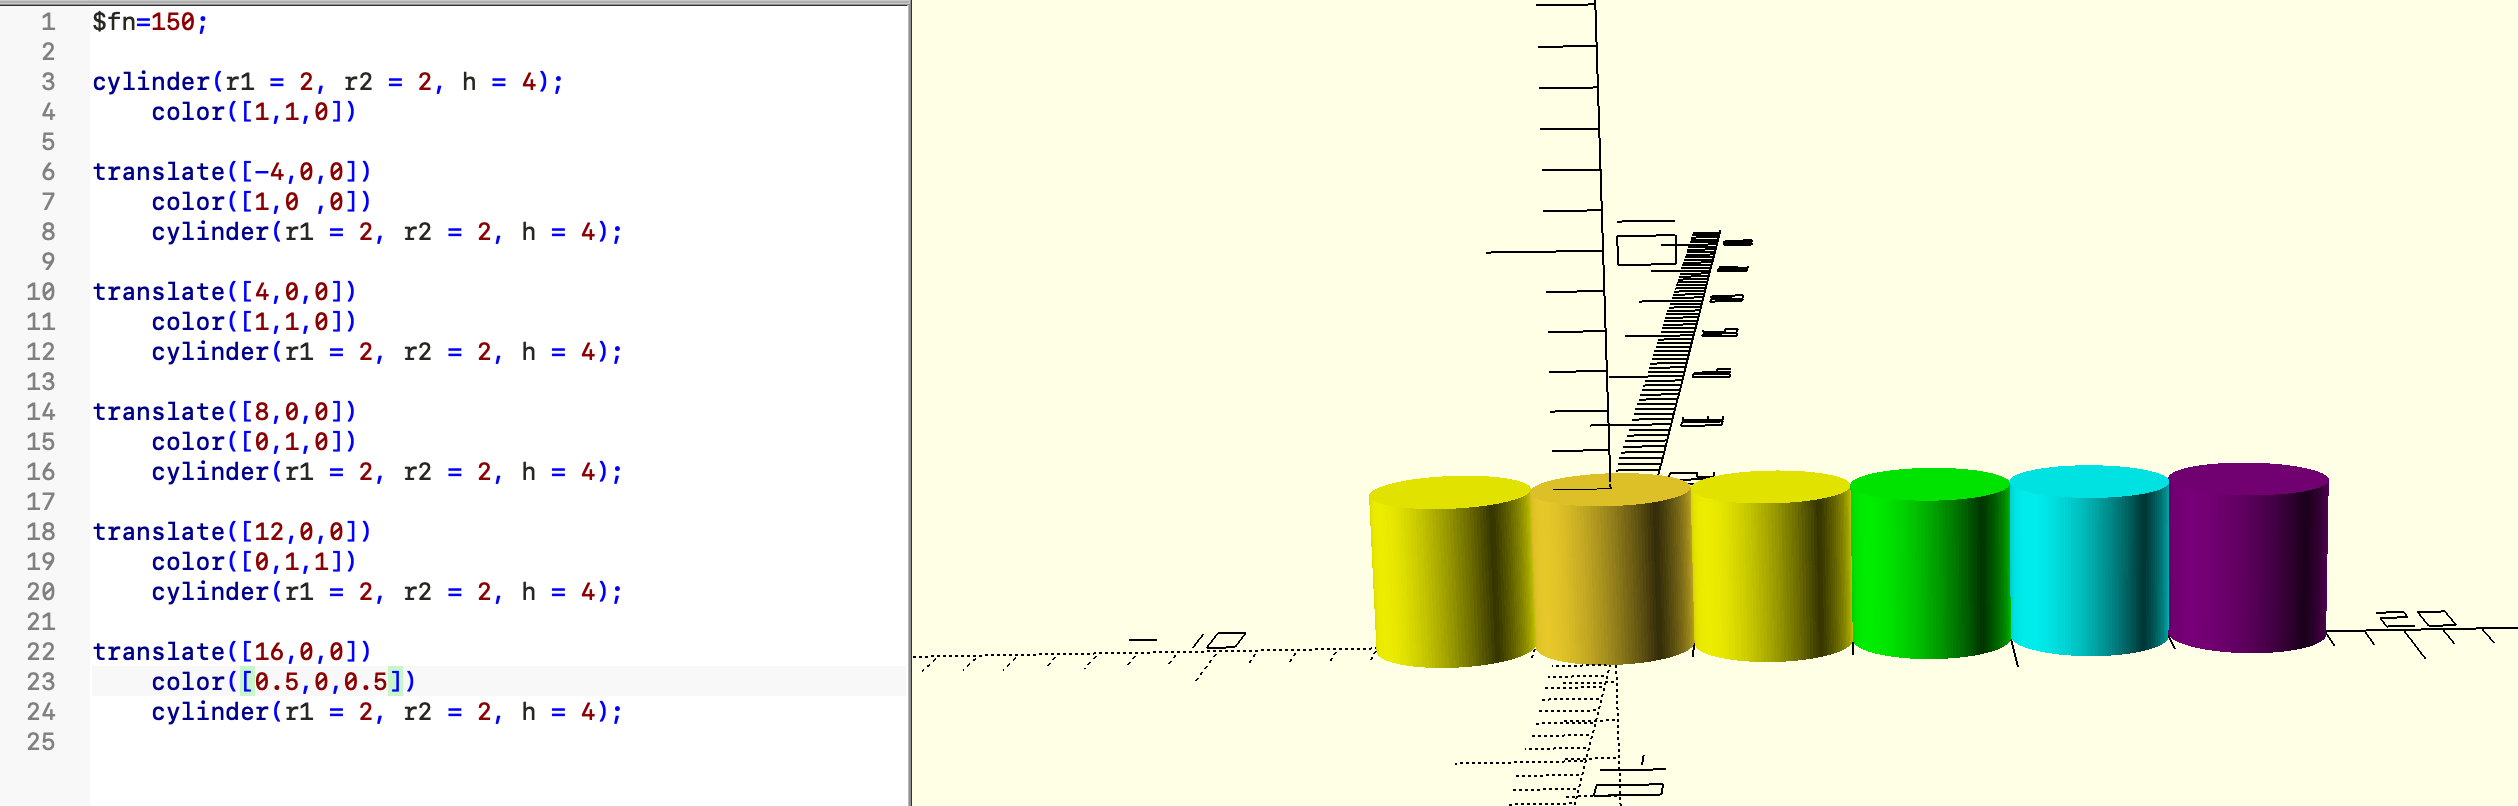
While looking through the cheat sheet on the OpenSCAD website, I found out ou can change colors!! I created the original gold cylinder, used the translate function and made the second cylinder a bright blue.
I searched for web colors so that I could try and create a rainbow. I tried to translate one object to the left (-4) of the original and make it red, but for some reason, the color came out as yellow. On the page that I used to reference colors, here, there was no combination to create orange, so I did without it.
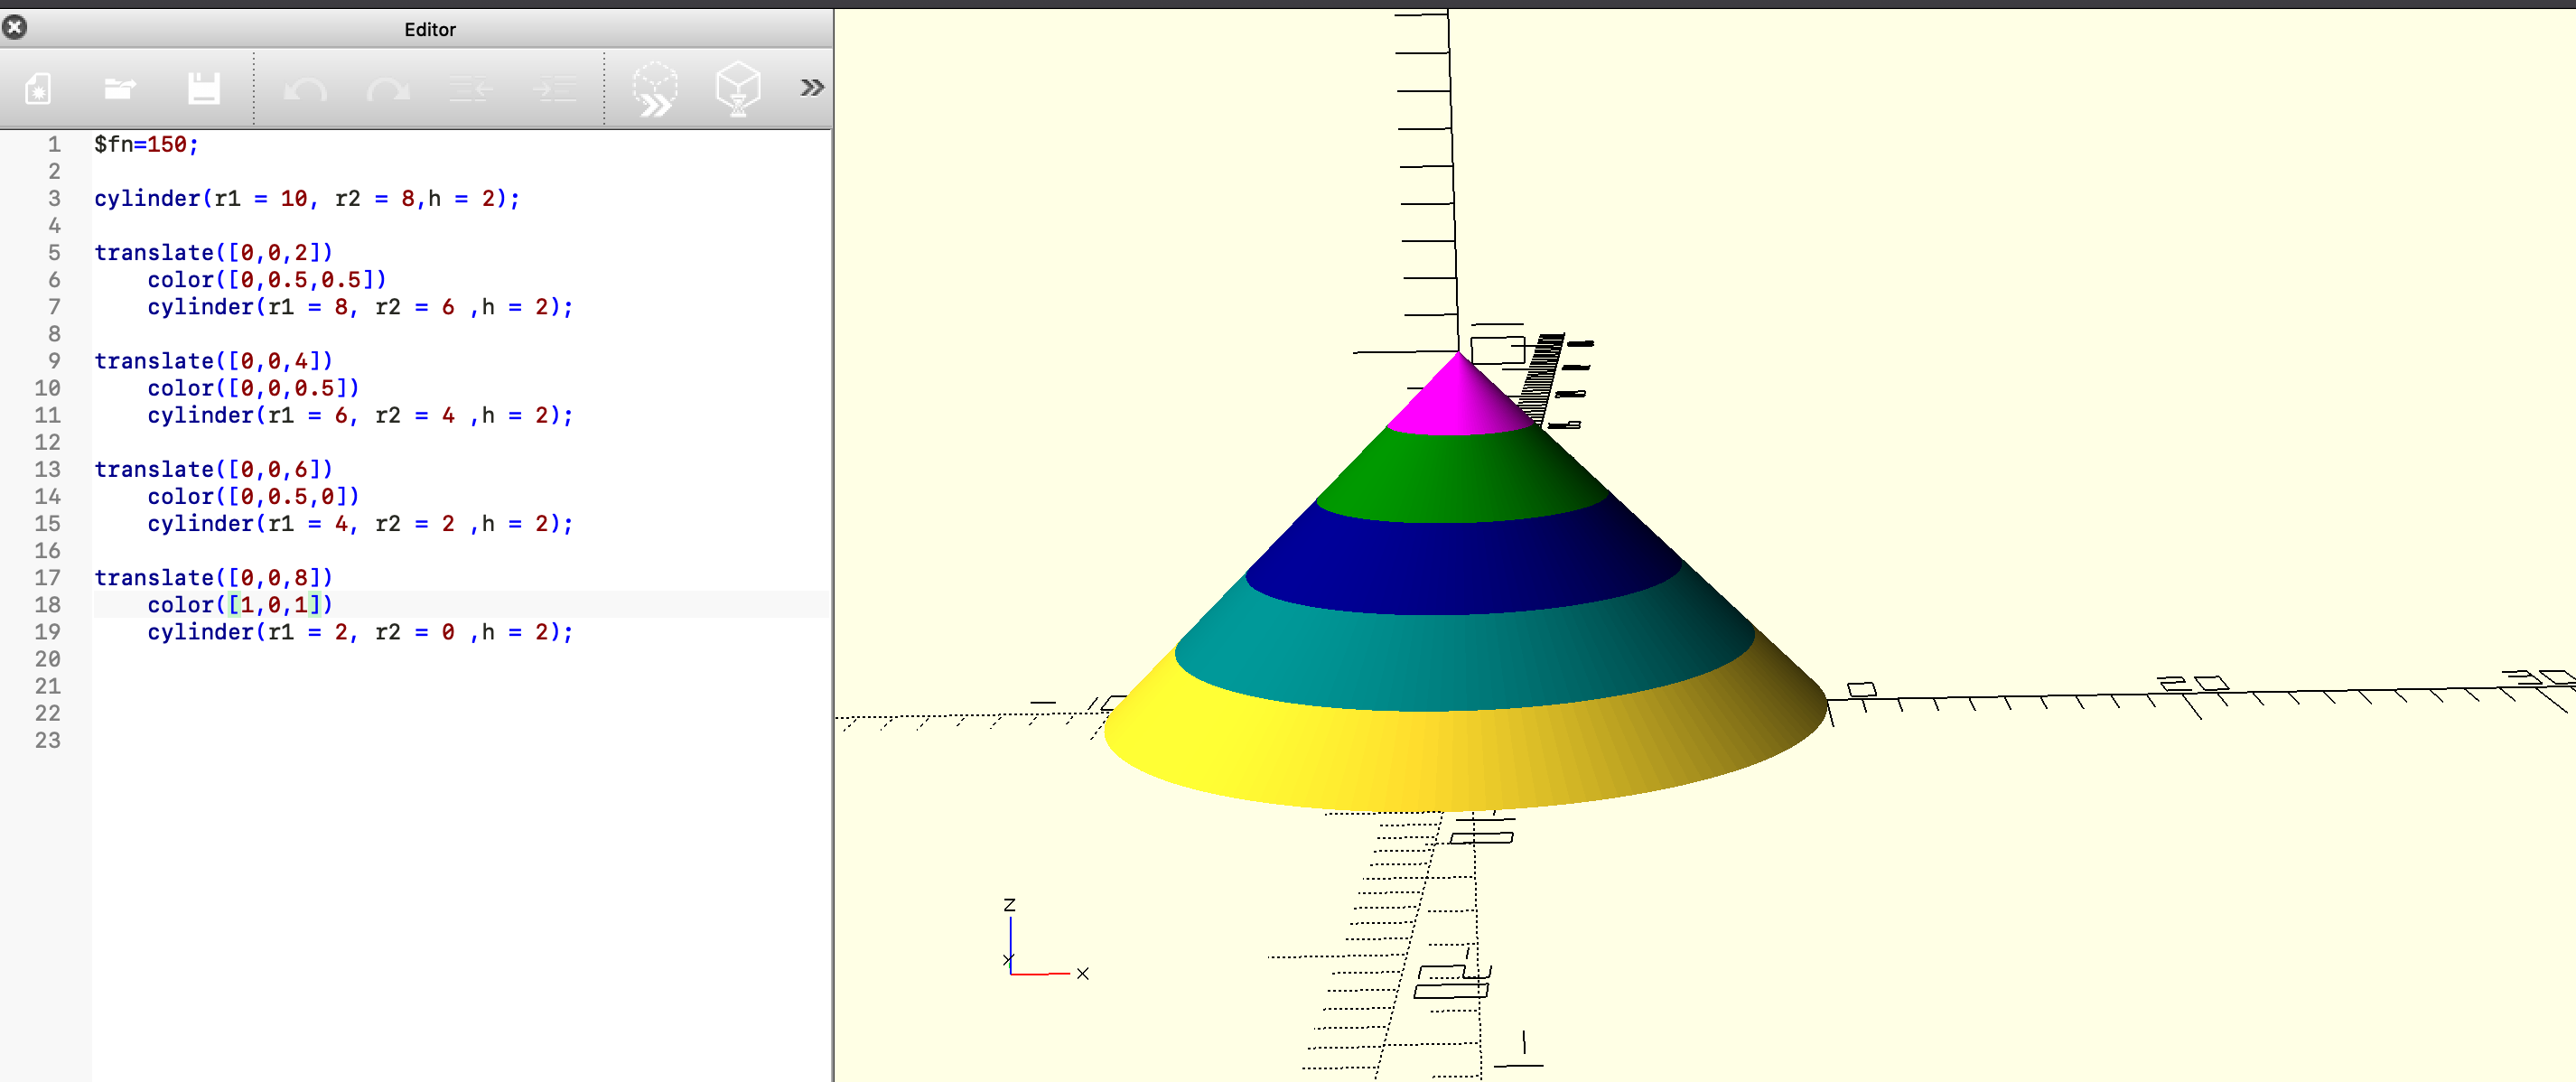
For my final object, I decided to make a colorful cone. Each color is a separate angled cylinder that I translated on the y axis.