Project Summary
My goal for this project is to design and create a puzzle box using many influences from the Japanese style. I plan to use moveable panels that fit together with french cleats, a top panel that is released by some sort of puzzle key, and a hidden key that will unlock the main compartment of the box.
Prototype
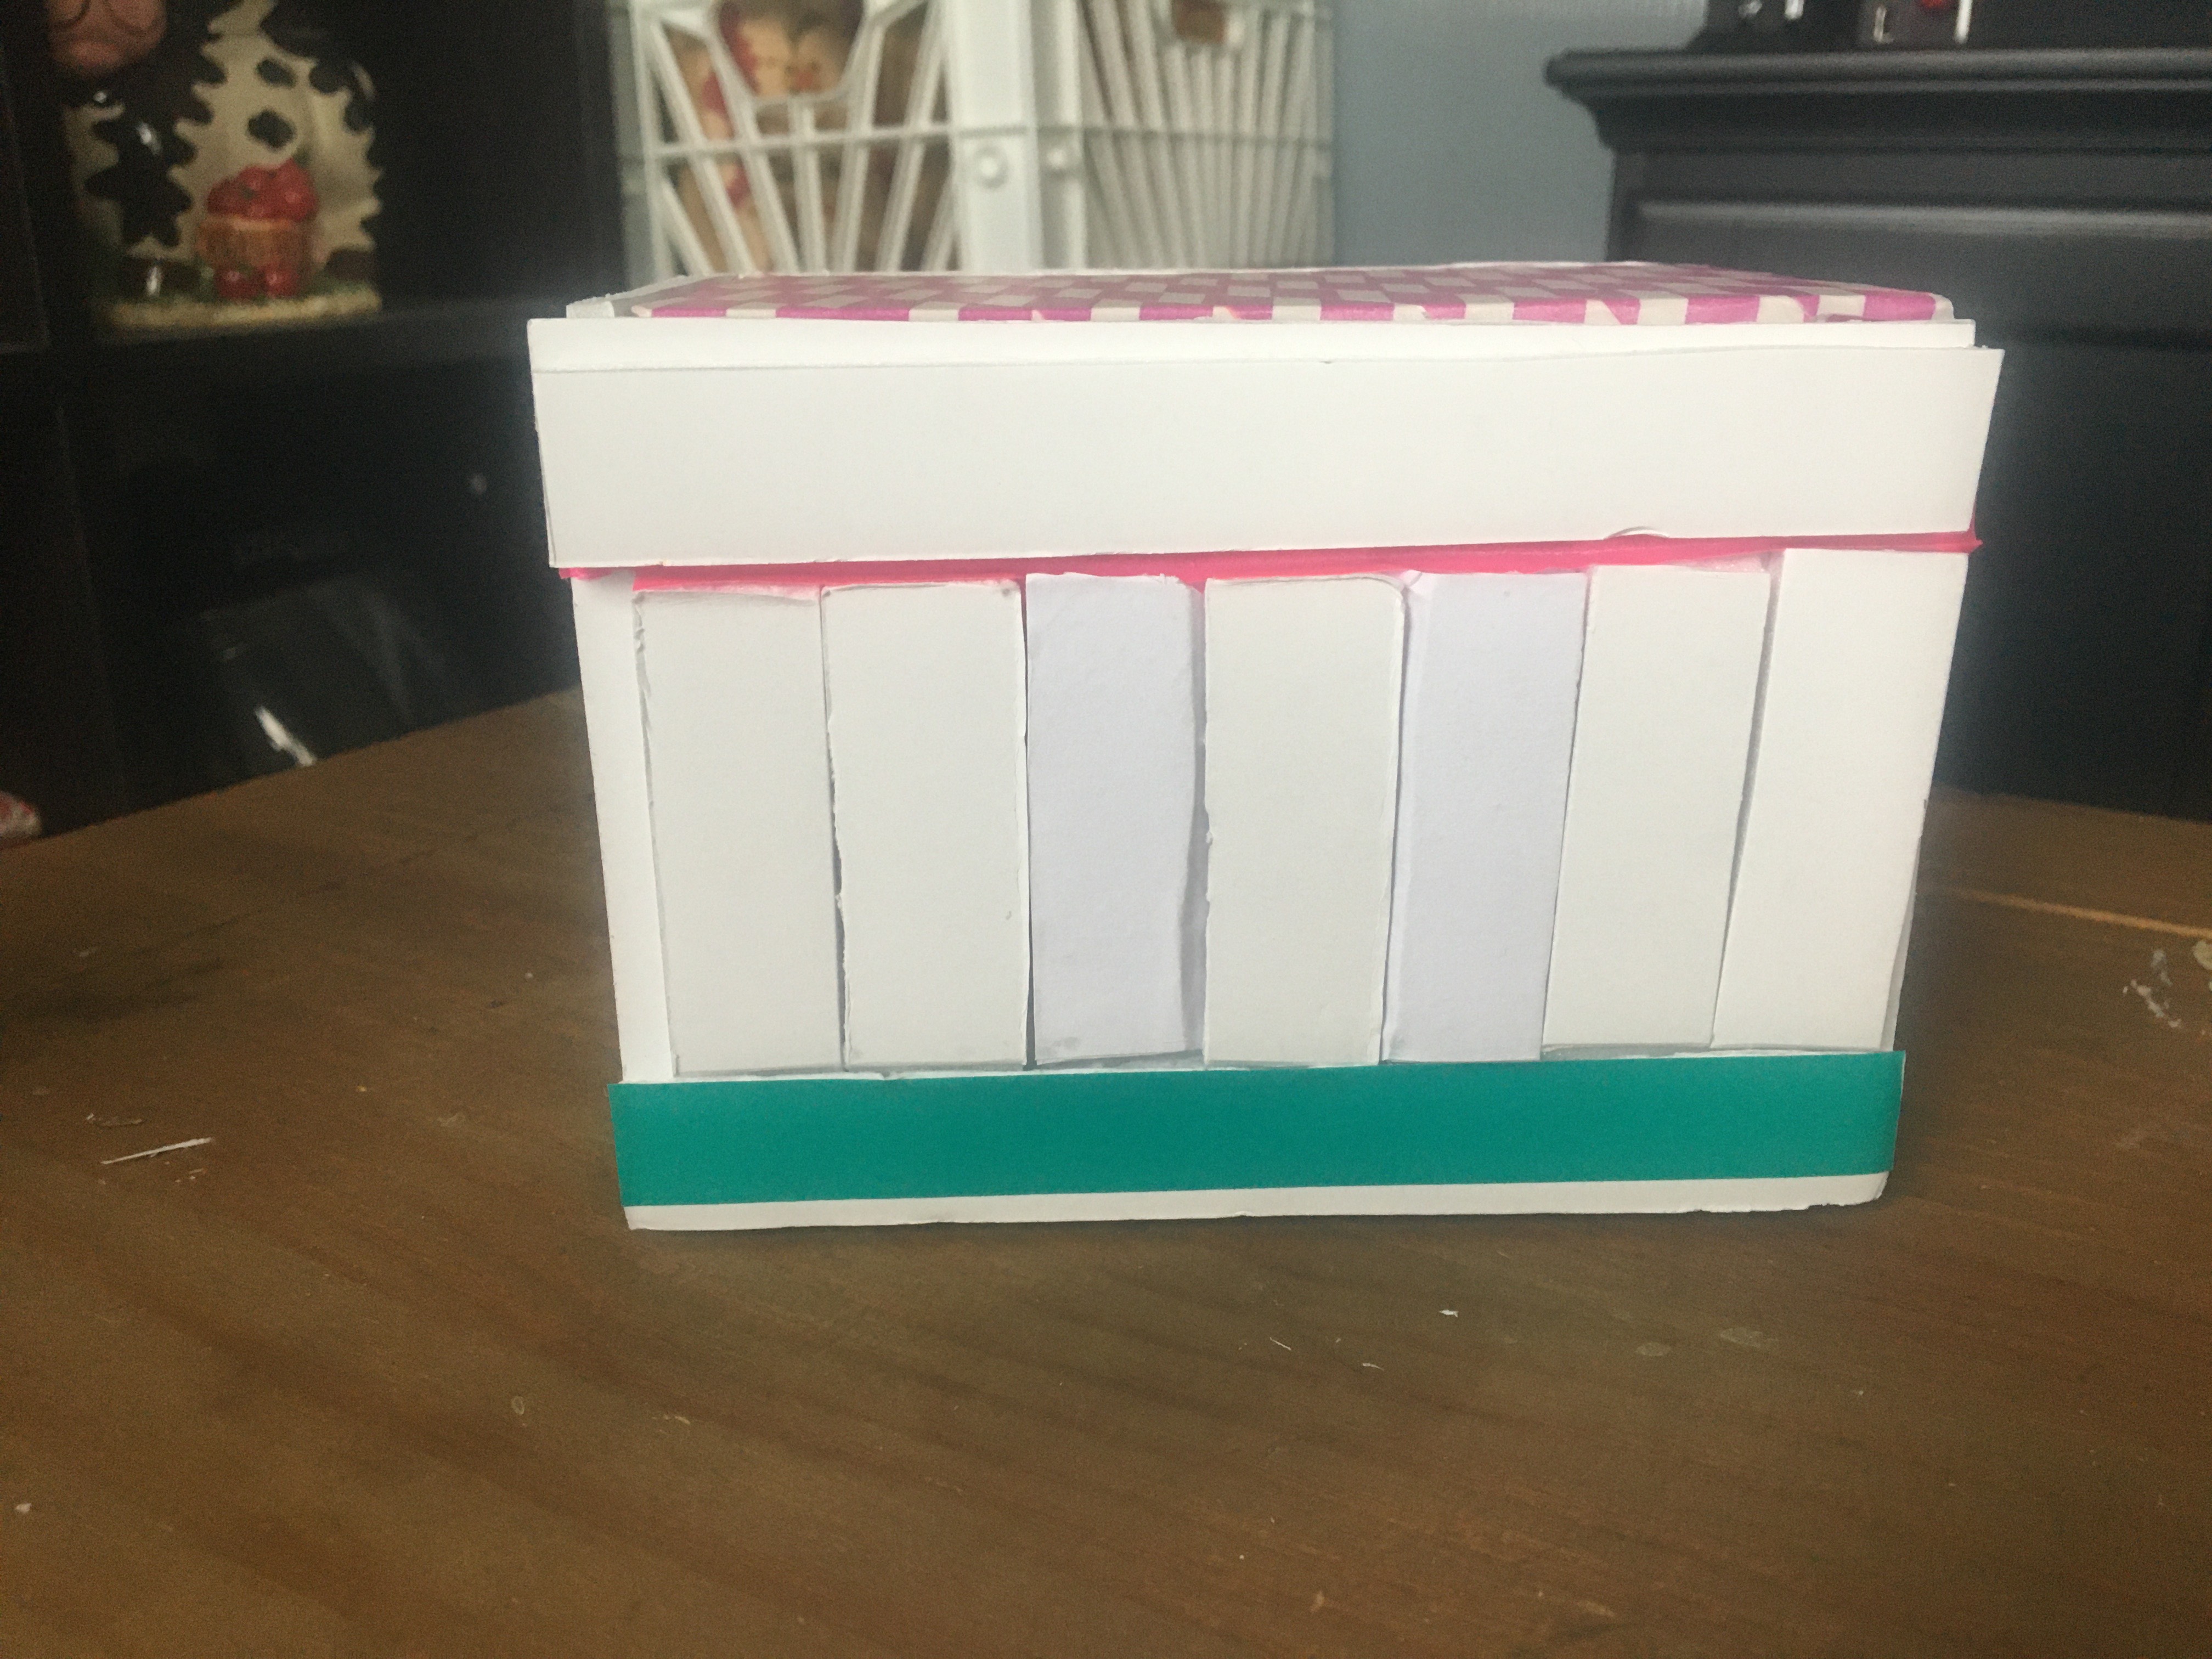
I made my 3D prototype out of foam board and washi tape. I thought that using the foam board would give me a really good sense of how the pieces may fit together in the final build. However, I found that using the foam board was fairly difficult. When the edges are cut, it leaves a very jagged edge and the pieces are not very precise or uniform.
I made a critical mistake by gluing the bottom block to the main box (indicated by the blue tape). I wanted to be able to move this block which would allow the seven vertical blocks to move and reveal the hidden keyhole. This is something I want to focus on in the next iteration.
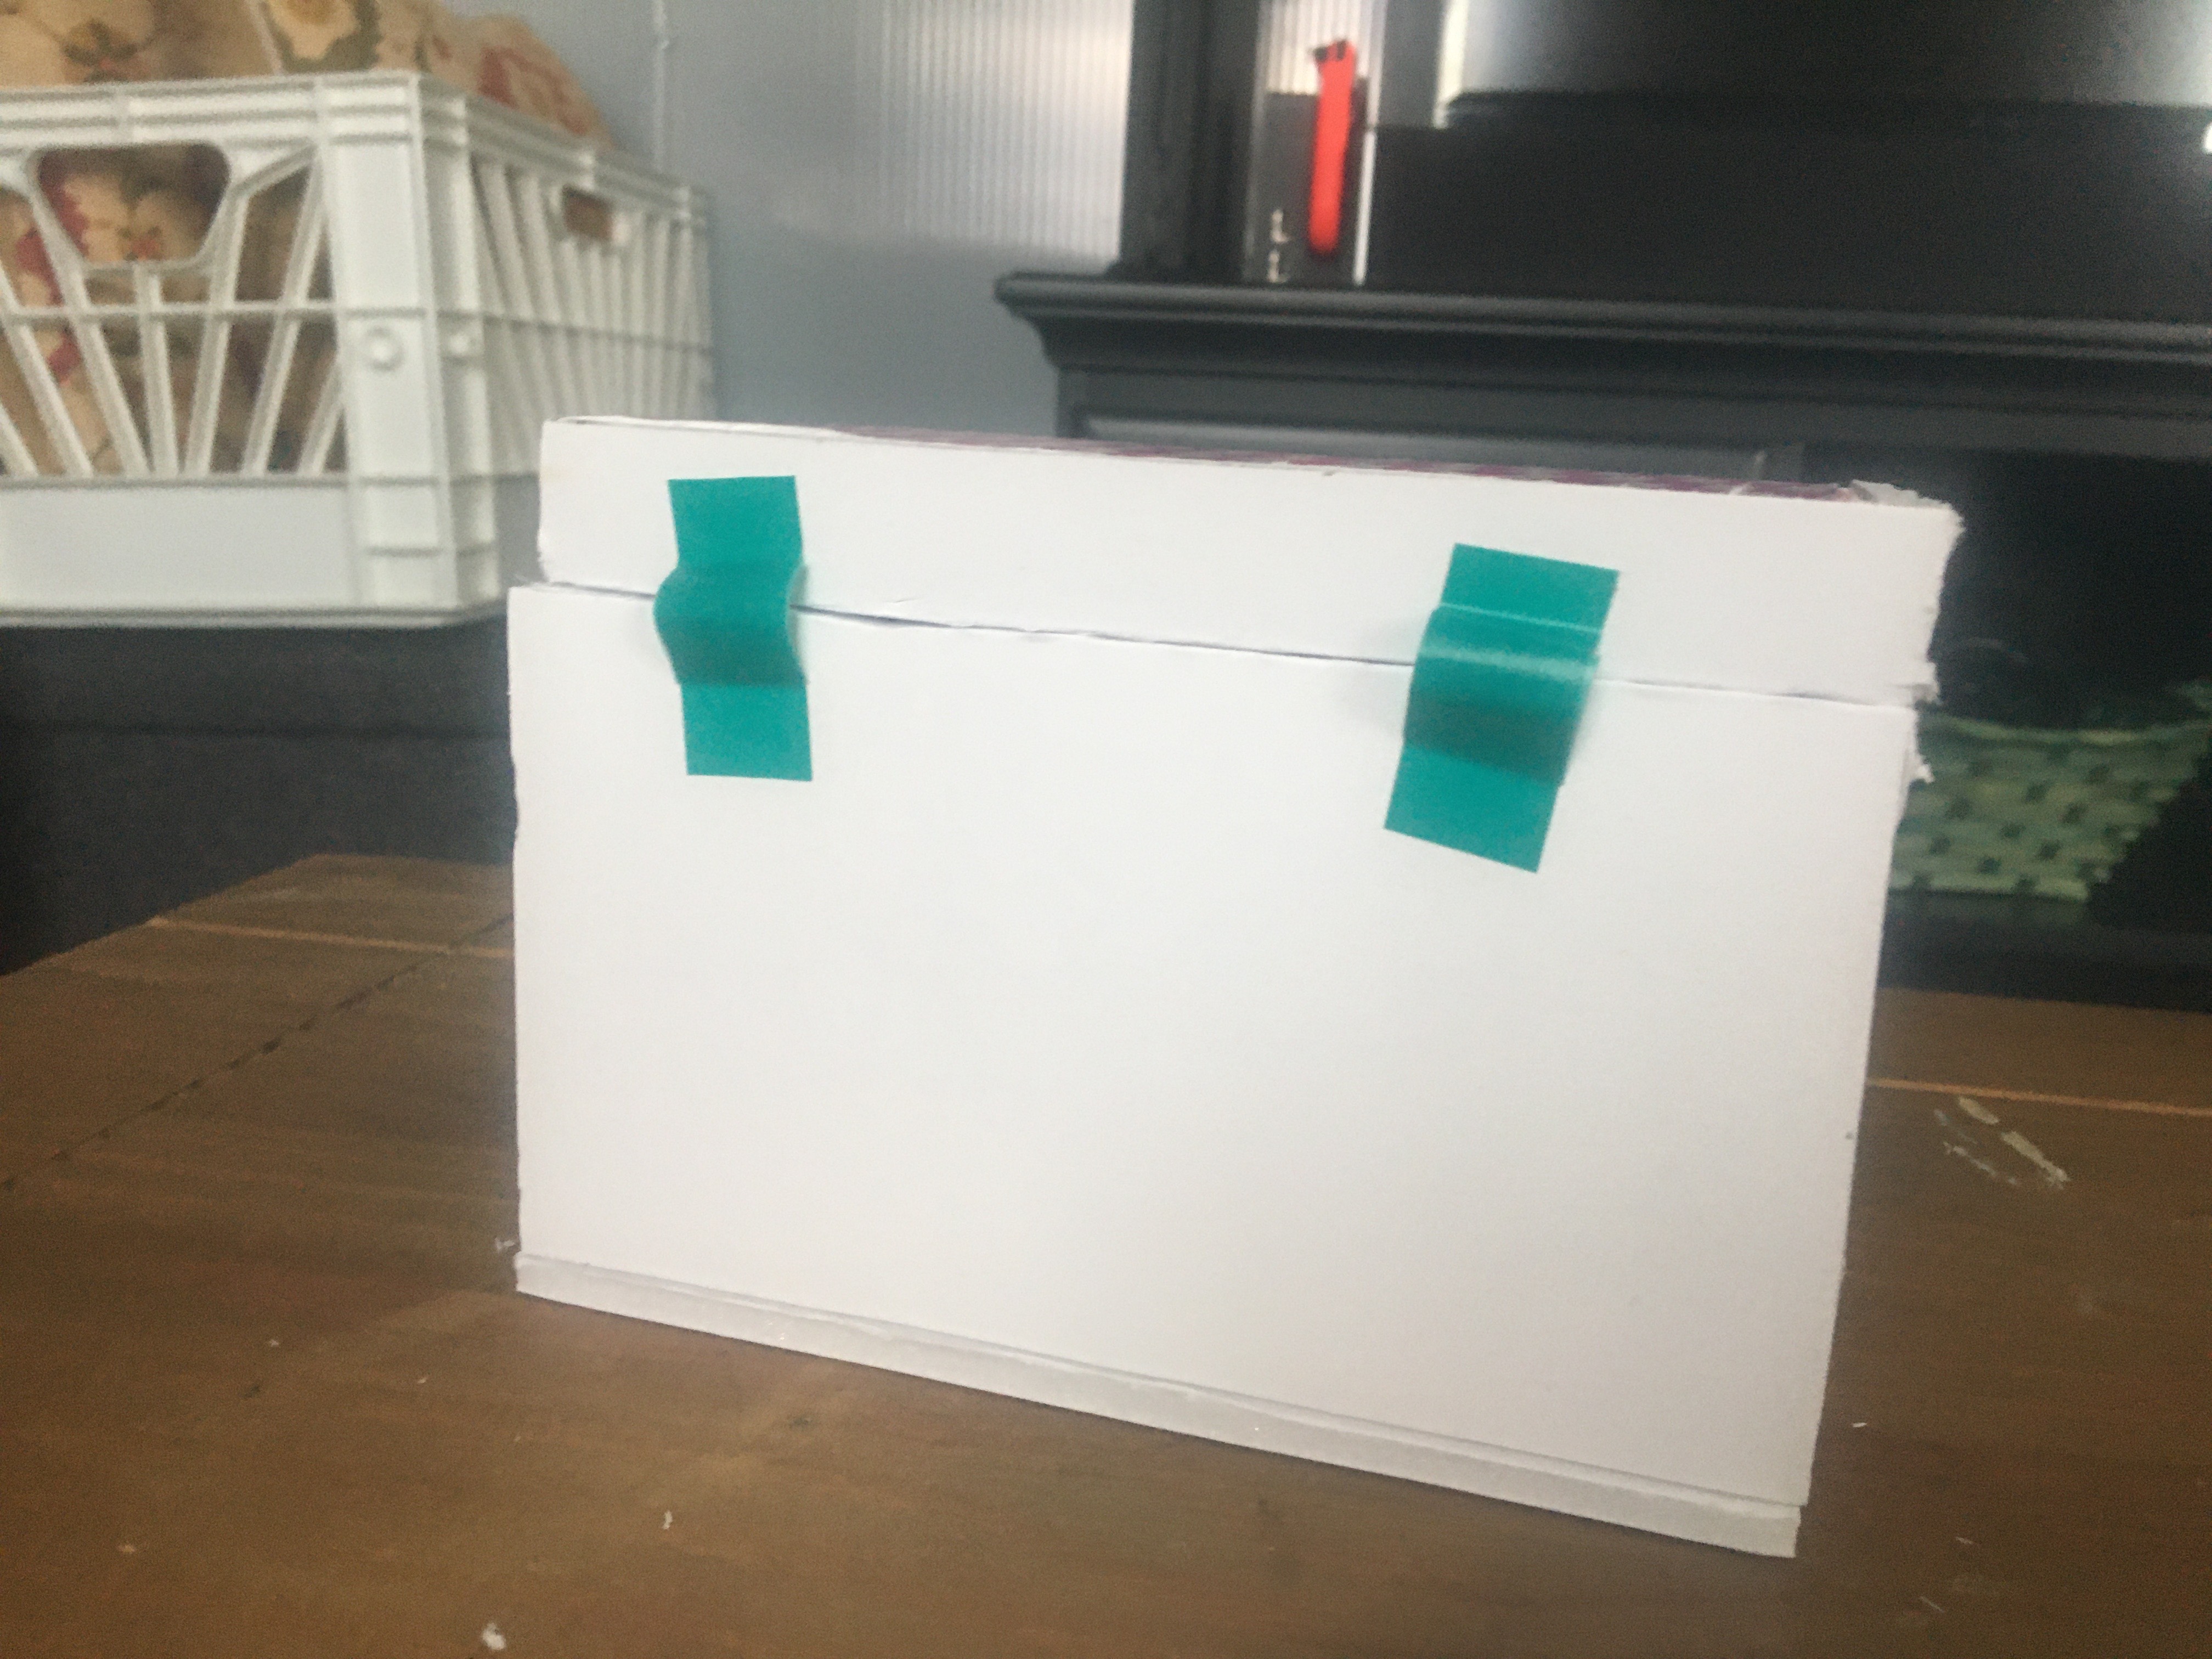
I created a hinge out of washi tape and it is stable enough for this initial prototype.
I am really happy with how the top ‘box’ turned out. I glued a piece of paper to the underside of a rectangular frame, hidden a key inside, and cut and fitted a panel that can be slid out to reveal said key. I will have to think about how I will make this more difficult to open and more stable. 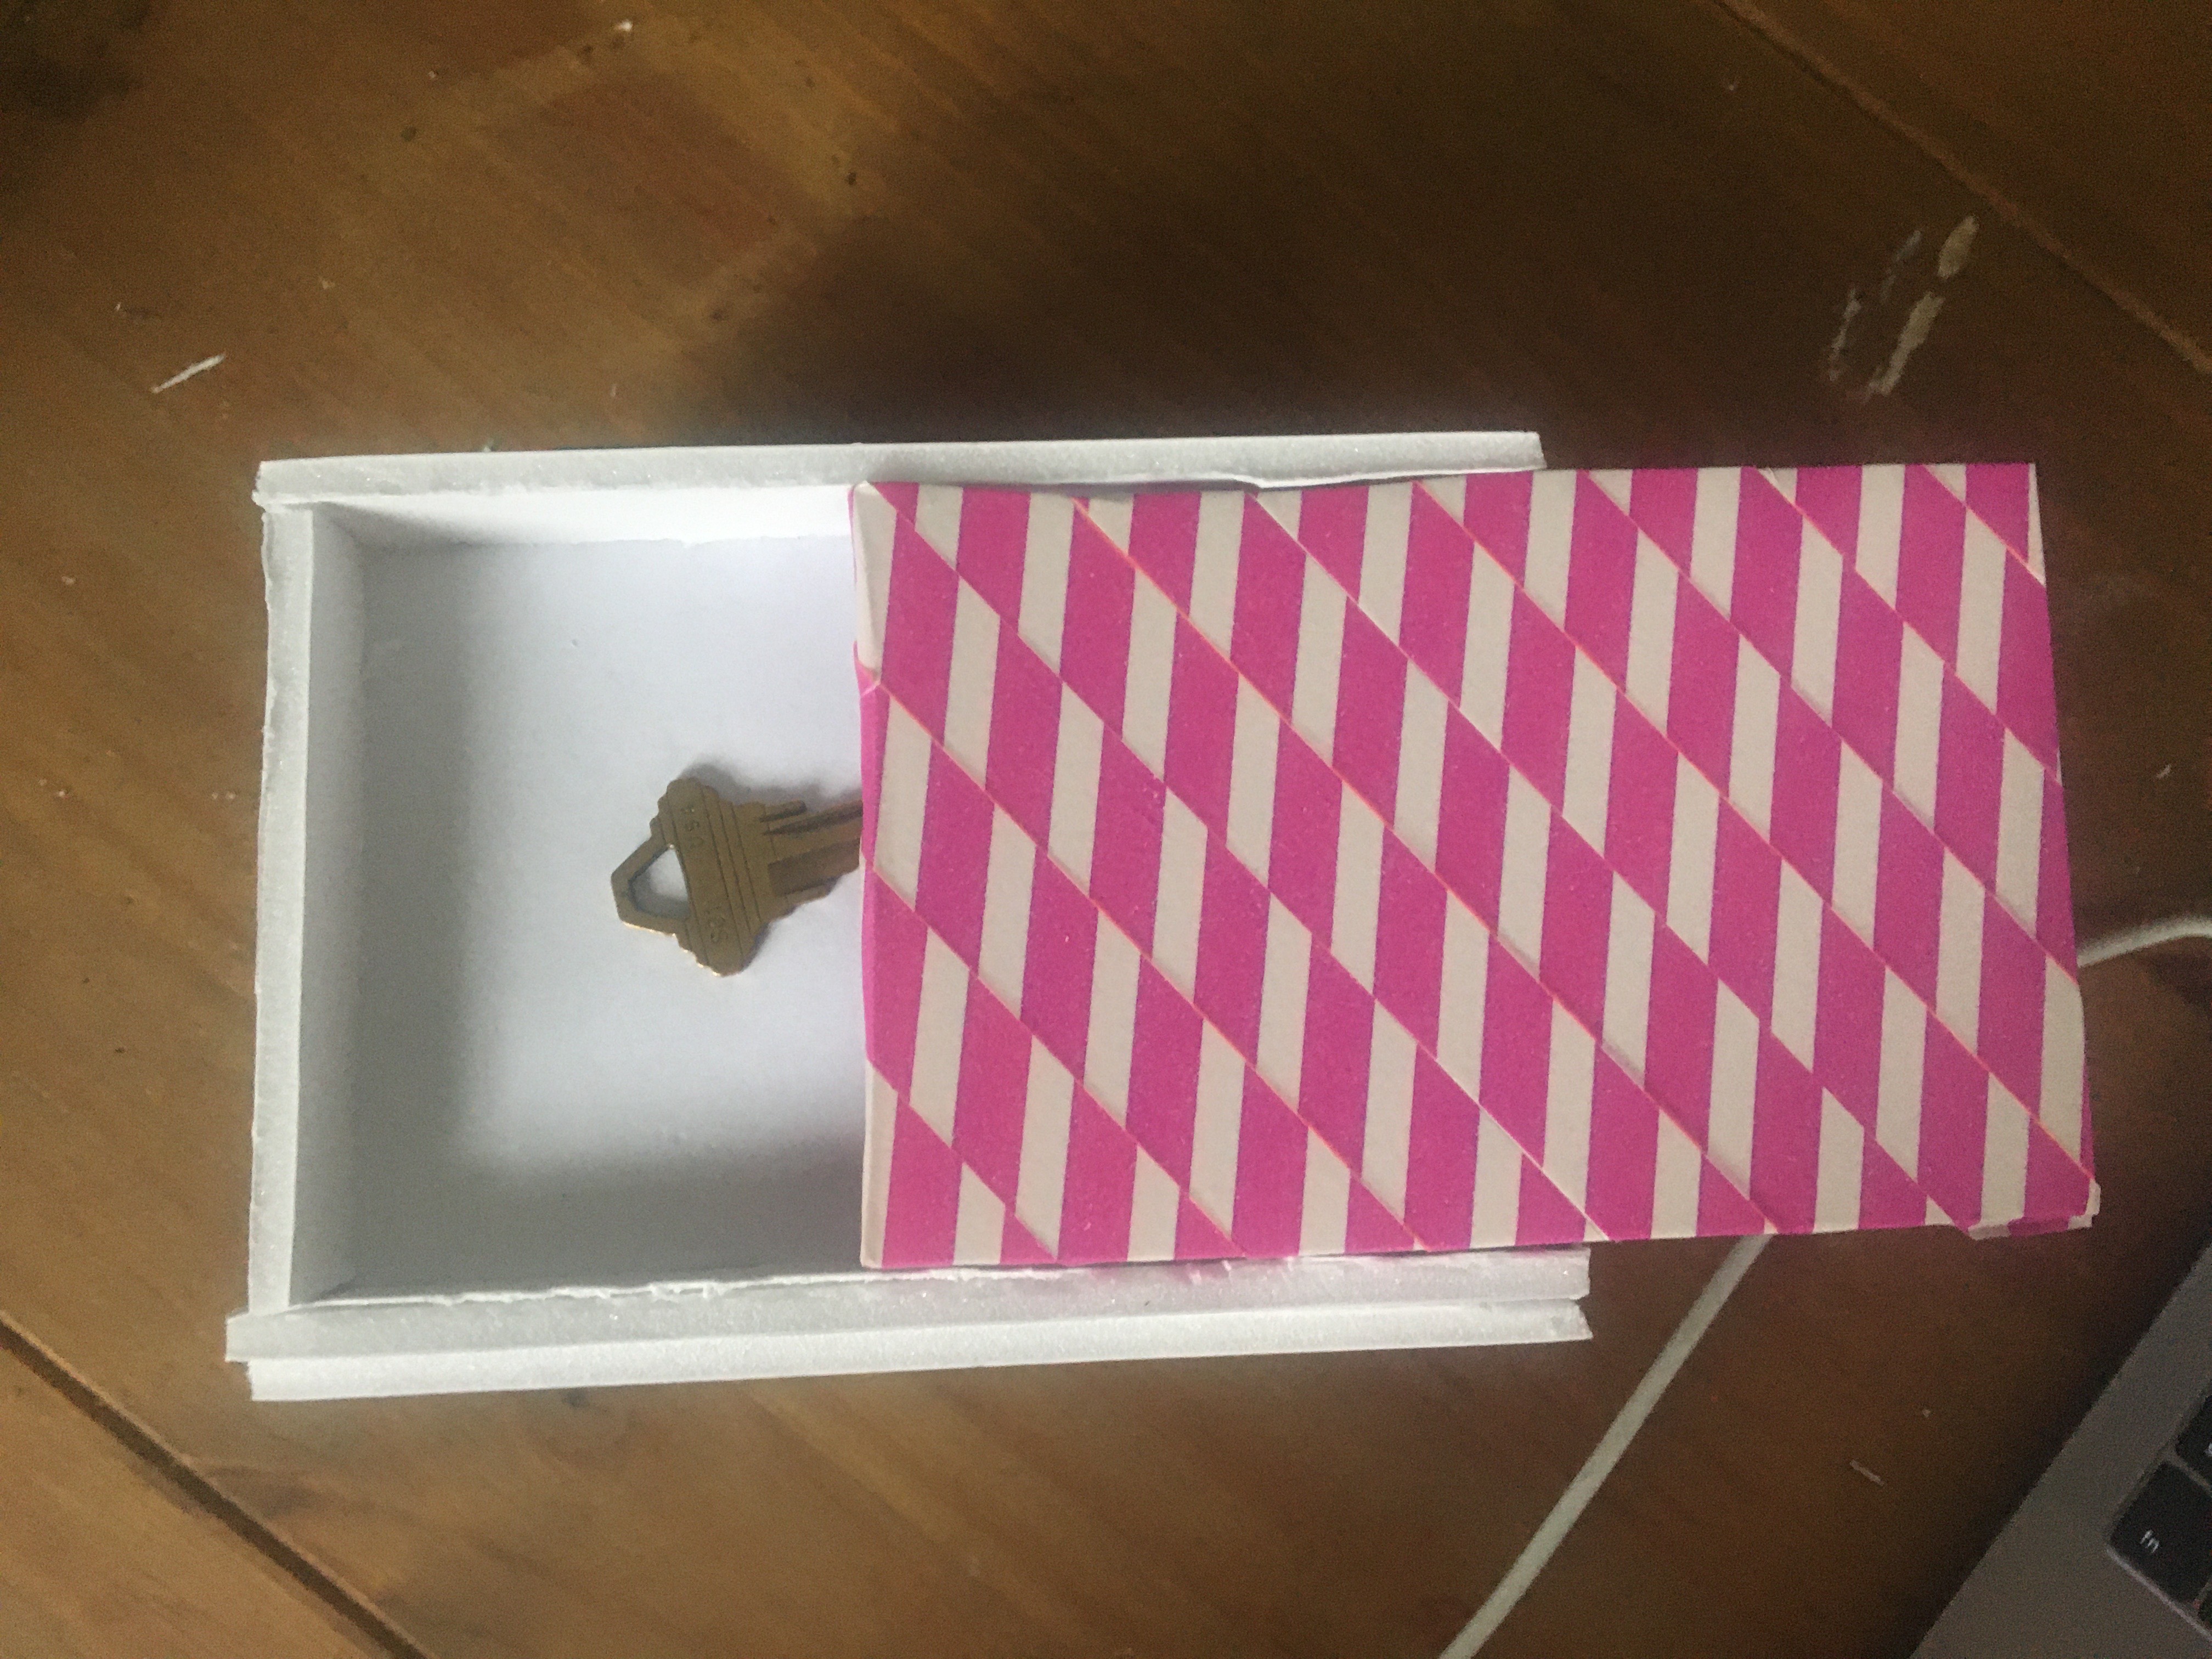
Overall, I am happy with how this prototype turned out! It really gave a sense on the difficulty of this project will be and I have clear points that I know I need to work on.
Initial Design Tests
For this initial round of testing, I decided to focus on the front panel of my puzzle box. I wanted 7 pieces that would fit together with a series of french cleats. I decided to use Fusion 360 for my project even though I find it extremely difficult to work with. 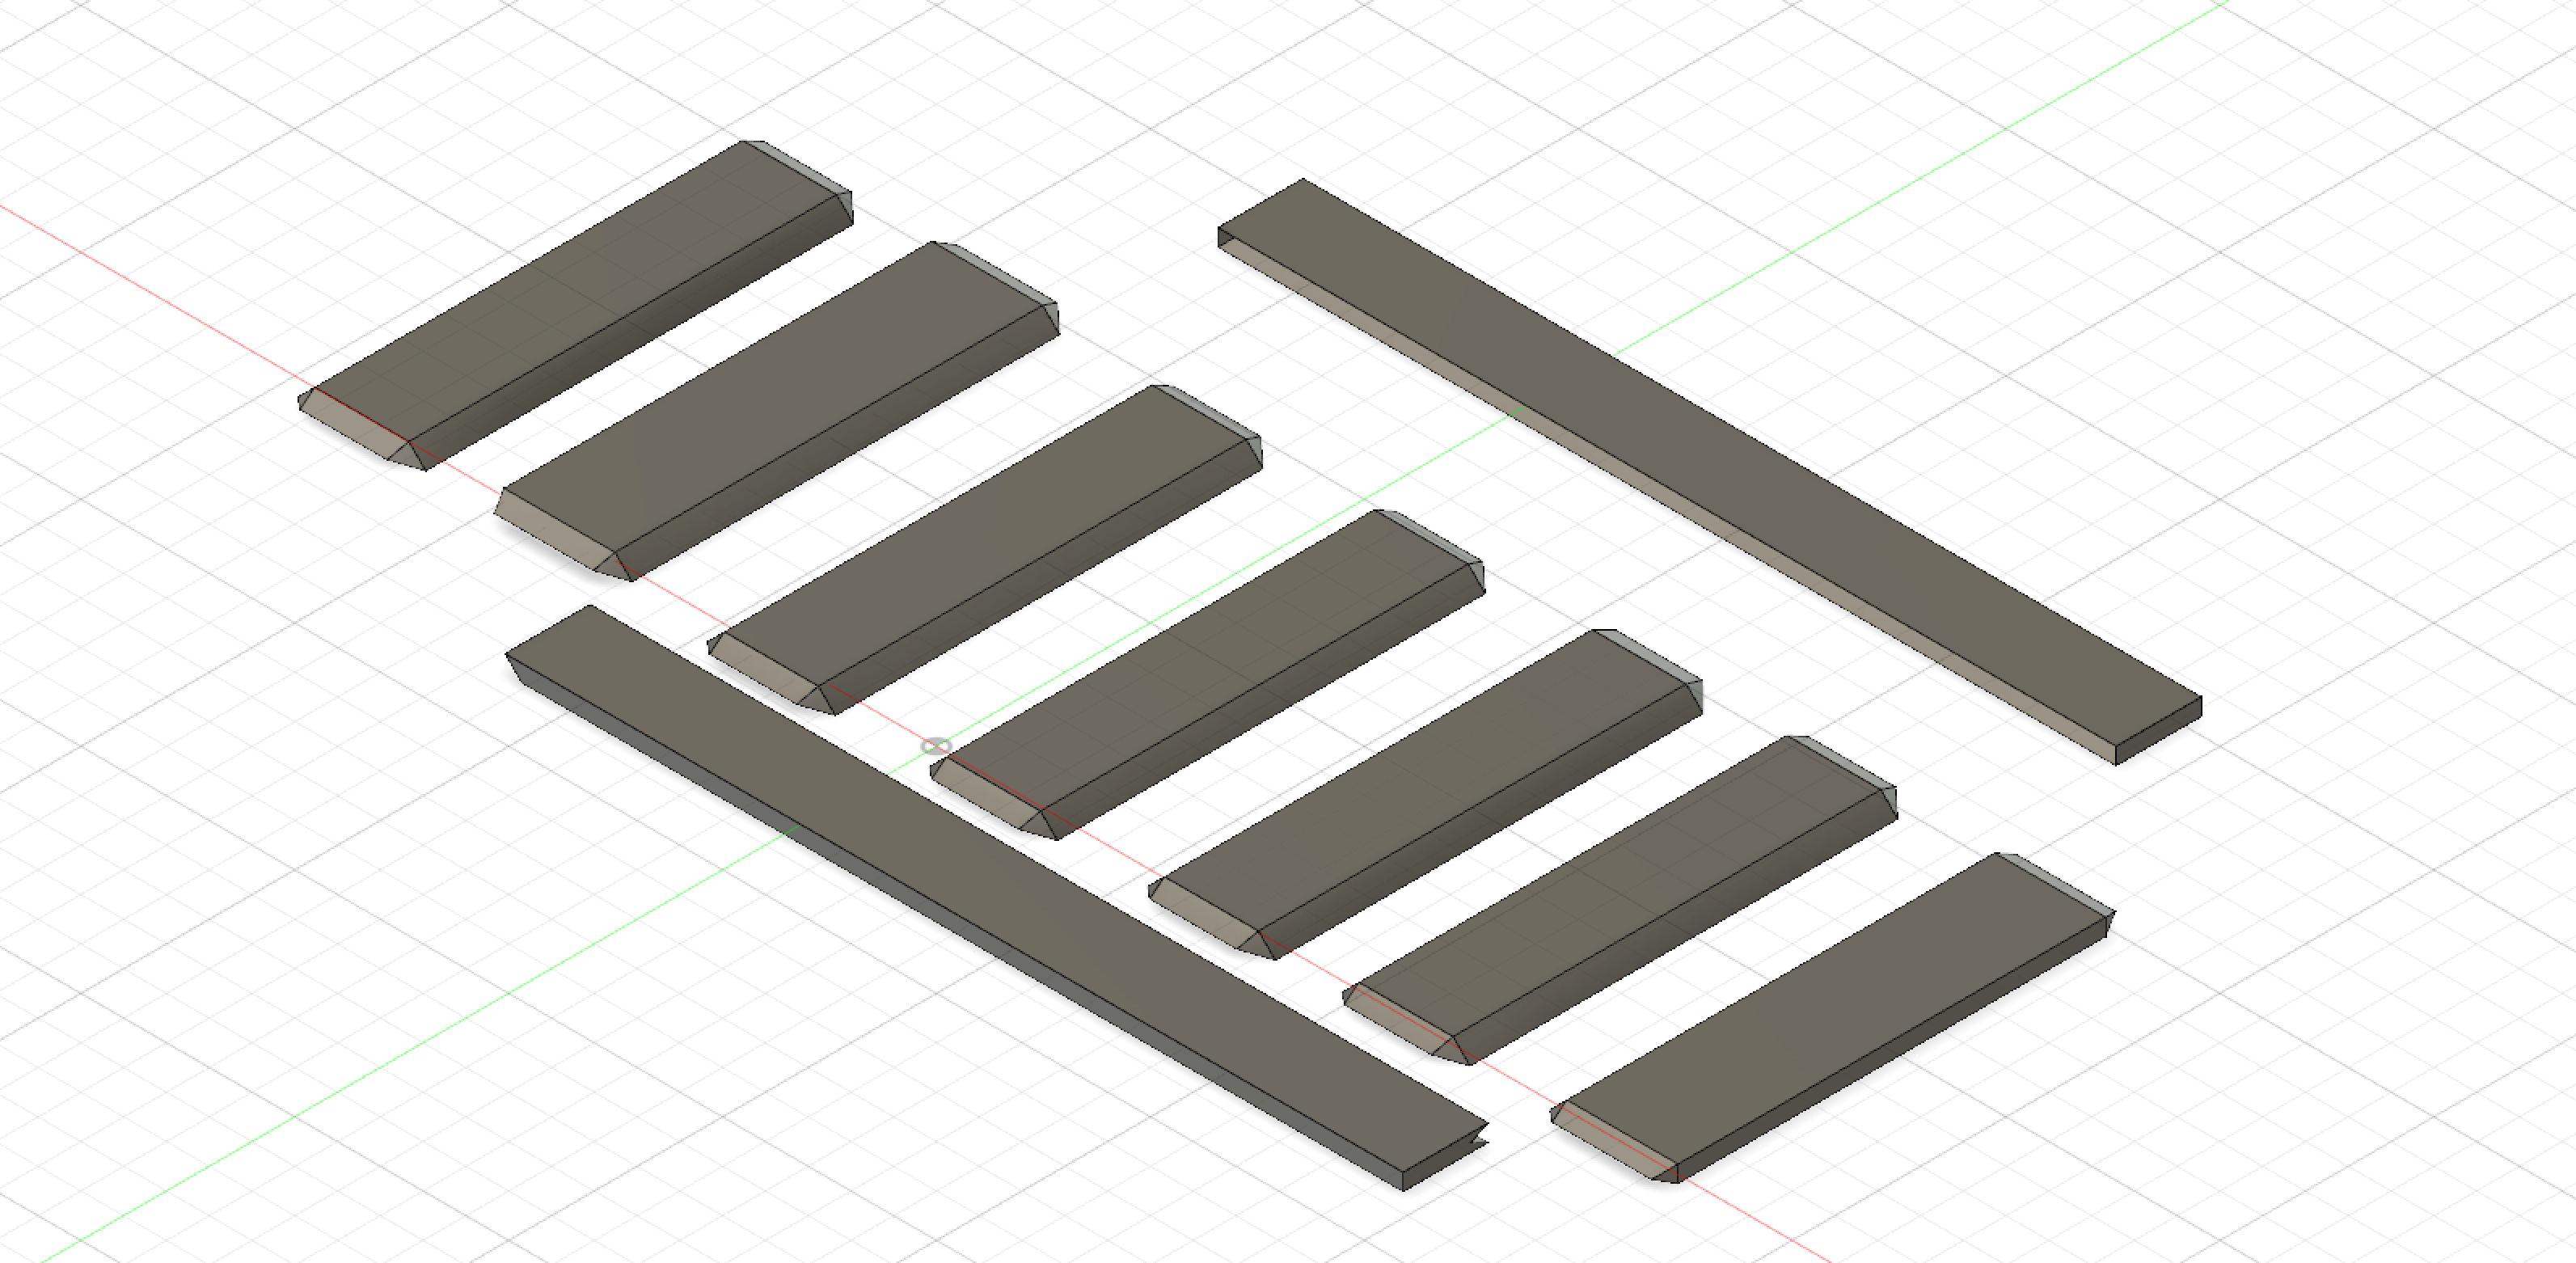
I am actually really surprised and happy with how this design came out! Again, I am still very new to using Fusion 360 and am really unsure about my abilities. I was able to design each of the 7 panels and the top and bottom bars that will hold them in place. I was even able to print one of the horizontal holding bars and one vertical sliding bar without any issues on my first try. After removing the added support, the pieces fit and slide together seamlessly.
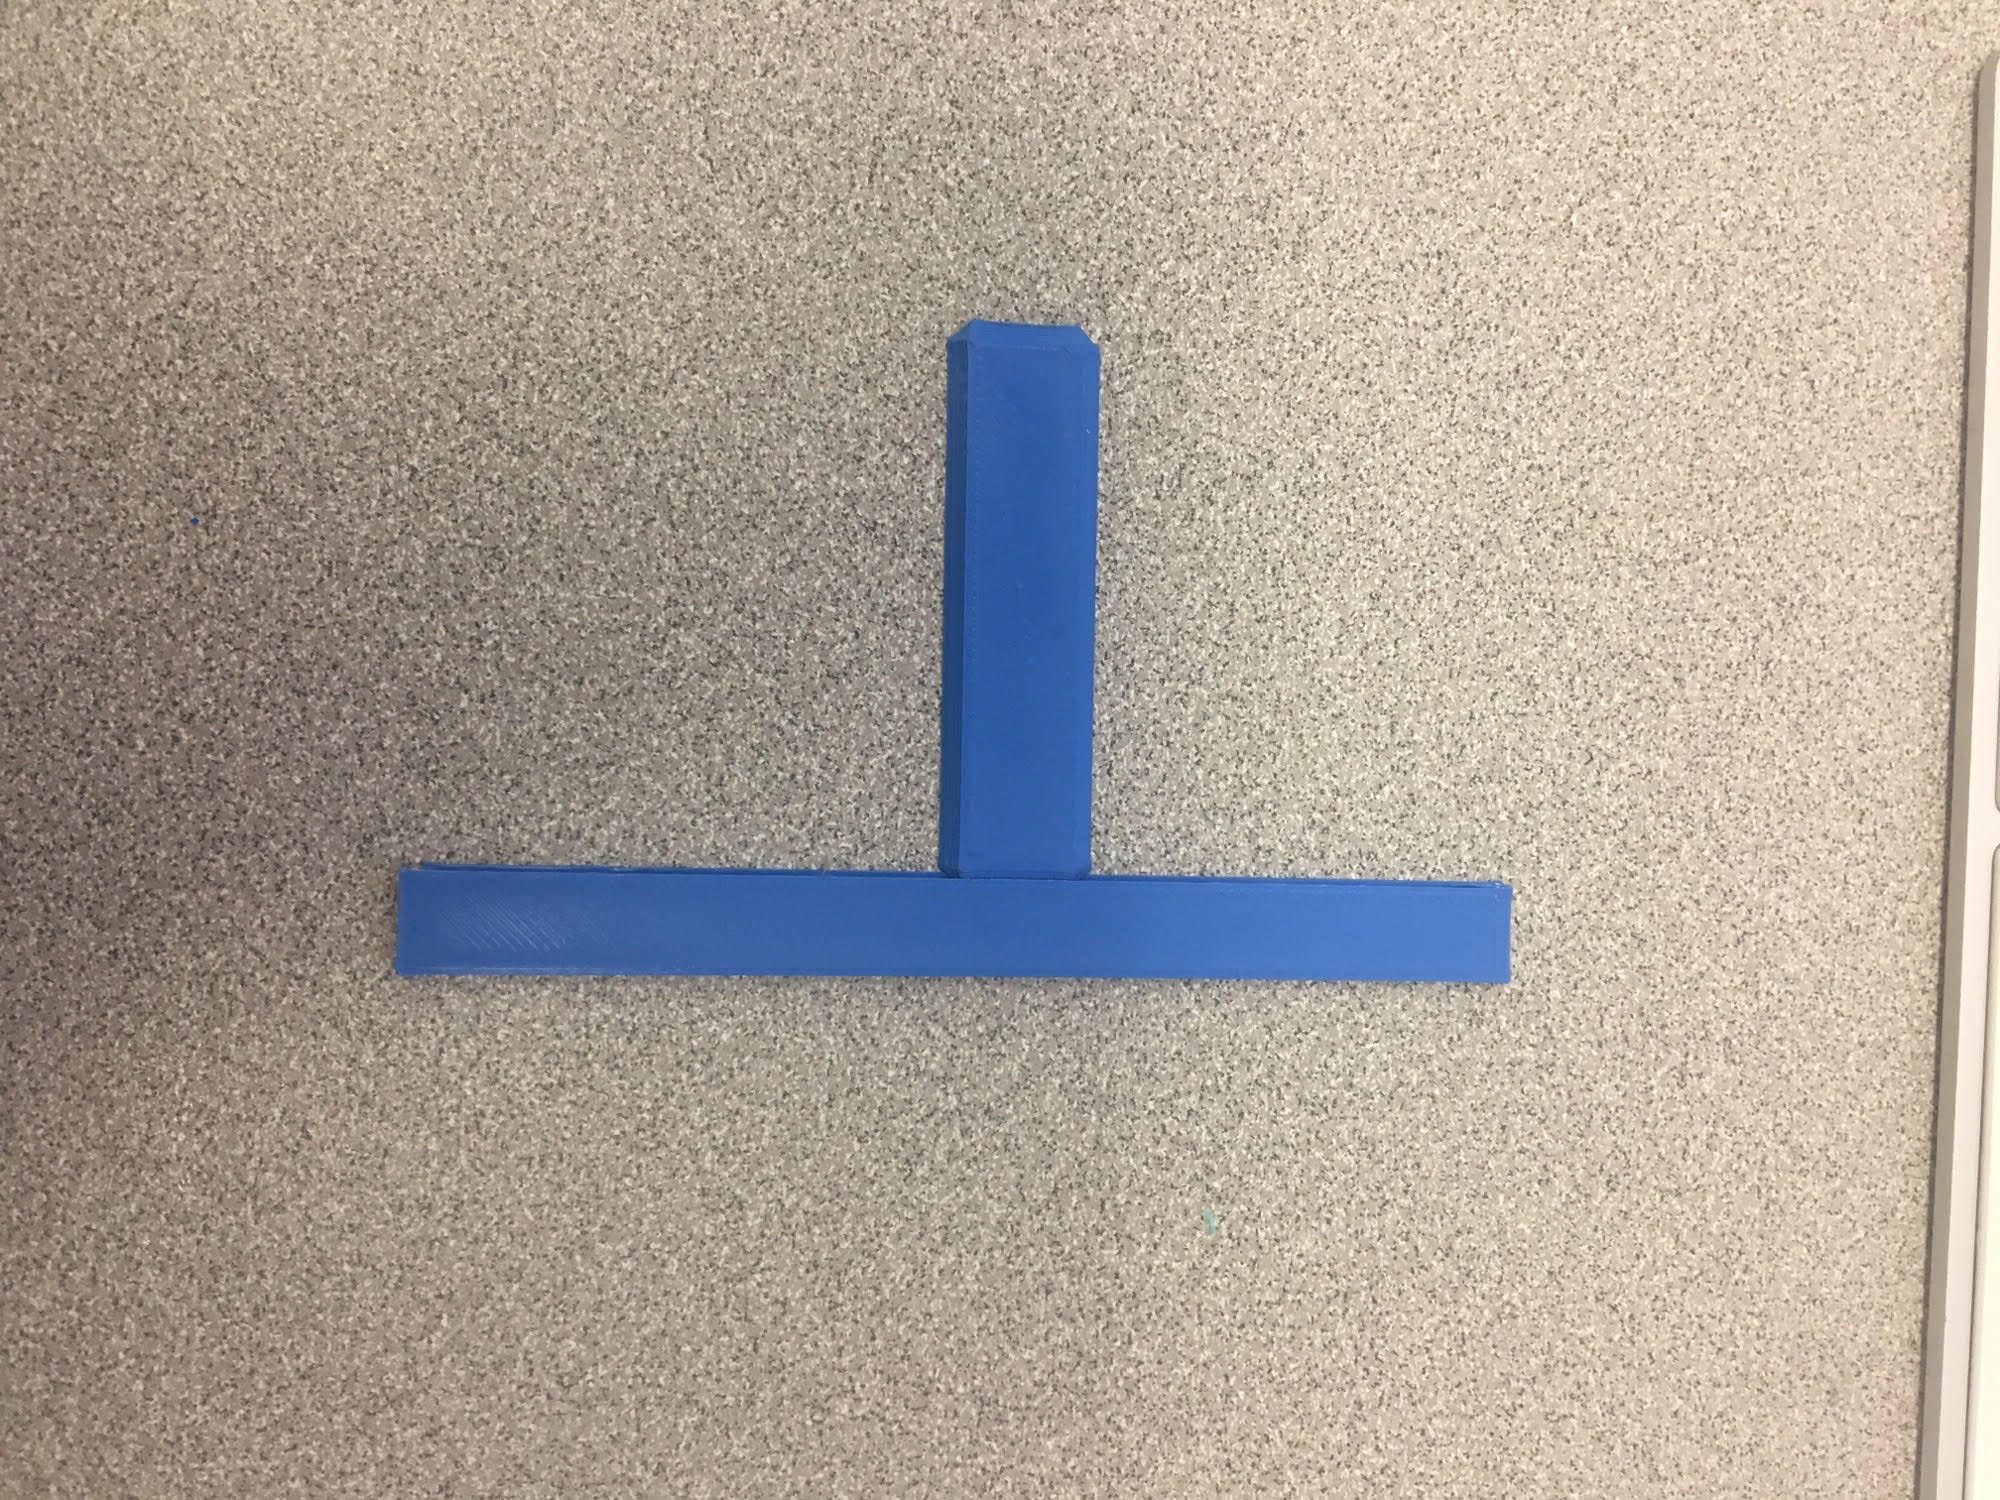
Because this went so well, I will table this while I begin to work on a different, more difficult section of the puzzle box…the top.
Continued Testing
Instead of continuing with the front panel of my puzzle box, I decided to move on to the top. The top section will have a sliding panel that will reveal a key that will unlock the main compartment. This entire project is intimidating to me and I decided to go with something fairly simple (even though tolerances are still a pain), so this week I decided to challenge myself even more. I am still very clunky with Fusion 360, but I managed to design something that I am proud of.
Before beginning my work in Fusion 360, I sketched out ideas on paper in order to give myself a better direction.
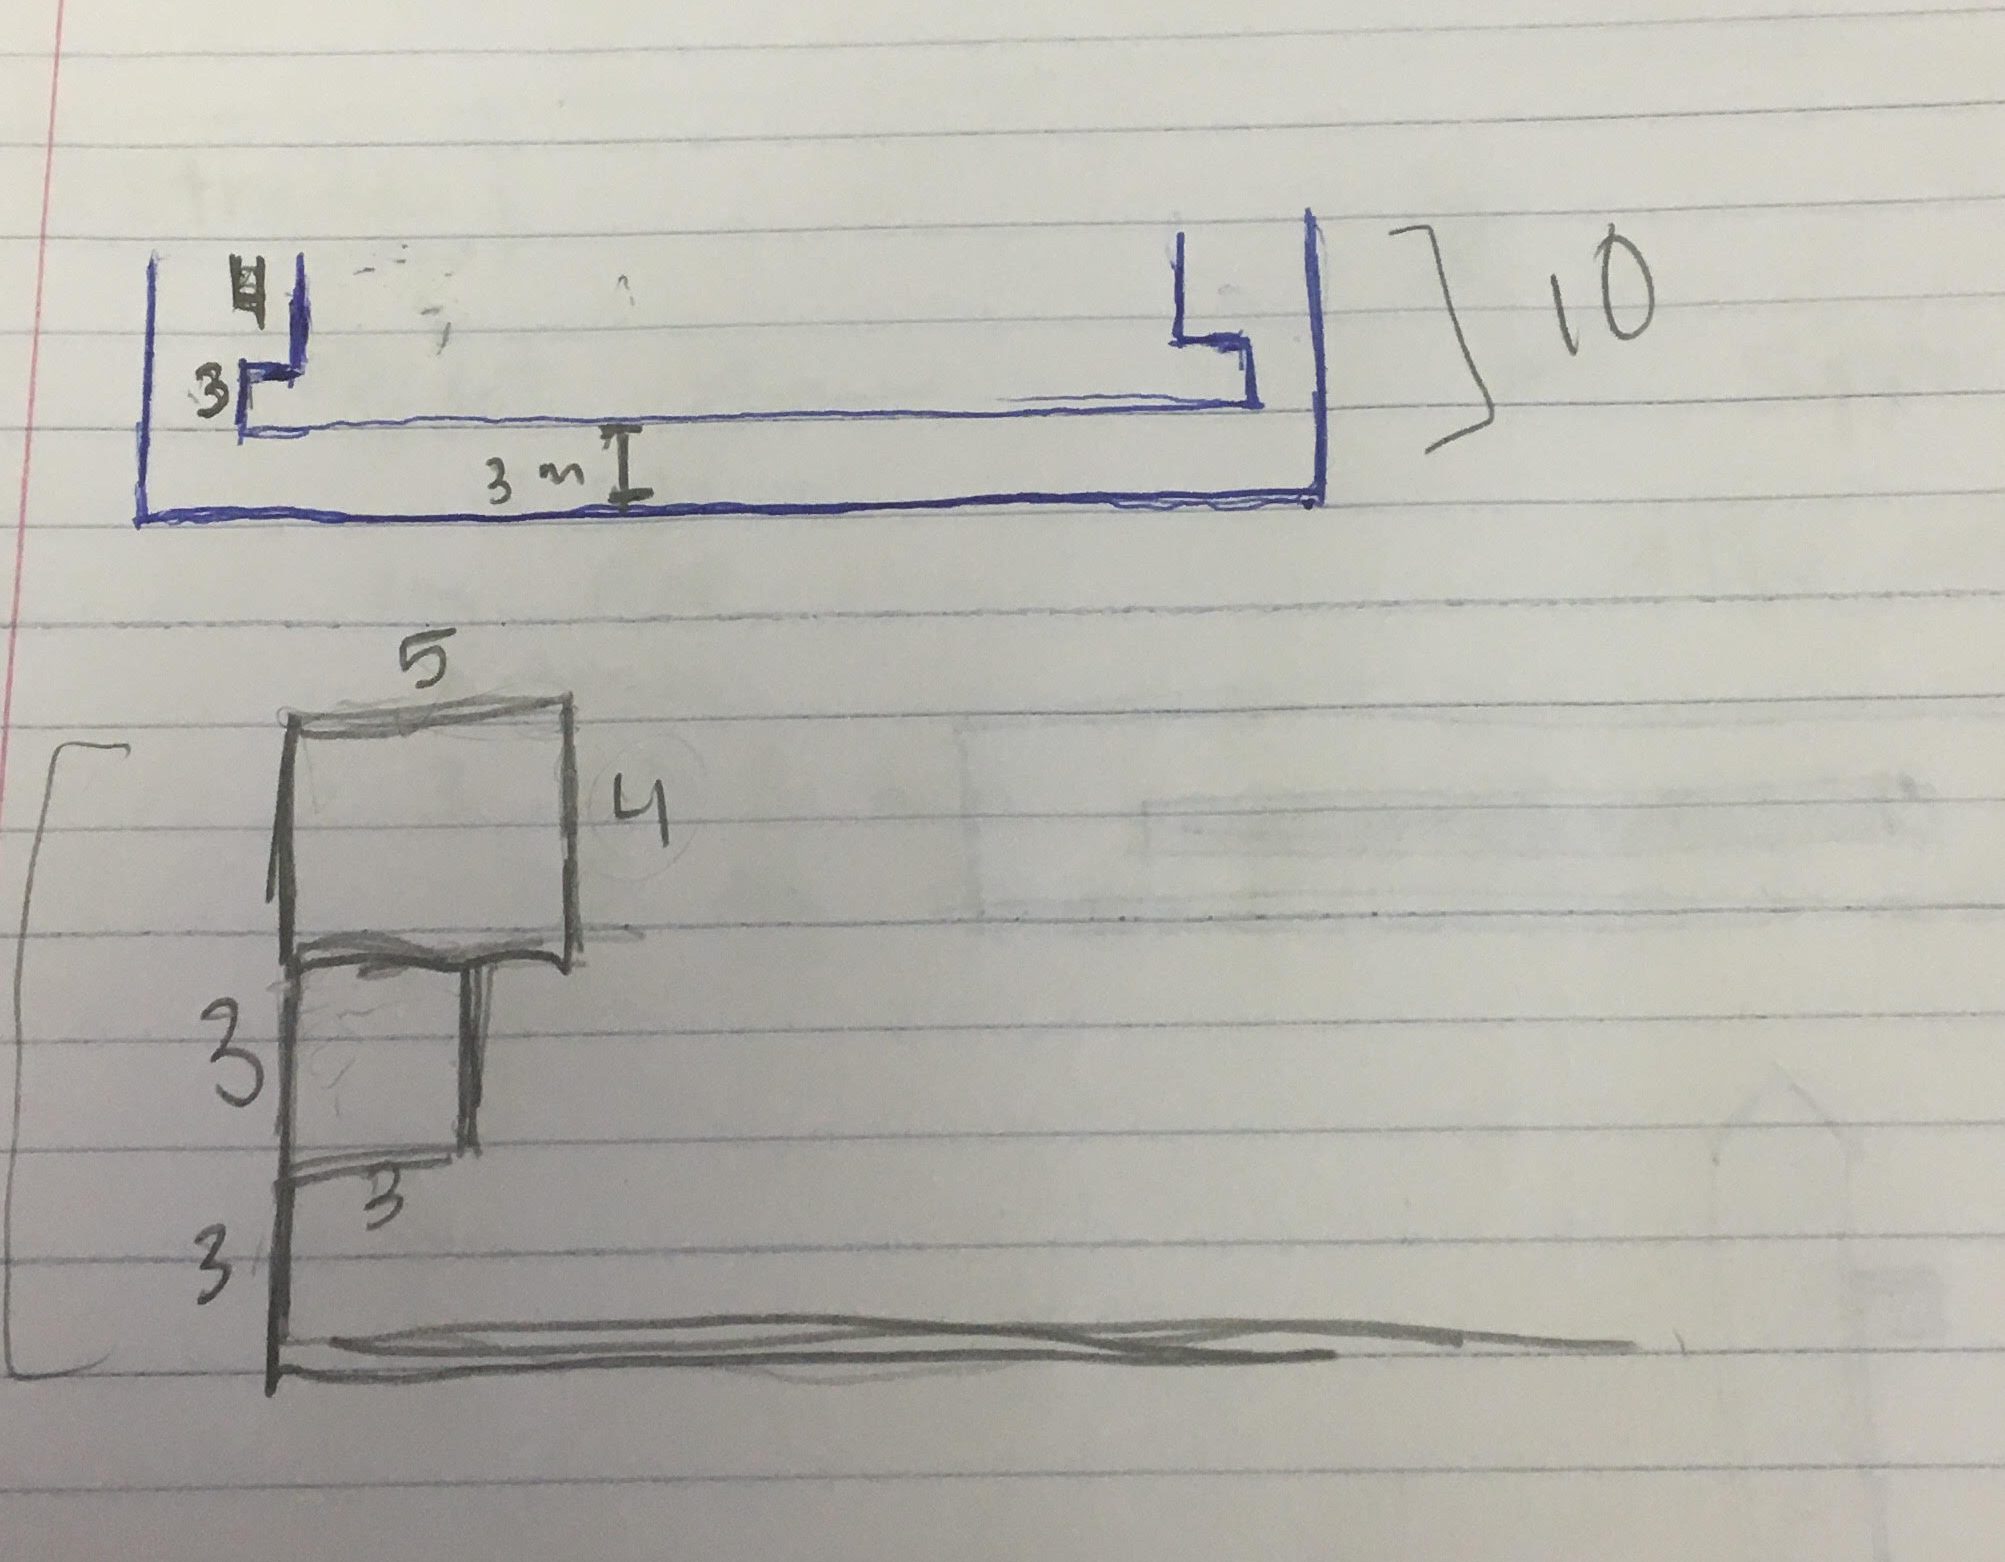
I think that I will be better able to visualize how to construct the top panel now that the holding body is designed and printed.
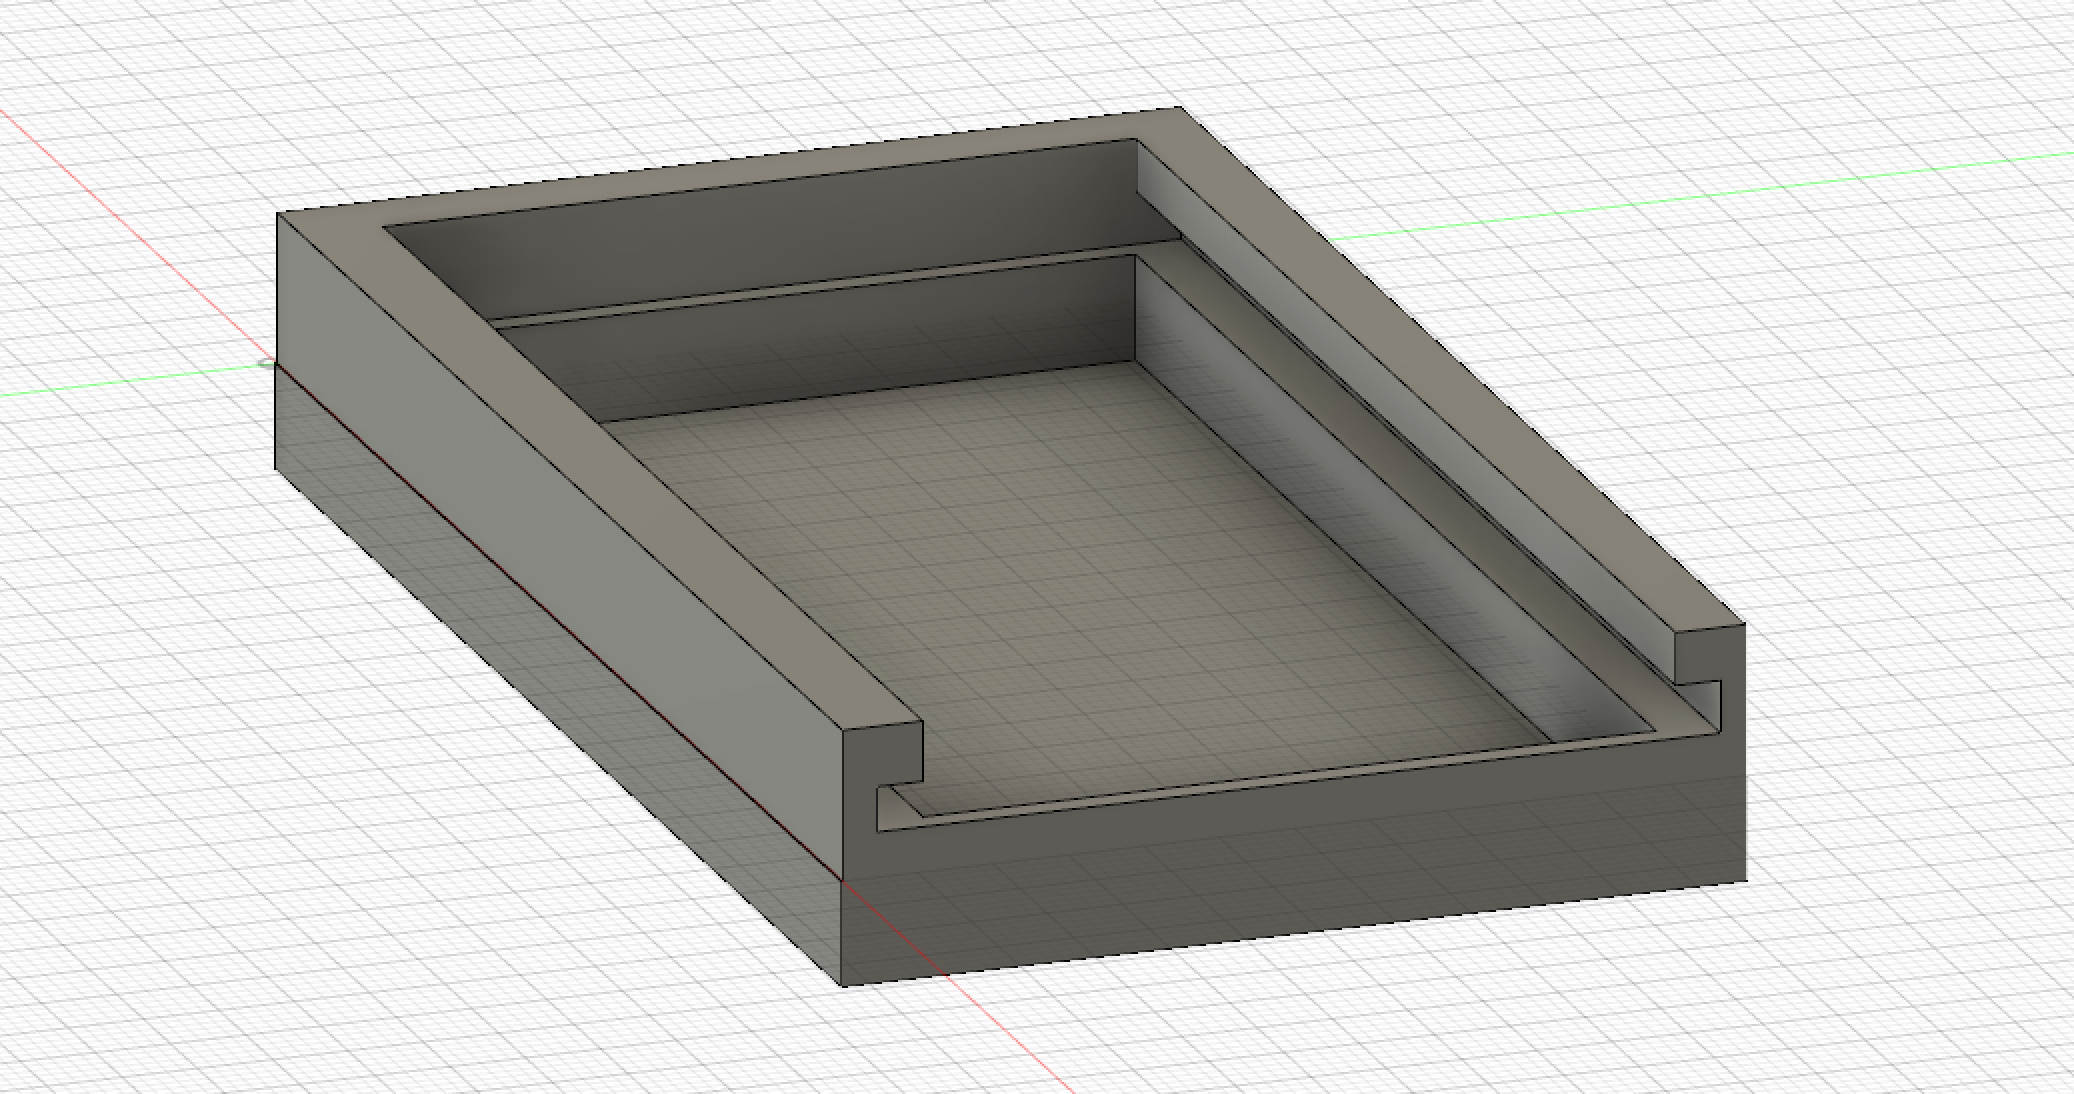
This top measures 105 mm x 20 mm x 60 mm. I think that this is a good size and mirrors the dimensions of my work from last week. I created channels on both sides of the top that a future designed top panel will be able to slide in and out of. I want the top of the panel to fit in seamlessly with the above design in order to throw off anyone attempting to get into the puzzle box. Once everything is complete, I want to fill the bottom cavity with some kind of craft foam so the key will not make any noise as the puzzle is turned and flipped around.
This piece is on the printer as I type and I will update this post with pictures ASAP. So far it looks very promising!