According to Wikipedia the Menger Sponge is a 3 Dimensional fractal curve. It was first described by Karl Menger in 1926. To create a Menger Sponge you start with a cube. The face of a Menger Sponge is a Sierpinski carpet, a 2 dimensional fractal. Every face of the cube is then divided into 9 squares. Wikipedia compares a level 1 Menger Sponge to a Rubik’s Cube. The next step would be to remove the smaller cube in the middle of each face, and remove the smaller cube in the very center of the larger cube. These steps can be repeated infinitely.
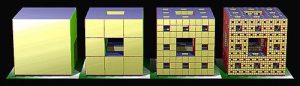
I liked this animation of the progression of a Menger Sponge. It goes from a simple cube to a extremely complex fractal. The Menger Sponge is considered a fractal because it is a universal curve. I’m not entirely sure what that means but I believe since the same shape is repeatedly divided that makes it a fractal.
I chose the Menger Sponge as my first fractal to 3D print for a few reasons. First off I thought it was cool that it was a 3 dimensional fractal. During my research to find a fractal I noticed a lot of them were intricate but 2 dimensional. The dragon curve we printed was 2D so I wanted to see if printing a more 3D object would be possible. The more exciting reason I choose this fractal was that when I was reading about it on Wikipedia I found out that our professor, Laura Taalman, has been working on a project called the MegaMenger! The project is aimed to create the largest fractal model. According to Wikipedia as of 2014, twenty level three Menger sponges were constructed, which combined would form a level four Menger sponge.
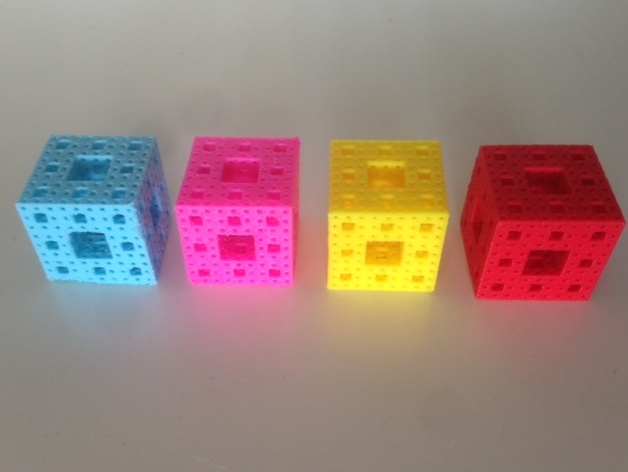
The photo above are examples on 3D Menger Sponges on Thingiverse created by Professor Taalman.
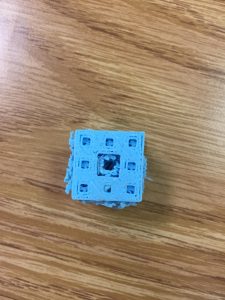
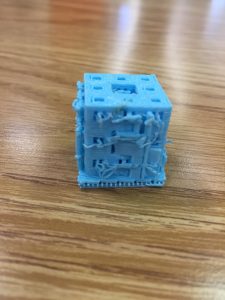
3D Printing Results
My first print did not turn out the way I had planned. Since my print was 3 dimensional there were support structures included in the printing instructions. I printed on the Afina printer and the supports and the actual print all kind of melted together. Hopefully I can reprint on the Ultimaker and it will turn out better. Click here to see the design I used on Thingiverse!