Hello
Hello, my name is Jackson McKean, and I am currently a junior at JMU from Boston, Massachusetts. I am a Sports and Recreation Management major, and I also am completing a business minor. I plan to focus on sports marketing, and my ultimate goal is to work for a professional sports team as a marketing director. Here at JMU, I serve on the executive board for the Sigma Phi Epsilon fraternity, and I am also a member of SLAM, a Sports and Recreation student organization. Right now, I have no experience with 3D printing, but I took the course in order to learn about it because it seems really interesting and fun. I hope to learn how to program prints and become familiar with the printers themselves, and I am excited to find out more about this topic.
https://www.thingiverse.com/jacksonmckean/about
Thingiverse Model

JMU Wilson Hall
Designer – Jessopjj
https://www.thingiverse.com/thing:1358197
I chose JMU’s Wilson Hall because it makes for a cool piece of JMU memorabilia. It is amazing how accurate this image is to Wilson Hall in real life, and this is going to be really cool to print!
Thingiverse Print
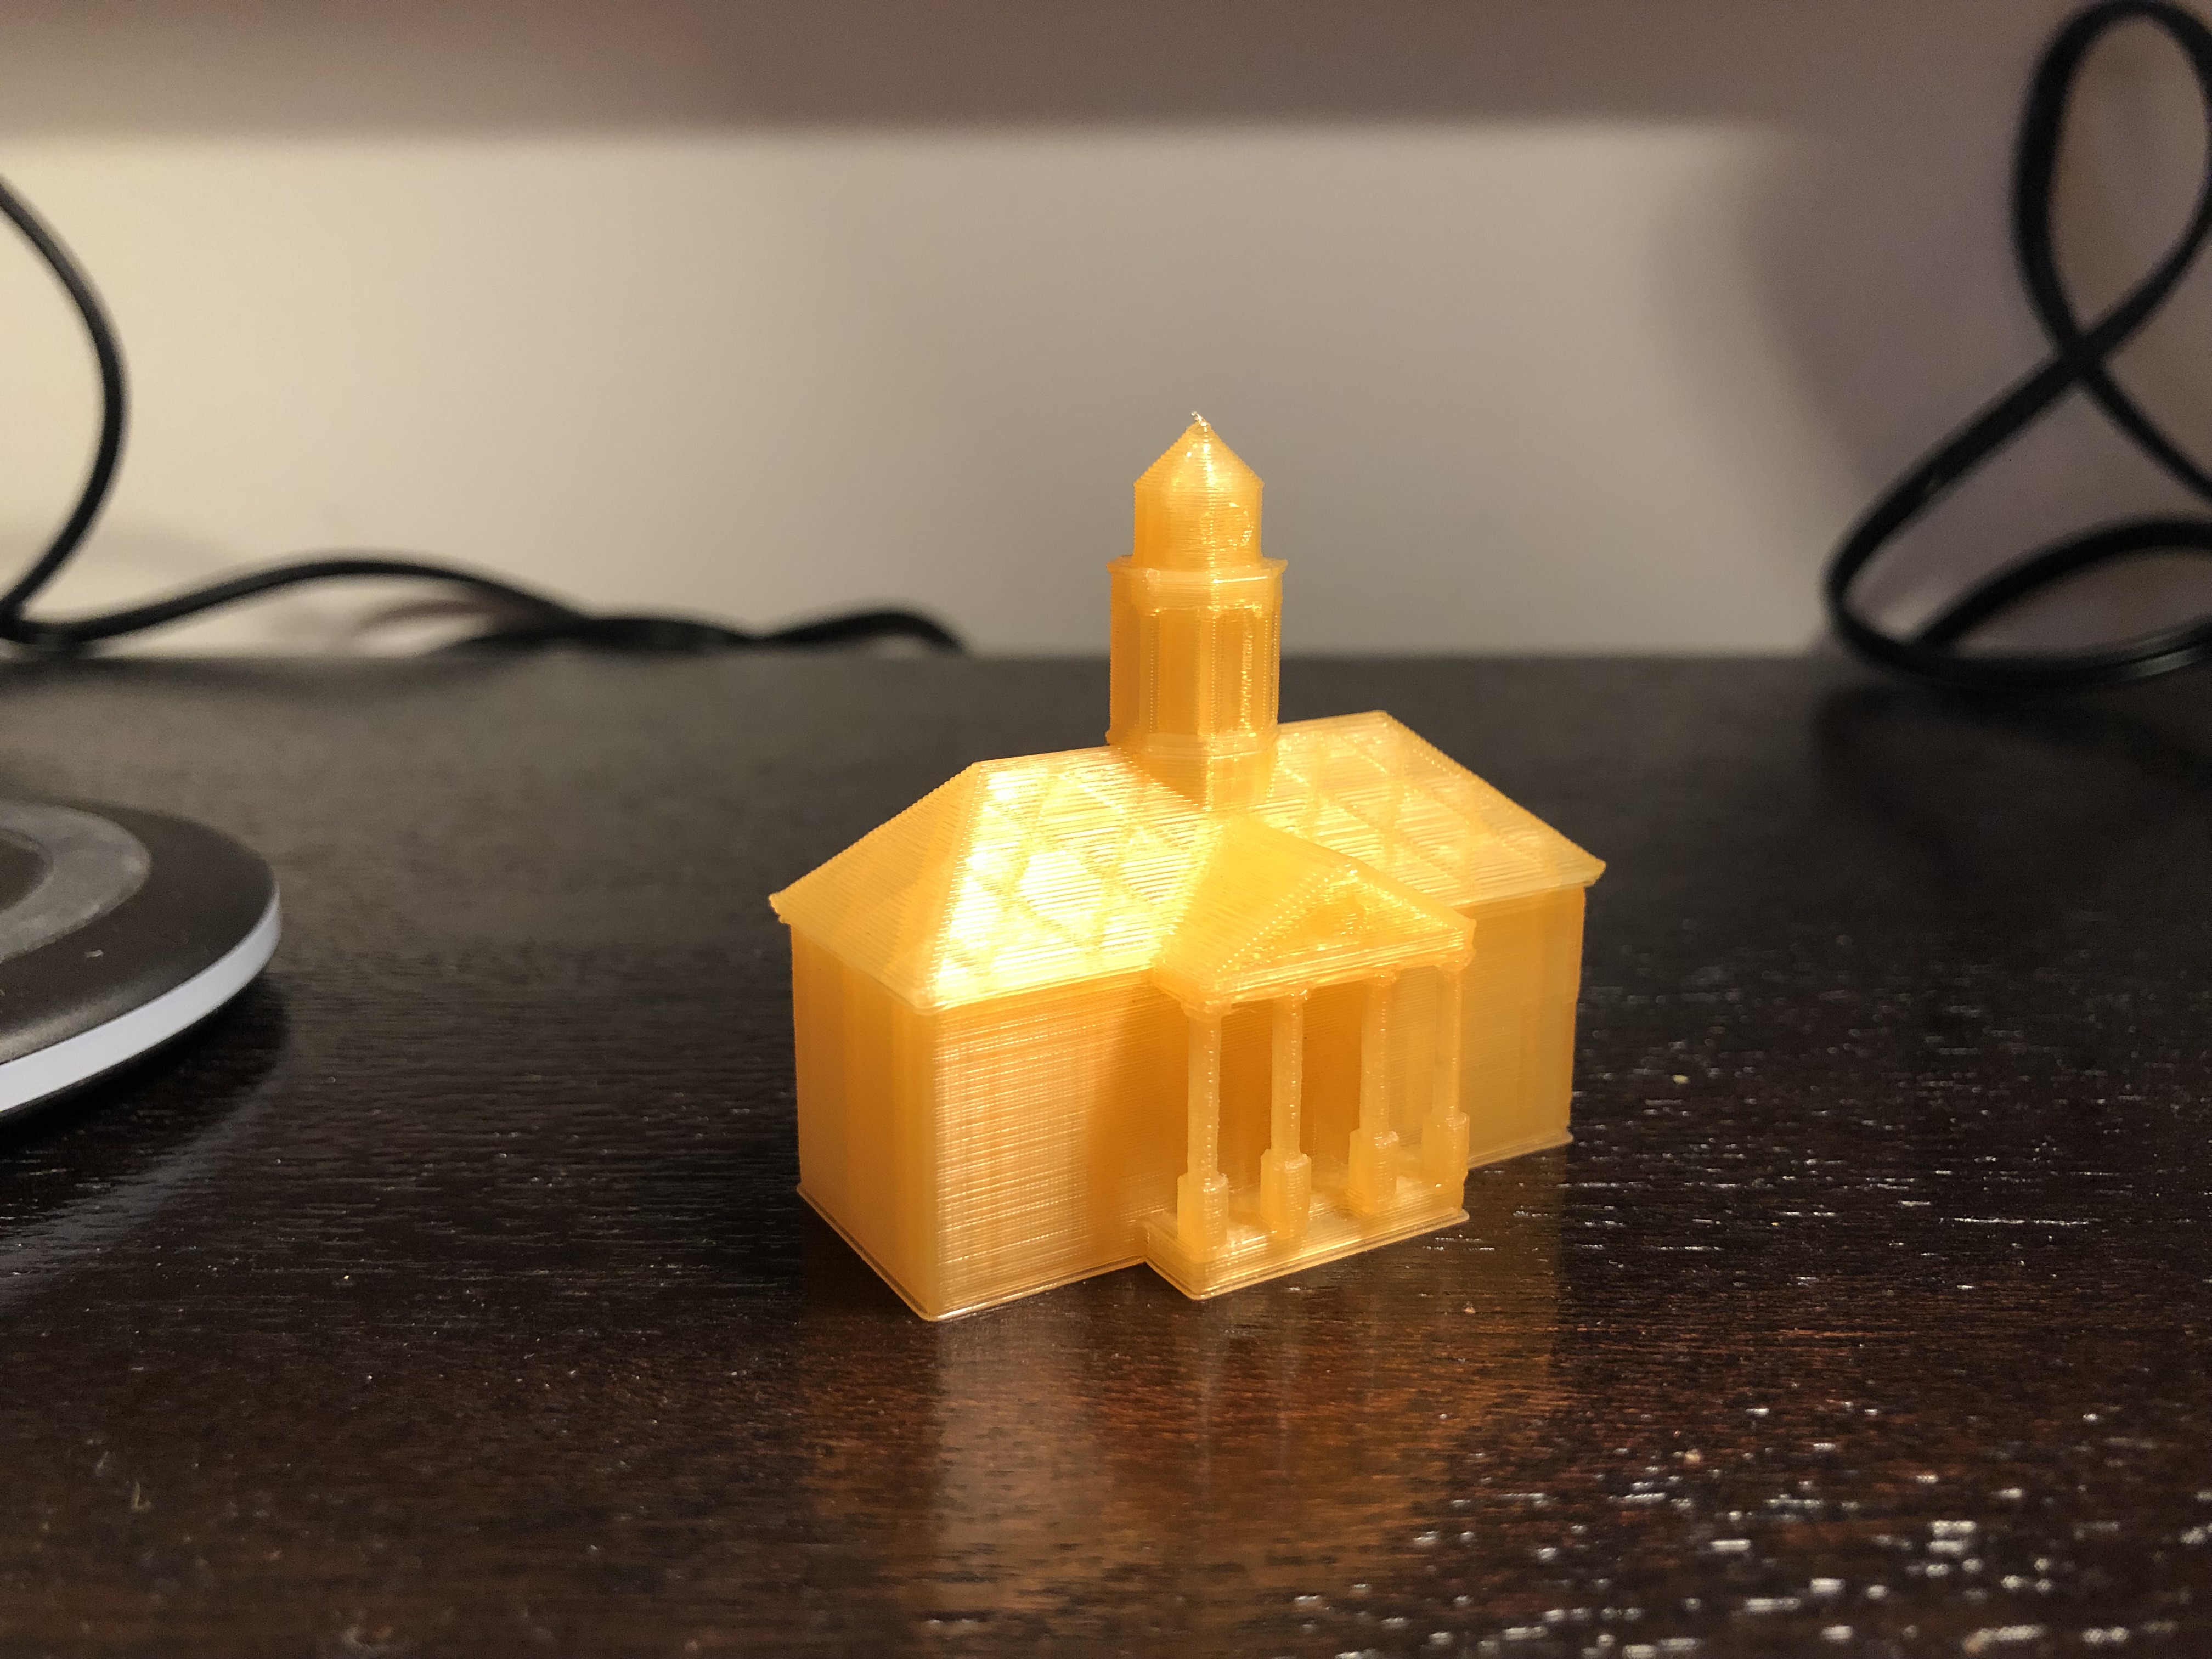
This print on JMU’s Wilson Hall came out wonderfully. I had no issues with printing this object, and it actually came out better than I thought it would. The printer gave me no trouble, and it even printed some very small details on the building like the pillars and the ridges on the clock tower. Overall, this print was a great success, as the final product is came out to be even better than I was expecting.
https://www.thingiverse.com/make:594867
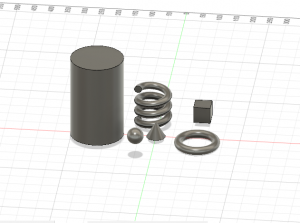
20 Forms in Tinkercad
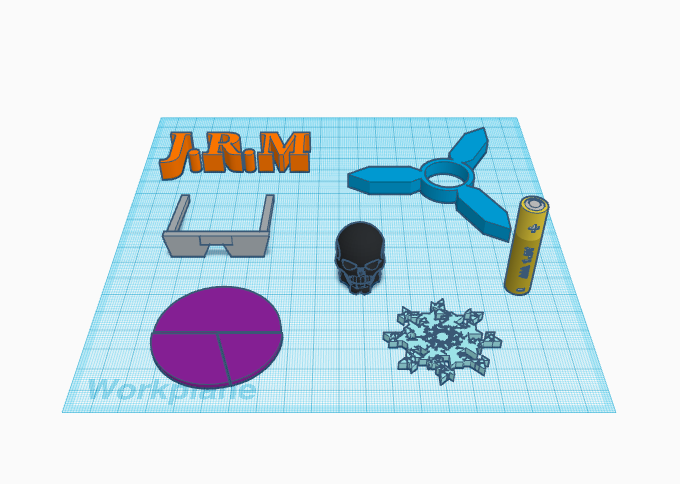
1 J.R.M: For this, I used the text tool and put in my Initials, J.R.M., Jackson Robert McKean, and I adjusted the scale slightly and made this print my favorite color, orange.
2 Fidget Spinner: This was an available print already made, however I adjusted the scale to make it the right size for a ball bearing that I have so I can make an actual fidget spinner with it.
3 Sunglasses: Sunglasses are one of my favorite things to wear and buy, so I thought it would be cool use this print, which was already made, yet the height and width were adjusted to make a better looking model.
4 Skull: The skull was another pre-made shape, I just think it is really cool looking, and it looked even cooler when I changed the color to black to make it look darker and more intimidating.
5 Battery: The adjustments that I made to the battery were primarily to make it look like it is a real life battery, and it would be funny to trick my roommates with it when they are trying to find batteries.
6 Pie Chart: The pie chart needed to be adjusted in size in order to fit on the workplane, and it was cool to adjust the sizes of the three sections in the pie part to be the sizes I wanted.
7 Snowflake: The snowflake also needed to be adjusted in size in order to fit on the workplane, and I think it is a really cool design, specifically because of the tiny details that make it look realistic. I also changed the color to make it look more like a snowflake in real life.

8 Mustache: The mustache was another pre-made shape, however I changed the scaling of it to make it the same size of a real mustache, which I am a big fan of.
9 Dice: The six sided dice just something cool to have that can be used for games or just playing around. I also made it transparent because I think it looks much cooler than a solid colored die.
10 Spring platform: For this one, I took to boxes and made exact copies of them, one for the top and one for the bottom, with a spring in the middle for a little tinker toy to mess around with.
11 Ice Cream Cone: I used the parabola shape and flipped it upside down to make the cone, and then put a half-sphere on top of it to make it look like an ice cream cone.
12 Weaved Coaster: Coasters are super convenient to have to save your surfaces from stains, and this weaved square was a good option for a coaster. I adjusted the scale and weave size in order to make it look like a coaster, and act as one if I were to print this piece.
13 Raised Edge Coaster: For this coaster, I used for corner pieces, and flipped them around to form a square with the circle cut out in the middle. I then put down a very thin box as a base, and I matched its size to fit the edges that I already had.

14 Mug: For the mug, I took a cylinder and filled with the a cylinder hole that was an appropriate size. I then made the handle with the donut slice, and flipped it up right to act as a handle.
15 JMU Letters: This was made with the text features. I made it purple for JMU.
16 Pencil Holder: For the yellow pencil holder, I put down a cool looking base with a design in it, and put the open square/cylinder shape on top to make a pencil cup for my desk.
17 Fidget Spinner Tower: For this, I laid two cylinders on top of each other, with a spinner on top. This is just a cool variation of a print with the fidget spinner. It will be like a raised fidget spinner.
18 Trap Cube: For this one, I took a cube and filled it with a spherical hole. This is my own version of a penny trap.
19 Stacked Rings: To make this stack of rings, I first placed a skinny cylinder for the rings to stack around. I then laid three rings on top of each other, each one slightly smaller than the last to make a ring stacking toy.
20 Star: This was a pre-made shape, but I changed its dimensions a little bit, and I think this would be cool to use on my Christmas tree next year.
Tinkercad Print
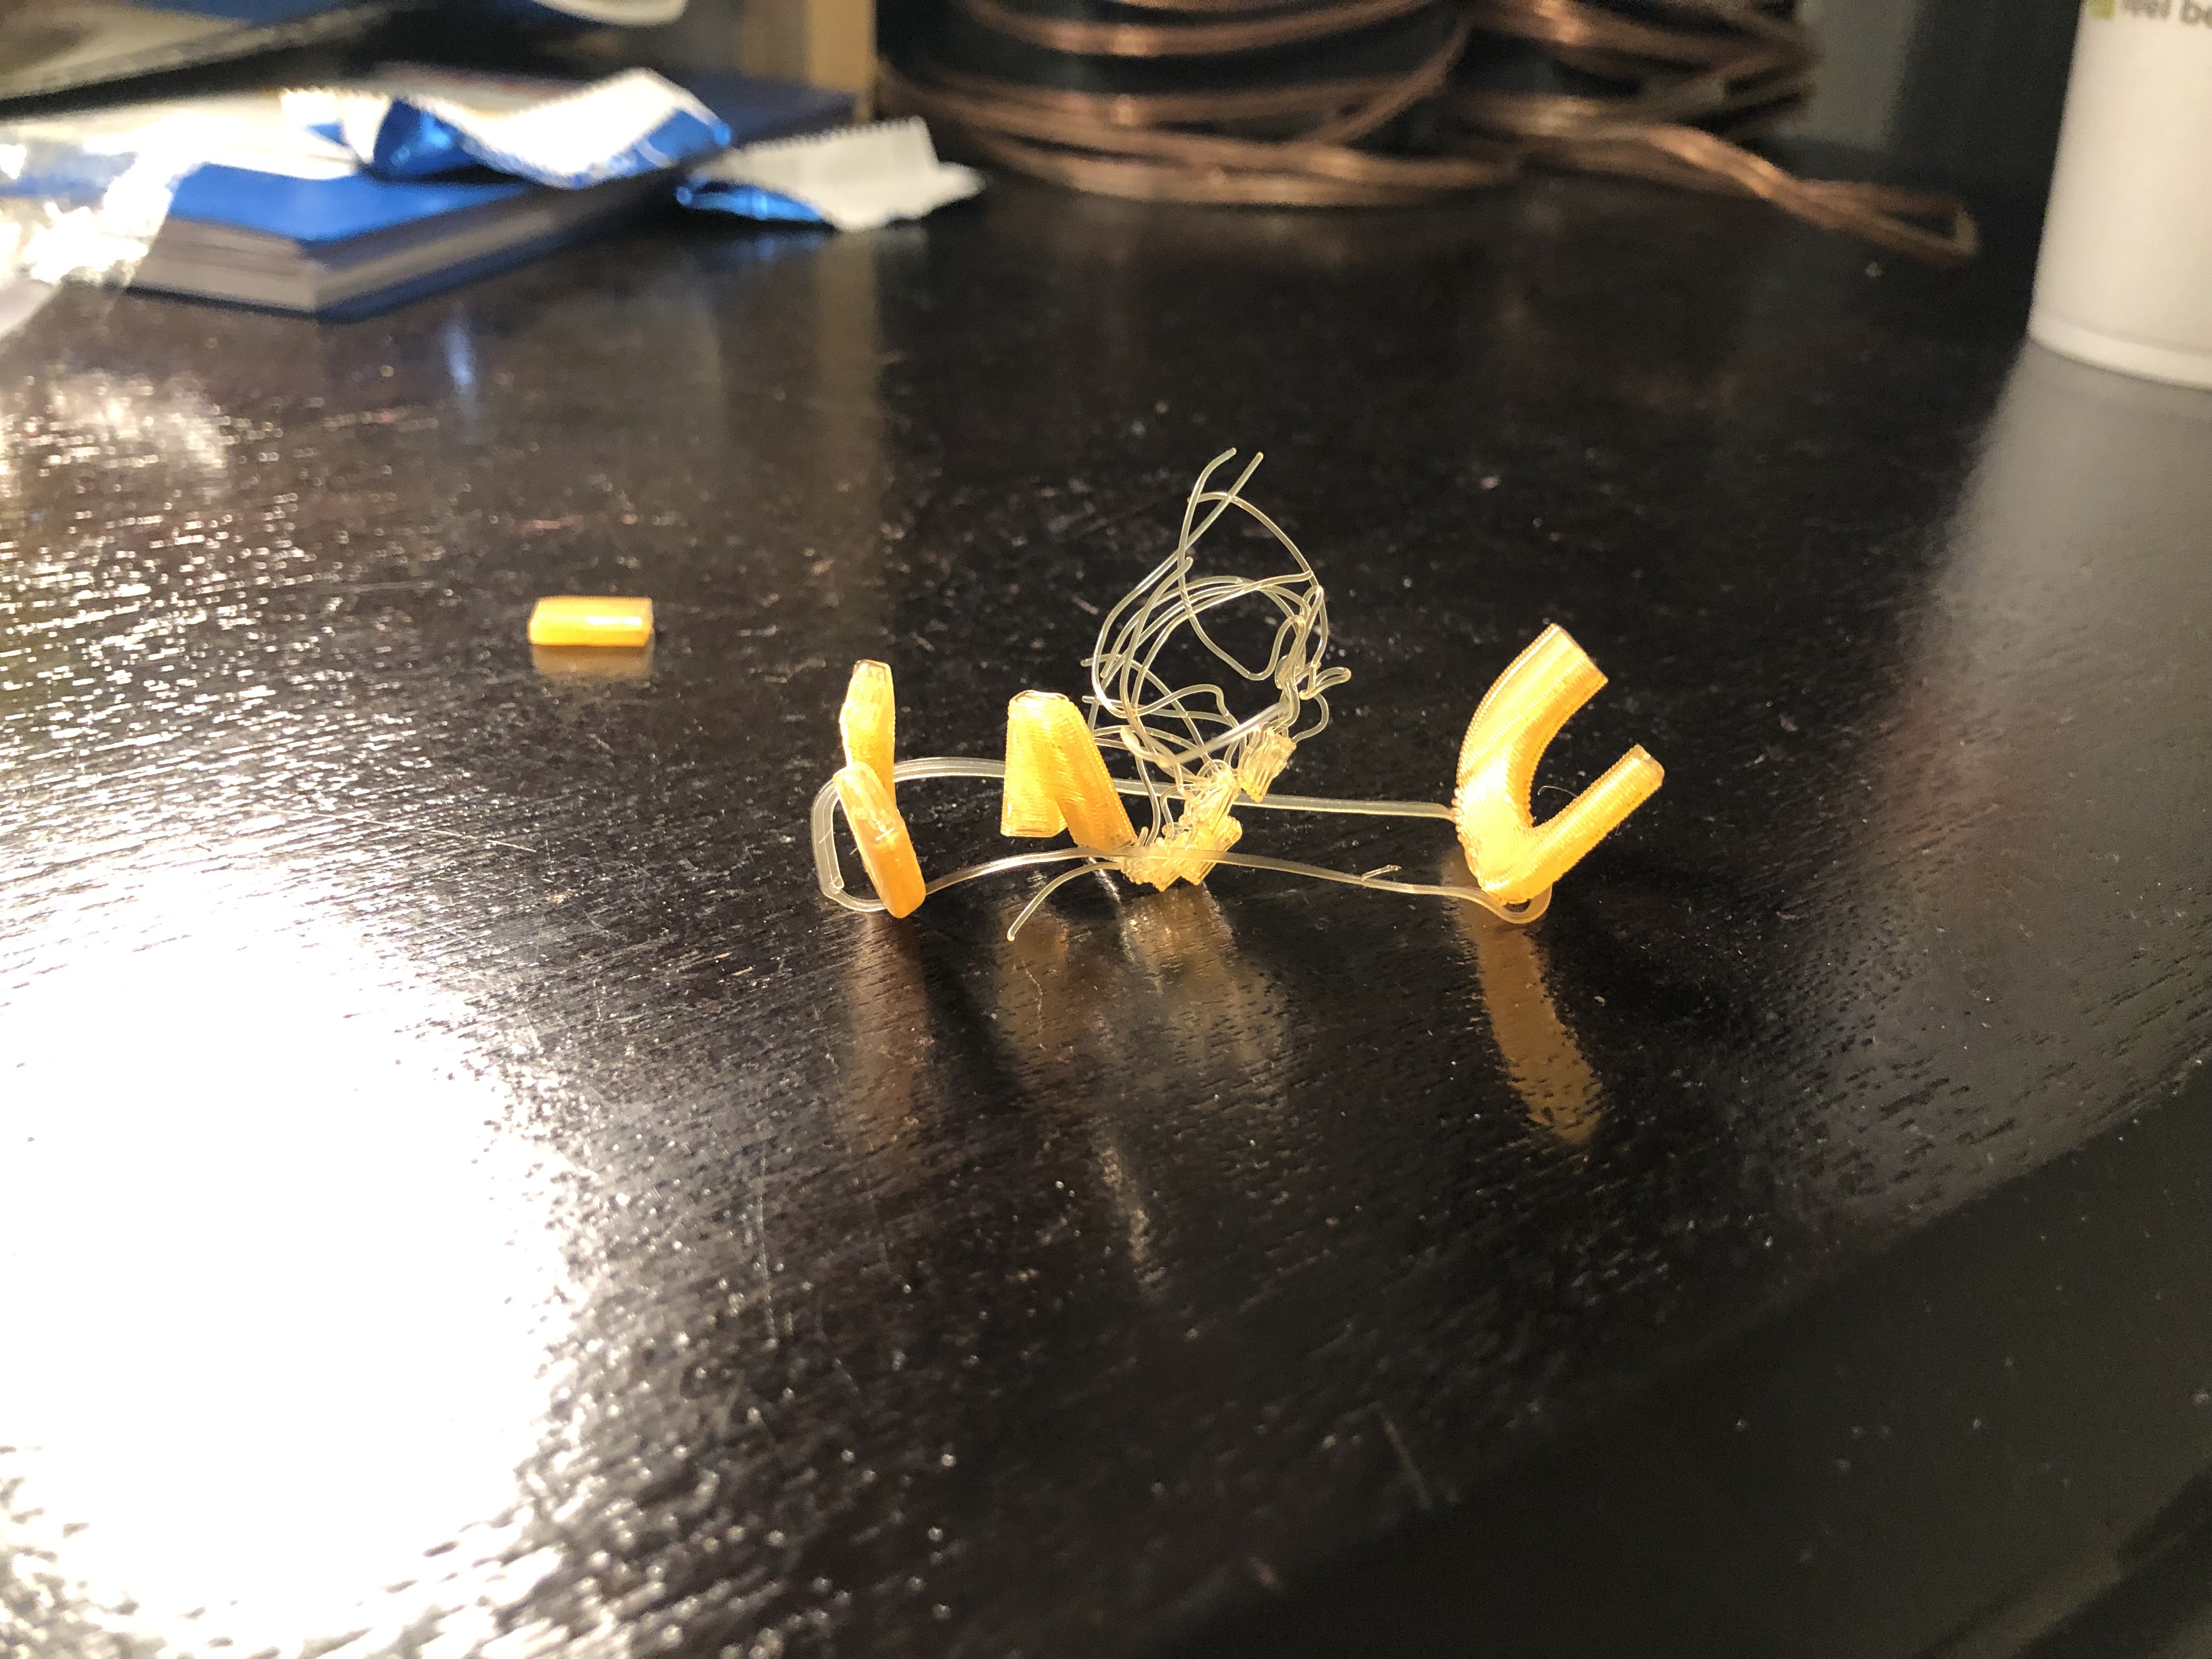
This print was the JMU curved letters from one of my TinkerCad form images. This print was a failure, as it clearly did not print out correctly. I think that this was because the individual letters were not wide enough to stand on their own, and I should have generated some support on this print in order for it to print correctly.
Summary of Group Tinkercad Project
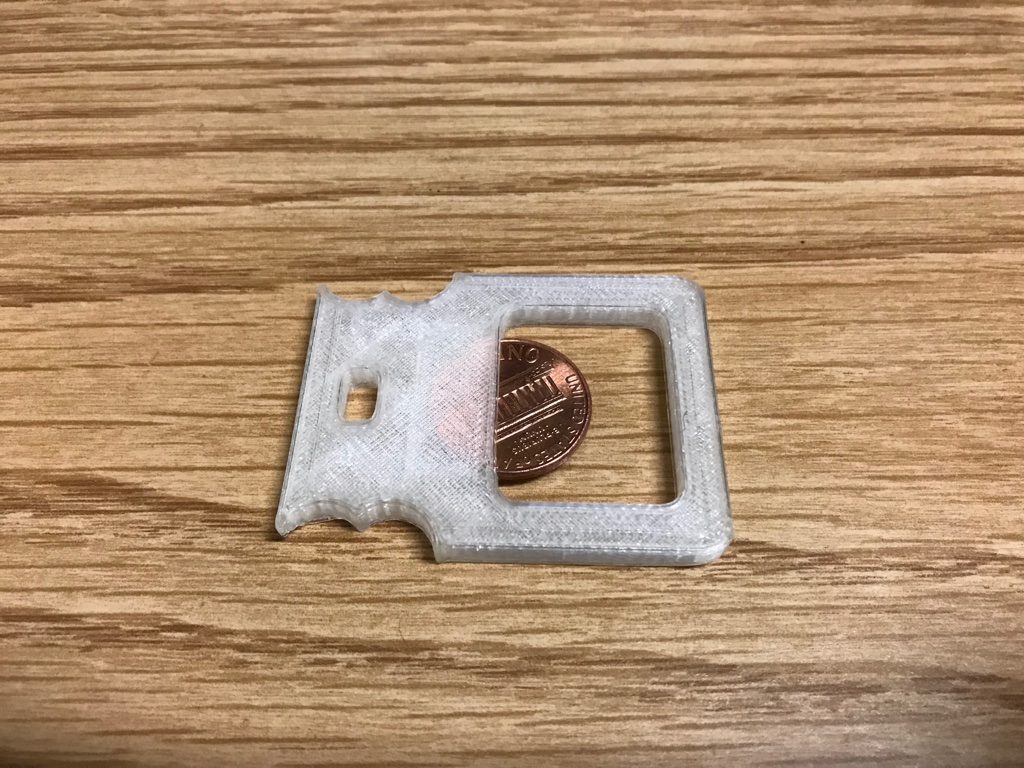
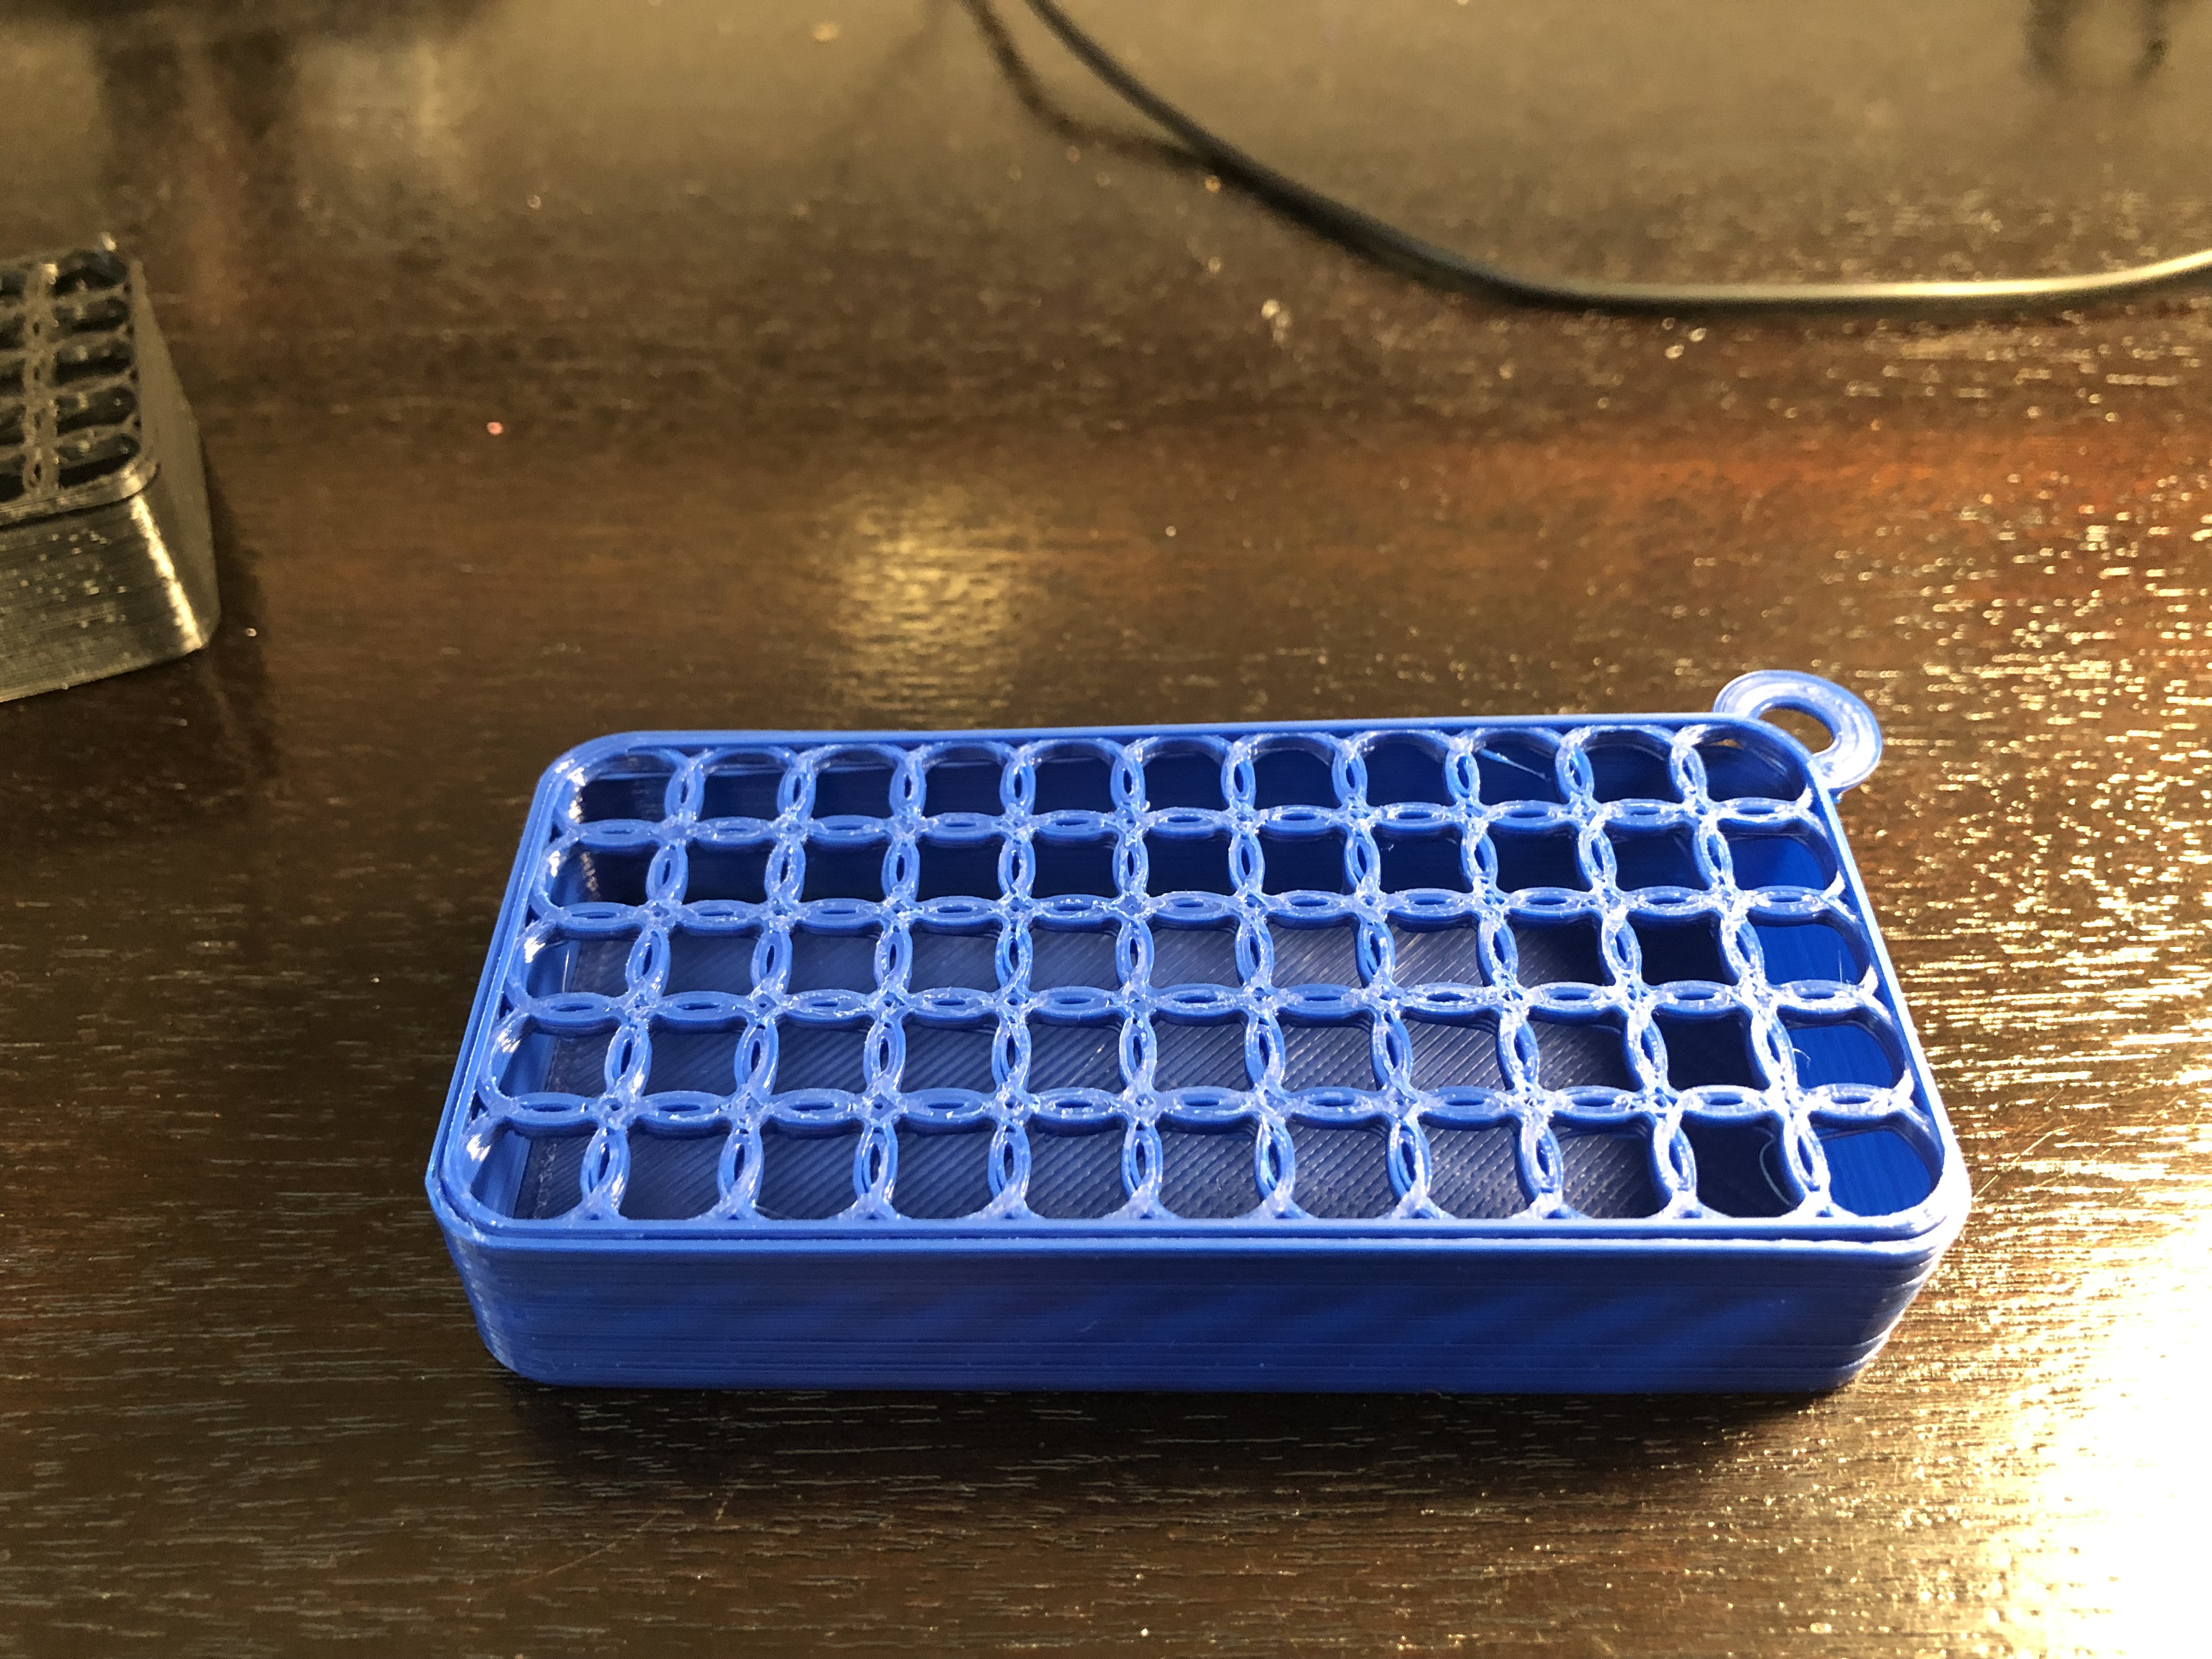
My group project was a simple Bottle Opener, and my group member was Gannon La Crouix. We originally found a similar looking bottle opener on Thingiverse, but we made a few changes to what we found online. We added the key chain ring at the bottom so the opener could be kept on a keychain if desired. Unfortunately, our final print was not strong enough to actually open a bottle, as it broke when we tried. However, we came to the conclusion that it would probably work better and be stronger if we filled in the print more. It broke at the base of the penny hole, and we hope that increasing the infill will strengthen our print and allow it to work as well as a store-bought bottle opener.
20 Forms in Fusion 360
1-6 My first six designs are all the basic shapes that were programmed into Fushion360 already. I decided to start using this new software by just getting to know the basics and creating these six shapes, it gave me a good way to mess around and learn how to use this software.

7 Cylinder Stack: These are all the programmed cylinders in the program, but I stacked a few and changed the sizes to make a stack.
8 Cube and Ball: For this one I created a cube and placed a sphere towards the top to give it a rounded top.
9 Coil Toy: For this, I just used a box as the base and the top, with a coil shape in the middle to create a little tinker toy to play with.
10 Sphere Stack: For this, I simply created two different sized spheres and stacked them to make a snowman-like design.
11 Ball in Ring: I created a donut shape and put a sphere in it to make for a cool looking decoration.
12 Cube Stack: I used two different sized cubes and stacked them to make an odd stack of shapes.

13 Table: For the table, I used a cylinder as the base, like a real table in a restaurant, and then used a box to create the top platform of the table.
14 J: I used four boxes to put this design together, which stands for Jackson, my name.
15 Stairs: The stairs are just three basic boxes stacked up with each other to make a mini staircase.
16 Cylinder Bar Graph: This is just a cool looking bar graph created with cylinders lined up next to each other in descending order.
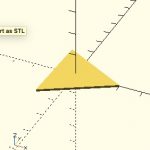
17 Pyramid Box: For this one, I just created a box, and I adjusted the point at the top to make it pyramid-like.
18 Cone Platform: For this, I created a cylinder and changed the scale and dimensions to make a near looking table/platform type of object.
19 Jagged Square: I used four long boxes to created this jagged-looking square shape. I just thought it looked cool after I was messing with the positioning of the shapes for a while.
20 Cube and Rings: This was just a box with stacked rings on it. I liked the look of it and I think it would be a pretty cool desk decoration.
Fusion 360 Print

This print actually was not on my original Fushion360 forms because my original ones failed to save onto Fushion360, so I created something different, my own take on a penny trap that I constructed in Fushion360, however, I also did not have a penny while it was printing. Nonetheless, my print came out flawlessly in my opinion. The cube and the hole in the middle look good, and overall this print was a success. Next time I print a pennytrap, I will be sure to have a penny for it.
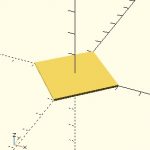
Fusion 360 Vase Design
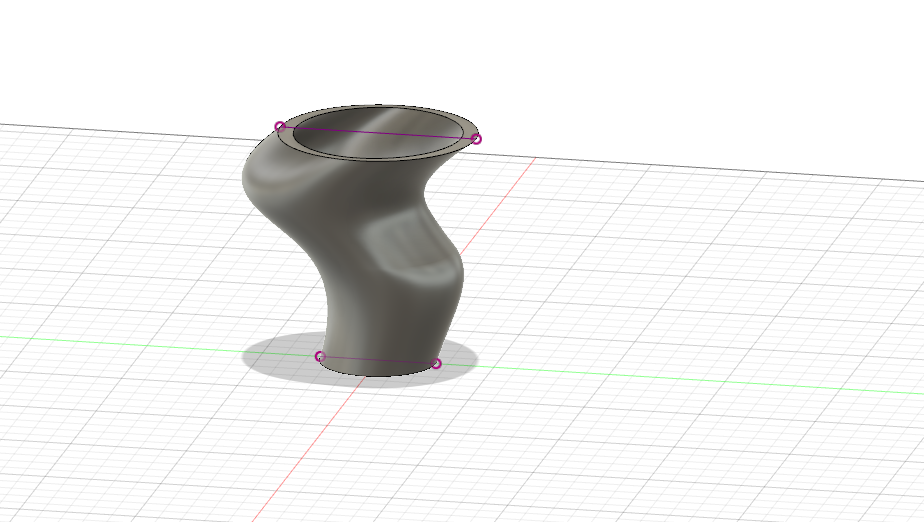

To create my vase, I first started with three offset planes, all of which were circular, however they were all different sizes to allow for an interesting vase design. From there, I added lofts to connect all three planes and make a cylindrical-type shape. After lofting my design, I designed the curvy edges to my vase using the Spline feature, which allowed me to draw my own curves and shape for the vase. Finally, I created a shell, only selecting the top plane in order to maintain a filled base that could act as an actual vase and hold water, flowers, etc. My final design strays away from the basic design in the video because my vase is not symmetrical, as you can see from the side view posted above. Rather than creating a basic looking vase that did not differ much from a normal vase, I thought it would be cool to make my own unique design that is totally different than the vase from the tutorial.
Fusion 360 Vase Prints
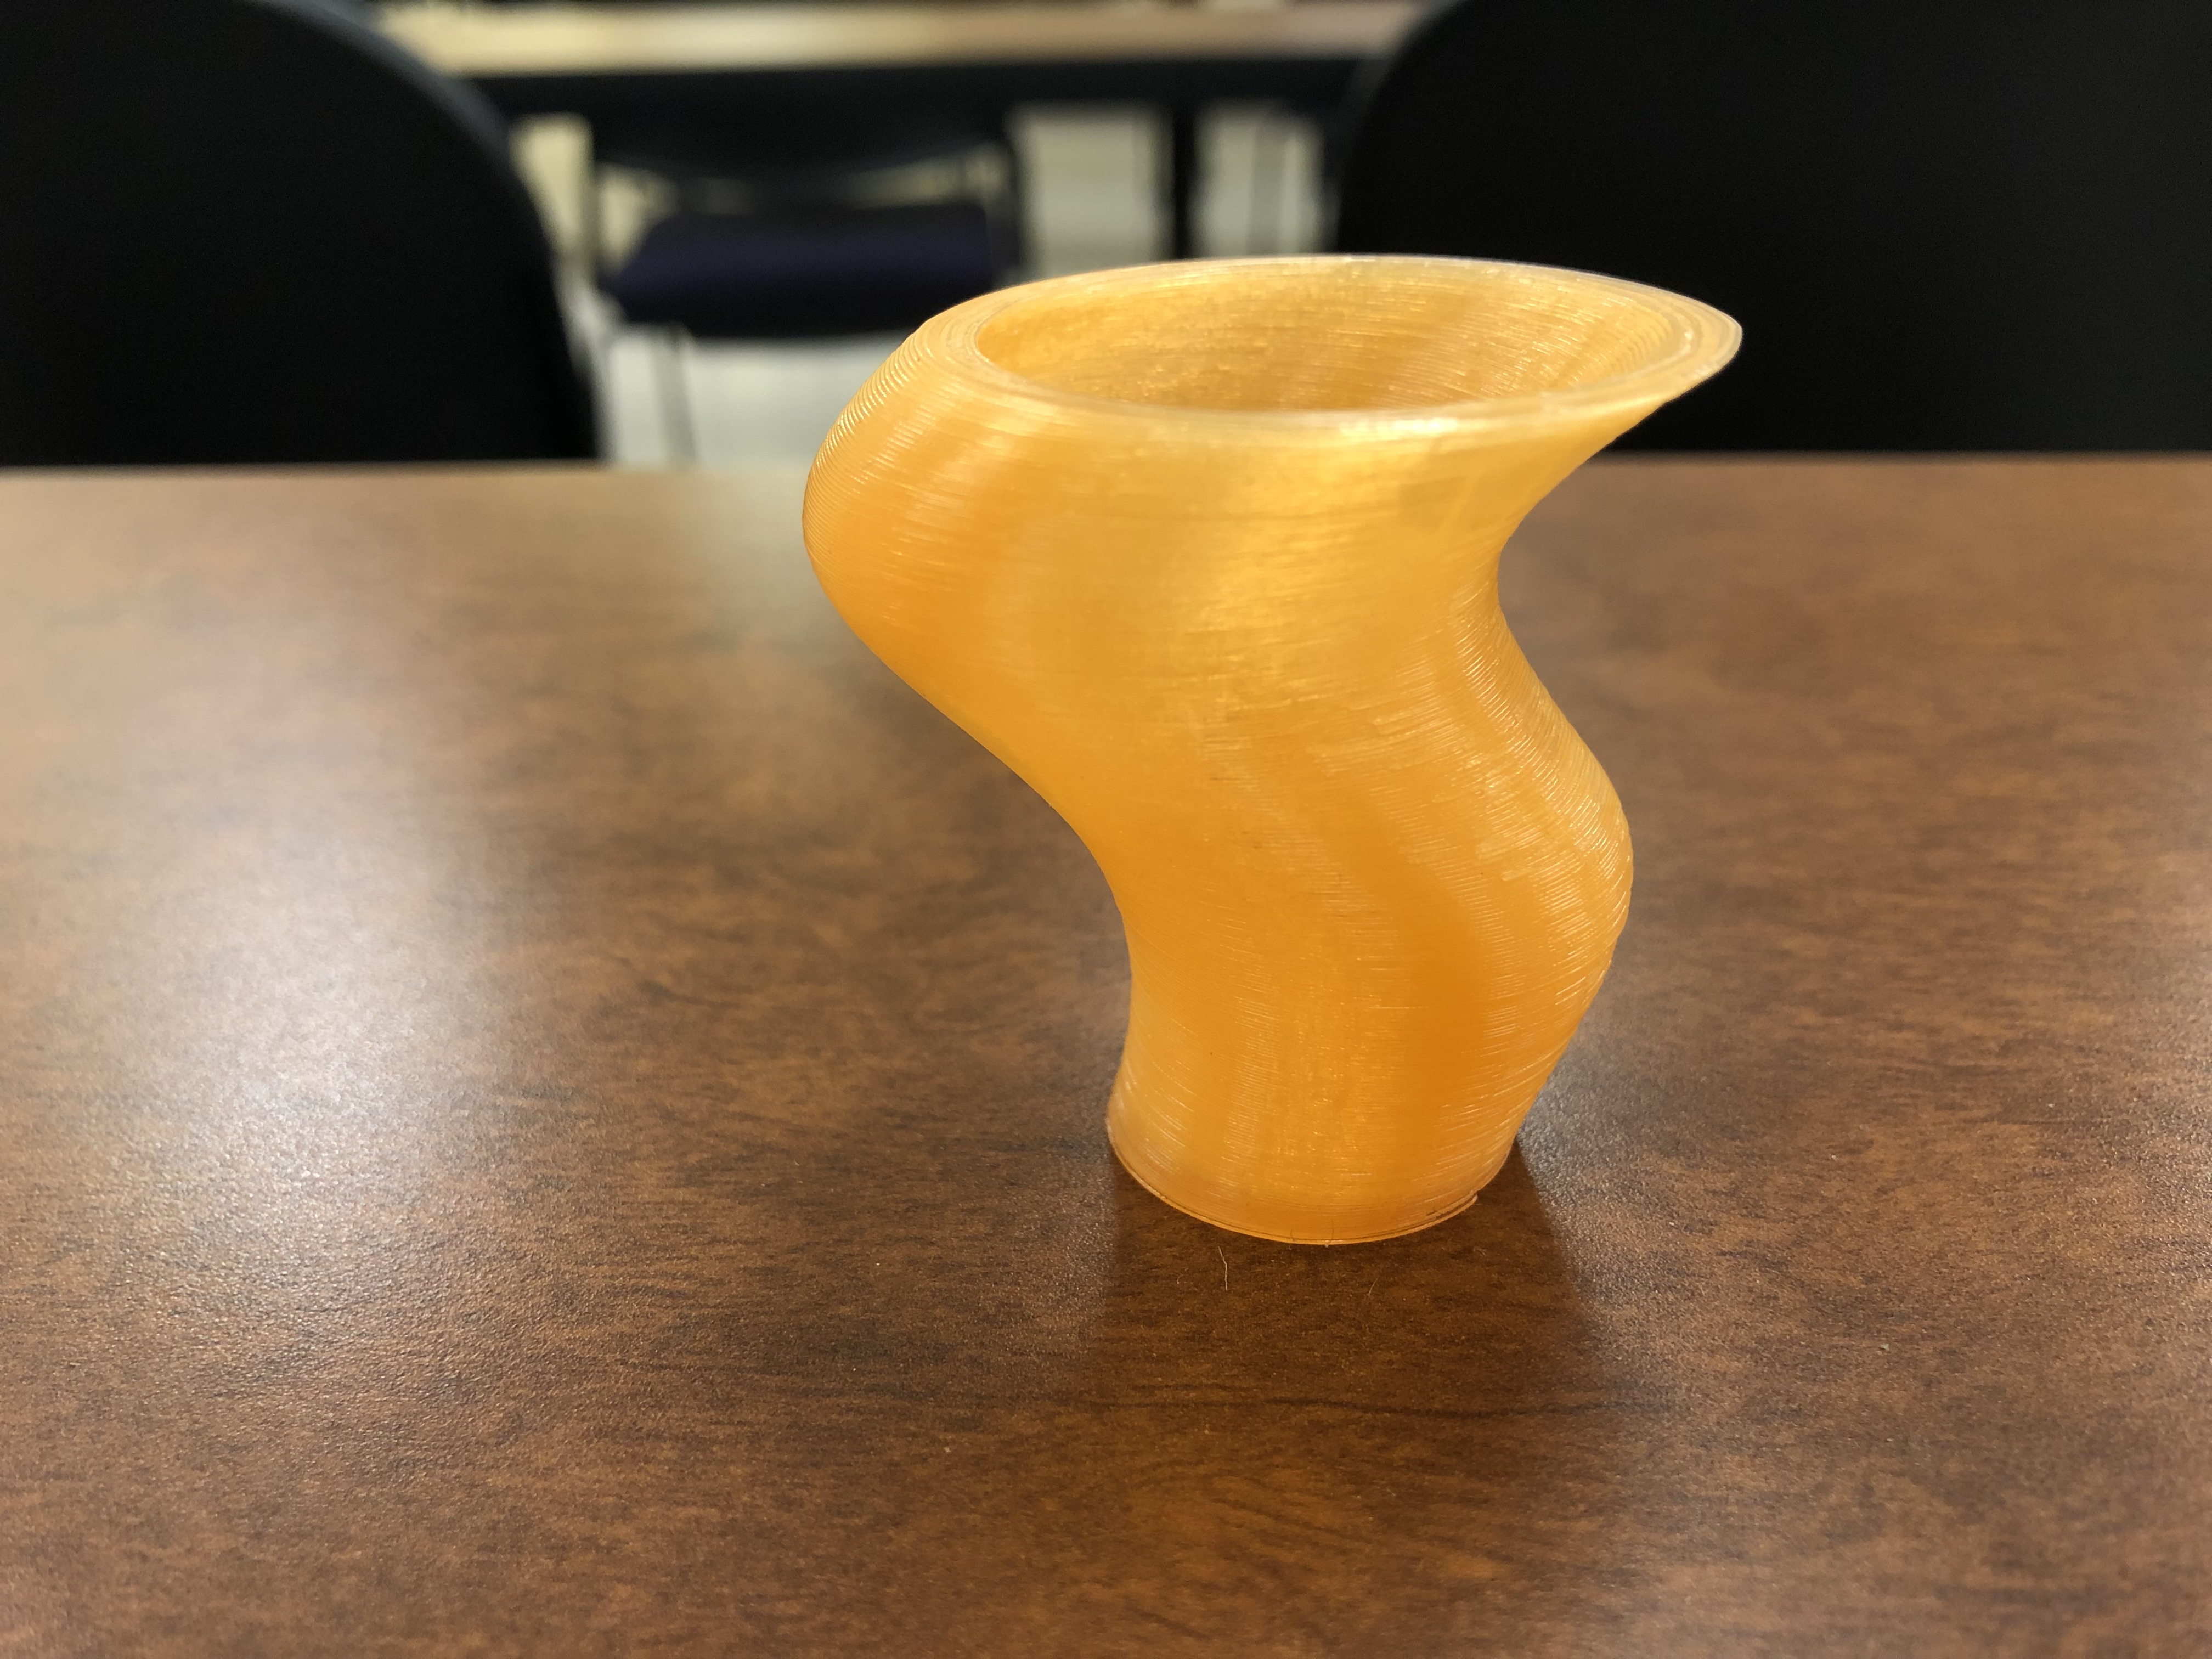
The print of my vase came our pretty well. There were no issues while printing it, and the final product came out very nicely. I think that this is a pretty cool design for a vase, however one thing that I would change if I were to print this piece again is that I would make it wider near the bottom. I would want to do this because it is pretty narrow as it gets closer to the bottom, and the inside of the vase is actually not very wide, and I don’t think it is wide enough for flowers or other items to fit inside of it. Overall, this print was a success, and the only adjustment I would make to it in the future is to make it wider as it gets closer to the base.
https://www.thingiverse.com/thing:3411327
20 Forms in OpenSCAD


- Basic Square – For the square, I first started with the basic circle shape from the video tutorials. From there, I simply changed the number of sides to 4, and the square was created.
- Basic Triangle – The basic triangle was the same as the square, however, instead of 4 sides, I put three to create the triangle.
- Pentagon Outline – The Pentagon outline started out like the other two shapes, and to create the outline I used the “difference” tool and took out the center portion of the pentagon.
- Square Outline – The square outline is the same as the first basic square shape I described, but again, I used the “difference” tool to get rid of the center of the shape.
- Triangle Outline – For this one, I followed the same steps as I did above, but with 3 sides in order to make the triangle shaped outline.
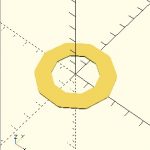
- Octagon Edge – The octagon edge I made follows the same steps as the outlines above, but to make a thicker edge, I used the thickness tool to widen it and make more of a ledge.
- Square Edge – This follows the same design steps as the octagon edge, although it has 4 sides instead of 8, and the thickness of the shape is slightly smaller.
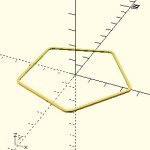
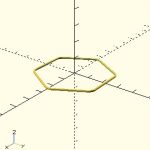
- Hexagon Outline – This design has the same design process as all the other outline, but it has 8 sides.
- Basic Circle – For the circle, I followed the steps in the tutorial videos to help me get a feel for this software.
- Basic Pentagon – This used the same design process as the circle, but with 5 sides instead of 0, which gives it the pentagon shape.


11. Hexagon Extrusion – This takes the same design process as the basic hexagon shape, and to extrude it, I used the linear extrude function that created the 3D shape.
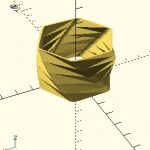
12. Hexagon Twist – This is the same as the design described above, but to twist it I used the bodyTwist function to create the spiral-like shape.
13. Triangle Spiral – This one was pretty cool to me as it looks like a spiral staircase, and it is just a triangle that I extruded and twisted a great deal.
14. Triangle Twist – This has the same features as the triangle spiral, however, I gave it less of a twist so it would not be as spiraled as the other one.
15. Pentagon Twist – The pentagon twist is the same as the other twists, with 5 sides, and a higher degree of twist than the triangle and hexagon.
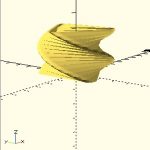
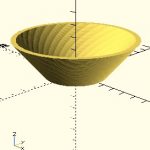
16. Twist Bowl – For this I created a circle outline, and then used the bodyflare tool to create the bowl shape with the twist in it.
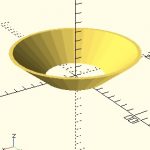
17. Regular Bowl – This one was also a regular circle outline that I flared to make the bowl with no other elements to it.
18. Square Bowl – This was created by using a square outline and the flare tool to make it wider at the top and give it the bowl shape.
19. Triangle Bowl – I started with a triangle outline and simply flared it to create the bowl structure.
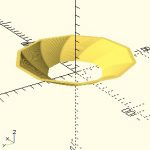
20. Octagon Bowl – This started with the basic octagon shape, which I than made into an outline, and then added the flare tool to make the 3D bowl shape
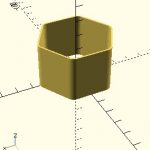
OpenSCAD Print
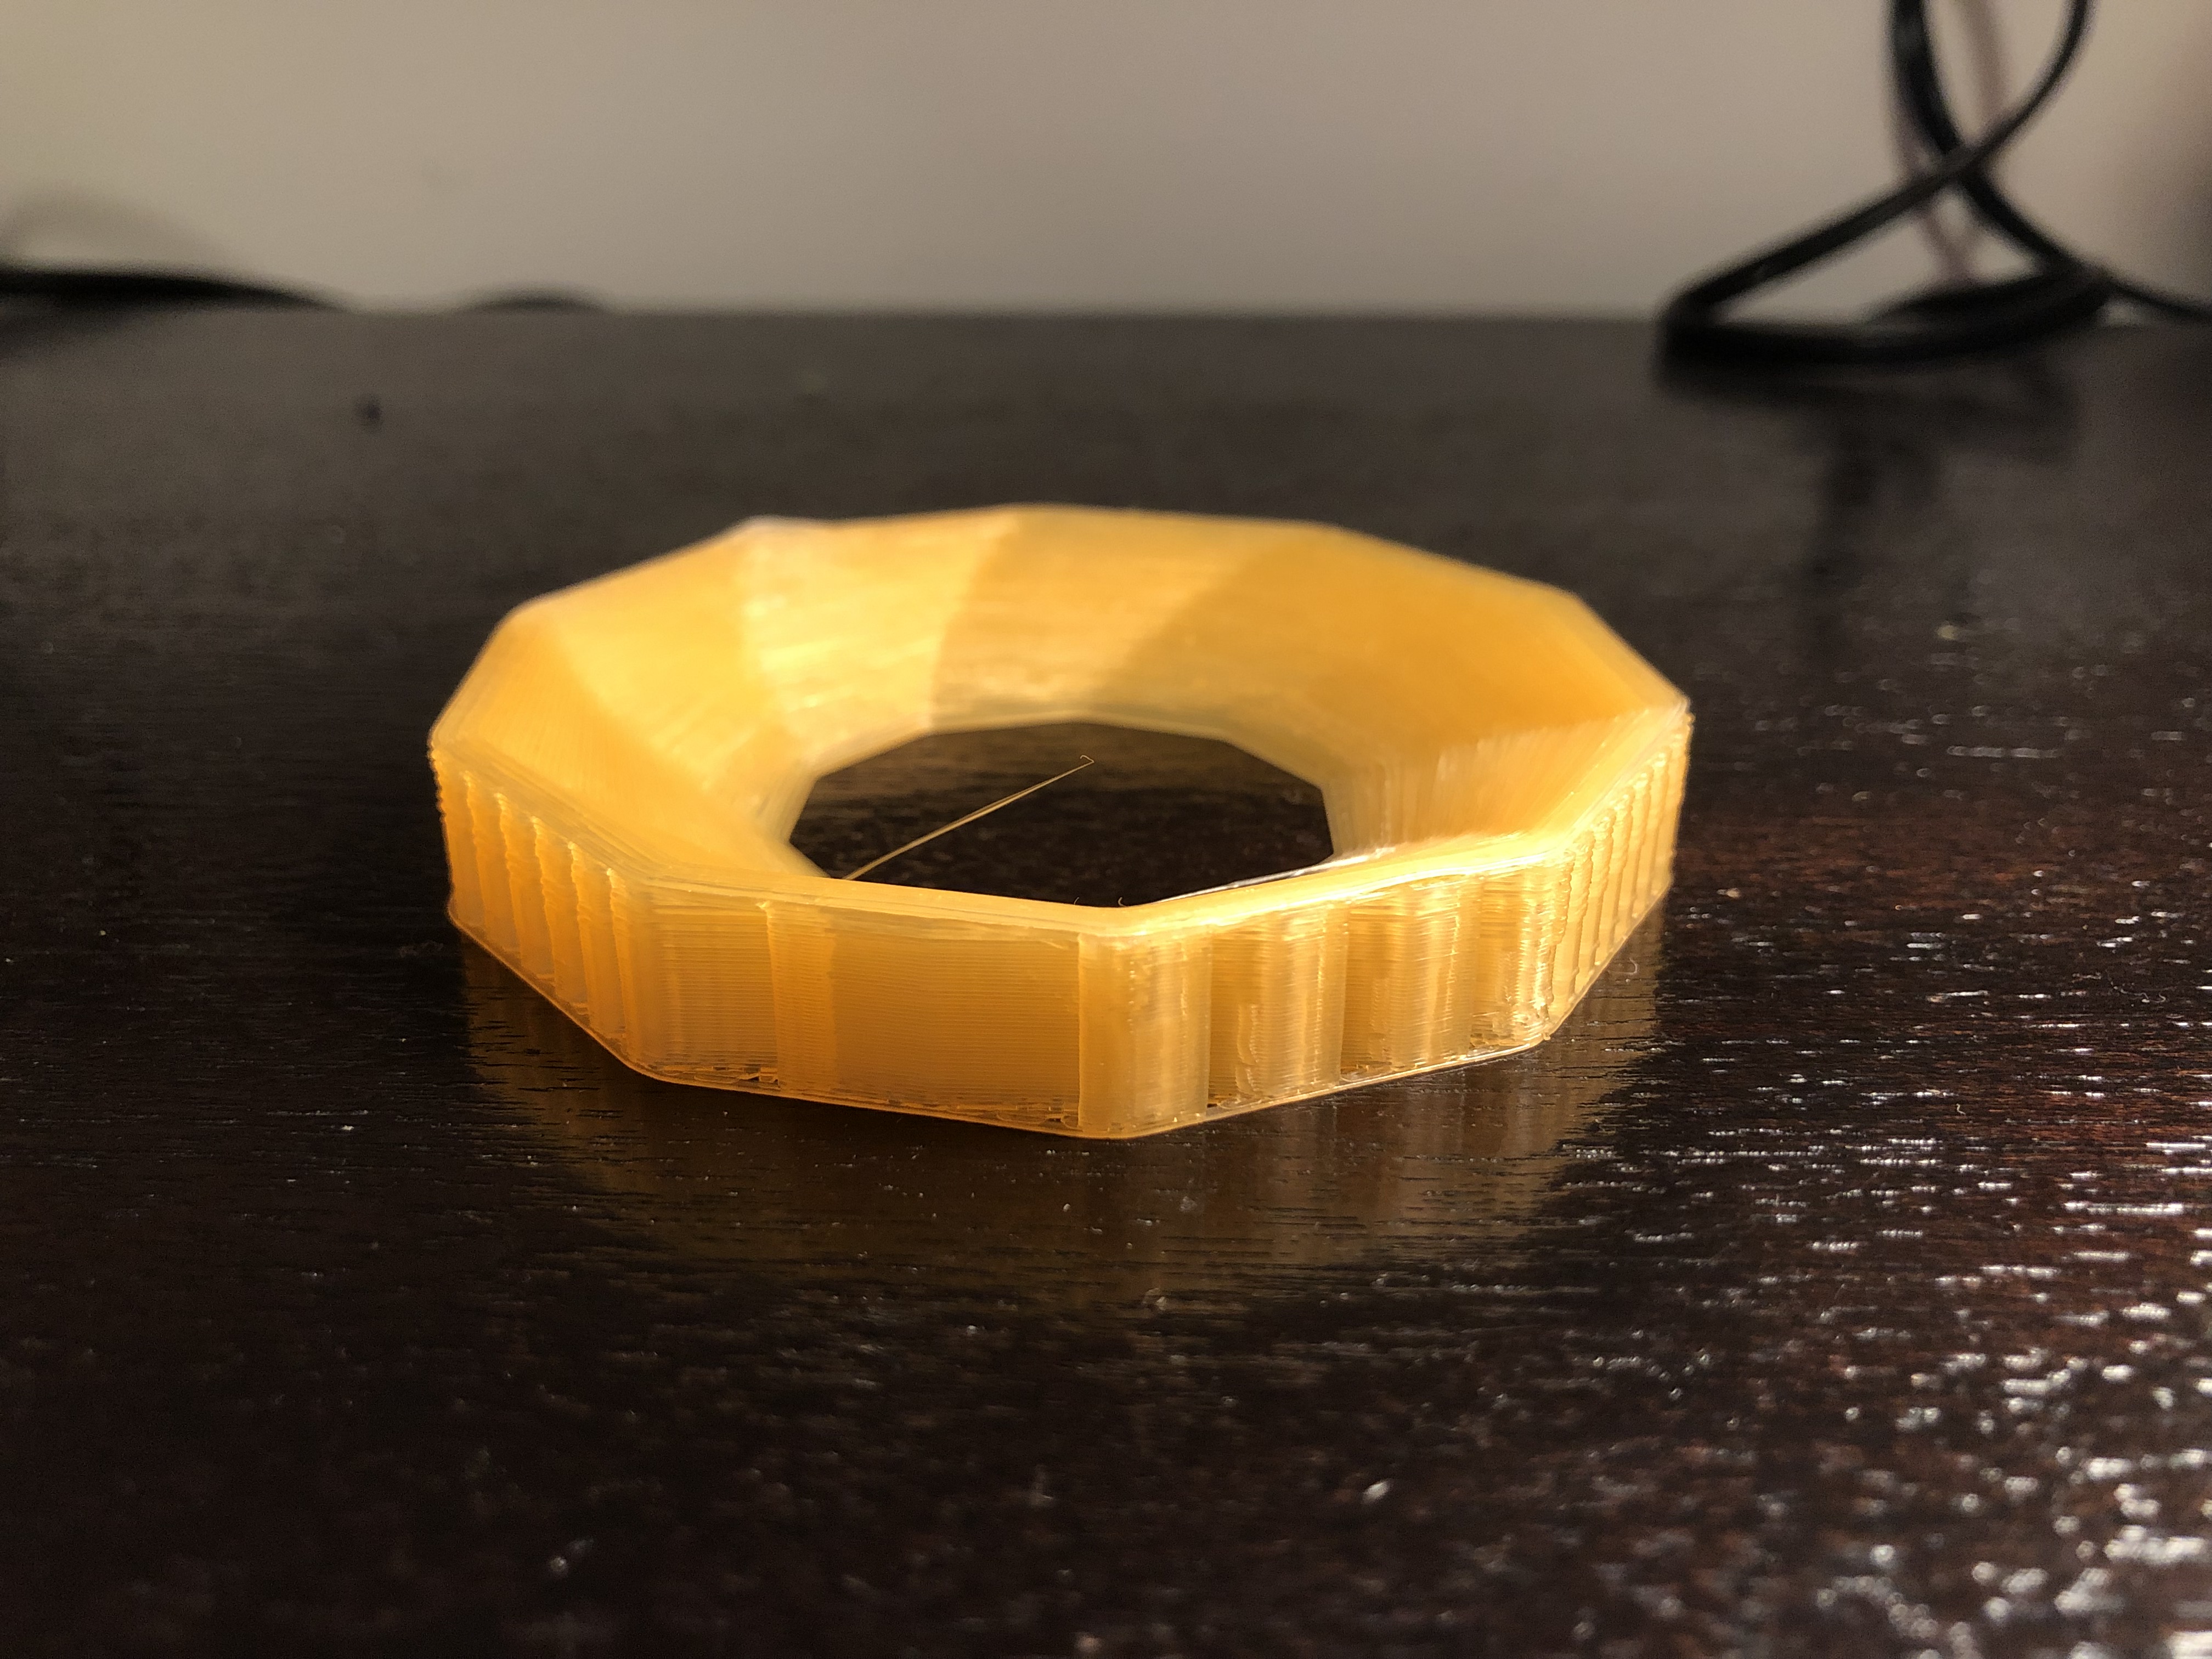
For my first openSCAD print, I decided to print this raised, hexagon shaped bowl structure. It came out really well, and now that I see it actually printed in person, it looks a bit like a stadium to me. I had no problems while printing this piece, and if I were to print again, I would print it with a closed bottom rather than leaving it open. Although openSCAD was tough to get a hang of at first, once I got my bearings straight it was fun to play around with and create designs like this, and overall, I would say this was a successful print.
Summary of Group OpenSCAD Project
My group for the OpenSCAD project was myself and Gannon La Crouix, and our project was the Customizable Soap Tray. Overall, I would say the OpenSCAD was the most difficult software that we used in this class. It took me a little while to figure it out and get used to how it works. We worked pretty hard on this project, and it took a decent amount of time for us to come to a solid final product with all the features that we wanted in it, like the handle in the corner that we added as a final touch. After seeing our final print, I am pleased with the way that this project turned out. It was a lot of work and confusion, but we finally figured it out and ended up with a quality final product that could be used in real life as a soap tray.
https://www.thingiverse.com/thing:3454620
Reflections and Future Projects
Overall, I would say that I thoroughly enjoyed this 3D printing course. It was really interesting to learn about 3D printing and all of the amazing things that people can do with it. I enjoyed learning all three of the softwares that we used in class, and I think that with each new software that we used, my prints began to get better and better. My first prints were very basic when used Tinkercad, and as we moved onto Fushion360 and OpenSCAD, they became more complex and I felt as though I was more able to make the designs what I really wanted them to be. Even my failures were good, because I would find out what went wrong, and I would go back and adjust something as simple as a raft in order to fix it and have a solid final print. This was a very interesting and fun course to take, and now, at the end of the class, I am very happy that I took this specific course.
Some things that I have thought about printing in the future are things that can be utilized around the house. I have thought about things like shower curtain rings, spatulas for the kitchen, and small things like hooks for the wall. I think that 3D printing will be a big part of our future, and it should used for practical things like household items that everybody needs. I also think that there is something really neat about creating your own objects and items that you use around the house. Its cool to show people what I have made and actually use it in real life, and that is what I plan to do in the future with my new 3D printing skills and ability.