Hello

Hi everyone, my name is Chesley Hayward. My name is commonly mistaken for Chelsey because of the slight spelling change; don’t worry, I won’t get offended! I am from the town of Midlothian, Virginia which is about 20 minutes outside of Richmond.
Some things to know about me are I am a Health Services Administration major with a Minor in General Business. I’m a sophomore here at JMU and it has been my greatest decision yet. I love Daschounds, I have a major sweet tooth, and I am a borderline shopaholic. I have absolutely no experience with 3D printing but I am anxious and eager to learn about something so innovative and have exposure to coding. I’m excited to get to know the 3D printing ropes as well as getting to know all of you in the short 8 weeks we have together!
https://www.thingiverse.com/haywarca/about
Thingiverse Model
Title: The Moon
Designer: Dexter_New_Materials
Link: https://www.thingiverse.com/thing:1014620
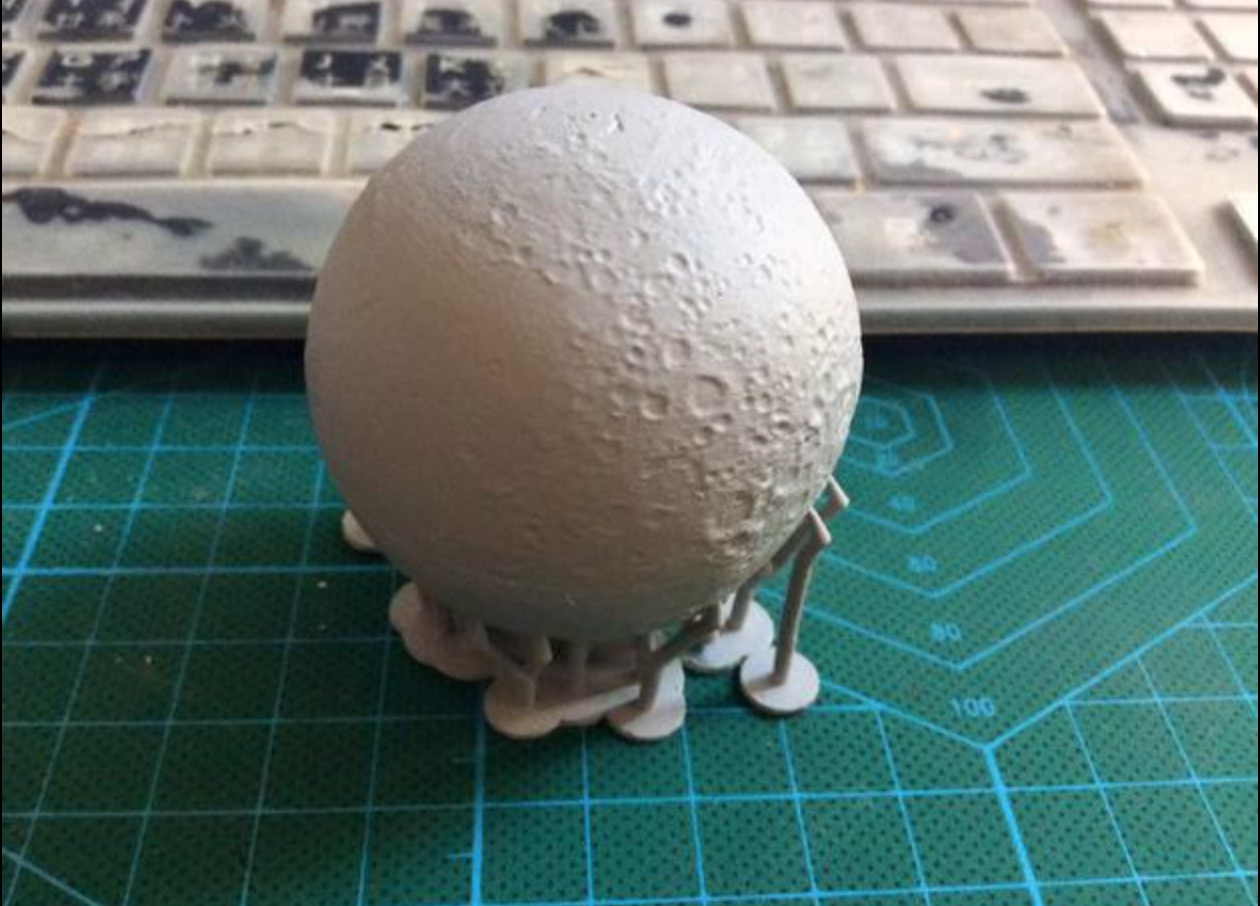
I chose to pick a replica of the moon. Something that has always interested me has been the night sky. I feel like this could be a cool thing to successfully print because as cheesy as it is this would be the closest I ever get to touching the moon!
Thingiverse Print

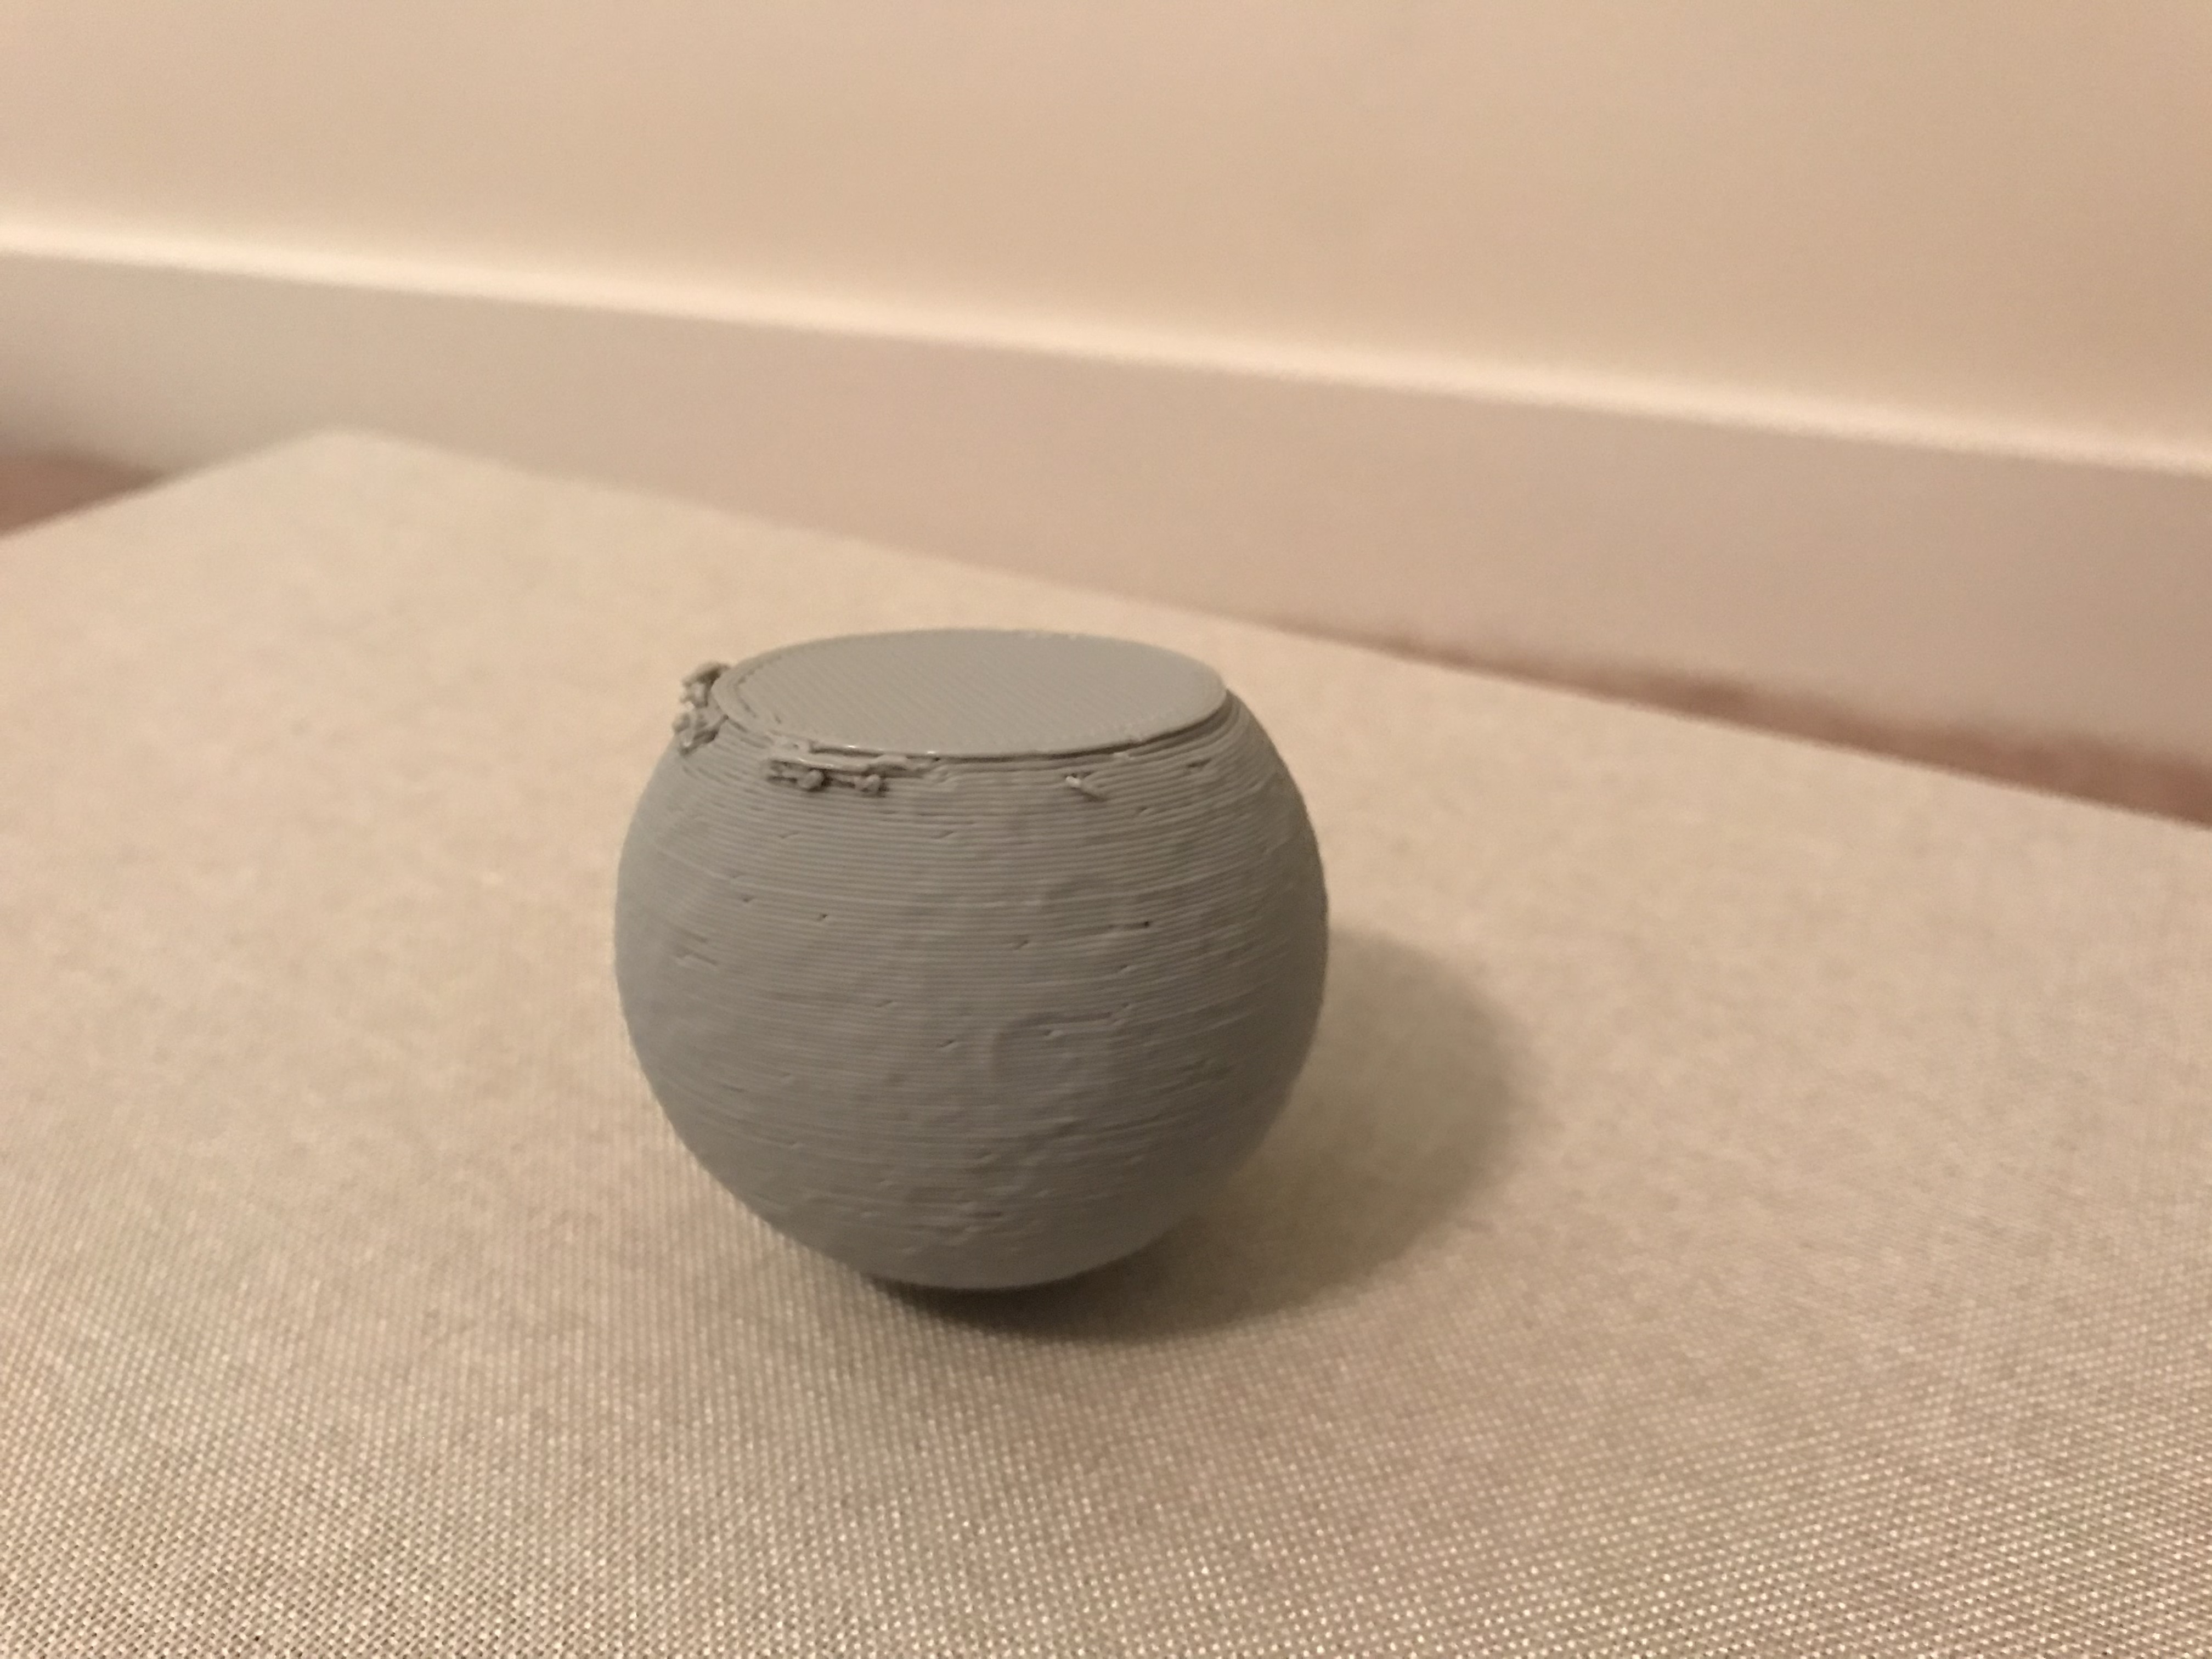
I believe my print was a failure. Although it managed to spectacularly match the craters and more than half of the sphere, the base support was too flat for something so round. Even though the print wasn’t complete, the print is still pretty cool and it has a nice flat base for display. You win some you lose some!
https://www.thingiverse.com/make:592082
20 Forms in Tinkercad
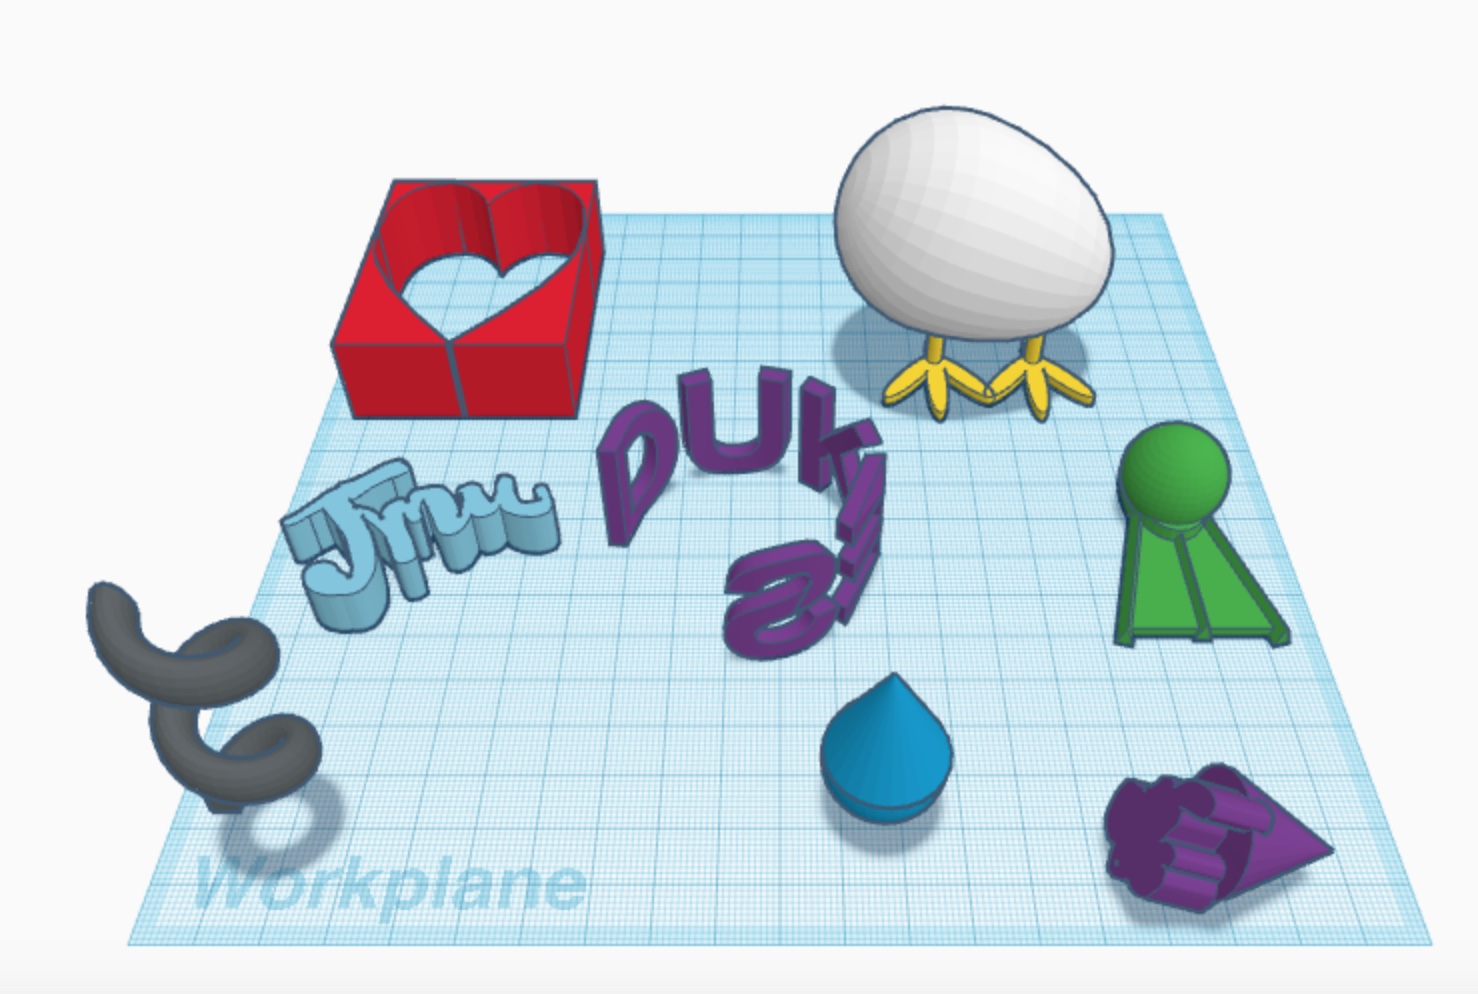
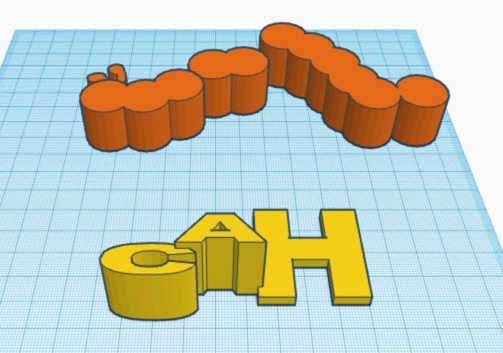
My imagination was hard at work for this assignment. I think my favorite little tinkercad project is the egg with chicken legs popping through, an interesting take on what comes first? The Chicken or the egg. Next, I have a few music images, the first is “lets be still,” one of my favorite songs and bands are “Lets be Still,” by The Head and the Heart. The band is based outside of my home town and it was the first concert I had ever seen front row! It will always be near and dear to my heart, that is also why I included the music note scribble.
In the first screenshot, I attempted to make a melted ice cream cone, sadly it failed but I decided to make a spin on the already printed cone with a mustache. For the majority of my images, I wanted to practice making holes as well as grouping/ layering each shape.
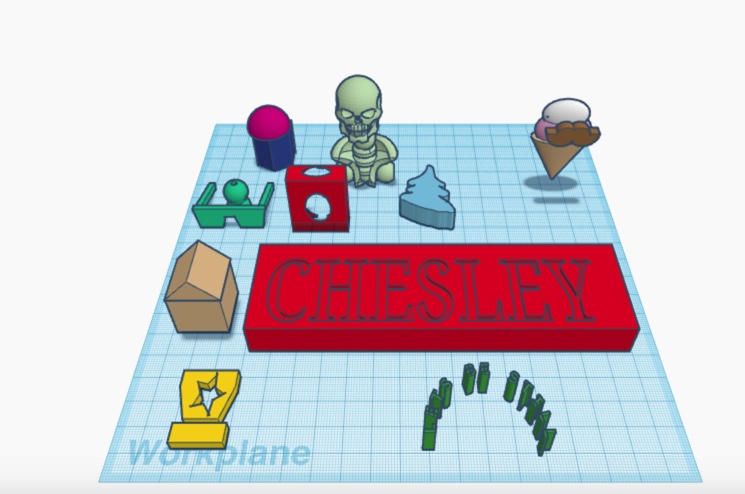
On the second image, I thought it was cool how I could assemble my own skeleton! Secondly, I attempted to scribble a Christmas Tree in attempts to hold onto my lingering Christmas spirit. The exclamation point with the star cut through reminded me of an old fashioned sheriffs badge.
In the third image, I decided to layer and group my initials and a squirmy caterpillar!
Tinkercad Print
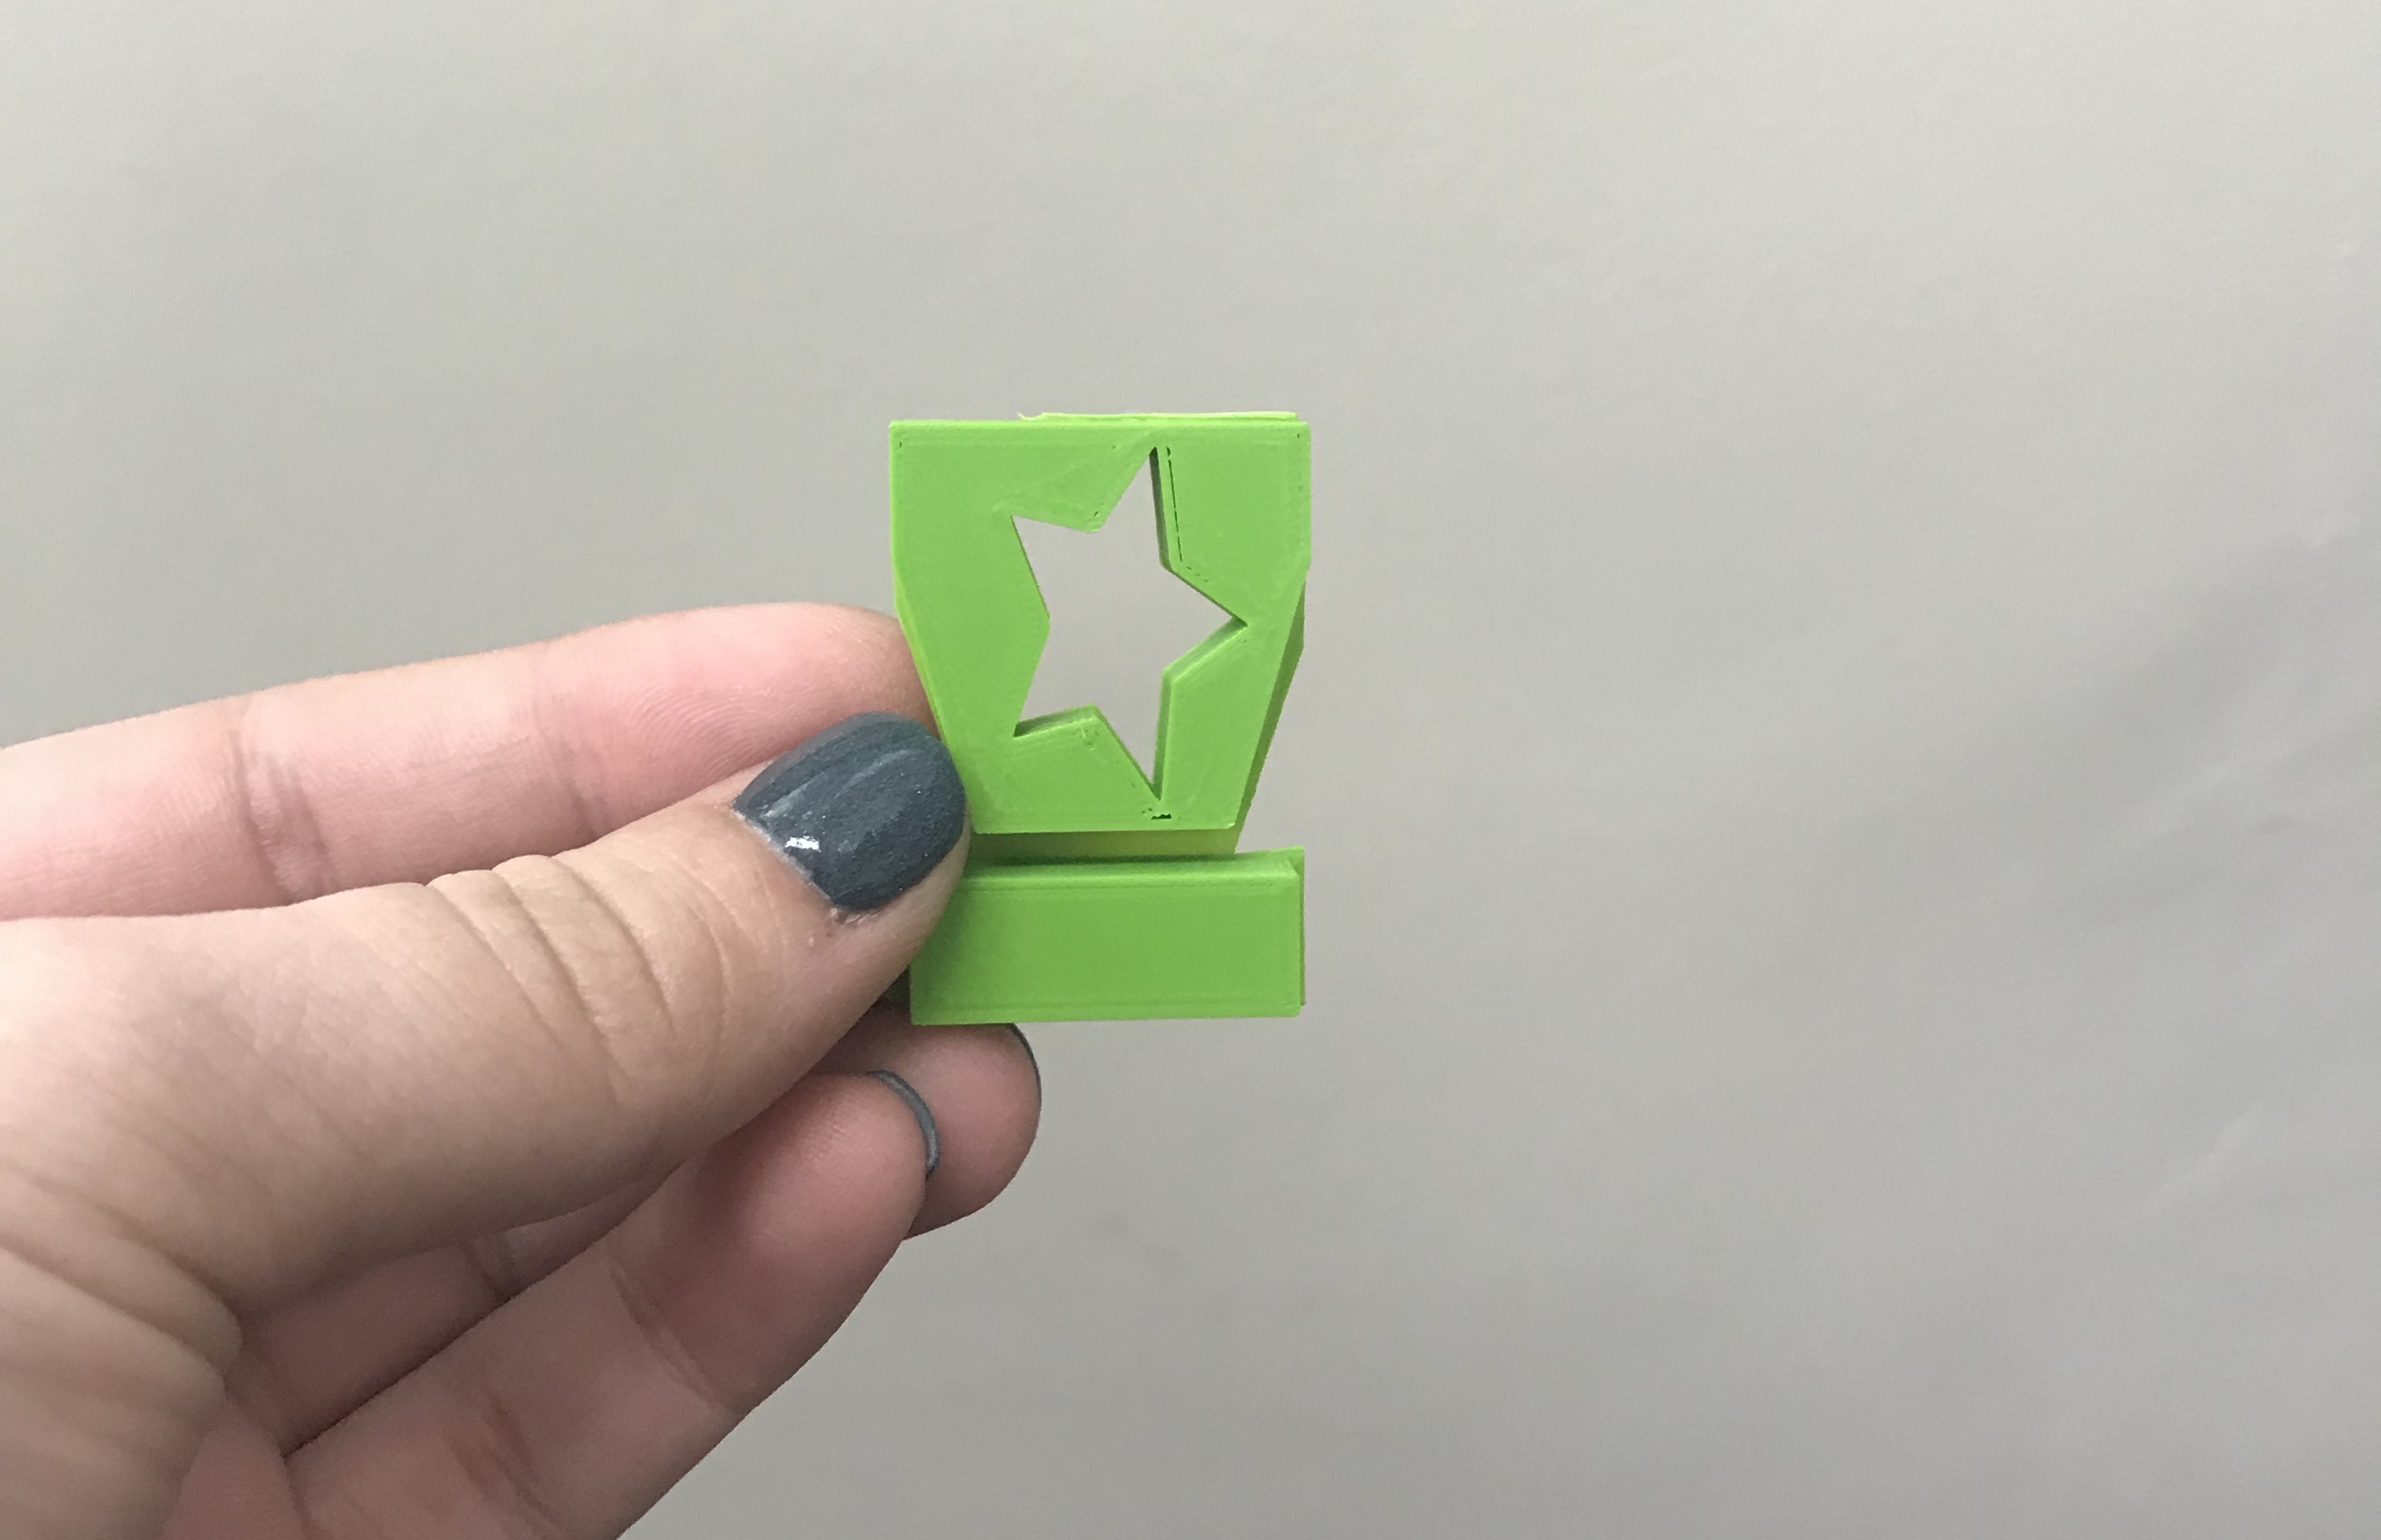
I would consider my print to be a success. I grouped and aligned the star hole into the exclamation point. It almost reminds me of Woody from Toy Story’s Sheriffs badge. This print in tinkercad is good practice for what my partner and I plan to do for the group project! As a critique, next time I think I could have centered the star more towards the middle of the exclamation point. Also, once my print was finished I had to cut off the surrounding base of the print, which connects the two pieces of the exclamation point.
Summary of Group Tinkercad Project
HSA Logo: By Ella Alvis and Chesley Hayward
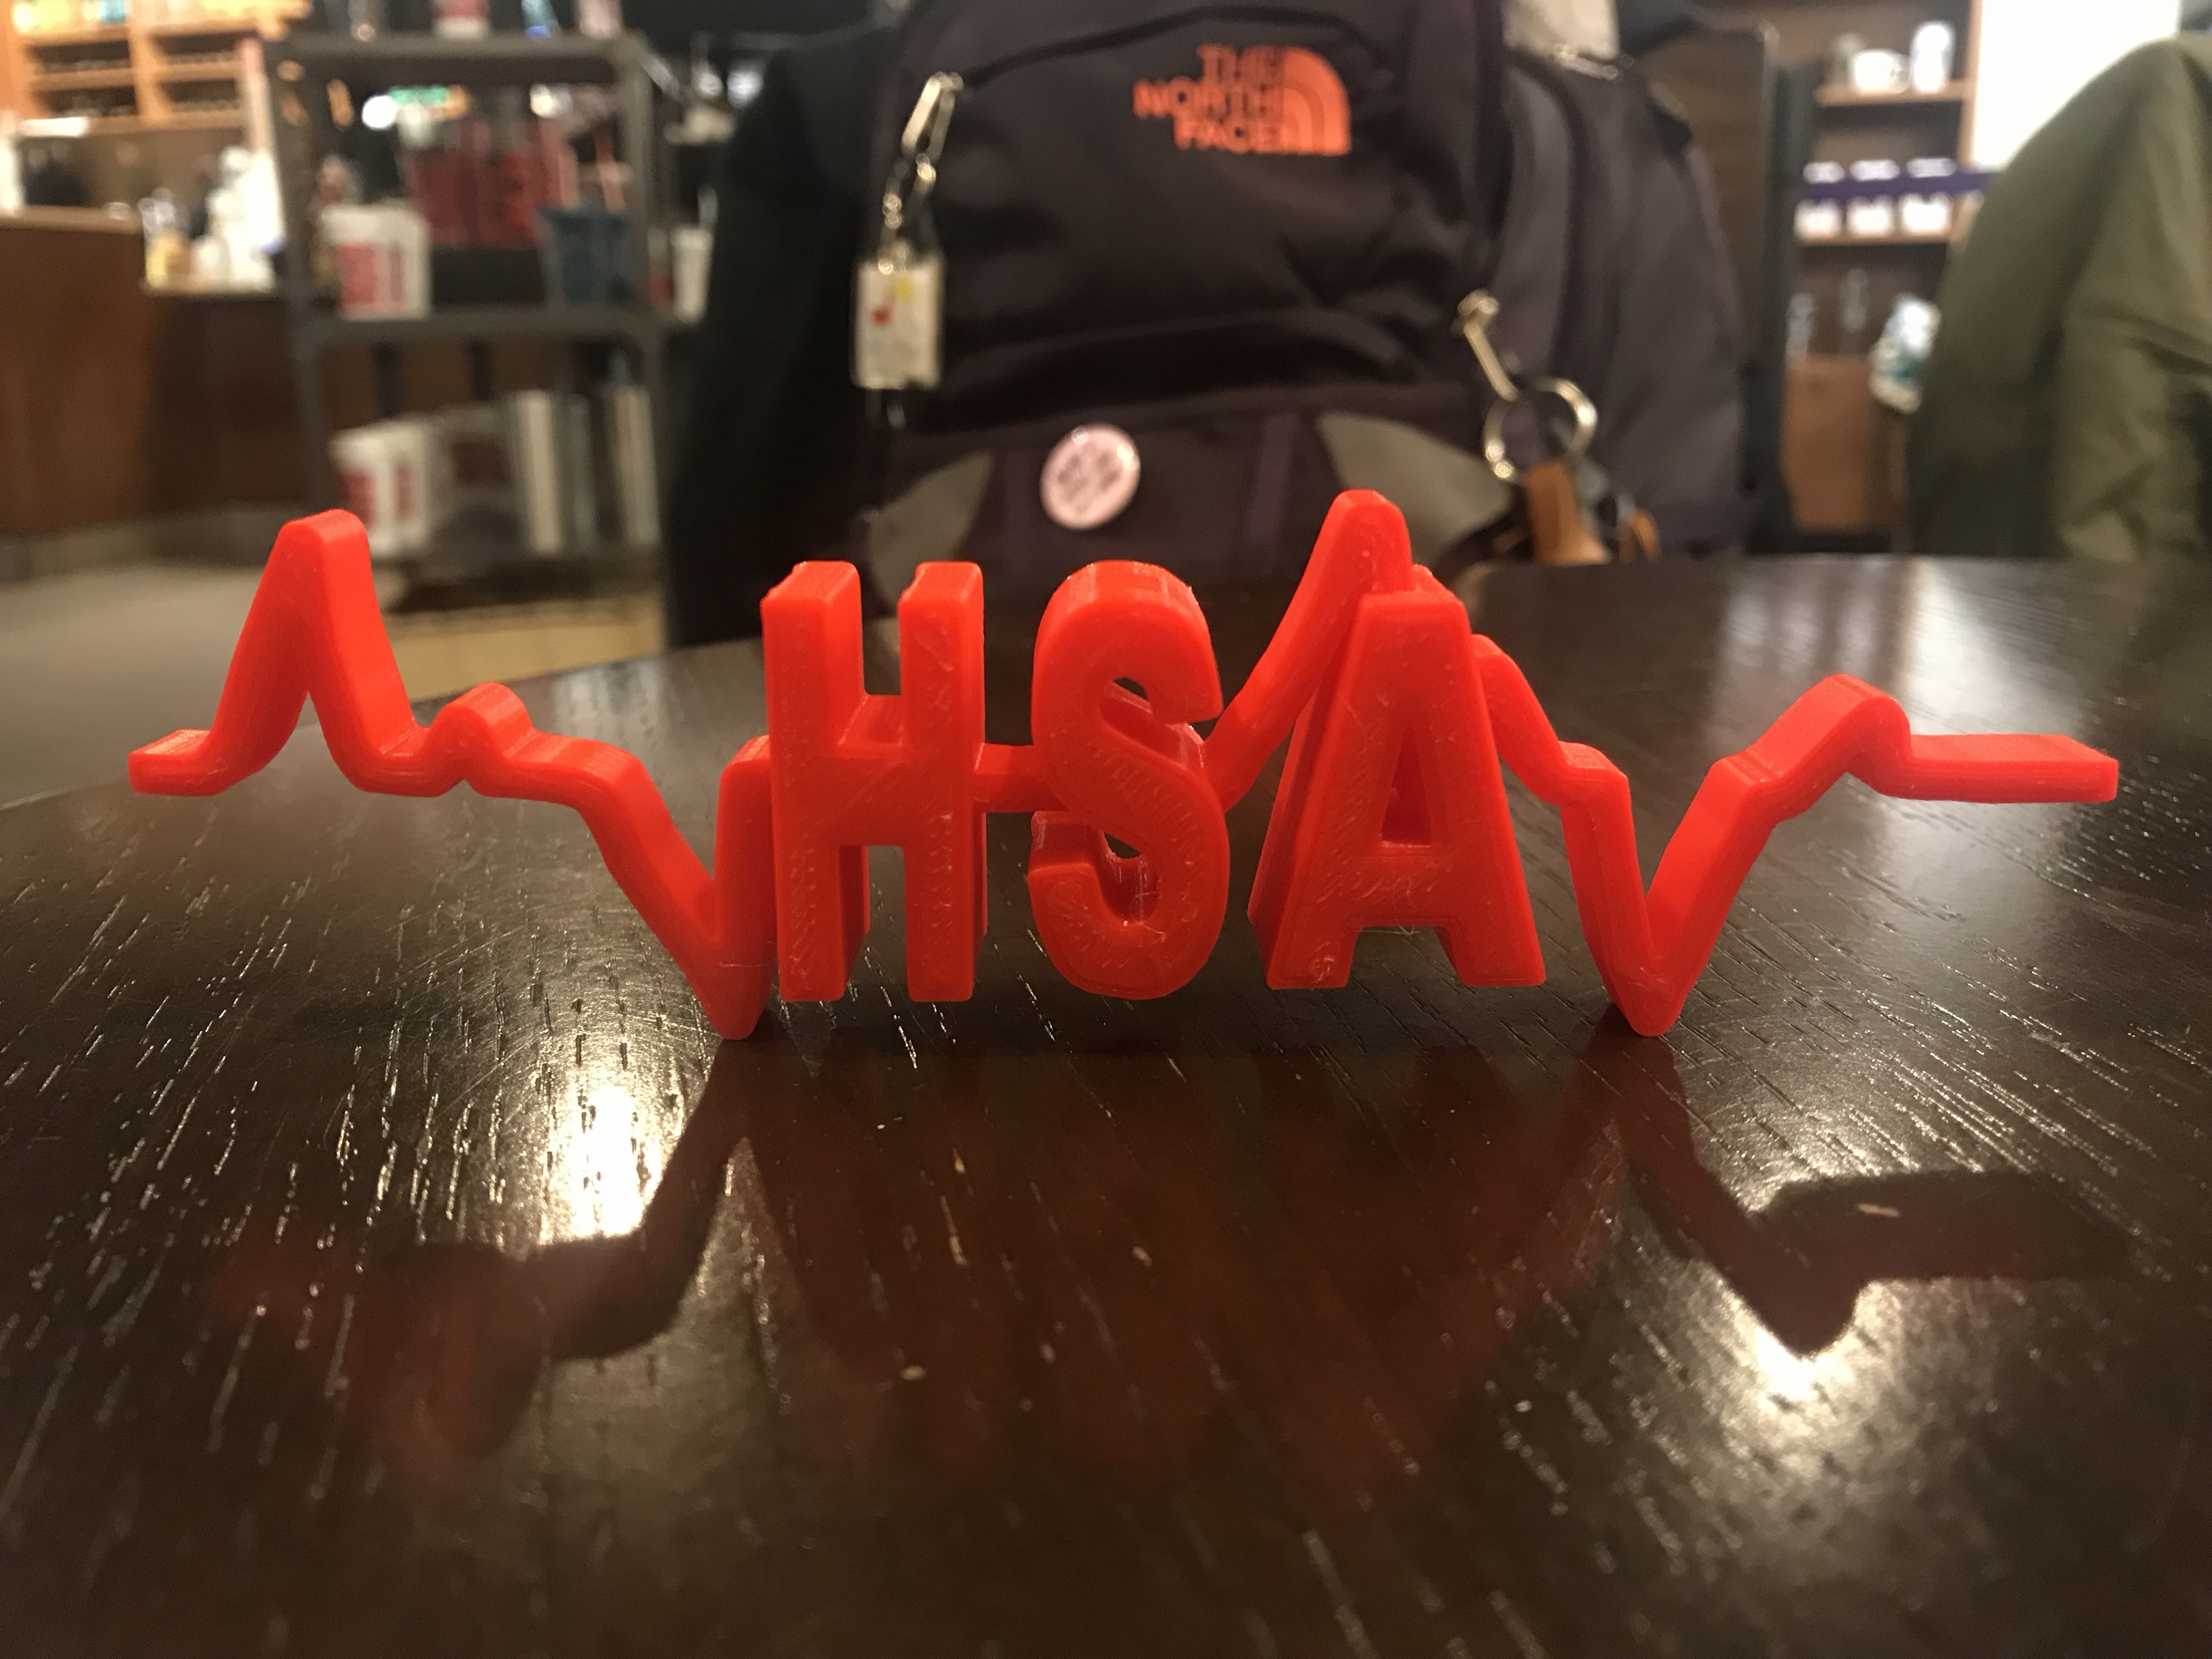
Ella and I are roommates and also Health Services Administration Majors. Although, we have a lot in common; we figured our education is a priority so why not make a little desk decoration to remind us of the work we are putting into getting to our career goals. We think our logo came out to be a great success and it was fun to perfect the logo ourselves on Tinkercad. It was also helpful to have all of the practice exploring different tools of the program!
Link to Blog: https://geekhaus.com/isci104_spring2019/2019/01/15/hsa-logo/
Link to Thingiverse: https://www.thingiverse.com/thing:3377251
20 Forms in Fusion 360
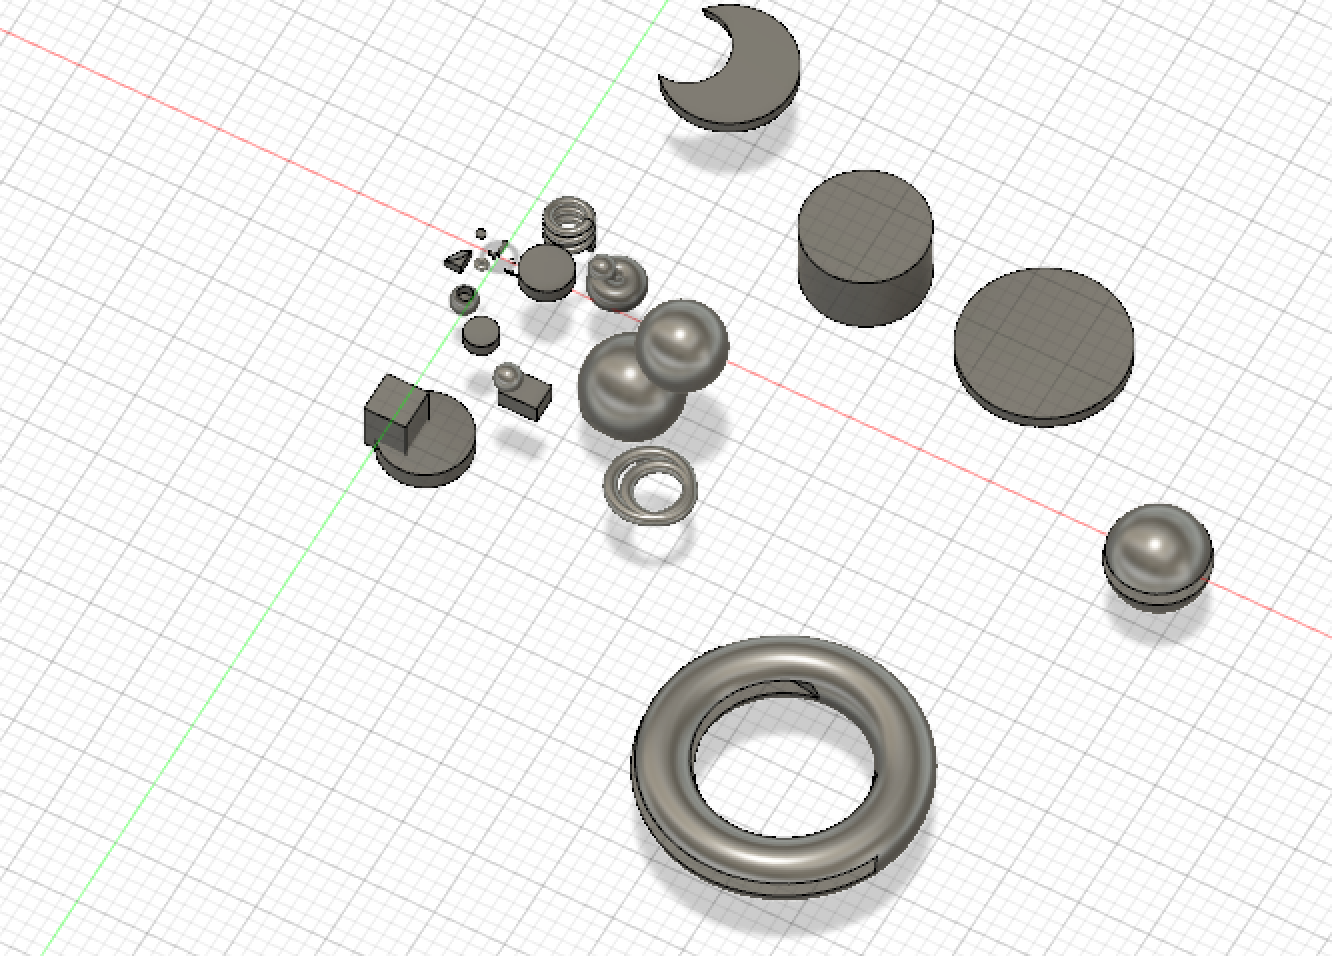
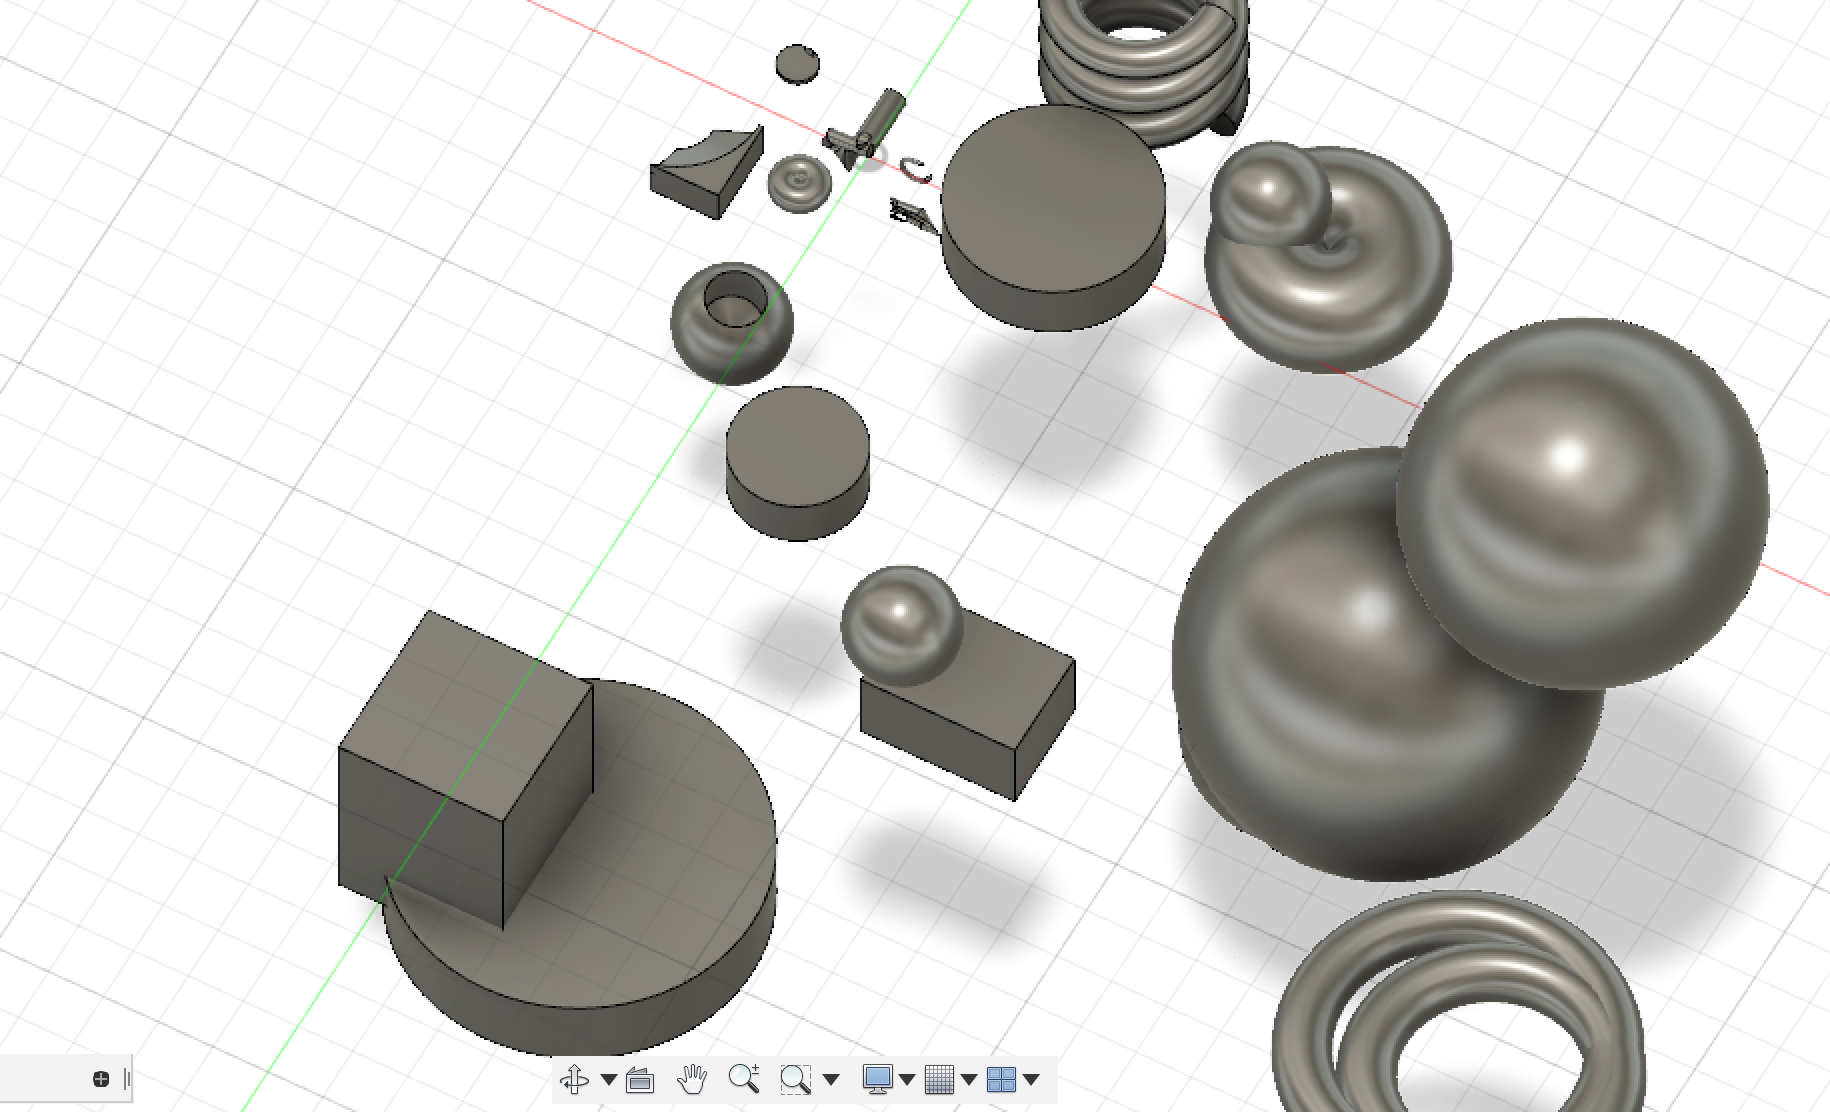
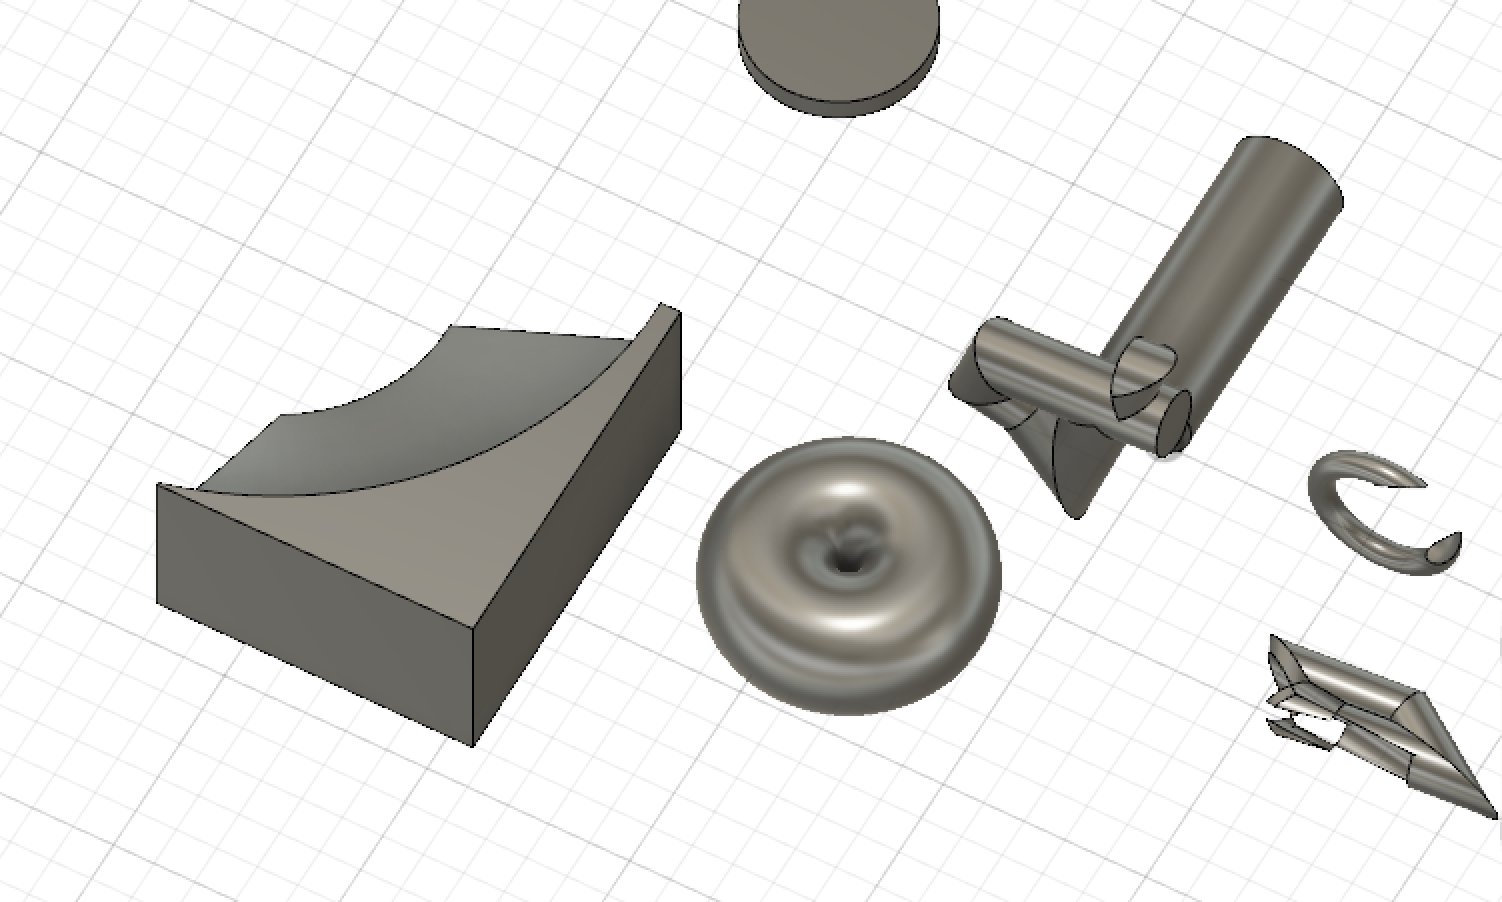
Me and Fusion 360 did not turn out to be friends. Even after watching multiple youtube videos it wasn’t clicking with me. Every time I tried to use one of the fancy create tools my form would end up ?? disappearing?? So I did a lot of holes and grouping objects together. In the last image in the bottom right corner, you can see where I tried to use the pipe tool and it turned into a jumbled mess? Yeah, I’m not sure what it is either. Same with the form diagonal from the corner, I tried using the sweep tool and it turned into a cylinder knot. So as you can see, I tried my best! The form I like the most is the makeshift crescent moon, that came out as a total accident but it turned out to be my favorite thing. It was just a cylinder and I was moving a sphere to make a hole somewhere else and accidentally let go of my trackpad and bam, the hole became a moon! In some of my other forms, I tried experimenting with how wide and tall I could make the object and how many objects I could group together into one. I also had a hard time seeing where the objects were and on which side of the plane it was on. All in all, it was a big failure and I will need assistance in class when it comes to making the vase!
Fusion 360 Print
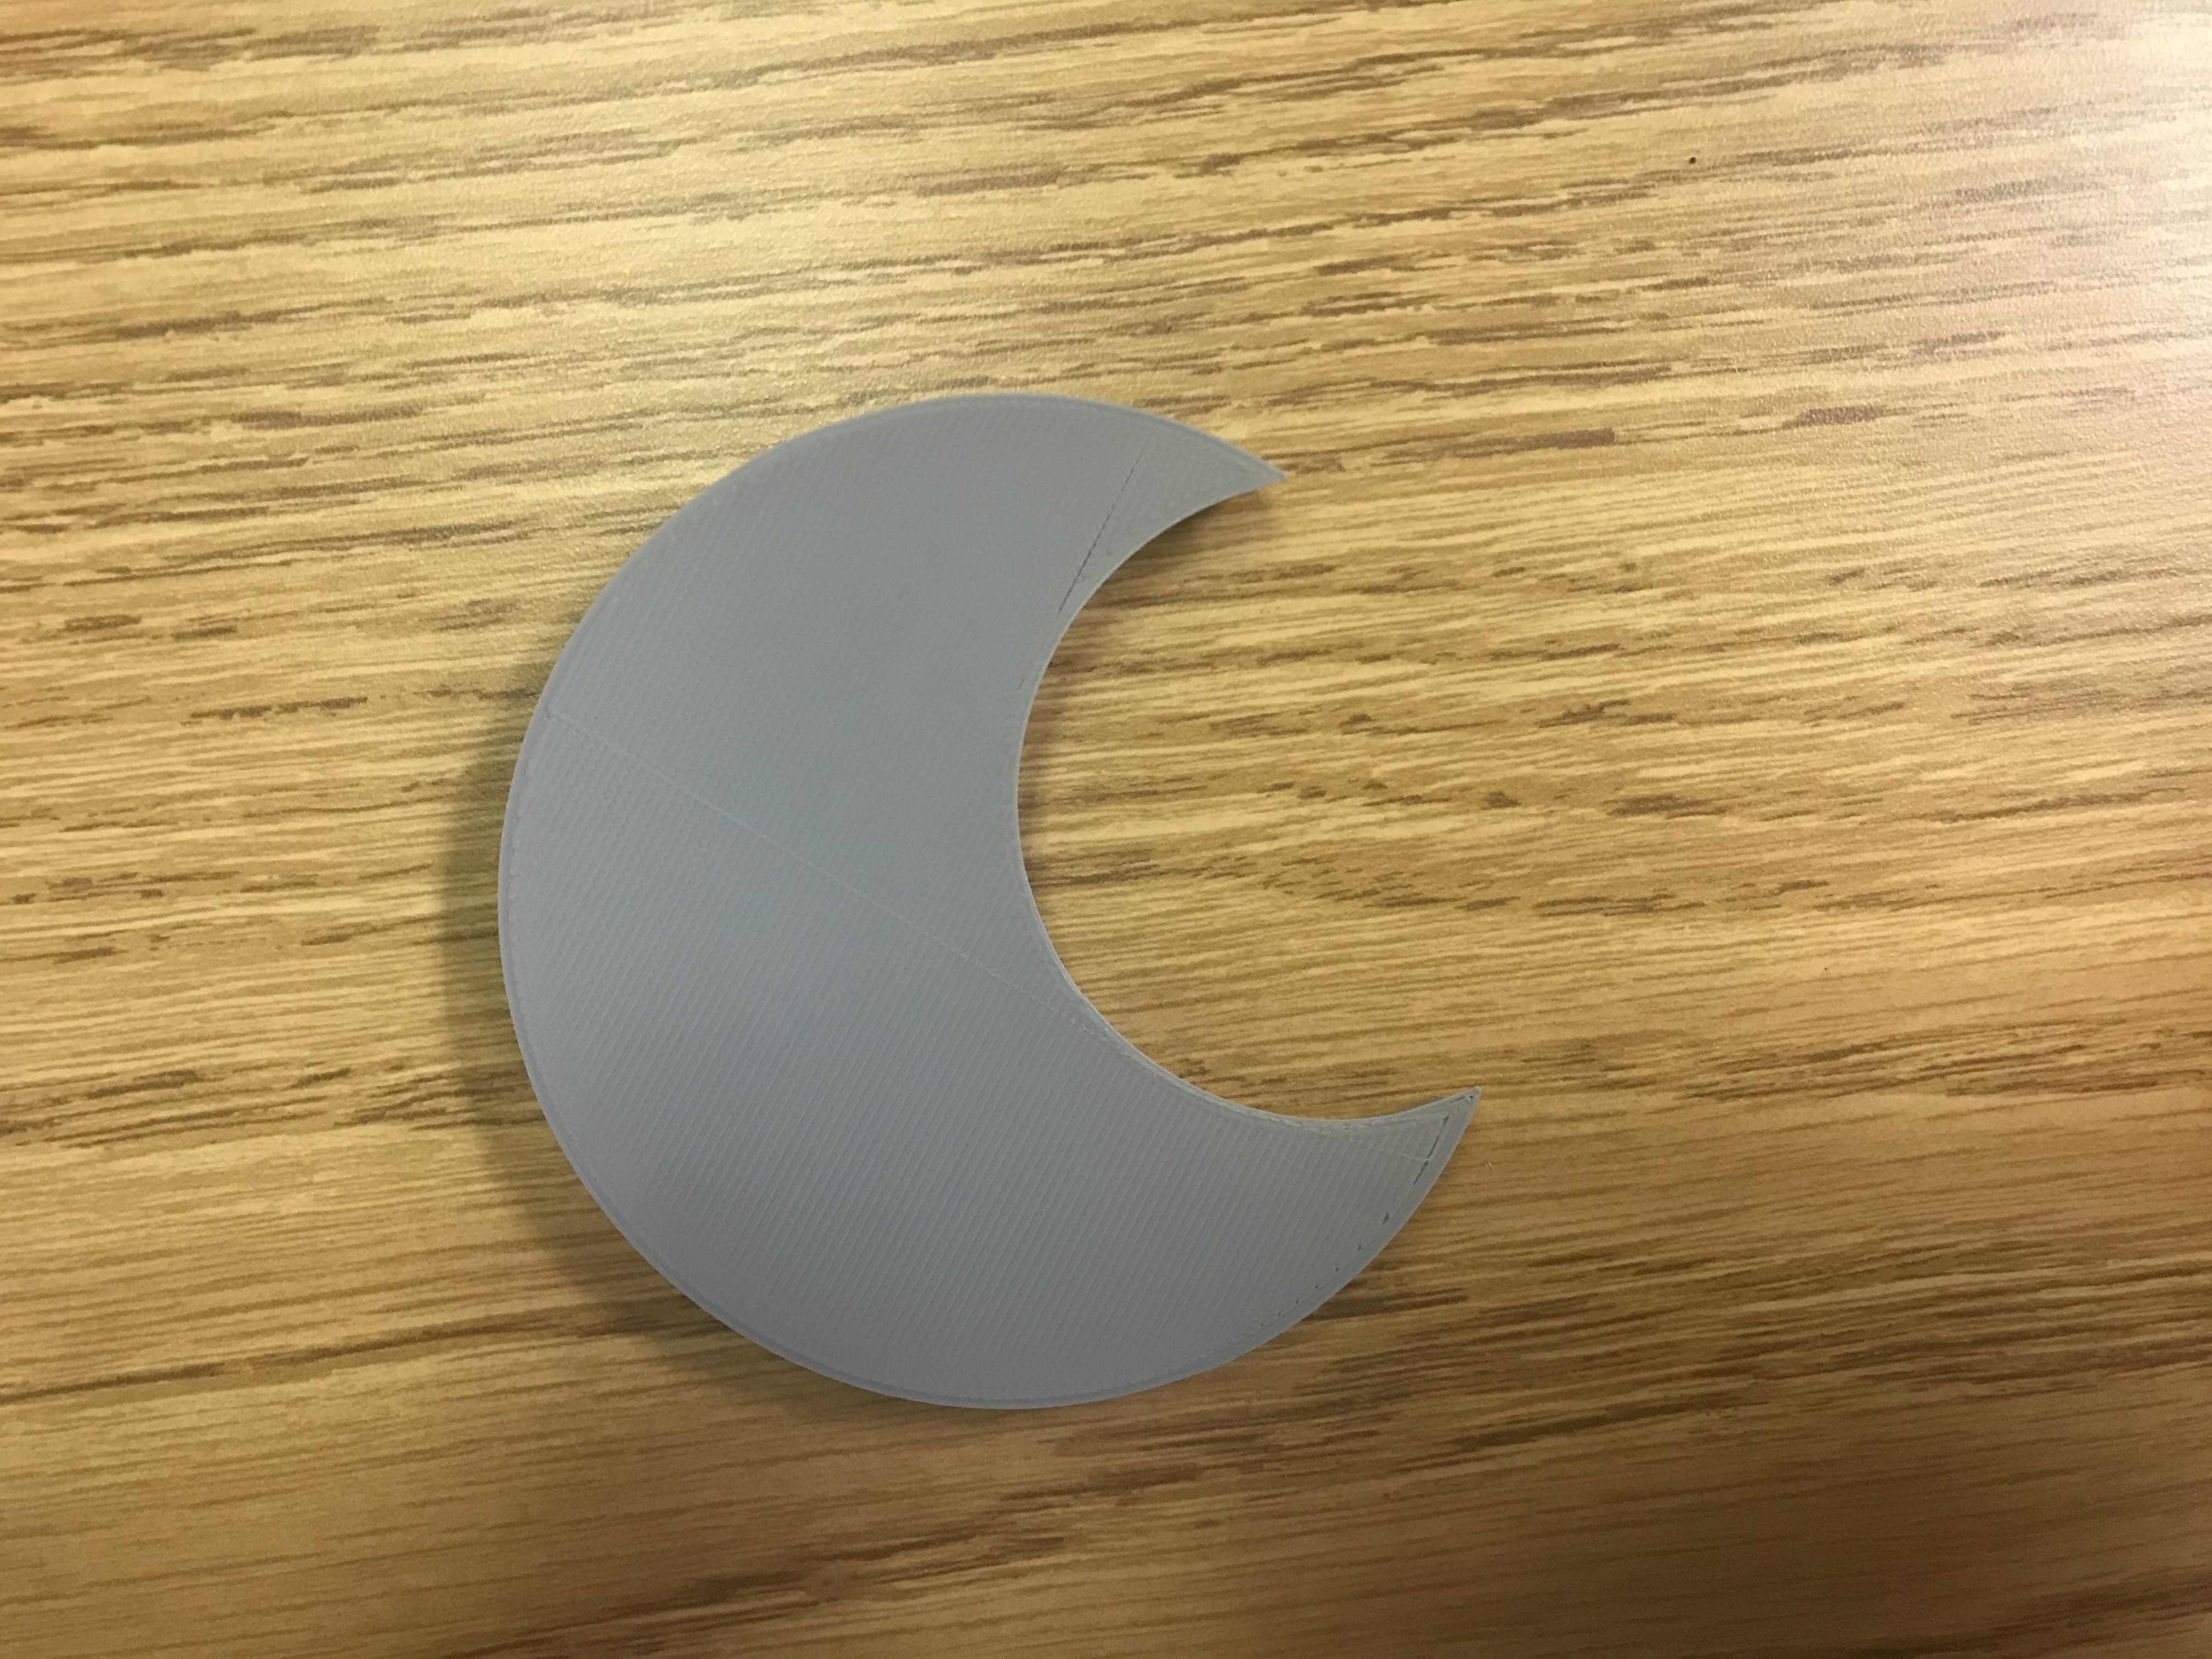
I used the cylinder tool with a hole cut out to make a bohemian moon figure. I think it turned out to be a success. This print is something I would want to paint to have a more decorative figure in my room. Displaying something I made would be pretty cool.
Fusion 360 Vase Design
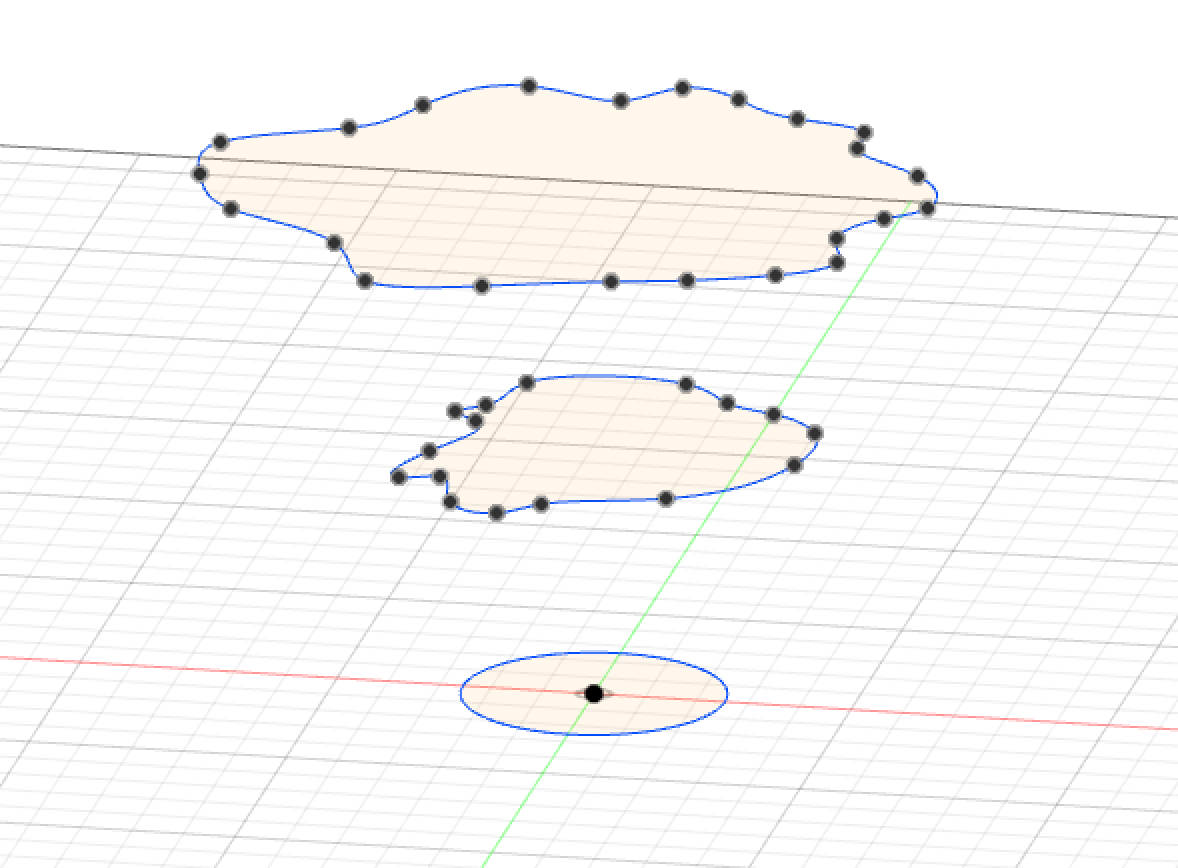
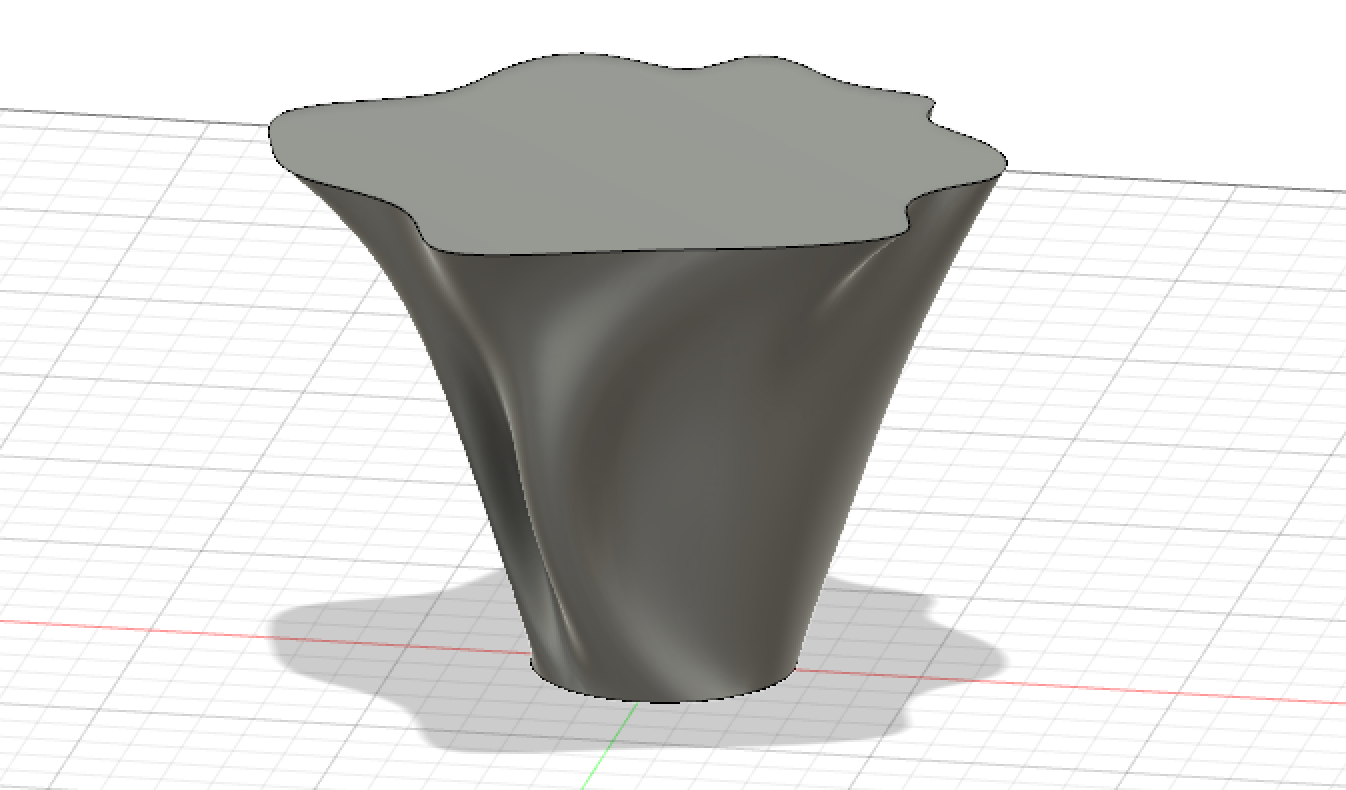
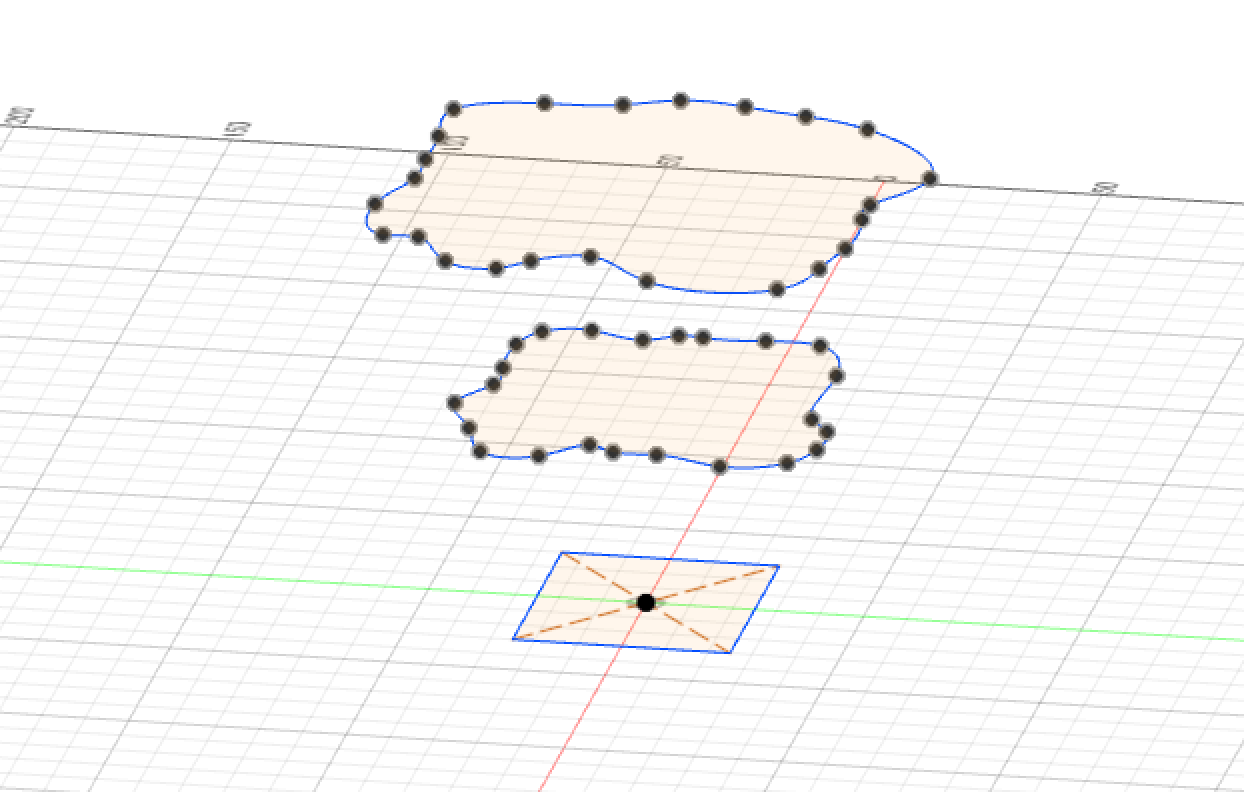

Although Fusion 360 and I don’t get along, I am really proud of my progress! Like in the video, I spaced out each additional plane 50mm apart. The first few first pictures were my initial plan, however, it failed because there wasn’t enough support on one side. To solve this, I changed the base to a square so the support of the vase would be more sturdy, as you can see in the following photos. I think my vase differs compared to the demonstration video because I changed the base to a square and also I made the mouth of the vase pretty wide.
Fusion 360 Vase Prints
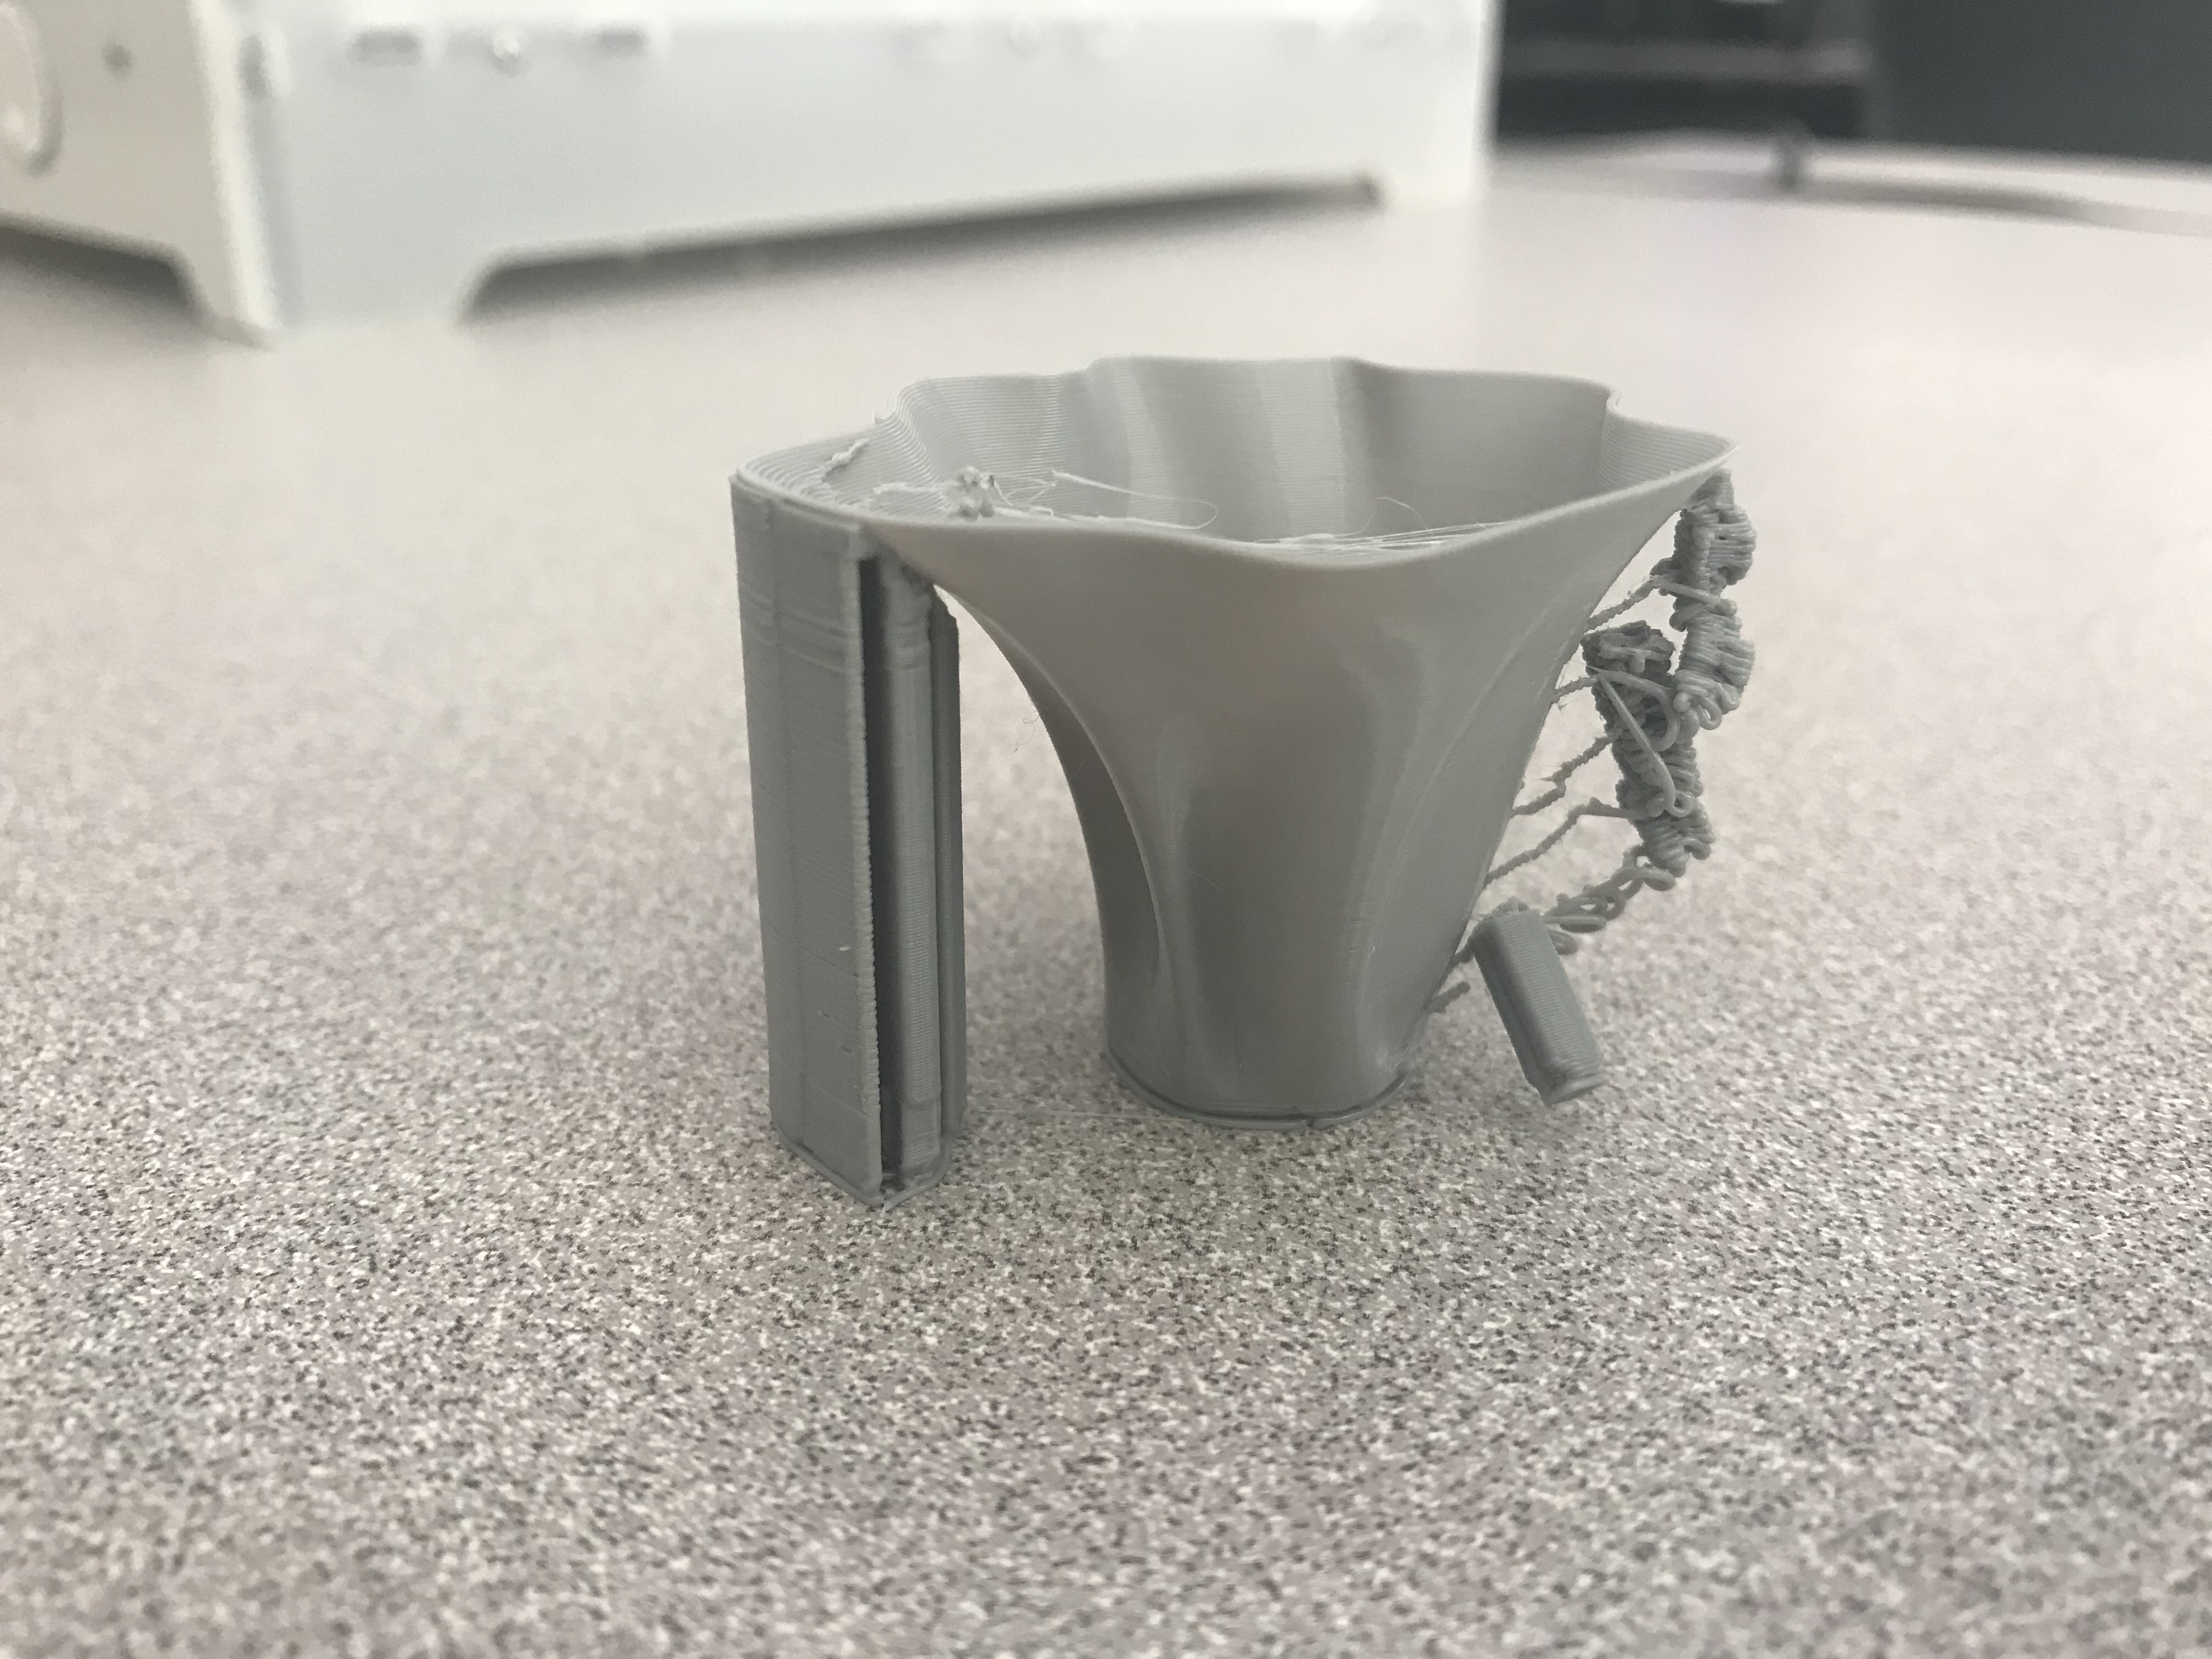
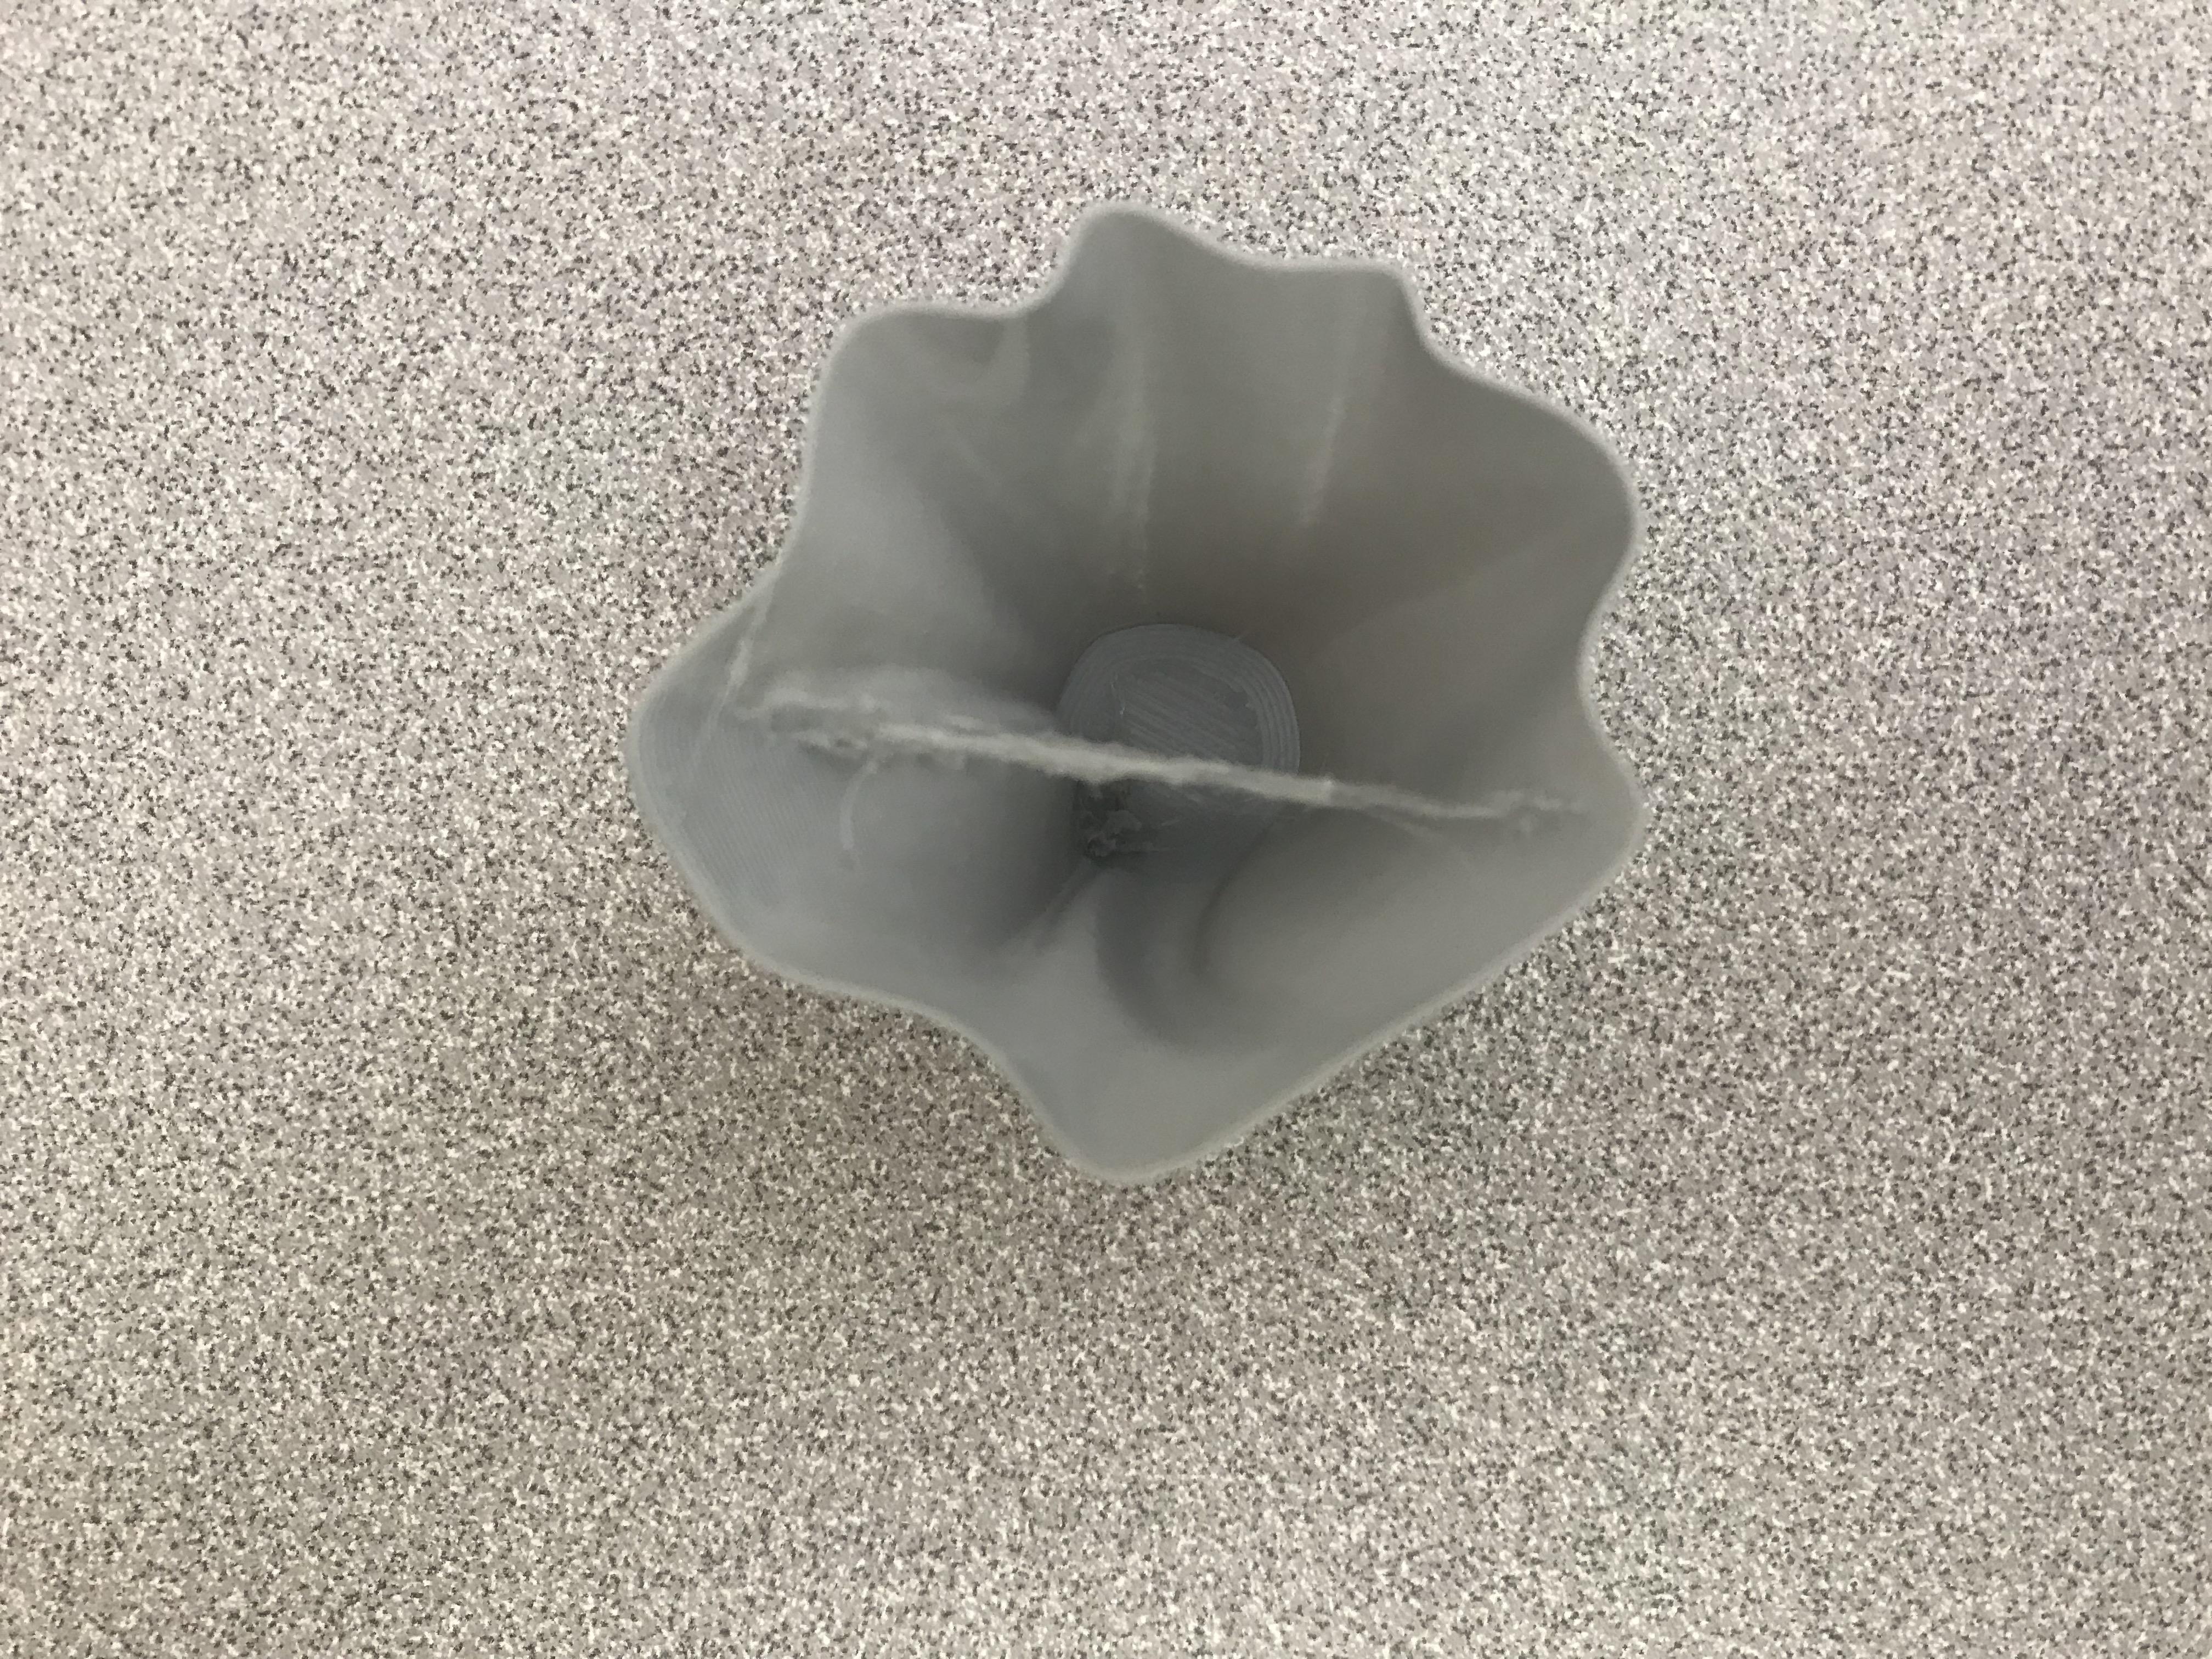
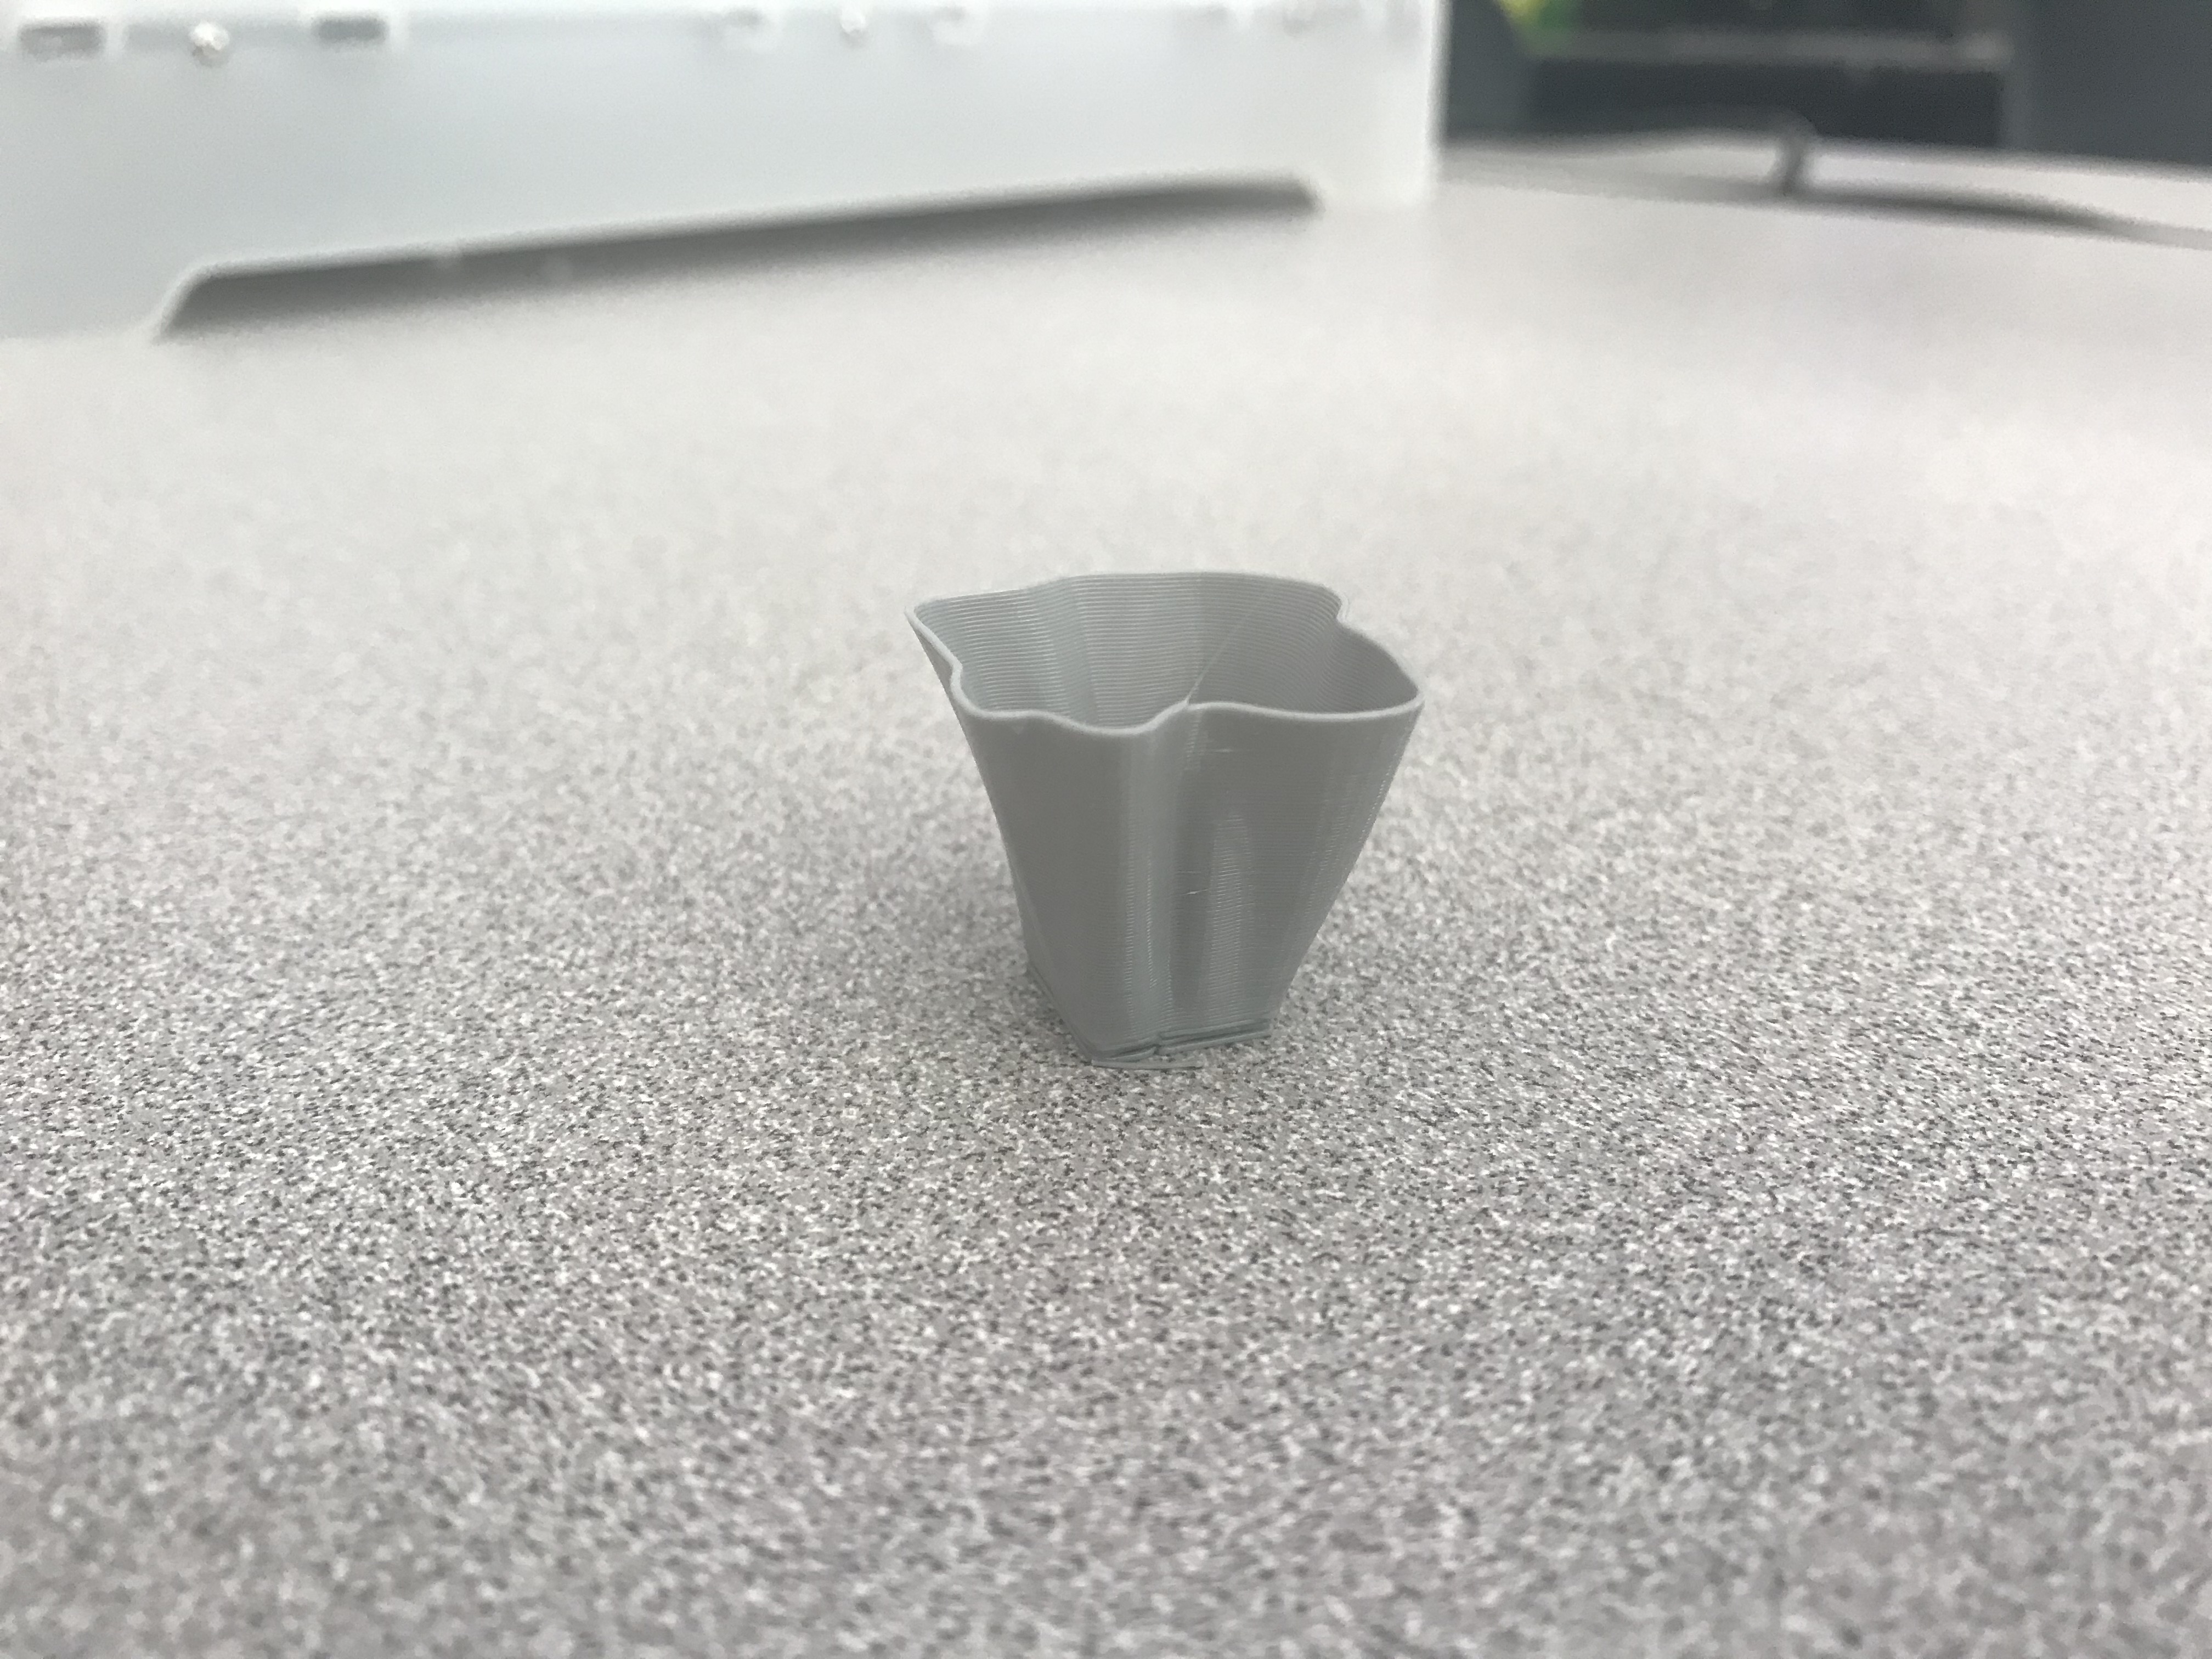
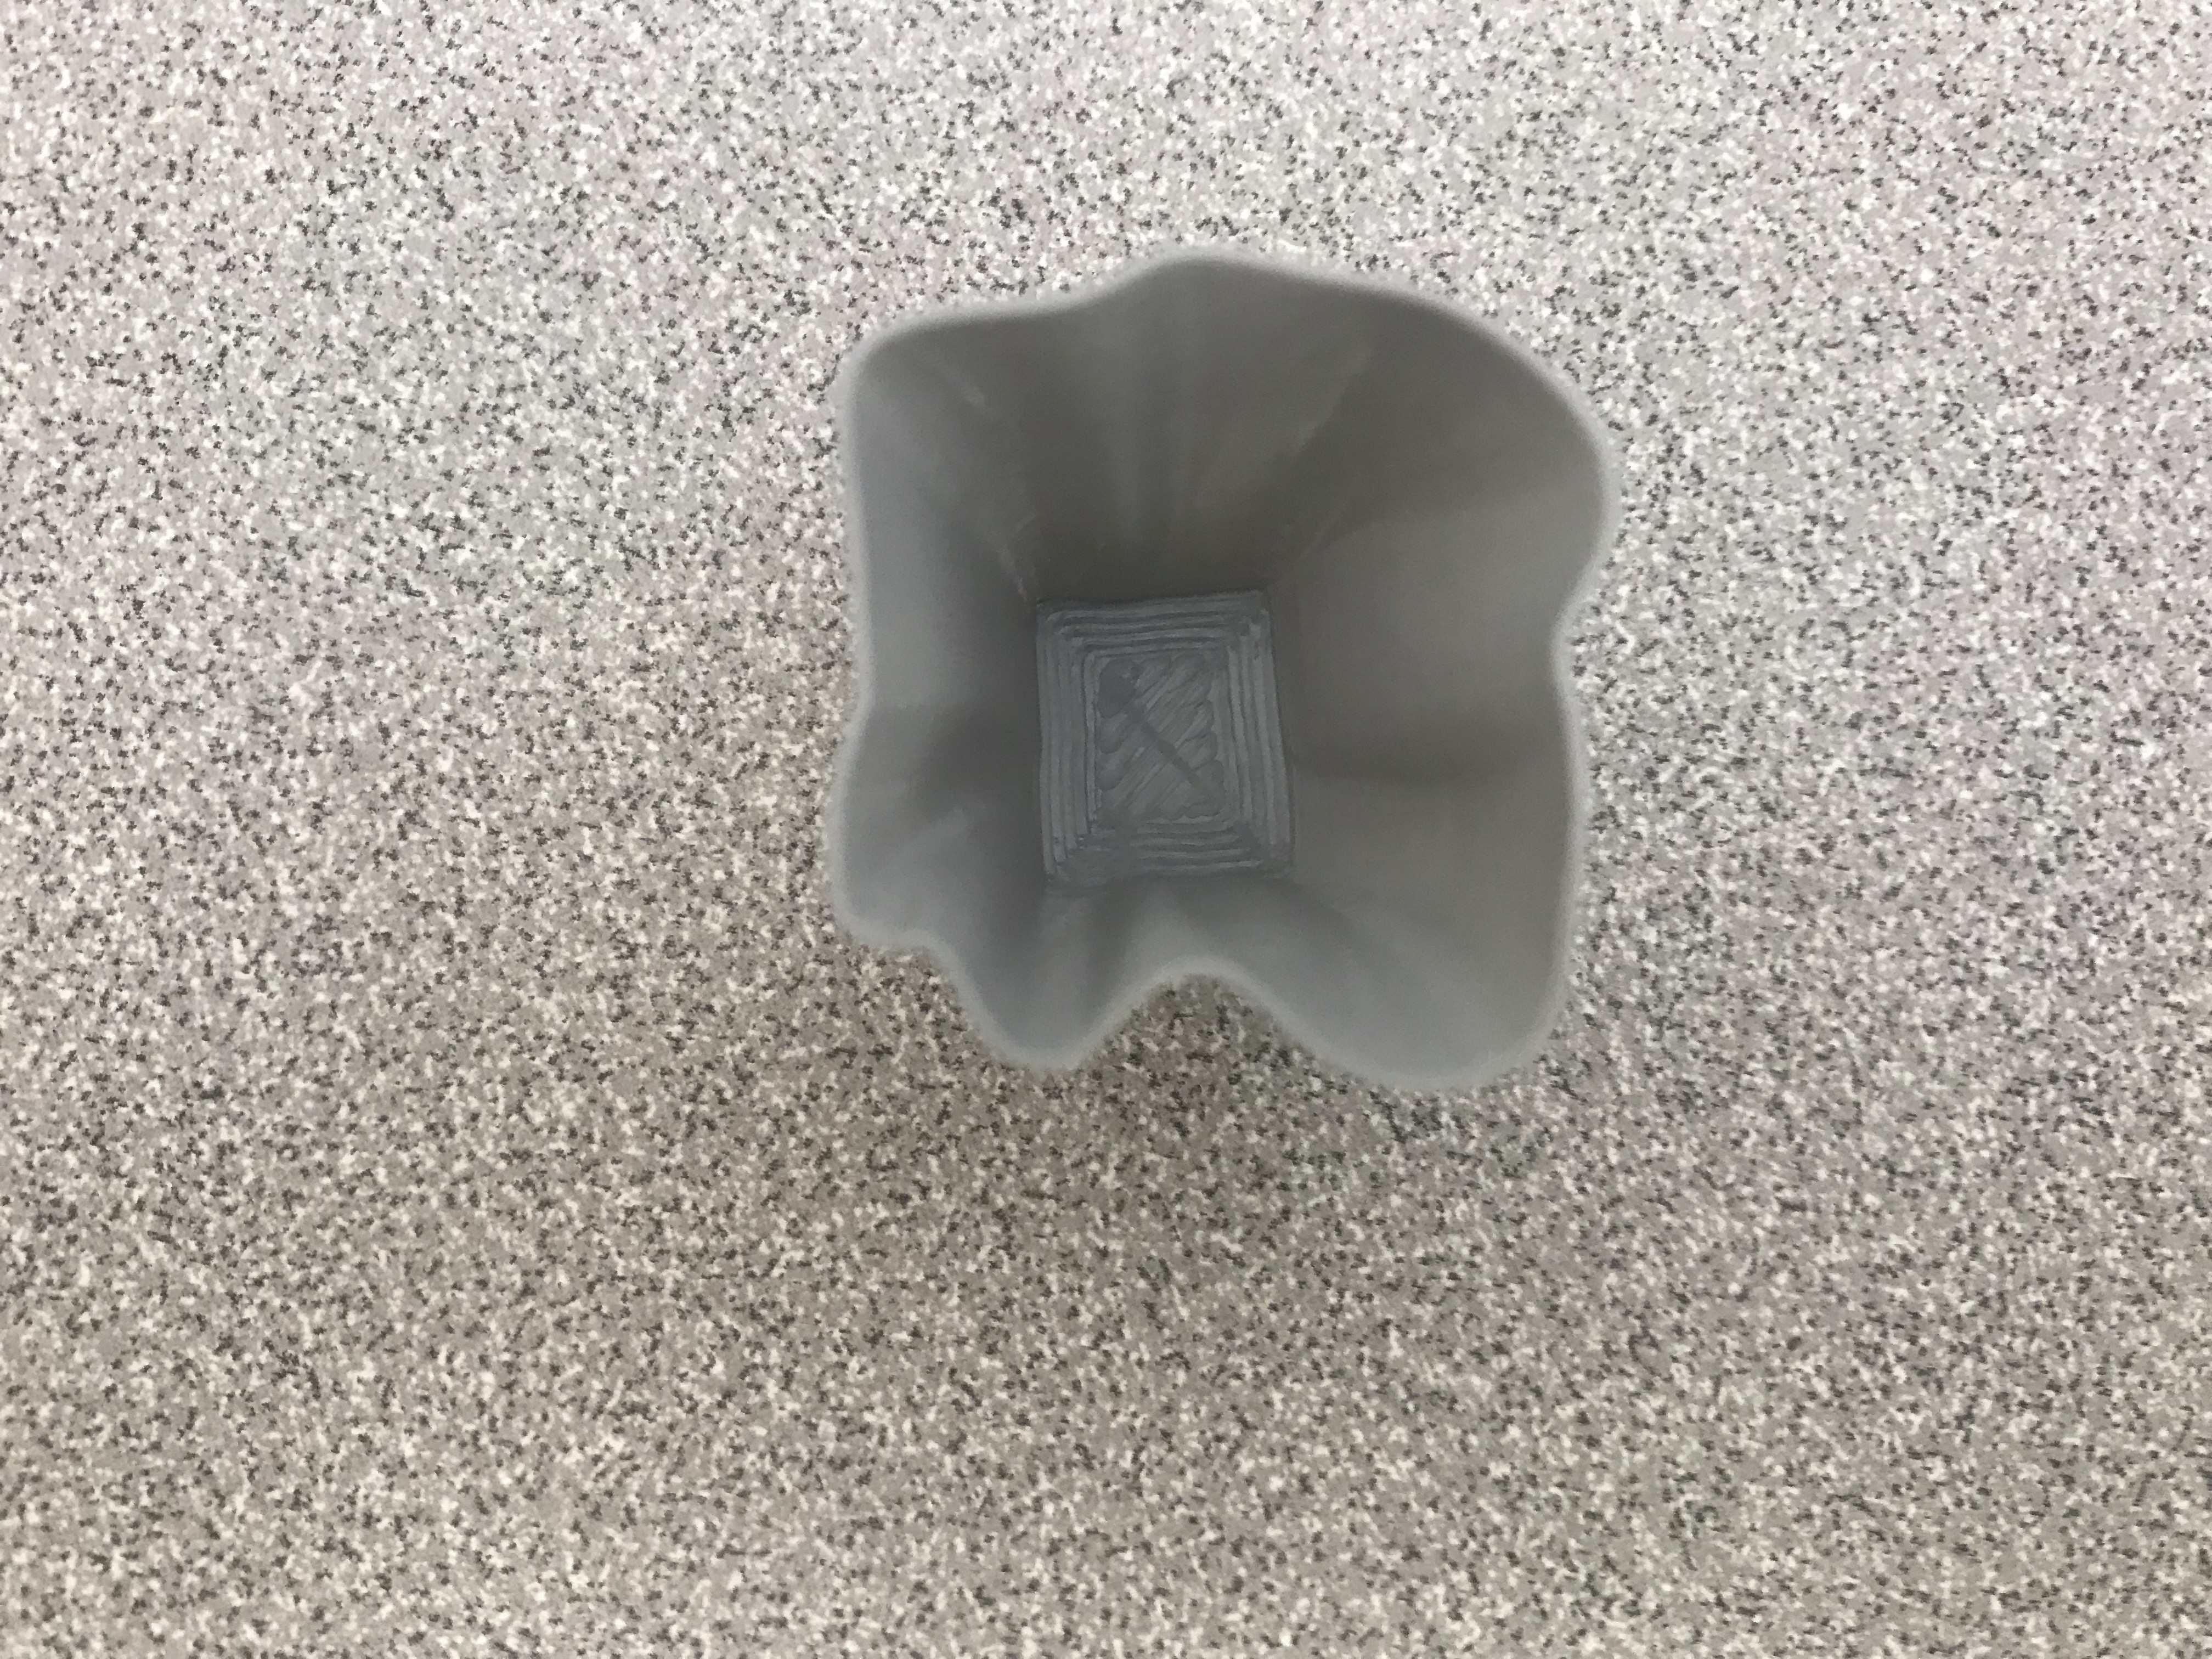
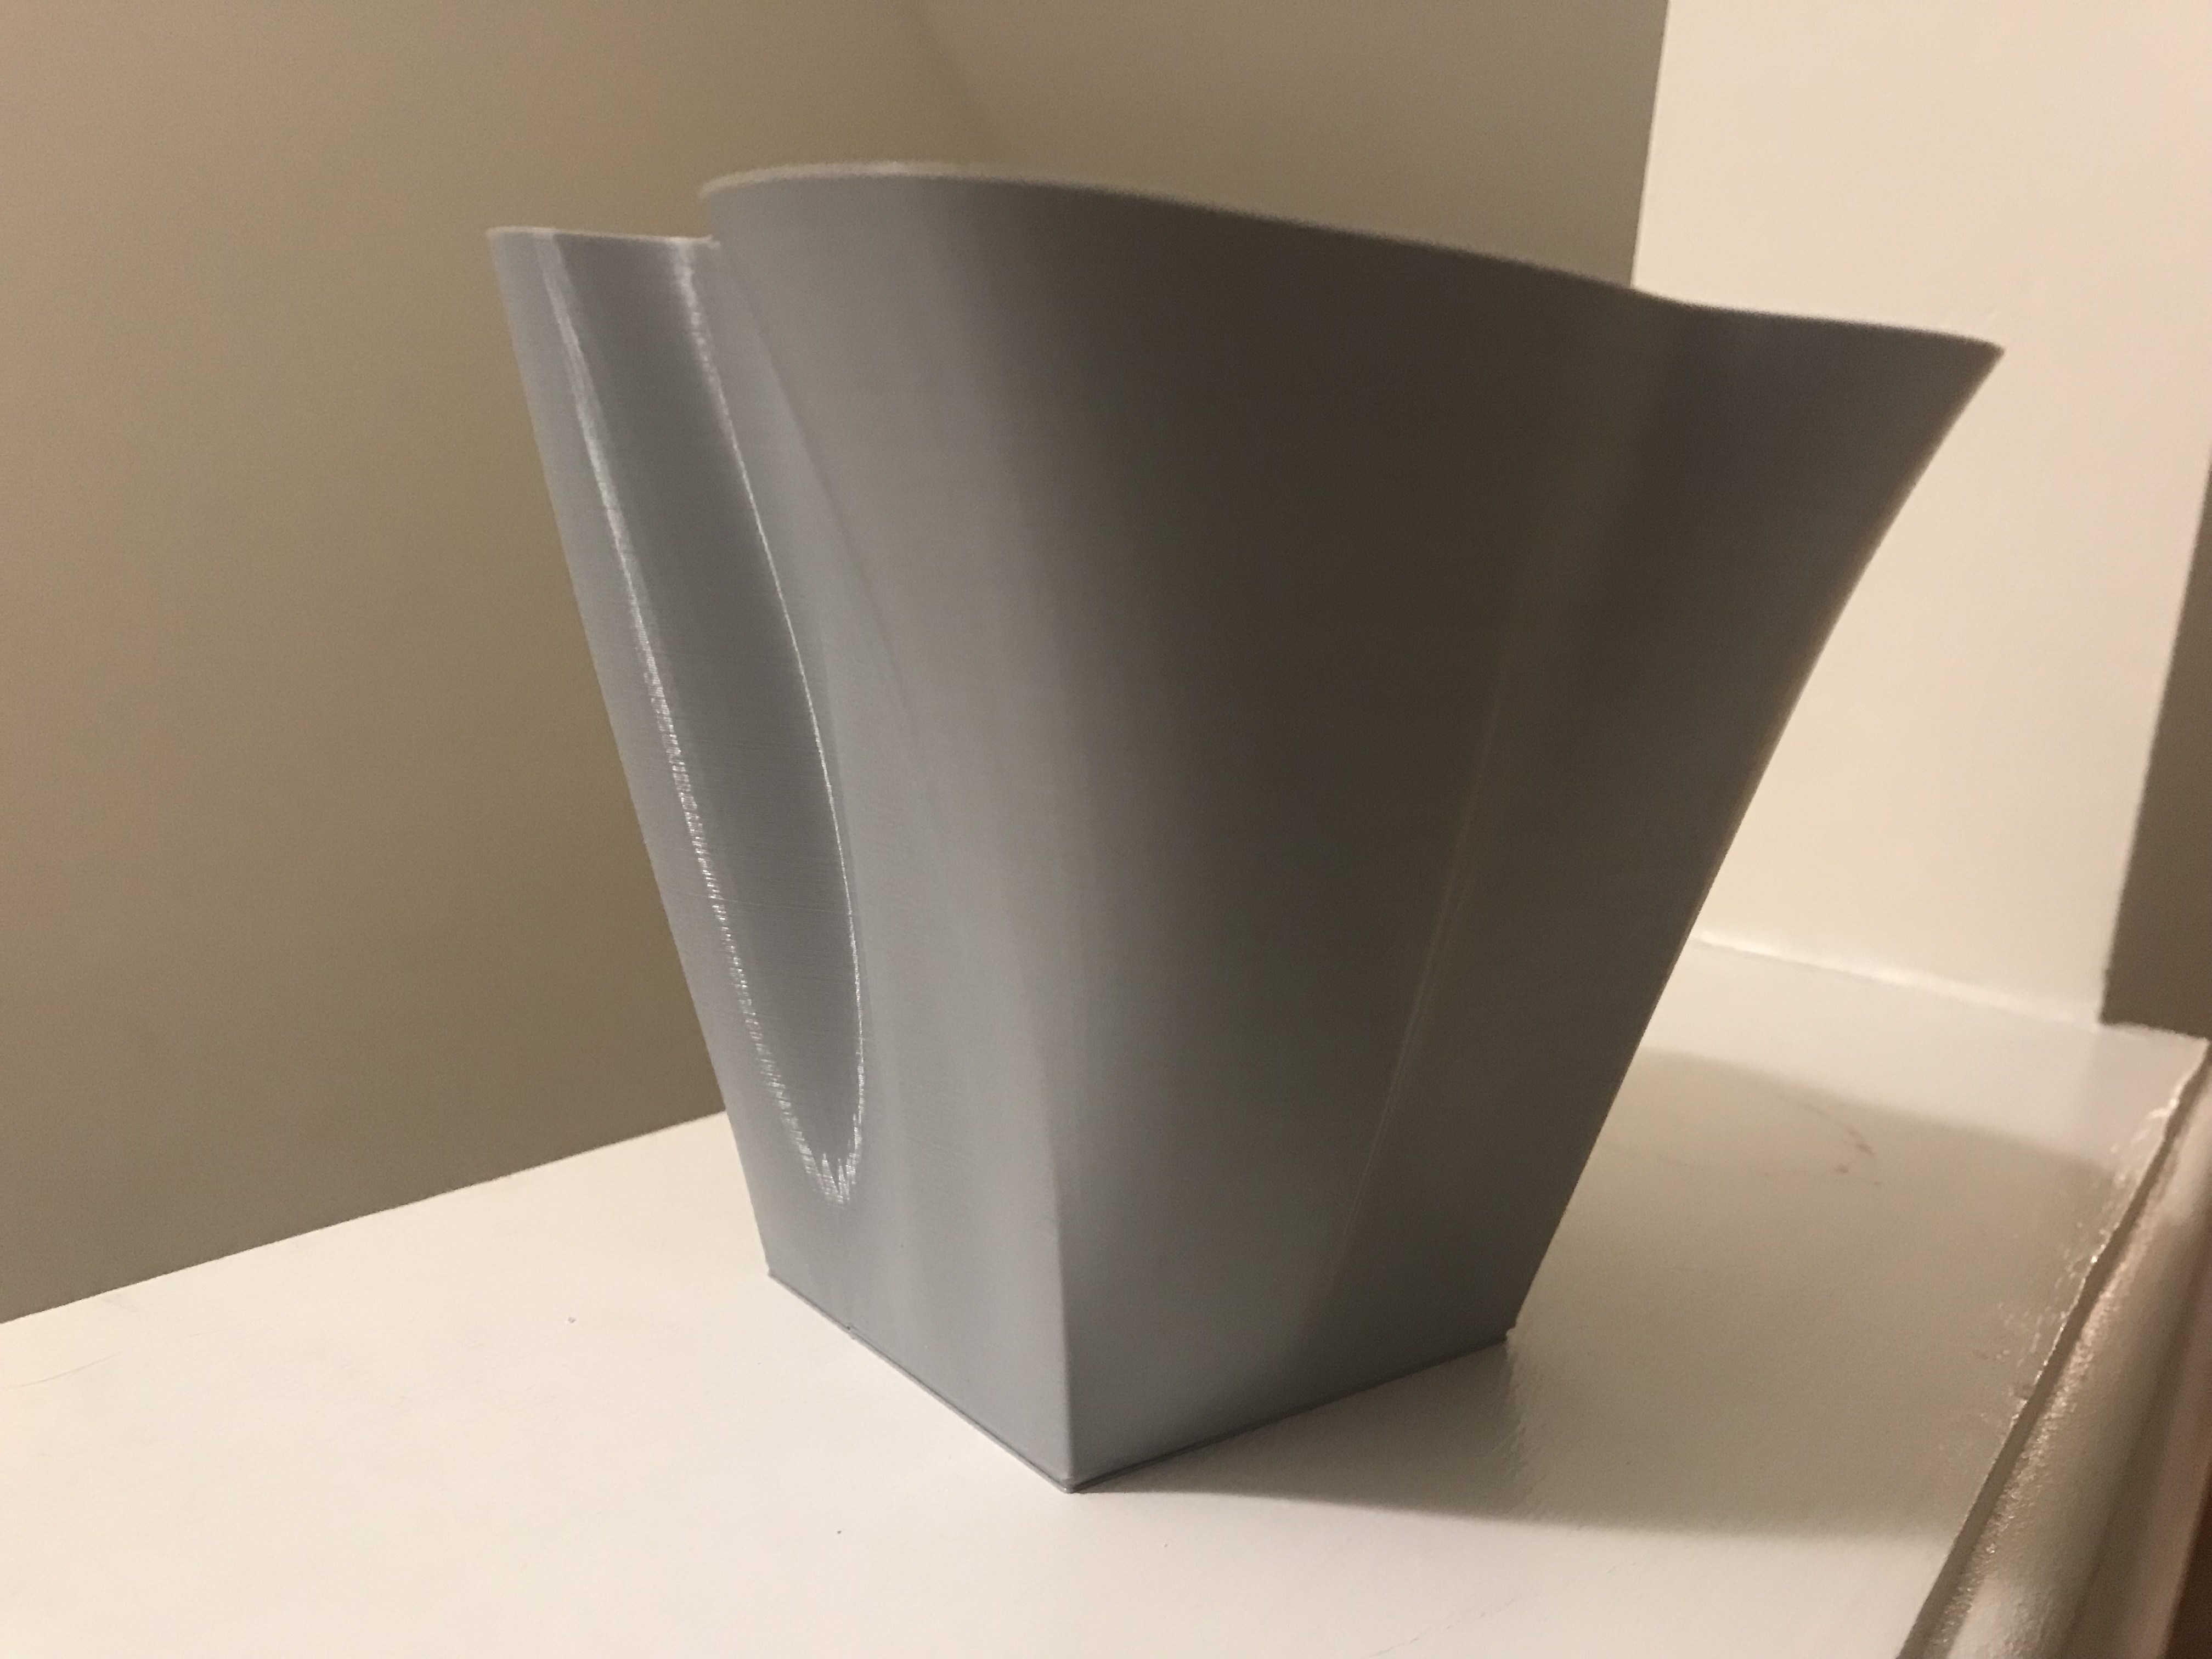
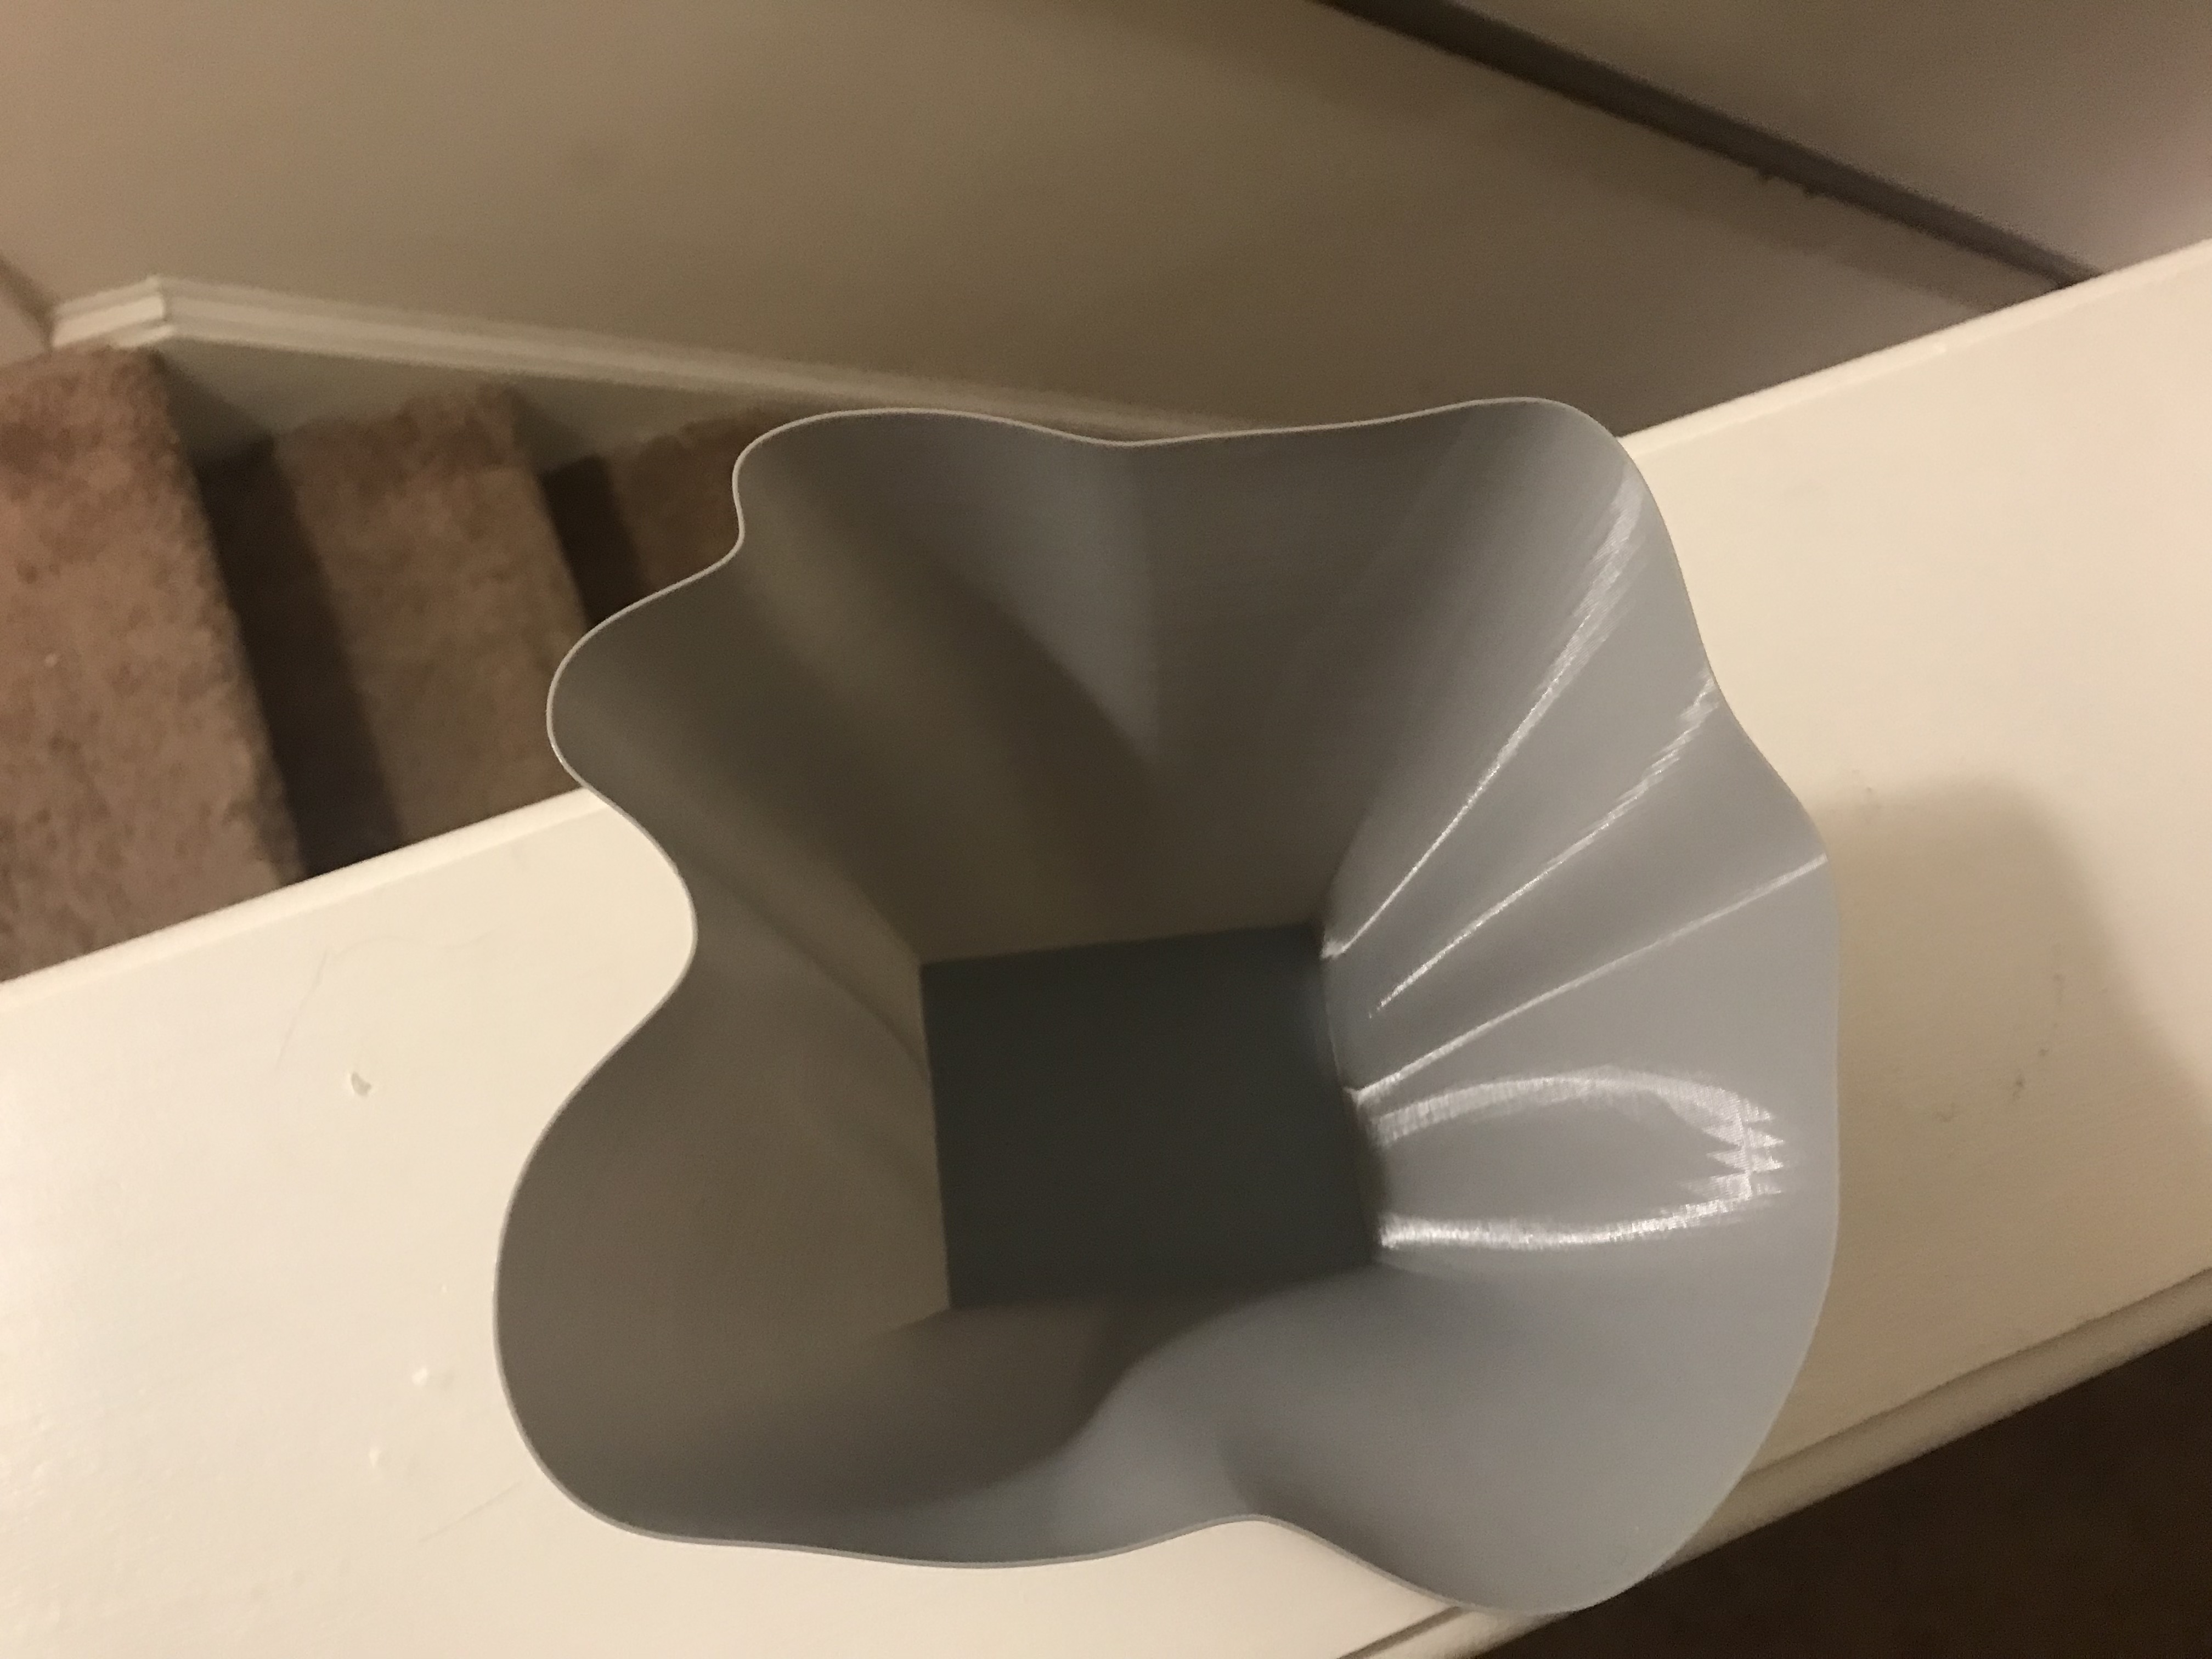
The first two images were the test print of my initial design which failed. I think it failed because there wasn’t enough support on one side of the vase because the mouth widened more on one side. The next two images are my edited vase which has a square as the base for extra support. The last two images are my final vase. It turned out pretty cool!! It is a really good size and even though it’s fragile I am already considering using it for q-tips or just a handy catch-all for random things around my room! Diffinetly was a success and after completing this I a finally confident with using Fusion 360!
Check out the print, here: https://www.thingiverse.com/thing:3409009
20 Forms in OpenSCAD
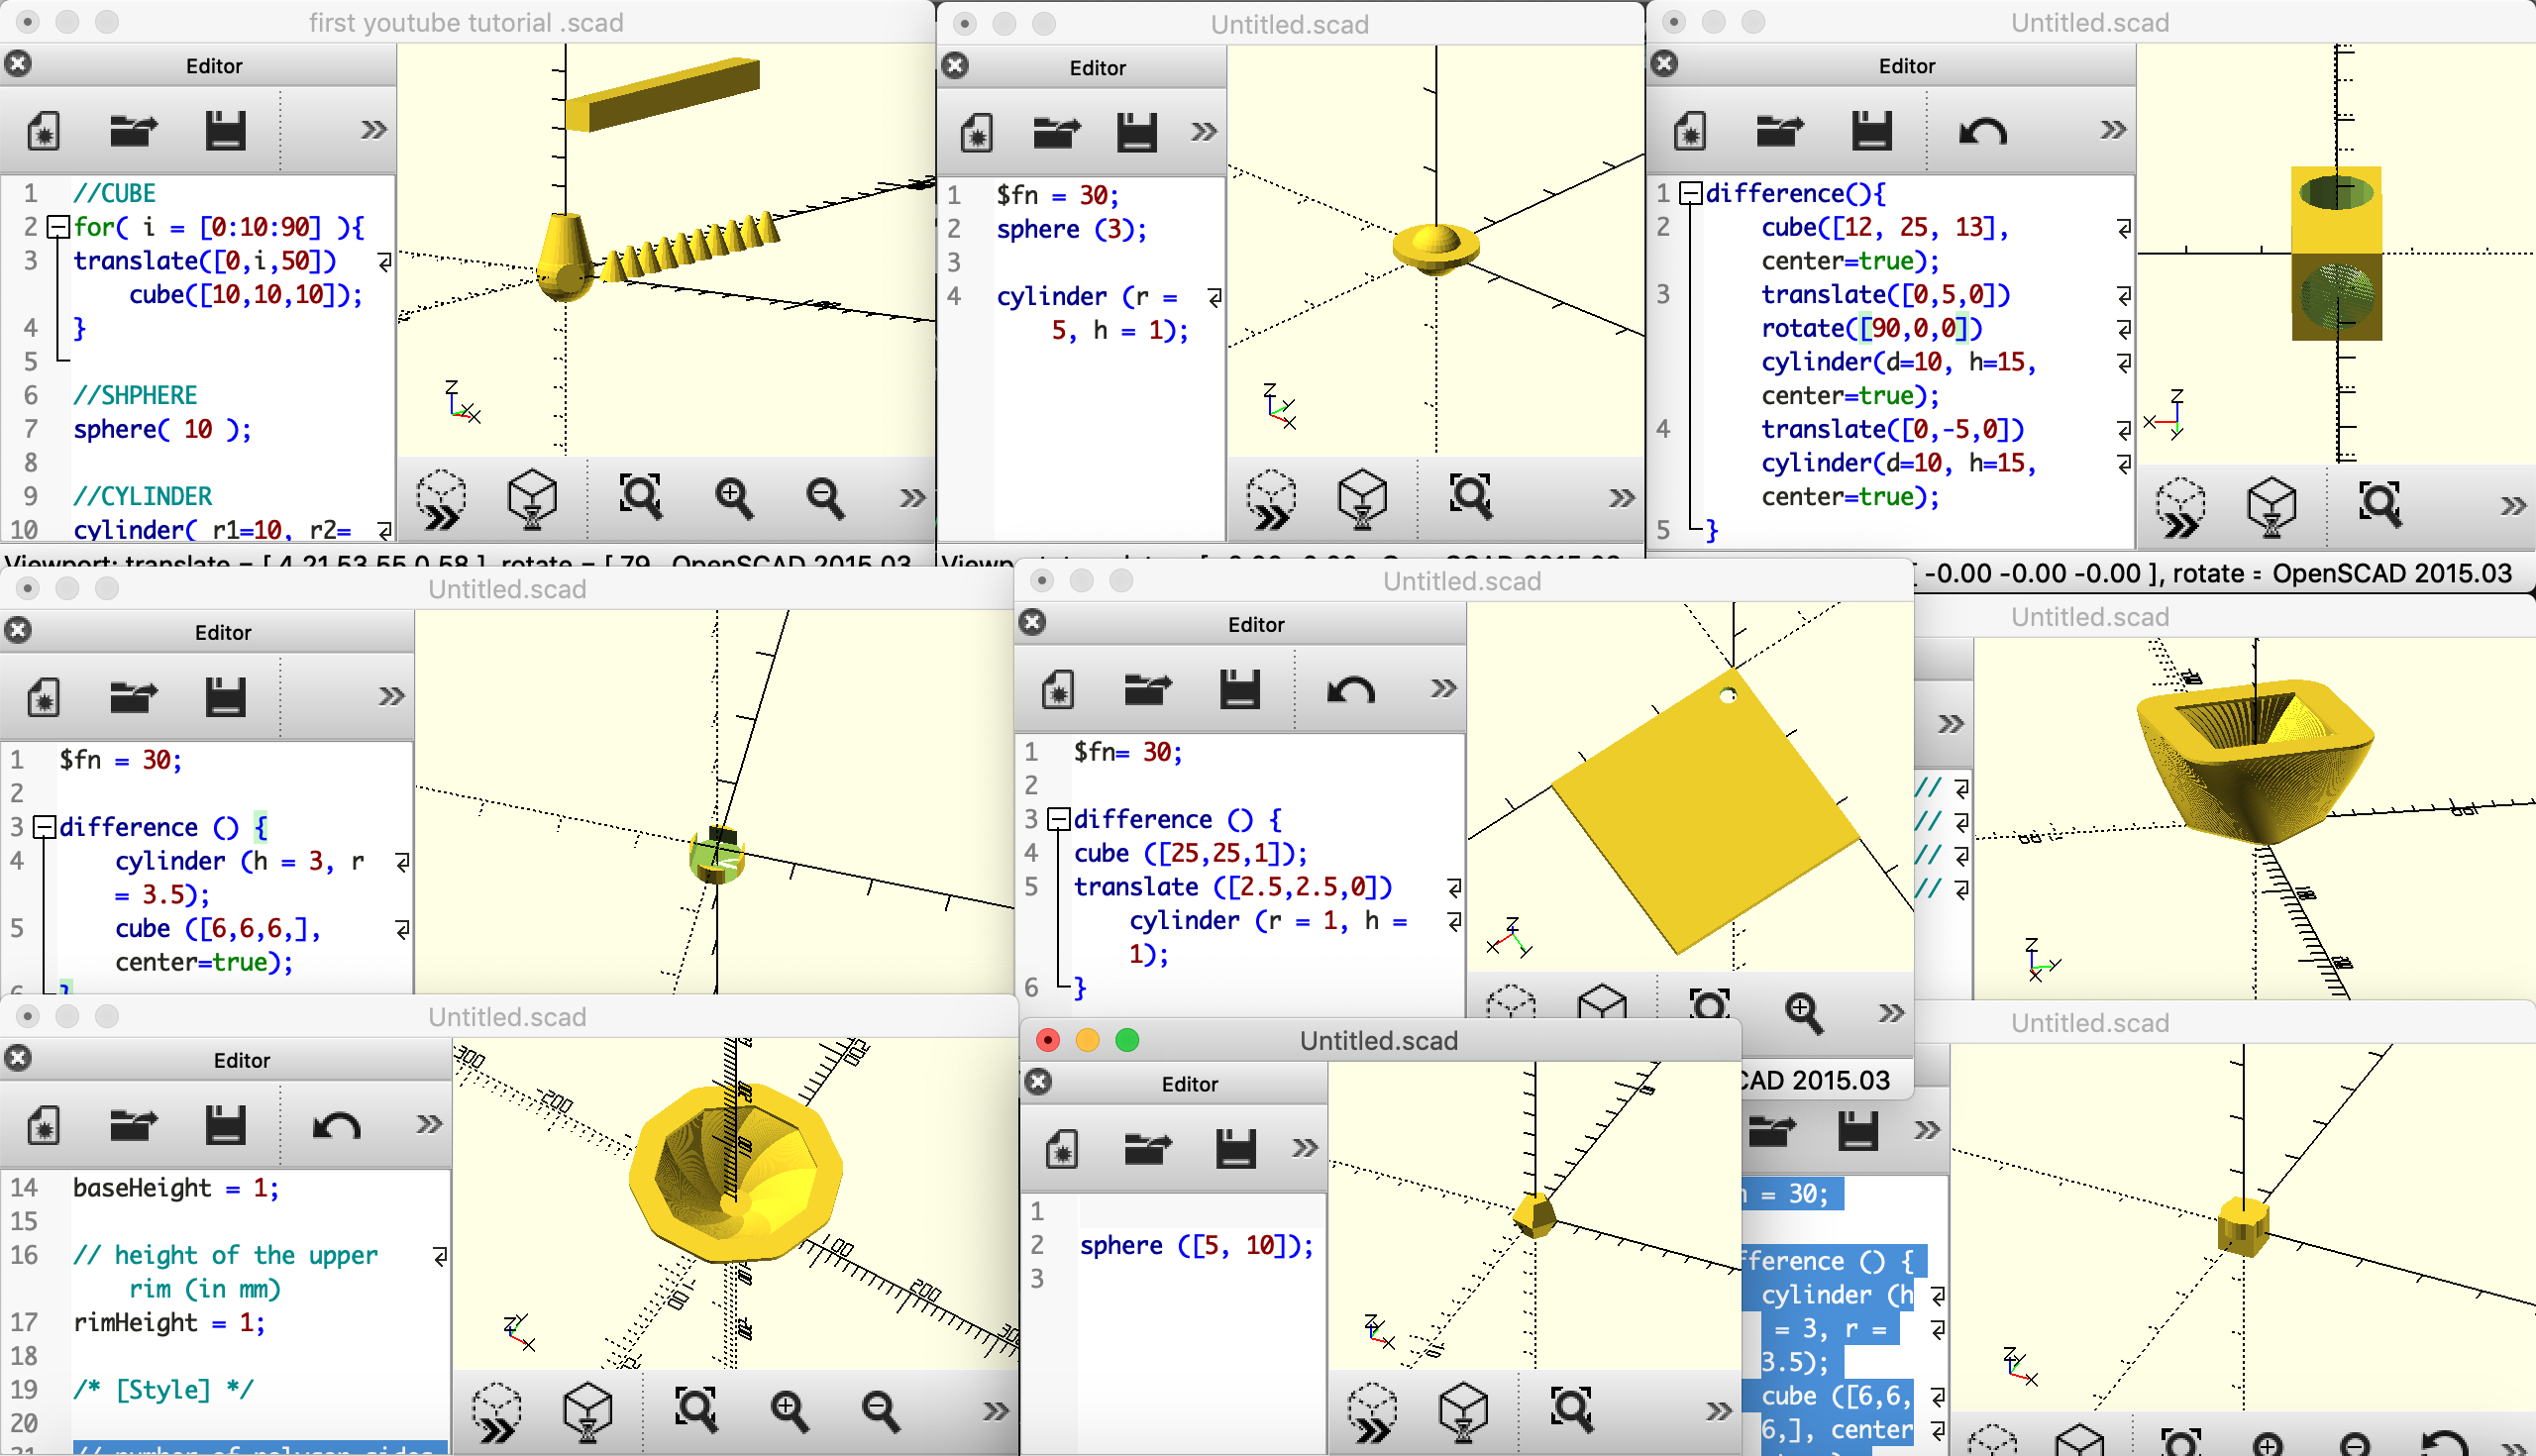
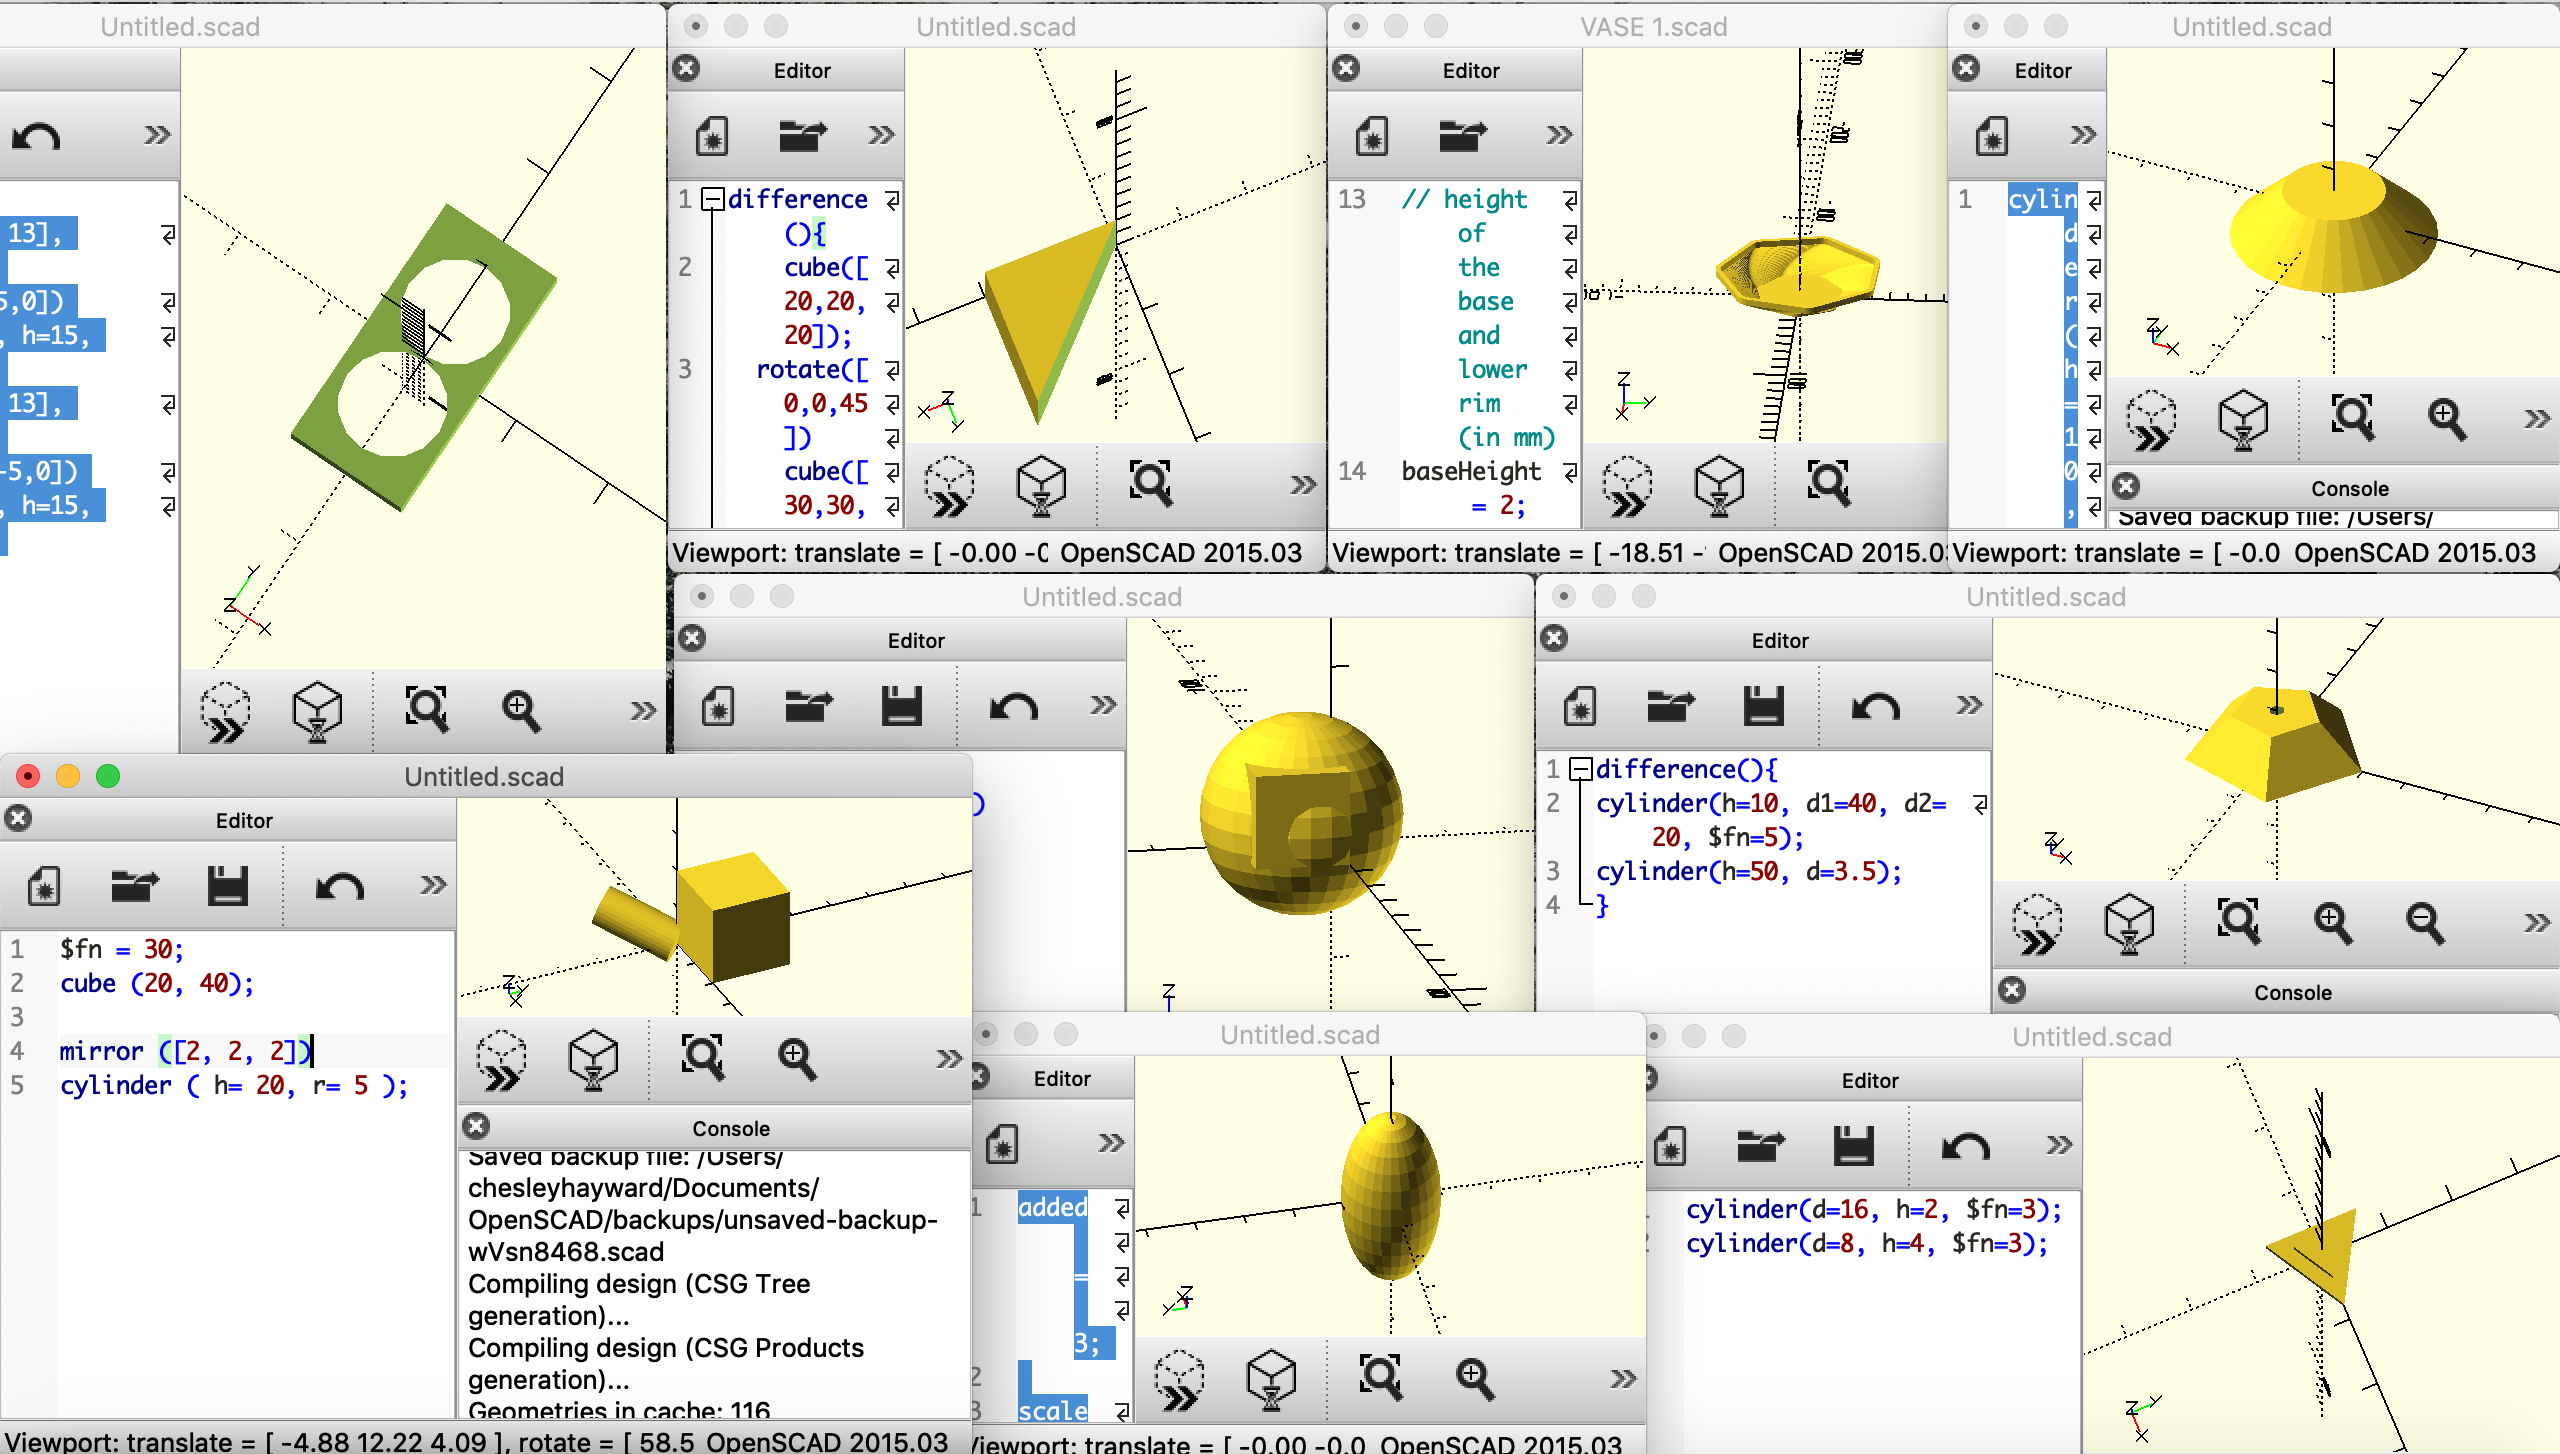
I would say my forms are very interesting. I used a lot of beginner videos to help inspire and guide me through each new task. I used a lot of the whole tool to create holes in my forms. I also manipulated traditional objects like a square and transform it into a triangle, limiting the square to have 3 sides. I also used the translate, difference, and mirror tools to help create some other shapes. A lot of my forms are very random and I followed many tutorial videos to help me get a baseline for each print. The triangle in the middle of the page is good practice for our upcoming OpenSCAD group project since we are creating a giant, foot-long prism. I used many different tools in order to create holes. Also, I explored different shape sizes stretching many of them out so they don’t look like the original shape. I used the extrude tool to combine different shapes. All in all, OpenSCAD is harder than it seems but I am getting the hang of it, finally.
OpenSCAD Print
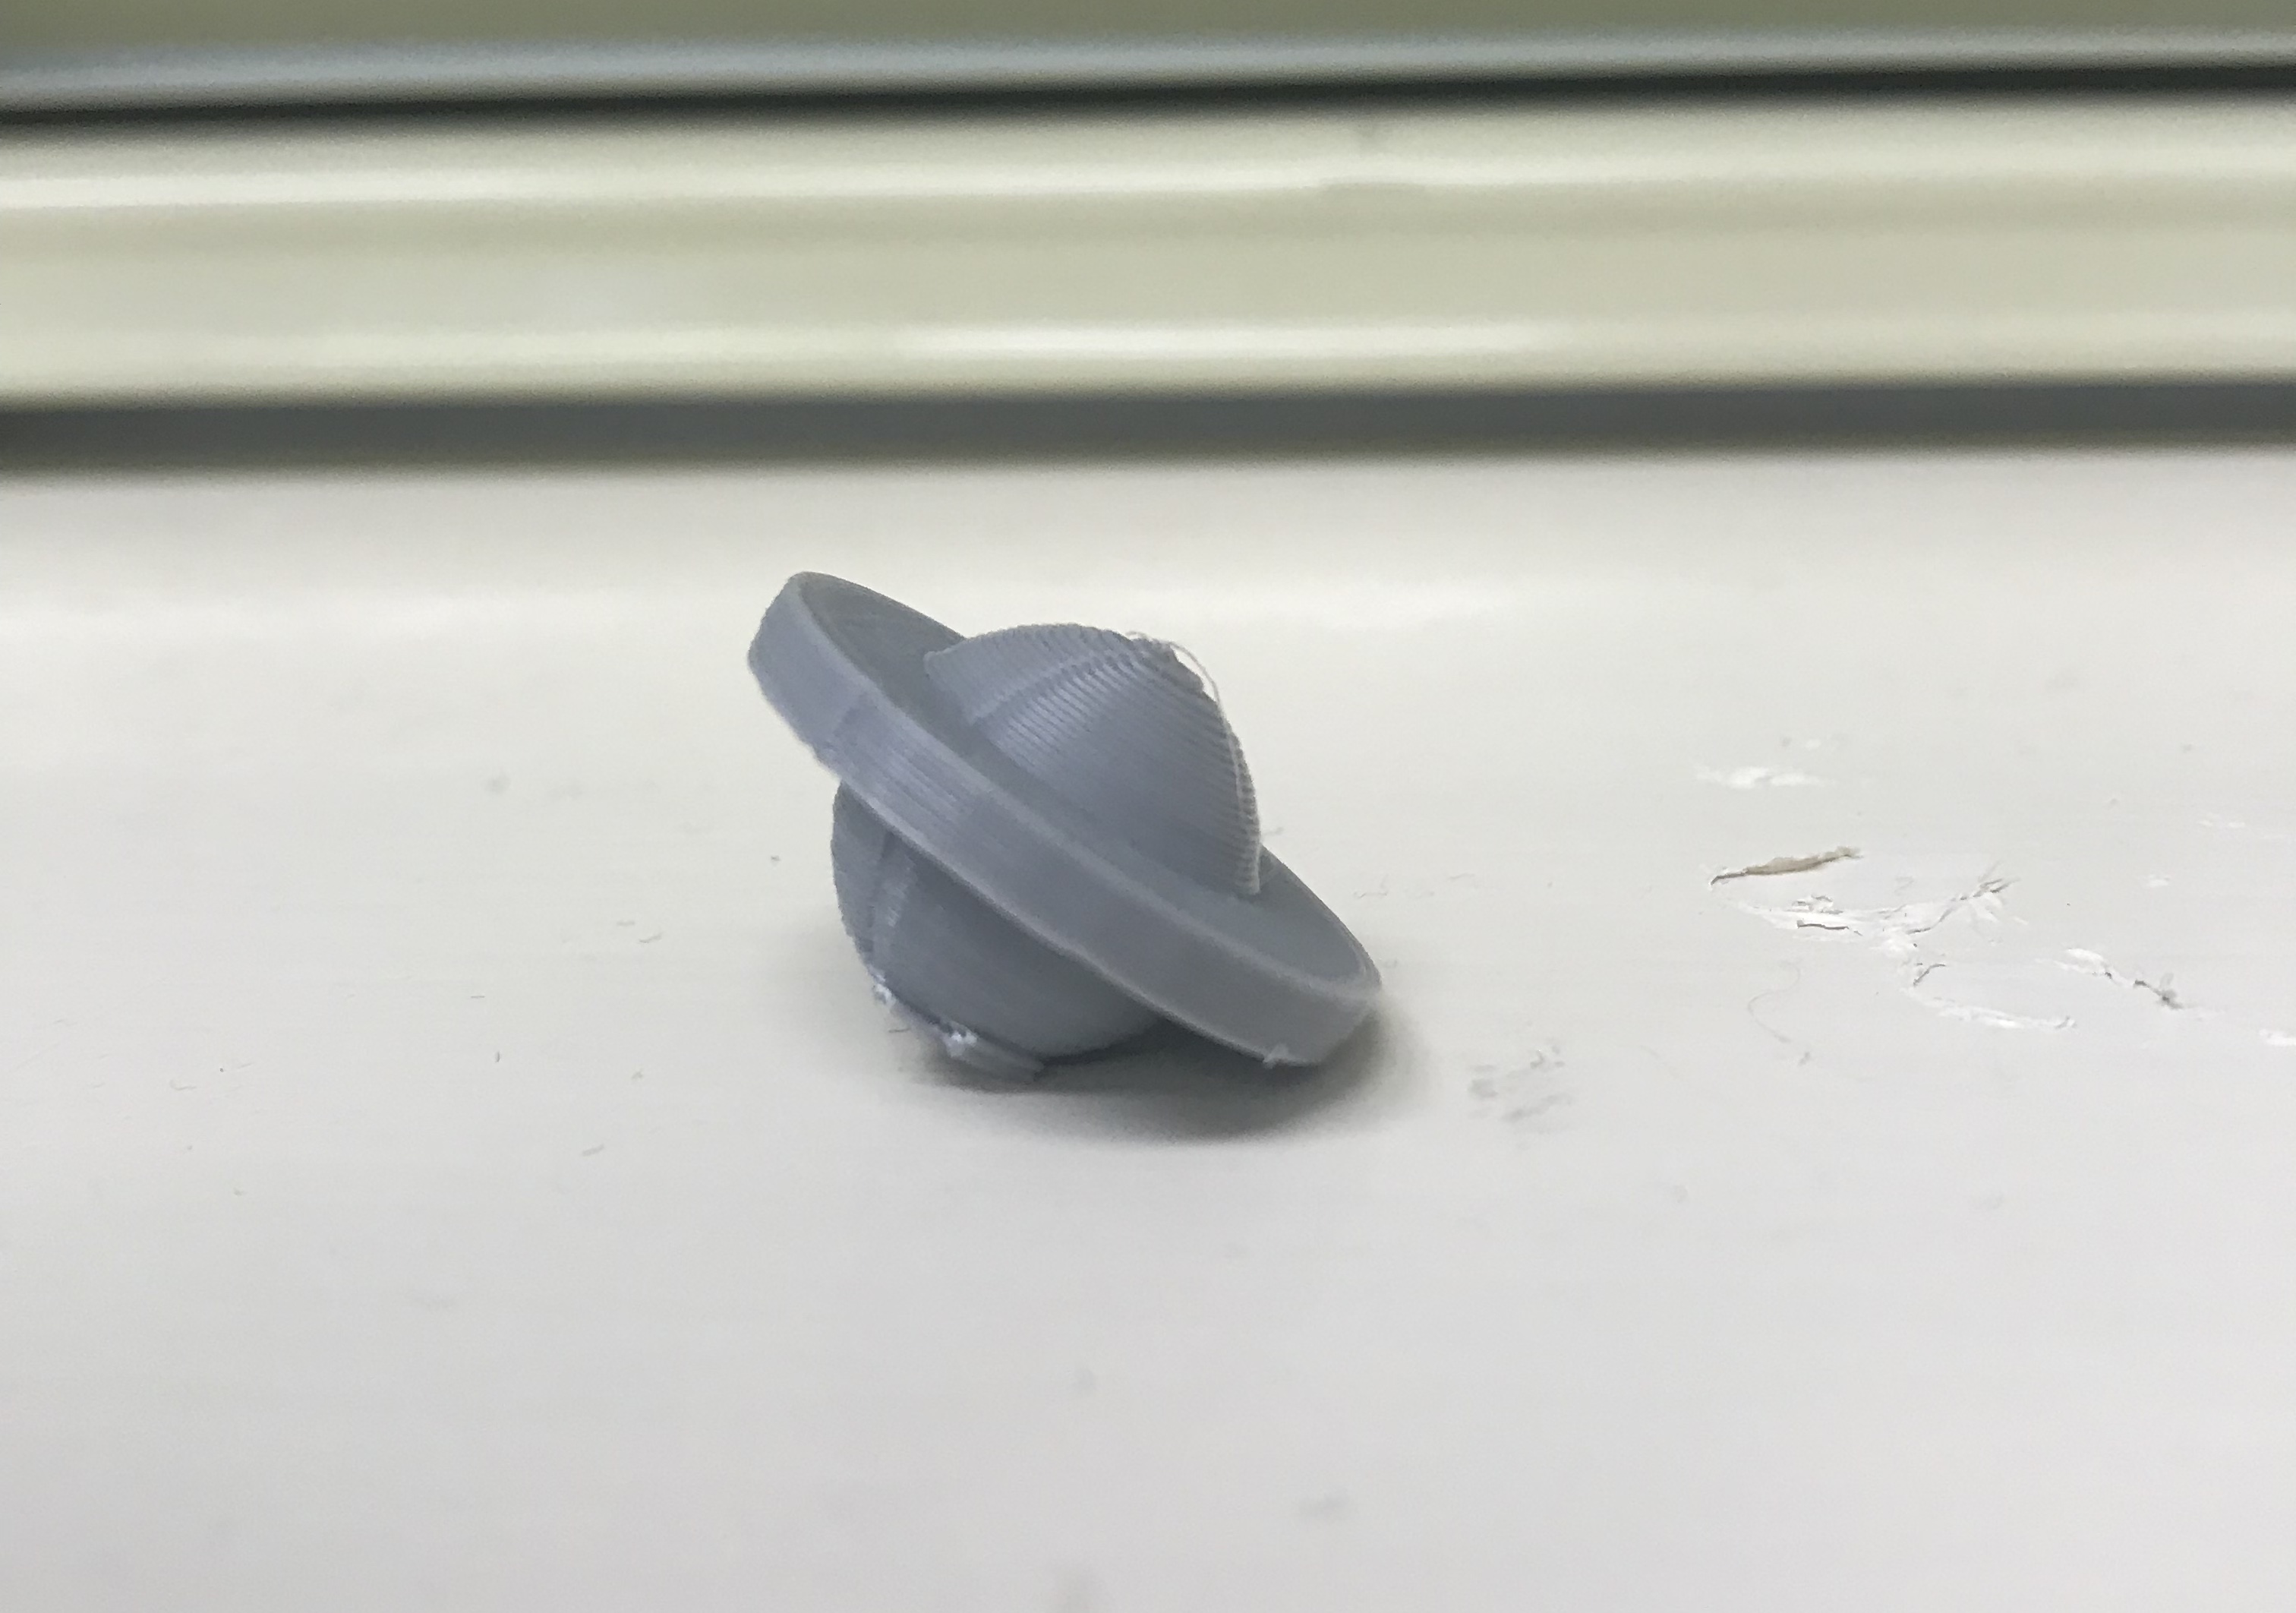

My print was a success, I wish I did it a little bigger but we were running short on time in class. Because of the wonky shape, the support seemed to take longer than the actual print. I was honestly hesitant to take the support off (shown in the second image) because I thought. it looked like a pretty cool concert hall of some sorts. All in all, I am happy with my little planet/ ufo shaped form.
Summary of Group OpenSCAD Project
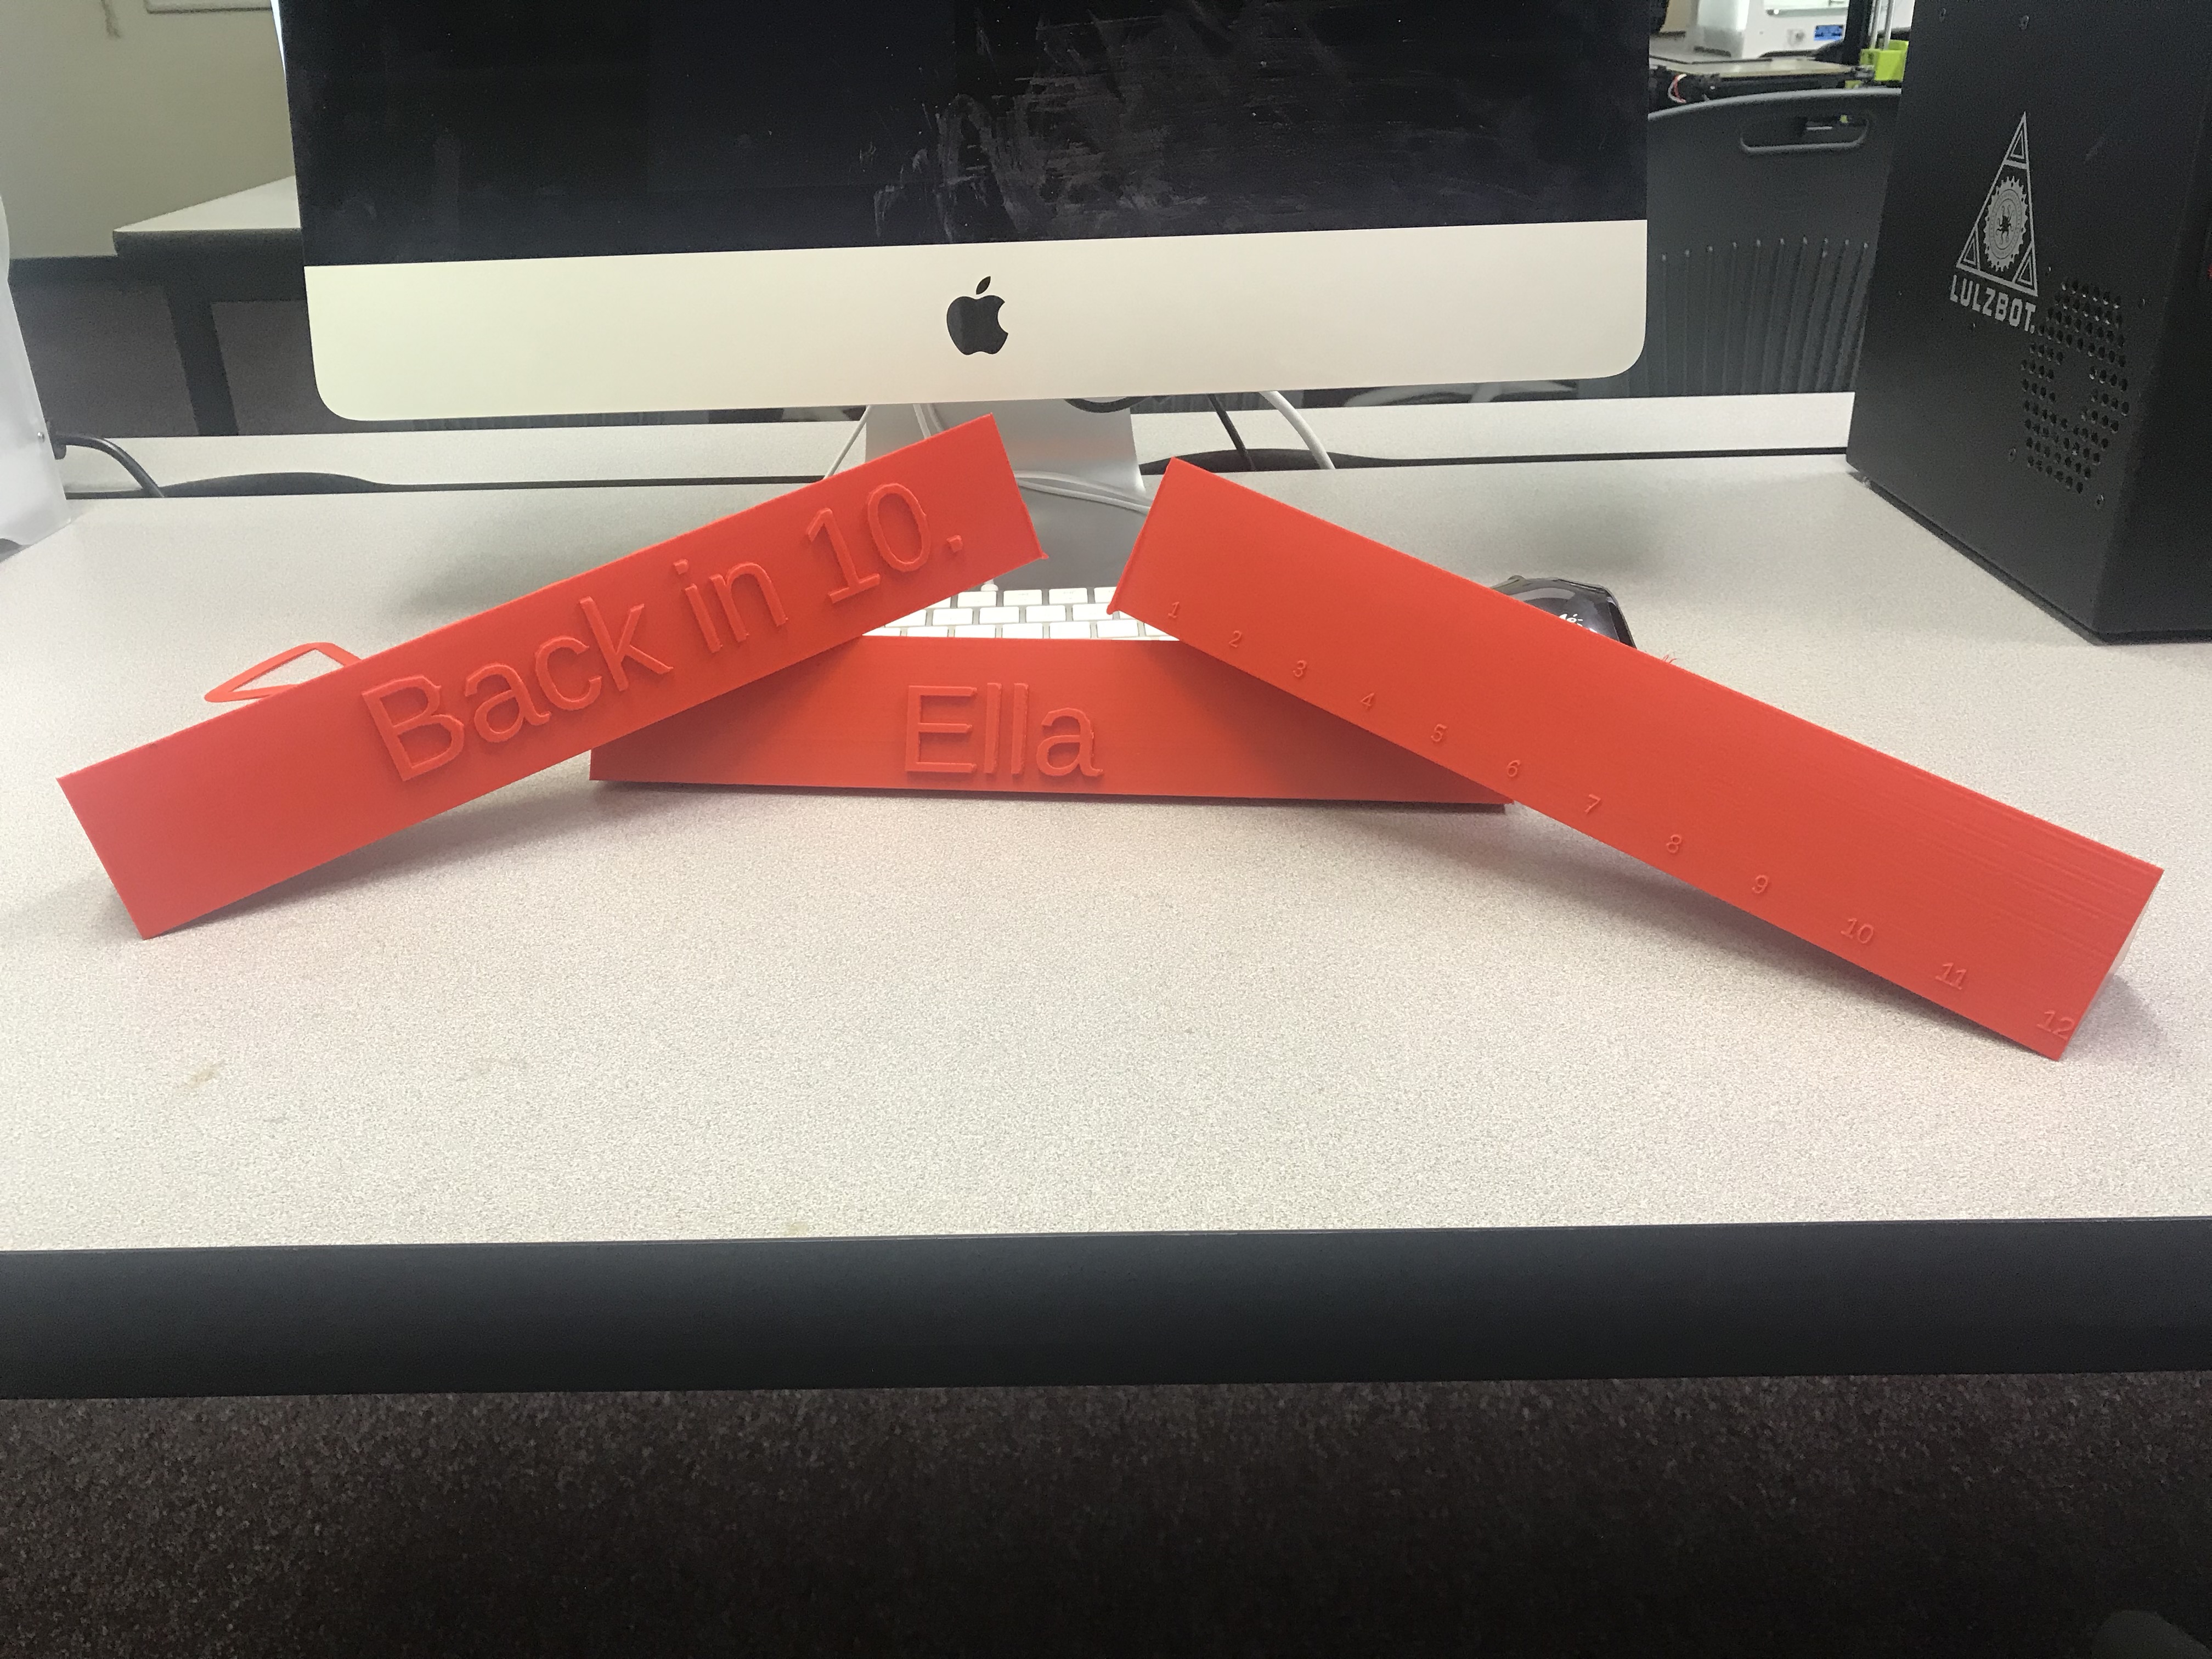
Chesley and Ella’s Functional Name Plate
Link to Thingiverse: https://www.thingiverse.com/thing:3450850
Link to Group Post: https://geekhaus.com/isci104_spring2019/2019/02/12/chesley-and-ella-name-plate/
It was really fun working on this project with Ella. We learned a lot about something we have never learned before, coding. It was definitely a challenge but it was certainly rewarding to make something unique and functional like our three-sided nameplate. I’m personally most excited to use the ruler, I’m almost 20 years old and I still don’t own a ruler so it will be nice to put something I made to use!
Reflections and Future Projects
This class has been so rewarding an eye-opening to a whole nother reason why I love JMU. It was really cool to even have the option of taking a 3D printing class! I certainly learned my capability when learning things completely foreign to me. This class was the perfect amount of exposure to 3D printing. Although the majority of my prints were pretty minimal and basic, they are all things that mean something to me and I ae already started displaying them around my room as cute accent decorations.
My experience in the class was struggling the first few days with a program, then finally getting the hang of it right before we learn a new program, which required me to start all over again. This motivation and basic knowledge makes me want to pick up future workshops regarding 3D printing. I definetly want to get back into Fusion360 and create some really cool objects that I realized I could make! I would recommend this class to anybody, thanks for a great 8-week course to fulfill my lab credit; I can’t believe our time is up!
With Love,
Chesley