

A very rough draft
Diving into the challenge
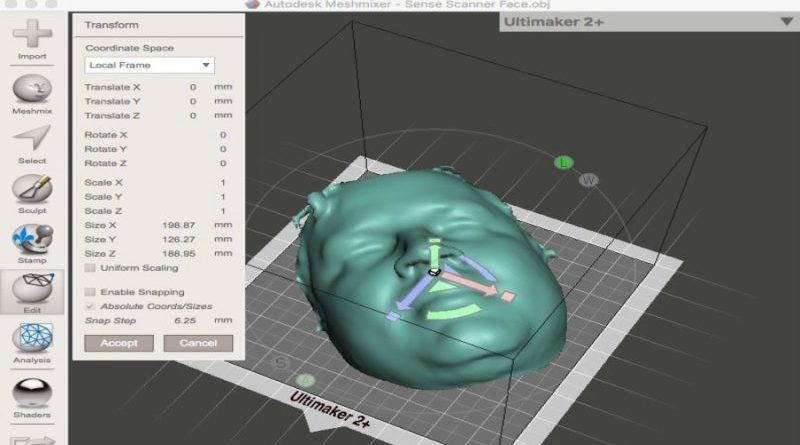
This past week has been a rollercoaster ride for our group. We were able to successfully get a quality scan using the 3D scanner software. After completing the scan, we ran into some issues in terms of file conversion. There was confusion between the different file types (STL, OBJ, etc.) and exactly which one we would need for the software we use. To top off the annoyance, we had to pay $7 for the scan, which was subsidized by our very own, Professor Taalman. (Thank you) We used mesh mixer to load the scan and edit it.
Progress.
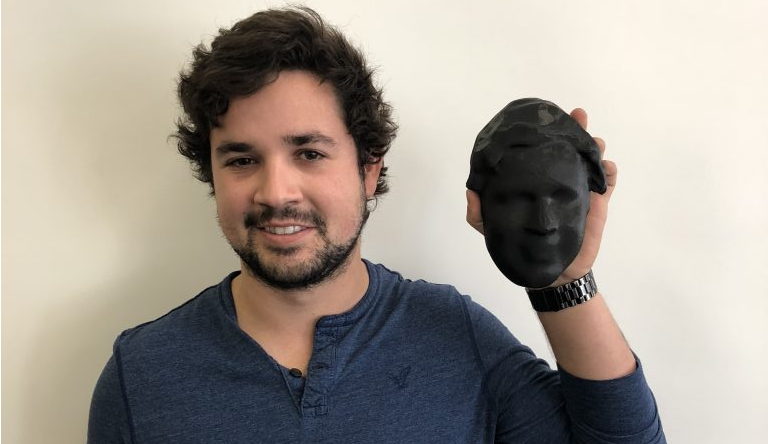
Our rough draft of the face took ~12 hours to fully print. With that being said, we were quite happy with the results. One area of improvement that we noticed immediately was the texture around the mouth and chin area. The facial recognition feature on the iPhone X primarily focuses on facial structure and where things (nose, ears, mouth, chin) are located in relation to the users’ default facial scan. Without this texture being better defined we won’t be able to crack the software. Our team begin experimenting with the scan, trying to cut or sculpt a more defined area of the mouth and chin. Better defined texture is something that will be of our main focus for the next few days.
To our surprise, we found out that there is a healthy amount of JMU professors that do research on facial recognition and the potential pros and cons of the technology. If everything goes as planned, within the next week we will be meeting with Professor Nathan Sprague to learn more about what he has found this far as well as asking him some of the questions that we have run into so far. Our team is confident that this meeting will be nothing but helpful to reaching our goals.
Next steps:
Besides better defining the texture of the print, we figure that we will likely need a bigger version of this scan. Our current scan is the largest that the Ultimaker’s will print it using a completely flat surface. To combat this we brainstormed two ideas that we will try.
- Option 1: Print the face at a vertically inclined angle. This will give us a wider/larger plain to print on
- Option 2: Print the face vertically upside down while utilizing the water soluble support filament that we talked about the medical students using in class. The reasoning for the head being printed upside down is due to the support needed for the printing of the nose. By printing the scan upside down, we minimize the chance of error because the bottom (base) of the nose will be printed first.
We hope to be finished with the next phase of the face by Sunday. Until then, we will be working diligently in the lab. 🙂
Talk soon,
Better Than Apple