

Perfecting the Mask
The New Scanner
Using a different scanner, the Sense 3D scanner, which was provided to us by Professor Mark Rooker, who is a metal smith and offers several metal classes here at JMU. 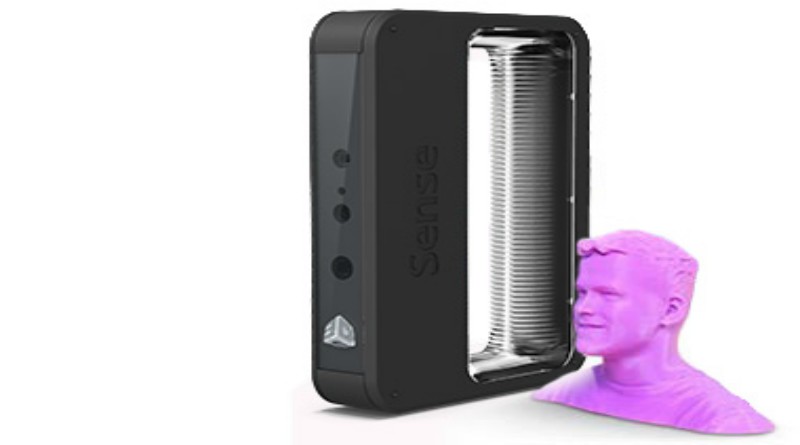
Here is a quick overview of our successful experimentation with the Sense 3D Scanner:
- We first had to go to Sense and log in to download the software that was compatible with the scanner.
- Once the login was complete, we were able to active the device once we plugged it into the desktop.
- We then had James sit in the best lit area that we could find.
- We began the process with a lot of trial and error. We found that there was an optimal distance in which James’ face would appear clearly. We also found that we were unable to make any sudden movements with the scanner itself as it would lose track of the face and would mess up the scan.
- After several unsuccessful scans, we decided to shine some more light onto Jame’s face using our iPhone flashlights.
- After several more unsuccessful scans, we found that the best scan was the one that we did the slowest. We very slowly moved the scanner over James’ face. We did this pretty much from ear-to-ear and eventually a lower pass over his face in order to capture the nostrils and under his chin.
- Once we got a scan that we liked, we were able to use the editing function of the Sense software that let us take away the superfluous materials( i.e. hair and torso) and then uploaded it to Meshmixer in order to continue the editing process.
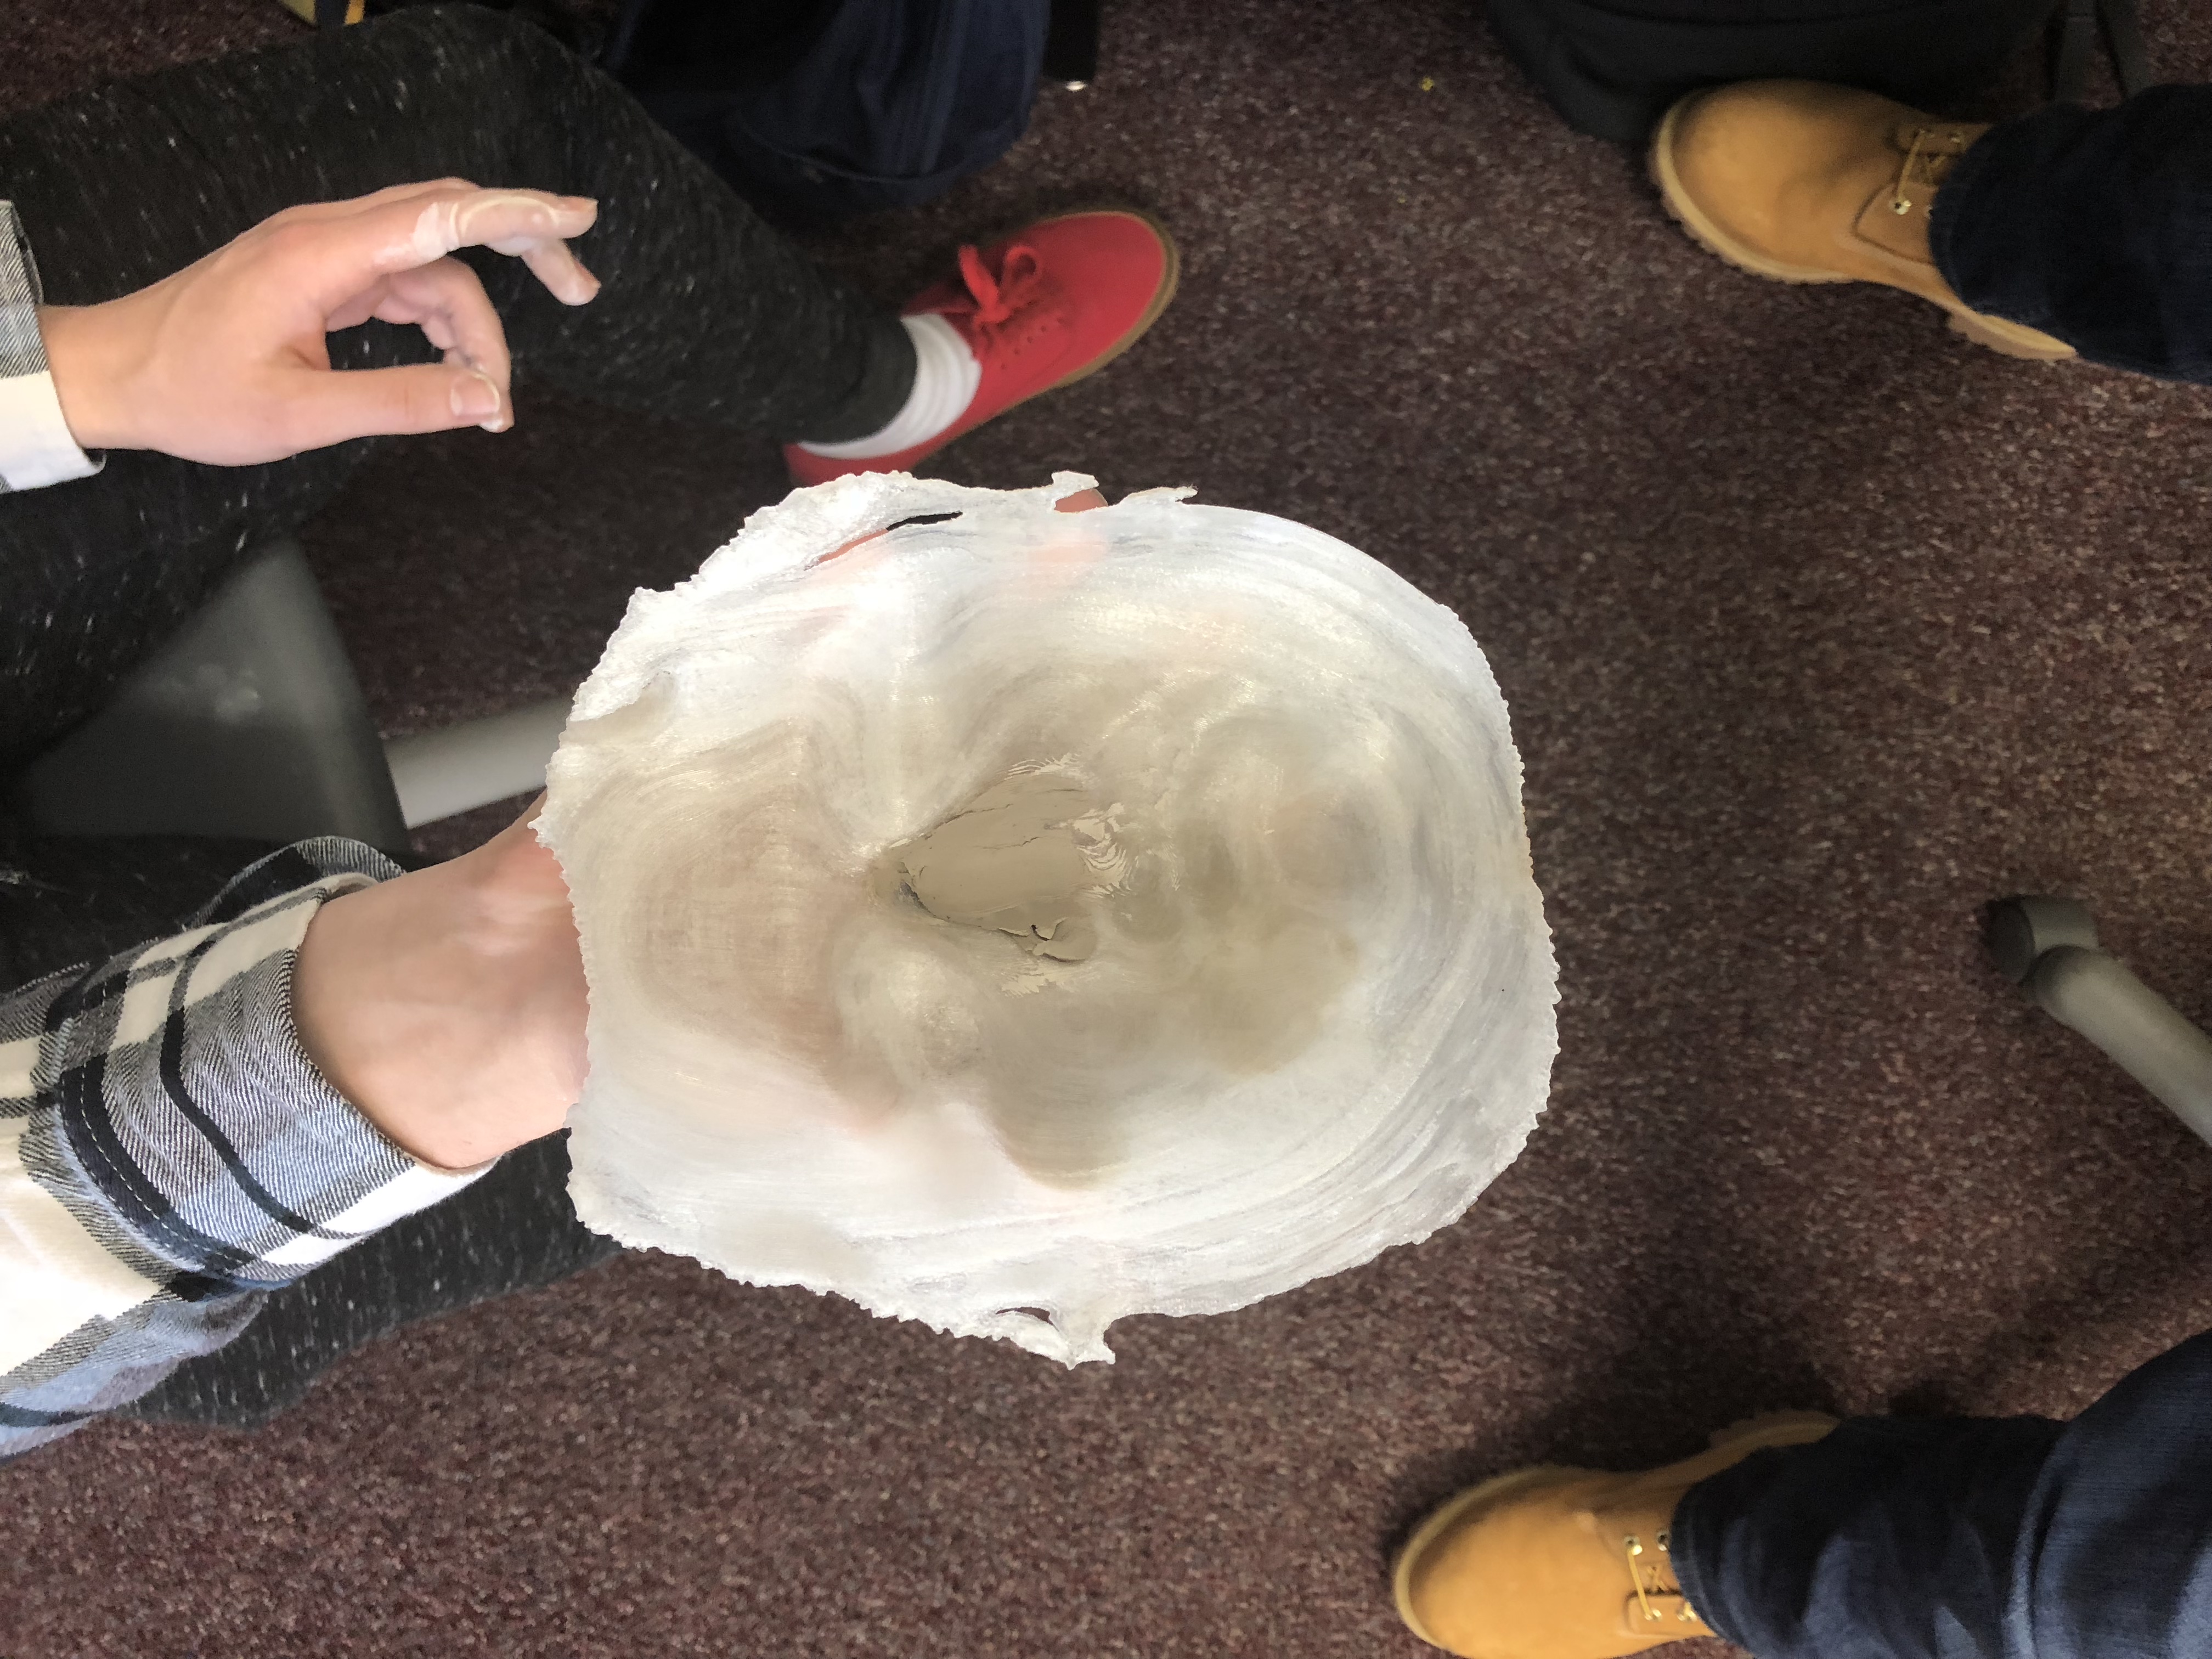
Mask 2.0
Over the weekend, we set out to print a new mask of James’ face. After using the new scanner software to capture the image, we edited it in Meshmixer. We removed the hair and torso portions in order to maximize the size of the print. On Friday, we started the printing process. We used PVA( dissolvable filament) to support the frame of the mask so that we could print a larger mask at an angle. The entire print took about 2 days to complete. Upon completion, we had to dissolve the support material, which took approximately 9 hours to fully complete. On Monday, we began to add some aesthetic appeal to the mask itself. By spreading a thin layer of clay over the mask, we hoped to take away the shininess of the plastic material. We believe that this was one of the barriers to success in regards to the facial recognition. We also used the clay to fill some of the holes that printed out in the mask. We believe that this was due to the initial scan that we took.
Next Steps:
We are currently attacking the issue of cracking the iPhone X on a two pronged approach. Obviously, we are printing out the mask and doing our best to make it so that James’ phone will recognize it as a face, with the ultimate goal of allowing us access. The other way we are approaching this is through research. Looking ahead, we need to complete some more thorough research about the facial recognition software itself. At this point, we know that the phone is not recognizing the mask as a human face, but we do not know the specific issue that is causing the mask to not be recognized.