Hello
My name is Adrian Michel and I am a Business Management Major with a minor in Computer Information System. I am the first person in my family to attend college figuring out life one step at a time so that it may be a little not easier for my little sister.
My favorite color is white and gold. I have brothers, sisters, and a very loyal dog with a very big ego. I don’t consider myself a stereotypical nerd but my hobbies say otherwise. Its not uncommon to find me playing video games or reading about current global news in my free time. I am a social butterfly with a broad range of friends from different places and groups. I love making music and making my friends laugh.
I do not have much 3D printing experience at all, but my goal is gain enough expertise to learn on my own after this class.
Thingiverse account: michelai
Thingiverse Model
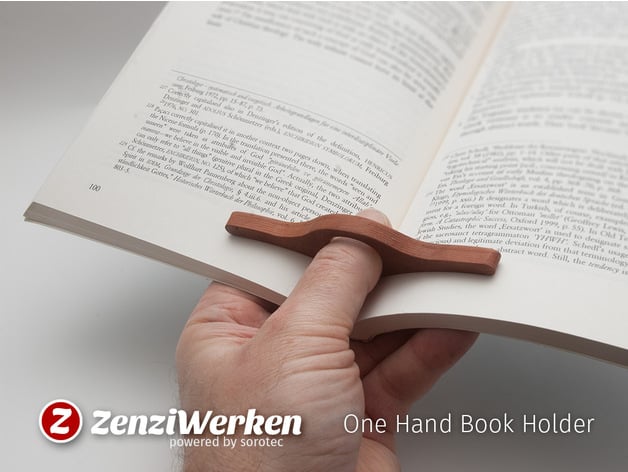
One Hand Book Holder cnc/laser
By: ZenziWerken
I chose this item because it is a simplistic yet very practical tool to read. I am a very avid reader and I think this book holder will just be fun to use even though I do not necessarily need it. I will be able to read lying in different positions instead of having to sit up because the book holder gives one the ability to.
Thingiverse Print
10 points, due by noon on Tuesday 3/19
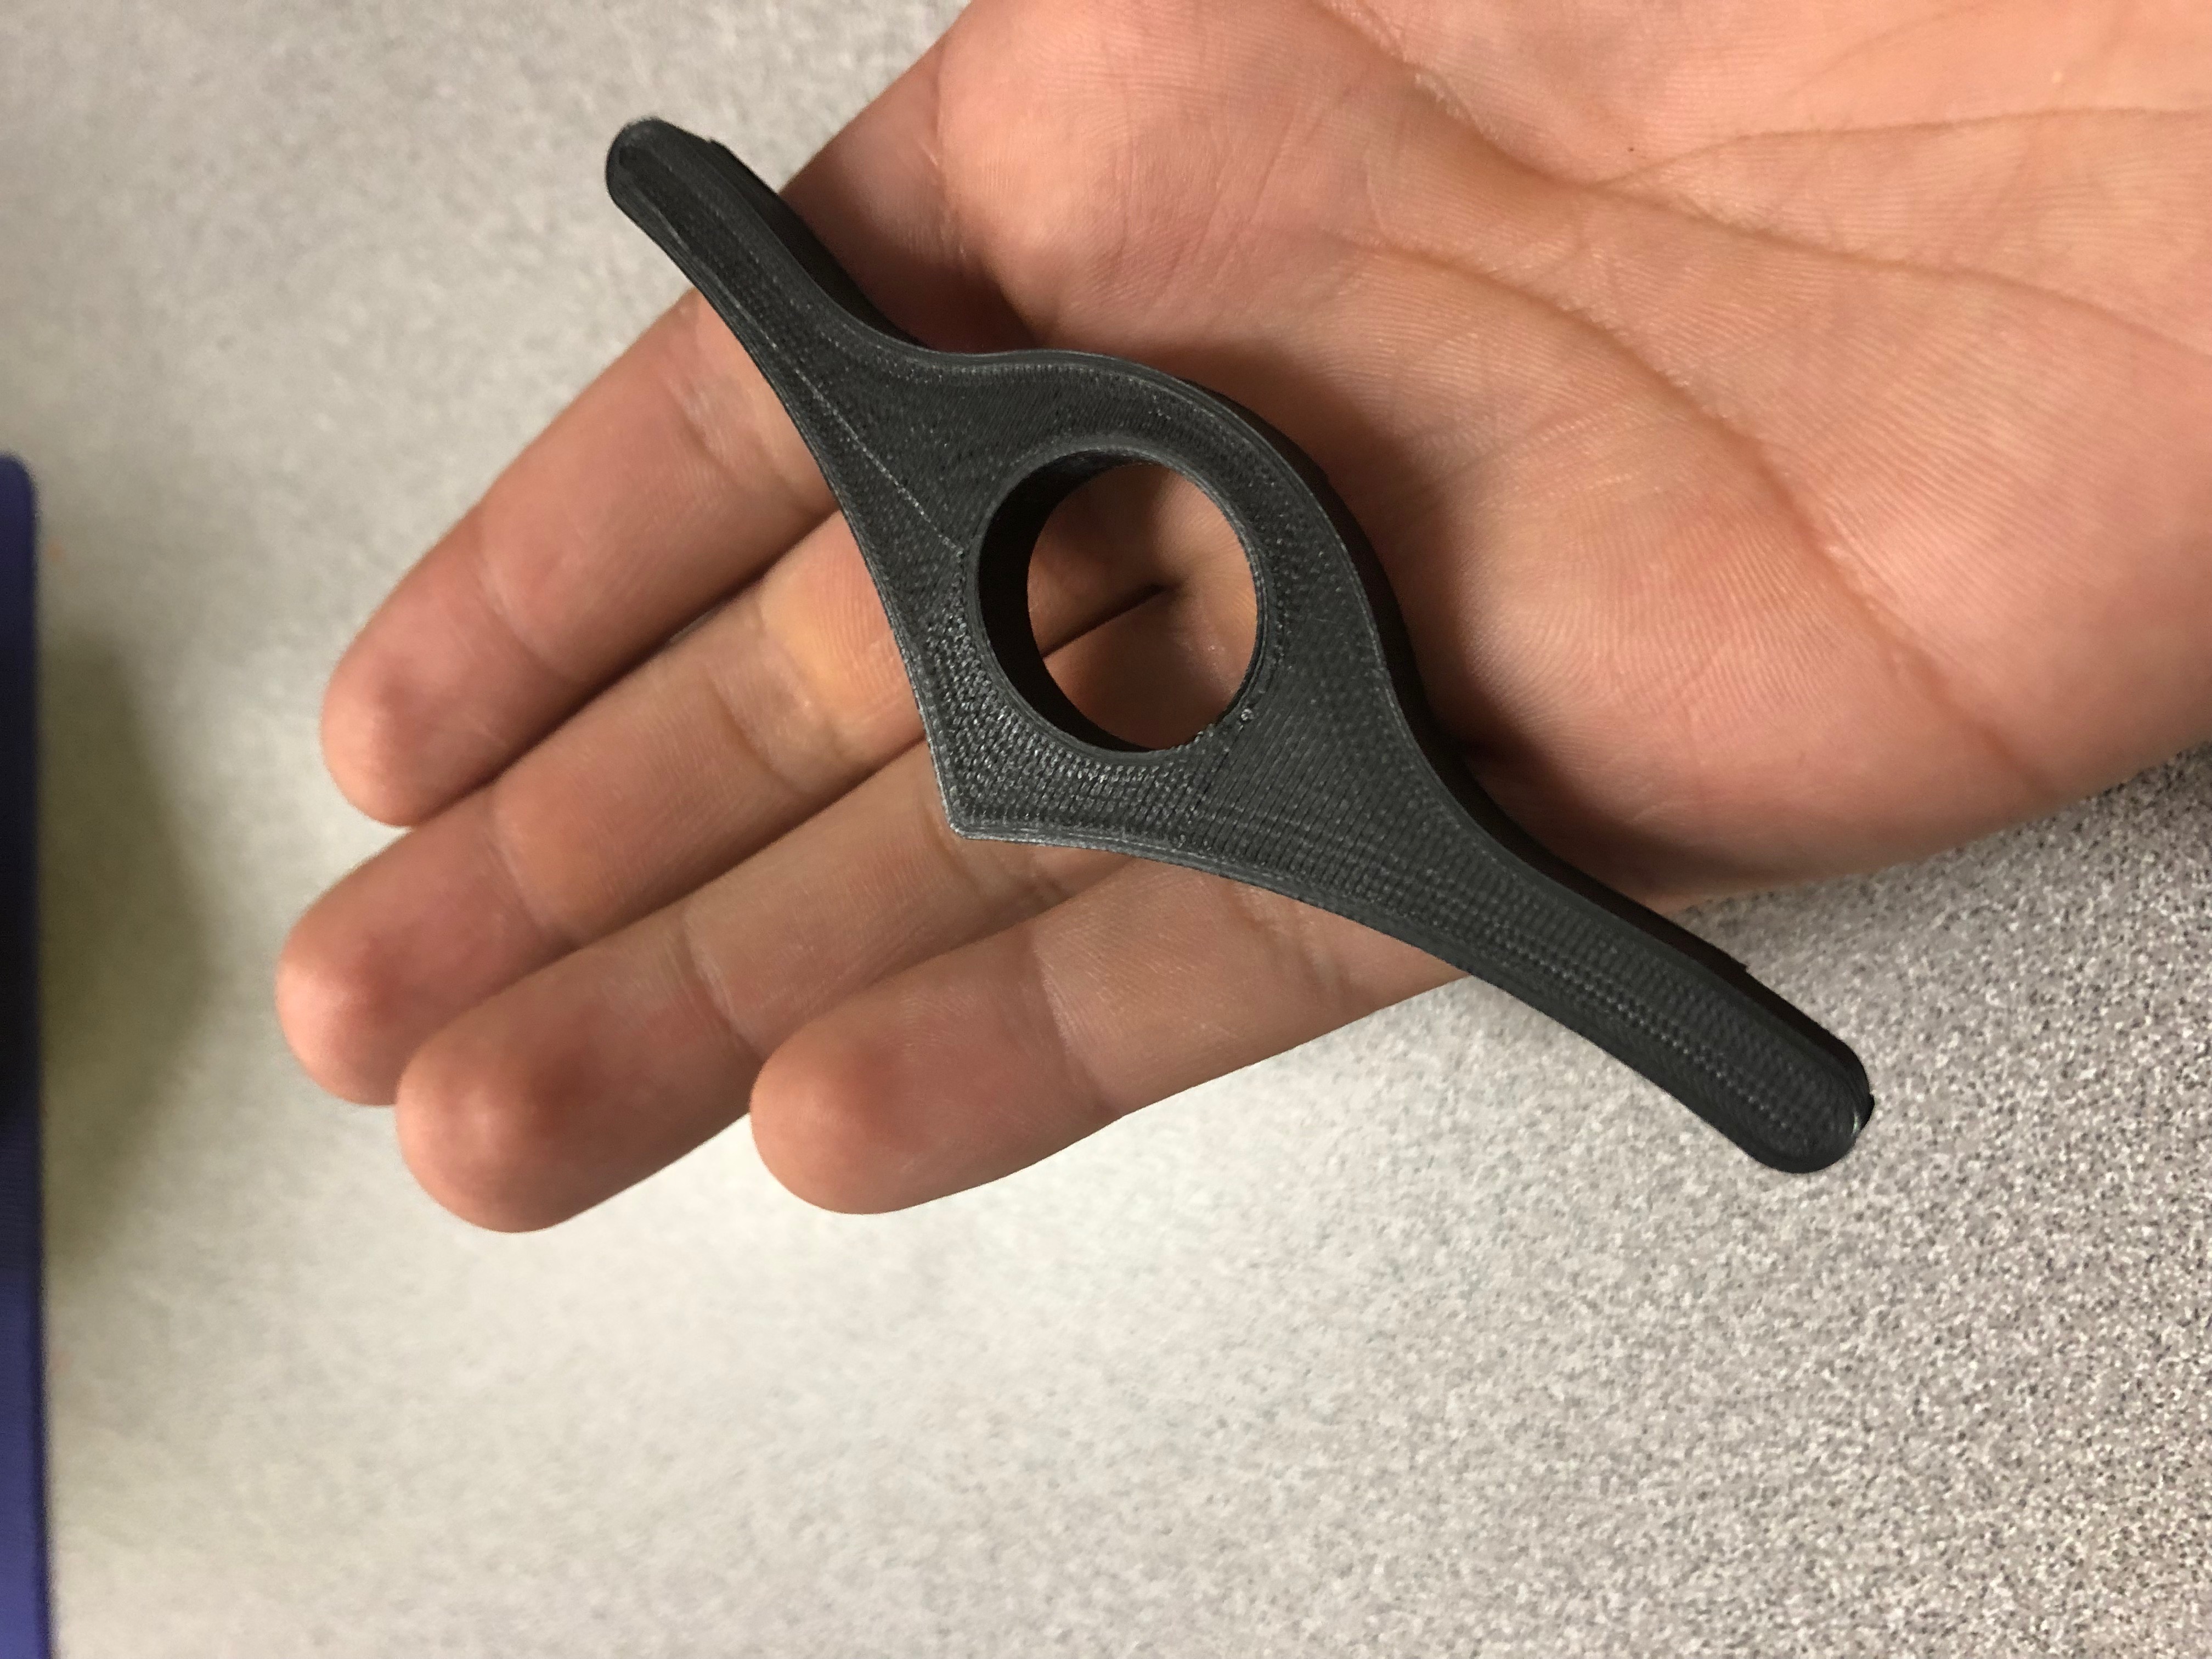
- The hand Book Holder print was made without any flaws. I separated the holder from the base platform with ease and removed a few strands of plastic sticking out. It as not difficult saving it to a SD card and then starting the print.
- “Make” posted in Thingiverse
10 points, due by noon on Tuesday 3/19
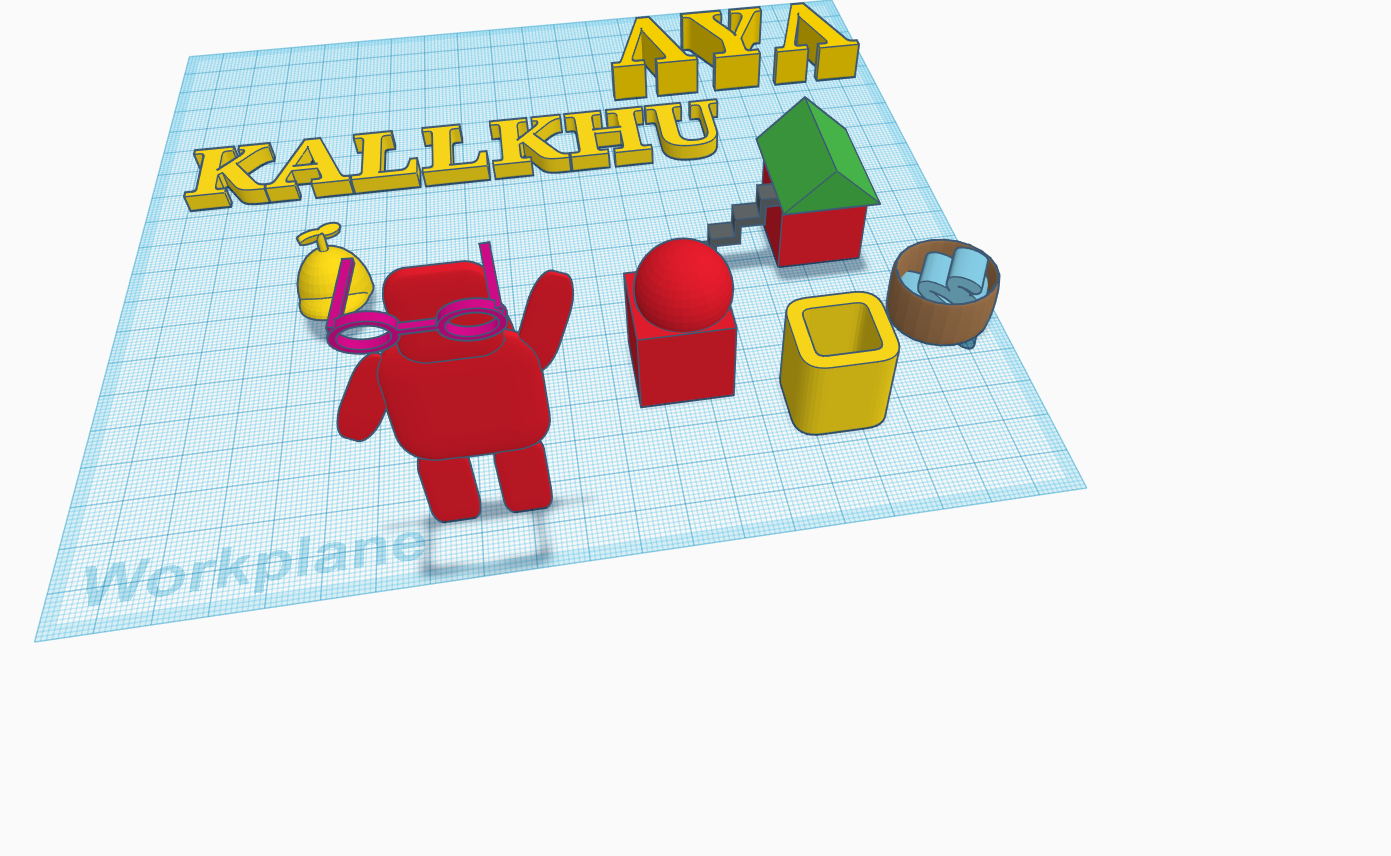
- I made the Greek letters LUL by inserting a piece of text and changing the color to gold
- I made “KALLKHU” by inserting a piece of text
- I made a house by inserting two shapes and adjusting the height
- I made a rounded corner box by inserting a shape and changing the outside border
- I made an astronaut by inserting an object
- I made a beanie by inserting an object
- I made stairs by picking an object and adjusted the size and direction with the scaling options
- I made a cylinder by inserting an object and adjusting size and height to make it a container
- I made a scribble and put it inside the cylinder
- I made glasses and placed them on the astronauts head by adjusting size
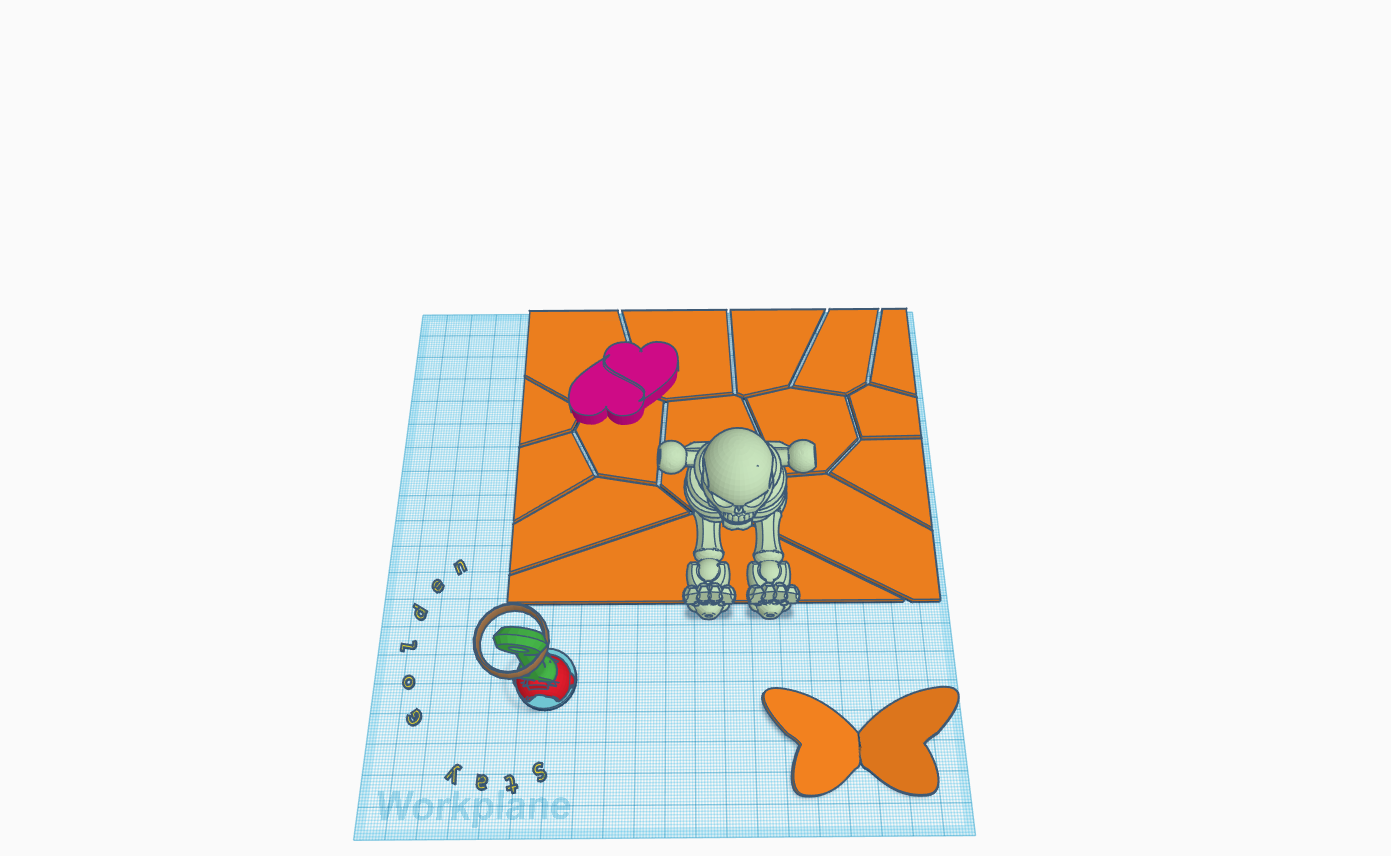
 I made a skeleton by inserting multiple objects and adjusting the height and size to connect the bones
 - I made a socket with a connector and handle by adjusting size and placement
- I made a desert floor by inserting a featured object
- I made two connecting hearts by rotating them
- I inserted a butterfly from objects
- I made a connector and form objects
- I attached a socket to it
- I then attached a handle from objects
- I wrote “stay golden” by typing text into a featured object
- I put ring on top off the handle from objects to make a ring toss
Tinkercad Print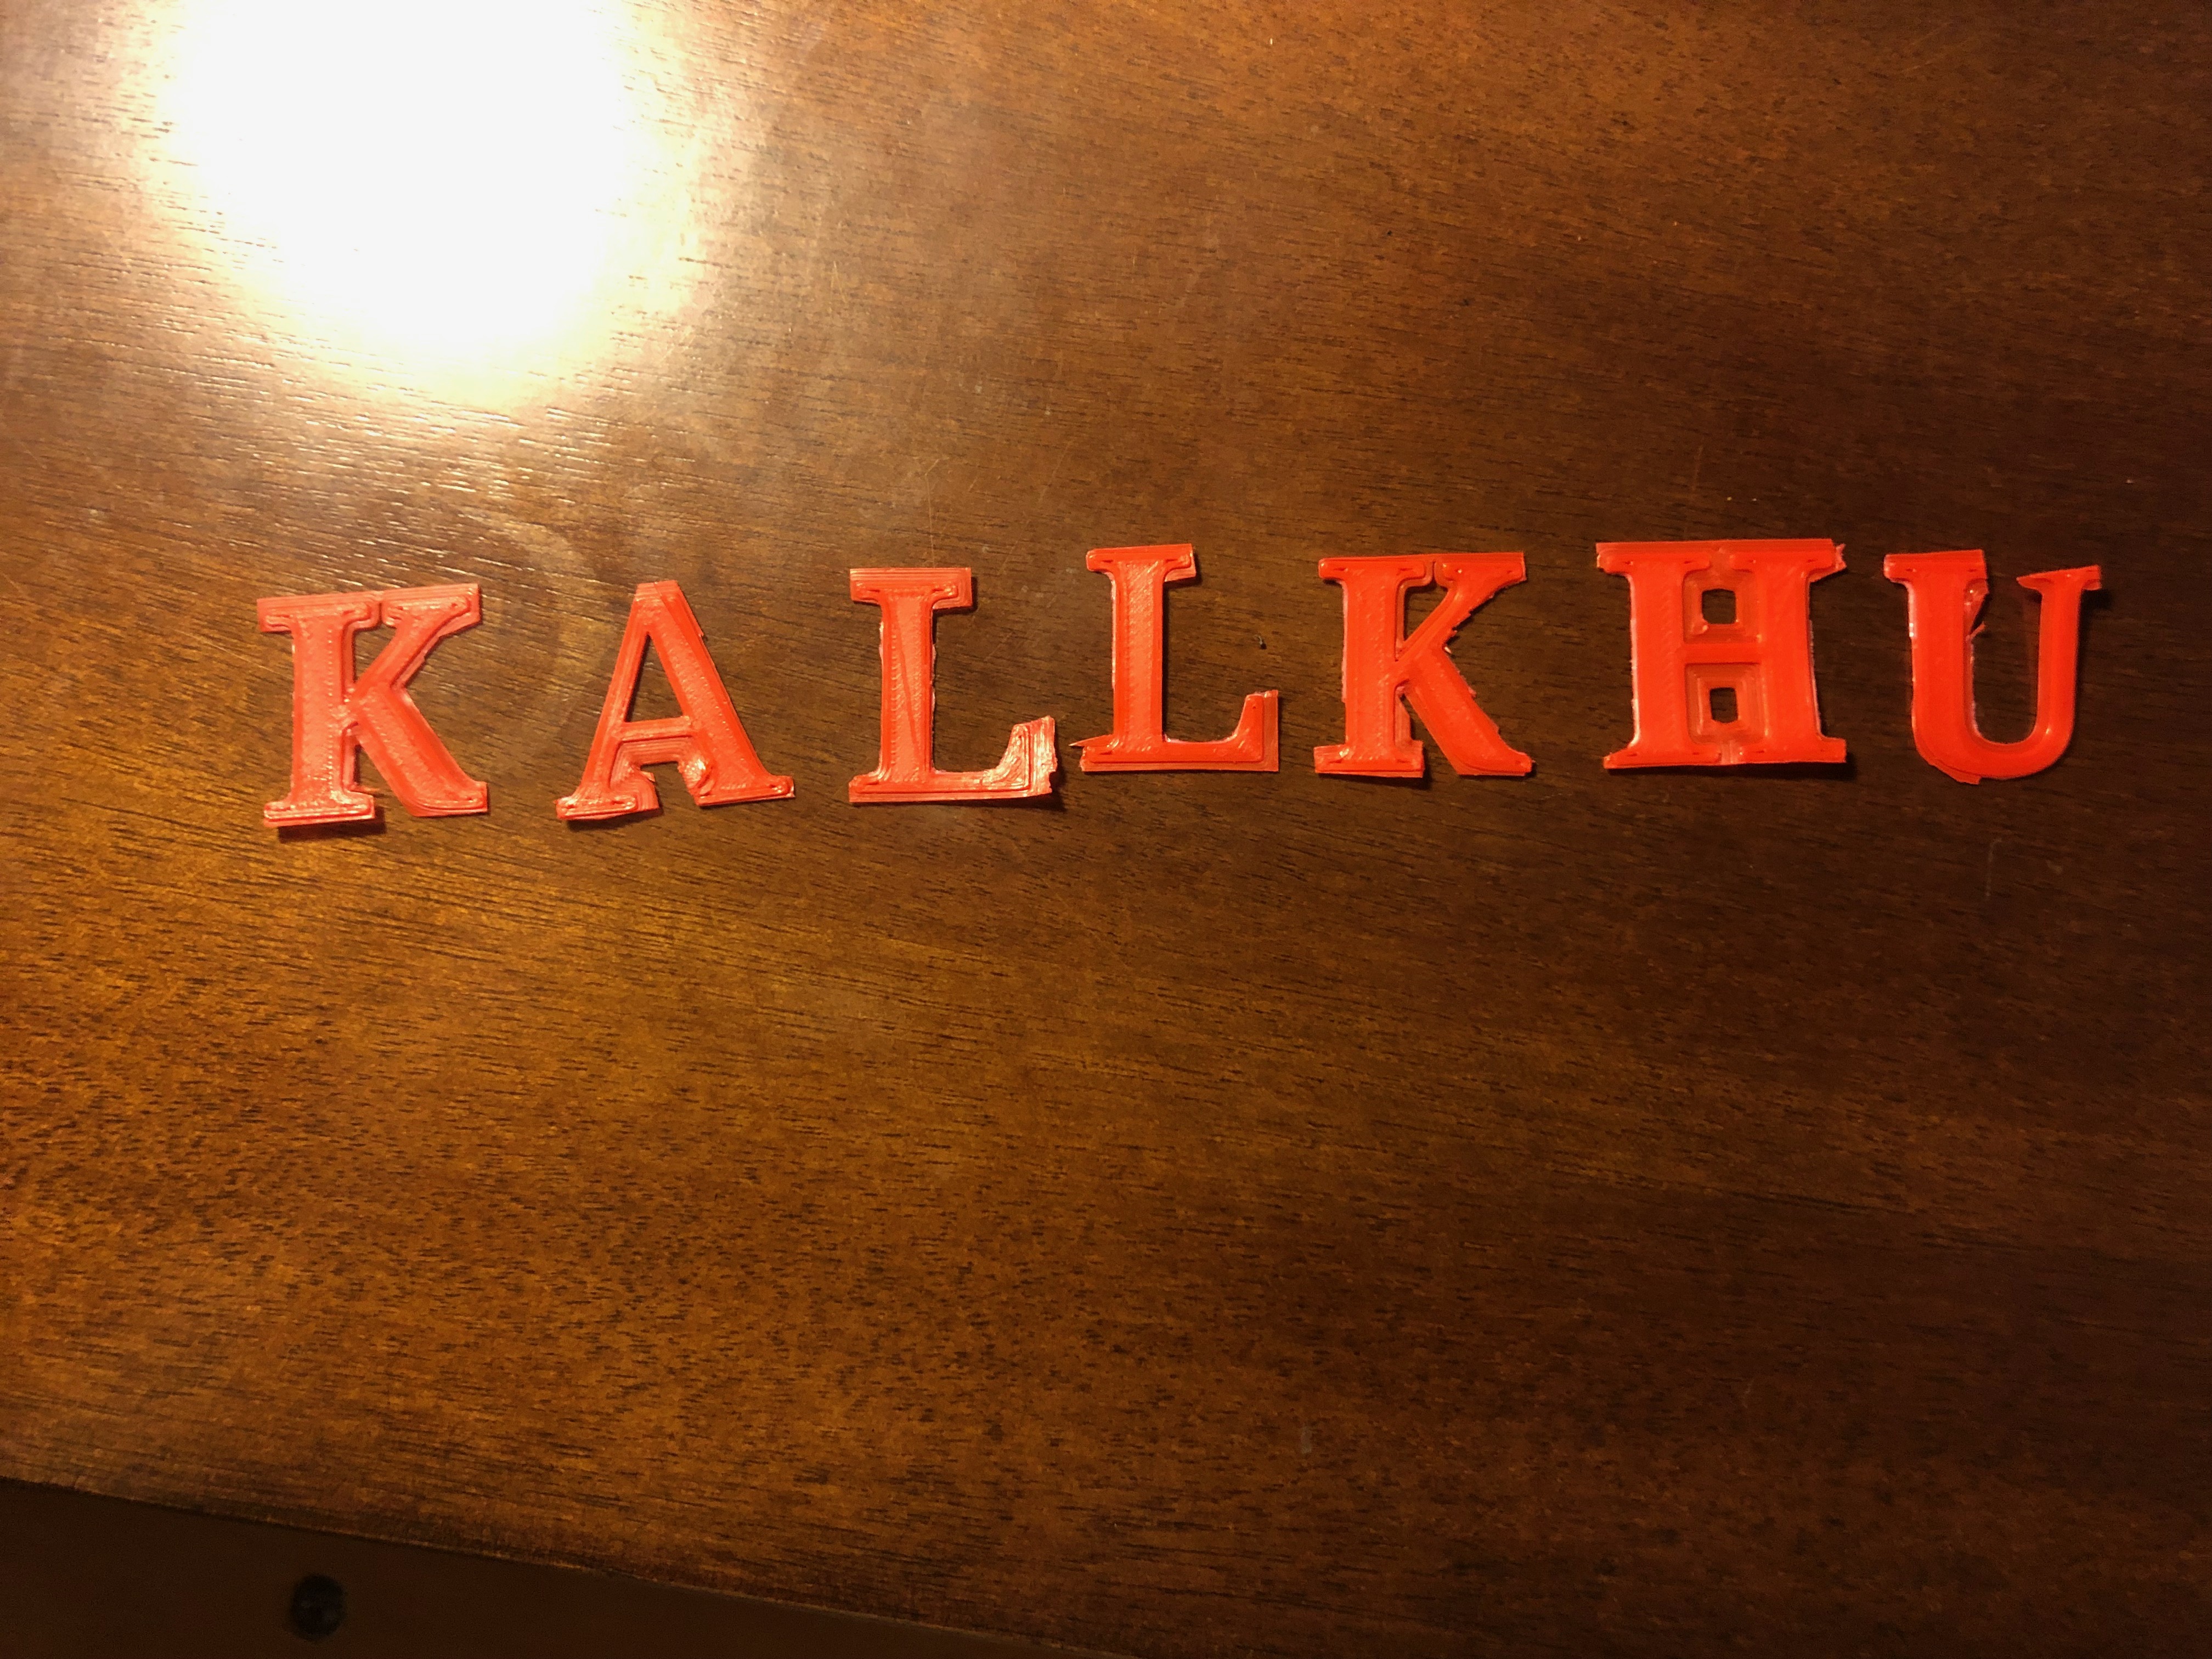
- This print was a success. There were problems though and things that I learned to avoid for future prints. Letter are somewhat tedious and difficult to remove from a support platform after the print is complete. It made me consider the height and purpose of the support options.
Summary of Group Tinkercad Project
10 points, due by noon on Thursday 3/28
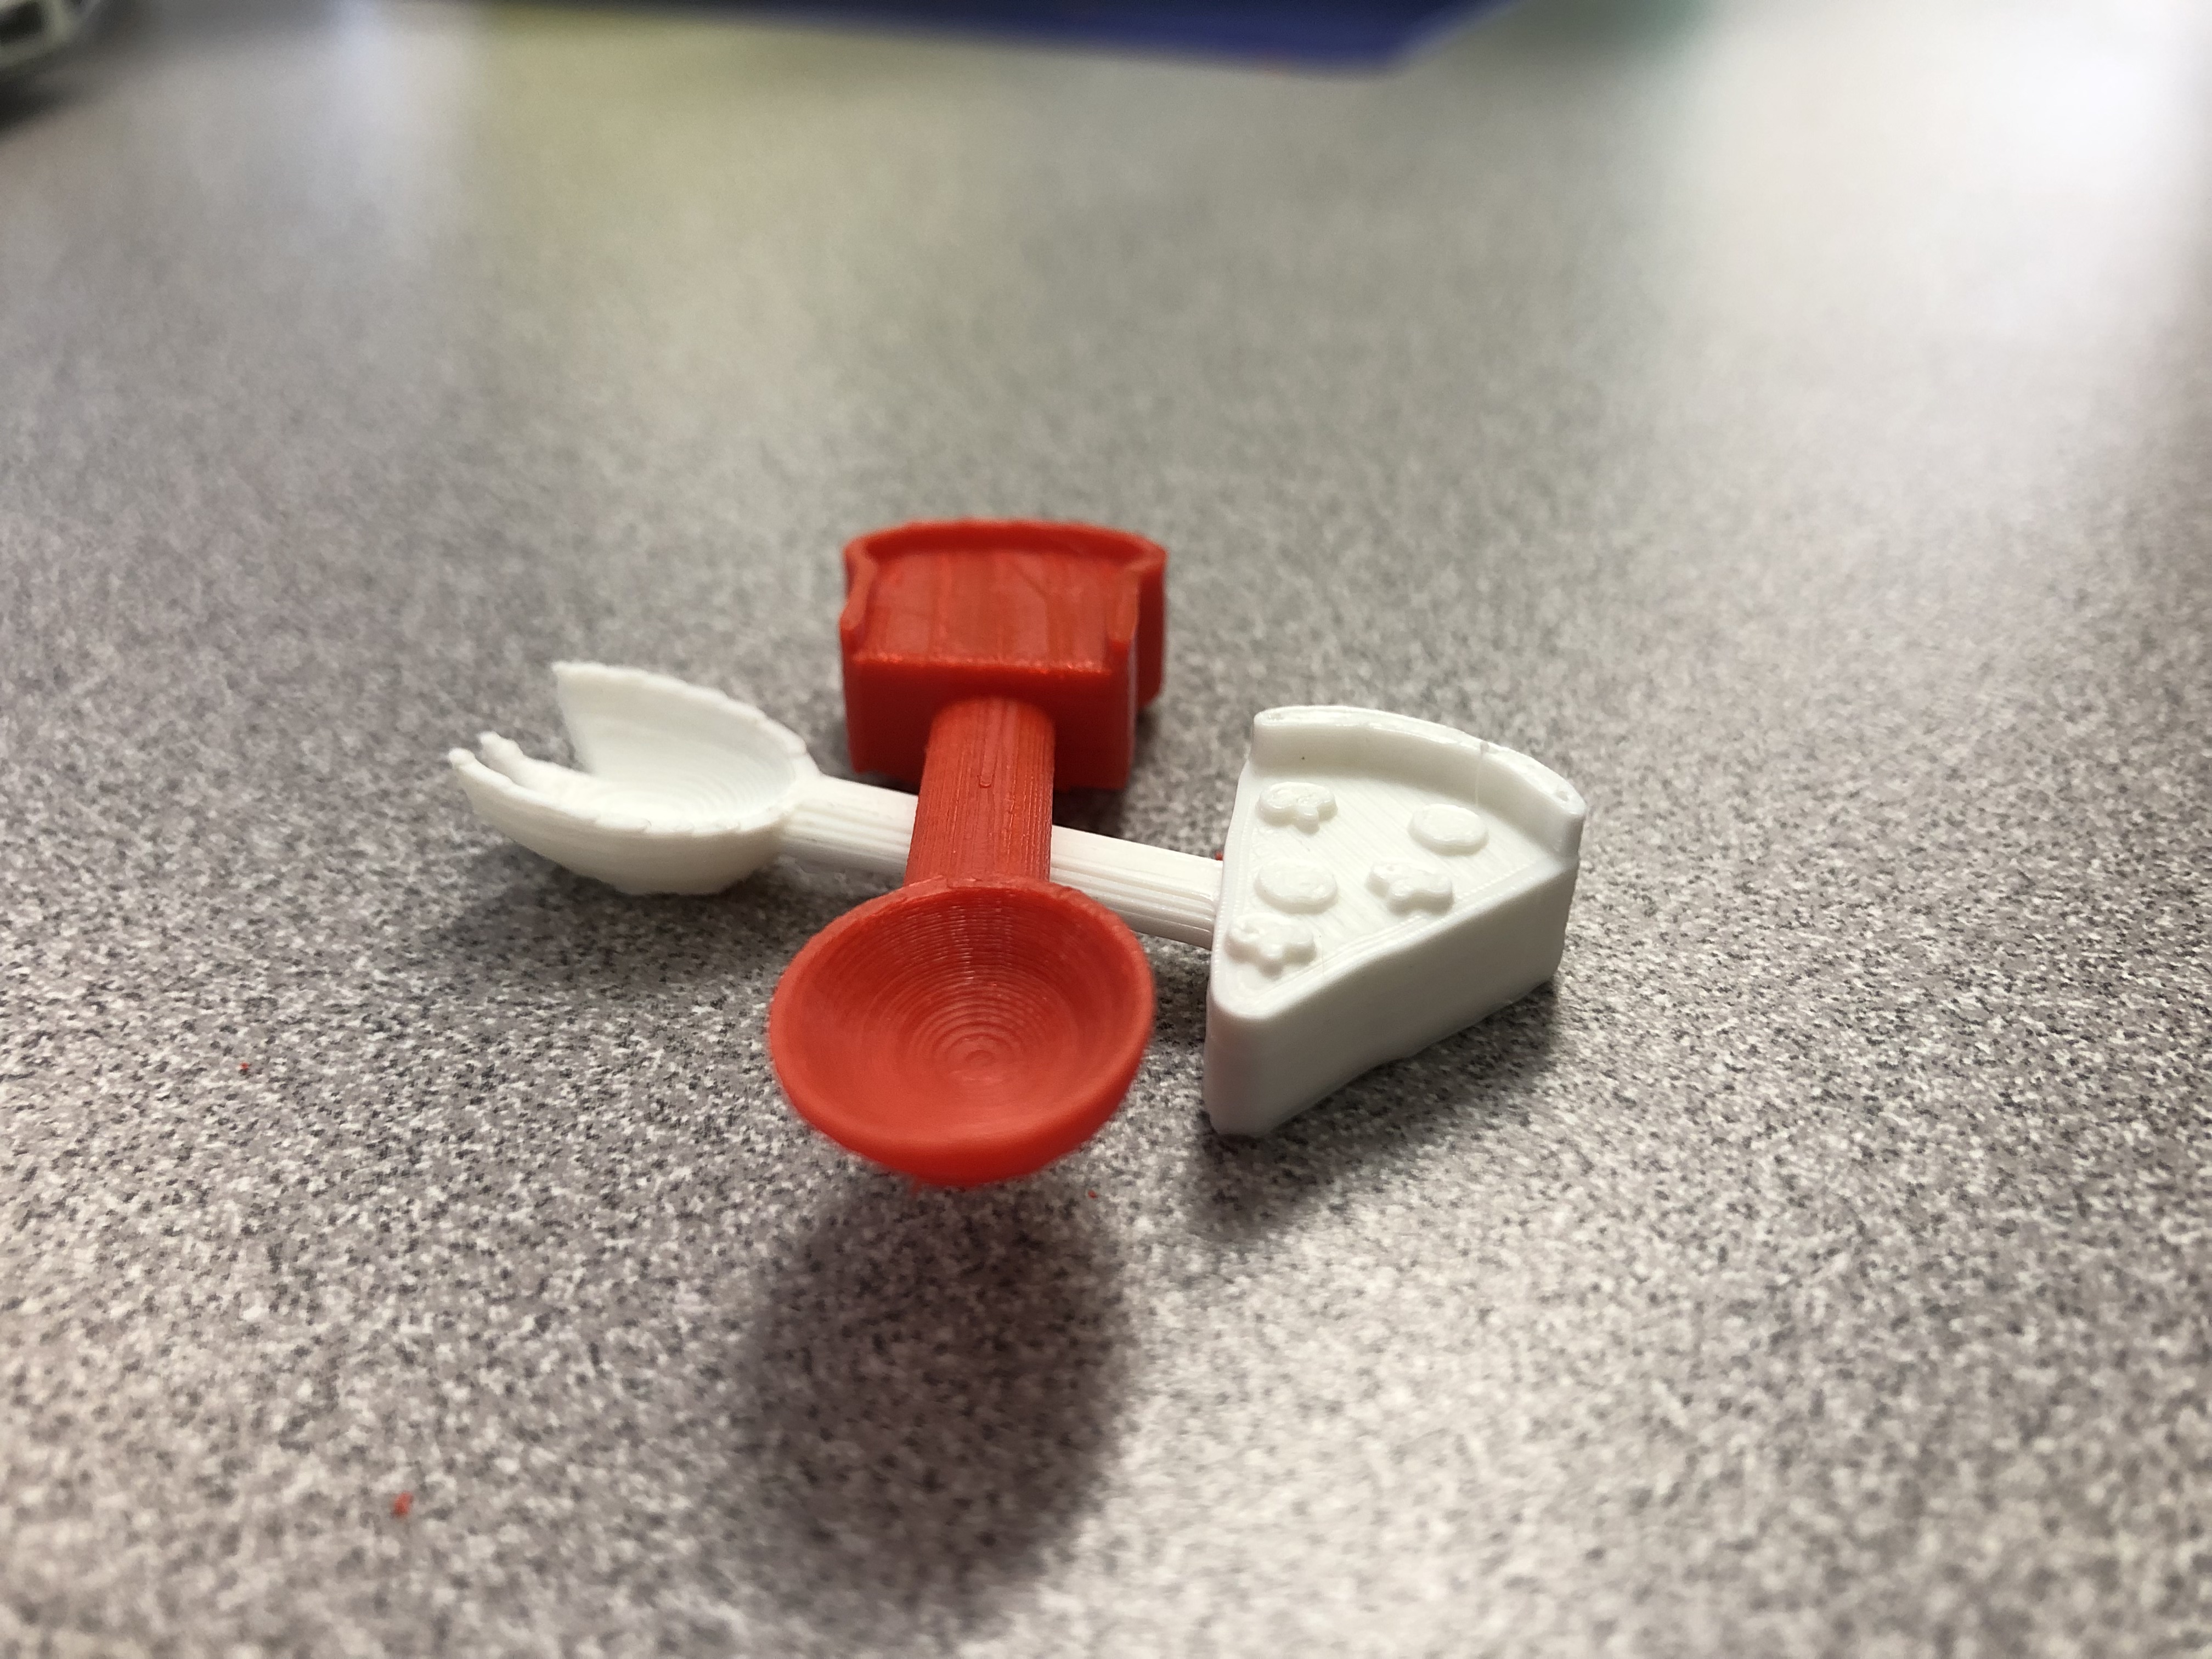
Bread Spoon and Pizza Fork
Group Partner: Christina Ra
The project involved some planning due to the round shapes of each utensil. We were hoping that the first we our project would be successful on the first print, but it turned out we lacked supportive structure due the different heights at different places of our objects. The support and adjustment in detail allowed for a successful final print.
20 Forms in Fusion 360
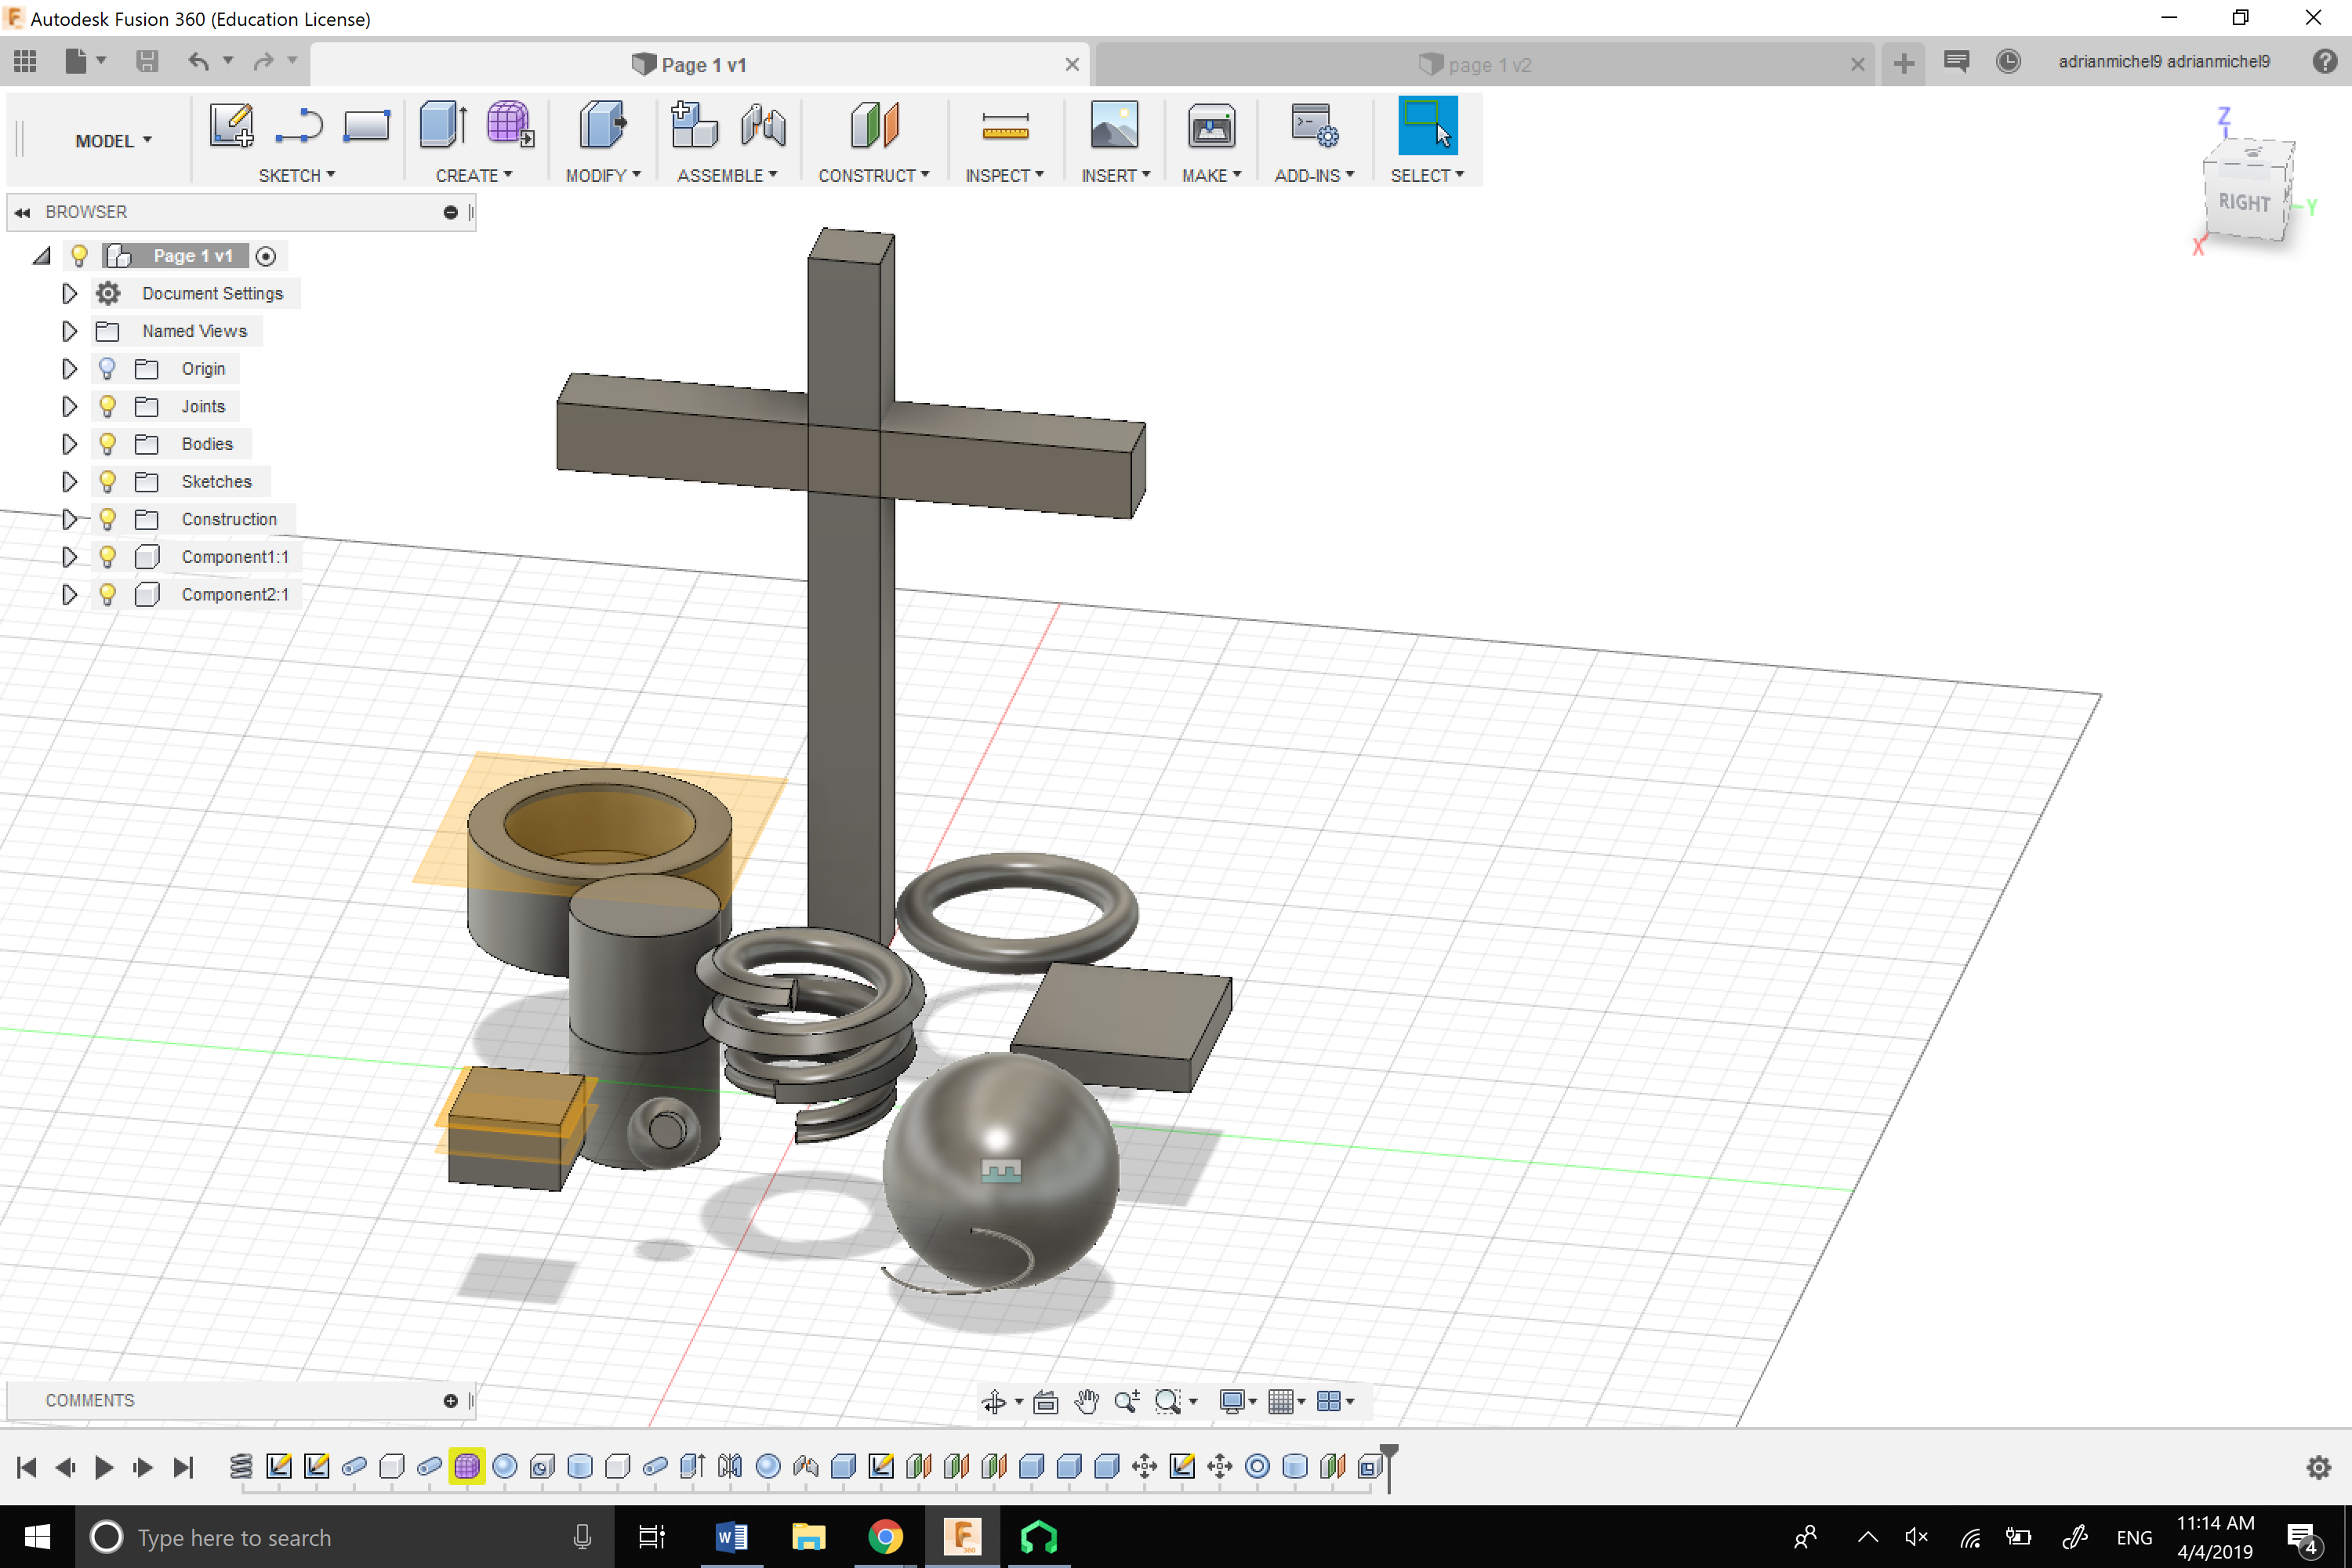
- I made an olive by creating a sphere modifying it by putting a hole halfway through.
- I attempted to make a screw by creating a coil and laying a triangular pipe around it.
- I made a cylinder with a small tube around the bottom and then used the mirror tool to make it bigger. I tried to make a hook go through a sphere, but I could not figure it out.
- I made a cross by creating two cube and pulling them. I then moved one higher to make the arms
- I made a cube by creating a form and decreased the height
- I made ring by creating a tube around the sphere and then removing it and moving it.
- I made a circular by creating a cylinder and modifying it with a hole.
- I made a hoop by creating a torus.
- I made a cube that has three sketches in to see what the offset feature does
- I made a sphere by creating a sphere
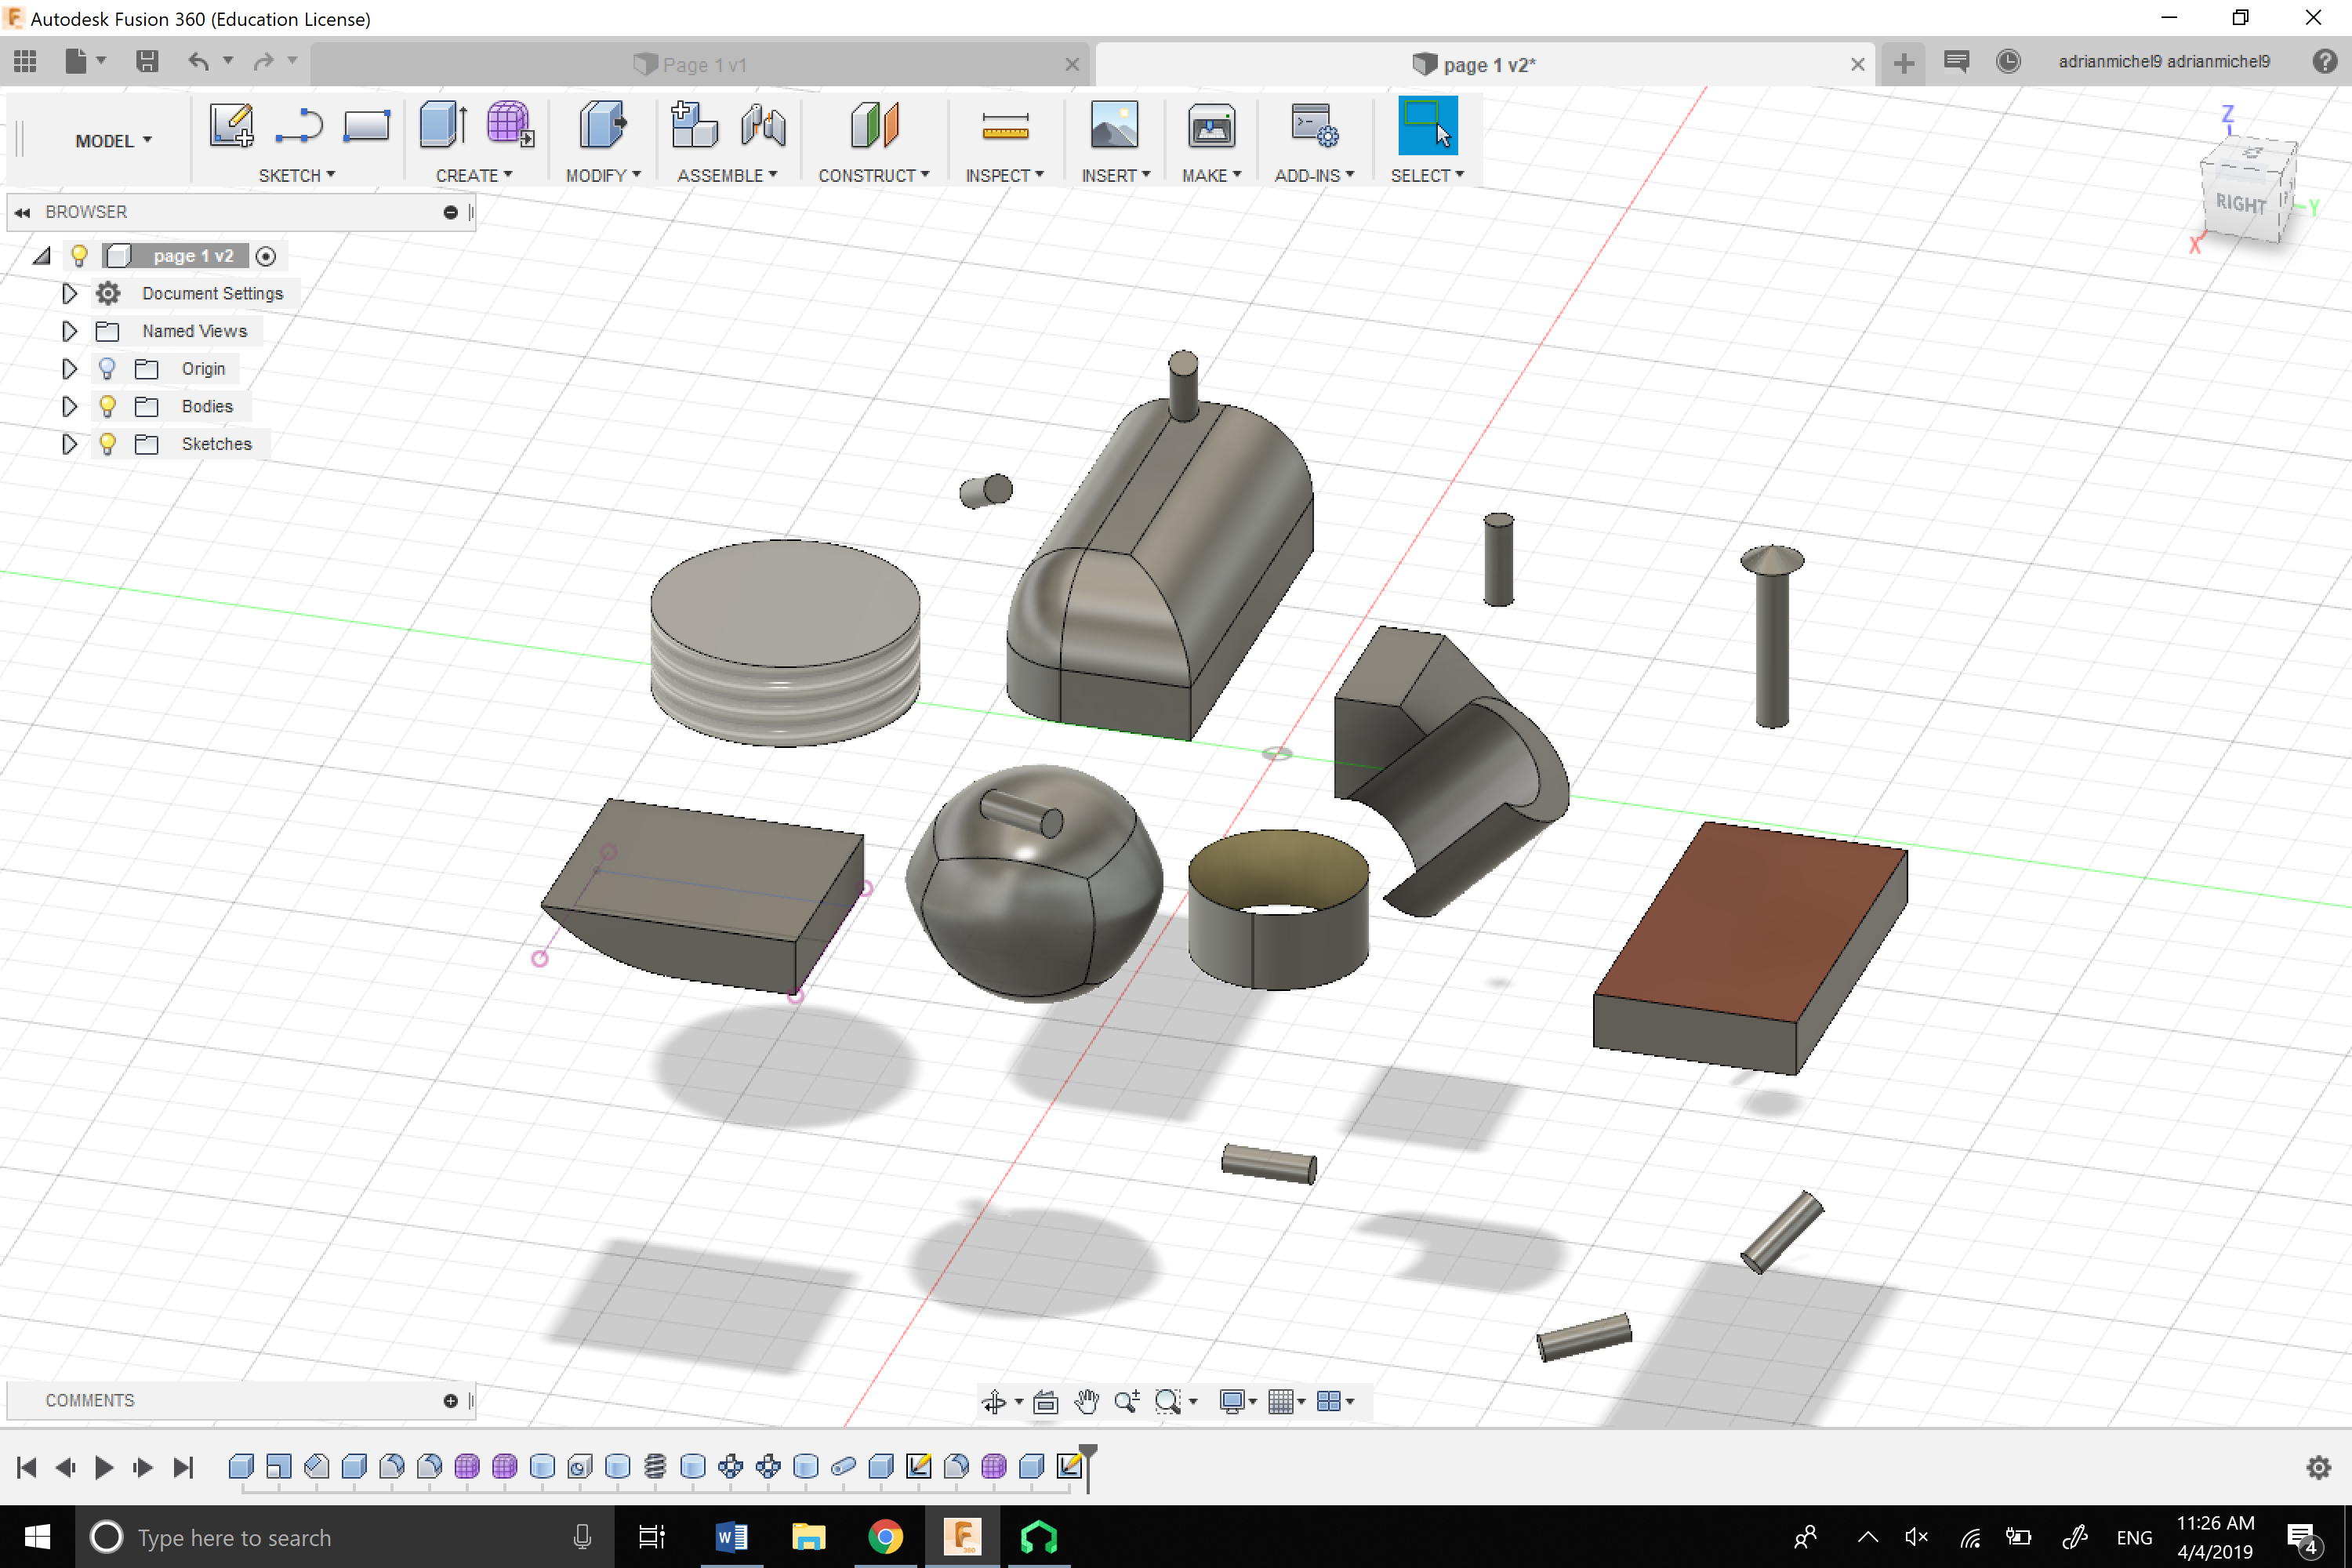
- I made a round square using the filet tool from modify
- I made a quad ball from the objects in sculpt mode and modified it with two edges
- I made a thin cylinder from the objects in sculpt mode
- I created a cube and used the chamber tool from modify to place a slope on one of the faces
- I made slanted cylinder by moving the plane and using the hole tool from modify to male a hole
- I made a cylinder by creating the shape and then using the thread tool to modify the outside face
- I made a circular pattern by creating a cylinder and then picking the pattern tool from the create tab as well
- I made a cylinder from the create tab and used the pipe tool from create as well to create a triangular roof on top
- I made a cylinder and sketched a rectangle within it. I then used the pull tool from the modify tab to curve the bottom
- I made a brown box and used the appearance tool from modify to give it a brown color
Fusion 360 Print
The print was a success. It came out well the way I wanted it too.
Fusion 360 Vase Design
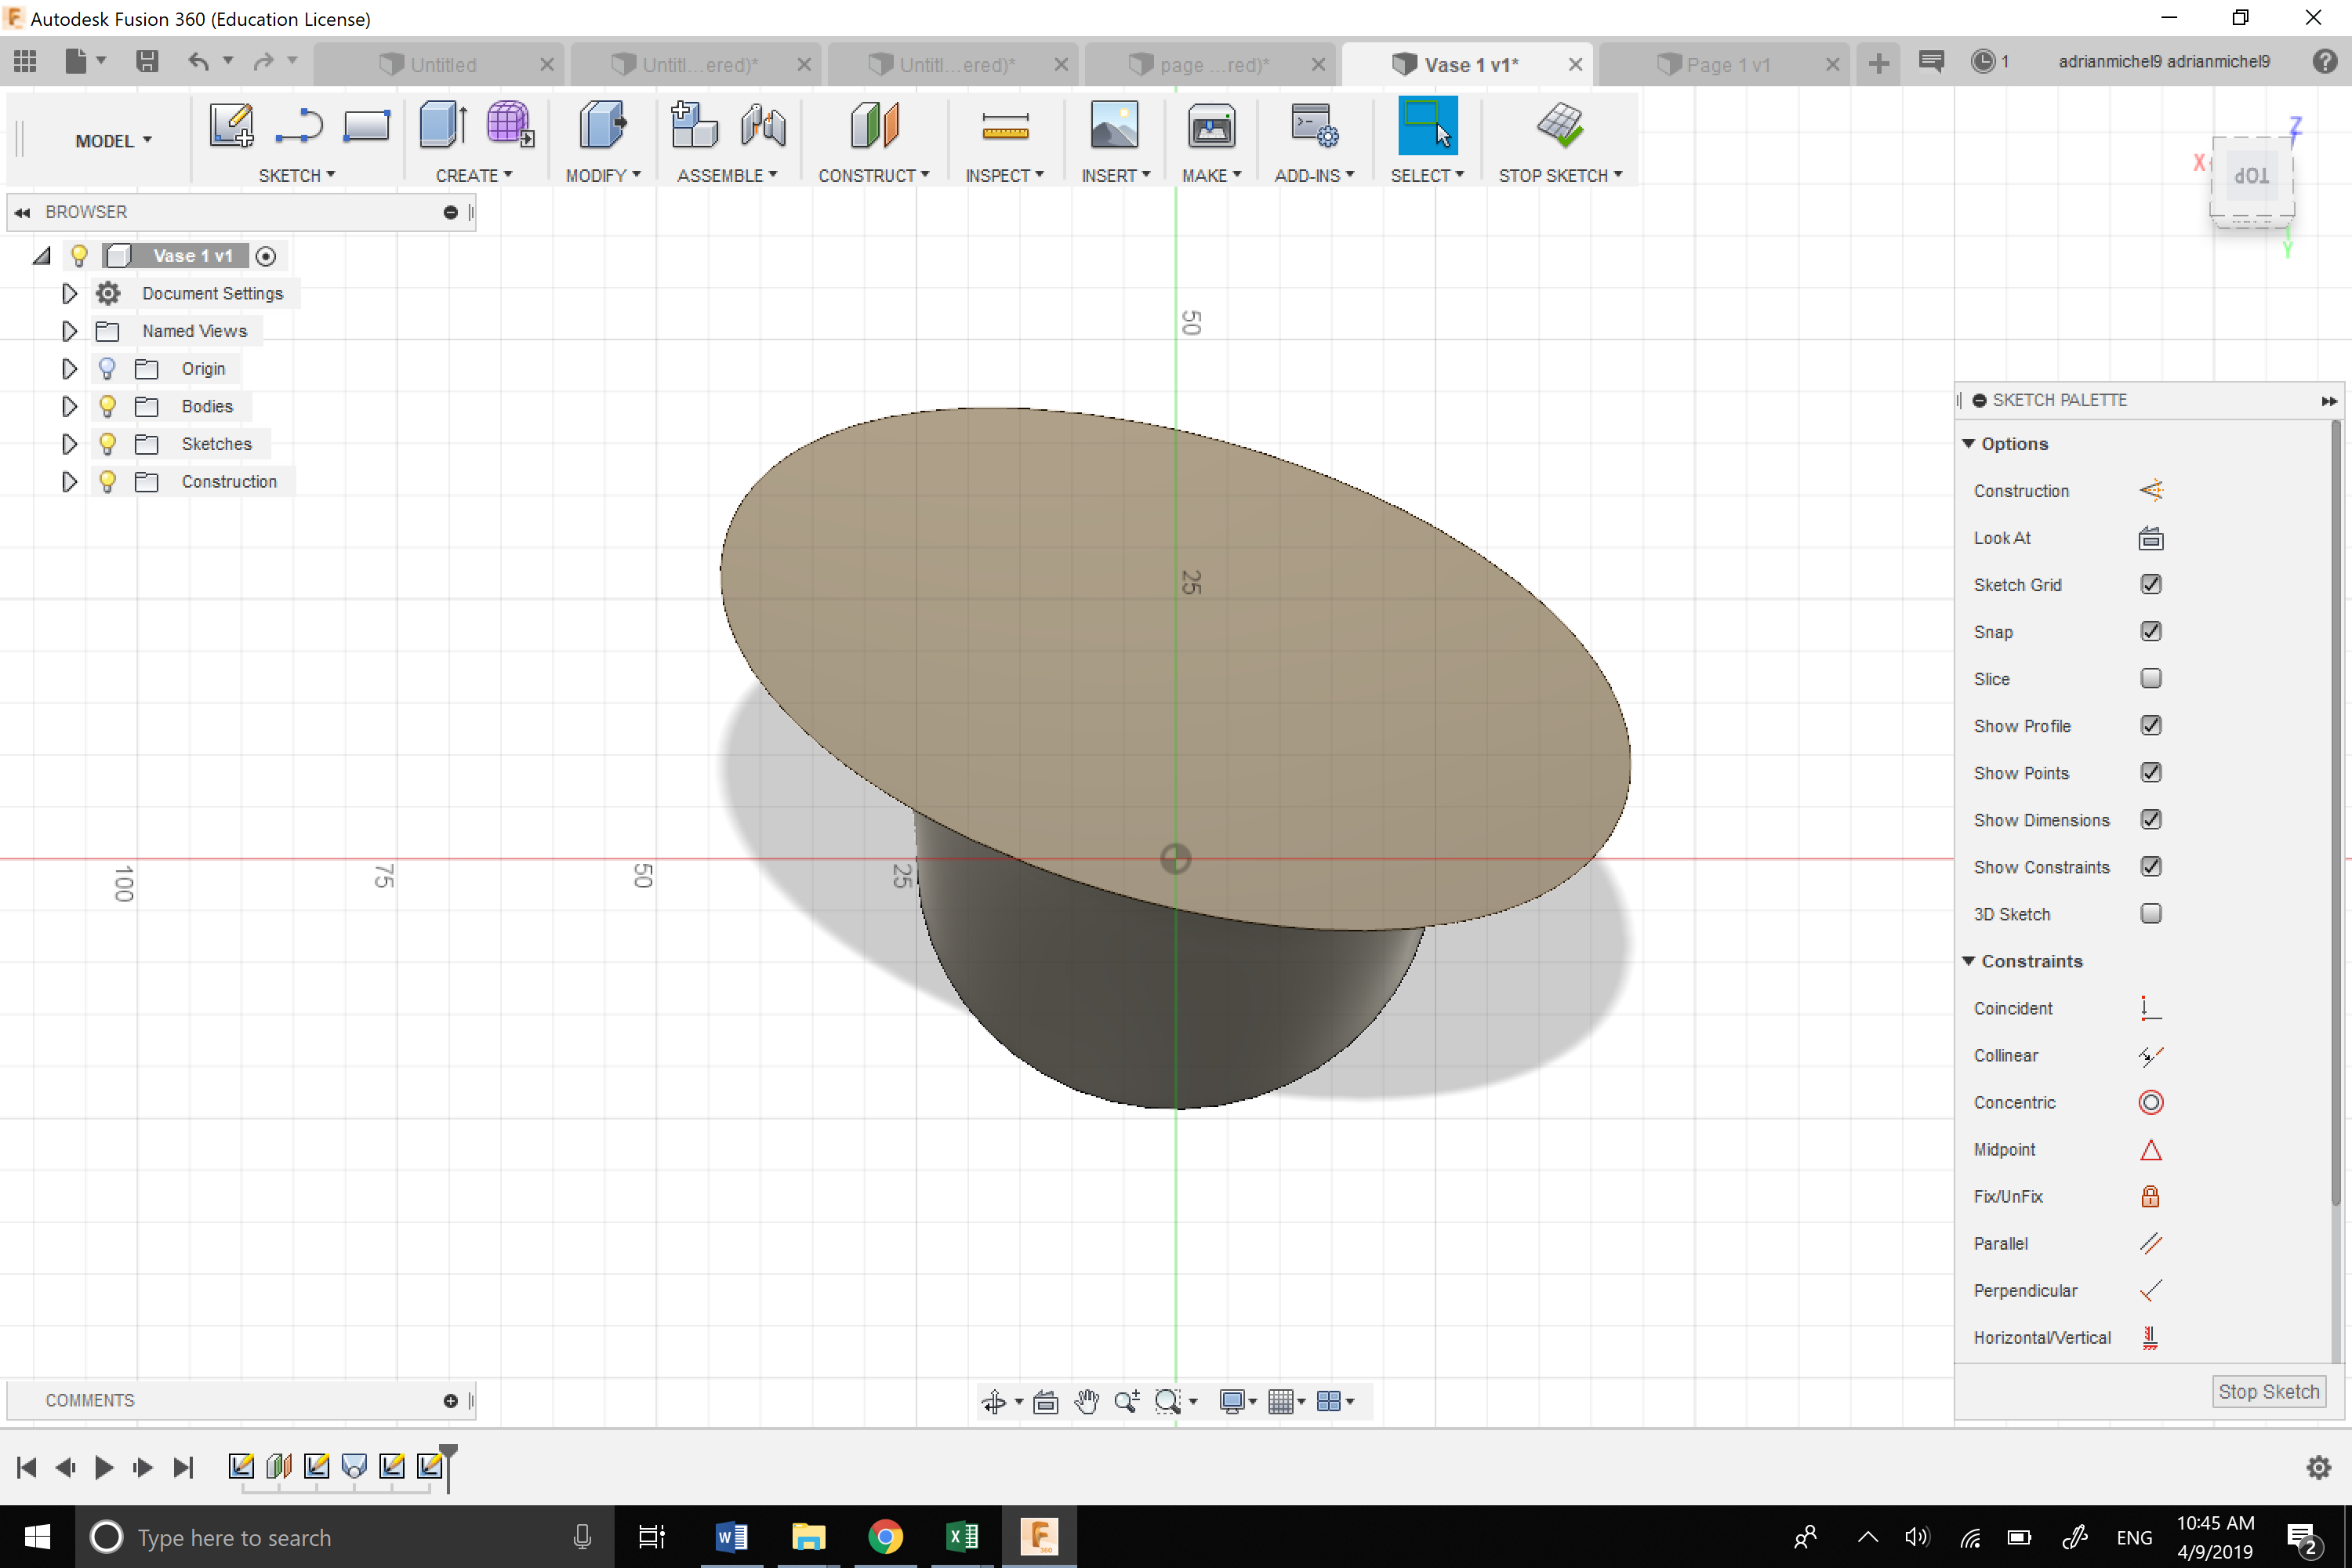
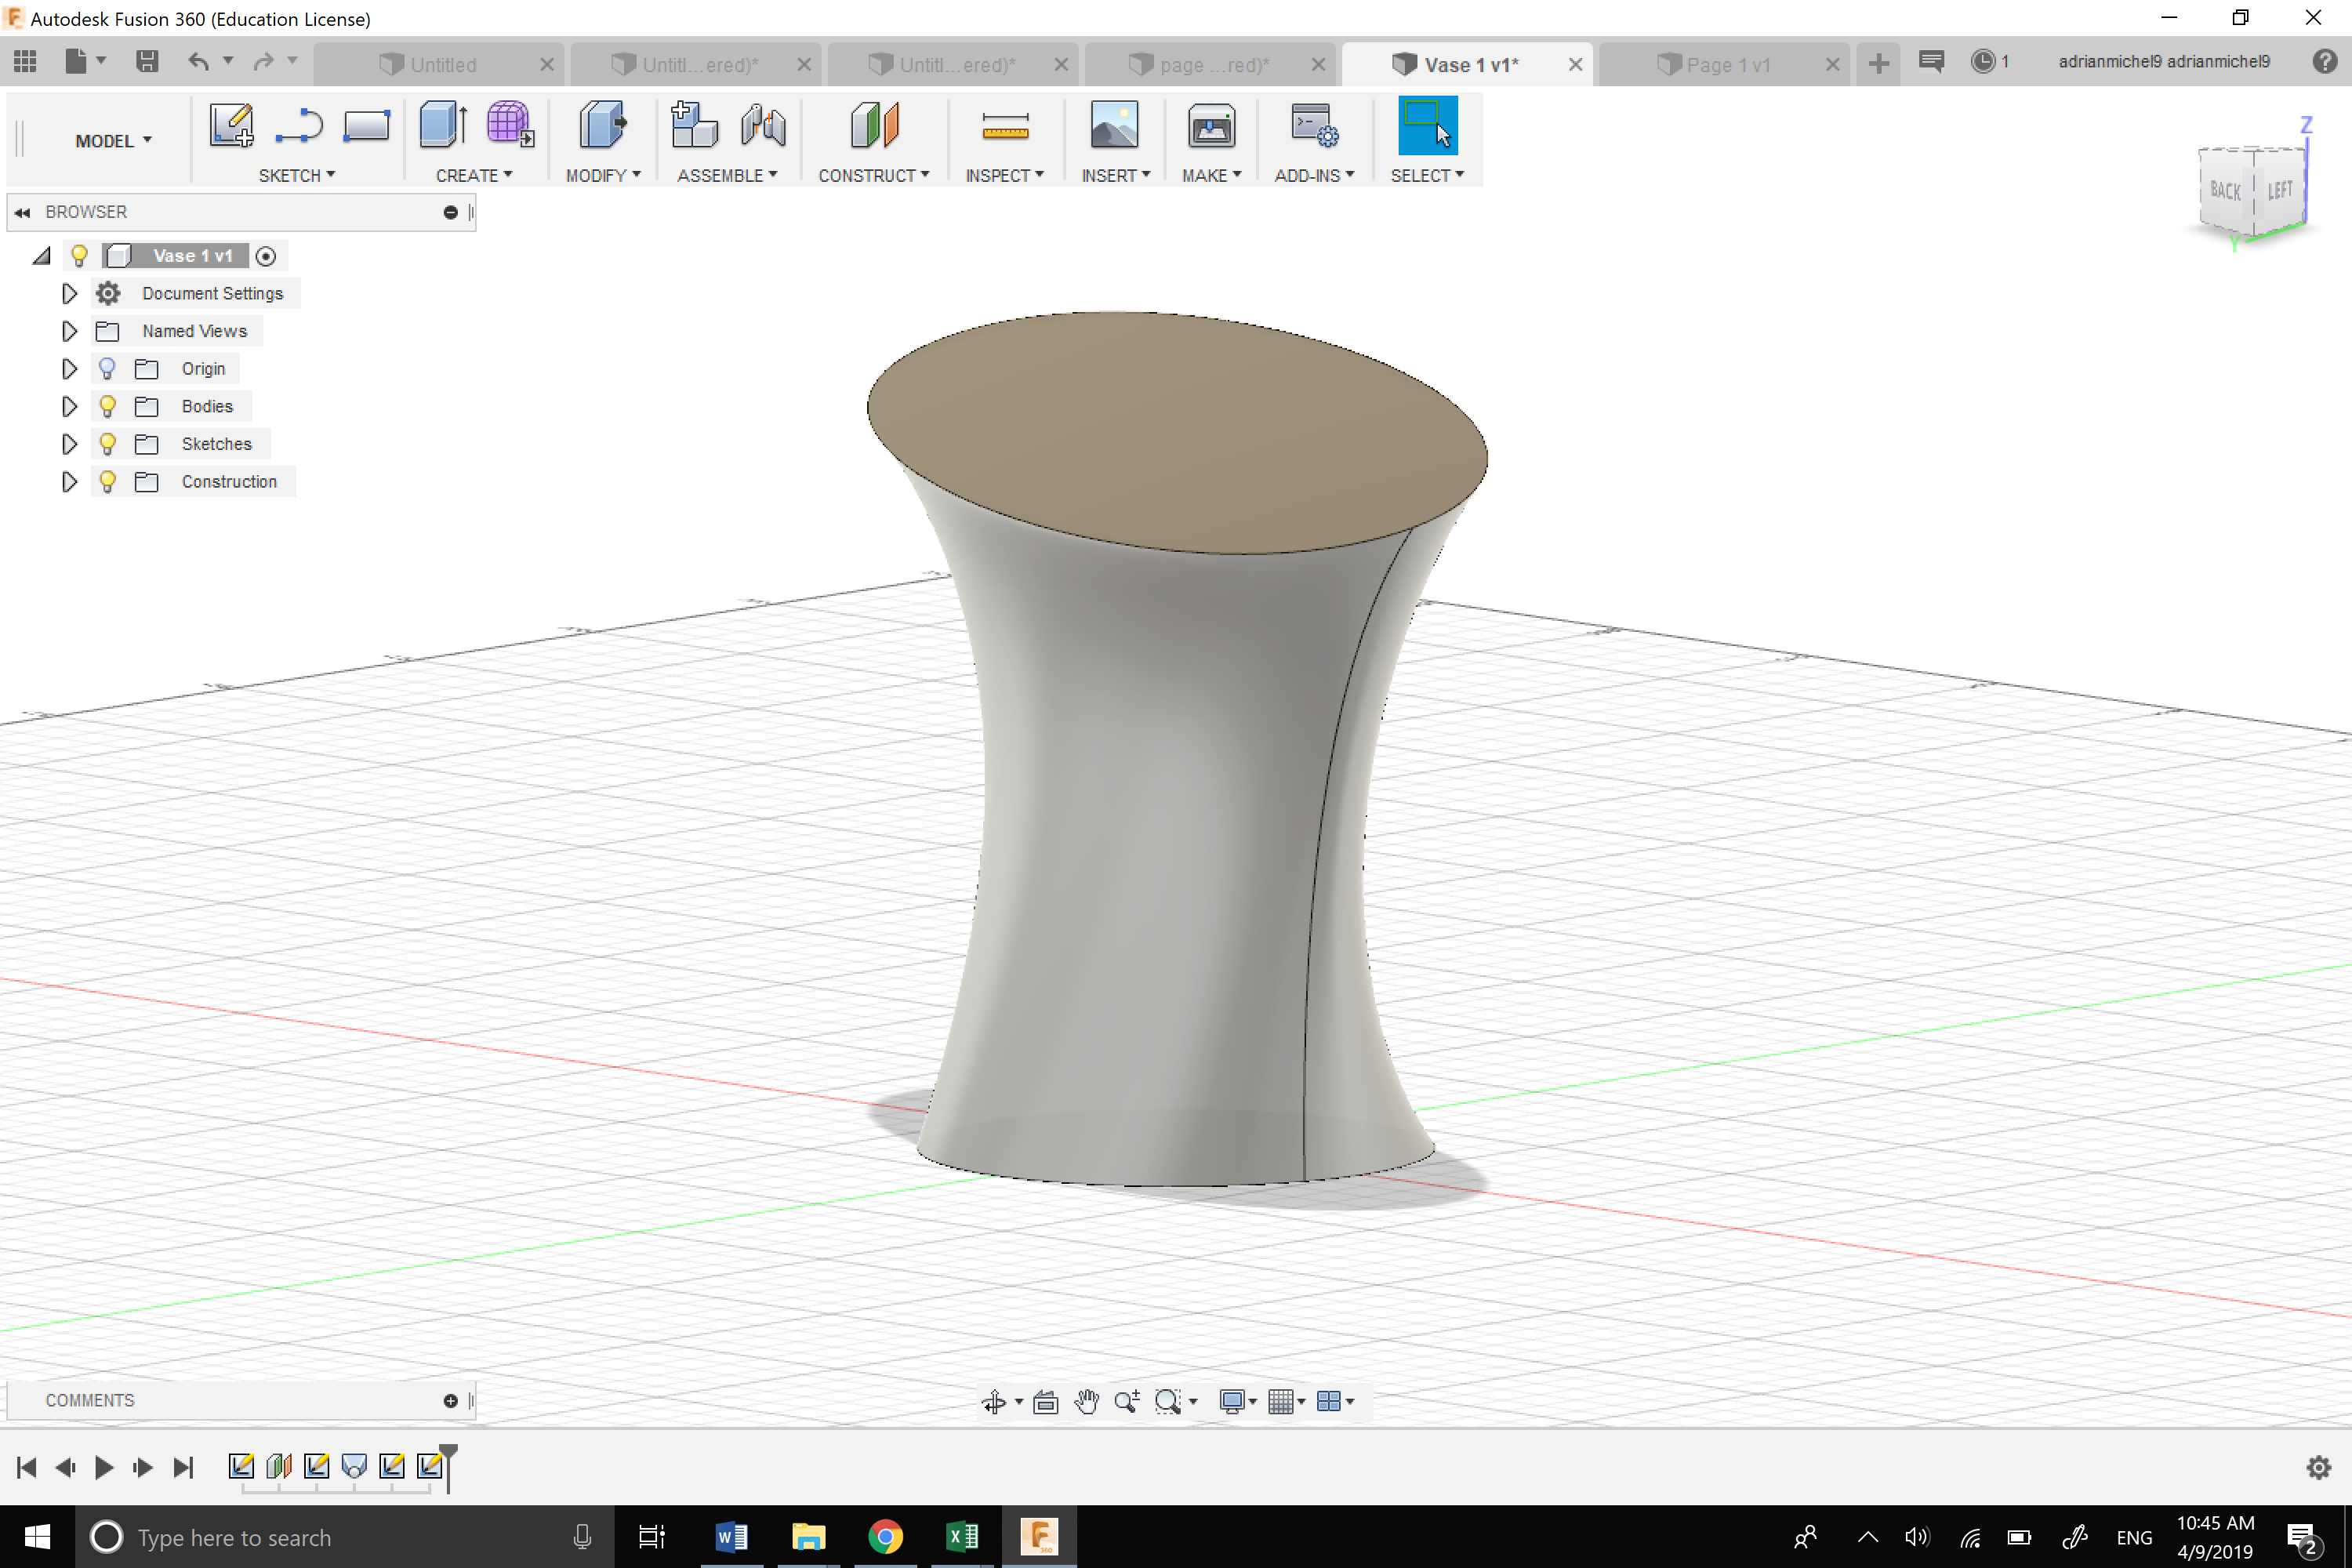 After watching the video, I realized that I did not like the appearance of the flared out edges at the top of the vase. I wanted to create something smooth and interesting to look at. I sketched a circle for the base. I then offsetted the width of the sketch increased a the width and raising that platform. I then sketched an ellipse on the offset platform. This is where my design differed from the video. I rotated the ellipse so that one side of the vase dipped lower to the floor than the other side. I then narrowed body so it has somewhat of an hourglass figure.
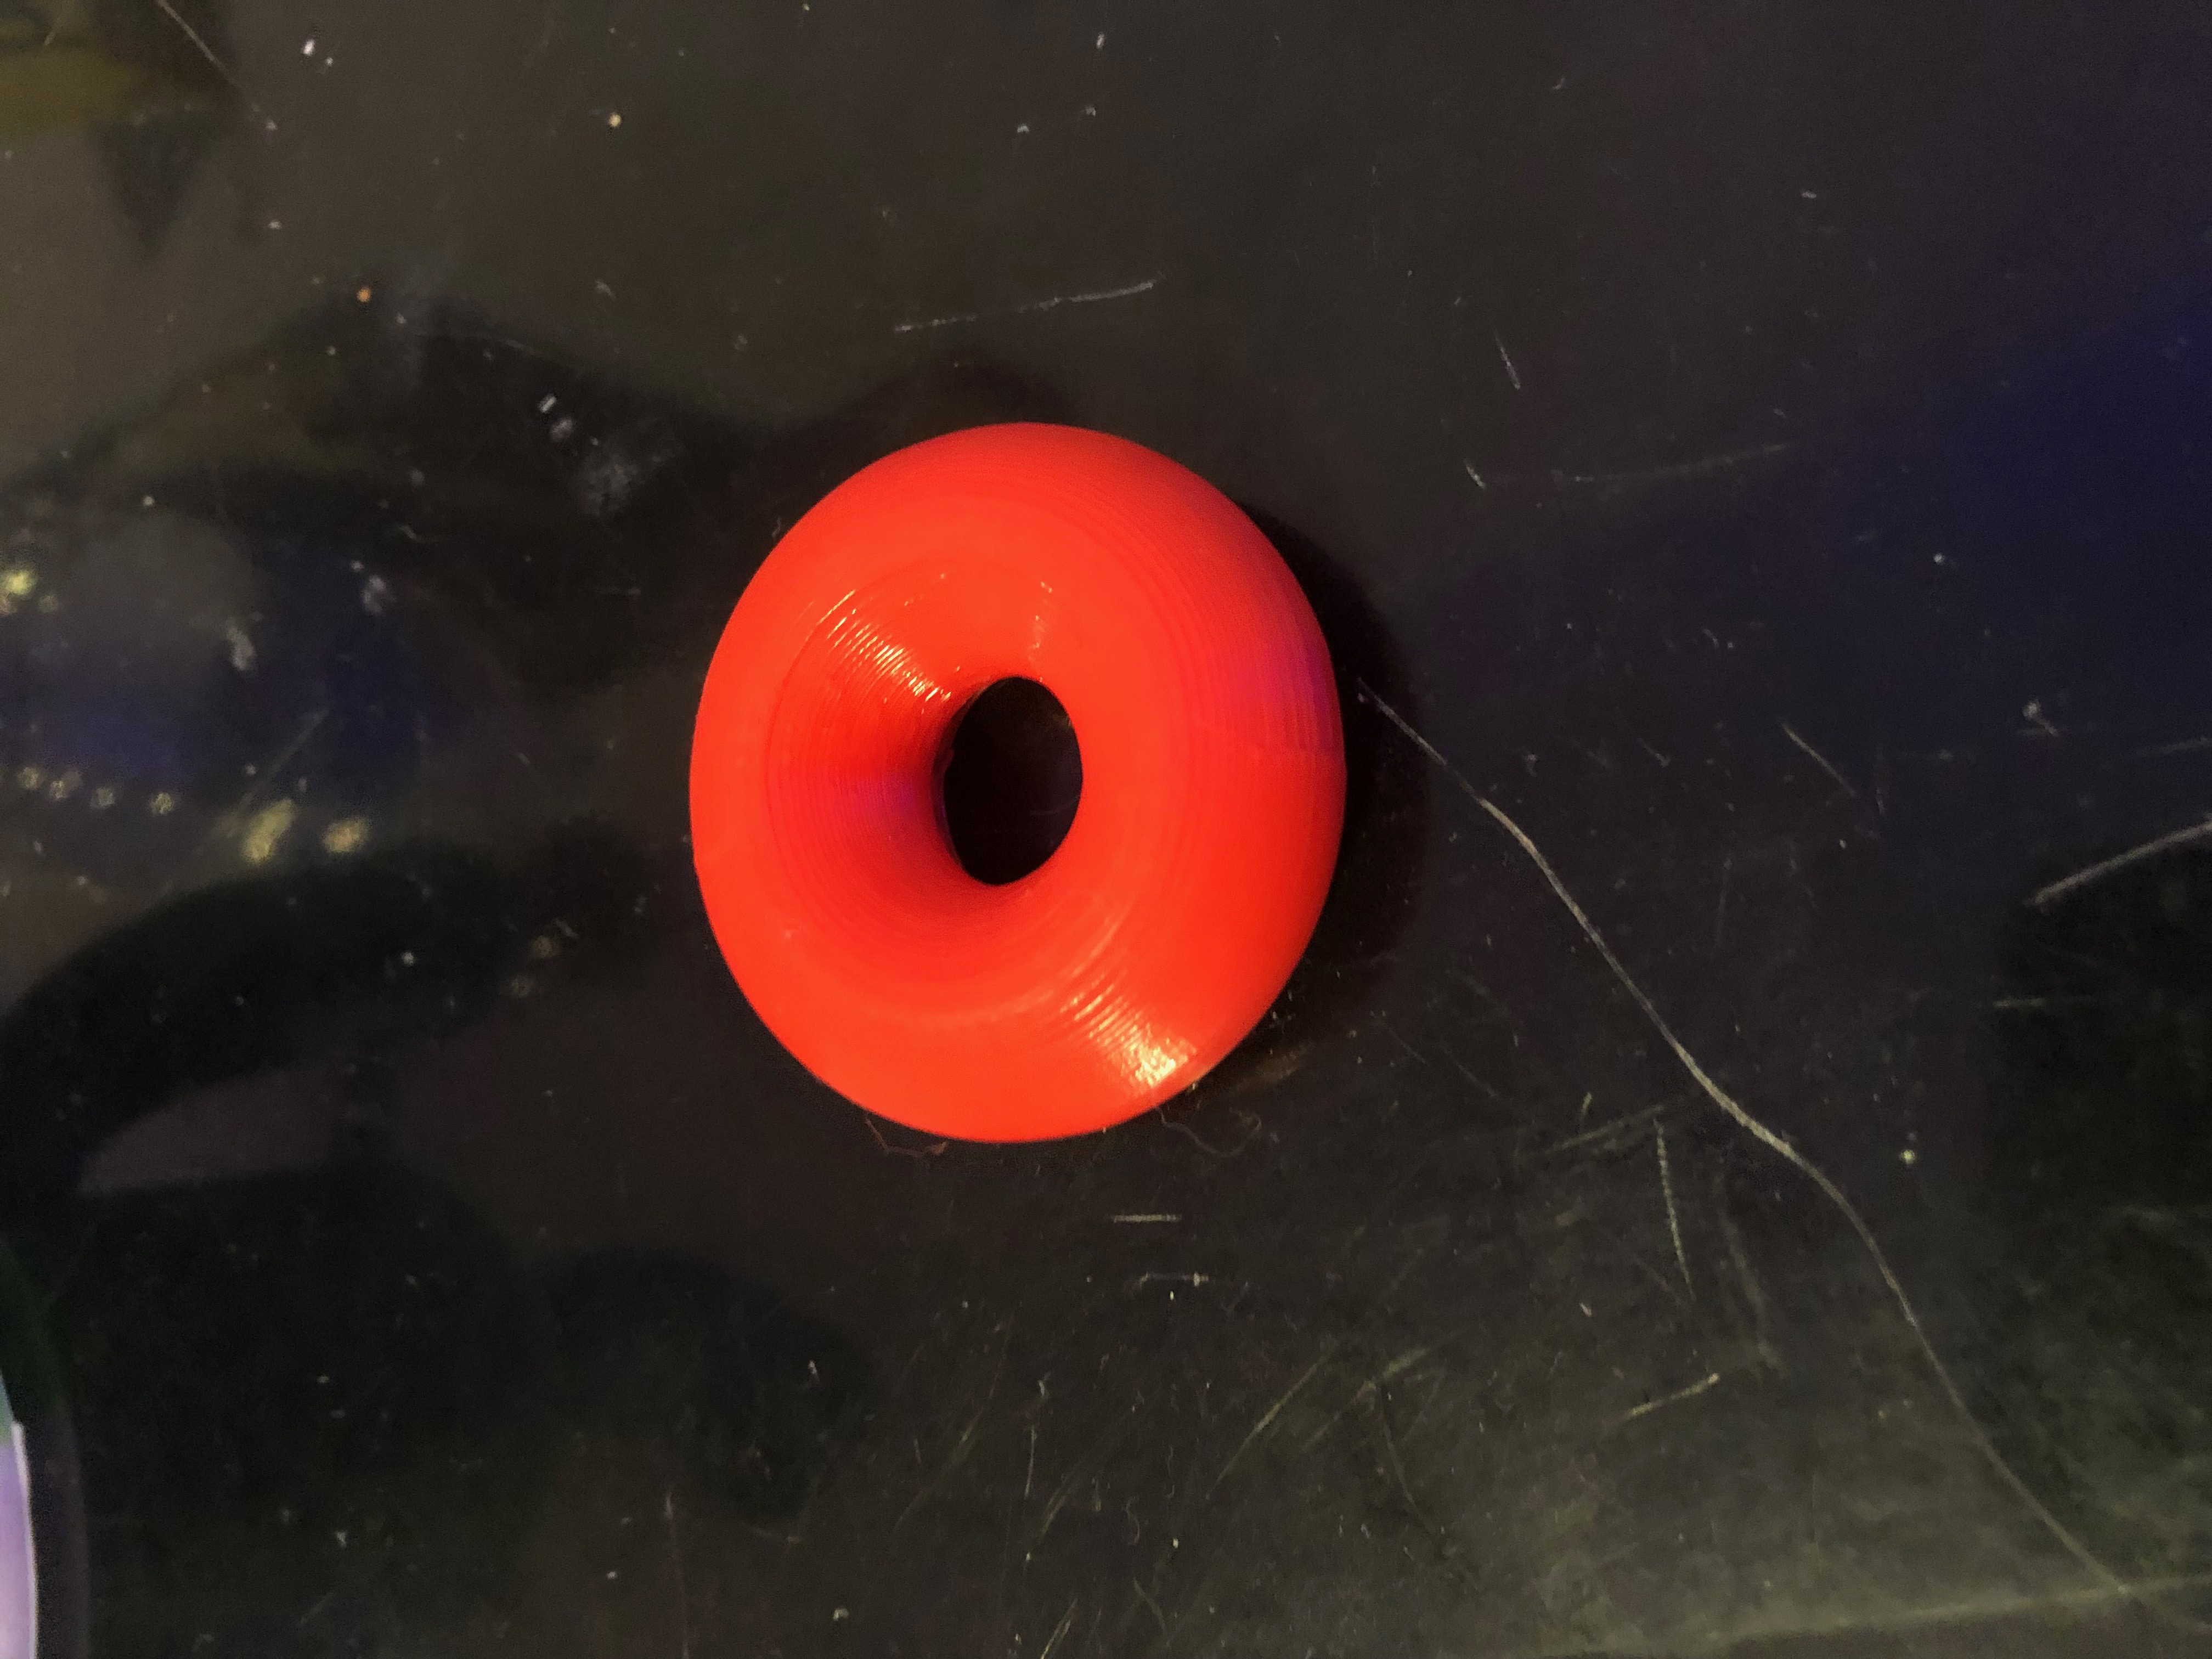
Fusion 360 Vase Prints

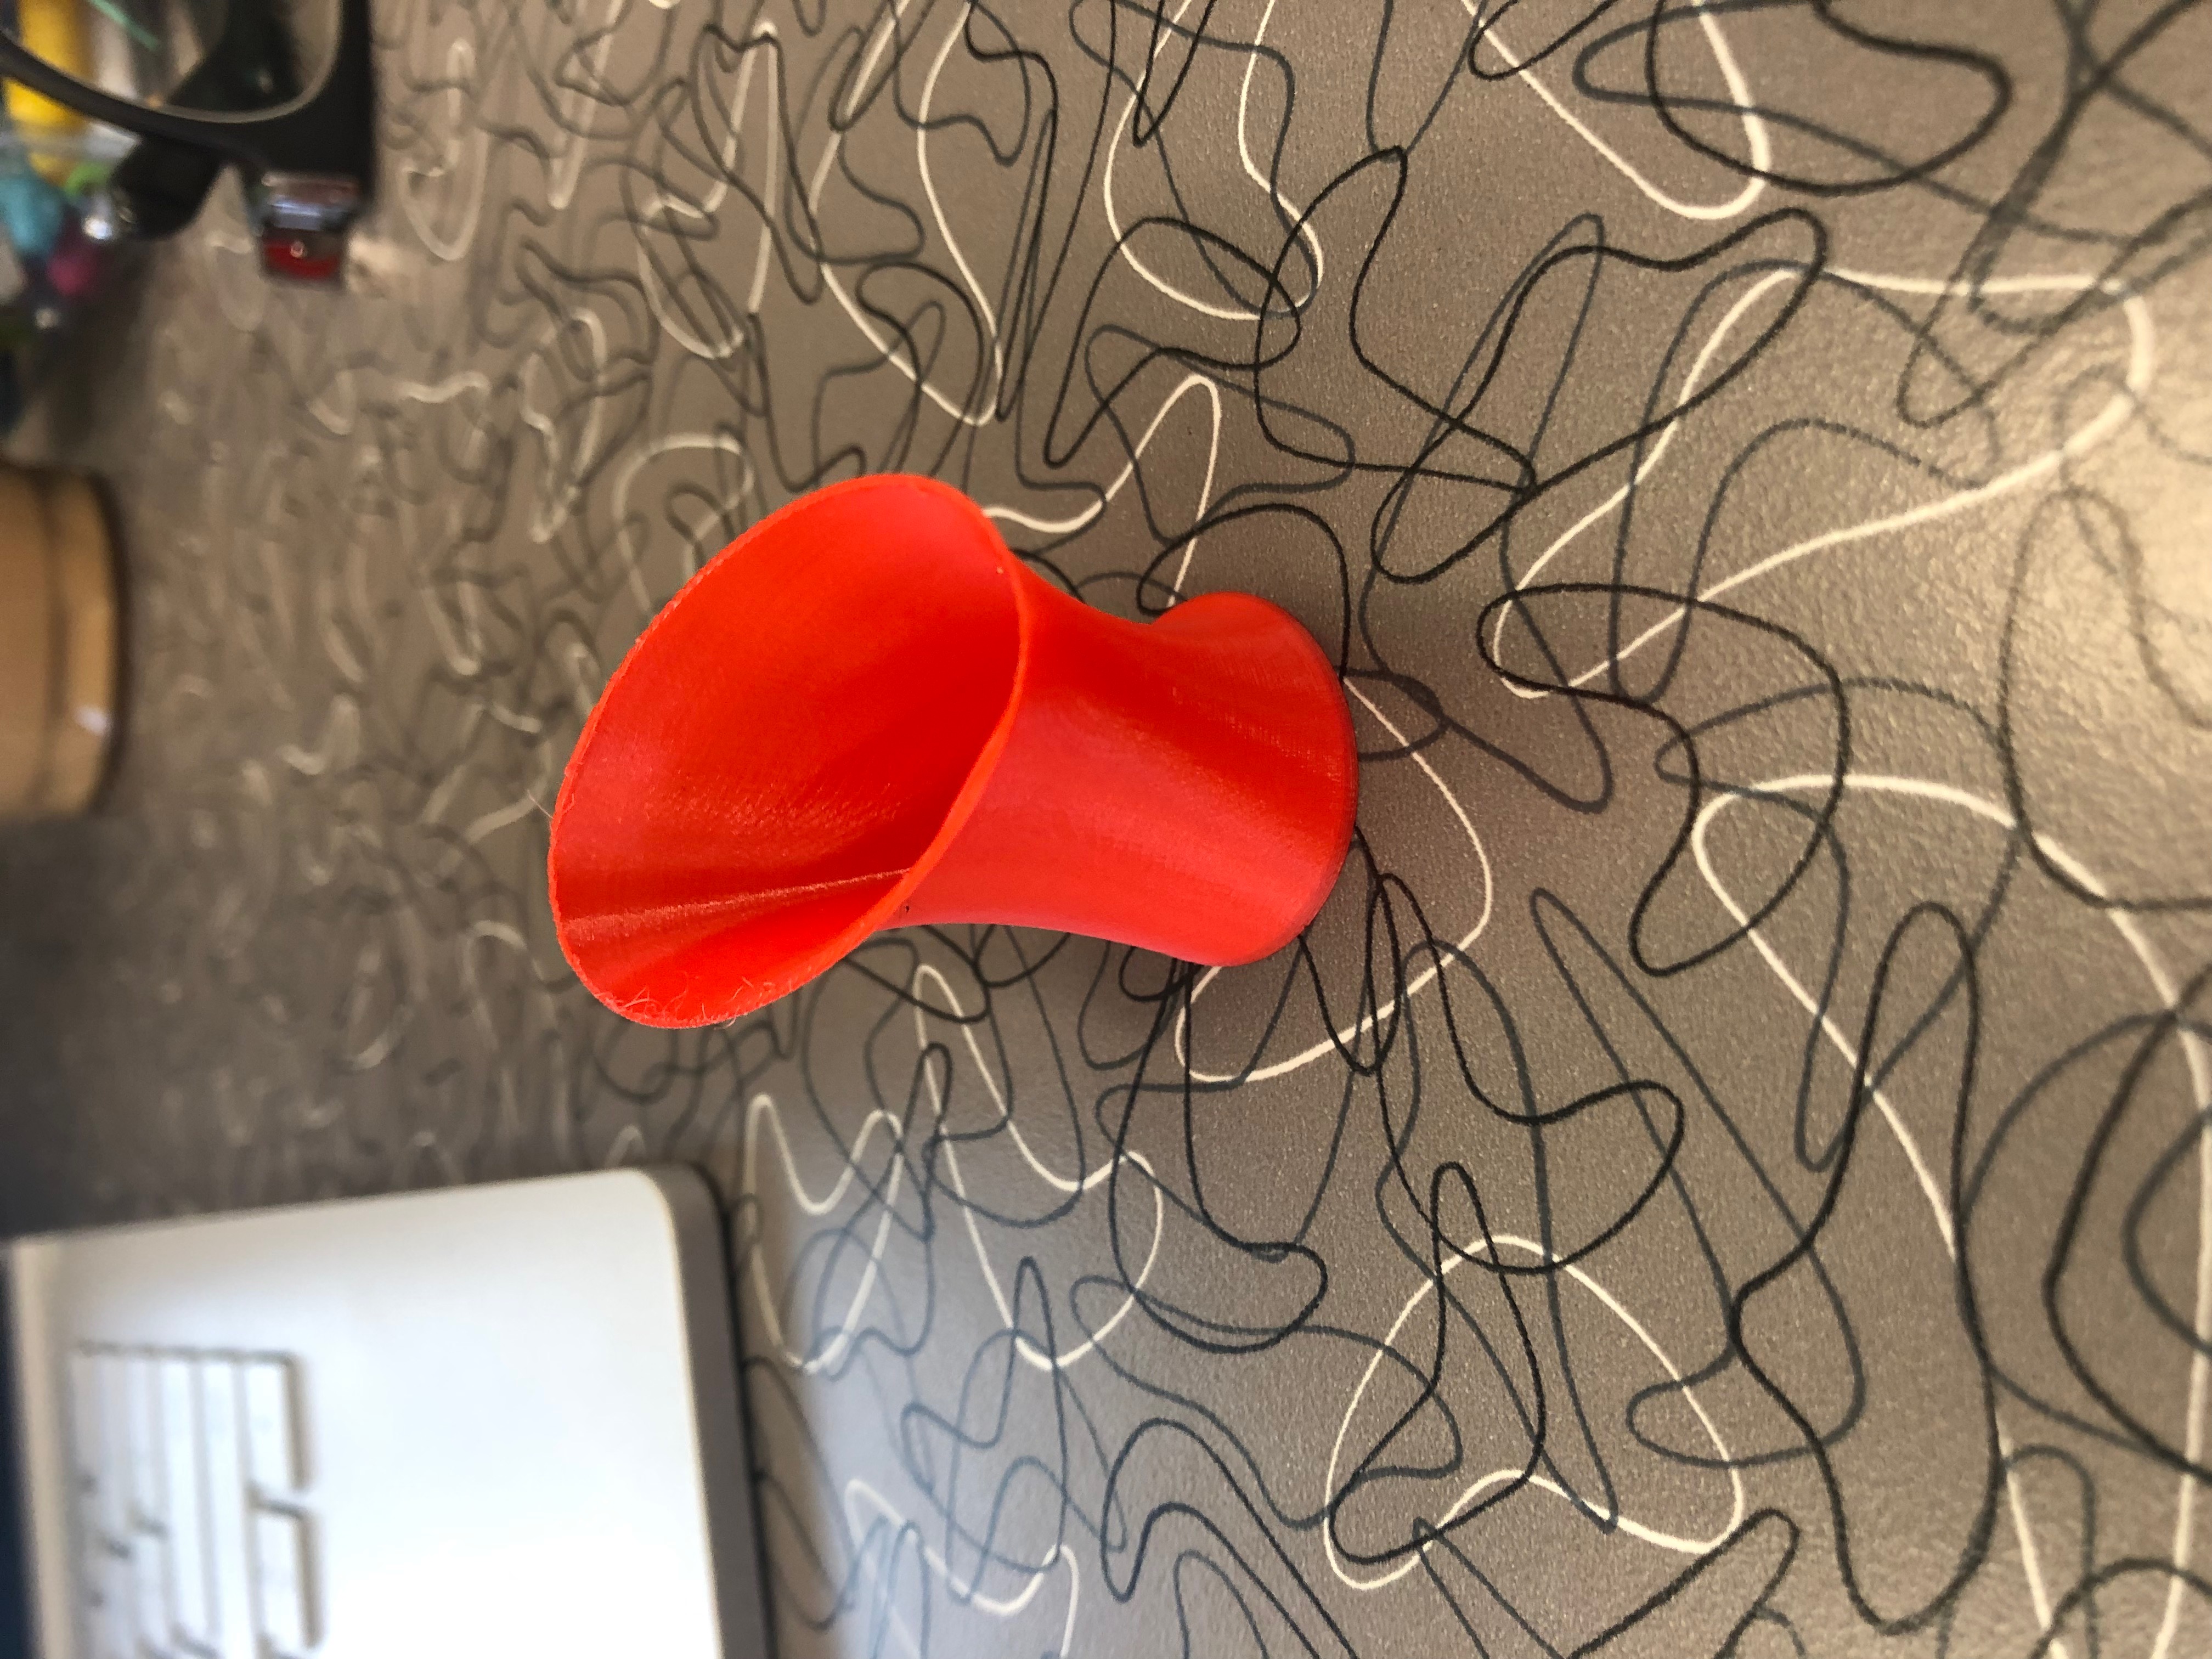
The first larger scale model of the print was a failure. For some reason the print came out messy. I changed the model a bit and the degree the top part of the vase was turned. After two tries the vase came out almost perfect. As seen in the picture, the top is covered with a web-like lid which was completely not intentional. The spiralize option from the slicer program most likely caused the printer to make each strand when making the top.
Link: Thingiverse
20 Forms in OpenSCAD
10 points, due by noon on Thursday 4/11
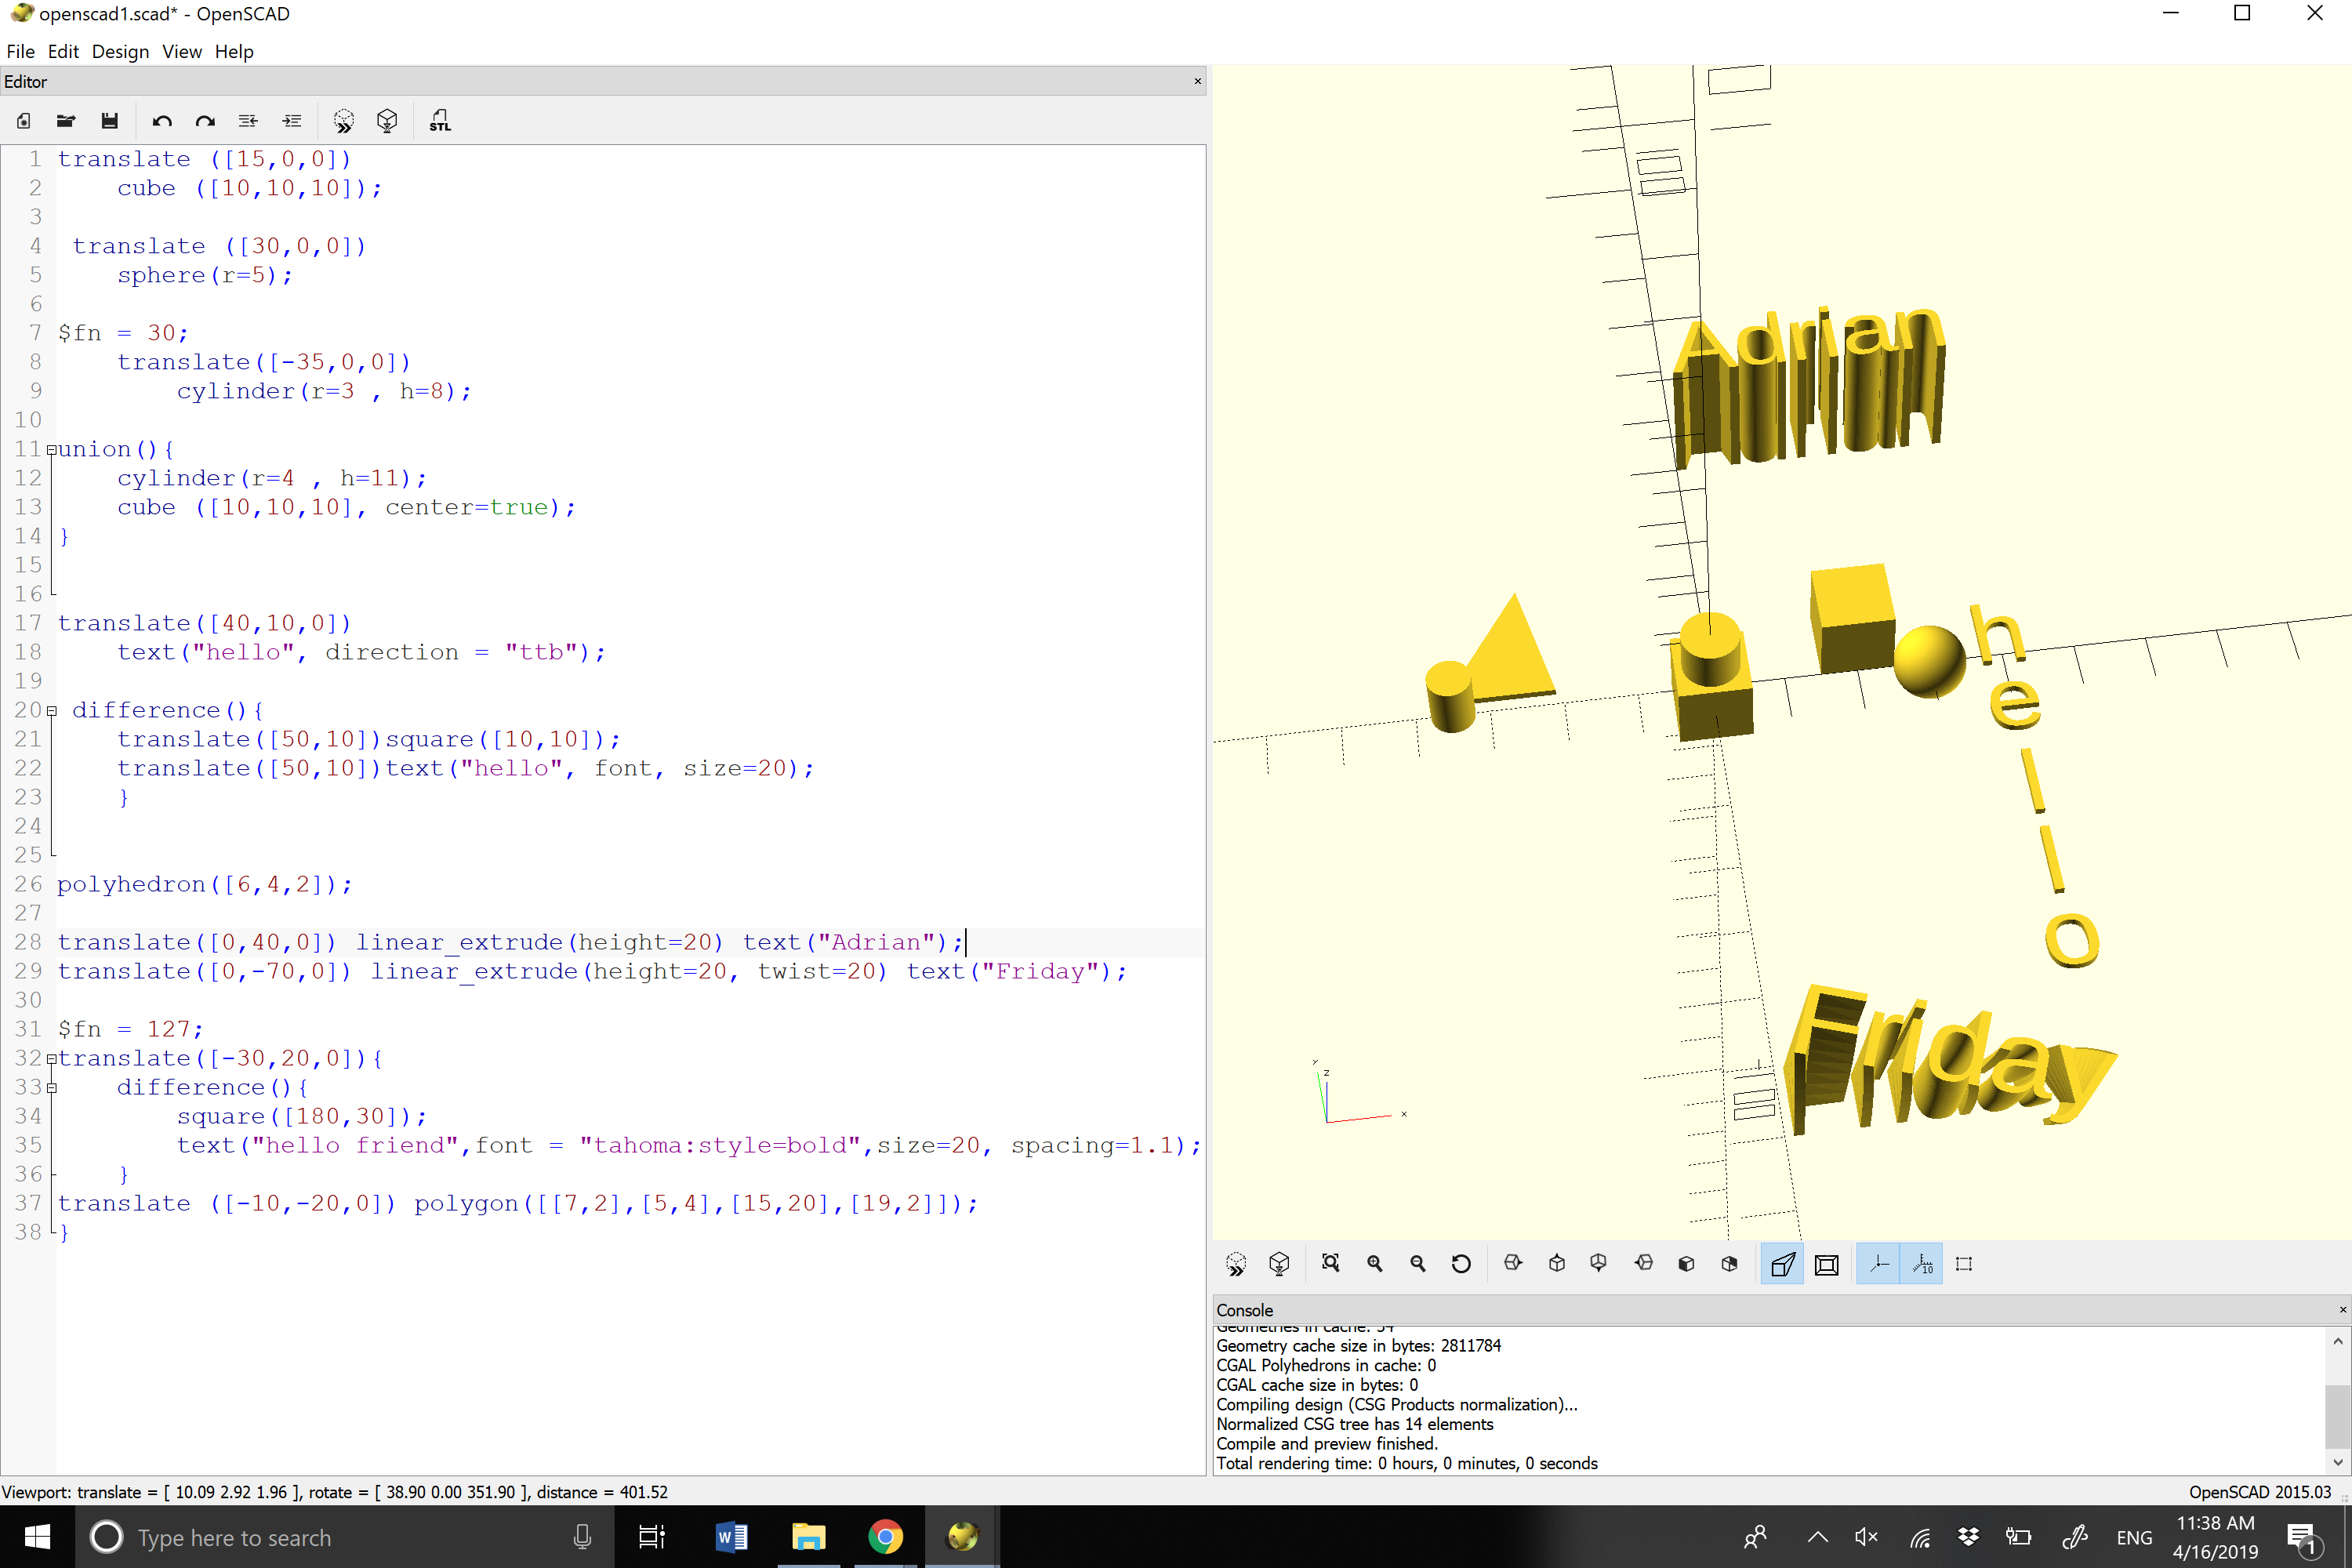 I made a cube and a sphere using OpenSCAD’s built in functions. I made a union between a cylinder and cube in the center by using “center = true.” I made an irregular triangle using the polyhedron function and picking my coordinates. I made a cylinder with the built in function. I created “hello” in text going down vertically using the text function and changed the direction using “ttb.” I made my name using the text function and added a linear extrusion to it to make it pop out. I made the word”Friday”with the text and linear extrusion functions added a twist.
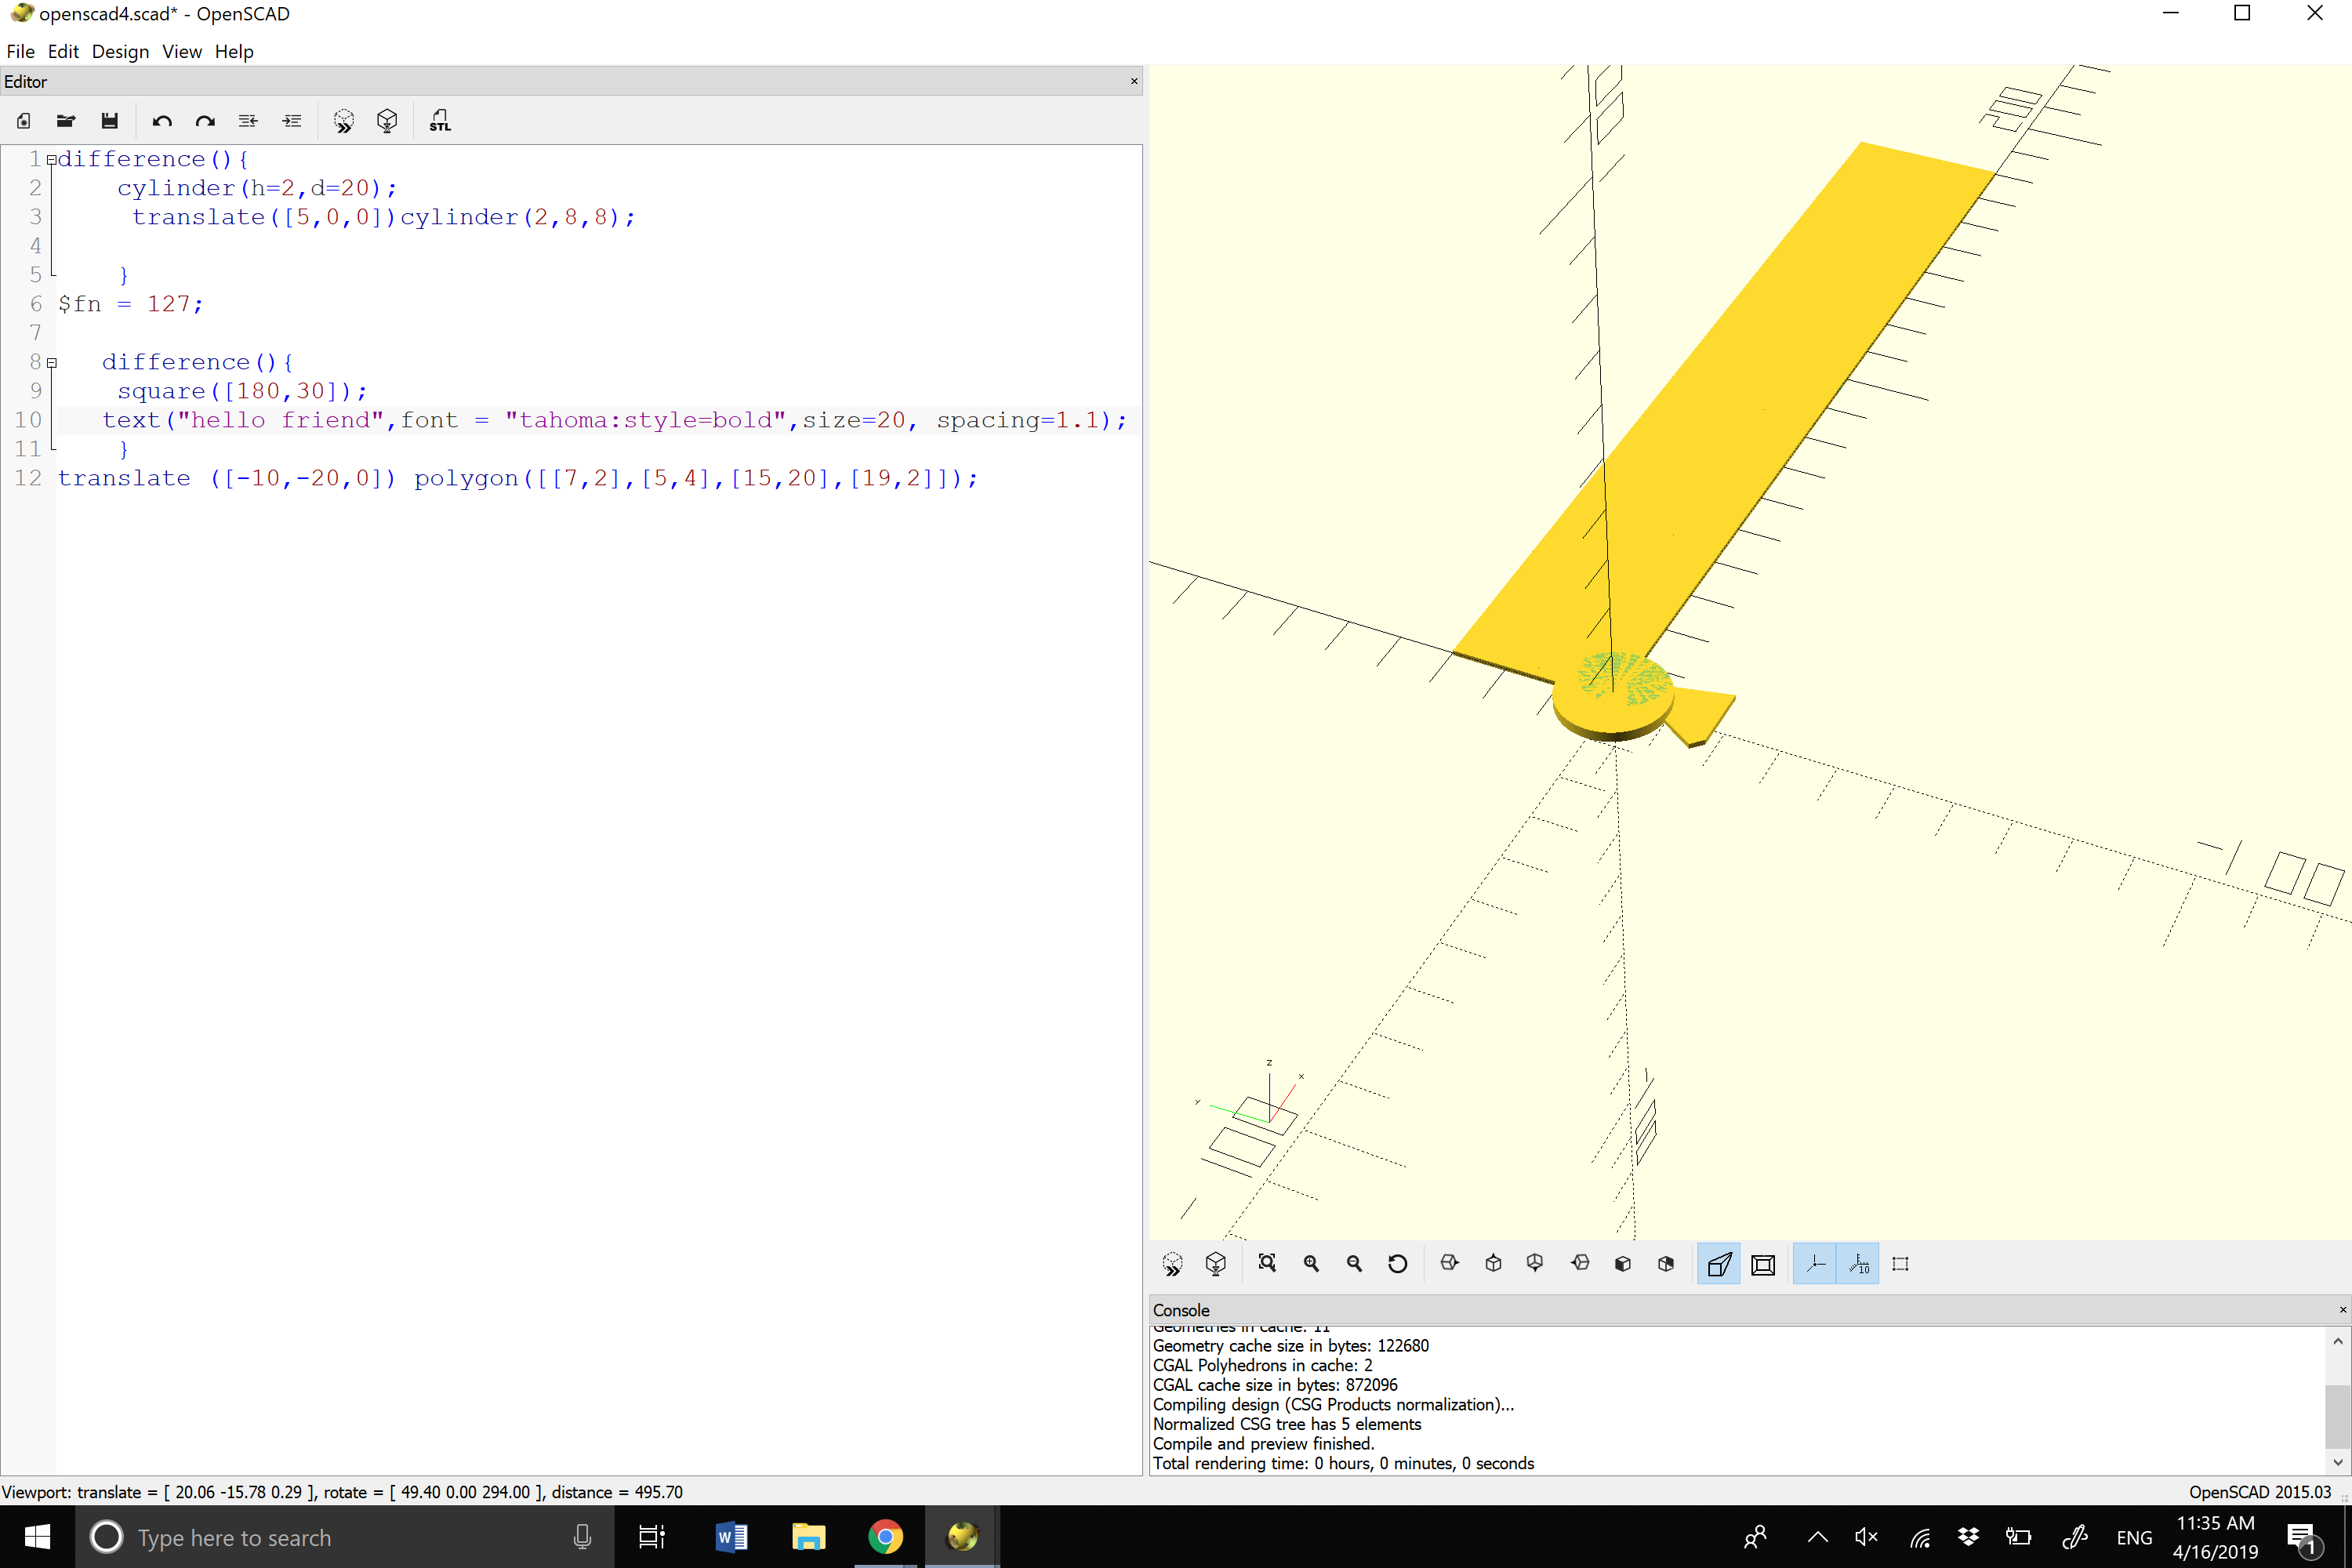
I made a moon like object by using the difference function by taking a cylinder out of another cylinder. I made a name plate by creating a rectangle and a piece of text within it (it does not show unless I use preview). I then made a weird shape using the polygon function.
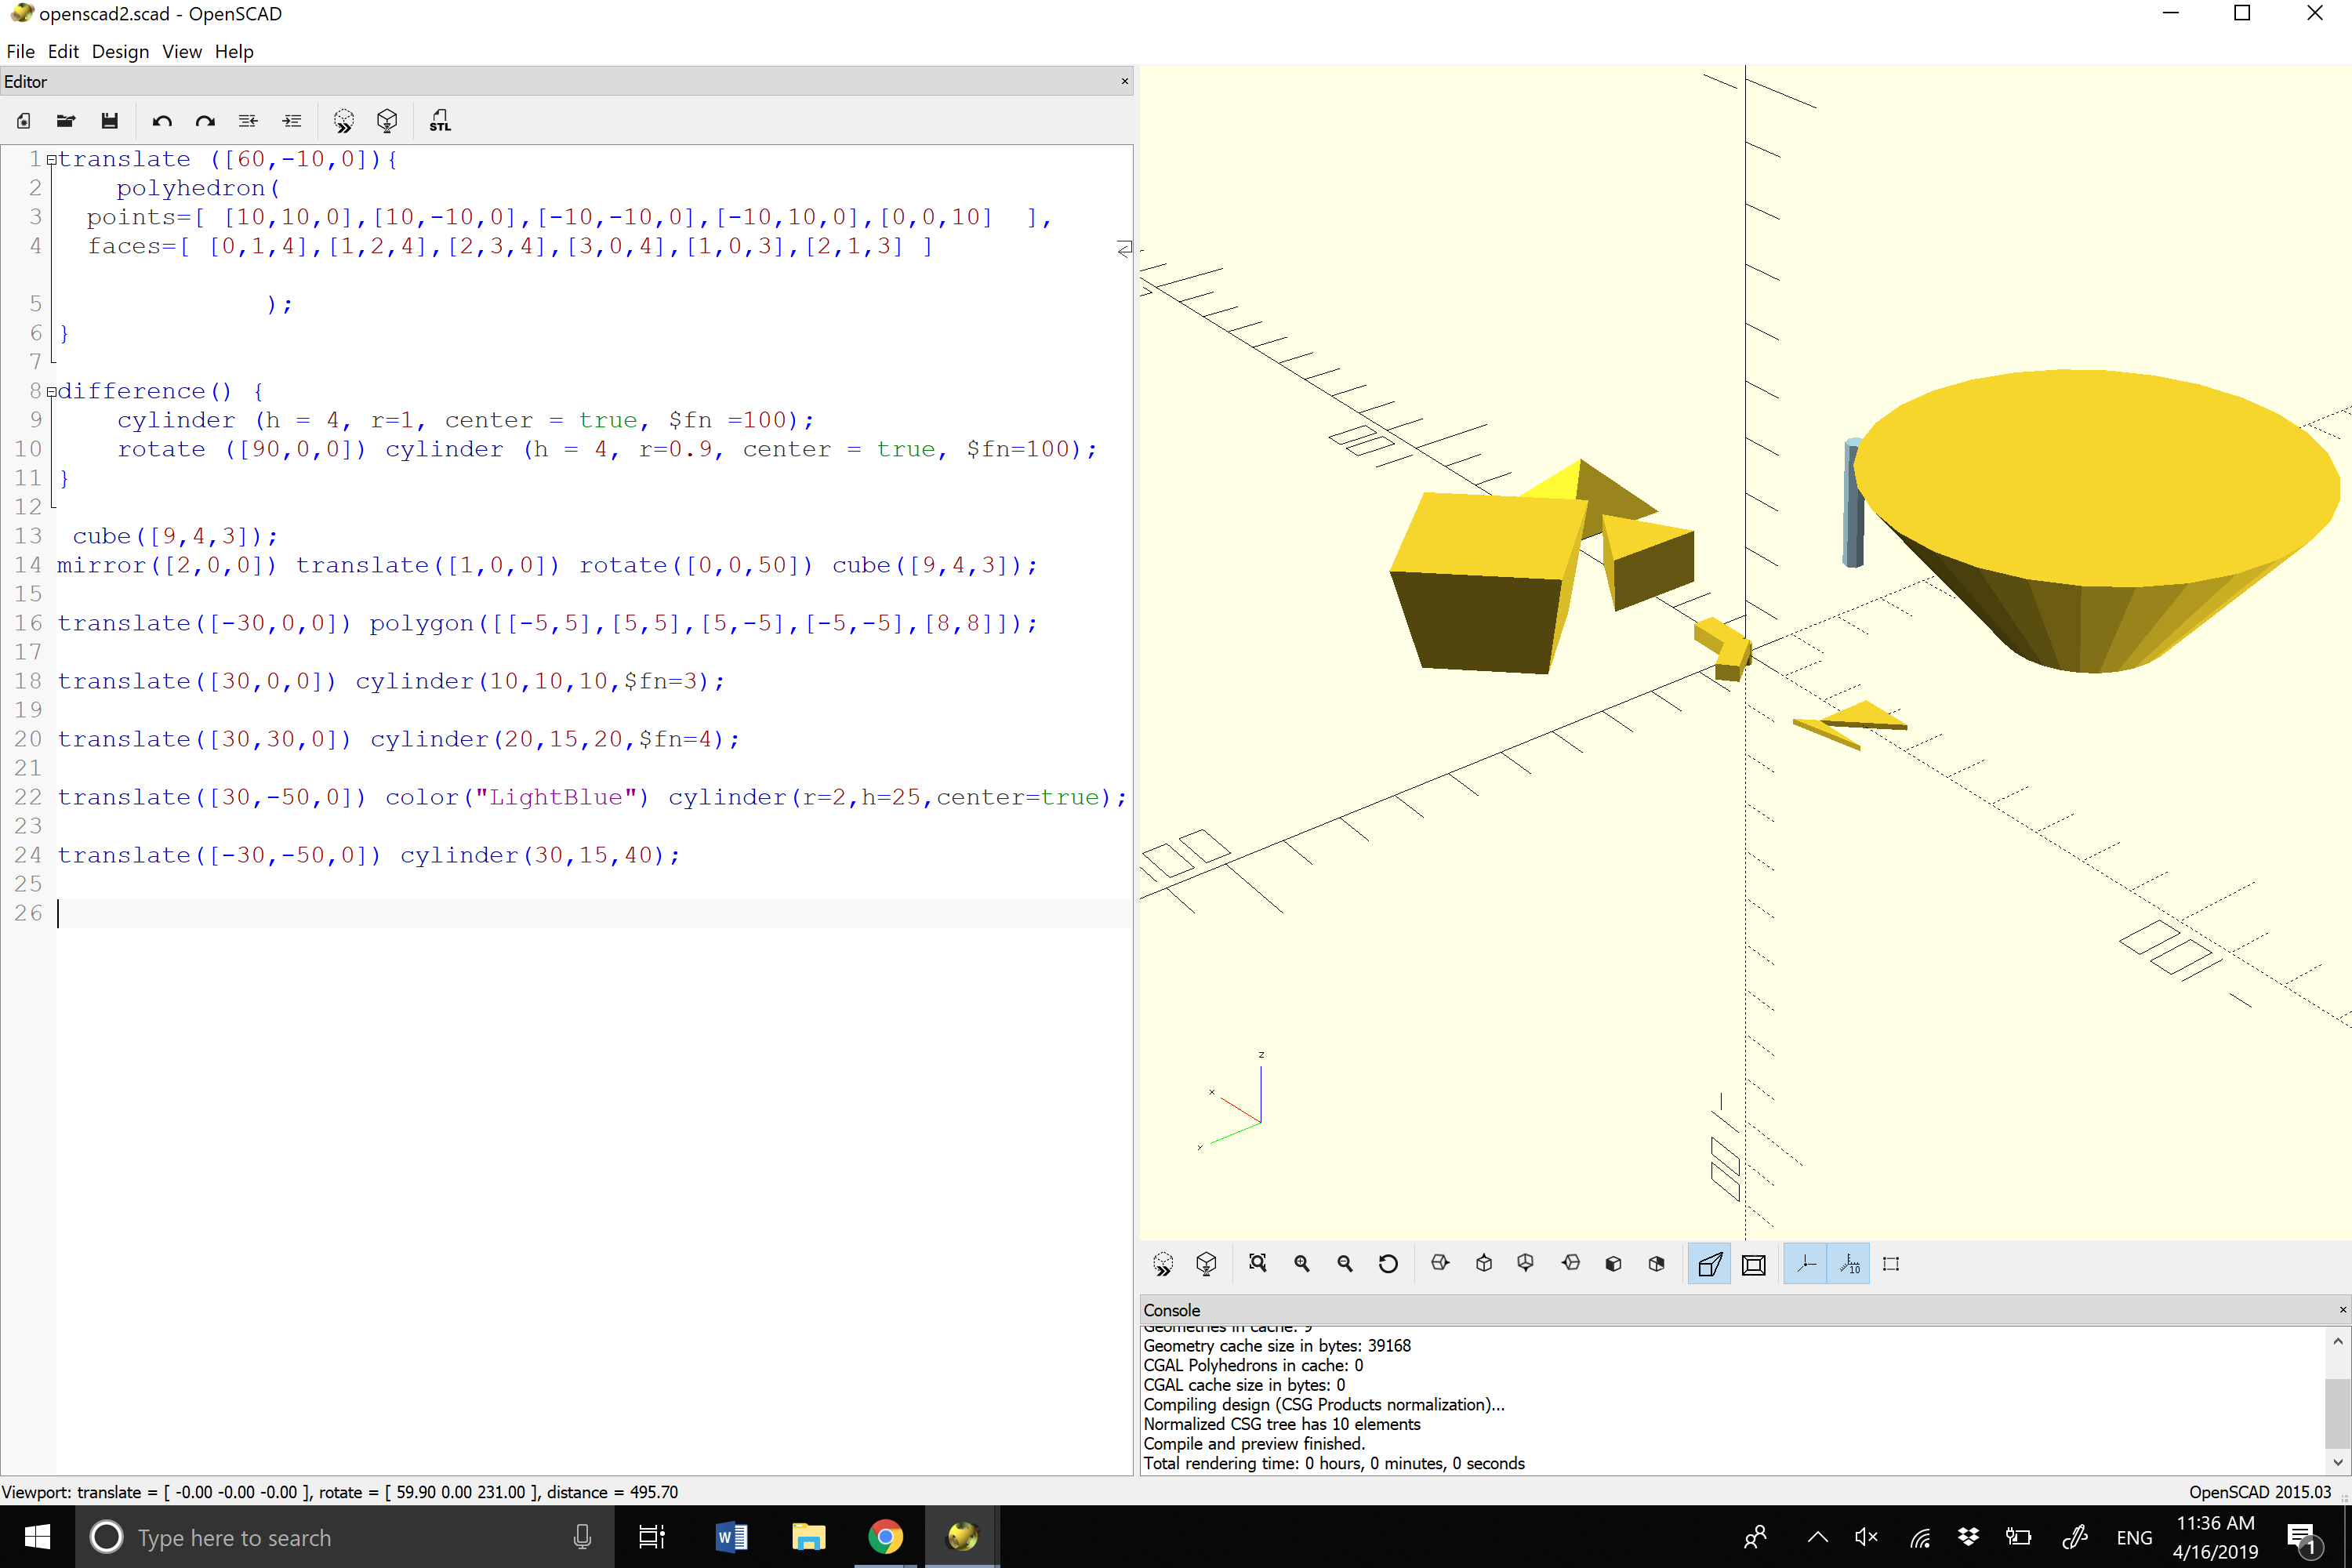
I made a 3D triangle, and a cube with a wider top. I made a rod with the cylinder function and added color. I made a pyramid using the polygon function. I made a cylinder with multiple faces using . I made two rectangles in the middle that are mirrored using the mirror and rotation function. I made two other polygons that are touching.
OpenSCAD Print
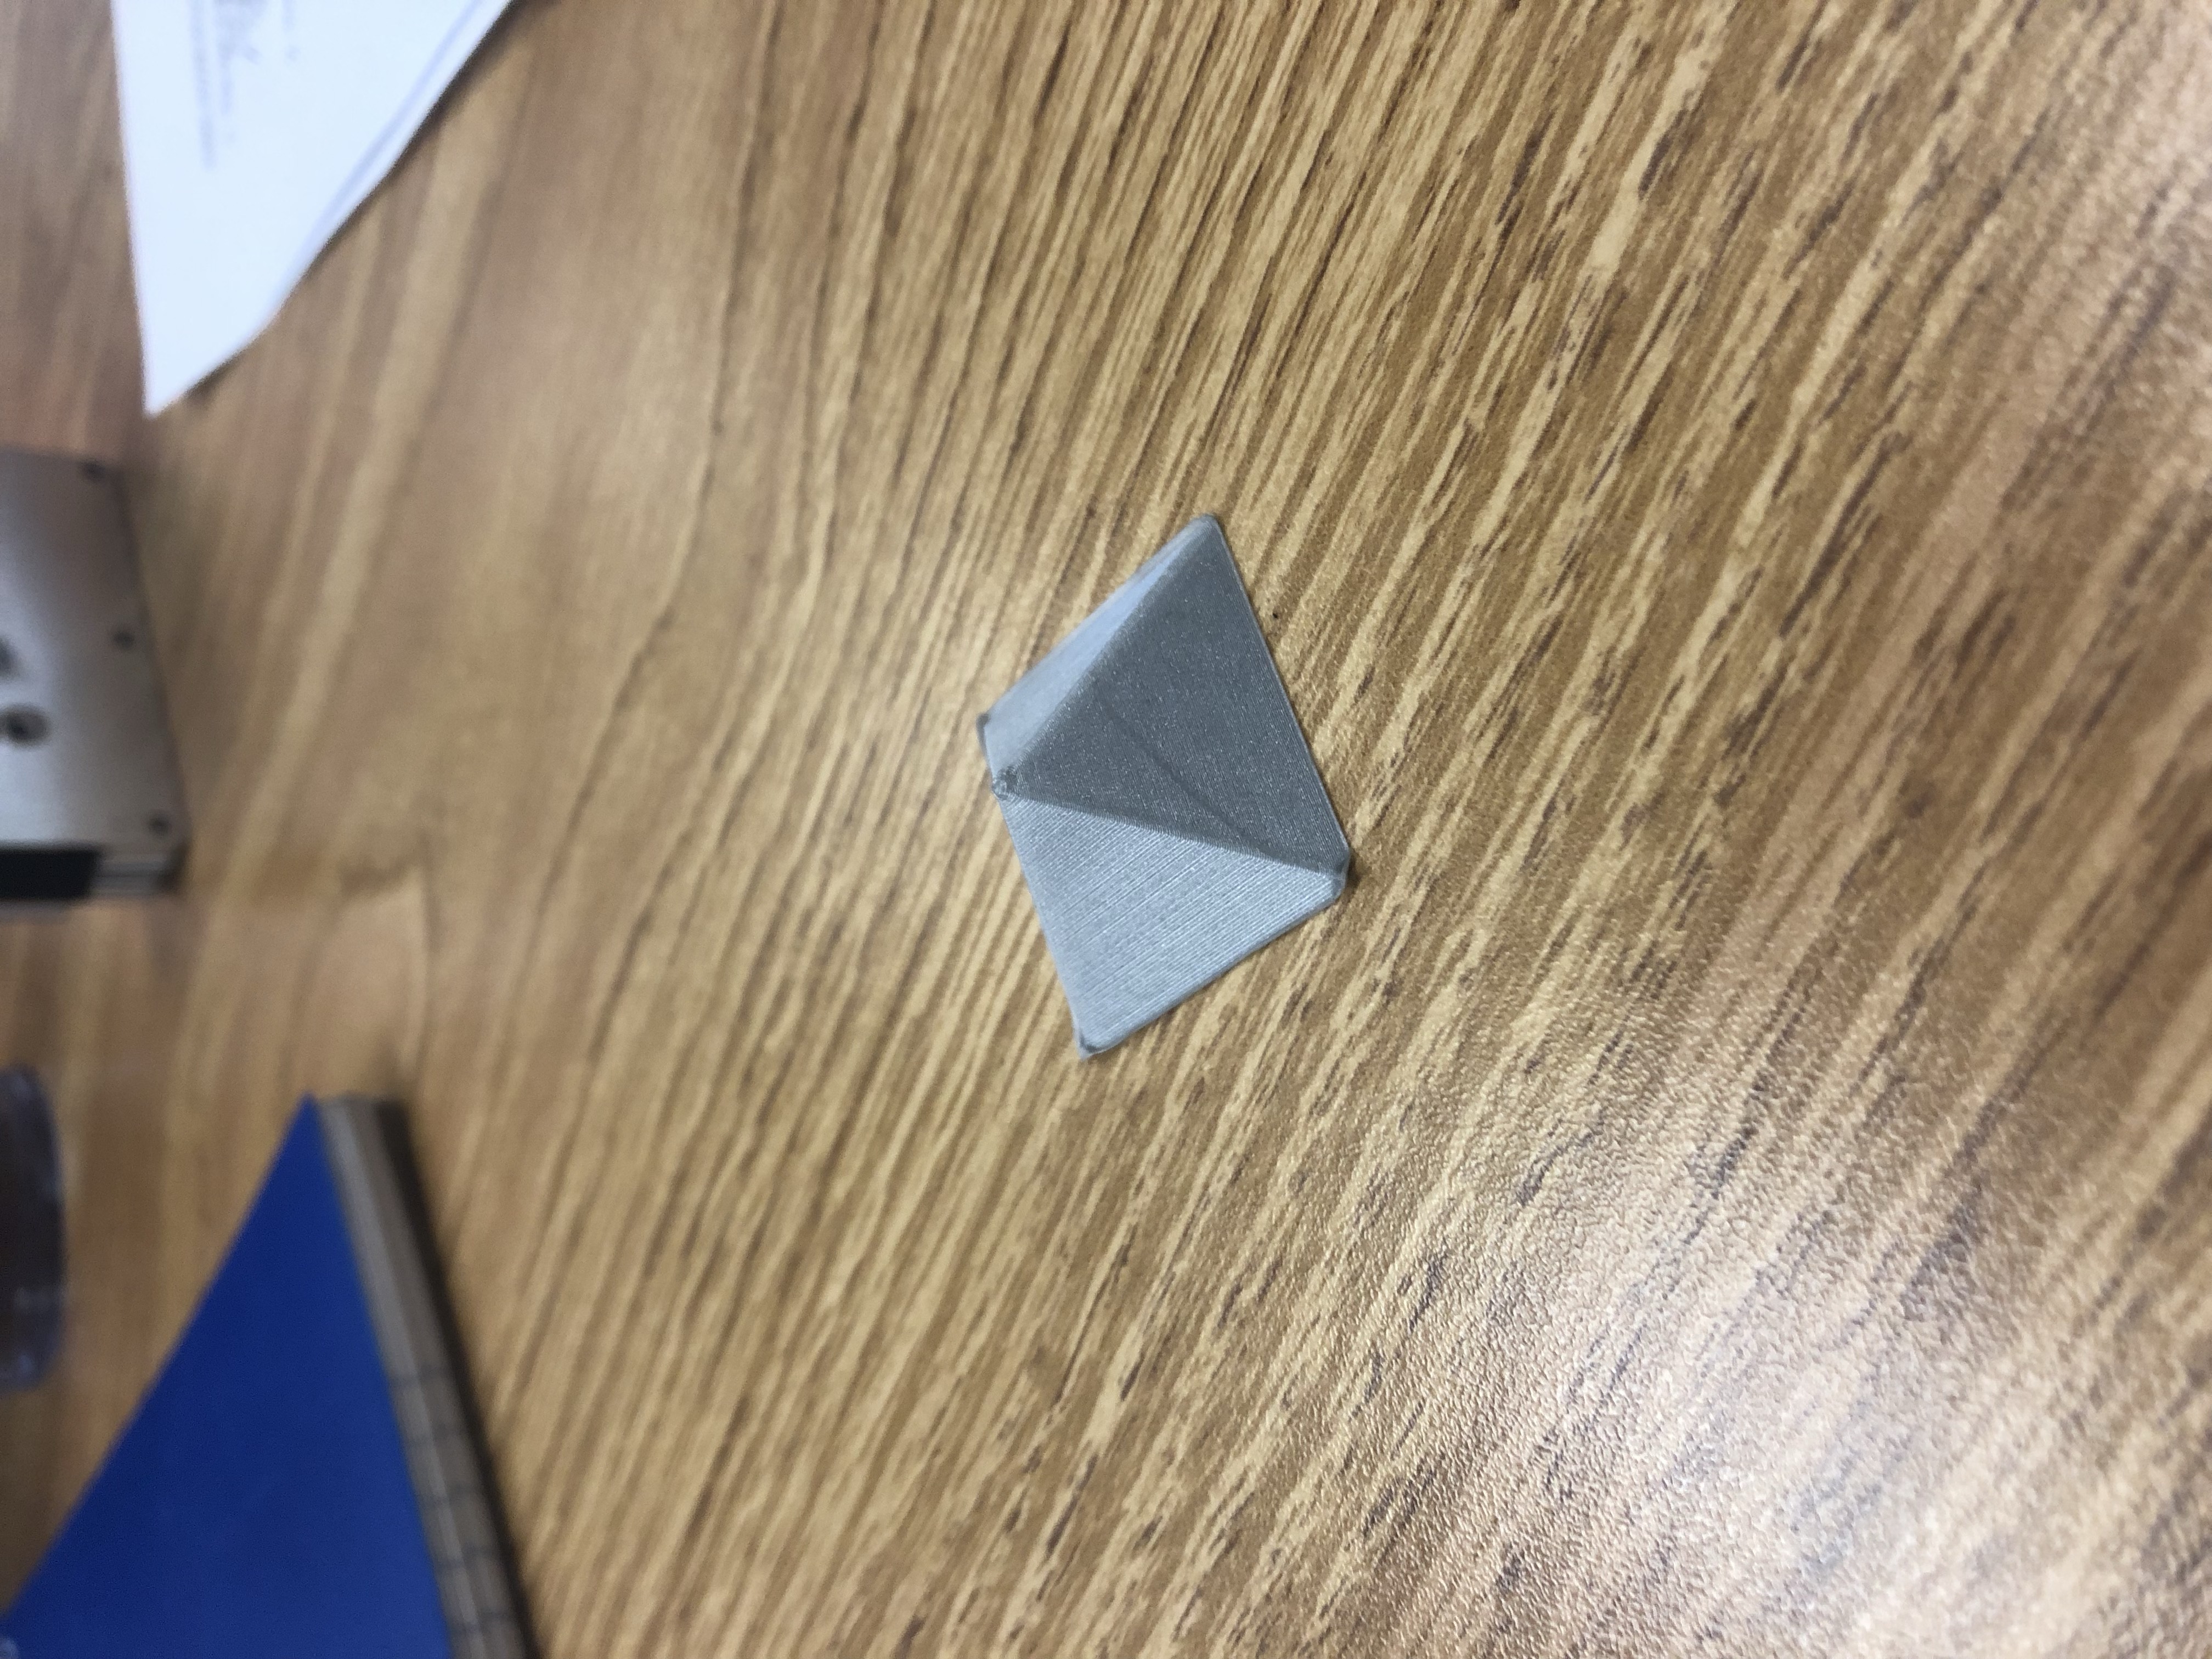 The print was a success. The pyramid was almost entirely smooth except the point at the top.
Summary of Group OpenSCAD Project
Crown with Christina Ra
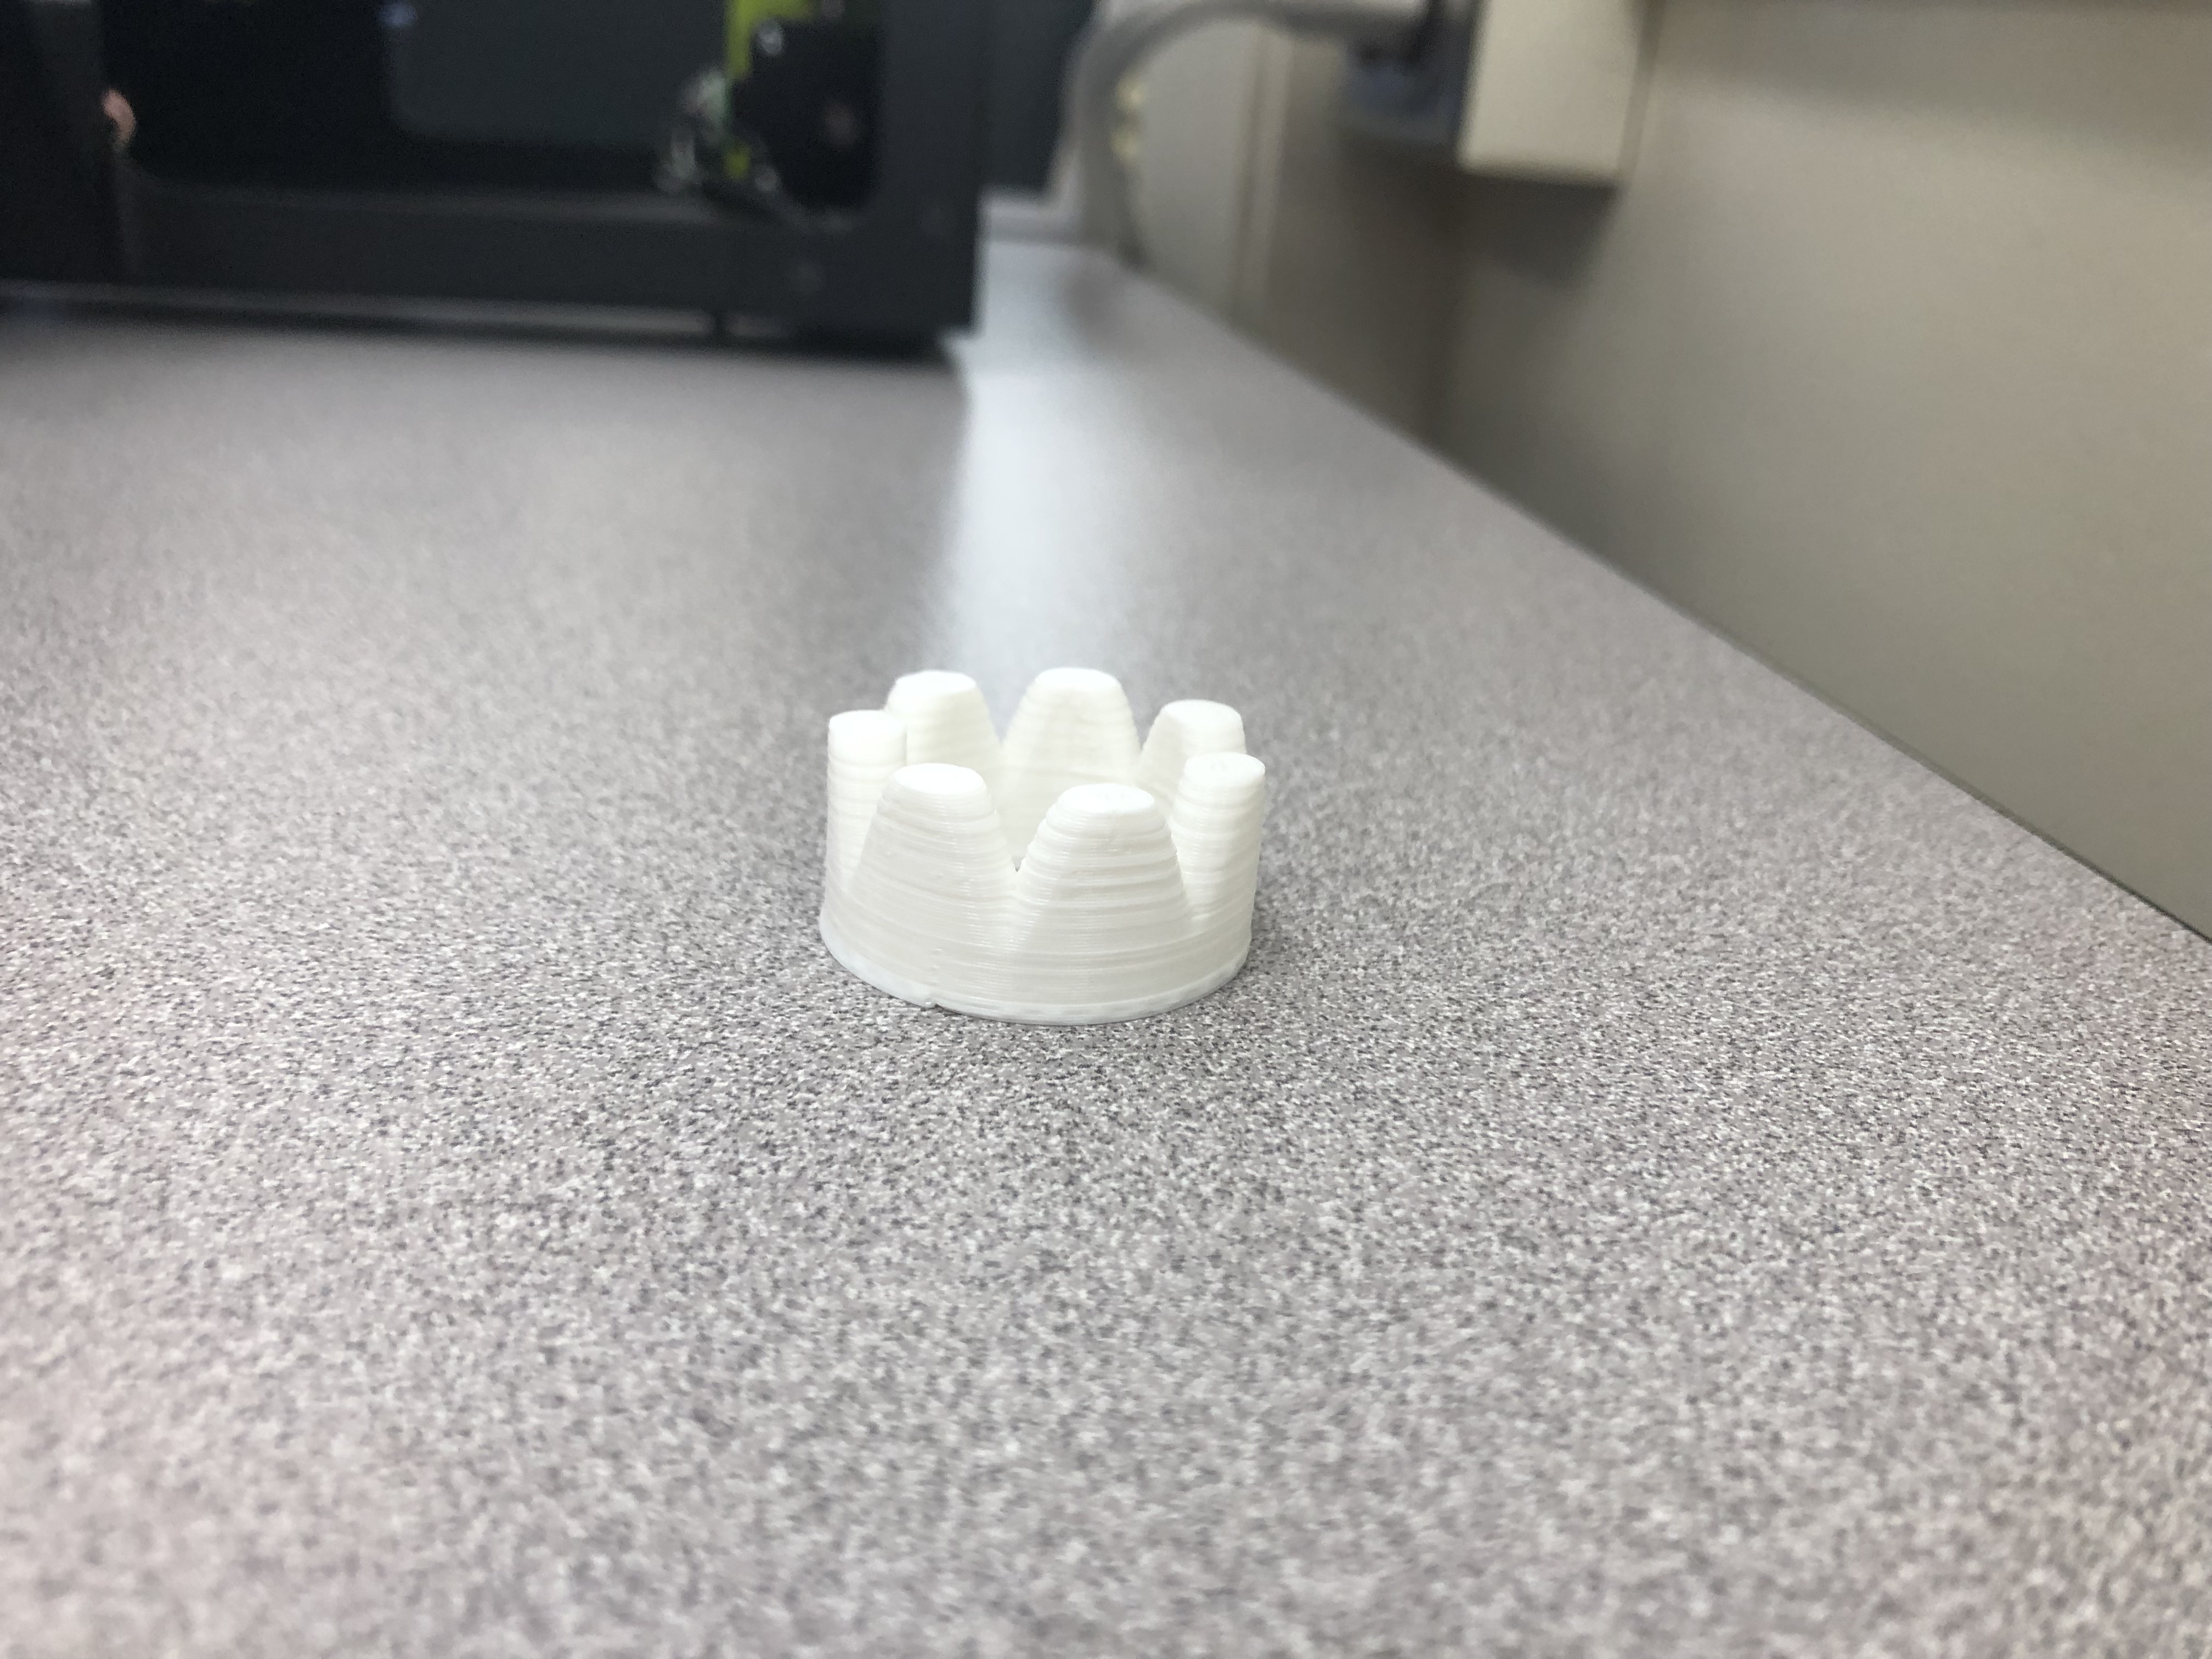
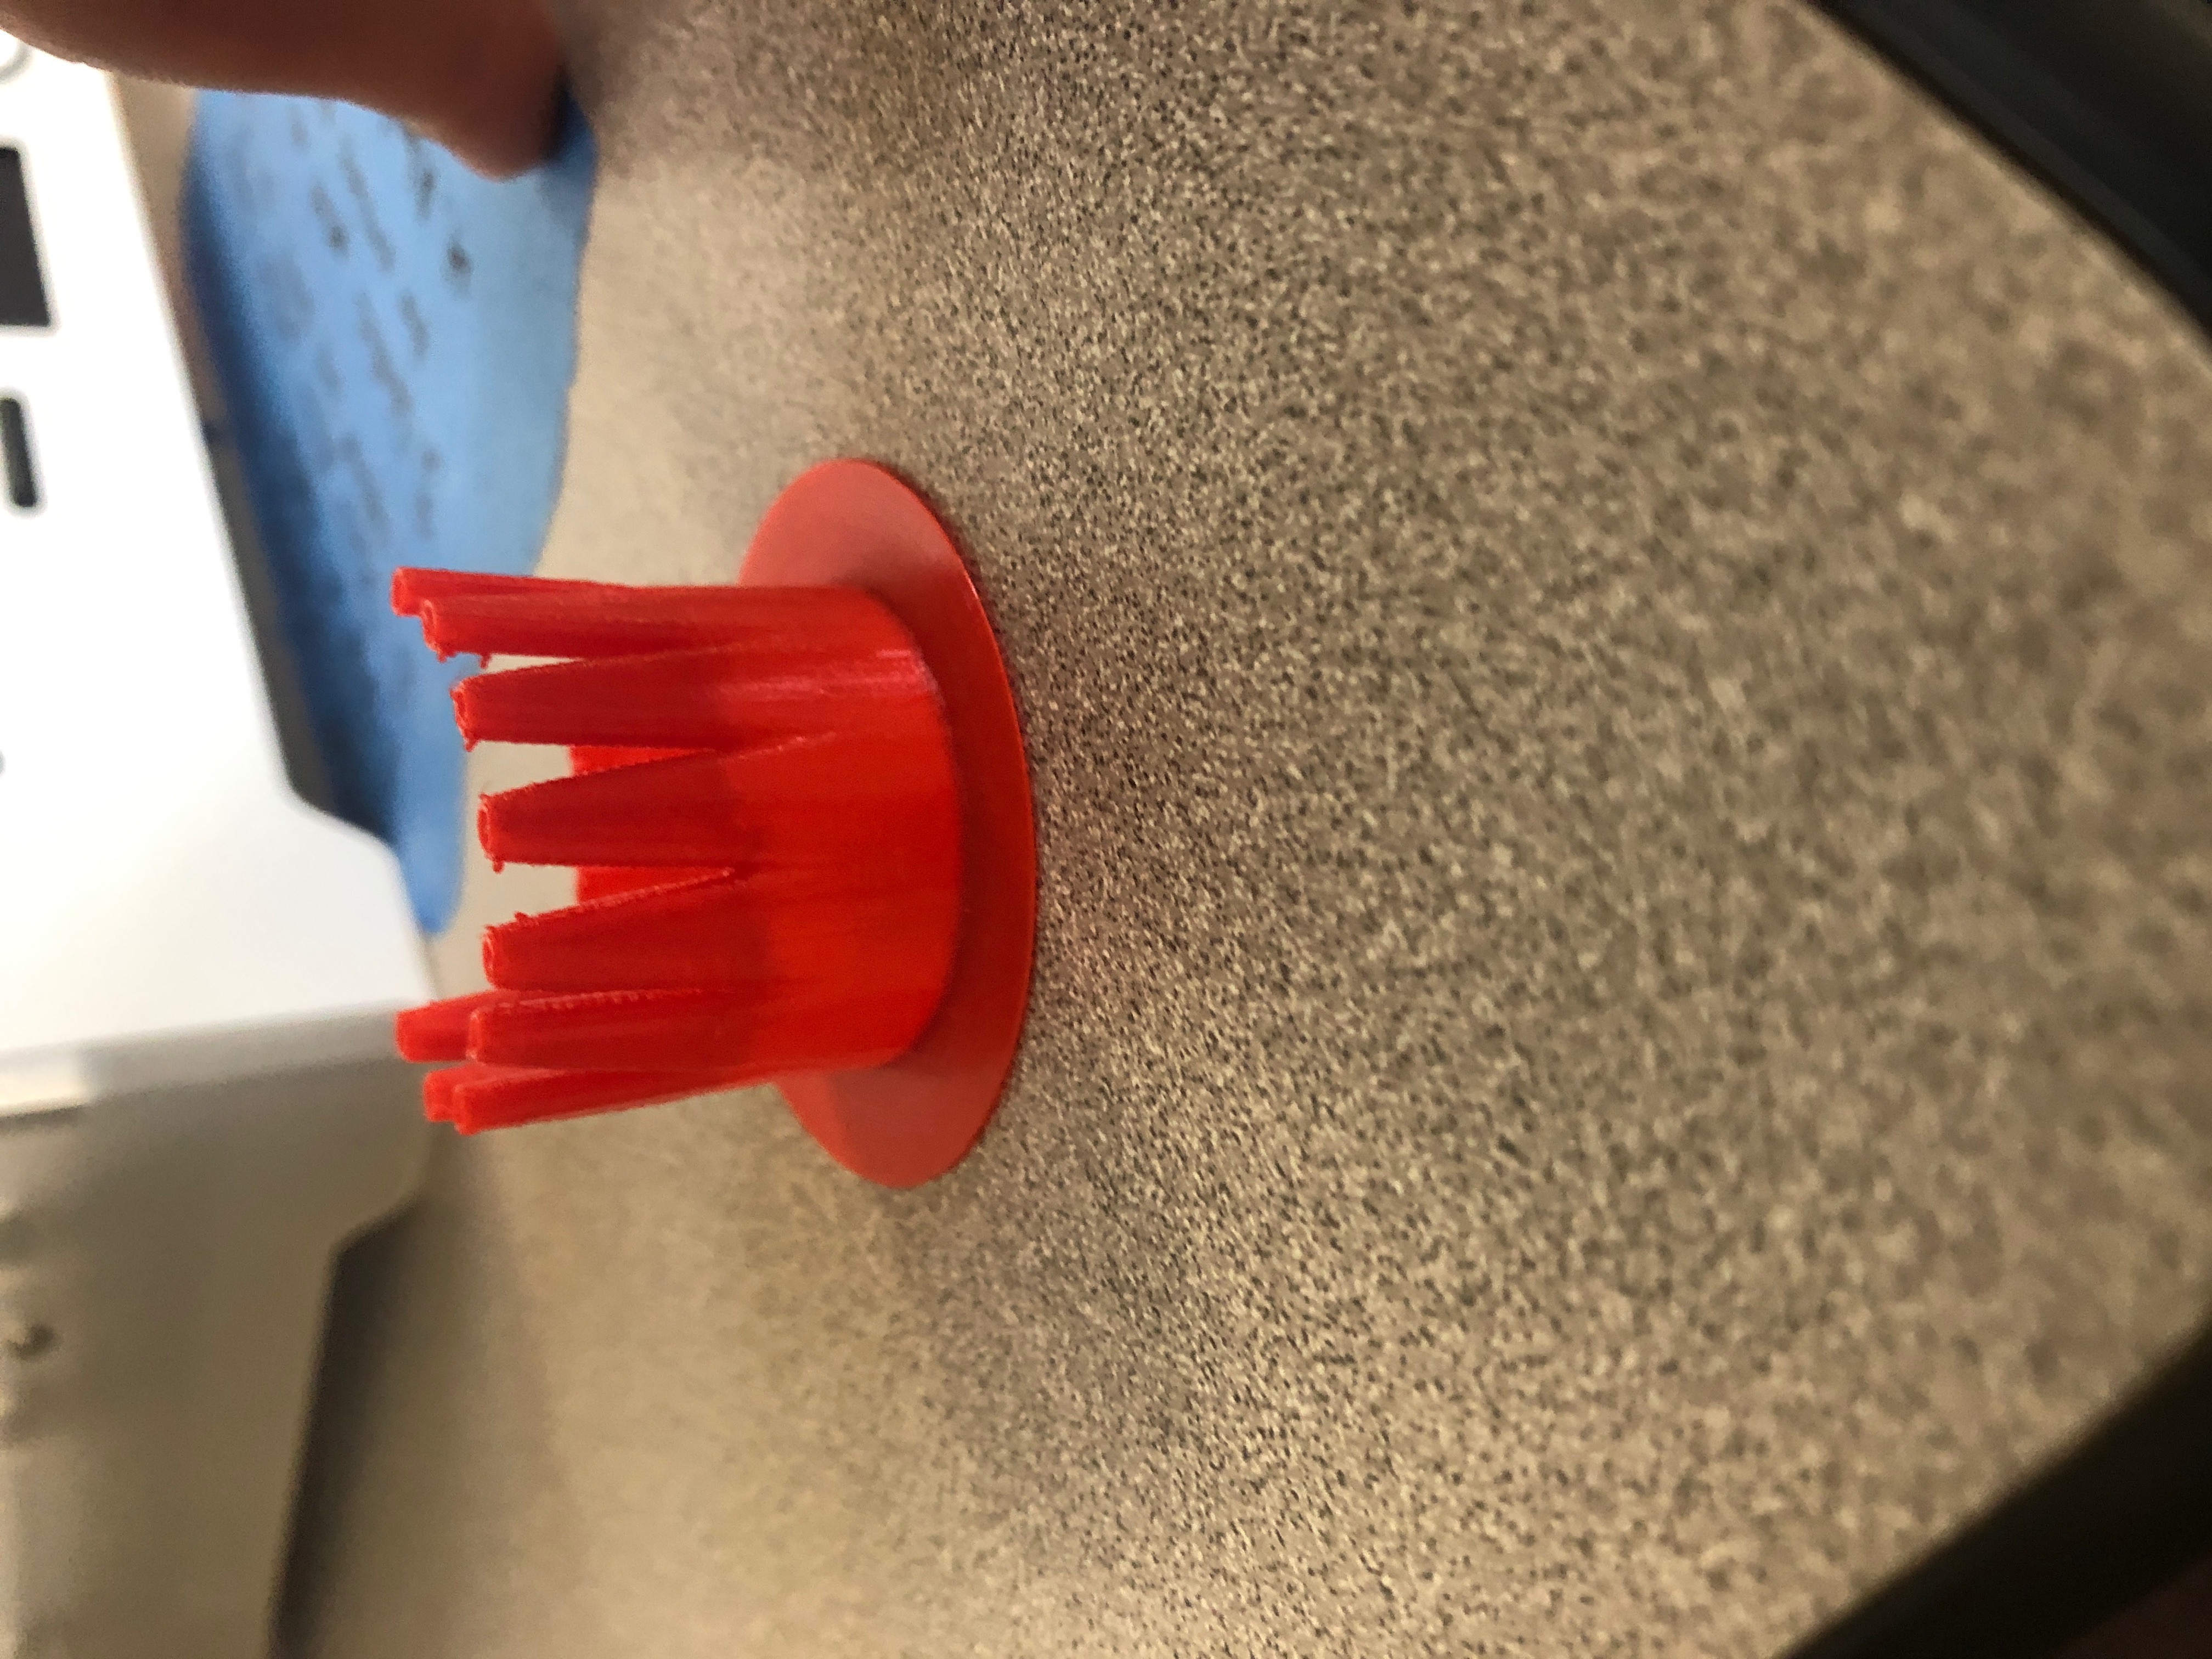
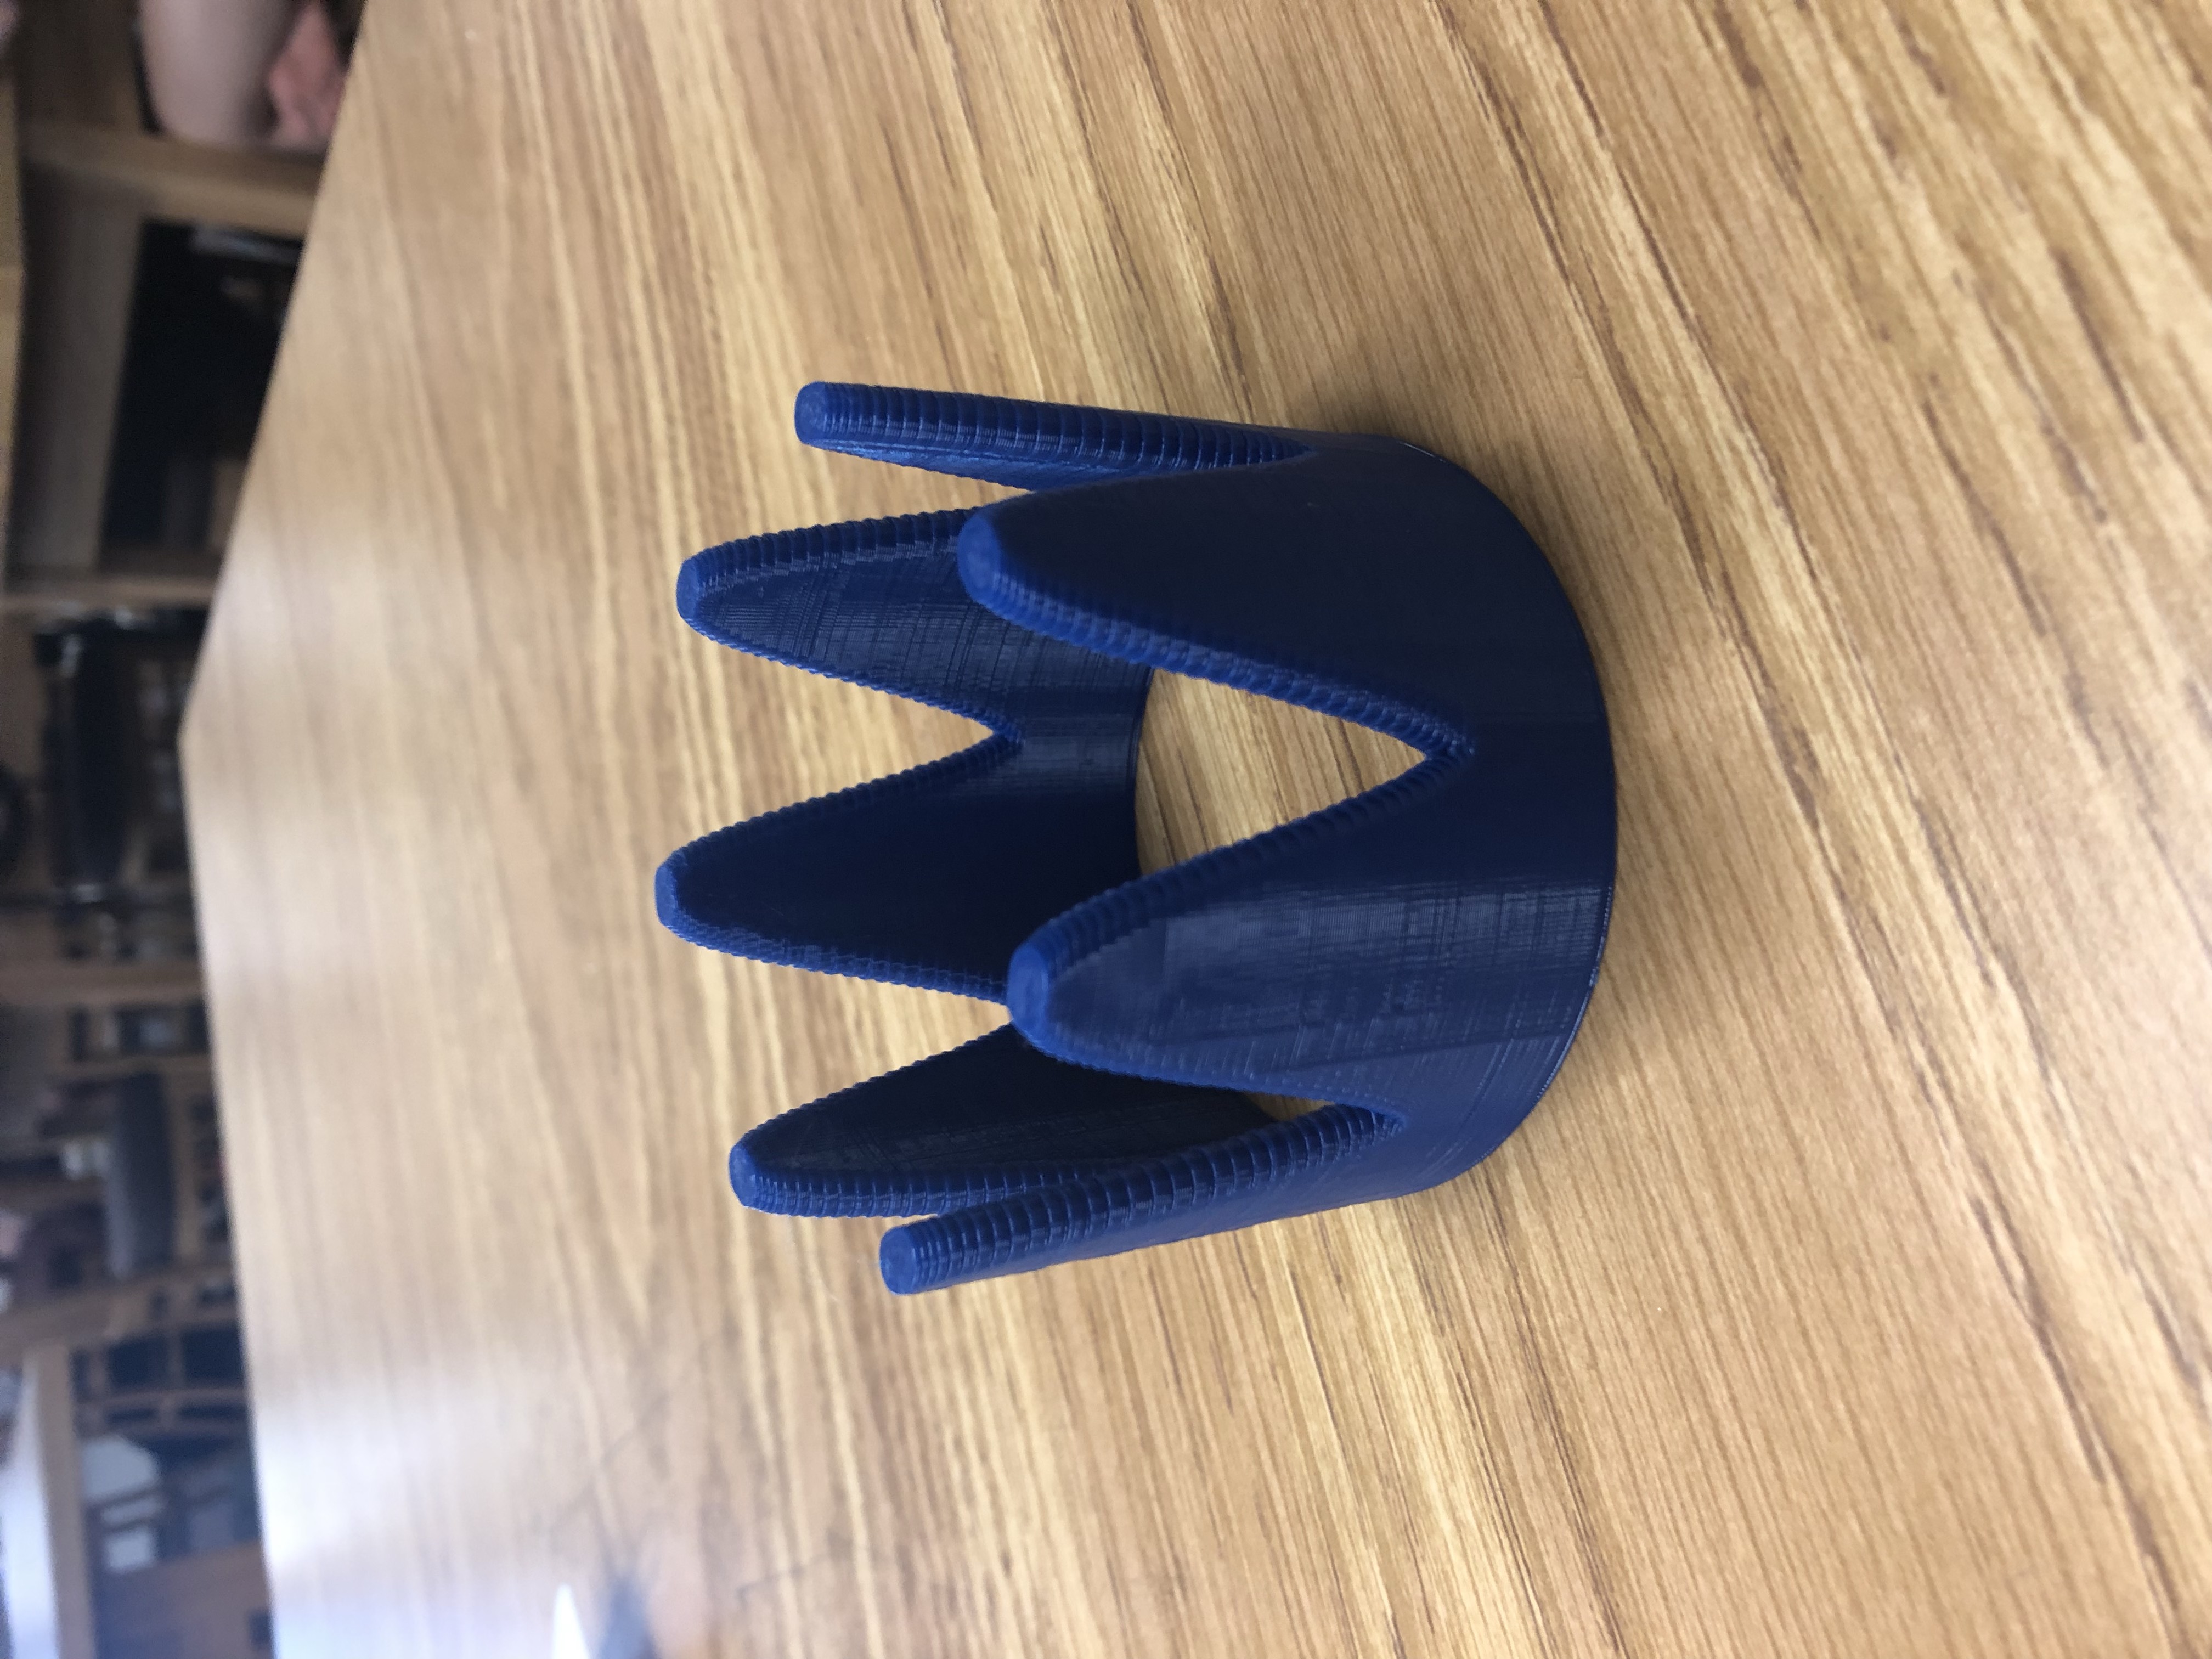
The project idea came from looking at the different math functions in OpenSCAD. It was fun figuring out how to use sin and cos to create the crown. It took a lot of guessing and error in the code to figure out how to make the circular shape. Overall it was fun once the code made sense. The only problem that arose was understanding why the rendering of the crown took long. The crown is made of thousands of cylinders and OpenSCAD took a long time creating each individual cylinder. This project taught me how to implement formulas from paper into code and how to learn from my mistakes in the printing process.
Reflections and Future Projects
Throughout this course, I expanded my knowledge not only in 3D printing, but in how to search and find information on my own. I used internet to teach myself more complex techniques within each of the programs we used during this course. The guidelines in each assignment were flexible enough so that they were fun. I struggled learning how to use Fusion 360 at first, but after some time playing with the tools on my own I was able to complete assignments quicker and efficiently. I also had some trouble when it came to using Cura and the 3D printer, and I have learned from my mistakes what not to din the future and what to avoid. I now have a baseline knowledge to 3D print on my own and to expand even more.
In the future, I want to able to make tools or shapes that for my bike or GoPro. I would have to measure the dimensions of the camera and where it would connect to bike. It would be cool to have enough knowledge in code and 3D printing software to make any idea real. I would code