
Starting Again
Clay No More
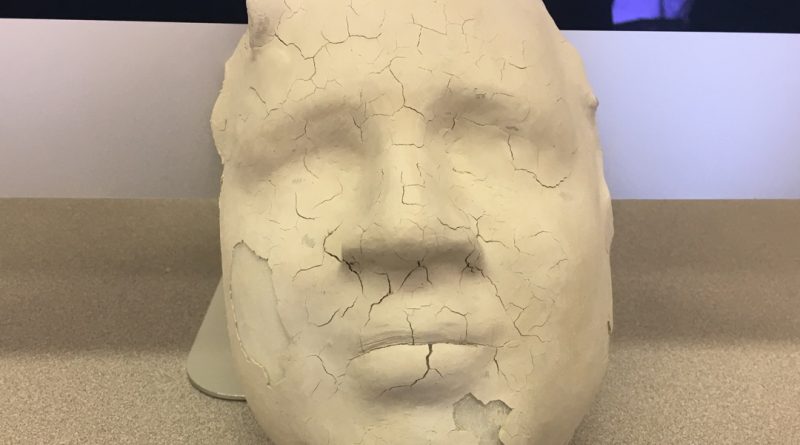
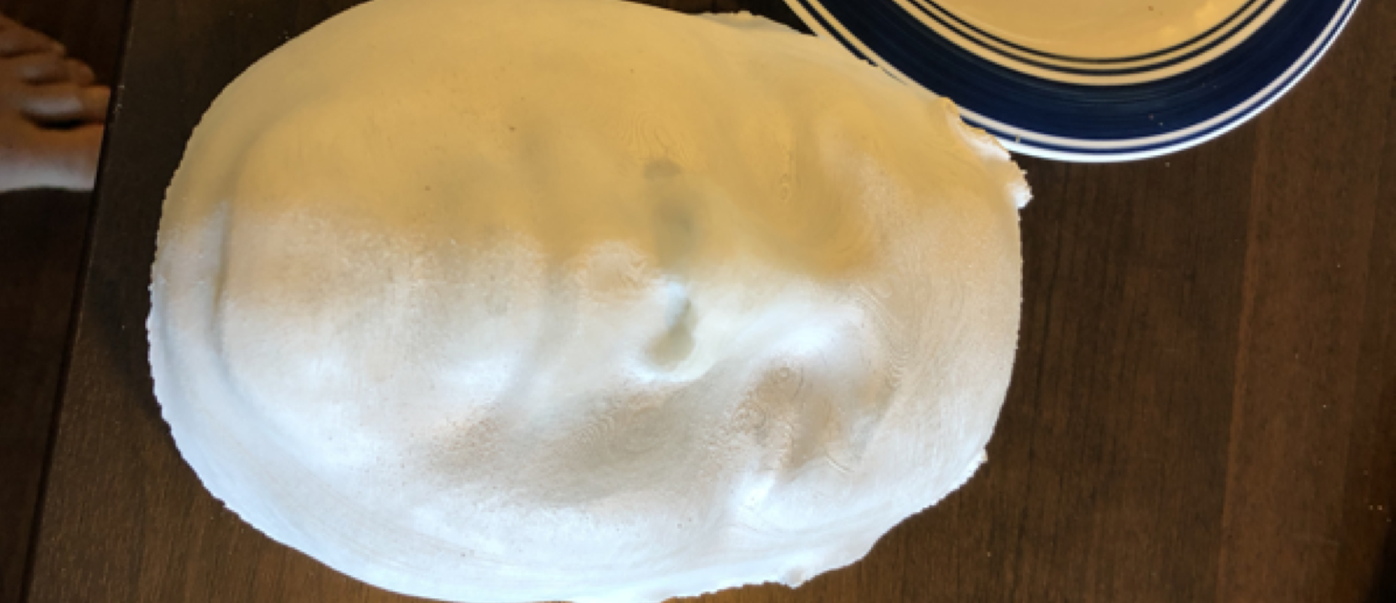
After multiple attempts with our new technique for storing our clay mask, we have decided to move forward with a different approach. Using the storage container technique over spring break, or a total of 7 days, really did took a toll on this version of the mask. We came back to an extremely cracked mask. Cracked and dried out to the point that flakes of clay were falling off the mask.
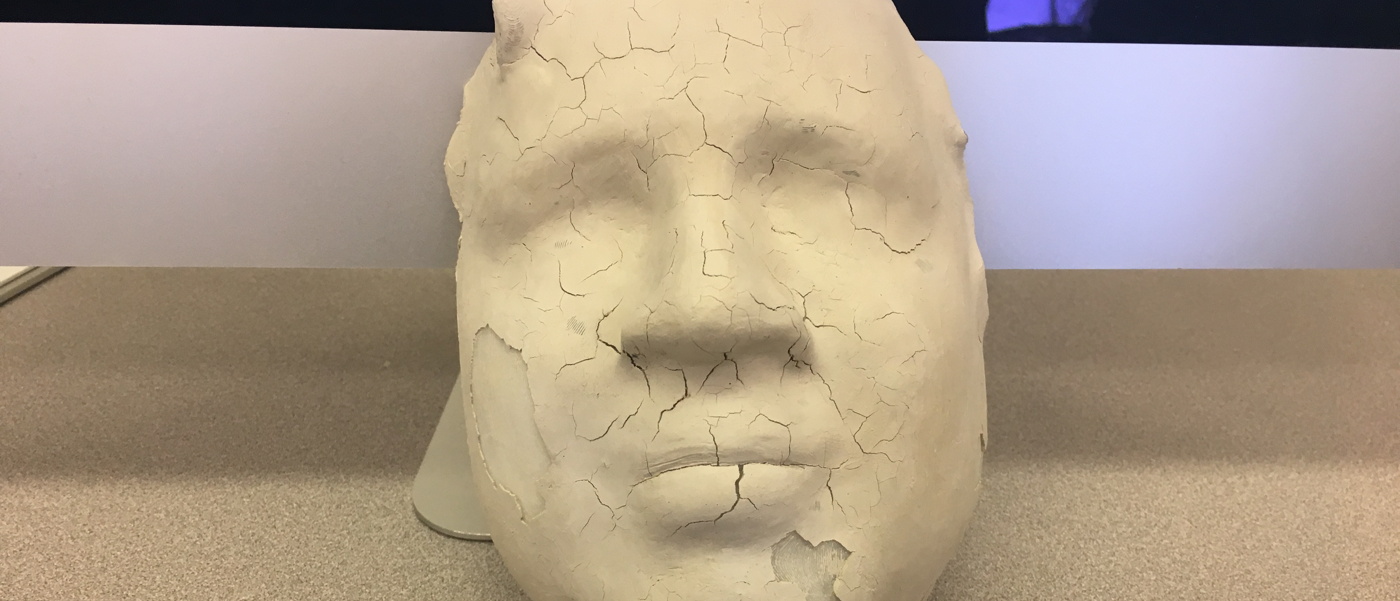
Following our discovery of the extremely cracked mask, we decided to brainstorm and look at other methods that we brainstormed at the beginning of this project. Our team is determined to crack the code and we realized that banking on one method is a recipe for failure. Back to the drawing board we went!
An Artistic Approach
After looking at the few options left on the table, our team decided to make our next approach an artistic one. Utilizing Lowe’s paint department, we were able to match Jame’s skin color with an exact shade of paint. It was a interesting to see the technology that is available to the public. At Lowe’s they have a scanner than can scan any color off of any surface and replicate it into a shade of paint. This worked perfectly for our approach.
The print of the mask that we planned to use was supposed to be completed when we got back from spring break. Using a recommendation from our professor, we change the PVA supports to transitional when printing. It seems as if this skewed our print off or something of that nature as we came back to a mess after spring break!
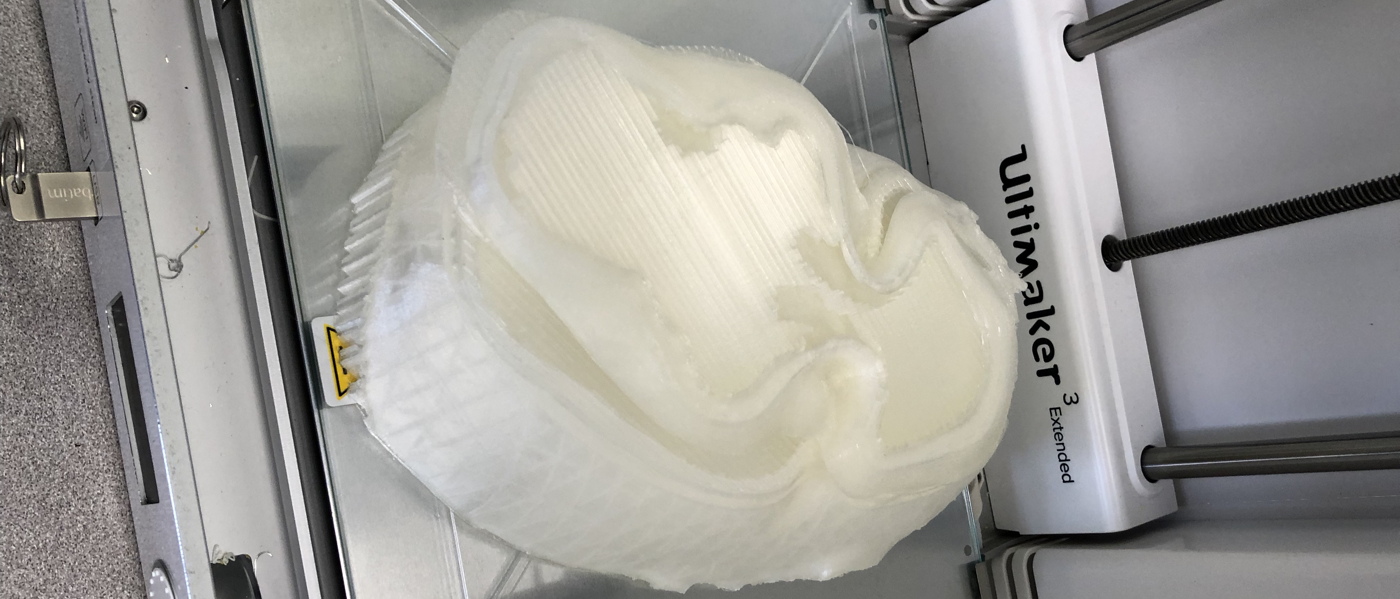
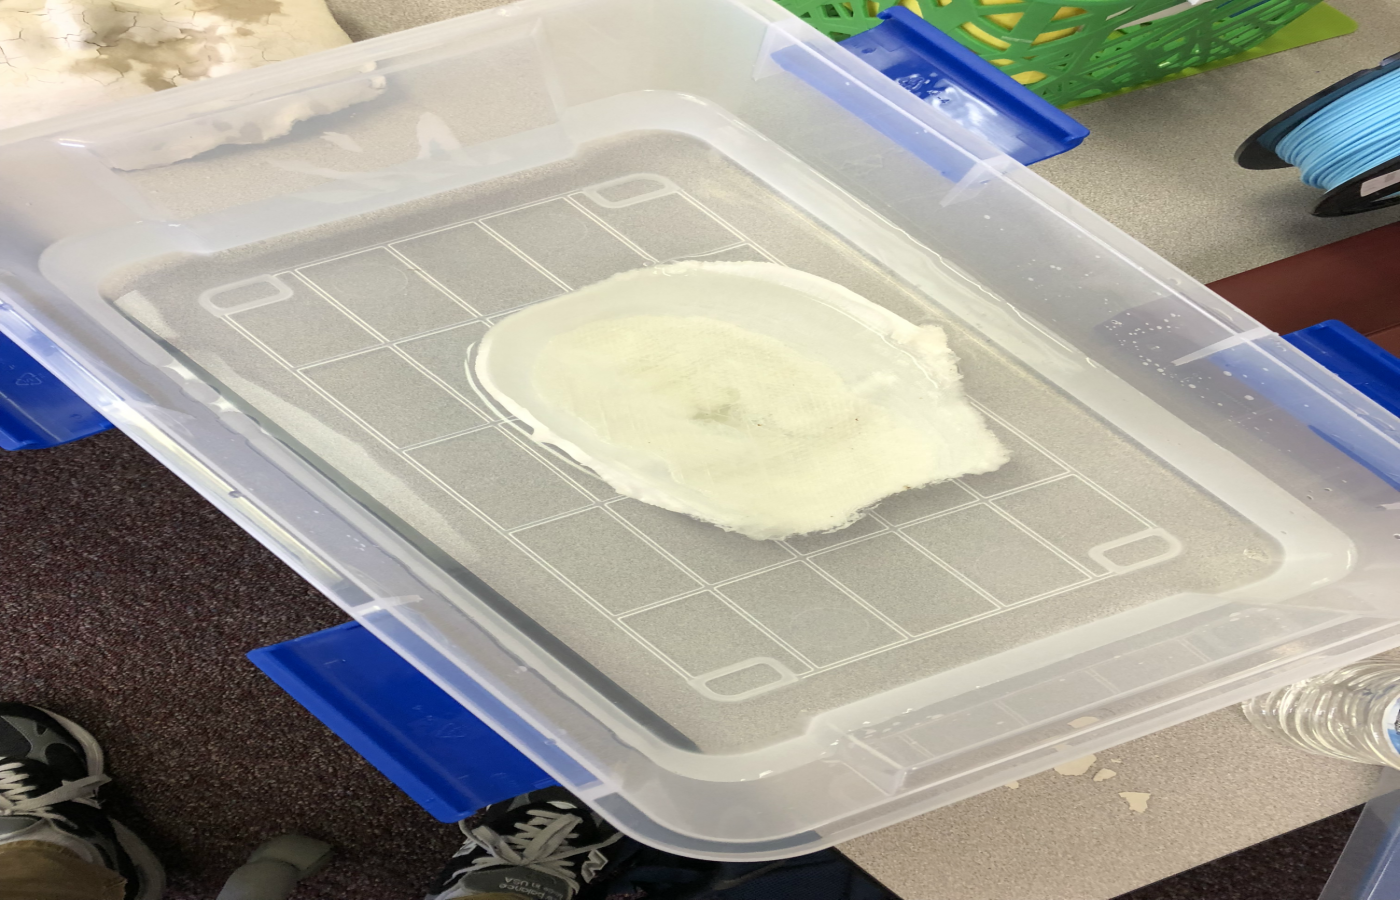
Knowing that we were going to be losing time waiting for another print to come out, we quickly queued another print of the mask. This time using the traditional support settings we used. The next print was a success. When printing with the supports, we are required to place the mask into water so that the supports can dissolve away and leave only the mask.
A ‘rough’ start
After the supports were completely dissolved off of the mask, we moved forward to painting it with the paint that we obtained from Lowe’s. Our first attempt to paint it quickly came to a close when we realized the paint didn’t mesh well with the mask itself. To combat this, we used sand paper to grind down the surface of the mask so it would absorb the paint. As the paint dried, the mask became more realistic looking.
Now that we finally were back with a usable prototype, we began looking at how we would form Jame’s facial structures (Eyes, nose depth, lips, cheeks, etc.). For now, our plan is to add the 2D prints of his eyes and form the other structures with paint or a combination of paint and the pictures both. To save time, we resized Jame’s eyes into a few different sizes. We figured we likely wouldn’t be able to get the correct size the first time. With multiple prints, we would easily be able to adjust if one or another did not fit. 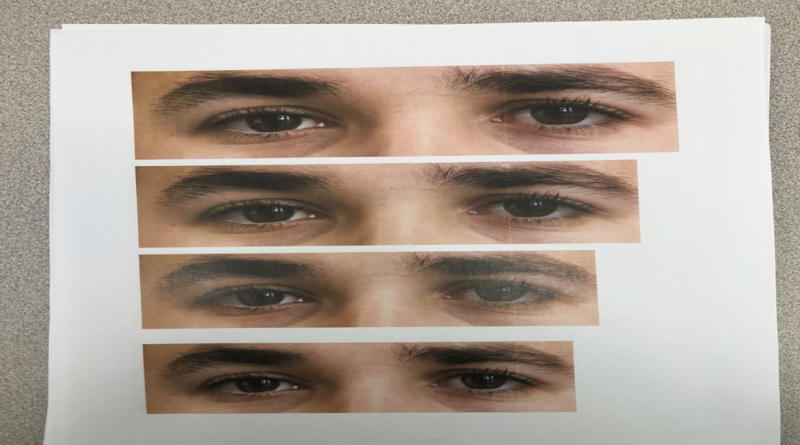
Moving Forward
As our mask comes together, we hope to have some sort of big success in the coming few weeks. We will craft the facial structures onto the mask and begin testing. If there is no success, we will look for other options. We will also begin to create our final presentation of making a YouTube channel and documenting our semester of work. We are determined to crack the iPhone X software!