Group Members
Student Name (Lead Designer)
Student Name (Lead Writer)
First Design Iteration
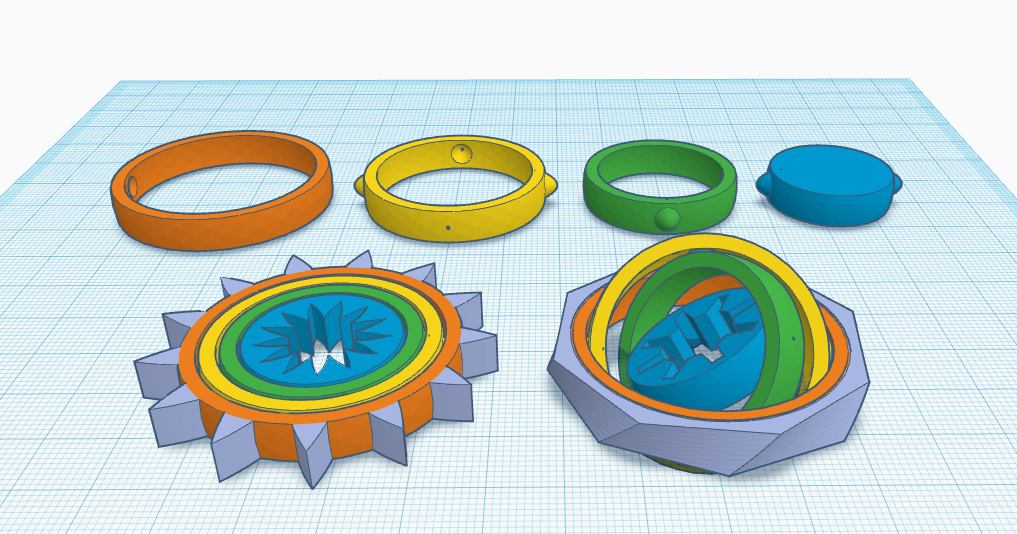
We decided to make a spinning gyro for the purposes of this example post, but you should work with your group partner to come up with your own unique design. Be creative, and try to create something truly three-dimensional.
For this first assignment you only need to create a rough first draft of your design, or, instead a testable piece of your design. Talk here about why you chose your design. You should also indicate how your design meets the design requirements listed at the bottom of this post. Do some research on Thingiverse and see who else has already made objects similar to what you are planning, and talk about how you will learn from those existing designs when you create your own design.
Include a screenshot of your Tinkercad design, and also make that screenshot the Featured Image. Share your design tools and how you created the first draft of your design in Tinkercad.

You can finish here with any additional thoughts: Will your design be difficult to print? Are you happy with it so far? What do you think you could change about it to make it better? What difficulties will you have to overcome in the second draft of this model?
Objectives for this post
- Start working within a group, with one Lead Designer and one Lead Writer collaborating and sharing the work.
- Really think hard about creating a new, unique, and relevant 3D-printable design.
- Learn the basics of Tinkercad, how to use the Tinkercad tools, and how to leverage those tools to create an interesting design.
- Start the first iteration of your first serious design project. You can expect that your design will grow and change over time; this post is where you will document those changes, by adding additional sections in future assignments.
Logistics
- This assignment is due before the start of class next week (Tues 9/19 or Thurs 9/21, depending on your section).
- Students should work in groups and attempt to split the work equally within their designated group roles. Both group members should participate in both the design and documentation of the project, but it is up to you how you want to interpret those roles in order to ensure that the work is distributed evenly for all team members.
- This assignment is worth 3 points, according to what our usual “small assignment” scale:
- 3 = above and beyond
- 2 = good job, satisfies all requirements
- 1 = some requirements met
- 0 = not sufficient
Design requirements
This is important: Although you have a lot of creative freedom to design whatever you like for this project, your design must satisfy these requirements.
- No mundane items like keychains, pencil cups, wine stoppers, golf tees, makeup holders, bottle openers, towel hooks, cat dishes, phone cases, shot glasses, etc. Try to think well outside the box and past the first obvious household designs you think of.
- In particular, just adding a name or personalization to a standard household object is not sufficient for this project.
- If you can buy a cheap version of what you’re making at the Dollar Store, at Target, on Amazon, or at some other easy to access store, then you should think of something else that better leverages your power to make custom, unique objects with 3D printing.
- Although this is not a necessity, it would be especially great if you could think of a design that in some way supports your academic interests at JMU.
- Preference should be for designs that are truly three-dimensional, not just extrusions of 2D images or flat objects.
- Pay attention to the printability of your object; delicate features and excessive overhangs can cause printing difficulties.
- Tight clearances and moving or interlocking parts will need to go through several iterations to print successfully, but models with those features are often the most interesting and might be worth the hassle.
- Ideally, your model should require some of the more interesting design tools in Tinkercad. Think about your Fifty Forms project and what types of things you are able to do in Tinkercad, then try to think of what you could create with those capabilities in mind.
- No weapons or generally objectionable or insulting objects, duh.
WordPress tips
- Please make the title of your post the name of your project.
- To make the section headers, use “Headers 3” from the Paragraph drop-down menu.
- To list things without an extra linebreak inbetween, as you should in the “Group members” section at the top, press Shift-Return.
- Don’t forget to set a Featured Image for your post.
- Don’t forget to set the Category of your post to “Tinkercad Design Project”.