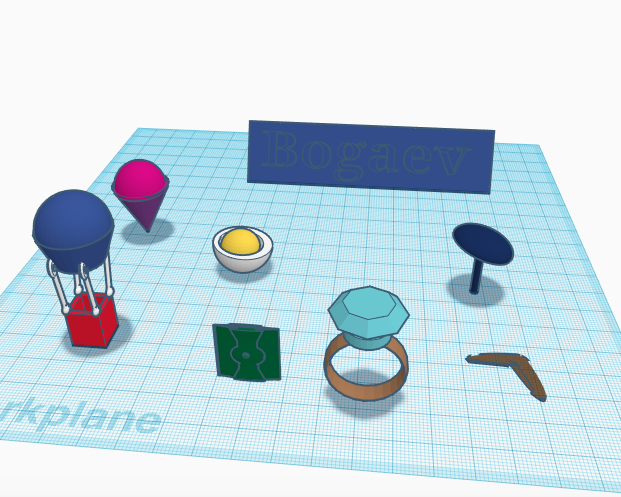
For my first twenty forms (found above), I created several interesting things. 1-5: The first five (1-5) come from the air ballon in the bottom left corner. I took a box and then created a hole as the basket for people. I then took the connectors and lined them up in each corner for the ballon. For the ballon, I took a cone and a half sphere and connected them. From there, I cut of about half of the cone and then moved that shape on top of the connectors.
6-7: The next two I created looks very similar to the Green Lantern symbol. I took two hand grips and made them mostly flat and put them back to back. From there, I then took a cylinder and made it the appropriate size and made the hole in the middle of the symbol.
8-9: For these two I remembered that I was originally was going to create a snow cone with the shapes I had for the ballon. I then took a cone and flipped it upside down and then aligned the half sphere on top.
10-12: For the next three I realized that when you flip a half sphere up it looks like an egg. Therefore, I then created a hole in the sphere by making a smaller half sphere. From there I took a sphere and made it yellow and placed it inside the hole of the half sphere.
13-14: These two shapes I had seen elsewhere and thought it would be smart to make since I will be a teacher. I took a wedge and made it large enough to be a name plate. I then typed my name in the text box and formatted it into the wedge. I then made my name a hole so that the name plate would give the illusion of being carved out.
15-16: I created an umbrella by flattening out a half sphere and making a long pole out of a box.
17-19: I made a ring since a diamond was a choice shape. I took a ring, flipped it, placed a tube on top, and finally put a diamond in the tube to make a diamond ring.
20: After playing with a few items, I realized that if I flattened out an ear it looks somewhat similar to a boomerang.
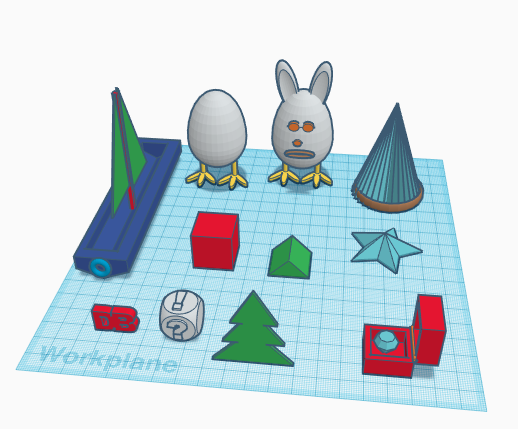
21-22: I was inspired by my name plate and then put my two initials together. The red DB initials look similar to the train company logo that Germany has in place.
23-25: These forms are with the dice. The first one was the actual dice and then I put a question mark and exclamation mark as some of the sides of the dice.
26-30: For these forms I started with a box. From there I then took my diamond idea from the last workplate and wanted to make a ring box. I took the box and created a hole within the box. Next, I duplicated the box to have both the bottom and the top. I arranged these two pieces perpendicular from one another and then edited a cylinder small enough to act as the hinge of the box. I then placed a diamond inside the box.
31-34: I enjoy Christmas so I began with a roof shape as the beginning of my Christmas tree. I then took one to create the base and made it thin so that it would not take up time printing. From there, I duplicated the shape and edited each one so that each tear would be smaller.
35-37: For these forms I started with a star. The next two forms I increased the number of points the star had and it looked similar to a filter. I was not able to find another shape that has points to create it into a filter. Therefore, I simply left the number of points on my star the same and put a ring at the bottom to act as the gasket.
38-44: I saw the chicken legs and thought it would be amusing if I put an egg on top. I took two legs from the shapes and placed an egg on top. From there, I thought it look a little bare. Therefore, I created eyes and the nose from cylinders. Lastly, I added a mouth with a ring and ears to make it look more amusing.
45-50: For my last few forms, I created a sailboat. I started with a polygon and cut the top half off with a square. From there, I duplicated the shape and made it smaller to make it a hole as the hole of the boat. Next, I took a torus and made a life preserver on the front. Lastly, I made the sail by making a cube into a post and making the wedges into sails.
Overall, there are several interesting things one can make in tinkercad.
https://www.tinkercad.com/things/kftYeWfRG8q-fifty-forms-part-1
https://www.tinkercad.com/things/fke8pCP88m0-fifty-forms-part-2
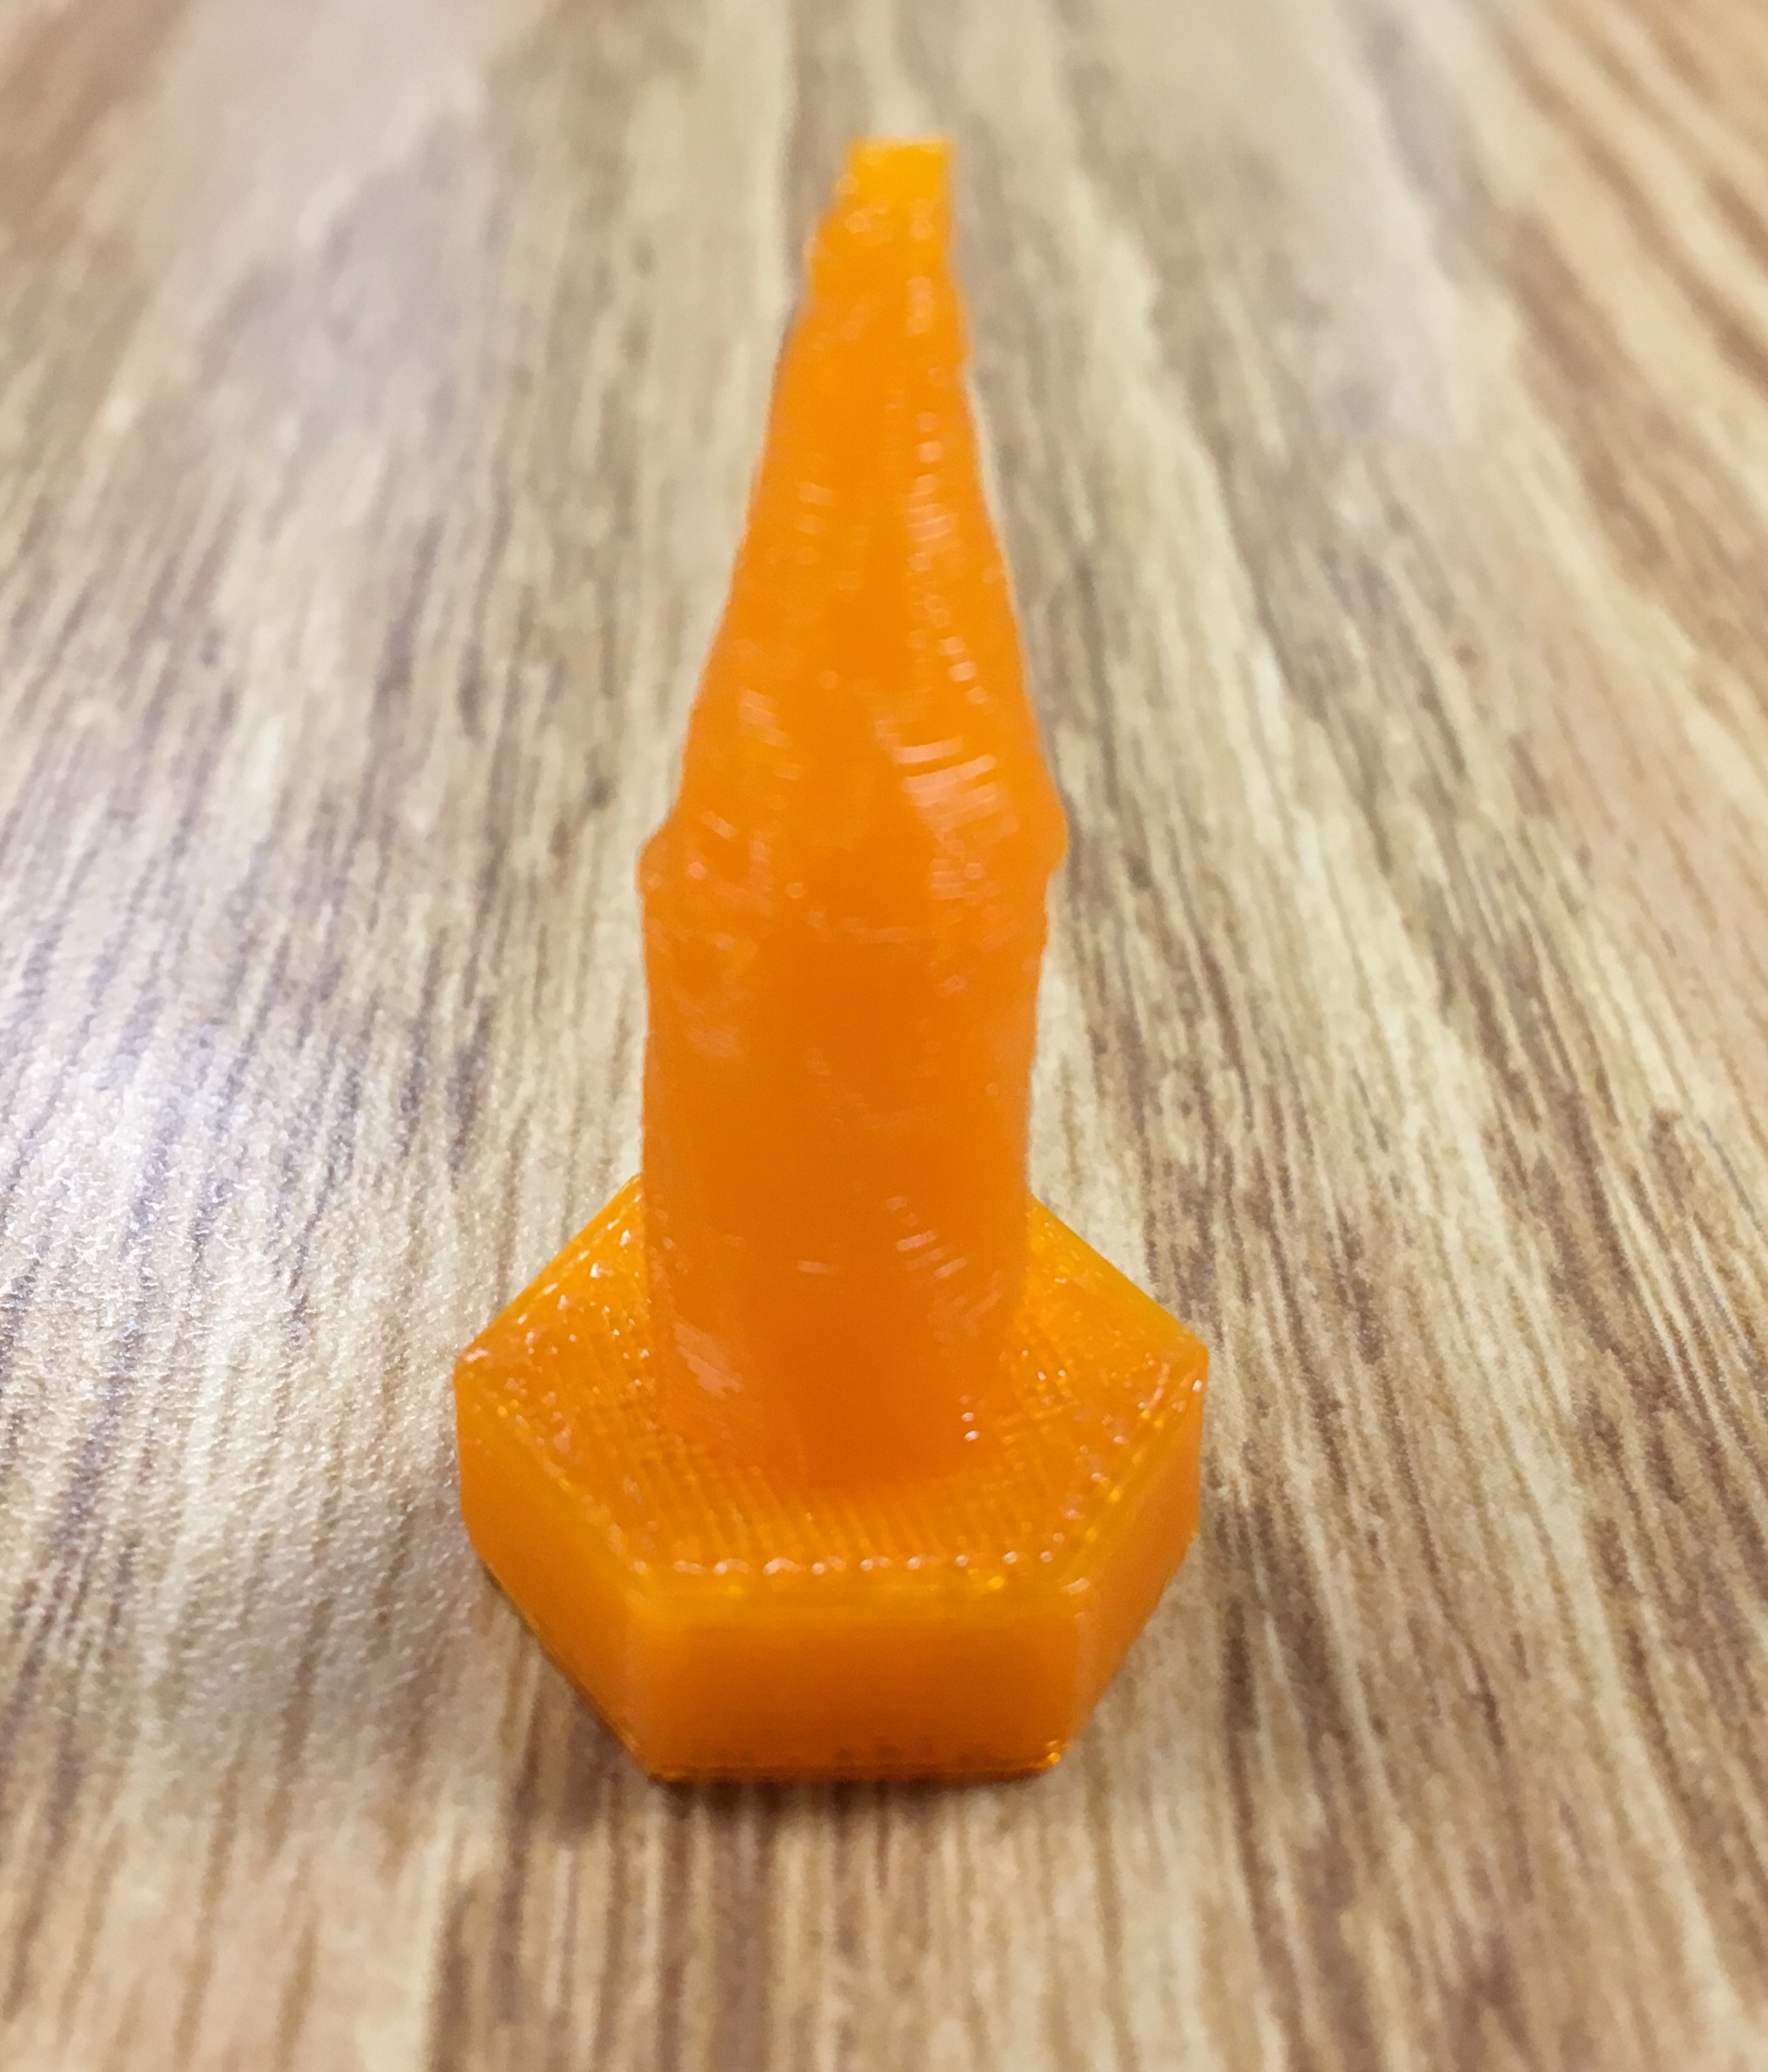
The link below is the first design I made in Tinkercad.
https://www.tinkercad.com/things/eiGlDrNhdgE-screwthreaded-bolt